Sukkah Place Cards (Printable & SVG)
Craft these Sukkah name cards to seat your guests quickly! When you’re done, try these Sukkot napkin rings too. This post contains affiliate links.
There’s nothing quite as efficient as getting the night started as place cards. They allow you to seat everyone quickly and smoothly, while making each guest feel so welcome with a personalized place setting!
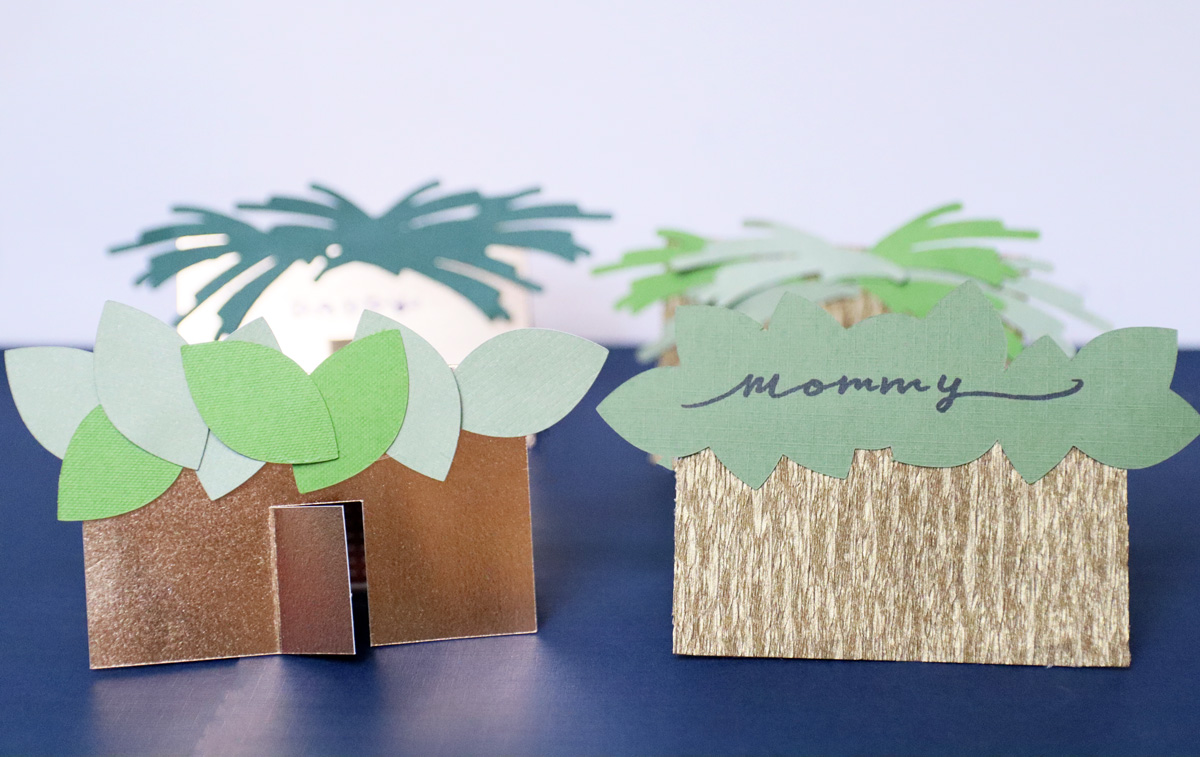
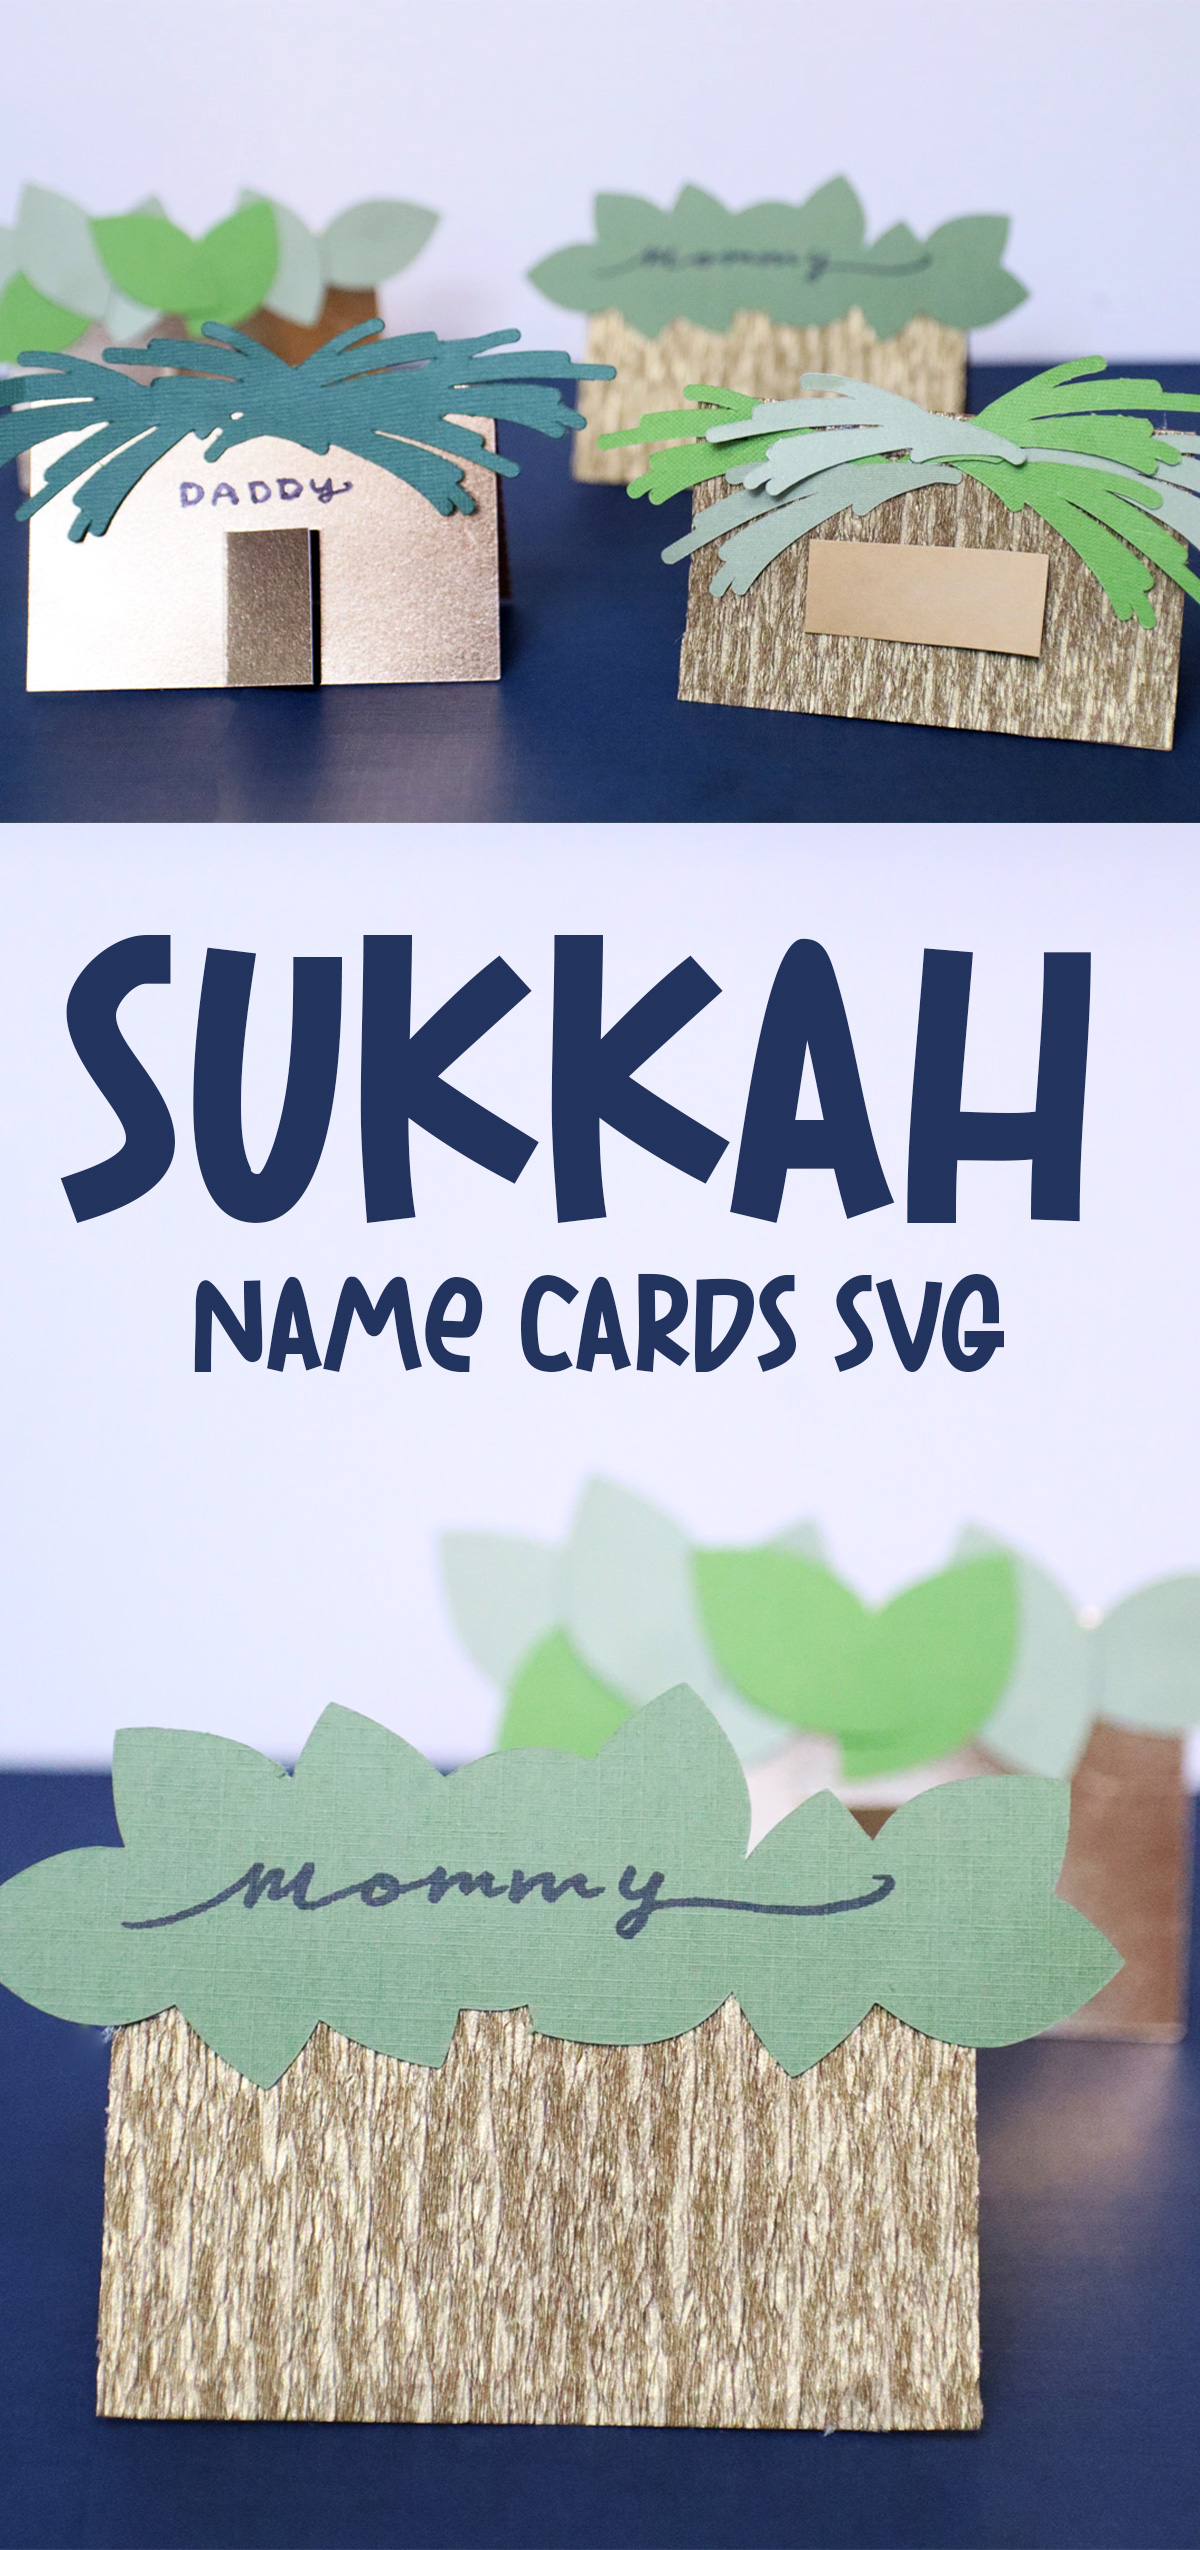
To make things really festive for Sukkot, I designed some fun Sukkah place cards. To be accurate, I really assembled TWO sets: one printable one and one for Cricut and other cutting machine crafters.
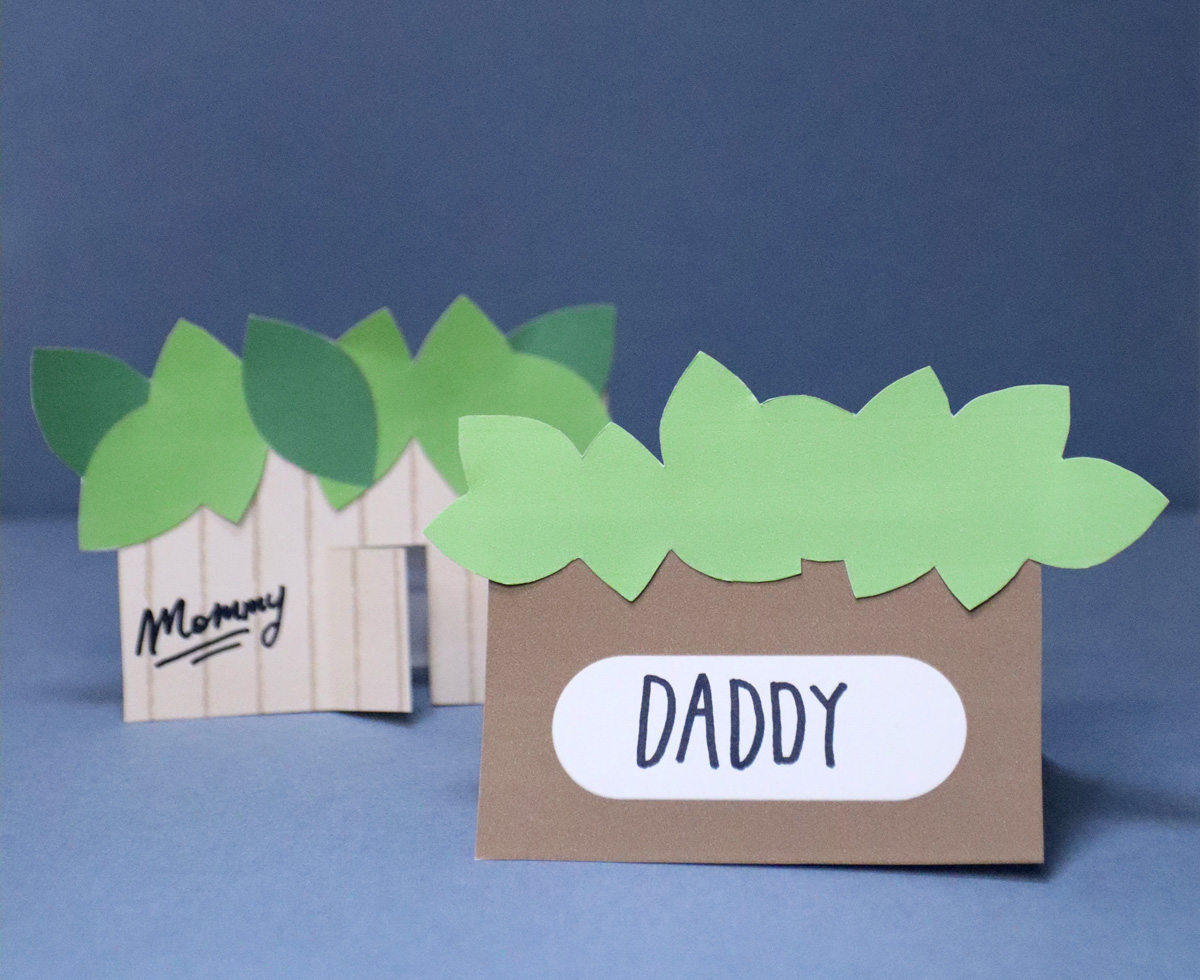
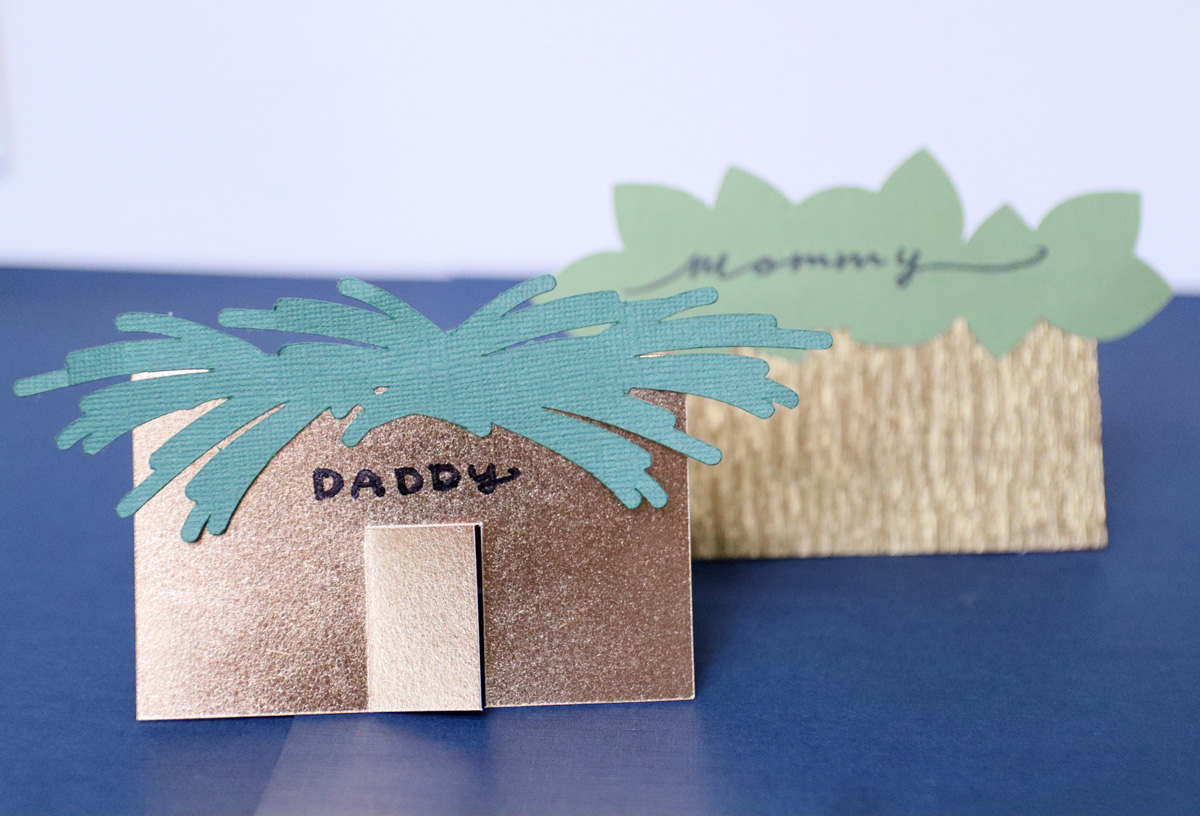
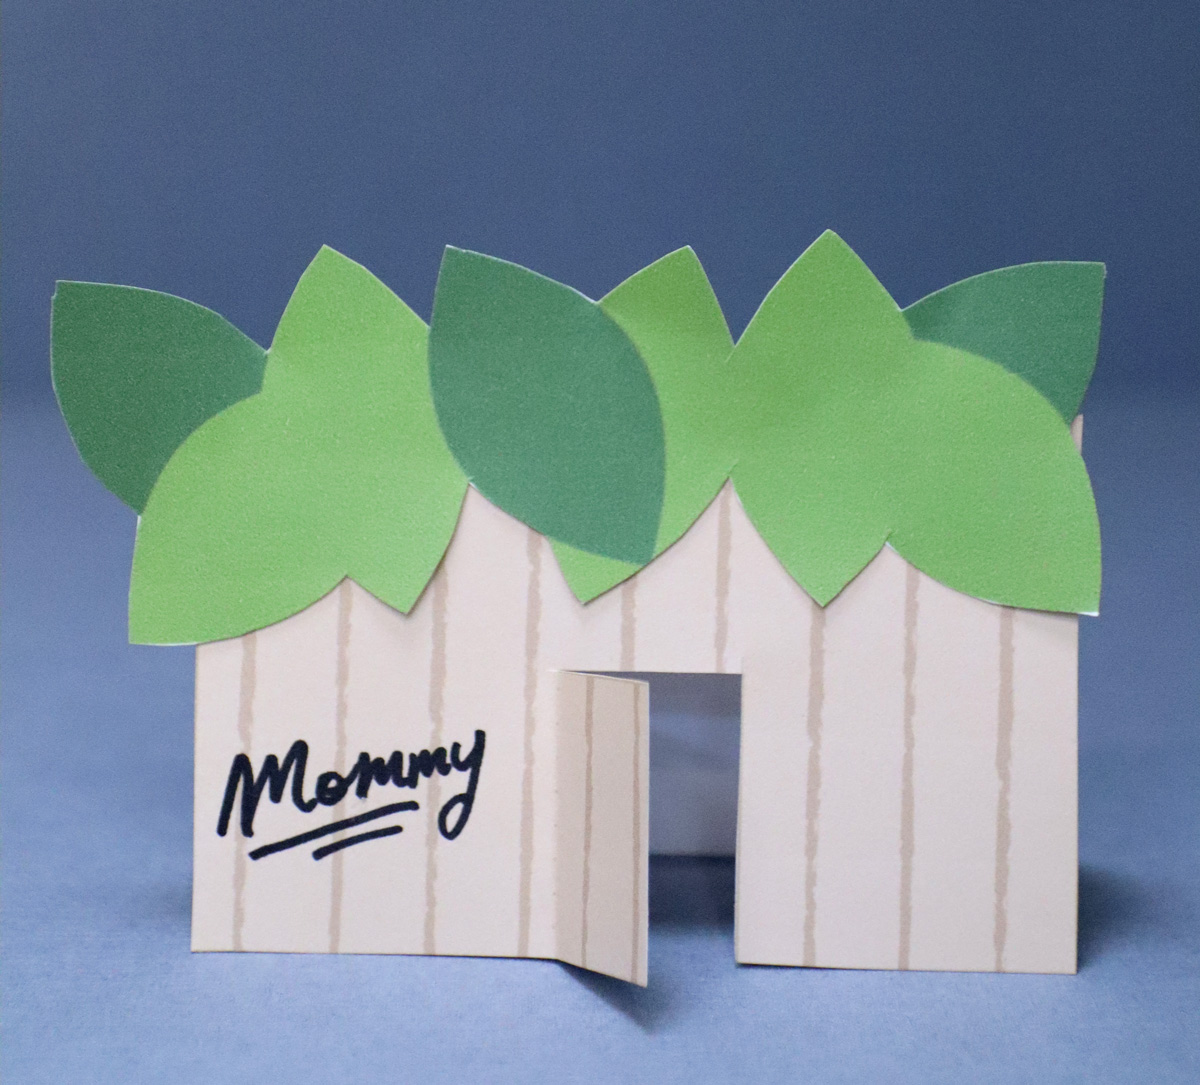
The idea was to have a little stand-up sukkah with schach that has the guest’s names on them! The shape of the Sukkah was just begging to be a place card.
Sticking to the simple bifold format means it stands up easily, and you really don’t even need to use them as names – you can use them as table settings and props.
Learn more & download the Sukkah place cards
Because I can’t stop at just one, each of these Sukkah place cards come with a few variations:
- A simple tent card vs. one with a cutout door
- A layered/multicolor-style canopy/schach and a flat colored one
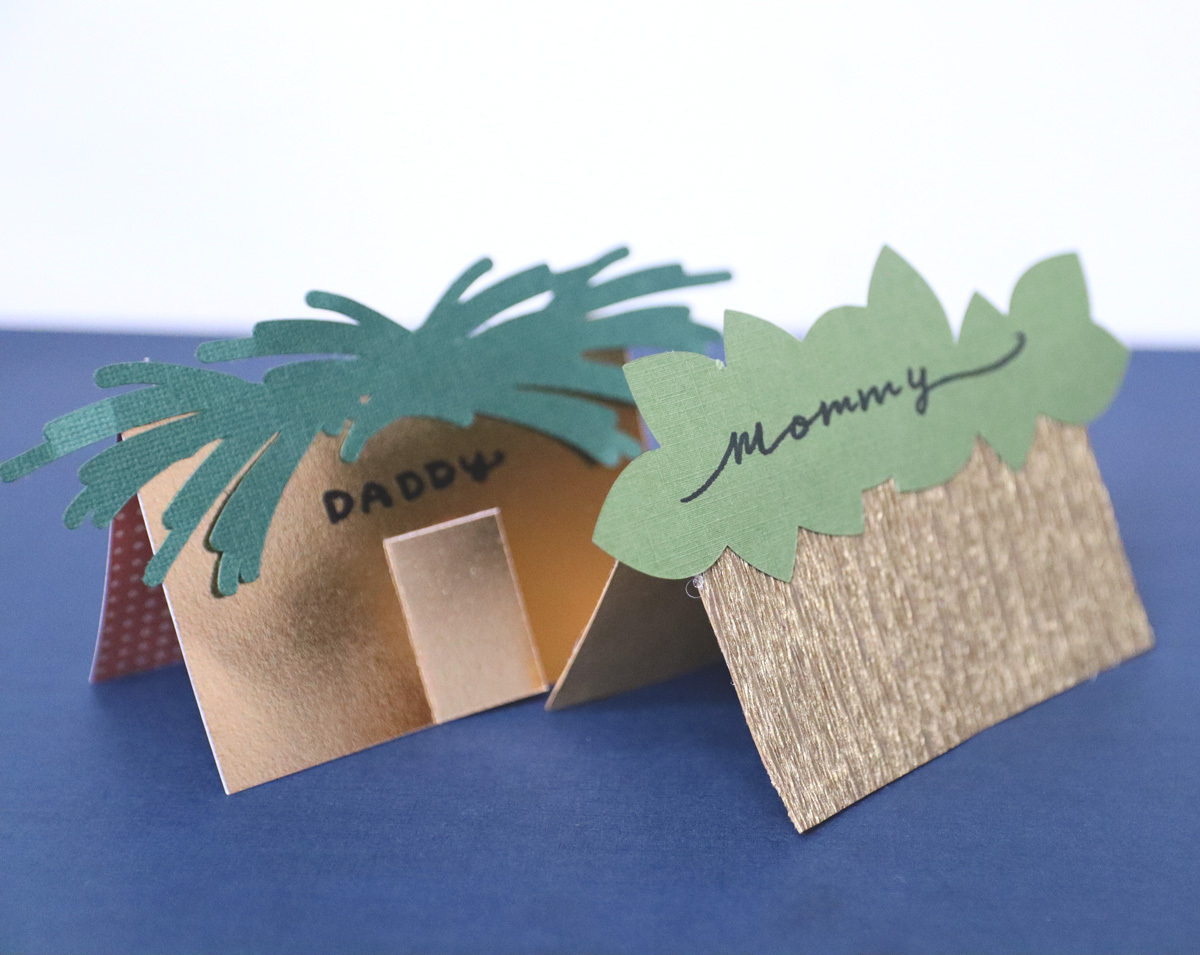
The SVG also allows you to choose to create the canopy from one piece of paper (easier) or multiple (more detail). It gives you the option of a palm branch tyle one too (which I felt would be too complicated to cut by hand so I omitted on that version.
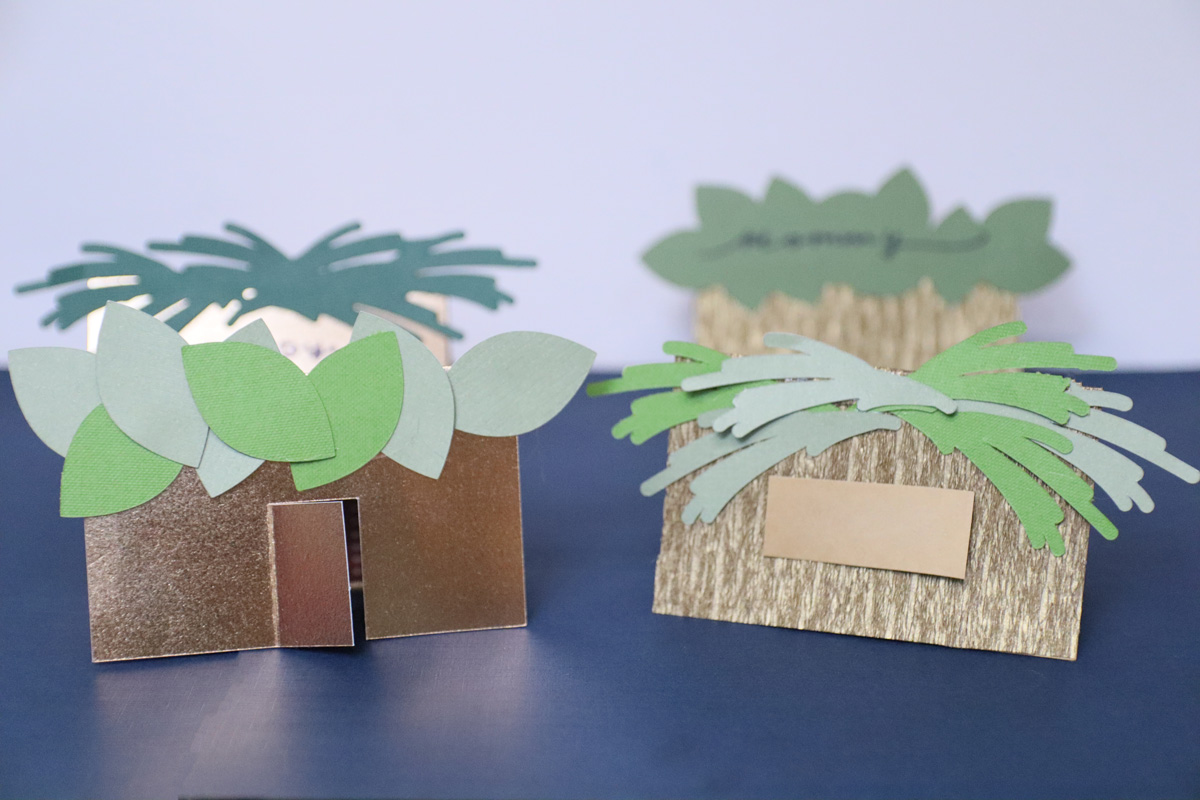
The printable Sukkah place cards
I spent most of my crafting years without any craft technology, so I’m always mindful of the fact that many people love to craft occasionally, make something pretty, and spice things up for the holidays – but don’t own craft machines!
So I always try to create a low-tech option.
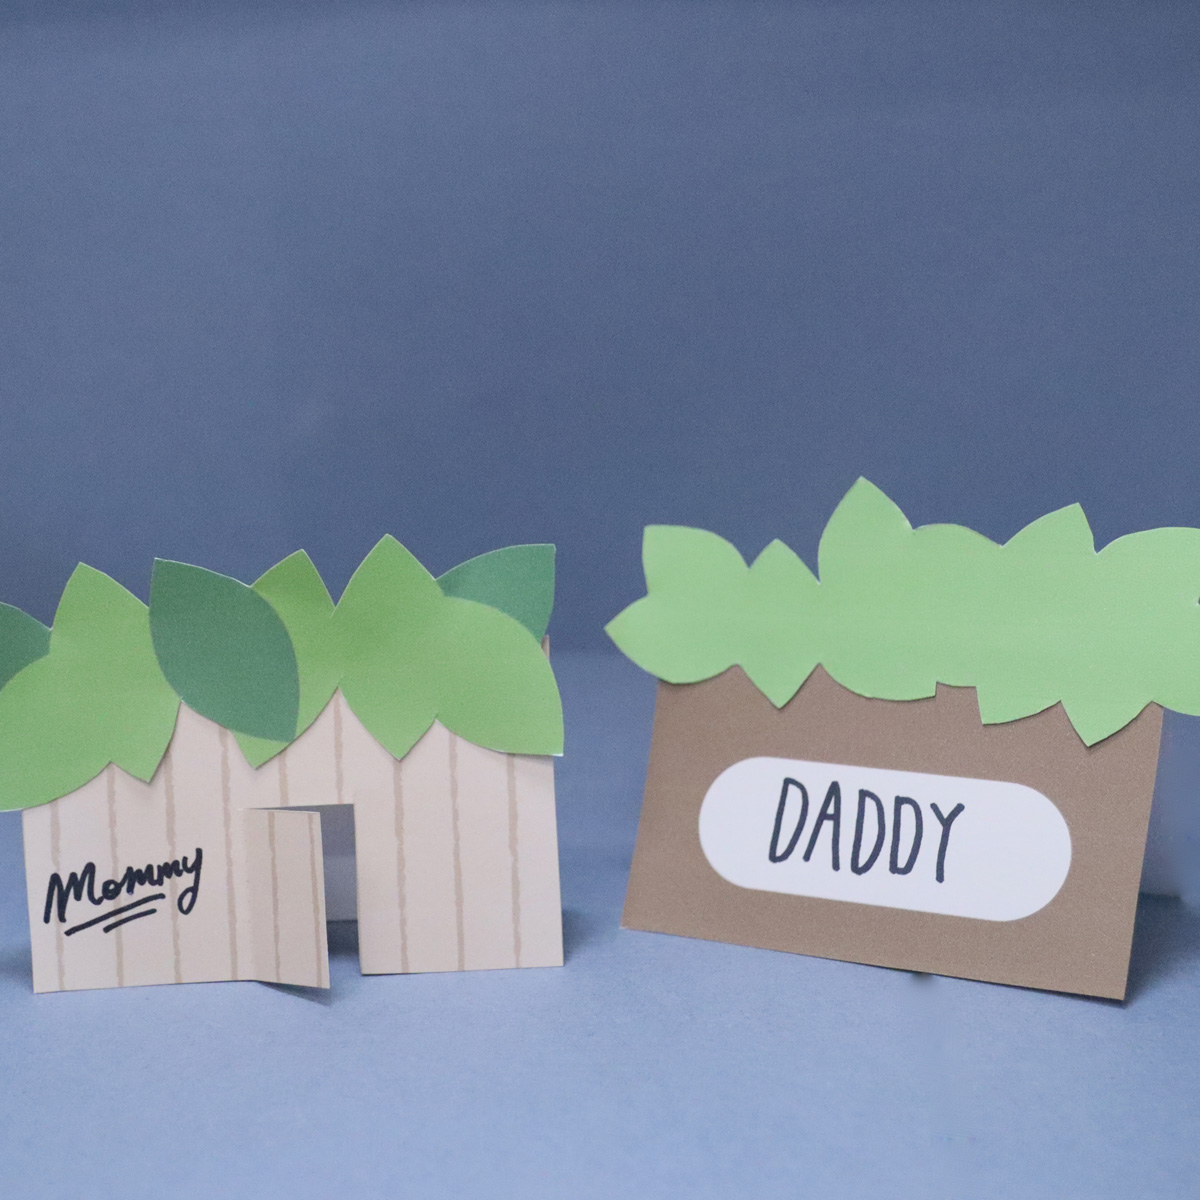
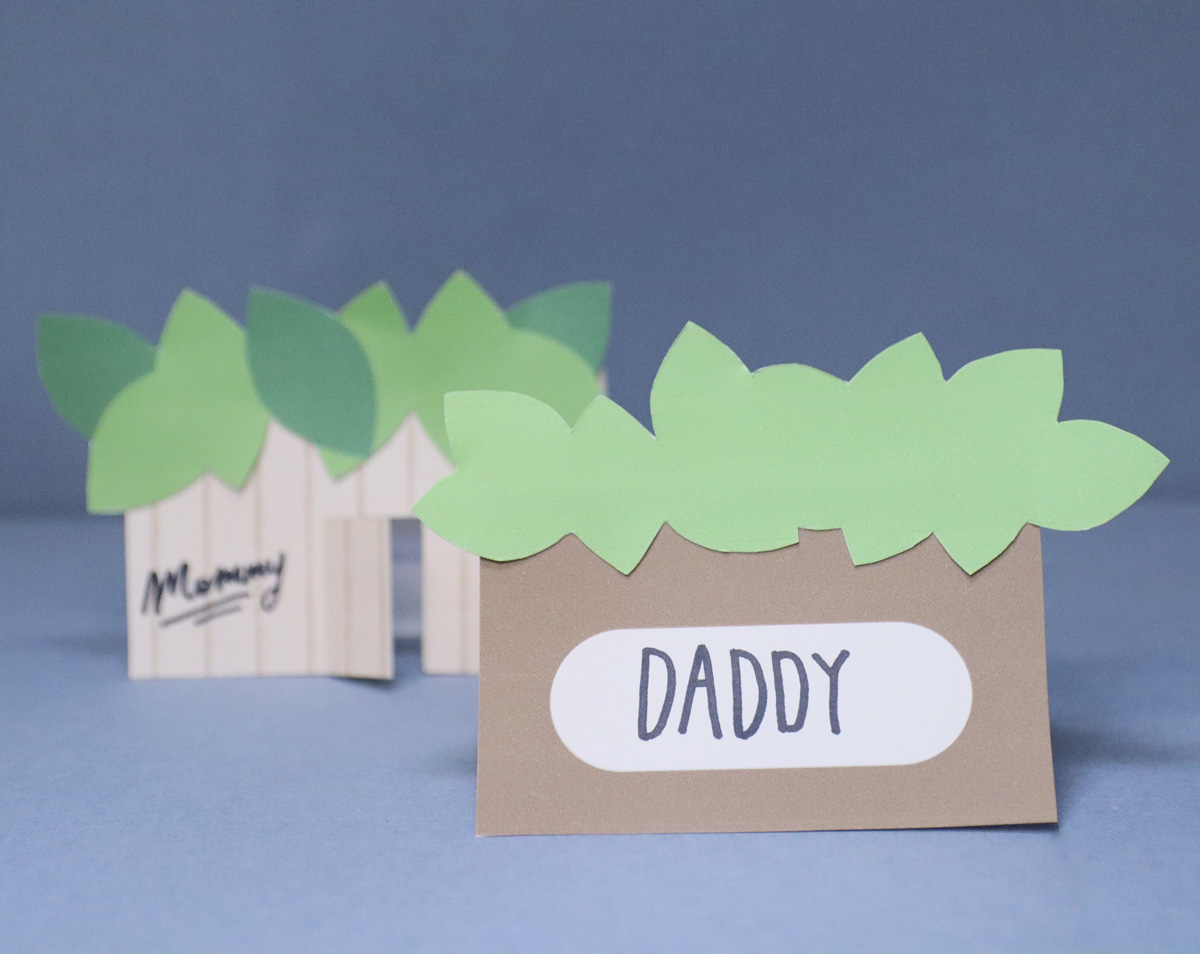
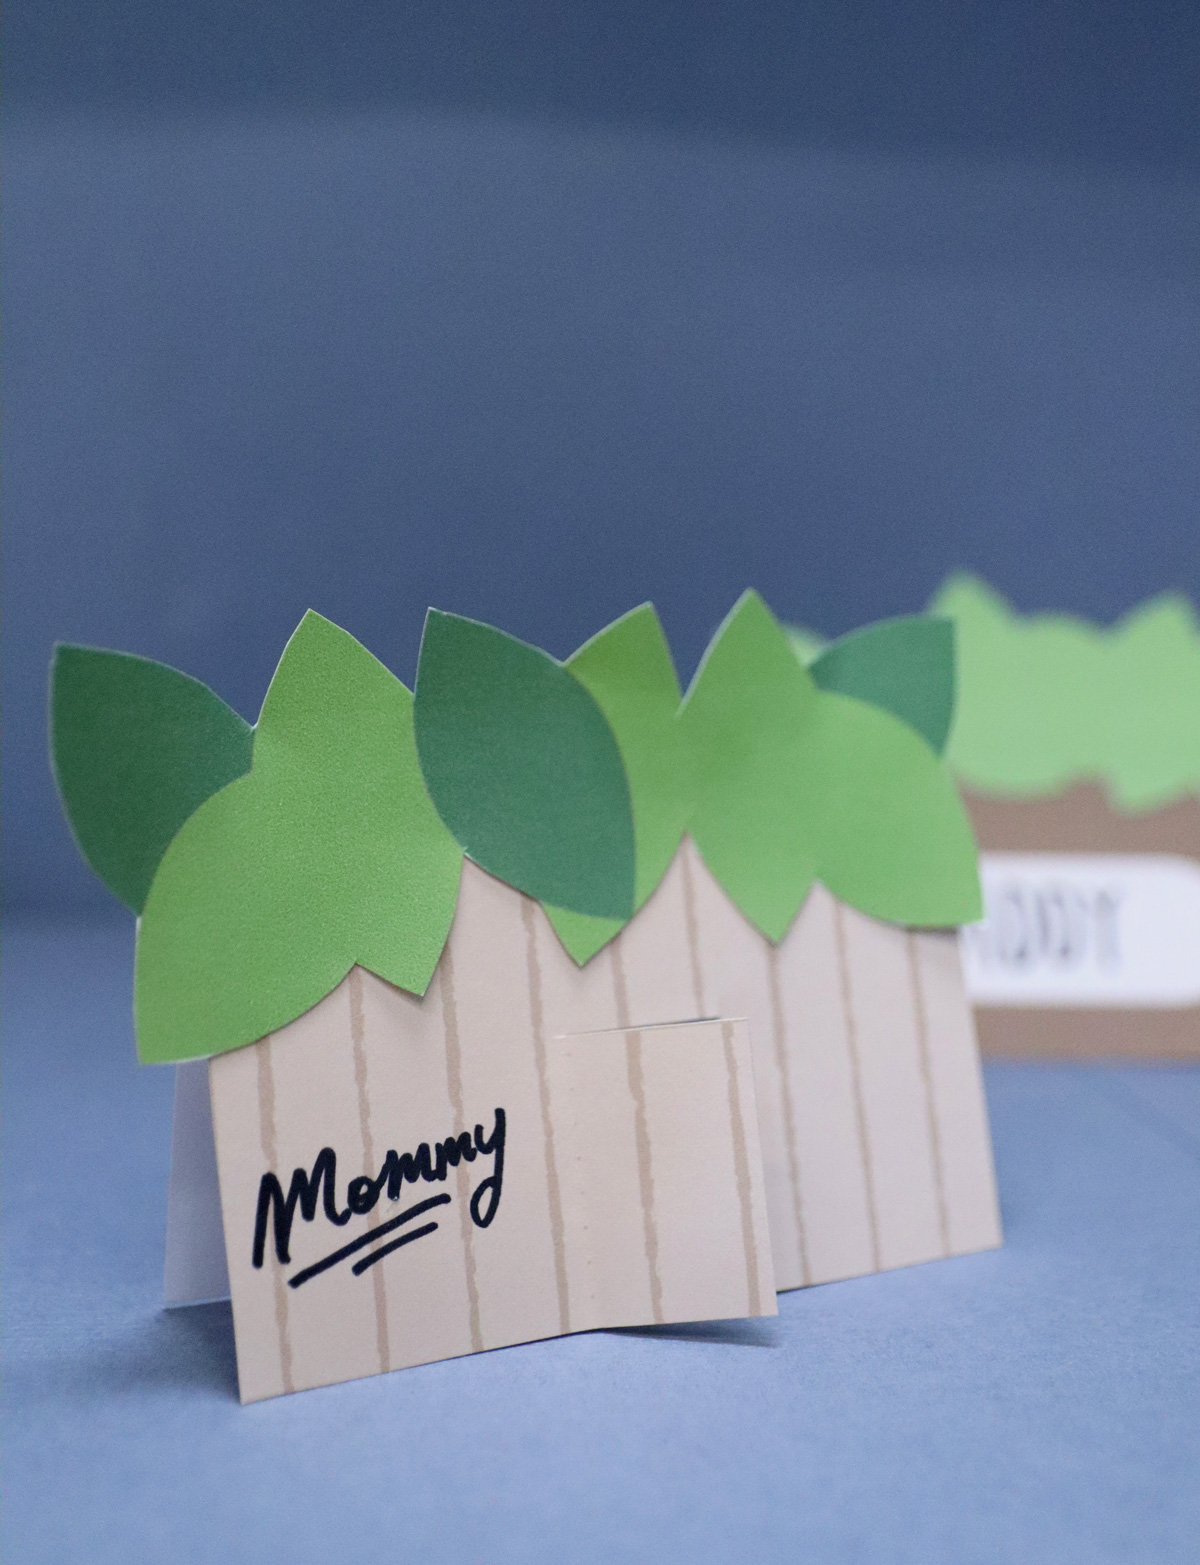
These printable place cards were designed to be as easy as I can make them to assemble. You have one that has a simple texture and a door that opens.
The other has a more distinct space for the name but is also simpler. You can mix and match the bottoms with the top and have fun with it.
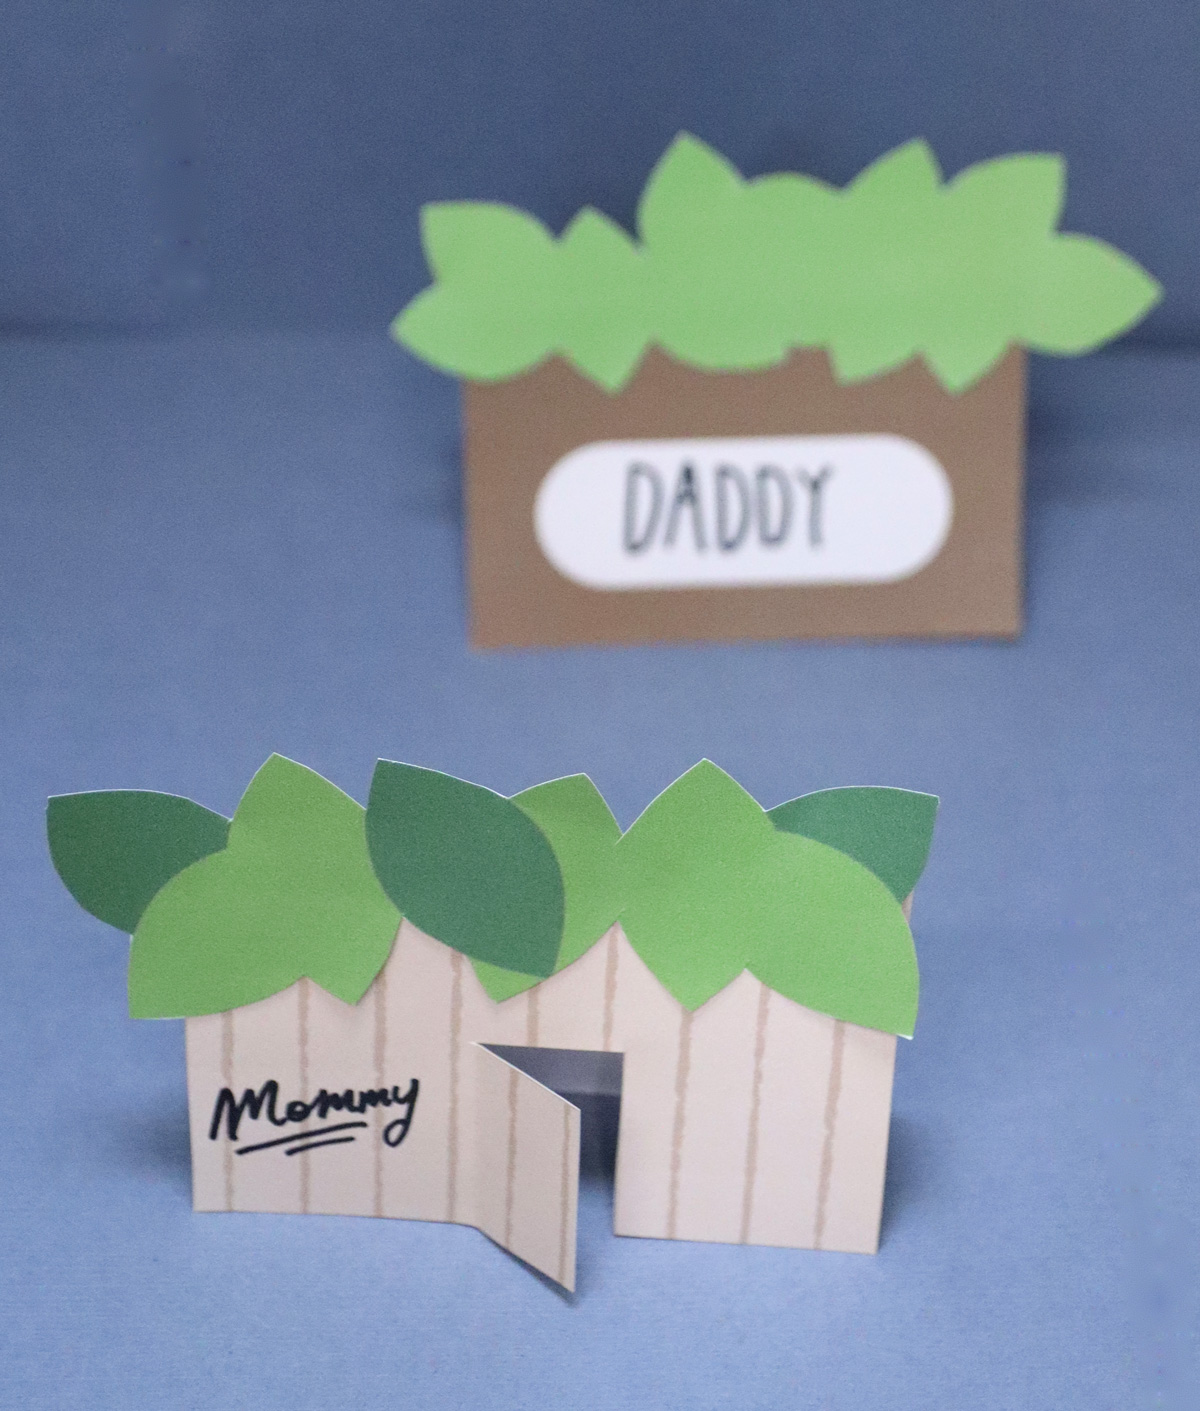
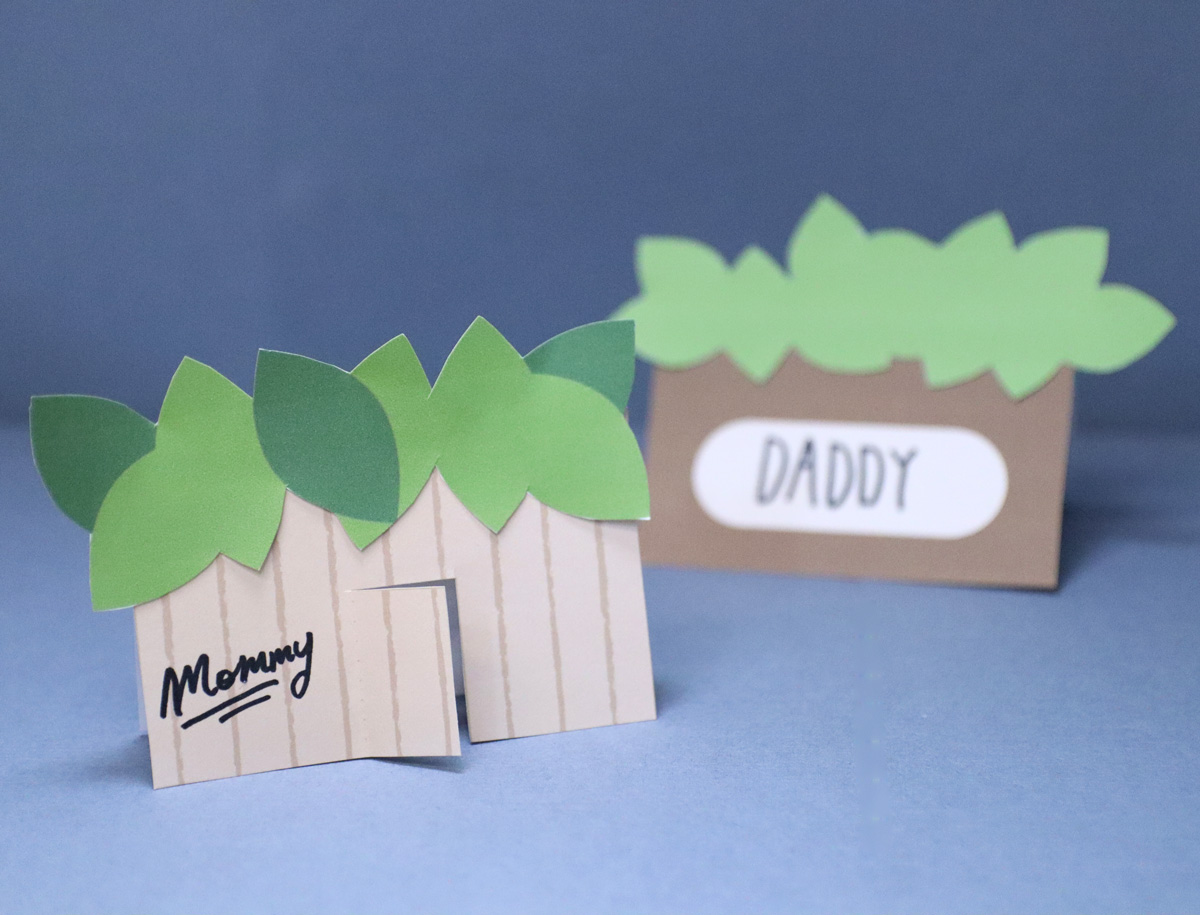
The Sukkah Place Card SVG
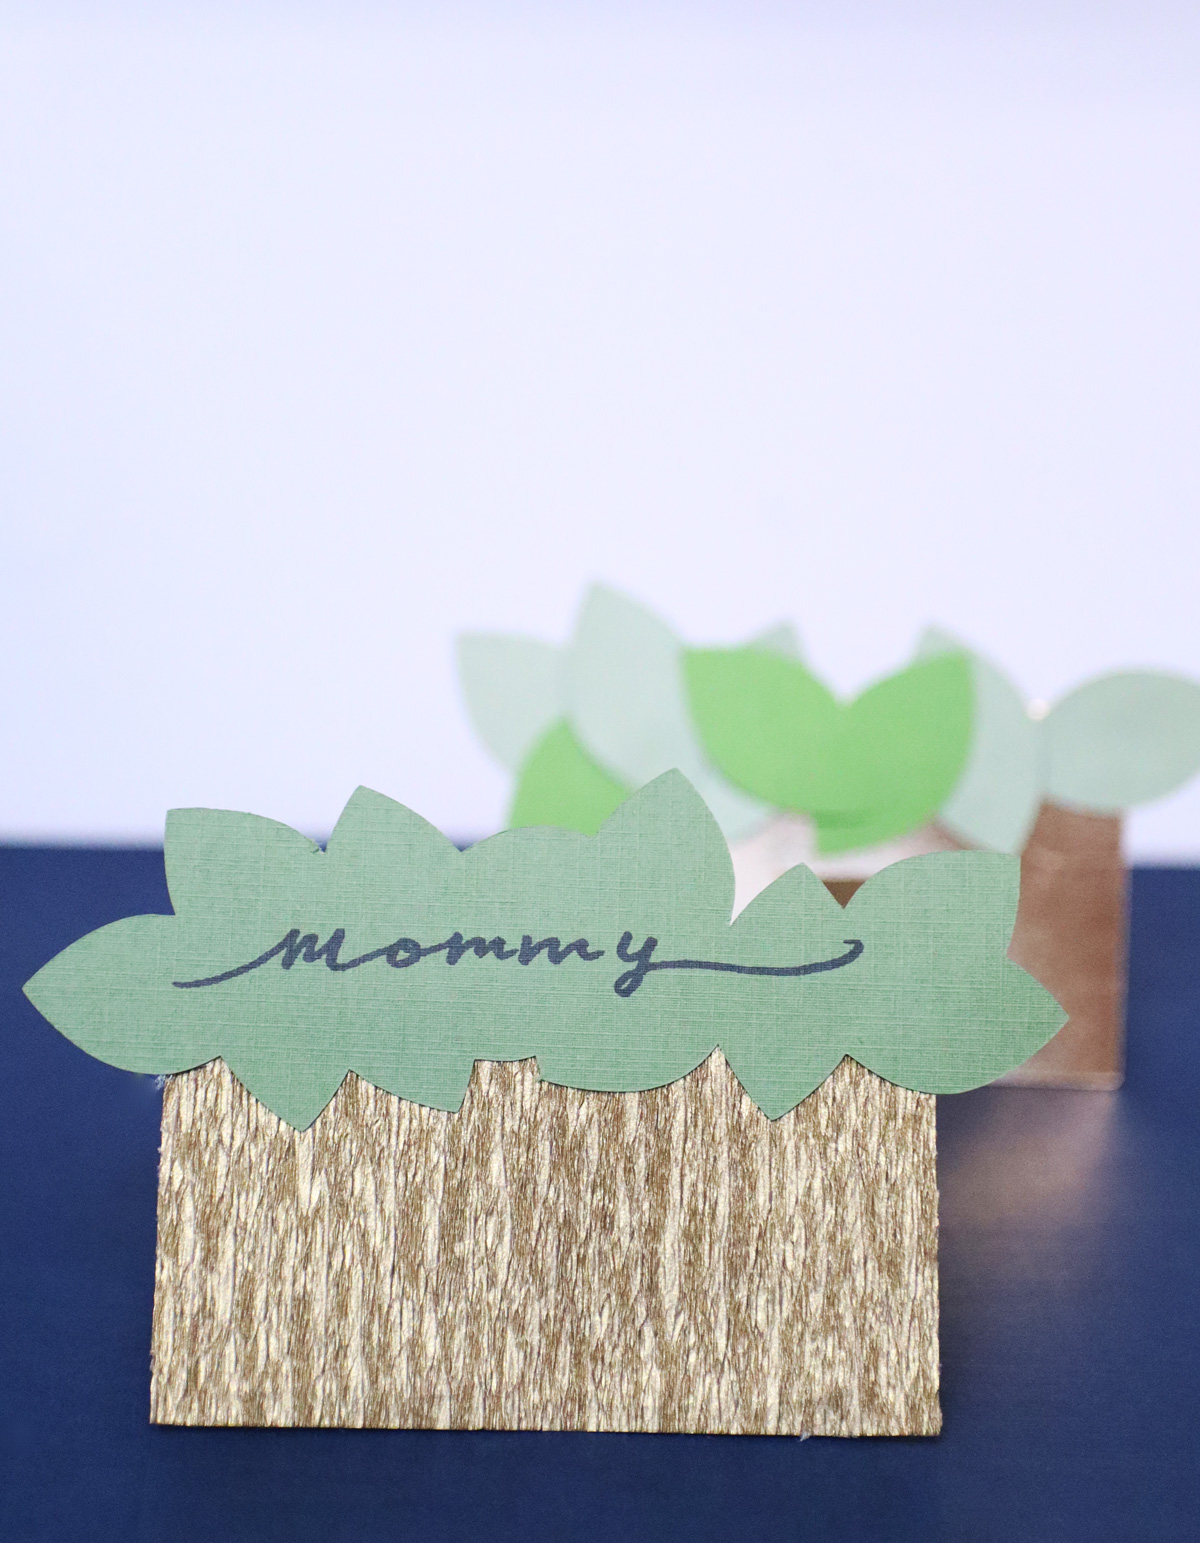
I’m always gonna be a fan of the SVG crafting concept: you get just the die cut files and you choose the materials. I really had fun crafting these with mixed materials, sticking with textured cardstock for the canopies but mixing it up for the Sukkah portion.
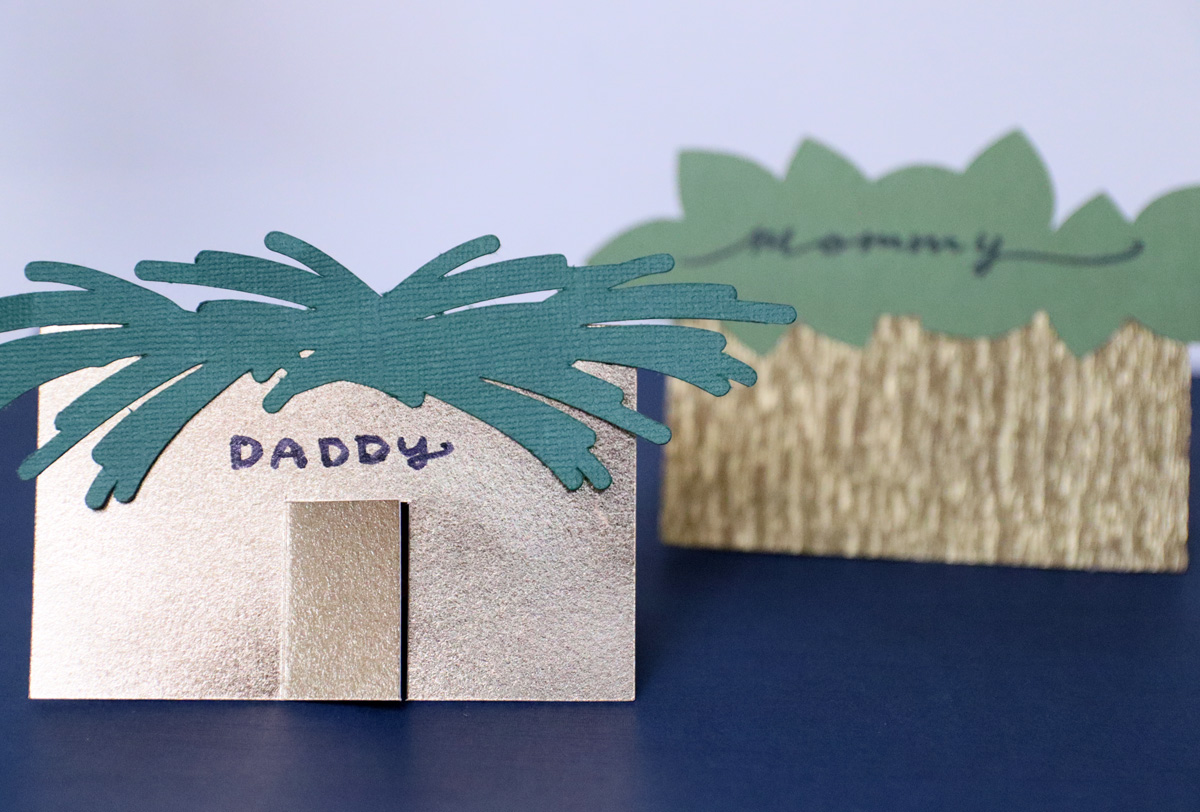
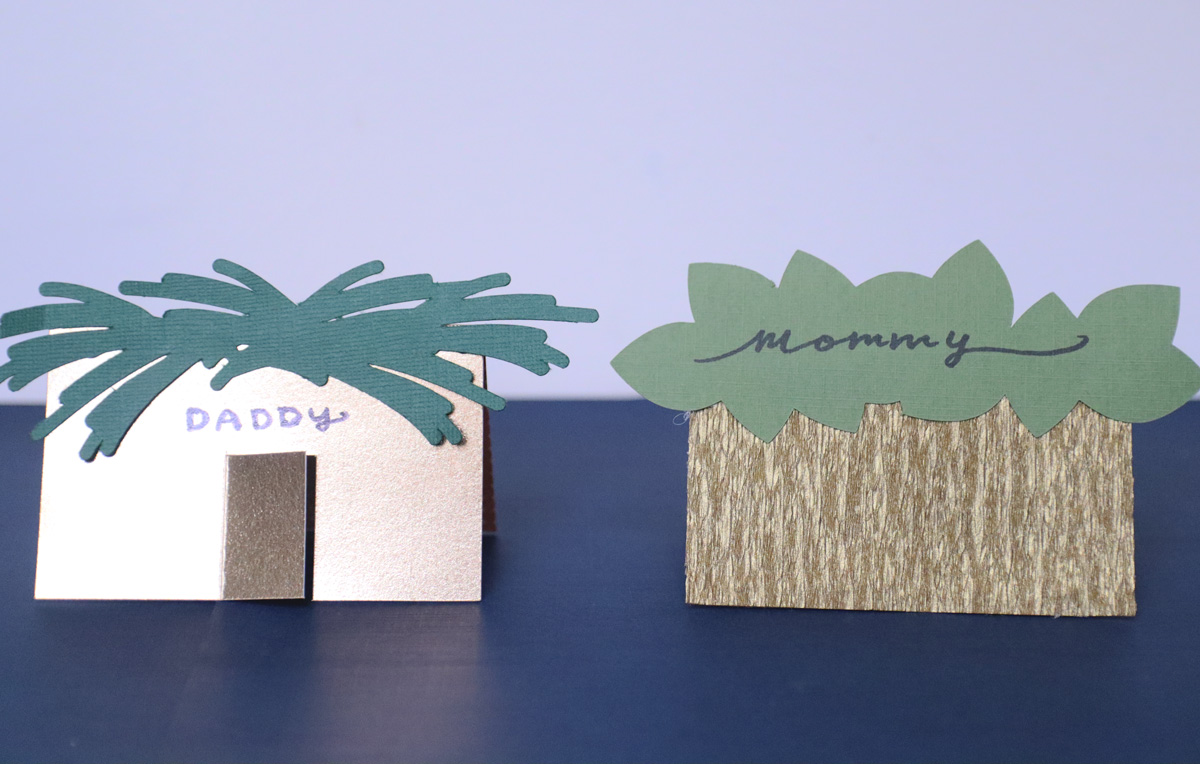
On one, I used metallic cardstock. For the second I opted for crepe paper because of the cool Sukkah-like texture. However, I did need to cut the base card twice for that, making a supporting layer from cardstock.
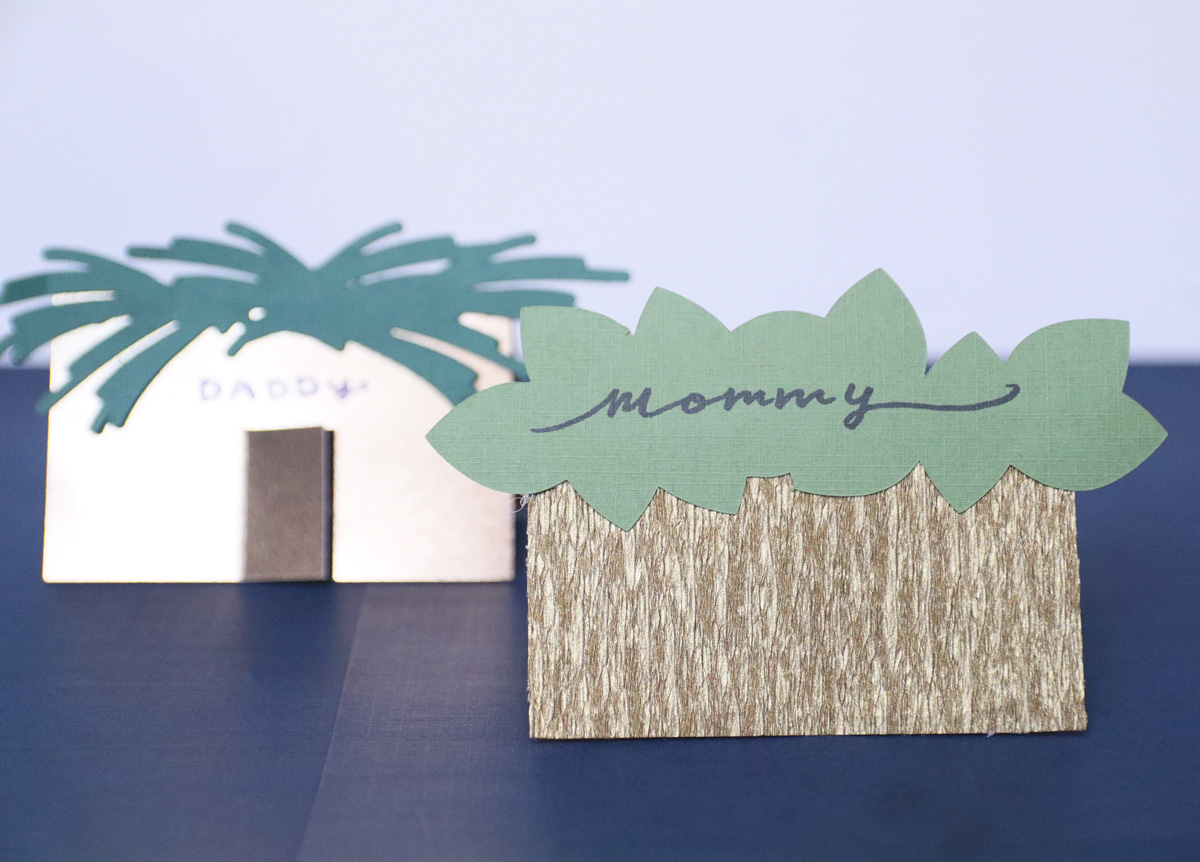
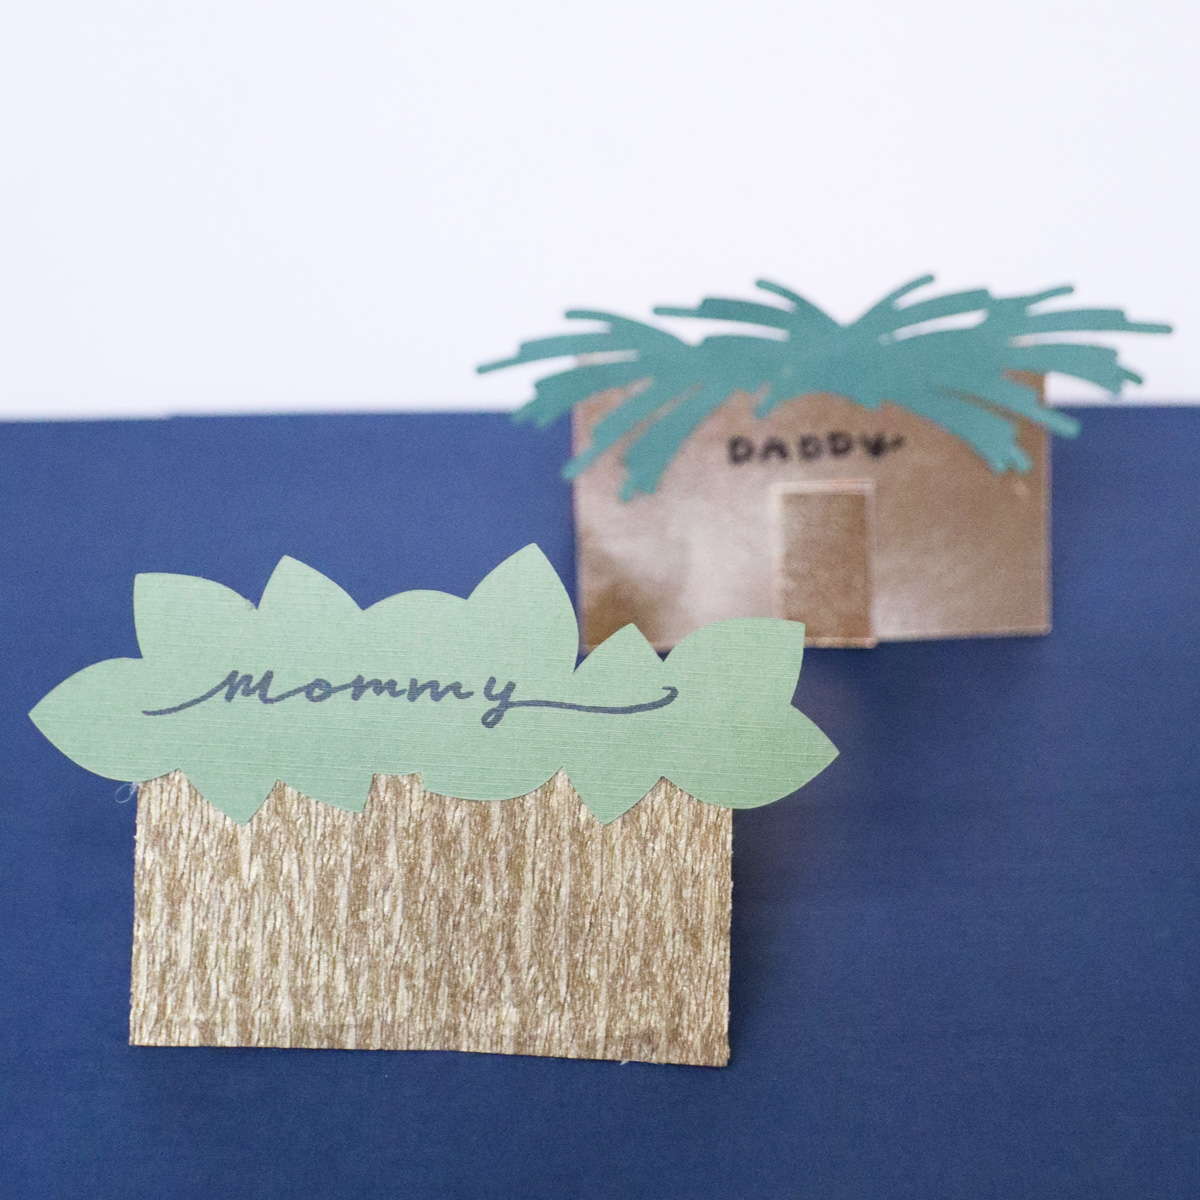
Another cool thing about Cricut/SVG crafting is that you can make it much larger as centerpiece. You can scale it up fully to the max cutting size of your machine or materials. And if hosting a real crowd with multiple tables, scaling it up somewhat can allow you to create table card centerpieces.
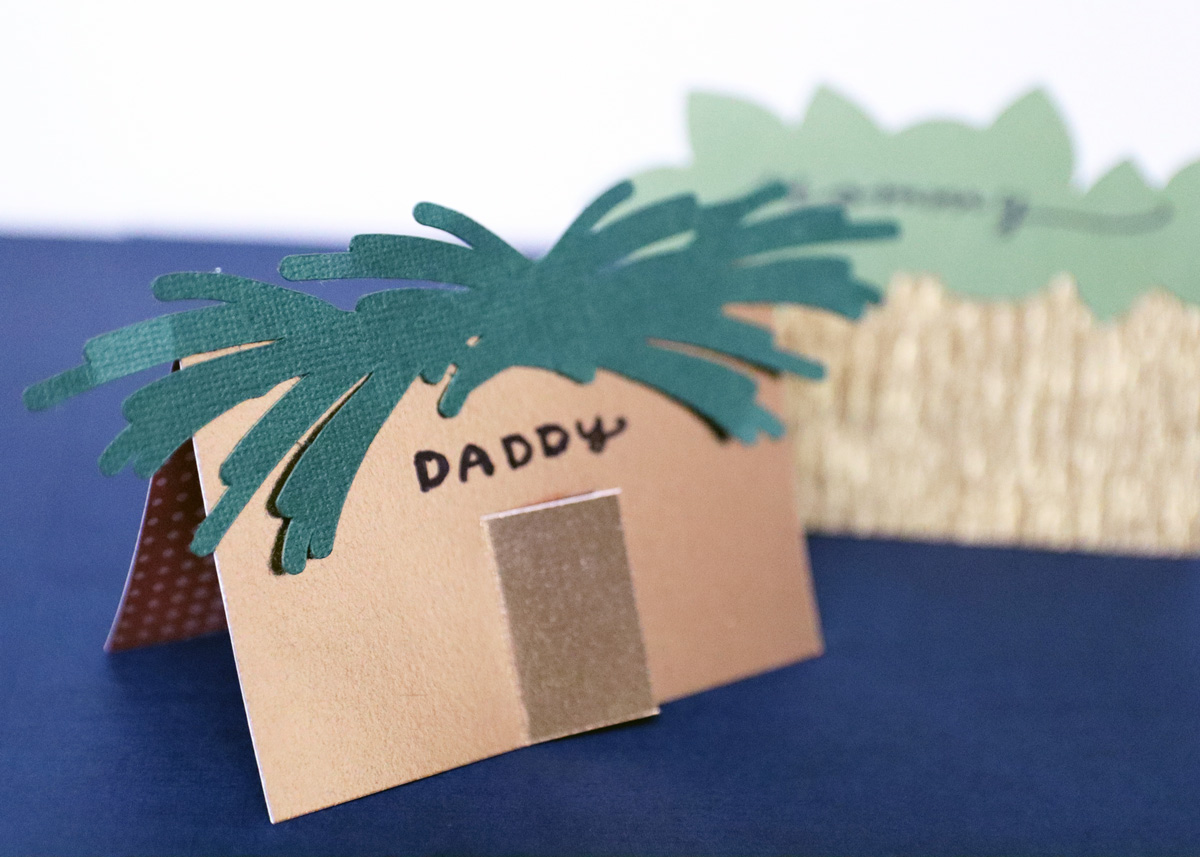
I added rectangle/square to the SVG after crafting when I realized that using some more unique materials (such as crepe paper) might warrant that. Use it or ditch it.
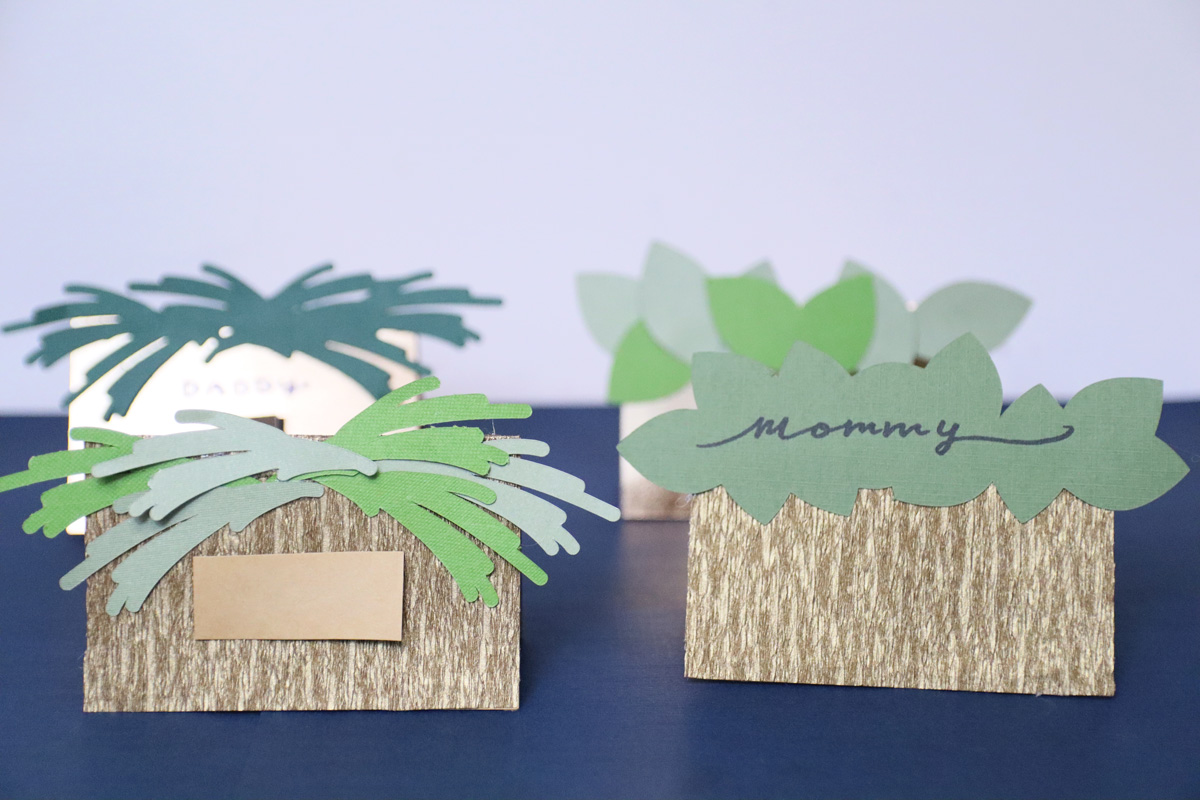
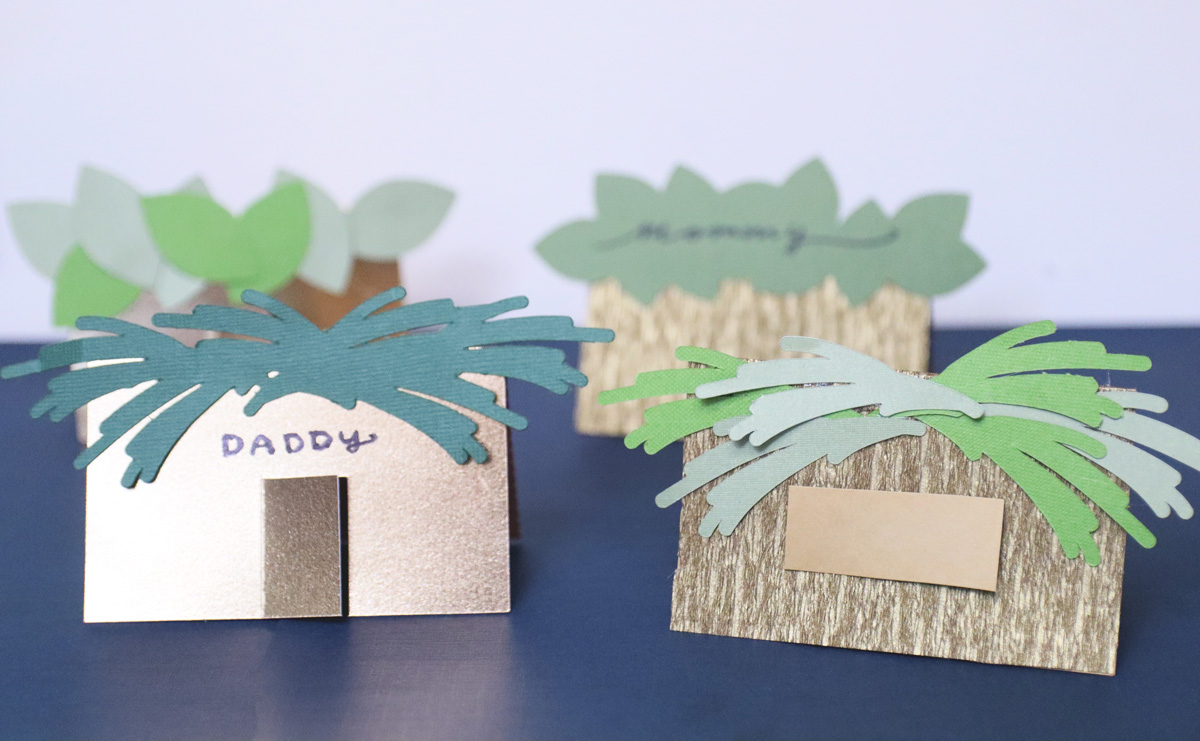
Assembling the Sukkah Place Cards
The Printable Version
You need:
- The files, printed on cardstock
- Scissors
- Glue or double sided tape
- Optional: bone folder and/or scoring board
1. Cut out the main place card and canopy.
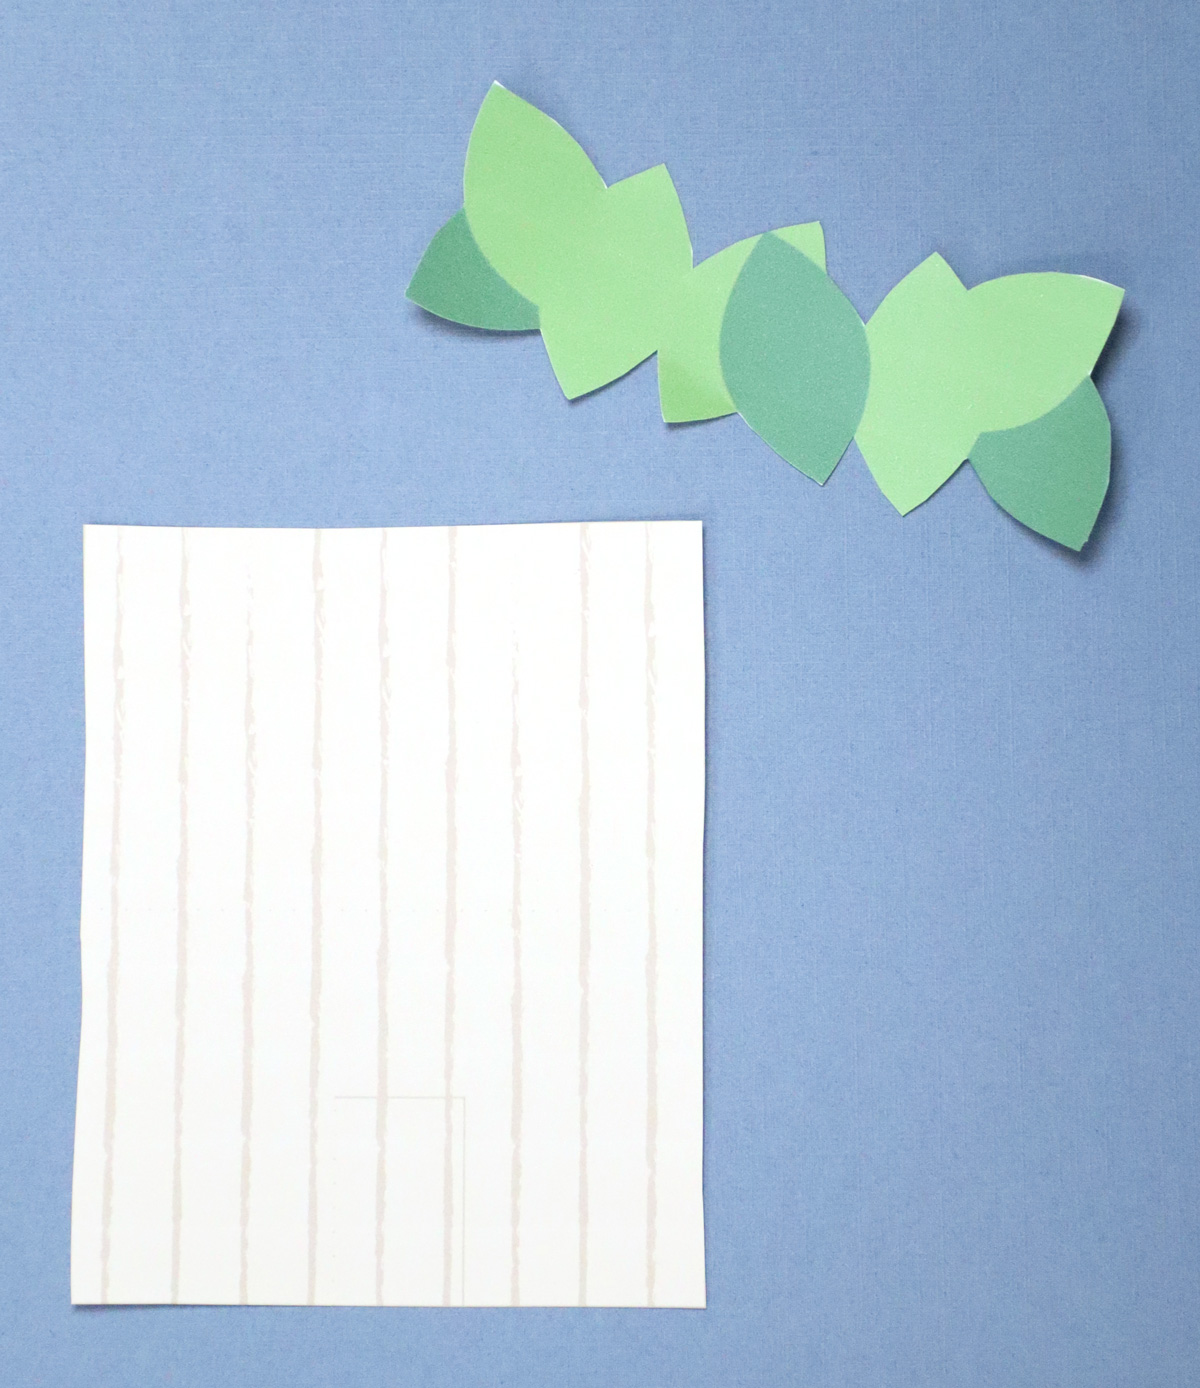
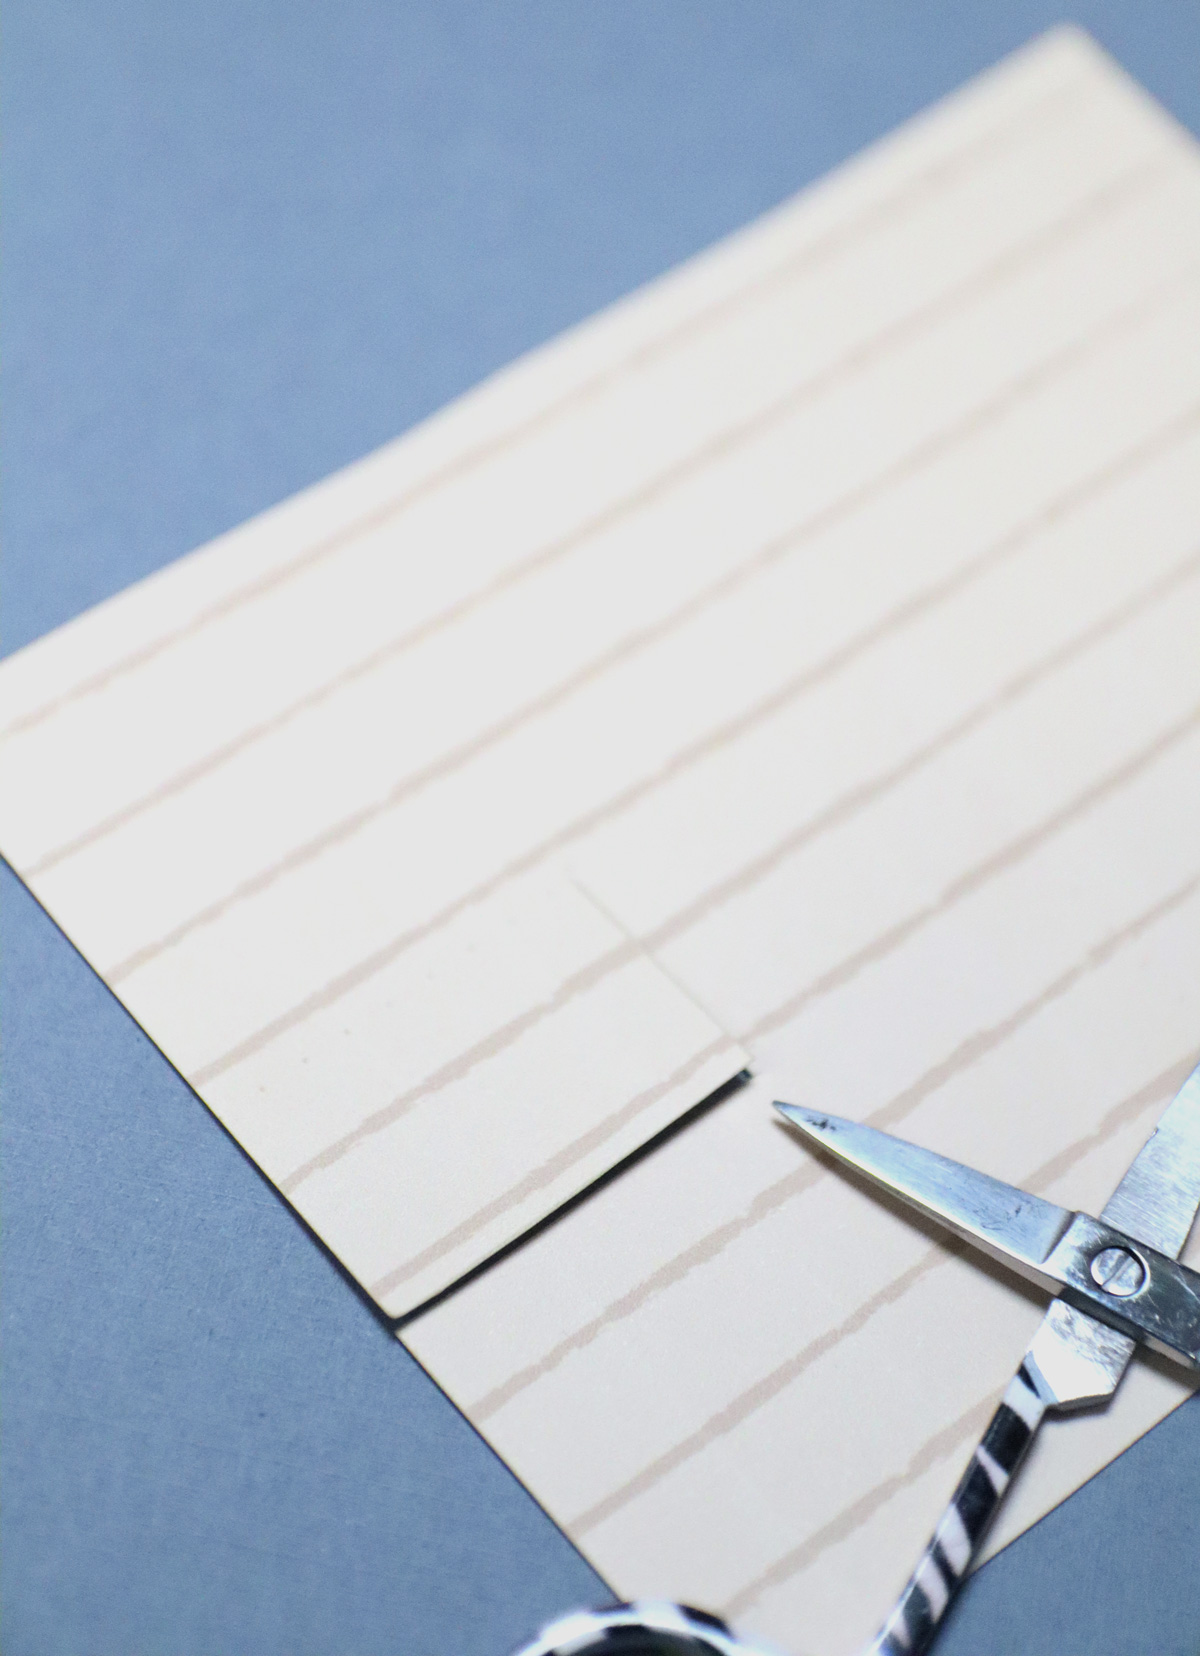
2. If using one with a door, locate the faint markings of the door. Cut on the right and horizontally on those markings.
3. Fold back on the faint dotted line. Fold the card in half as well.
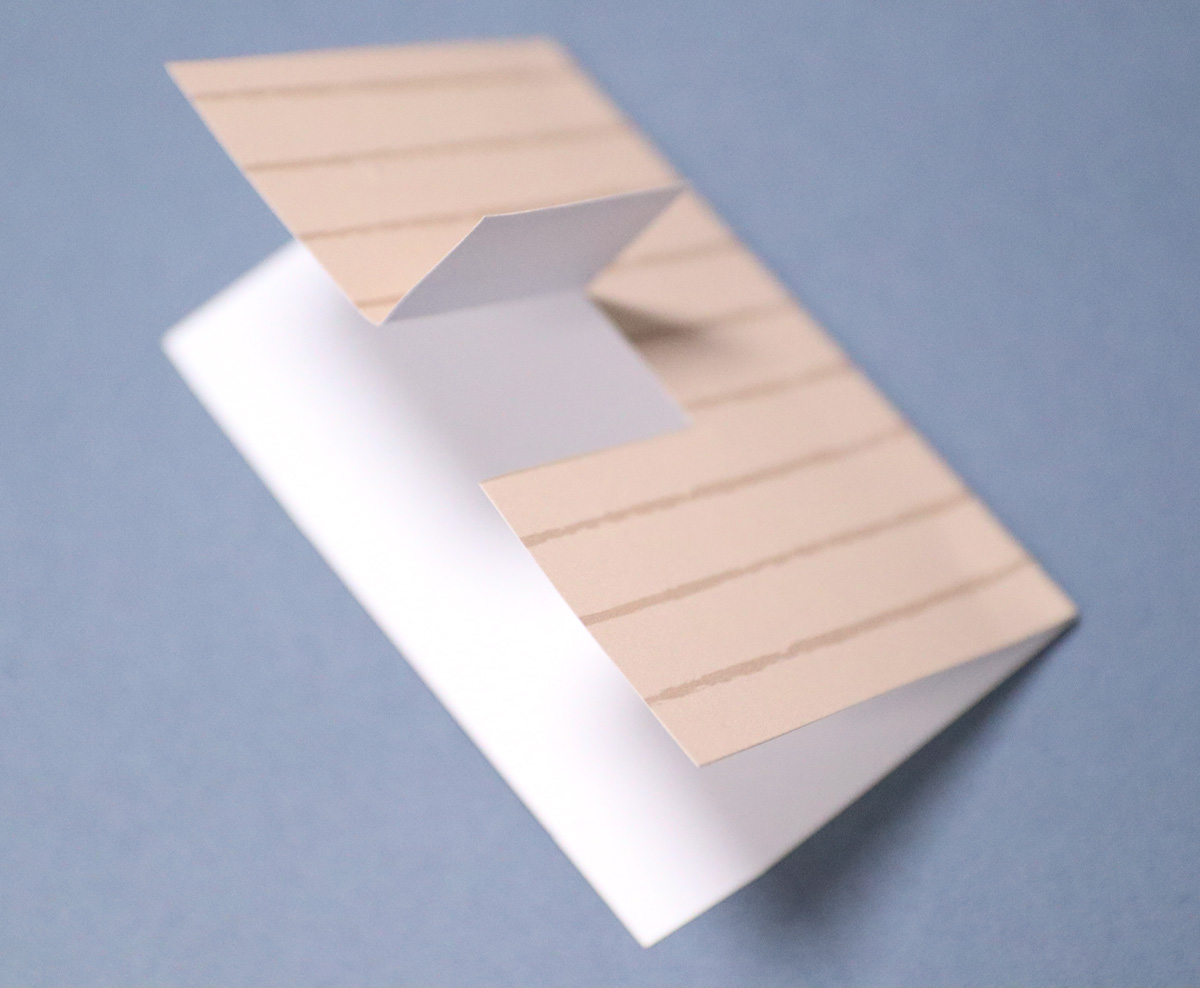
4. Glue the canopy on top of the fold so that the front of the card comes about halfway up the back of the canopy. Use your judgement for this: it should stick up nicely, take into account where you’re adding the name, and look good.
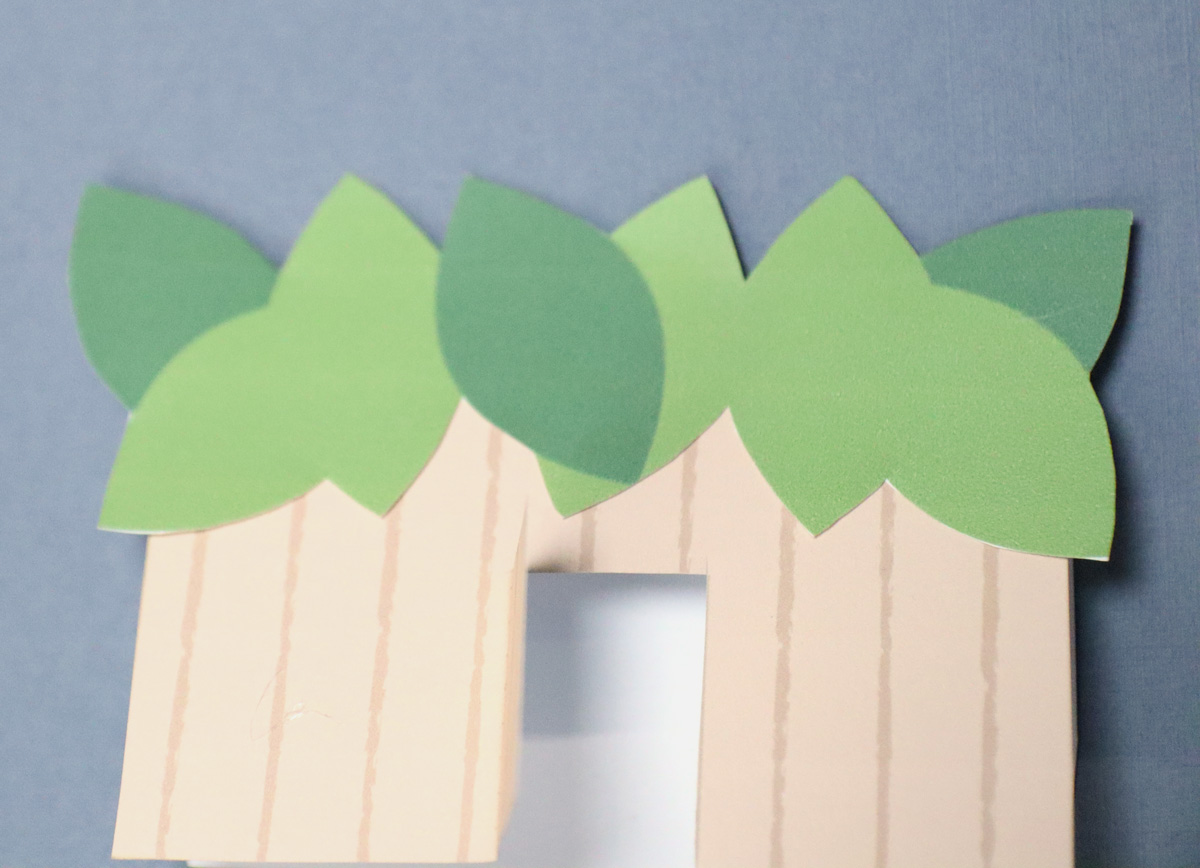
5. Write a name. Place on the table and enjoy!
The Cricut Version
You need:
- Cricut cutting machine with fine point blade.
- If using a Maker, the scoring wheel. If using the Explore, the scoring stylus.
- LightGrip Mat for lighter cardstock, StandardGrip Mat for more heavyweight.
- If using crepe paper as described above: rotary blade and FabricGrip mat with Maker
- Brayer to adhere materials well
- Cardstock for main Sukkah and canopy/leaves
- Glue or double sided tape
1. Upload your SVG – it should be a good size for place cards by default. Resize if you’d like, ungroup choose which layers you’d like to use, hide the ones you don’t want… Turn any fold lines into a score line type (or delete if you’re not equipped to machine score) and attach them to the base card.
Tip: you CAN format your files in Design Space to write the names on the cards pre-assembly. To do that, write names, turn into drawing line type and attach to the base of the card where you want it. I usually add names by hand.
Prepare your material on the mat.
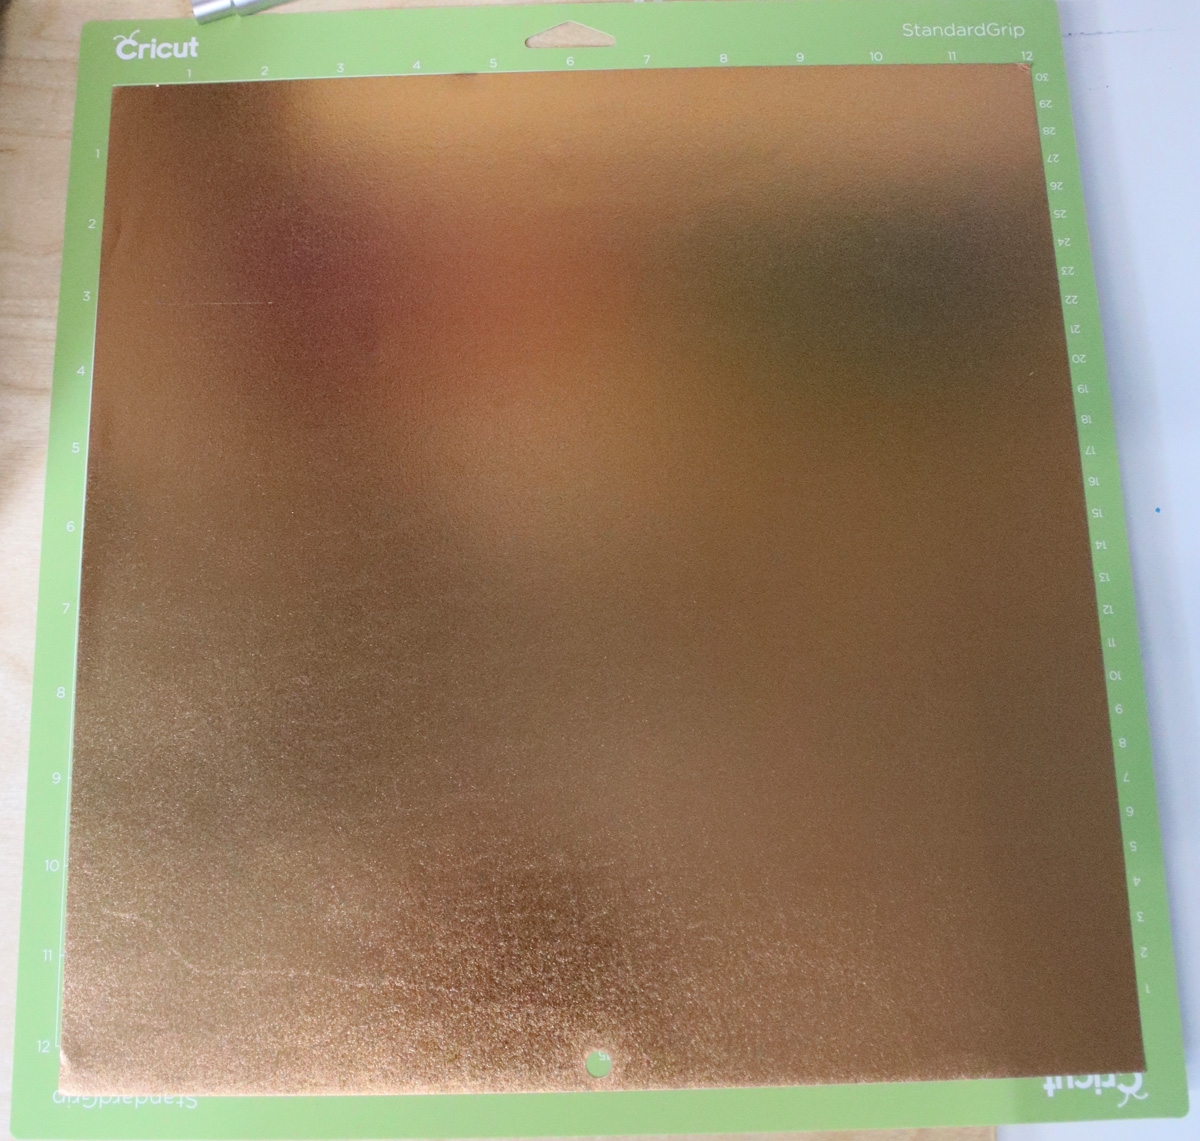
2. If scoring, your Cricut will prompt you to first load the scoring wheel/stylus. When it finishes, don’t unload.
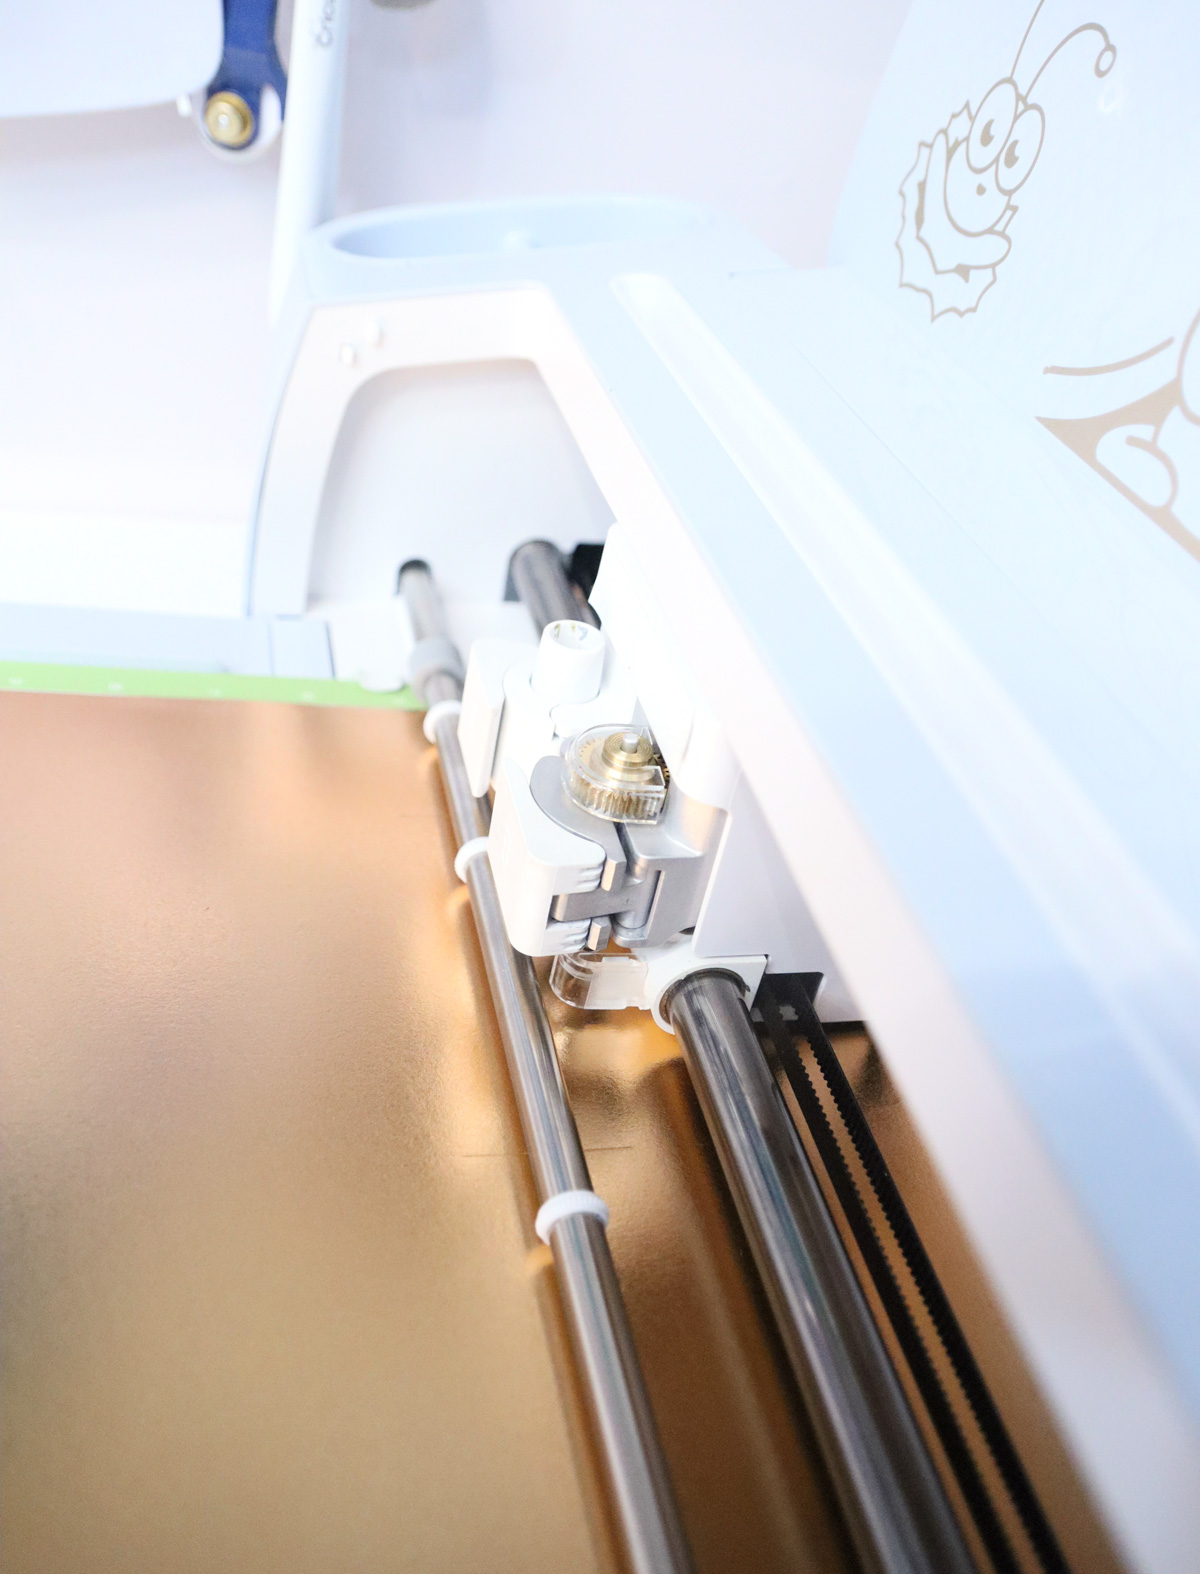
Swap the blade for the fine point blade and follow prompts to cut.
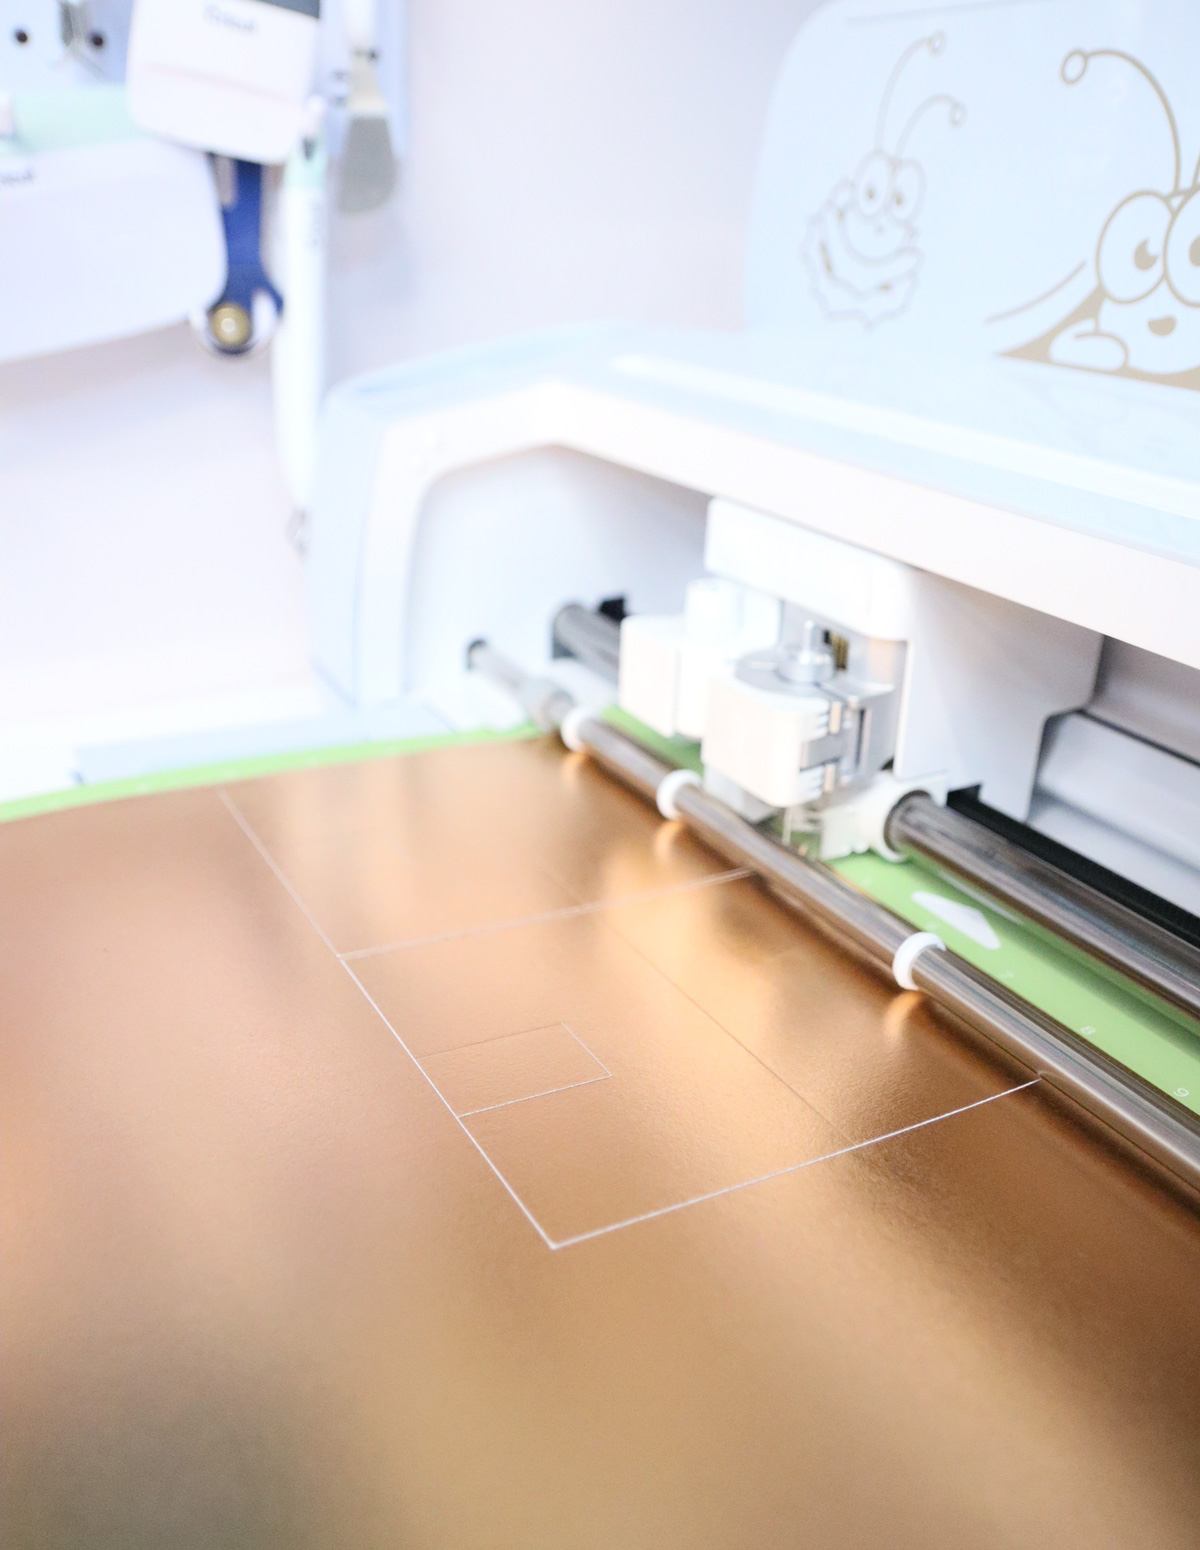
3. Carefully remove your card from the mat (note: the correct way to do this is actually to flip face-down and peel the MAT away from the PROJECT so that it doesn’t curl.
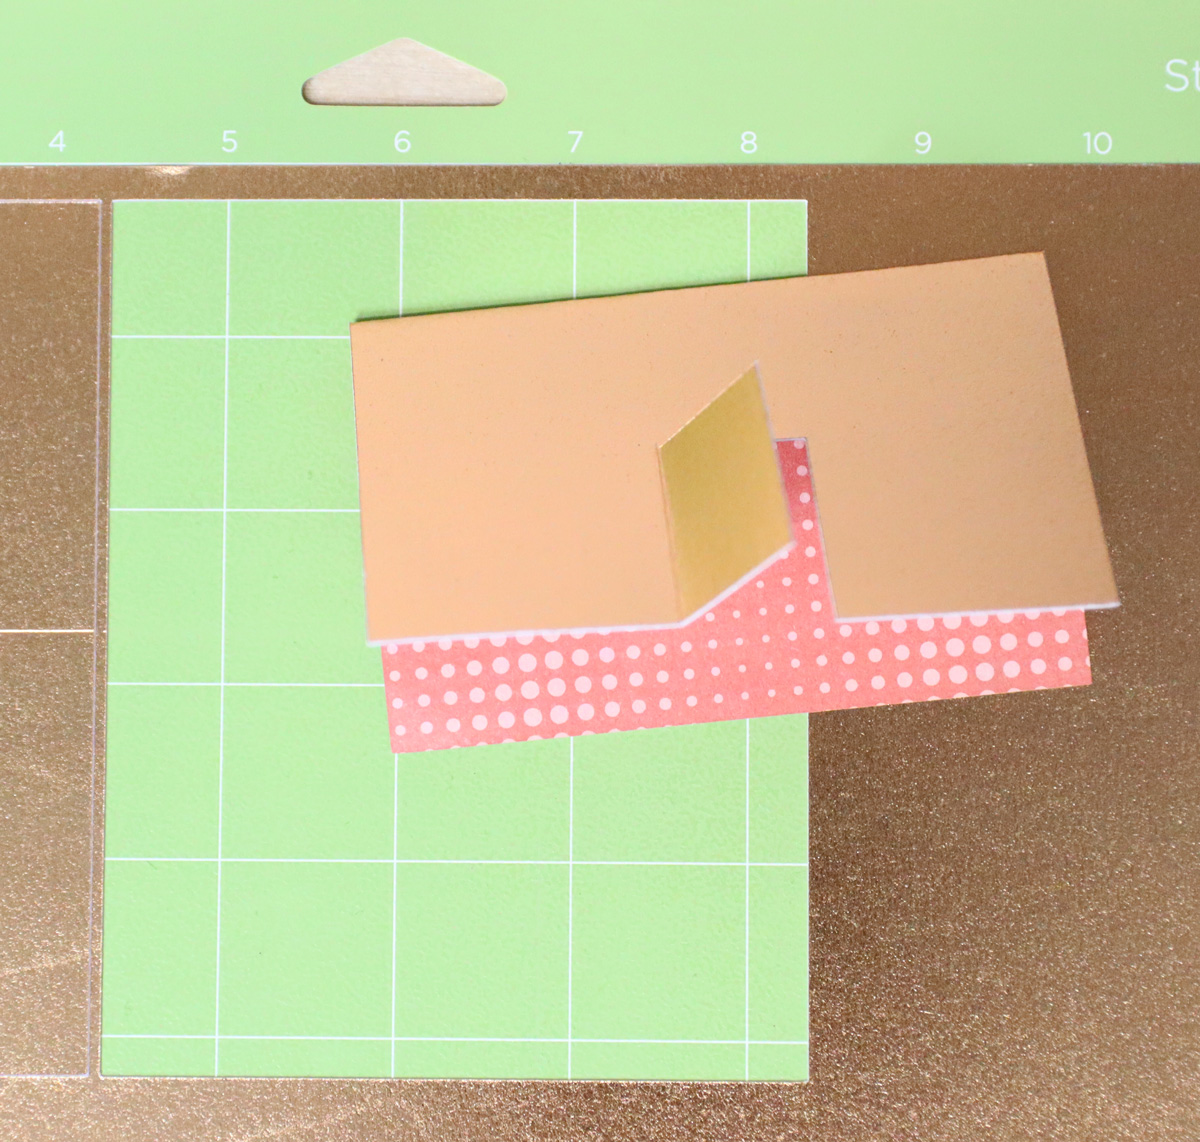
4. Glue your canopy on the fold of the card so it sticks up. Write names and set that table!
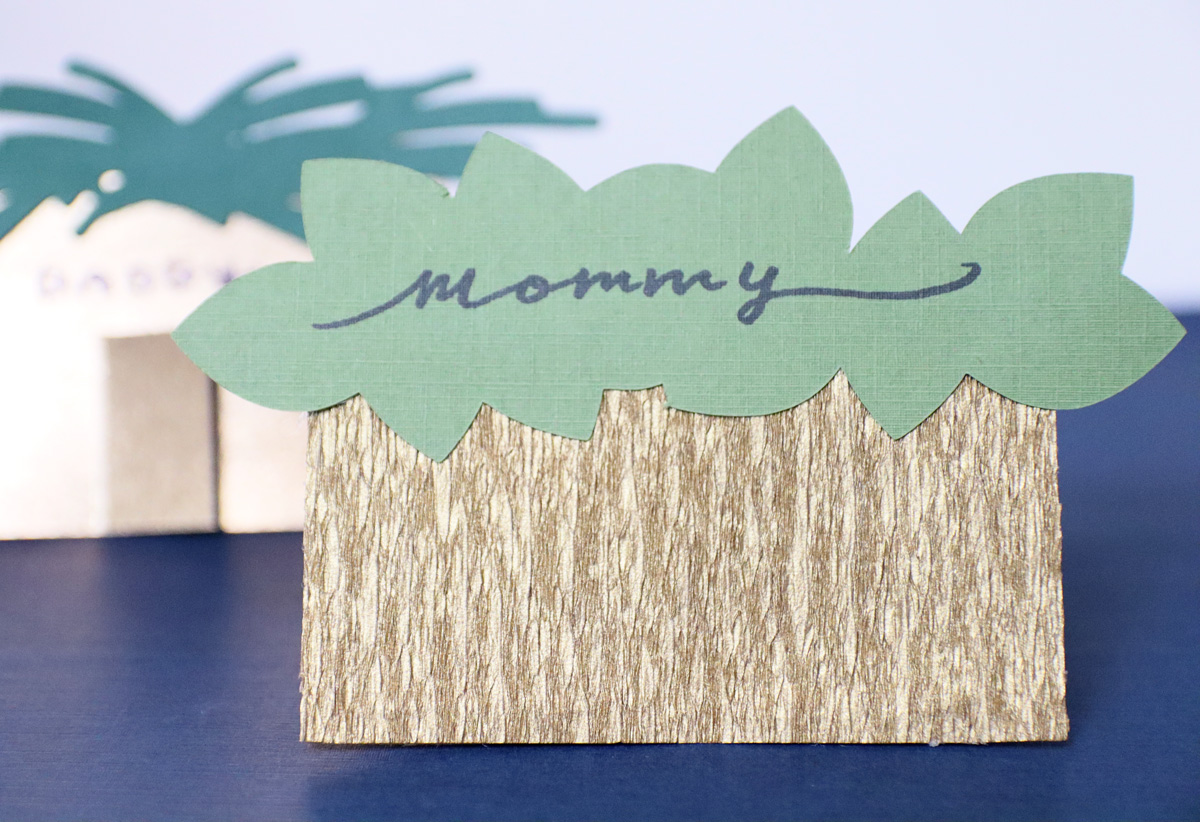
If using separate leaves, just arrange them however you think looks good.
