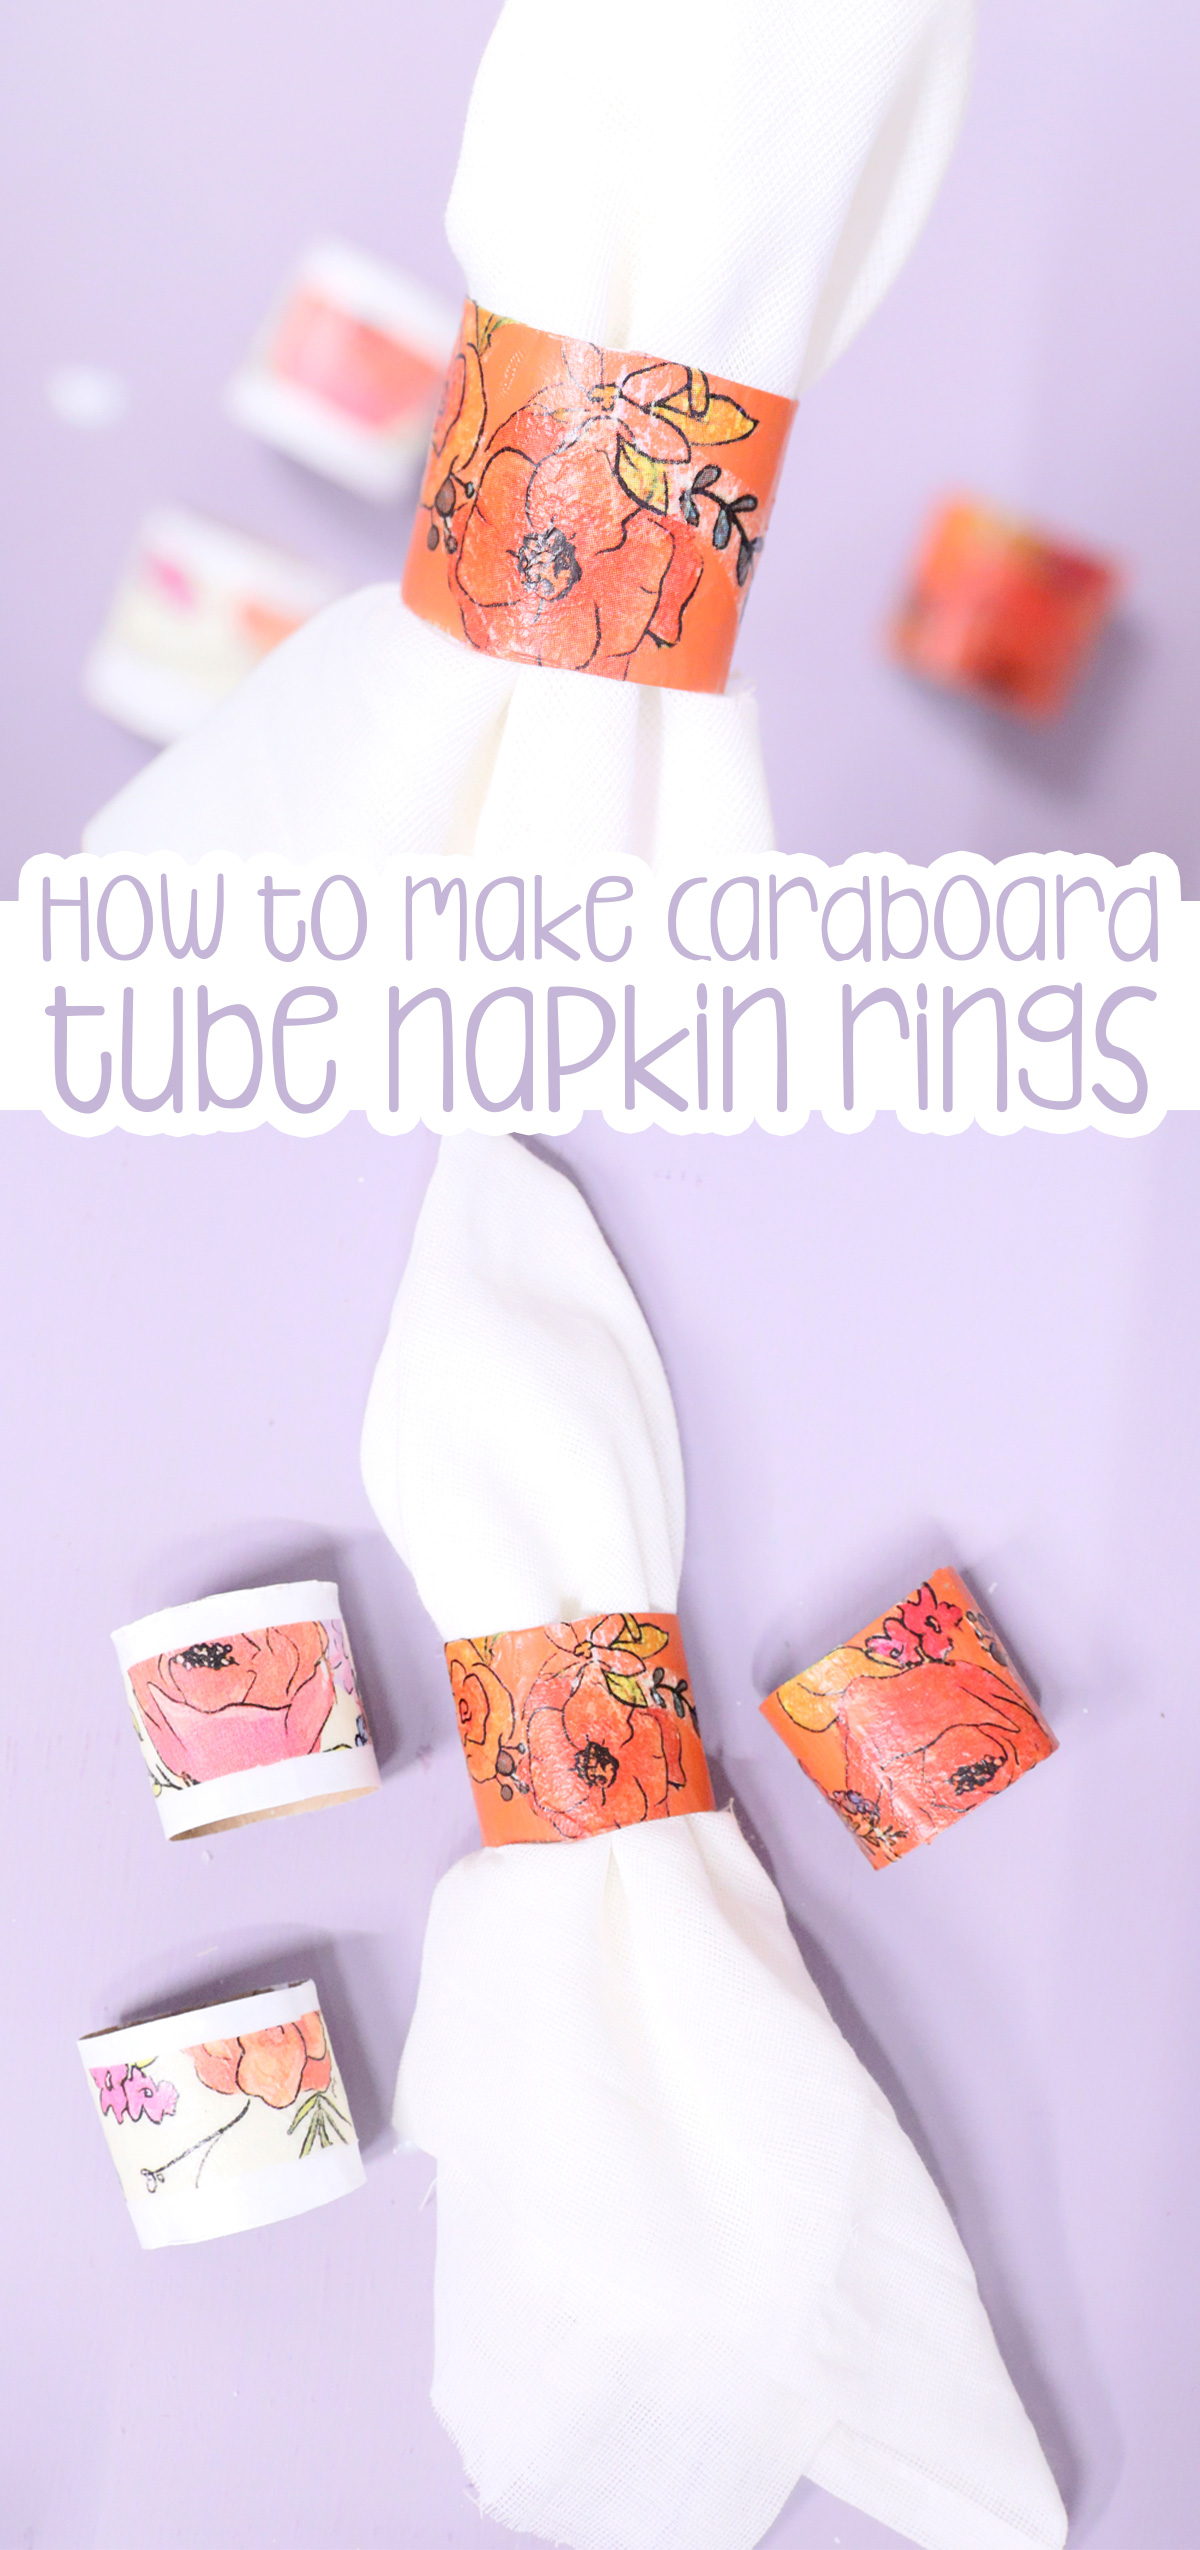
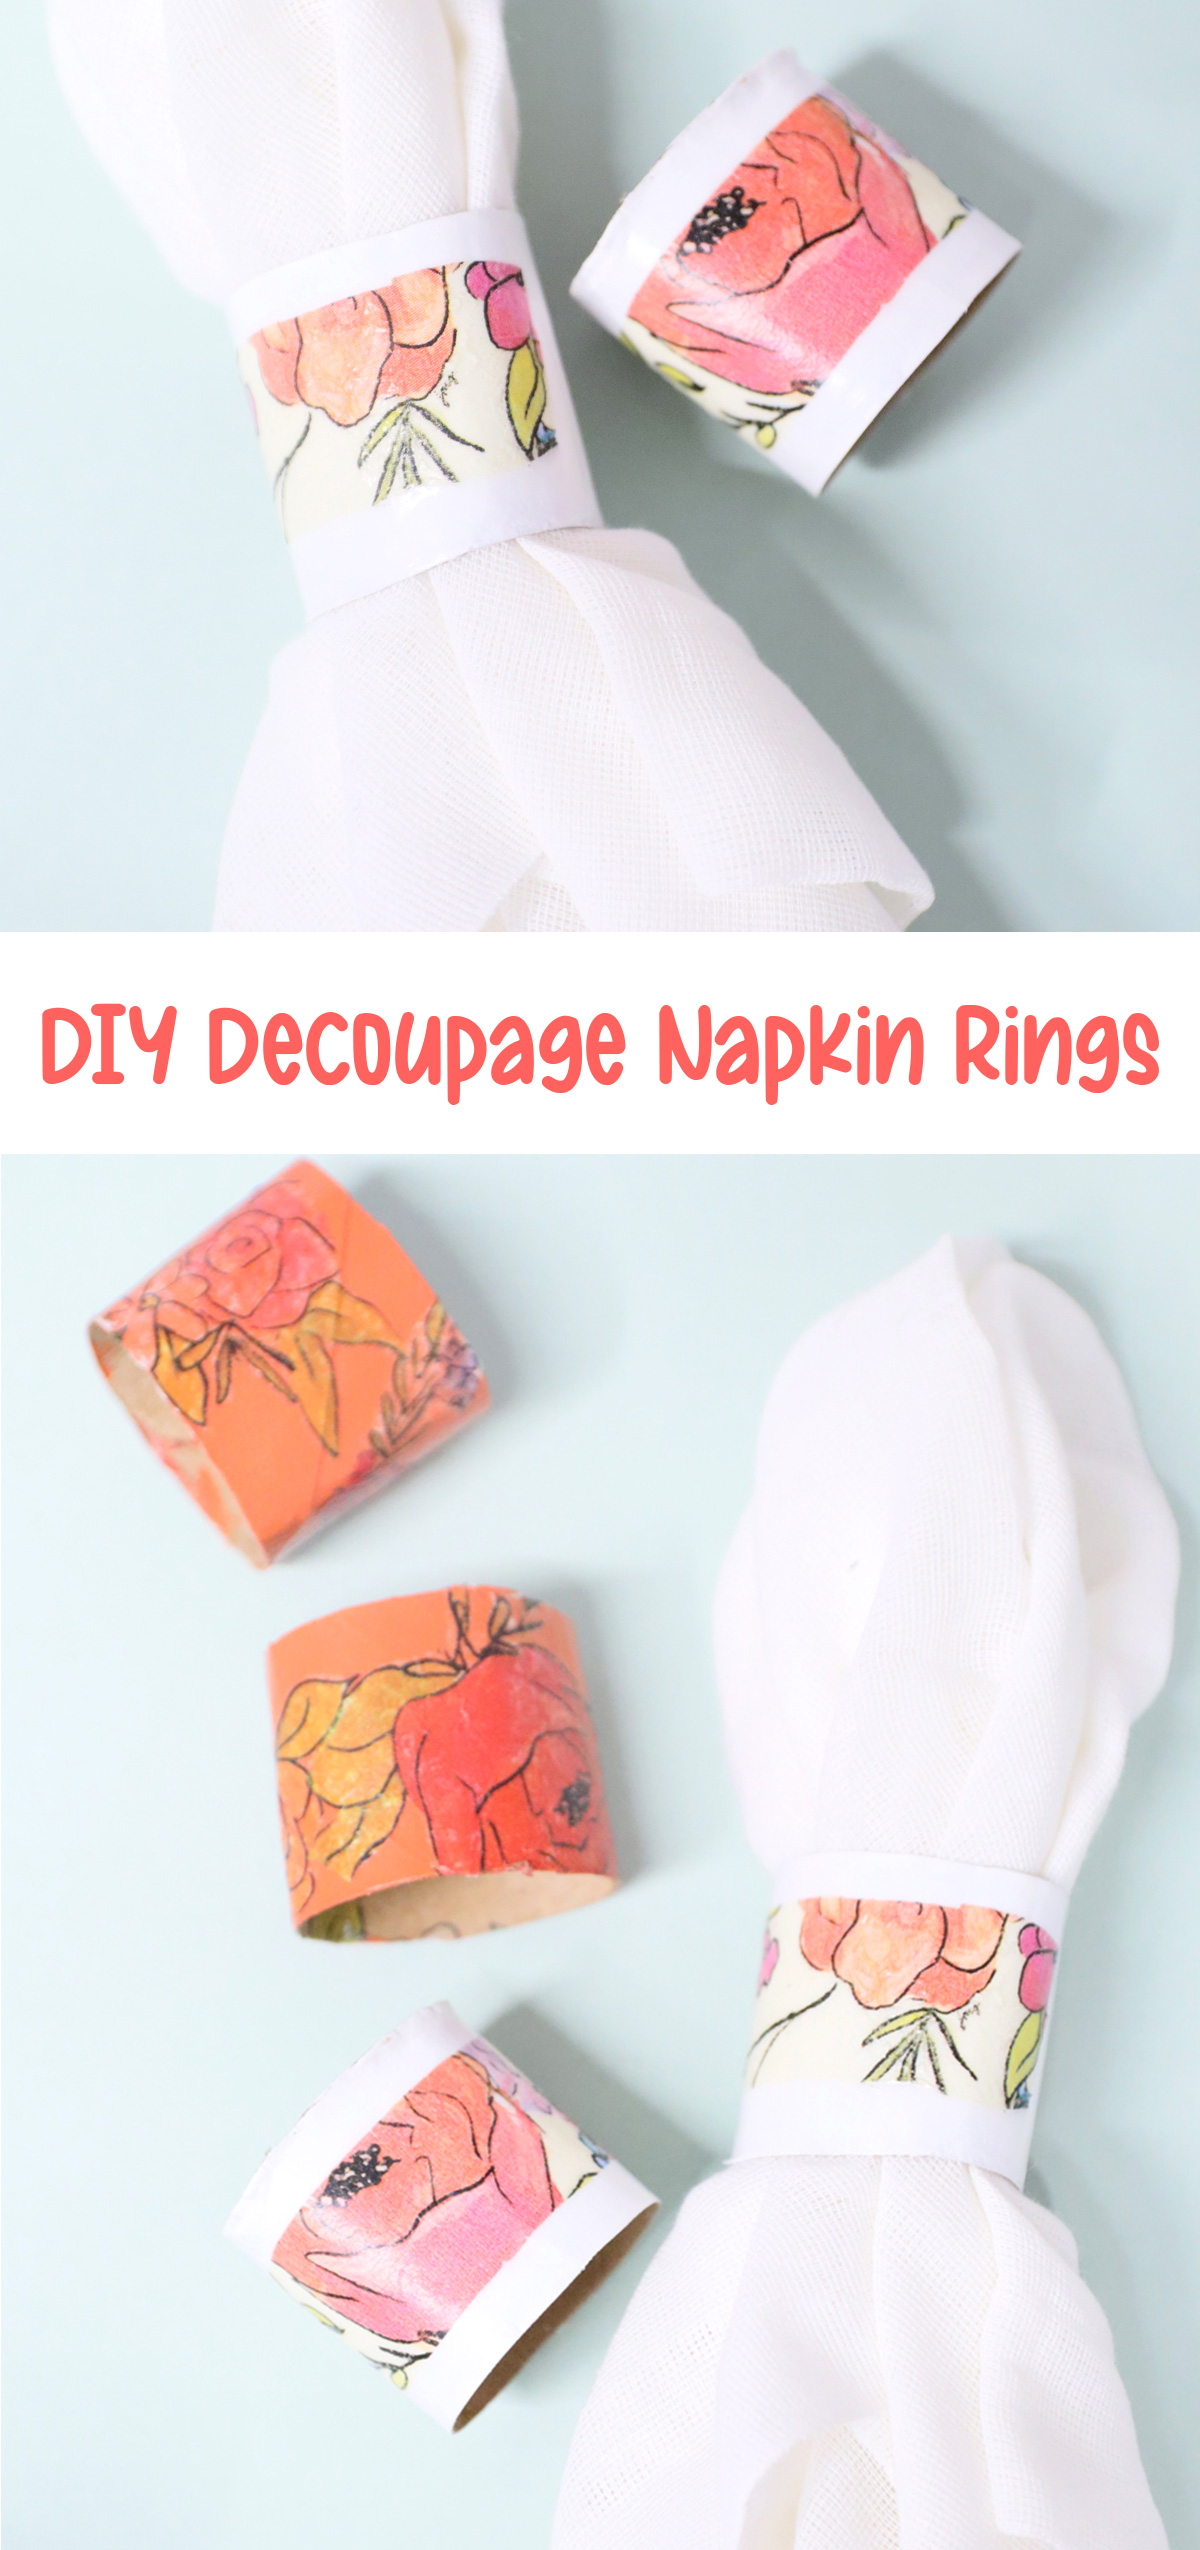
Toilet Paper Roll Napkin Rings – Floral Napkin Decoupage
Craft these toilet paper roll napkin rings using cardboard tubes – and floral napkins! These are truly incredible, great for Shavuot or spring, and so easy to make. When you’re done, check out these beaded flower napkin rings too. This post contains affiliate links.
Accessories aren’t just for wearing – they’re for table setting too! And yes, napkin rings are the perfect accessories for the table.
As someone who loves to set a pretty table for Shabbat and holidays, I’ve been building up quite the stash of handmade napkin rings over the years. Most of them are “real” crafts – think wooden ones carved from coasters, resin napkin rings, some copper wire and beaded ones…
But once in a while, I’ll DIY disposable ones (and even have quite the selection of printables for every occasion). These toilet paper roll napkin rings are somewhere in the middle, and there are definitely ways you can further protect them to make them last longer.
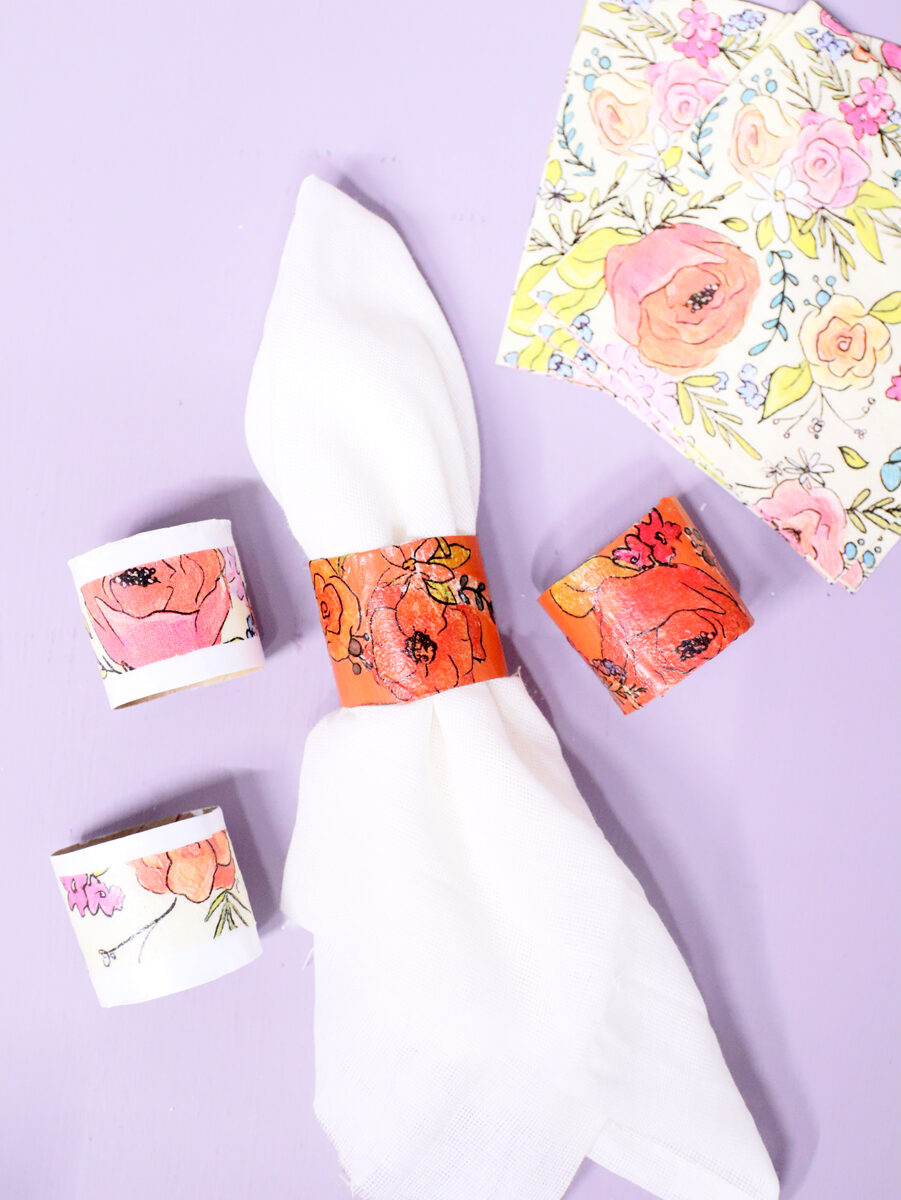
My idea here was to use floral napkins to decoupage them, for a gorgeous Shavuot table. Napkins, when stripped down to the top decorative ply only, become part of the decoupage medium and translucent, creating gorgeous printed effects.
Shavuot, for the uninformed, is a holiday where we fill our home with flowers and greens to celebrate receiving the Torah at Mt. Sinai, which was filled with flowers and greens for the occasion.
It’s one of the major holidays, where we abstain from work, unplug, and have formal meals with our family – four in total (two in Israel).
Tips for crafting your toilet paper roll napkin rings
Your base
Because the goal here was really to make the floral design, you can definitely get creative with what you use for your napkin ring base!
You obviously do NOT want to put toilet paper rolls that were in the bathroom on your table. I used paper towel rolls from my kitchen roll of paper towels.
Any cardboard tube will do! In fact, crafting tubes are affordable to purchase and generally thicker, so they’ll be sturdier. They’re slightly harder to cut but will give you a cleaner cut. They come in white too, making them readier to craft with.
Here are some more alternative base ideas for making decoupage napkin rings:
- Craft a clay napkin ring base – these are blank slates, waiting to be finished!
- Purchase blank wooden rings to turn into napkin rings with some decoupage
- Form a ring using cardstock or even corrugated cardboard.
You can really use this method on any base and it’s quite fabulous.
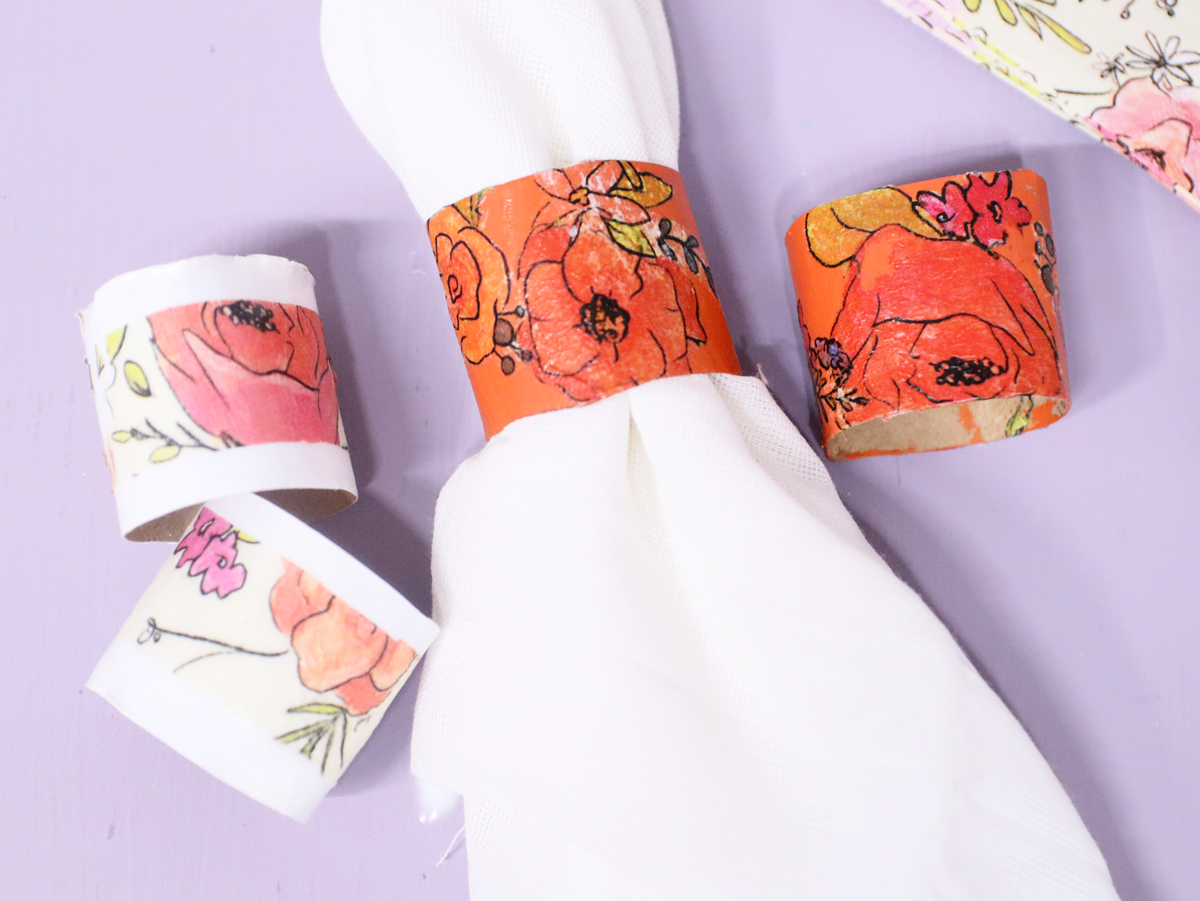
Base paint color matters
The coolest part of napkin decoupage is watching that design become part of the base. This works best if you choose the right color for your napkin – and cut out the shapes of the design.
Some tips for paint color:
- Avoid anything too dark. I tried it in navy and it just swallowed the design.
- Unless your napkin is a white based design, don’t do white. Opt rather for something with a hint of color if you want it to be light – like a light beige or off-white.
- Pull the color from the napkin itself for best results.
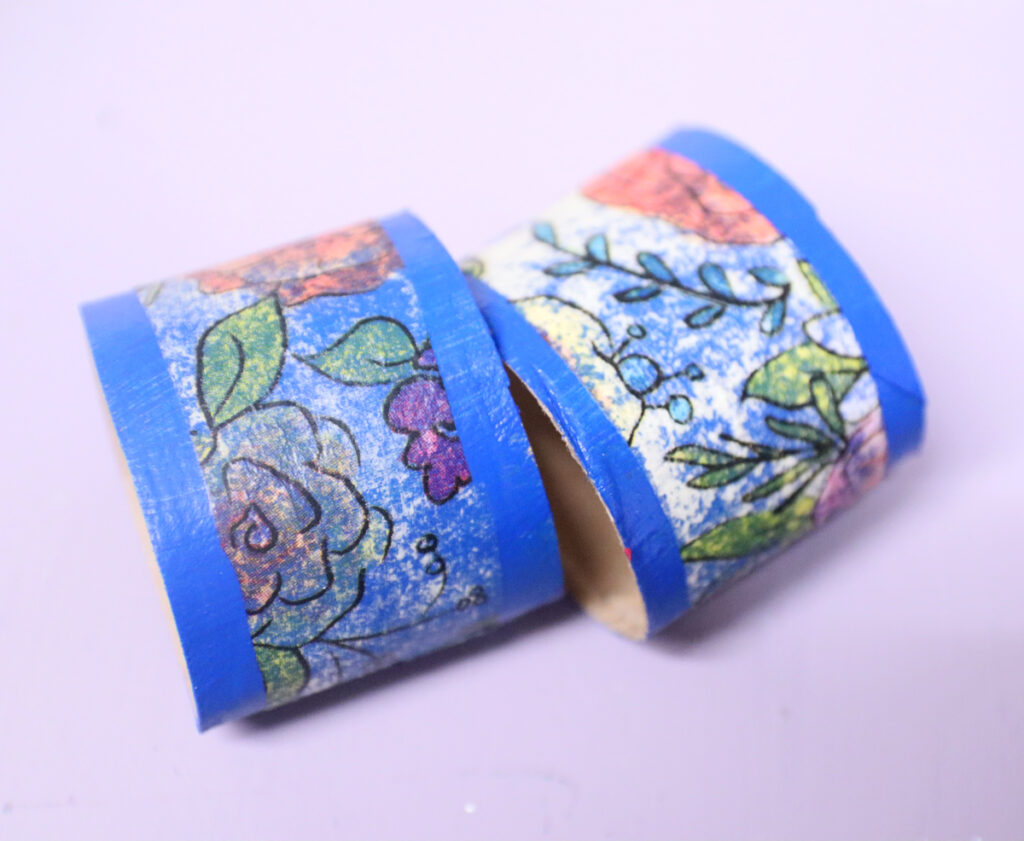
These are my failed napkin rings: too dark a color didn’t work. And on one I accidentally left a ply so the background really showed strongly.
Do you need to cut out the shapes?
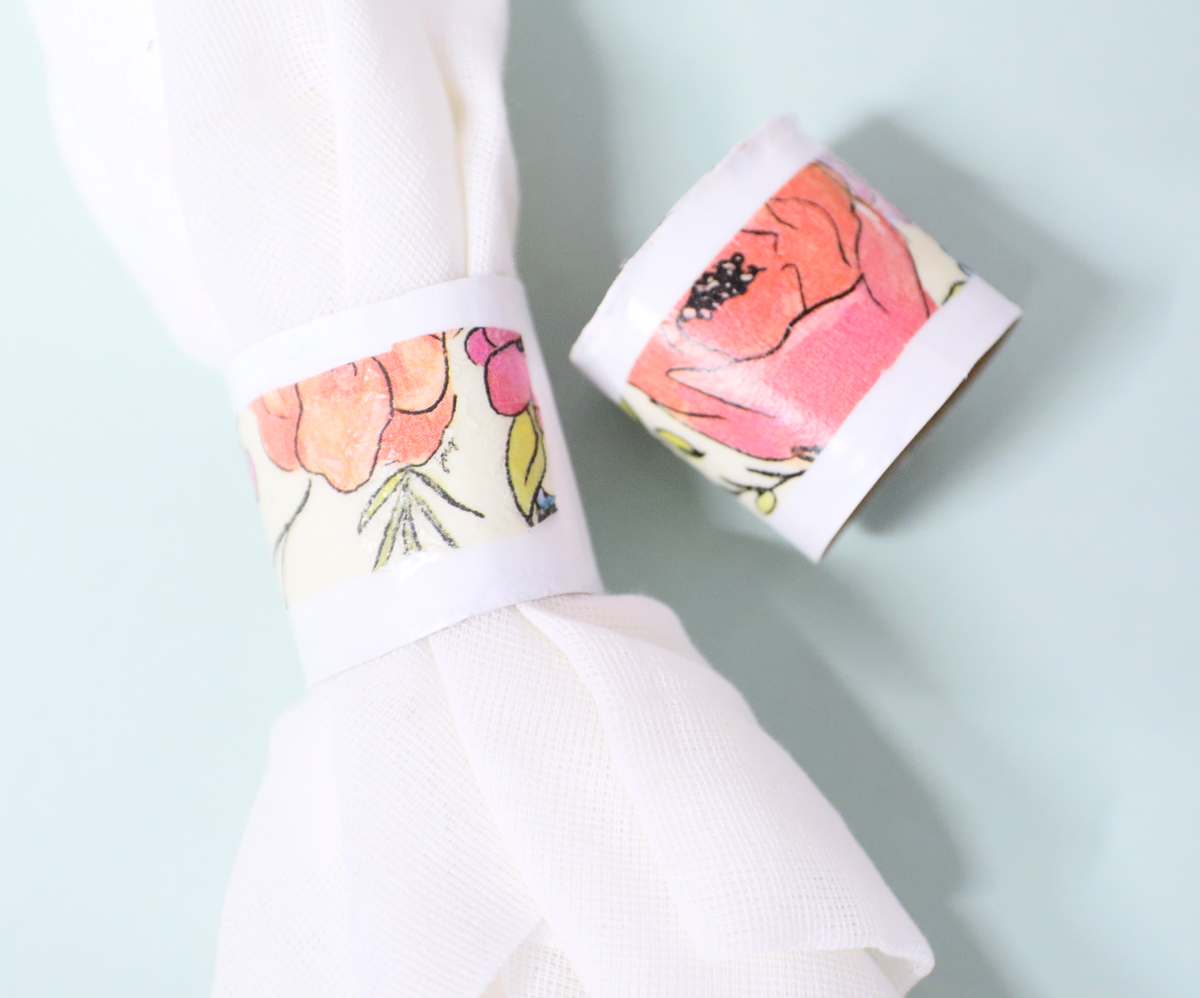
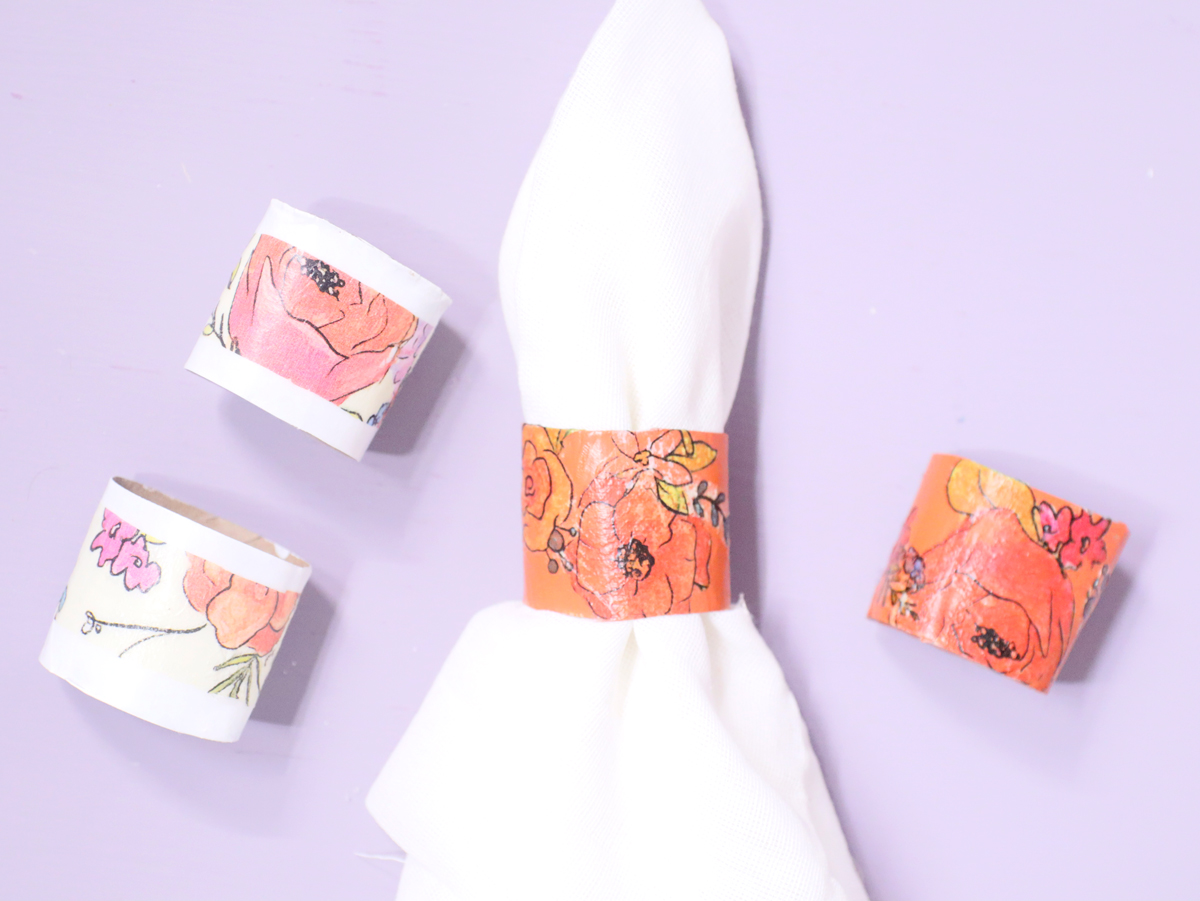
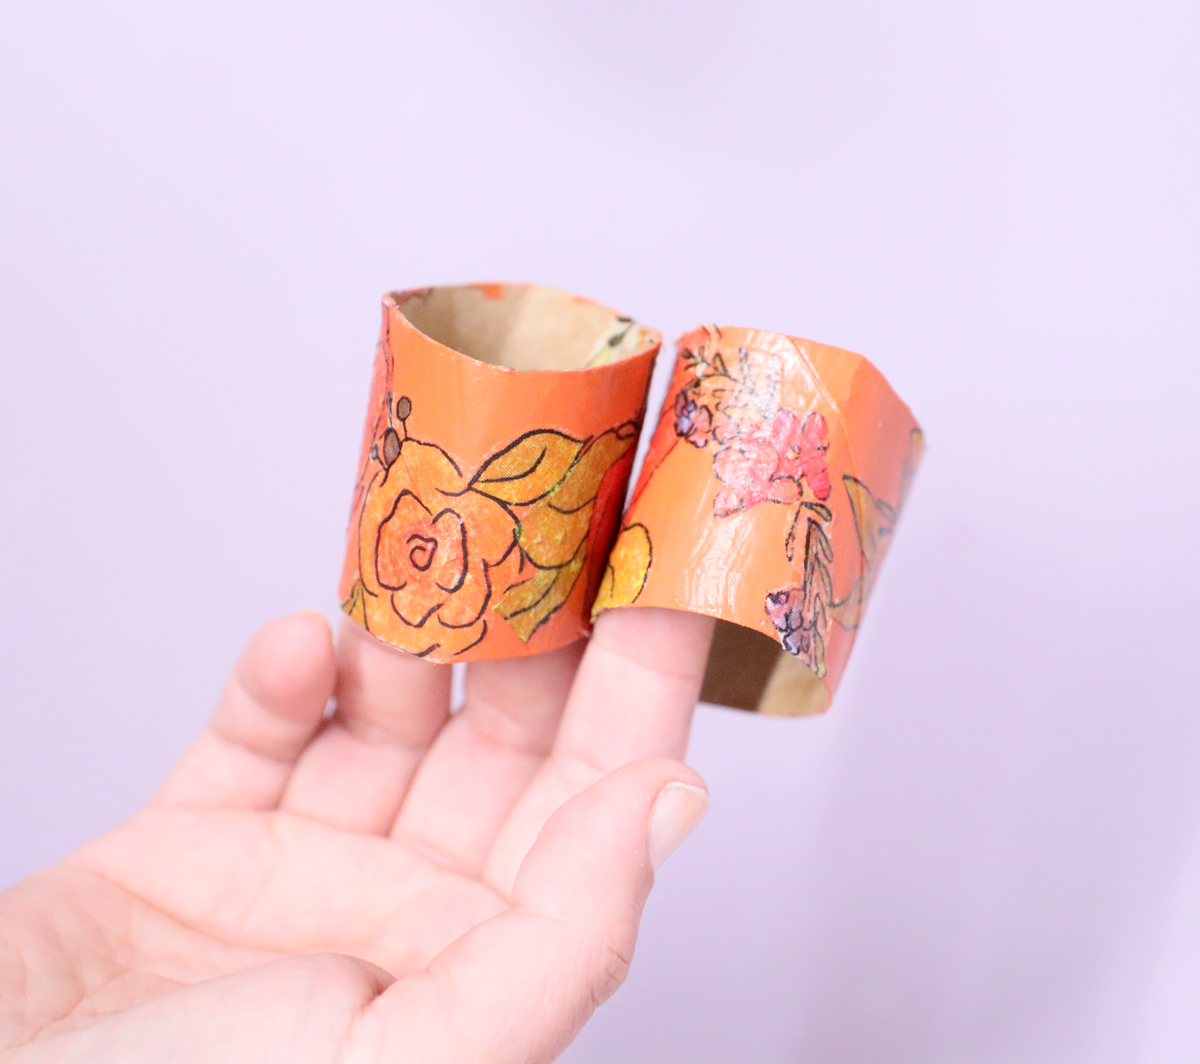
I definitely recommend choosing a napkin with distinct shapes to cut out. The napkins that I used are gorgeous and I’m so pleased with them, but it was definitely a bit challenging finding the shape borders to cut.
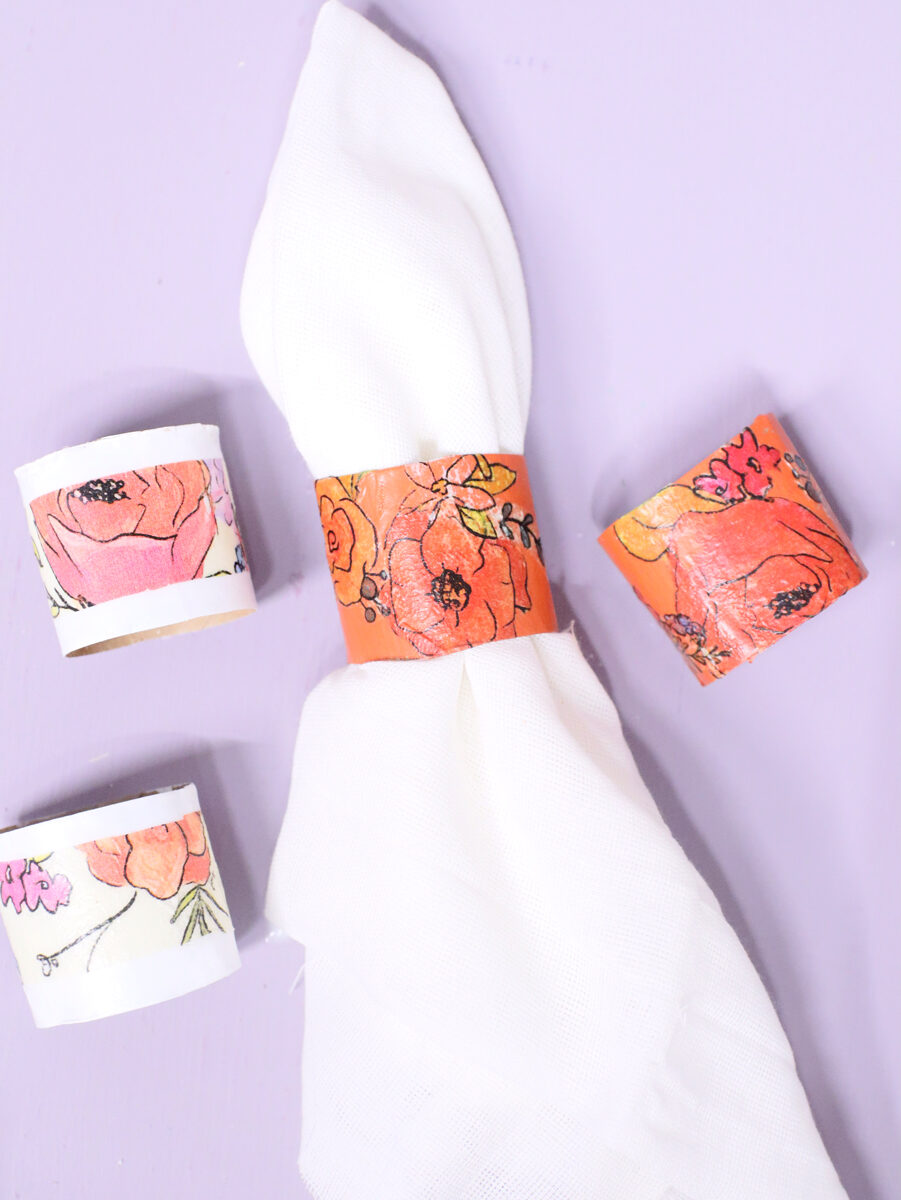
They come out so much nicer when you cut the shapes. Like I mentioned, they look like one unit, not like an added napkin.
On some of my toilet paper roll napkin rings, I tried just cutting a strip and centering that. Meh. It looks so much better when you design your own print.
Finishing it off and more crafting tips
Since you’re using decoupage to attach the napkins, this doesn’t really need a seal. However, if you plan to reuse them, you may want to play with a more waterproof seal.
You can try a more hard finishing Mod Podge (such as outdoor) as an extra layer. Definitely seal the inside too.
I did not paint the inside of mine because of time constraints. It doesn’t show when you attach the napkin anyway.
However, you can definitely paint the inside to conceal the cardboard tube better! And definitely do this if you’re not using these toilet paper roll napkin rings as a disposable.
How to make toilet paper roll napkin rings
Watch the video
Watch the full-length video on YouTube if you prefer to learn that way! Or scroll down for written instructions with photos.
Supplies needed
- Cardboard tube (a typical paper towel roll makes about 6 rings, depending how wide you cut it)
- Floral napkins
- Matte Mod Podge
- Foam or flat paintbrush
- A good quality opaque acrylic paint (I recommend something like FolkArt) in a light to medium color
- Scissors – I recommend detail scissors that aren’t used for fabric, and regular scissors
Process
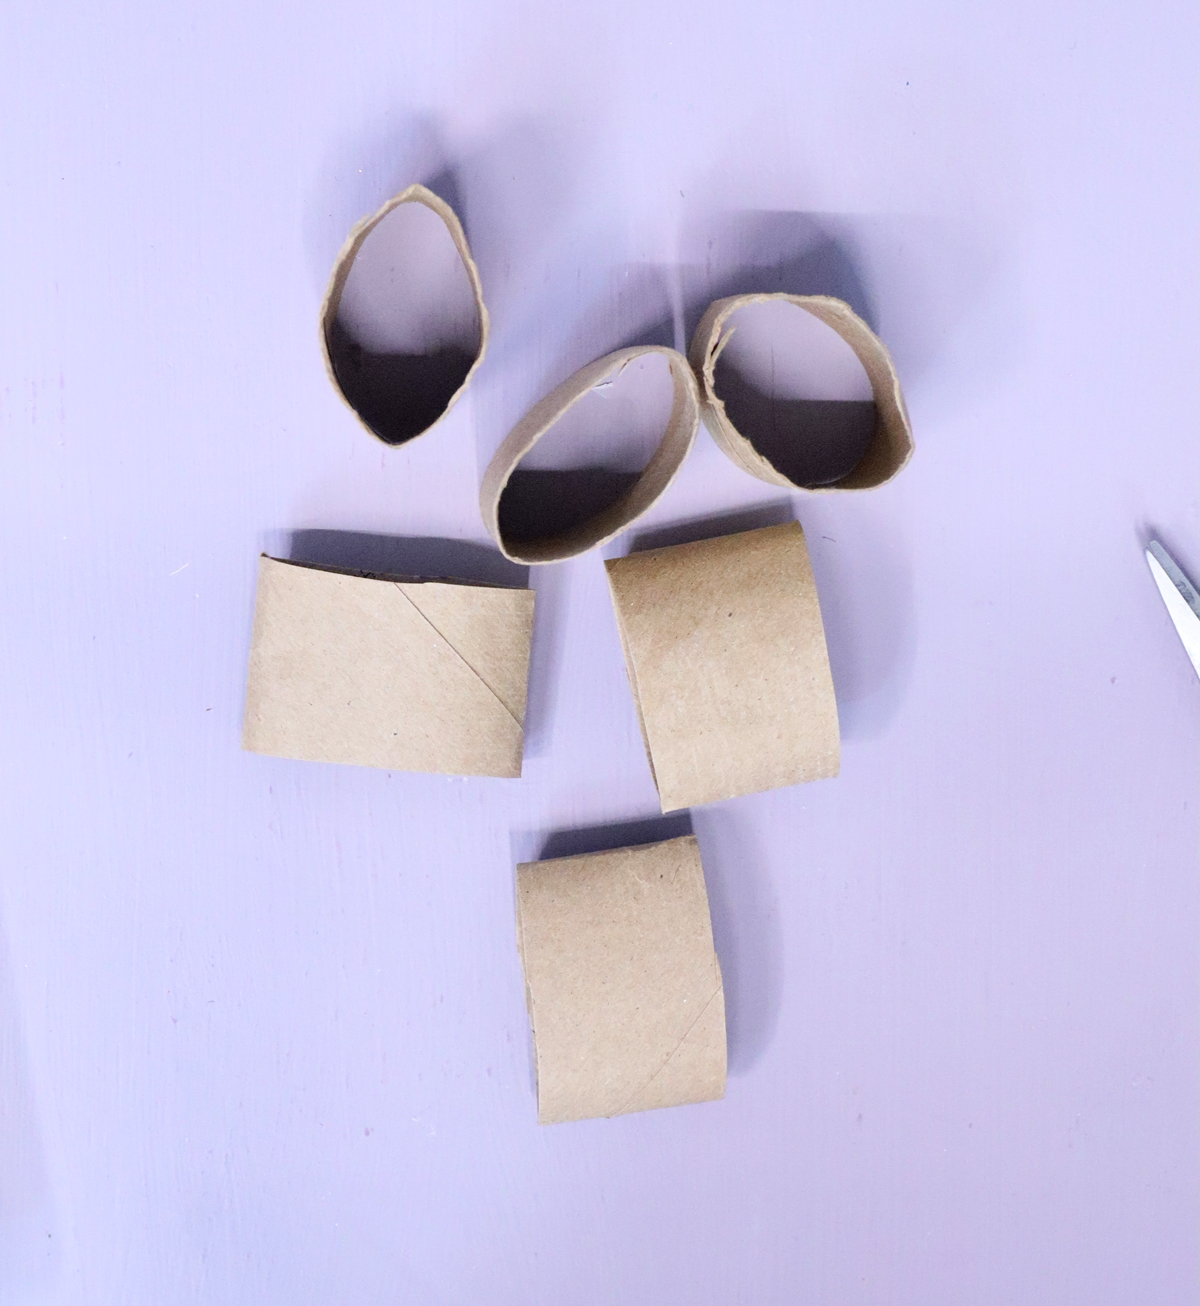
1. Cut your cardboard tube into rings. You can flatten it to make it easier to cut and form it back into shape as you work. Paint each one a solid color and allow it to dry completely. Lighter colors or cheaper paints might require two layers.
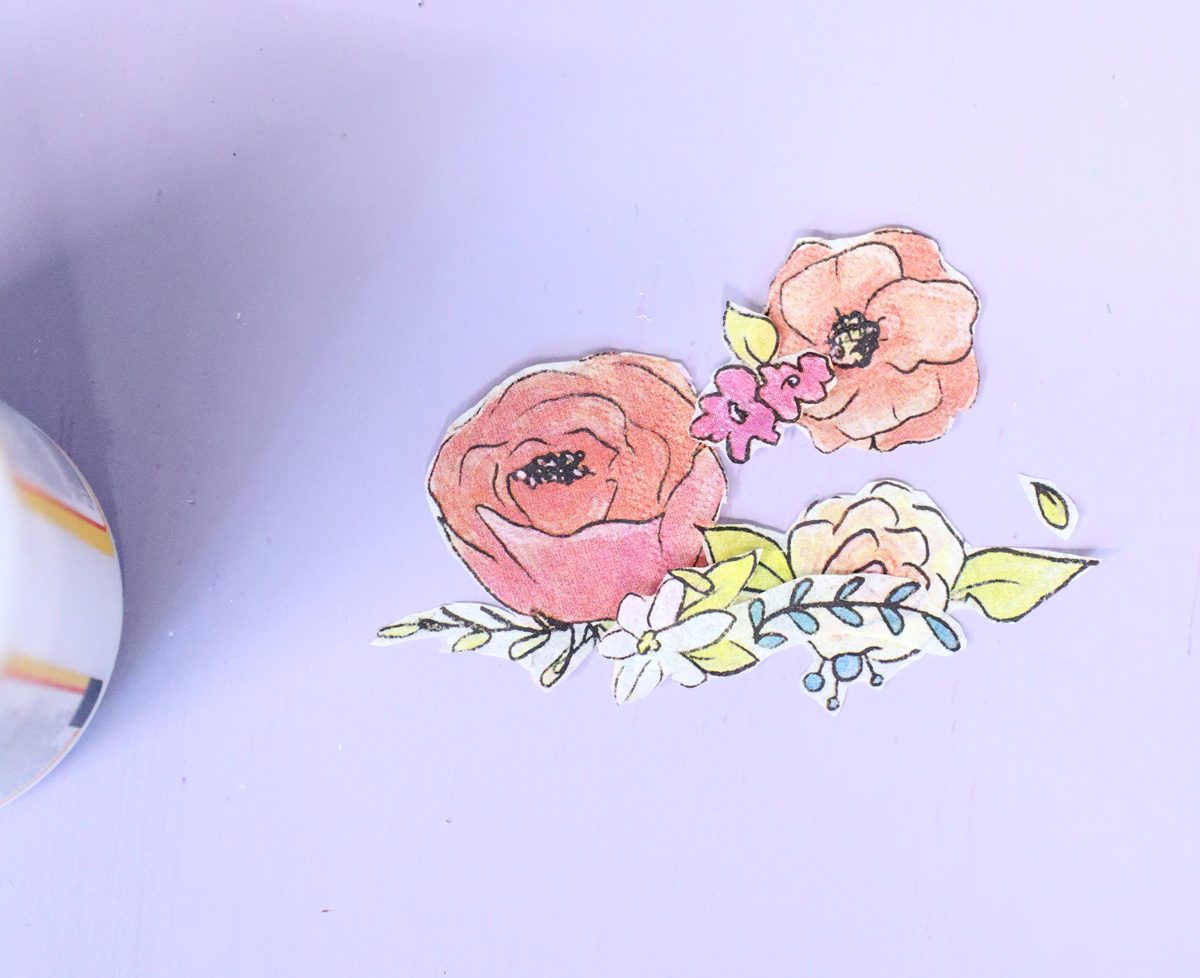
2. Open up your napkin, Separate the front two plies (layers) from the back two. Cut out any flowers or flower groupings you want to use on your rings.
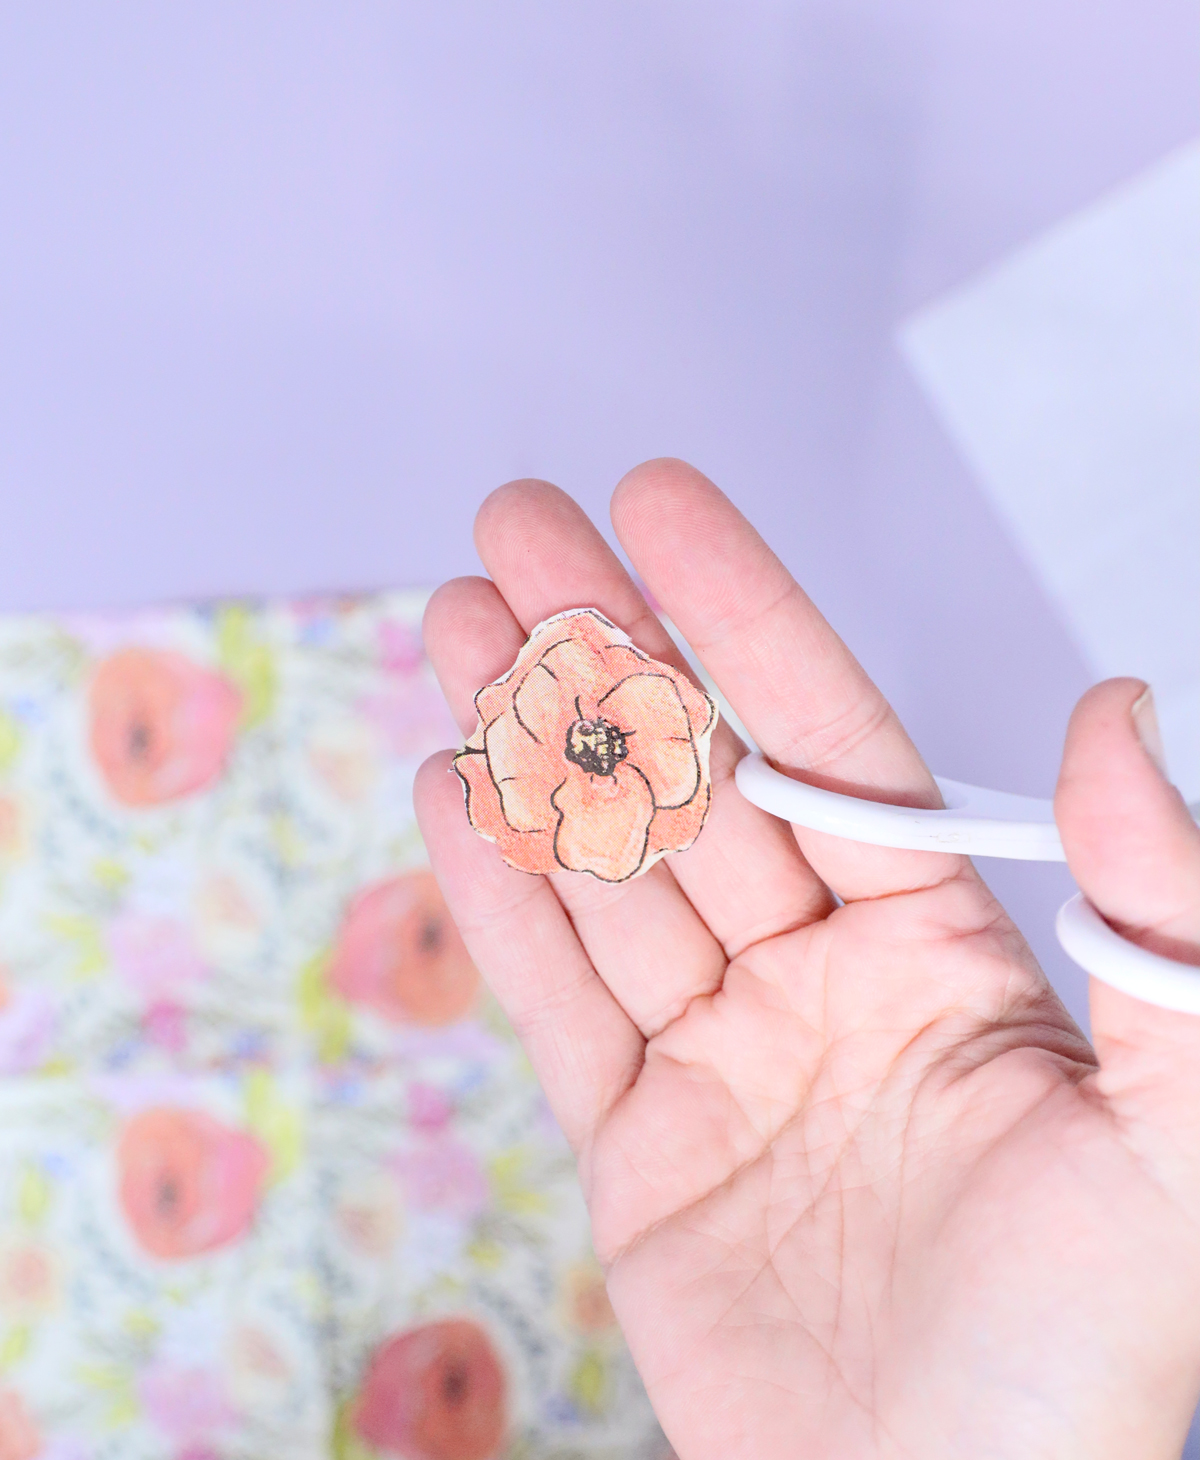
3. Include a variety for interest. Look closely. There should be another ply to separate. Peel that off gently and handle with care. (I peeled this off after cutting because I found it easier to cut with SOME thickness).
4. Apply a base layer of Mod Podge. It should be thick enough to be white but shouldn’t be drippy.
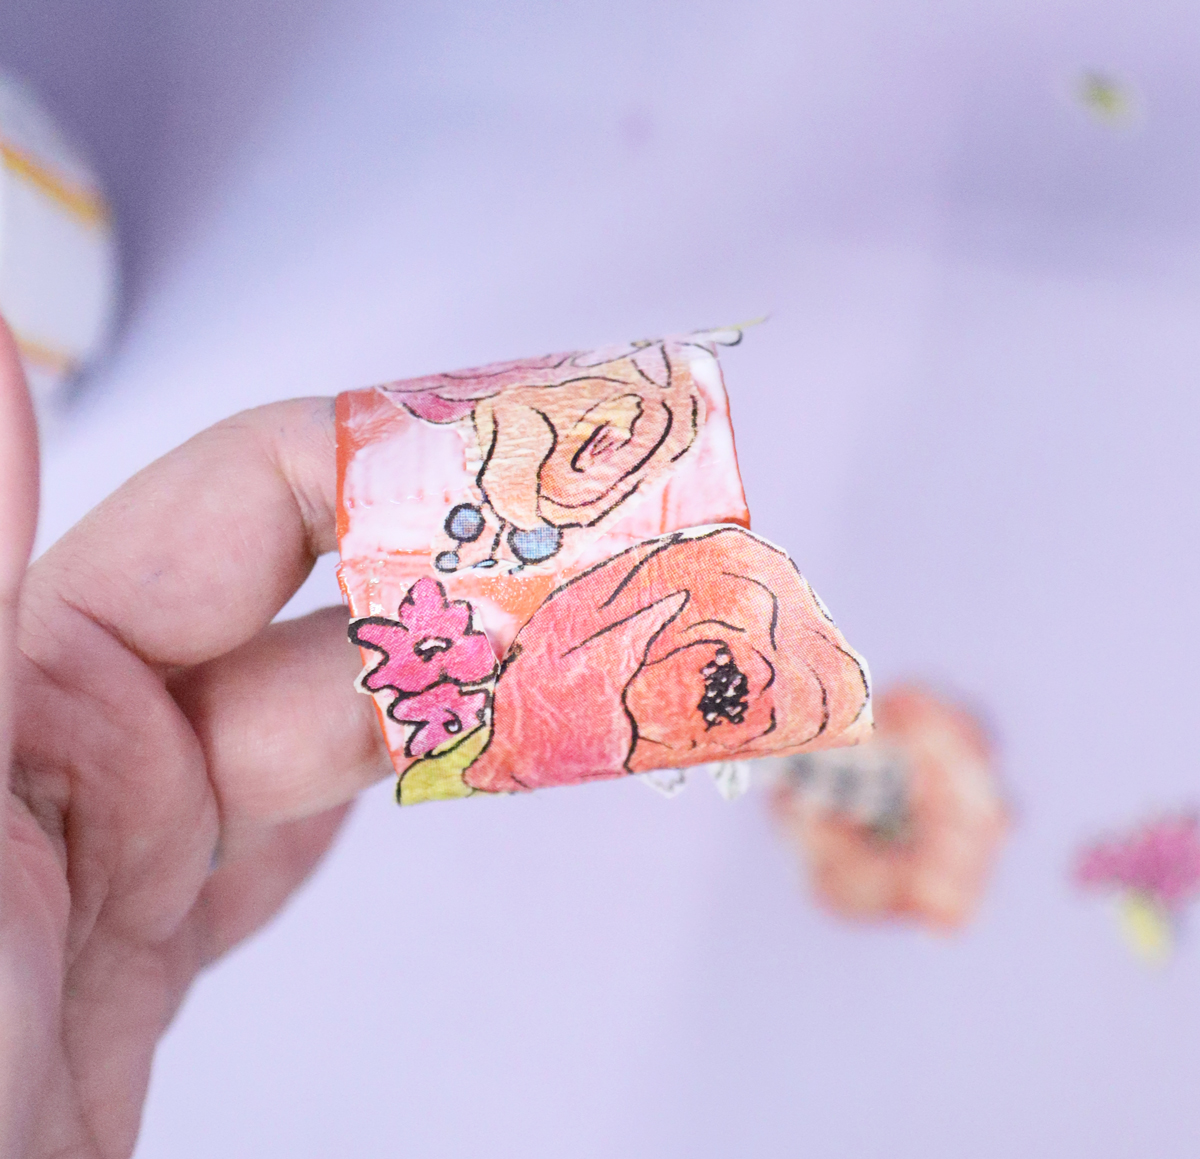
5. Carefully place each cutout. It’s very thin and can fall apart, so get it right the first time. You may be able to shift it a bit, but you’ll also run the risk of tearing it.
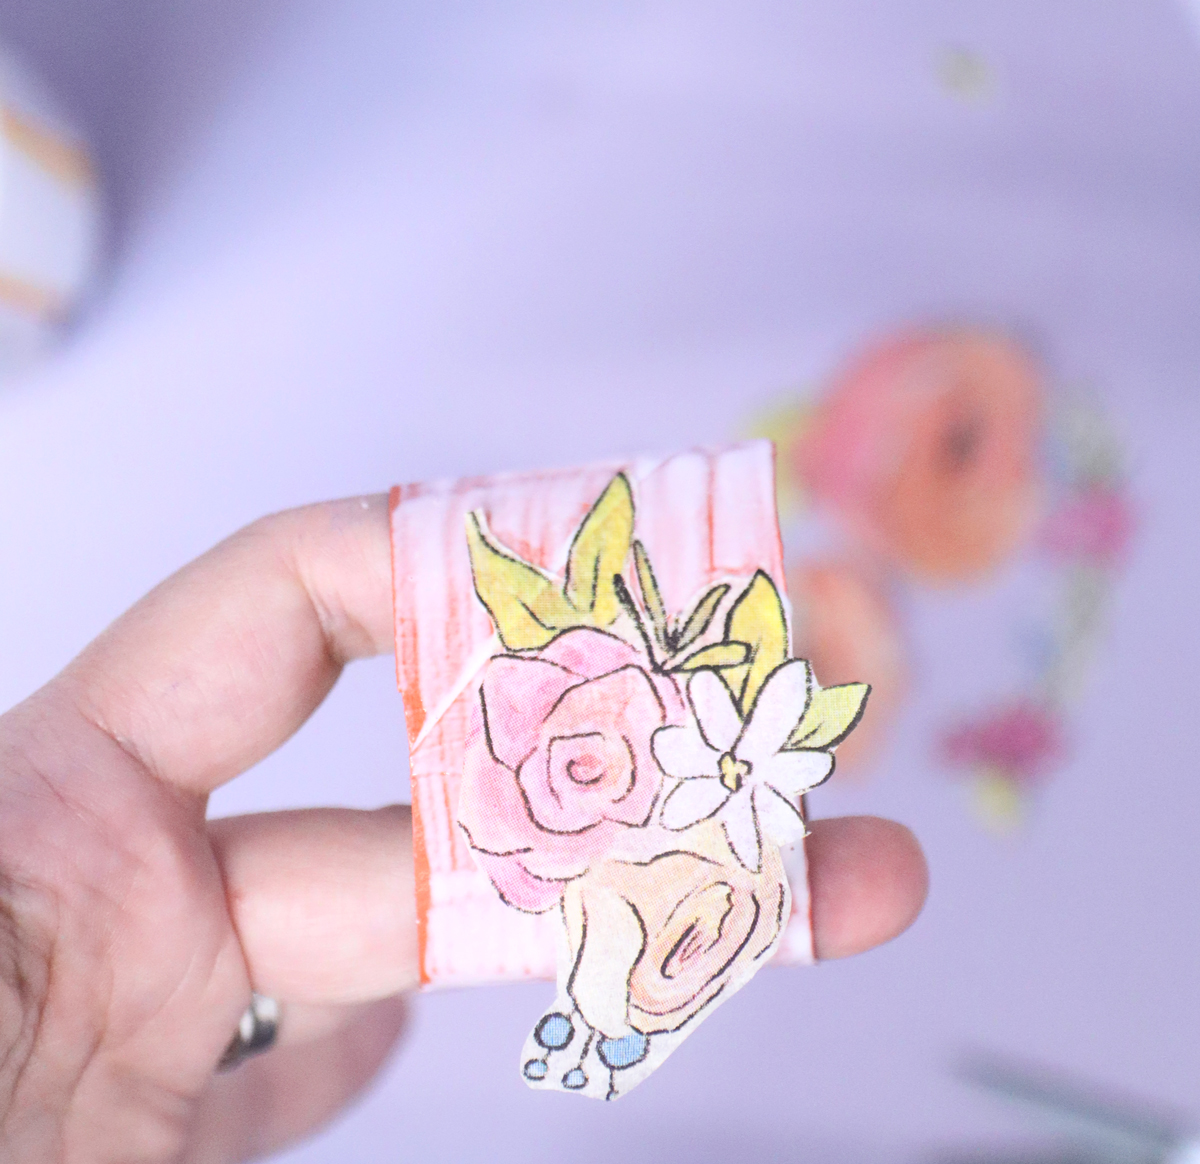
Work your way around the napkin. Try not to overlap too many pieces but a bit of overlap is okay. Don’t worry about the parts that hang over the edge.
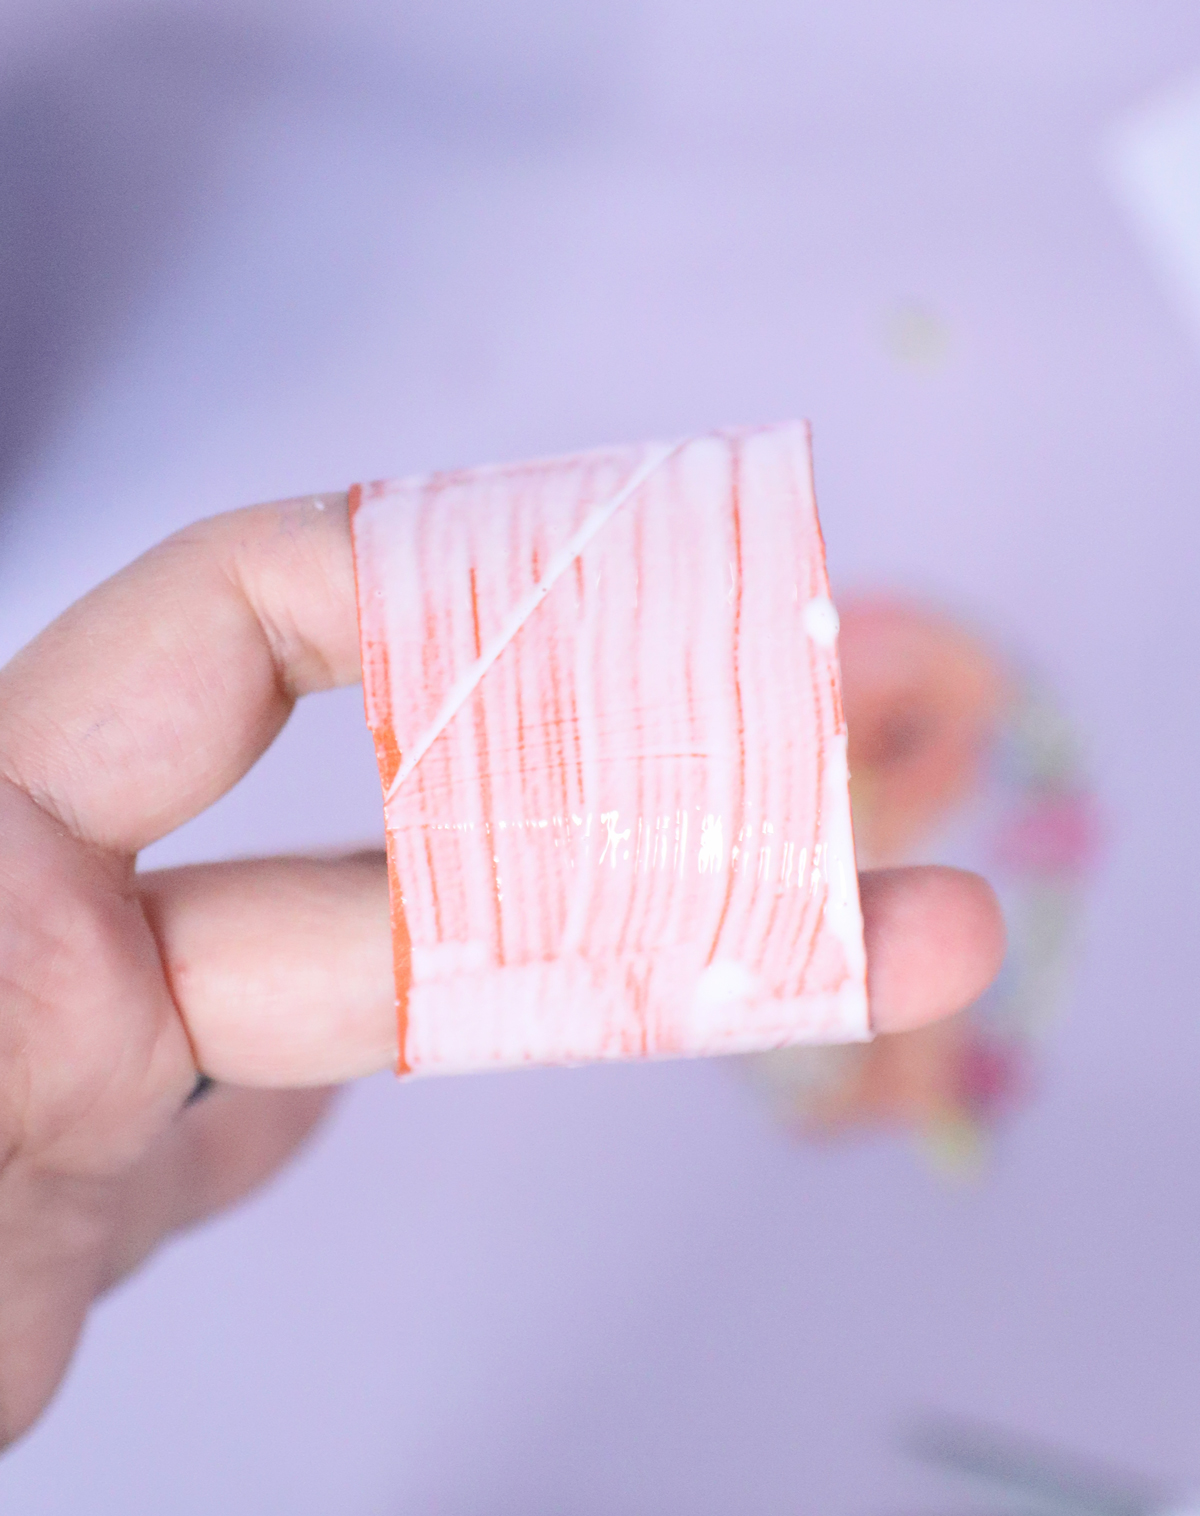
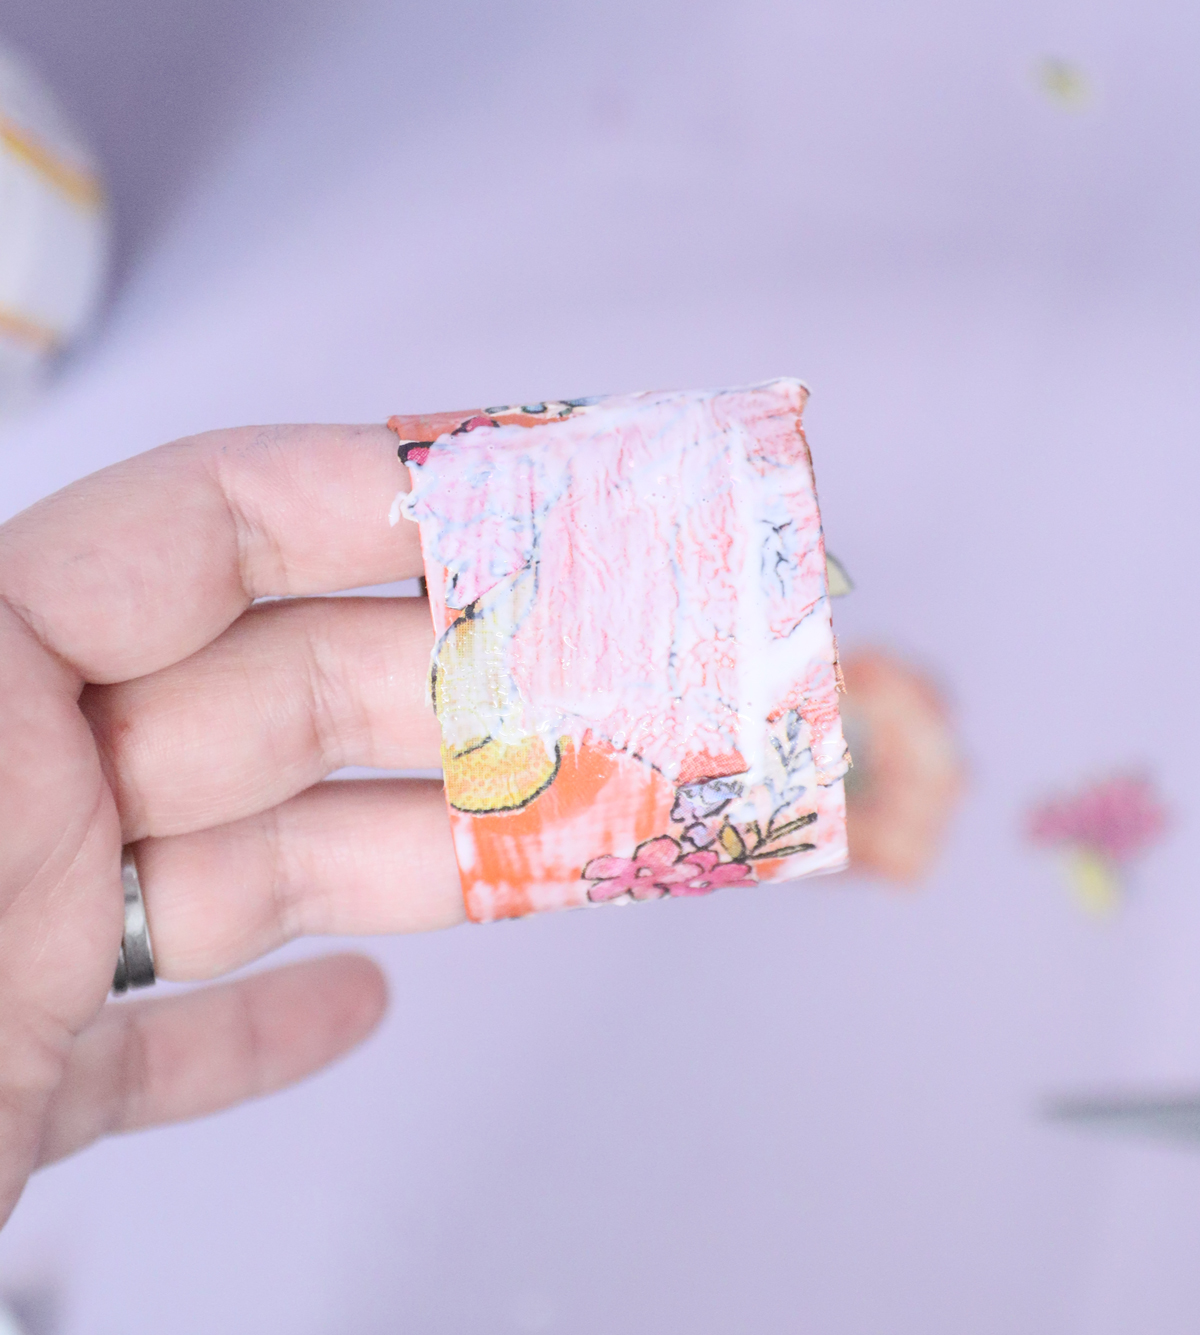
6. Now load your brush and carefully go over the layer of napkins. DON’T overwork it. Again, it may take a drop of practice to get the hang of the right amount of Mod Podge to use. You want it to go on smoothly, but not require too much spreading around. Cover your ring completely.
7. Place a drop of Mod Podge on the overhanging parts and fold them to the back. You an also trim them, but that can get tricky.
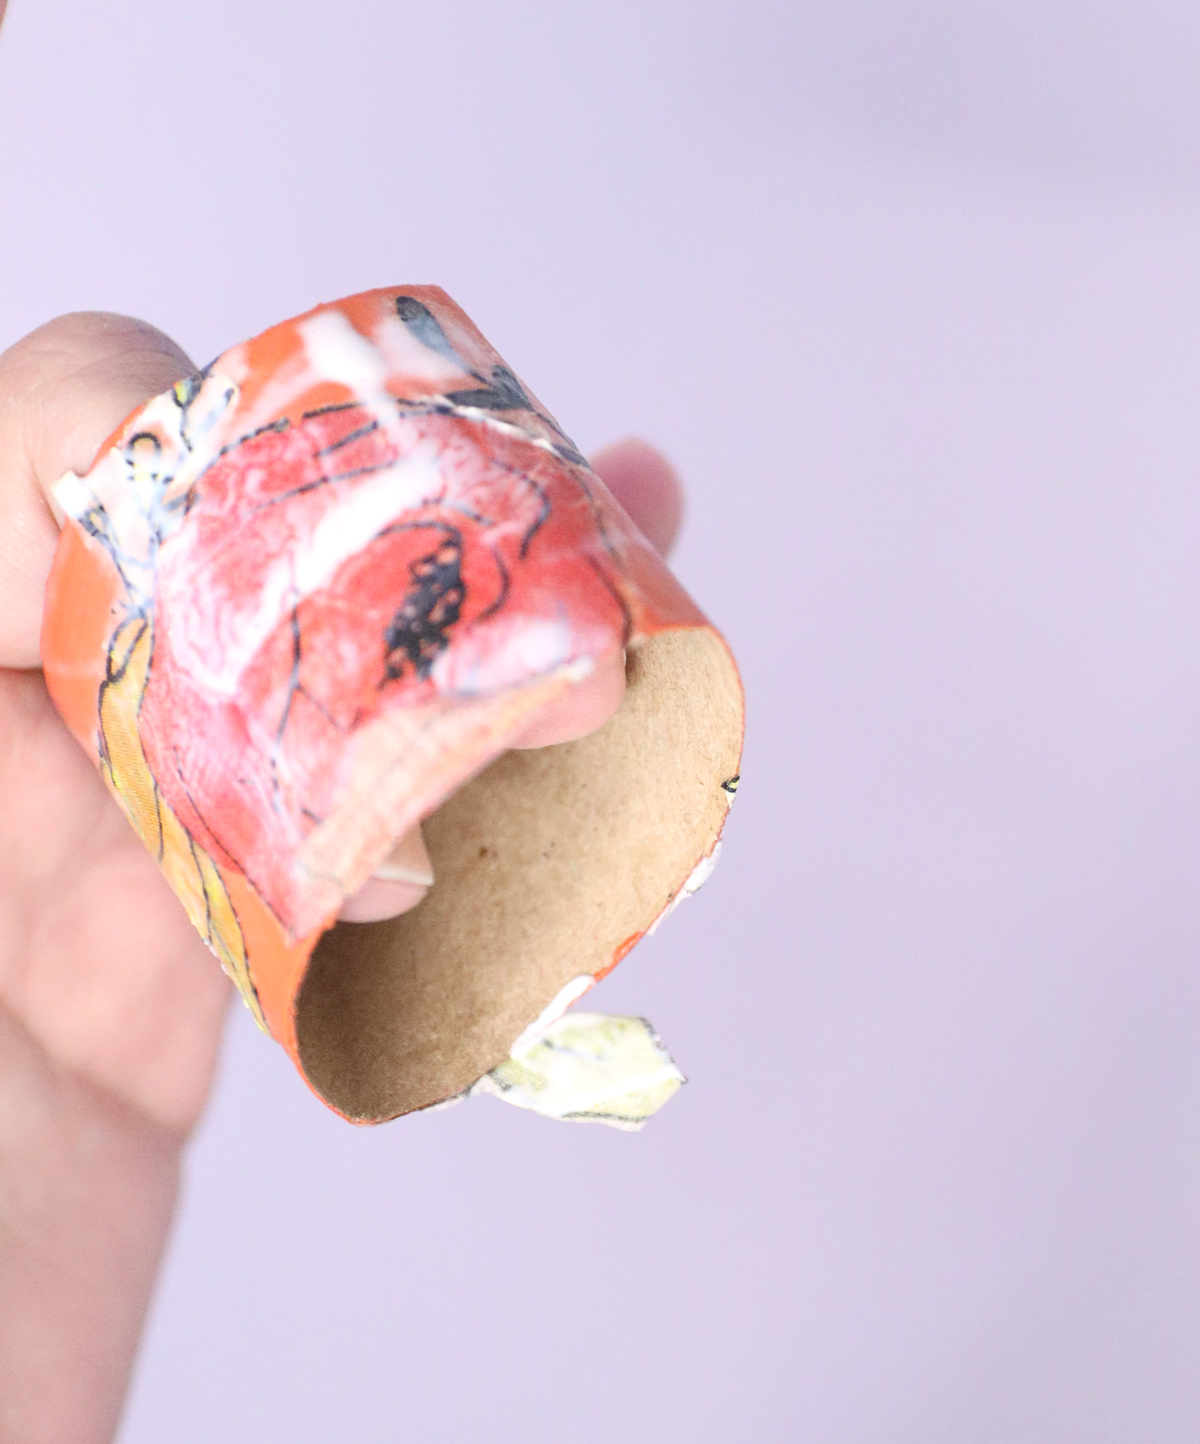
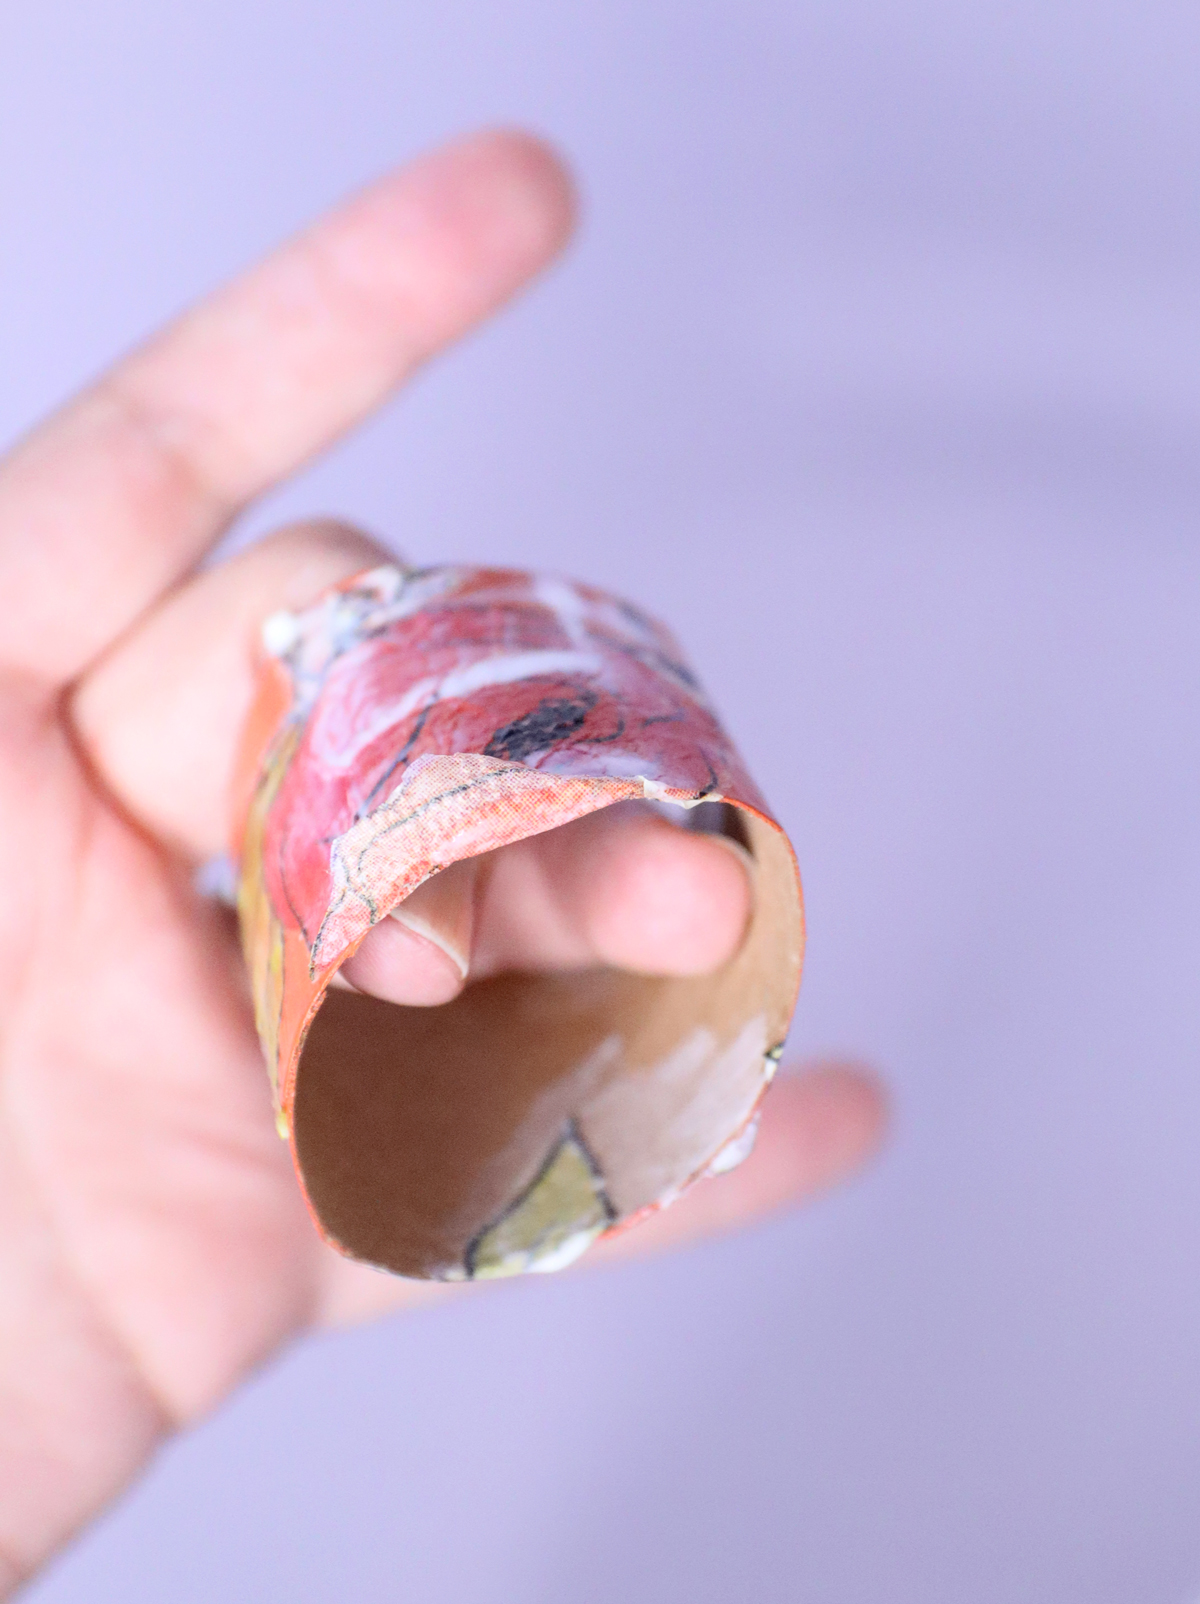
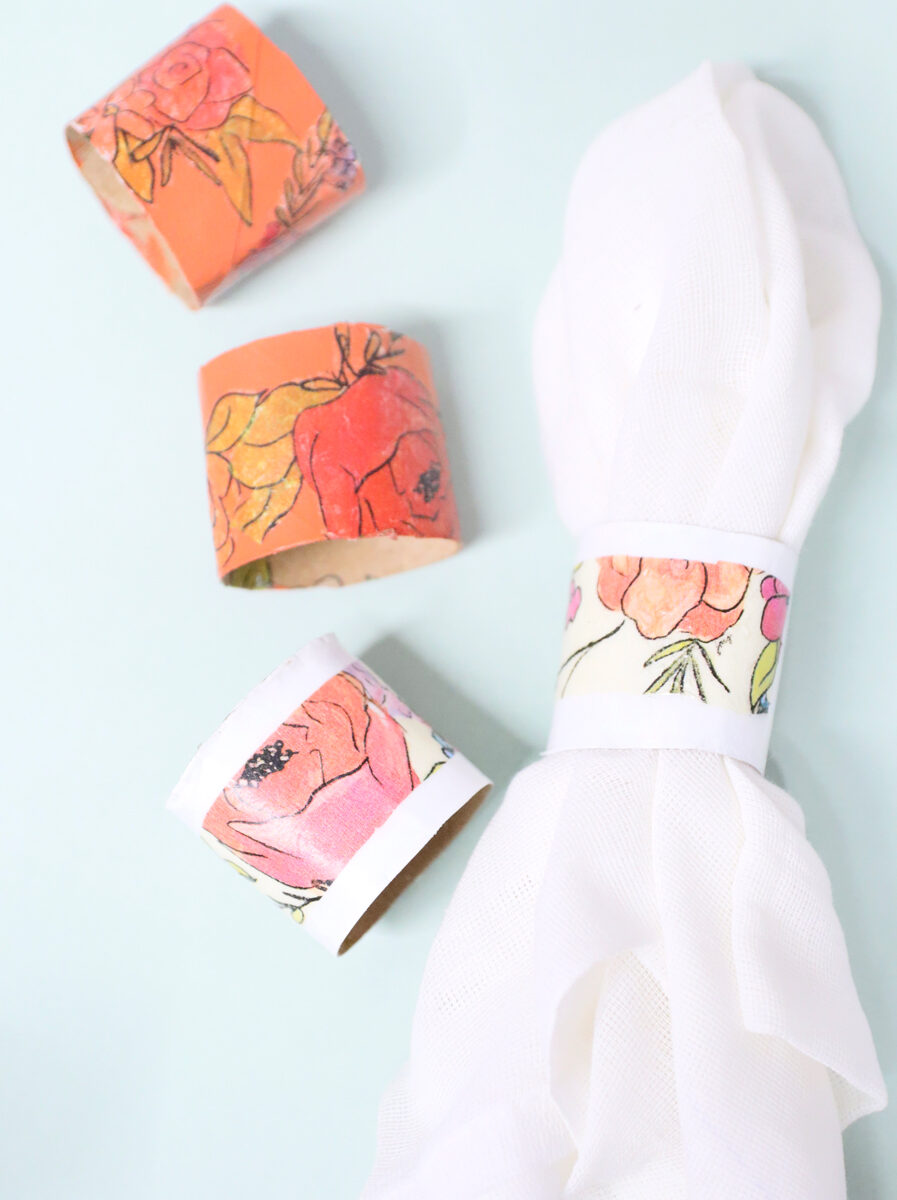
Place them upright on a surface to dry. Your toilet paper roll napkin rings are complete!
And they look so good on those napkins! Which occasion are you making these toilet paper roll napkin rings for? Comment below!

DIY Napkin Rings from Toilet Paper Rolls
Craft these toilet paper roll napkin rings using cardboard tubes - and floral napkins! These are truly incredible, great for Shavuot or spring, and so easy to make.
Materials
- Cardboard tube (a typical paper towel roll makes about 6 rings, depending how wide you cut it)
- Floral napkins
- Matte Mod Dodge
- Foam or flat paintbrush
- A good quality opaque acrylic paint (I recommend something like FolkArt) in a light to medium color
- Scissors - I recommend detail scissors that aren't used for fabric, and regular scissors
Instructions
1. Cut your cardboard tube into rings. You can flatten it to make it easier to cut and form it back into shape as you work. Paint each one a solid color and allow it to dry completely. Lighter colors or cheaper paints might require two layers.
2. Open up your napkin, Separate the front two plies (layers) from the back two. Cut out any flowers or flower groupings you want to use on your rings.
3. Include a variety for interest. Look closely. There should be another ply to separate. Peel that off gently and handle with care. (I peeled this off after cutting because I found it easier to cut with SOME thickness).
4. Apply a base layer of Mod Podge. It should be thick enough to be white but shouldn't be drippy.
5. Carefully place each cutout. It's very thin and can fall apart, so get it right the first time. You may be able to shift it a bit, but you'll also run the risk of tearing it.
Work your way around the napkin. Try not to overlap too many pieces but a bit of overlap is okay. Don't worry about the parts that hang over the edge.
6. Now load your brush and carefully go over the layer of napkins. DON'T overwork it. Again, it may take a drop of practice to get the hang of the right amount of Mod Podge to use. You want it to go on smoothly, but not require too much spreading around. Cover your ring completely.
7. Place a drop of Mod Podge on the overhanging parts and fold them to the back. You an also trim them, but that can get tricky.
Place them upright on a surface to dry. Your toilet paper roll napkin rings are complete!
And they look so good on those napkins! Which occasion are you making these toilet paper roll napkin rings for? Comment below!
Notes
Since you're using decoupage to attach the napkins, this doesn't really need a seal. However, if you plan to reuse them, you may want to play with a more waterproof seal.
I definitely recommend choosing a napkin with distinct shapes to cut out. The napkins that I used are gorgeous and I'm so pleased with them, but it was definitely a bit challenging finding the shape borders to cut.
Some tips for paint color:
Avoid anything too dark. I tried it in navy and it just swallowed the design.
Unless your napkin is a white based design, don't do white. Opt rather for something with a hint of color if you want it to be light - like a light beige or off-white.
Pull the color from the napkin itself for best results.
Here are some more alternative base ideas for making decoupage napkin rings:
Craft a clay napkin ring base - these are blank slates, waiting to be finished!
Purchase blank wooden rings to turn into napkin rings with some decoupage
Form a ring using cardstock or even corrugated cardboard.