Toy Torah DIY from Felt
I hope you’ll enjoy this really cute toy Torah DIY tutorial as much as we enjoyed it! When you’re done, check out this paper Torah aleph bet craft too. This post contains affiliate links.
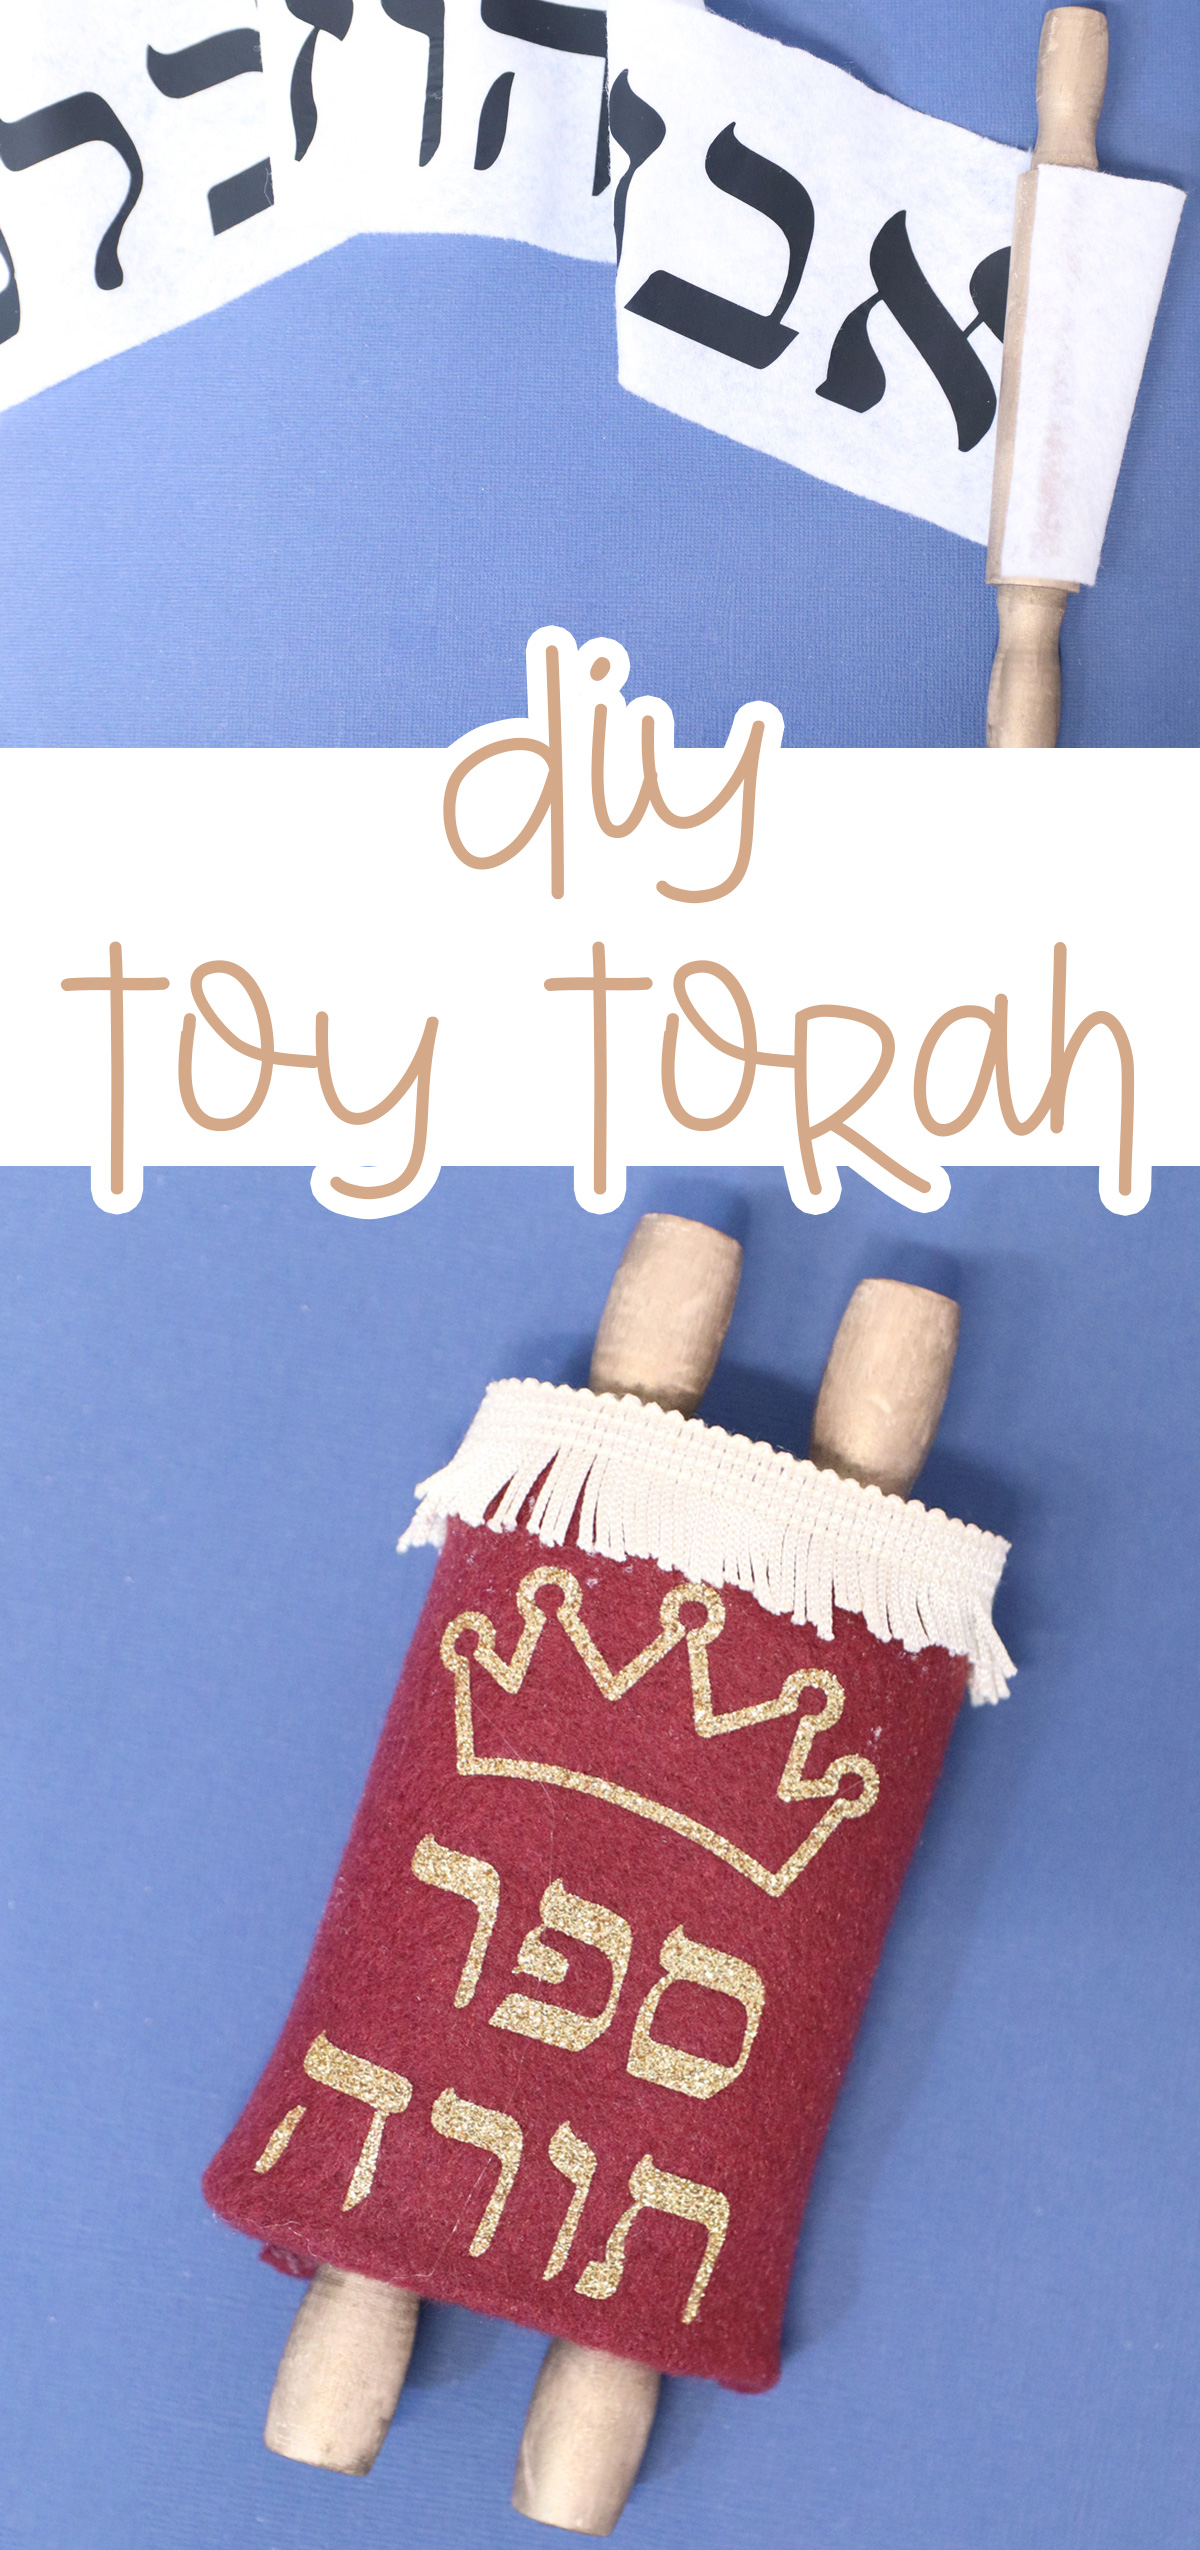
The holiday of Simchat Torah is just a few weeks away, and families love to go to shul (synagogue) to dance with the Torah!
This celebration honors the fact that we have finished reading all the Parshiot (weekly Torah portions) throughout the year, the completion of a cycle. It celebrates not only the fact that we received the Torah, but the joy of reading from it.
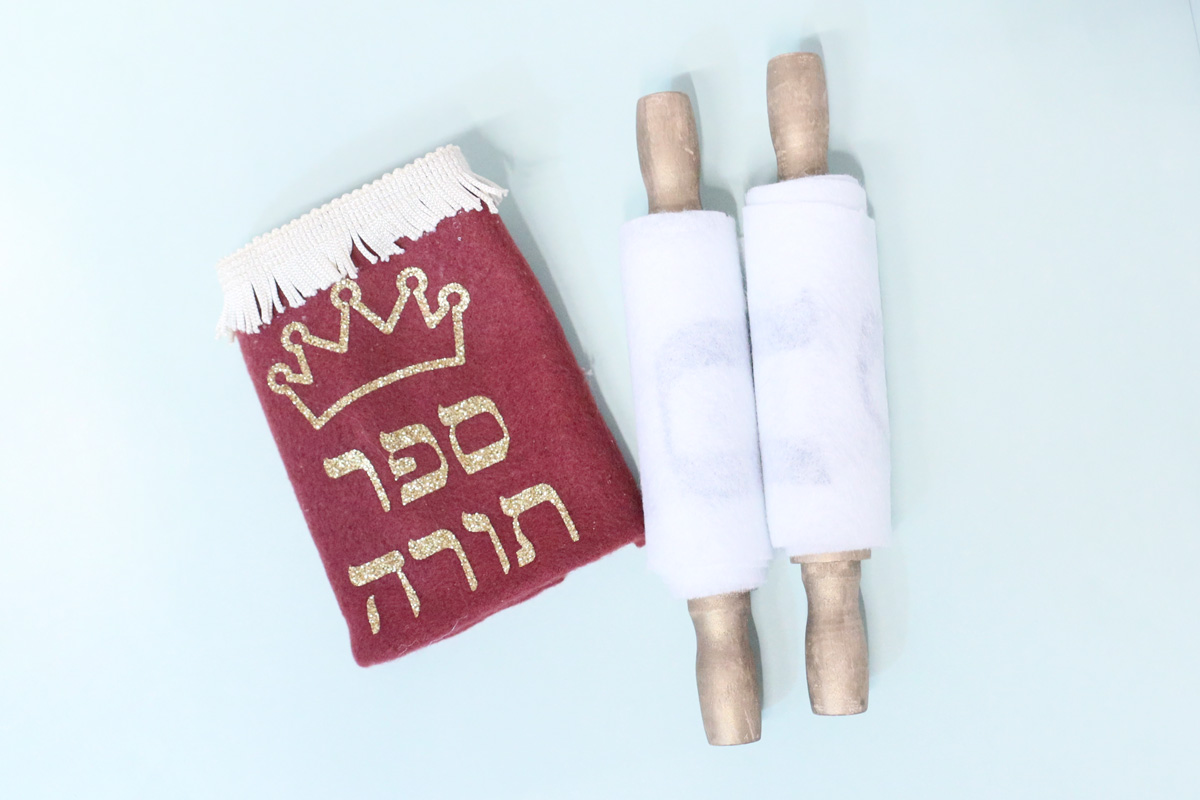
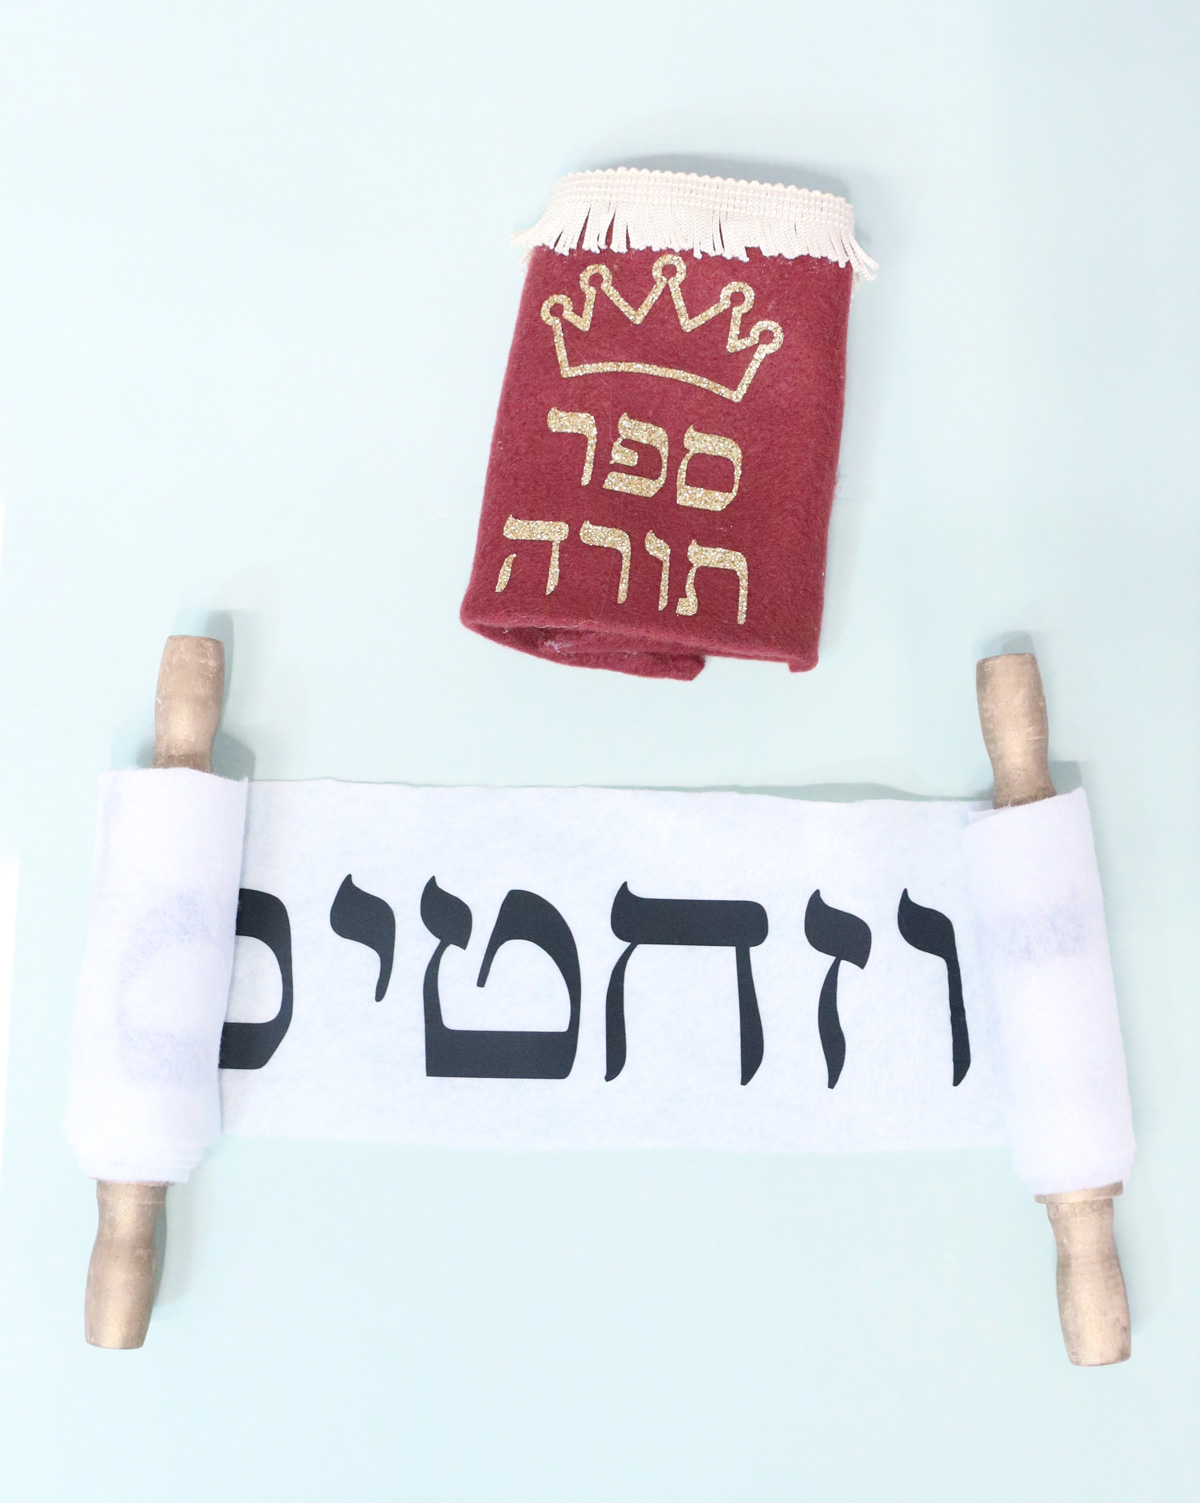
While adults tend to dance WITH the Torah, it’s heavy and requires the utmost respect. Some shuls have smaller children’s Torahs (or other books of Tanach/the Bible). But for the very youngest, the best tool to involve them is a little toy Torah of their own.
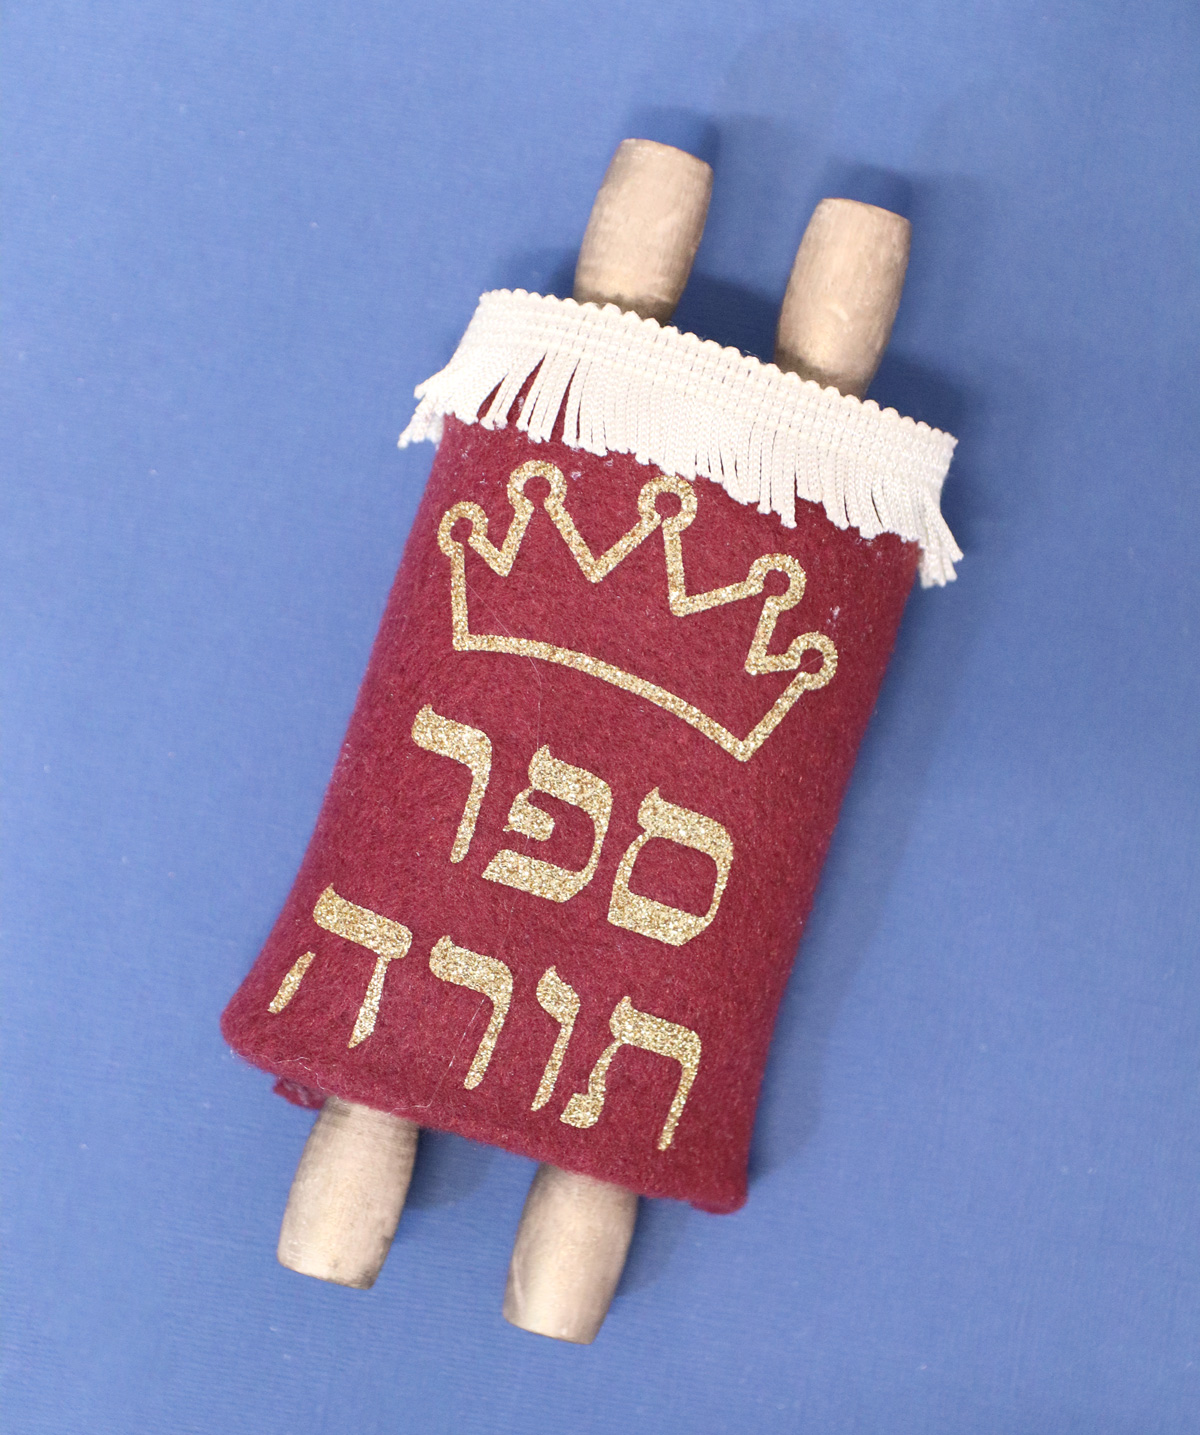
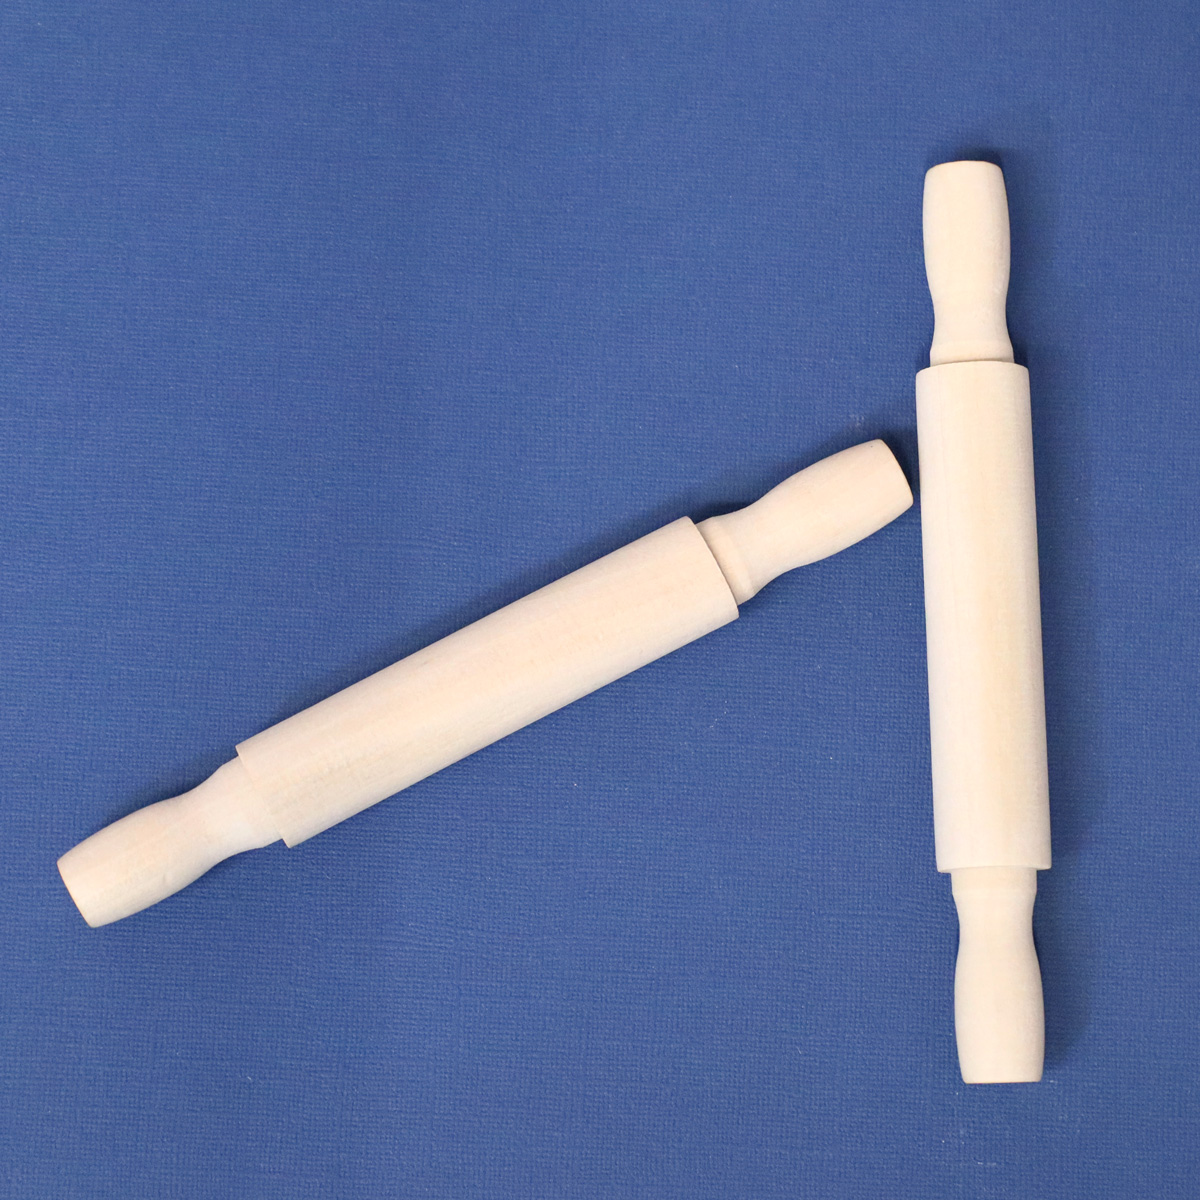
When I saw some unfinished wooden rolling pins in my craft room that Woodpeckers Crafts had sent me ages ago, I knew I HAD to make them into a Torah that’s the perfect size for A’s little hands.
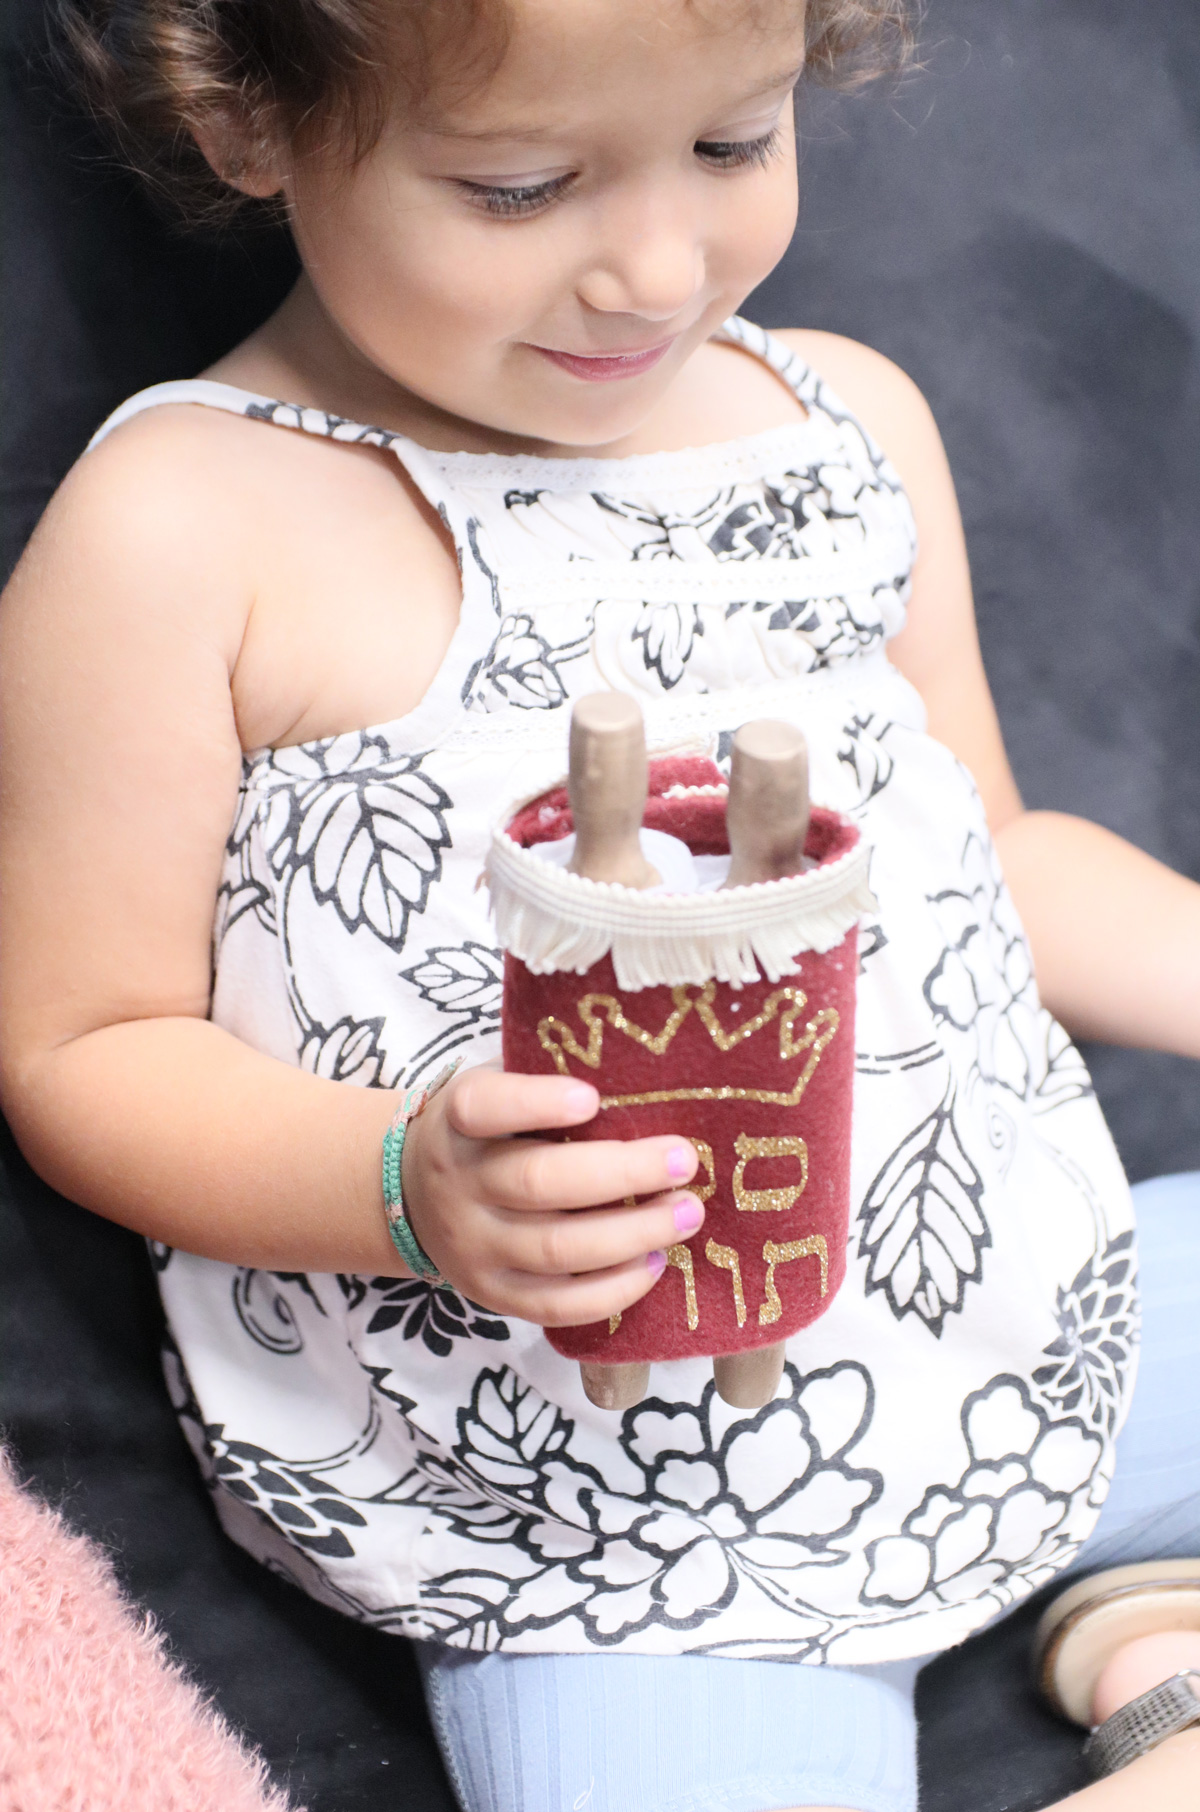
So what does one put inside a Torah that’s designed for the youngest of the family? The Hebrew letters of the Aleph-Bet were the obvious choice!
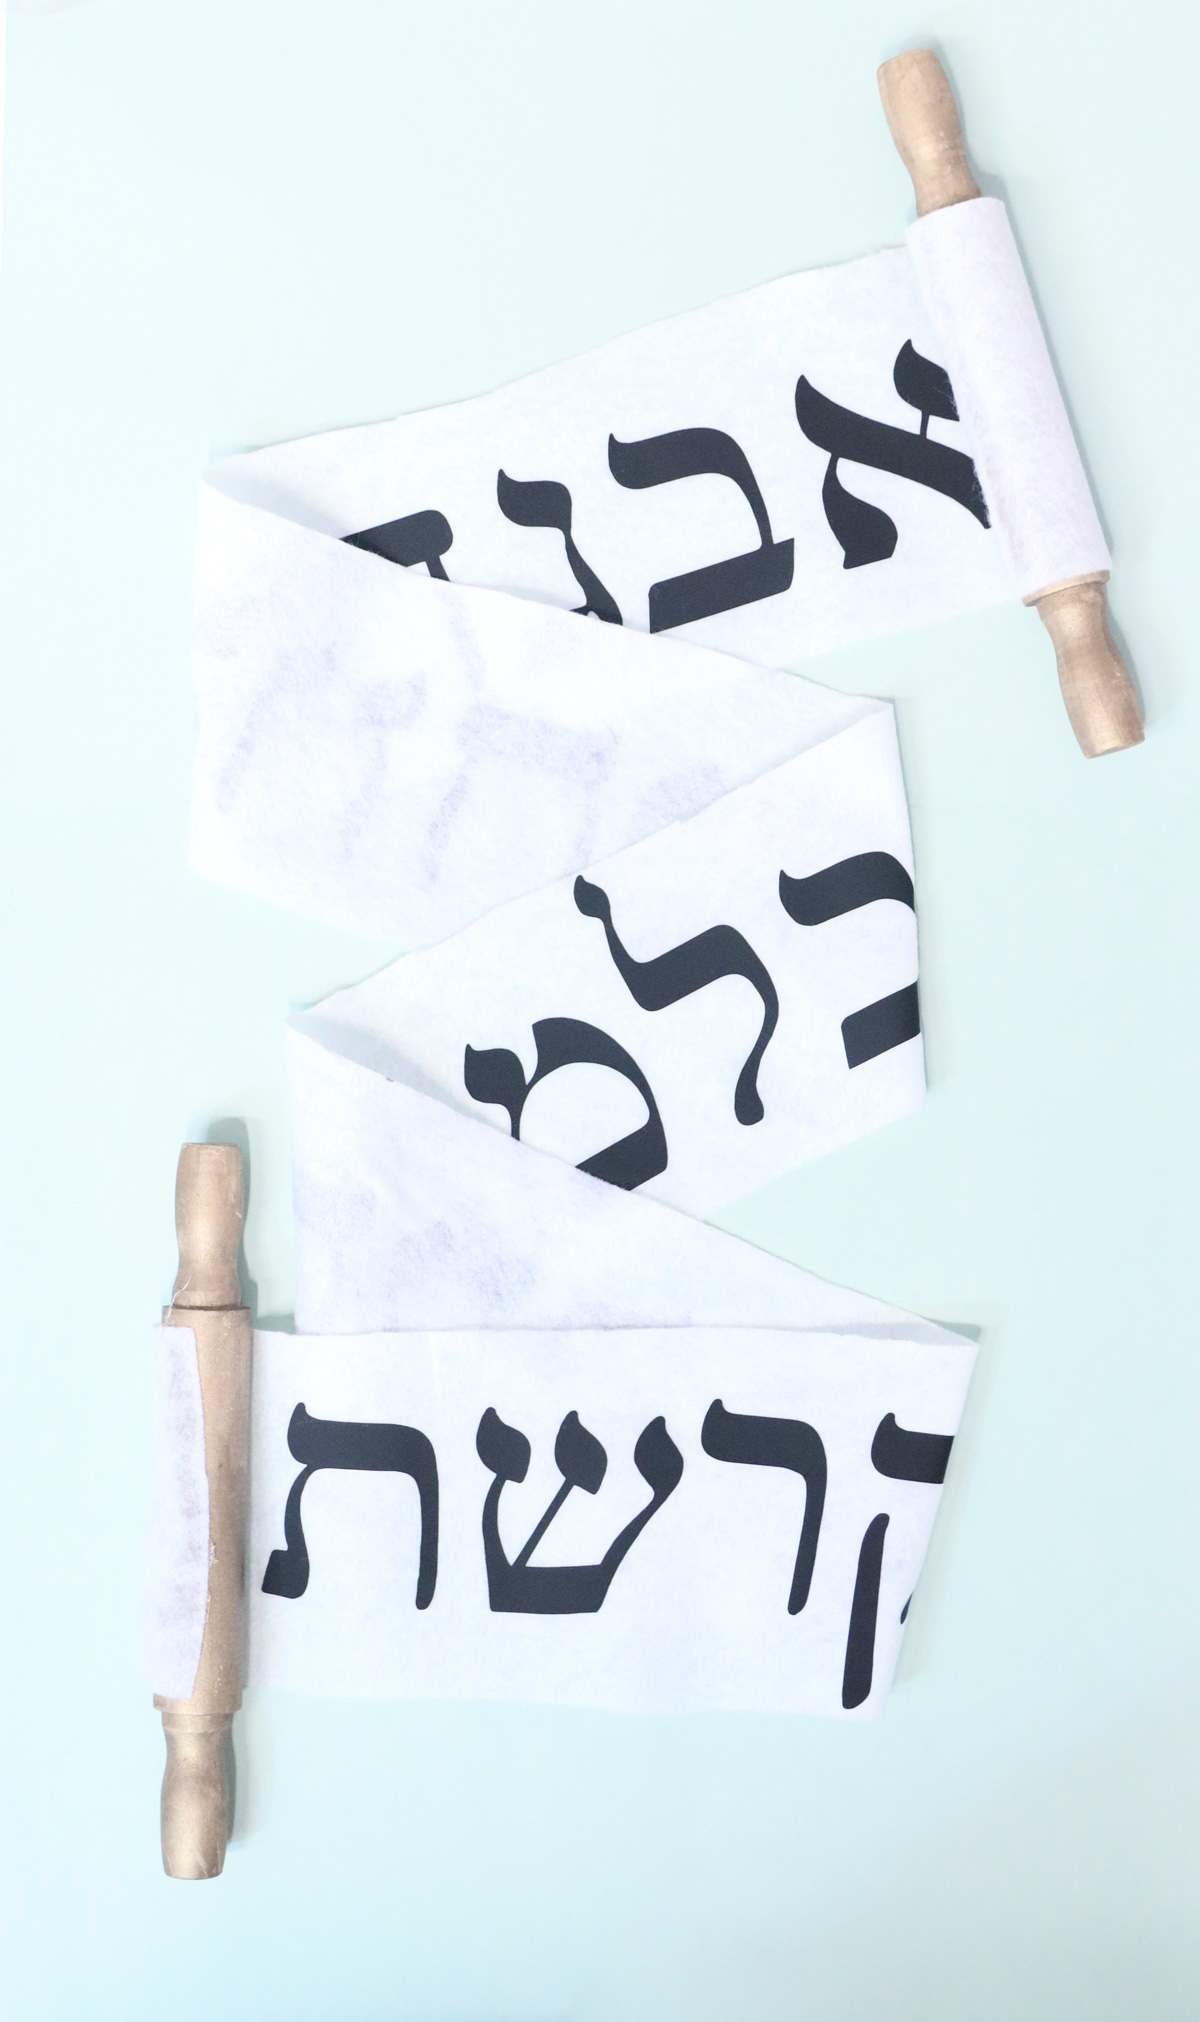
Materials & Tips for making a felt toy Torah
I used my Cricut Maker 3 to cut all the letters from iron-on vinyl, but if you don’t have a Cricut here are some other ideas:
- Use a stencil to outline the letters with a felt tip marker and fill it in with fabric paint.
- Sharpie it in yourself – freehand! Or, use puffy paint.
- Skip the letters and just leave it minimalist.
- If you can find pre-made iron on decals with letters that would work too!
- You can make the scroll with paper instead of felt and then use stickers, markers, or the template from my paper Torah craft.
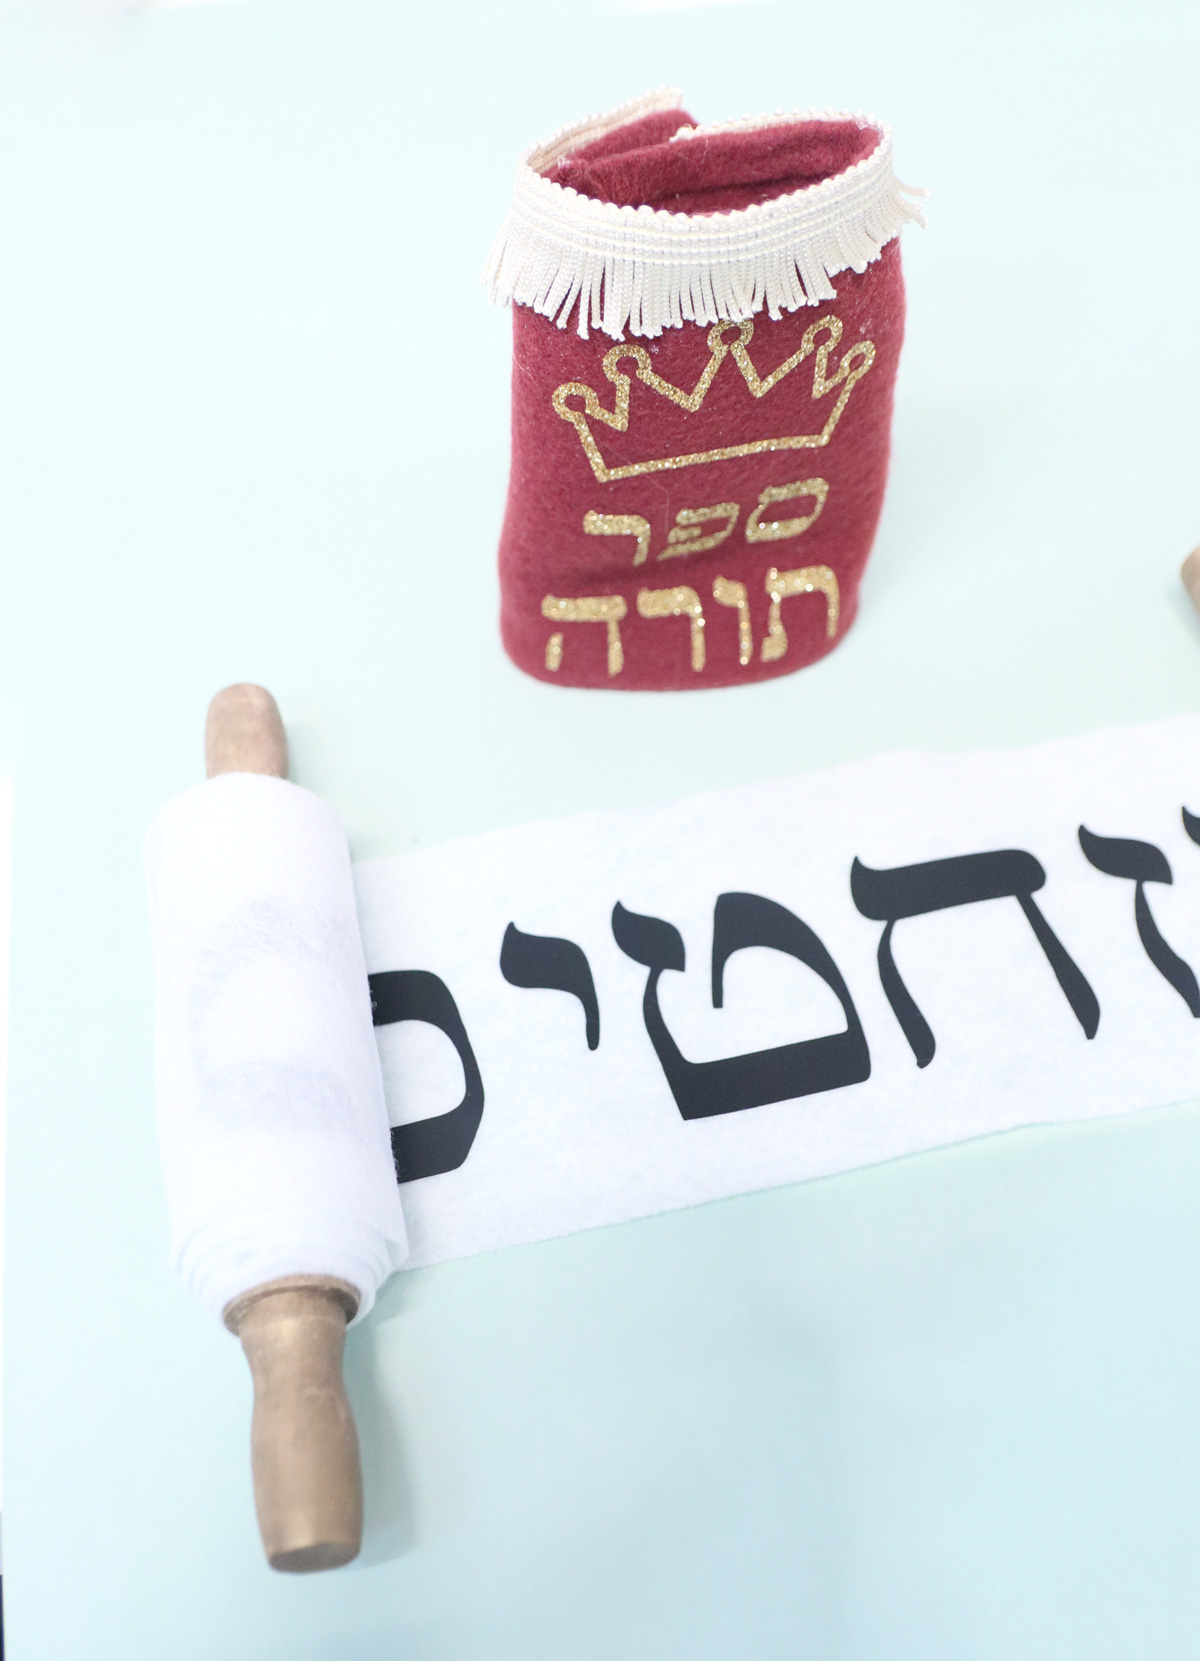
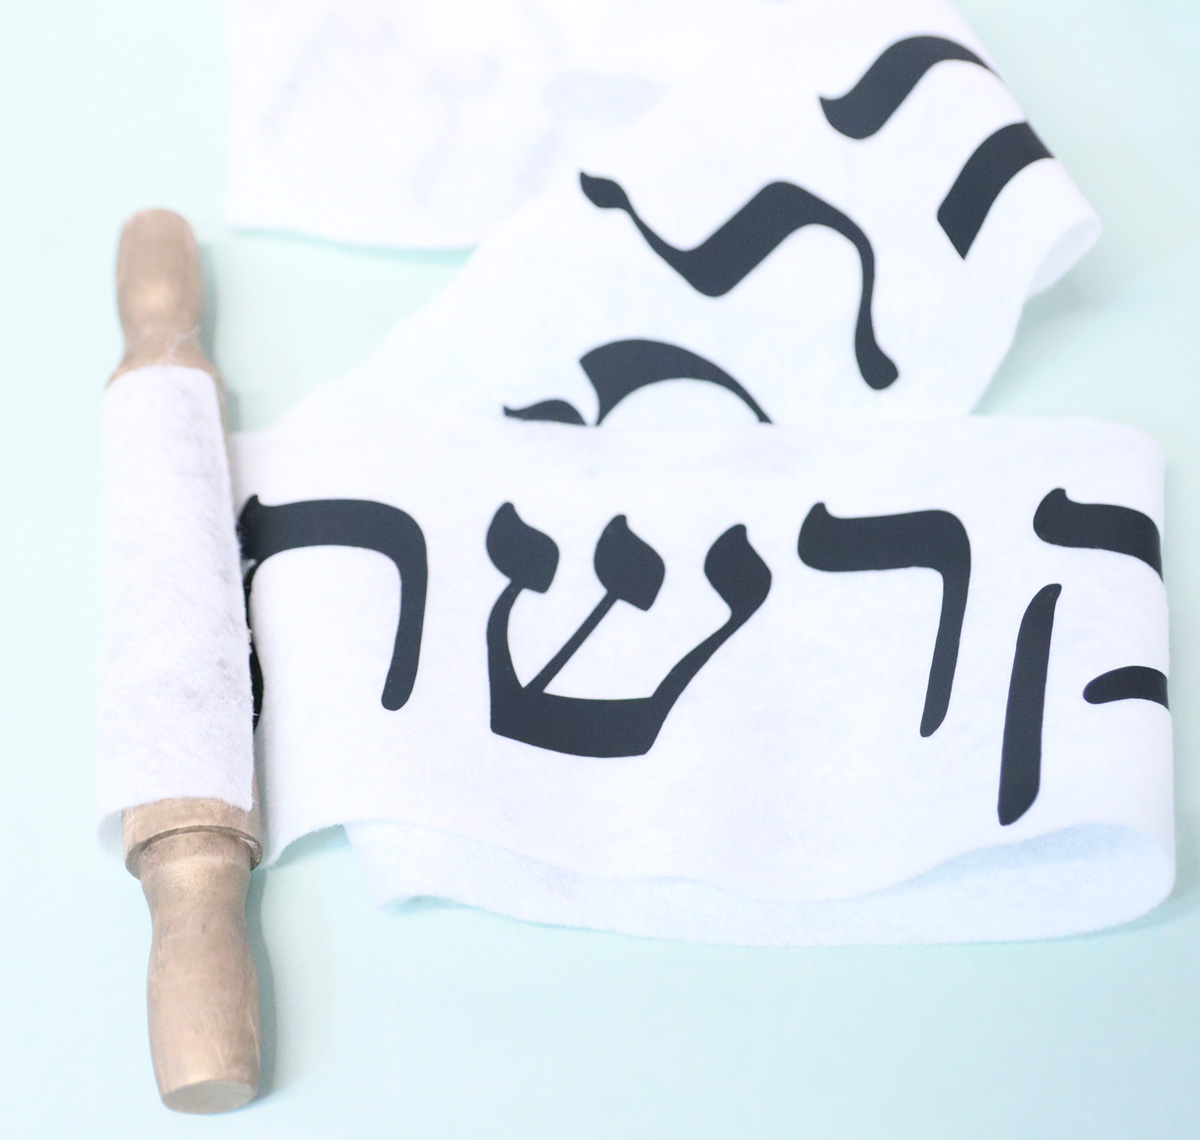
If you DO have a Cricut, I made things easier for you by sharing the project I made in Design Space (using all Access or free elements). I did make the letters on the cover a bit larger than what is ideally nice, so measure your materials and resize as needed!
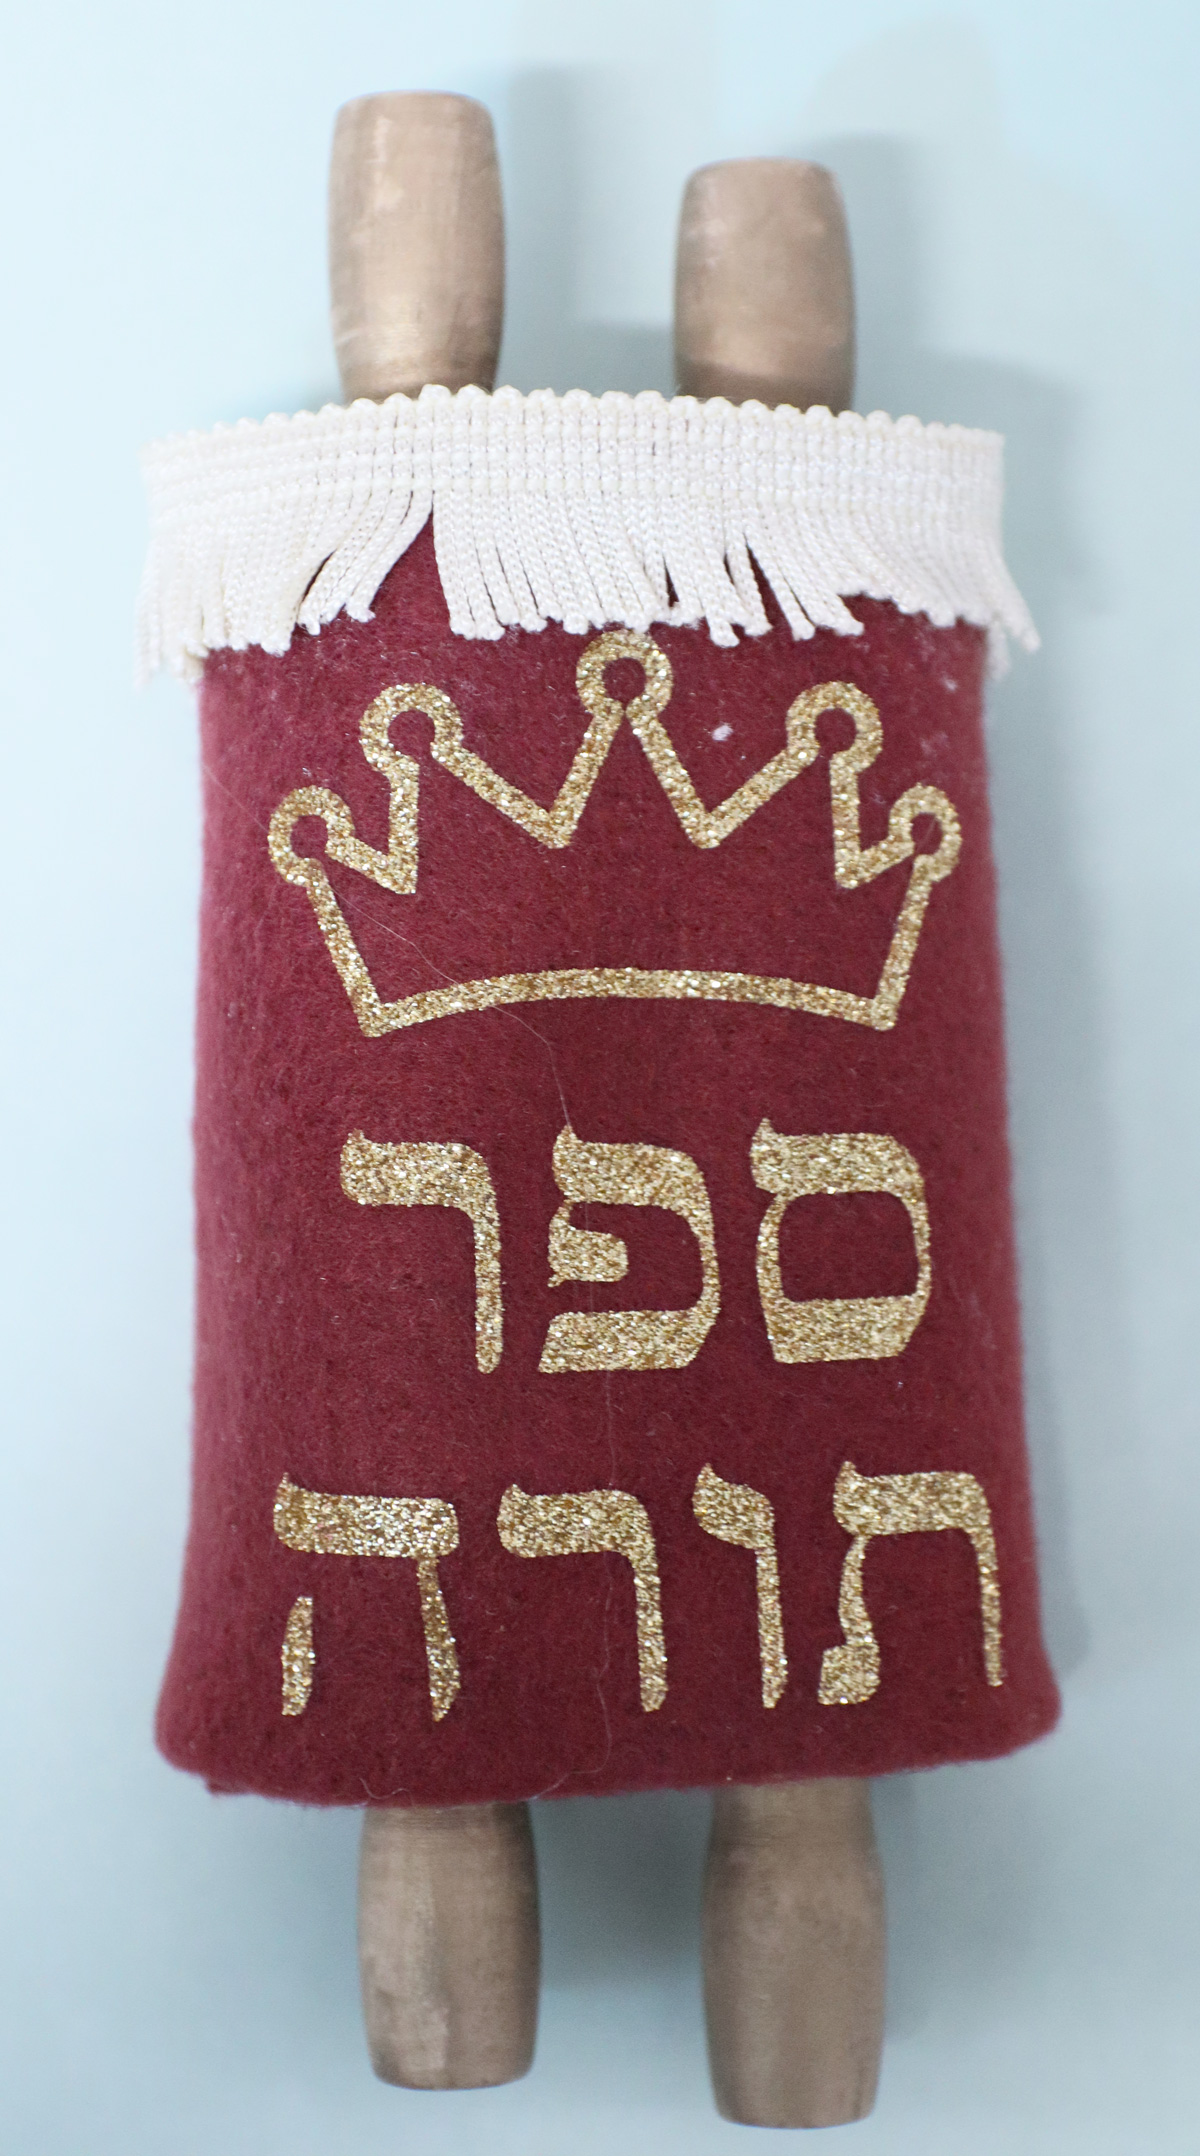
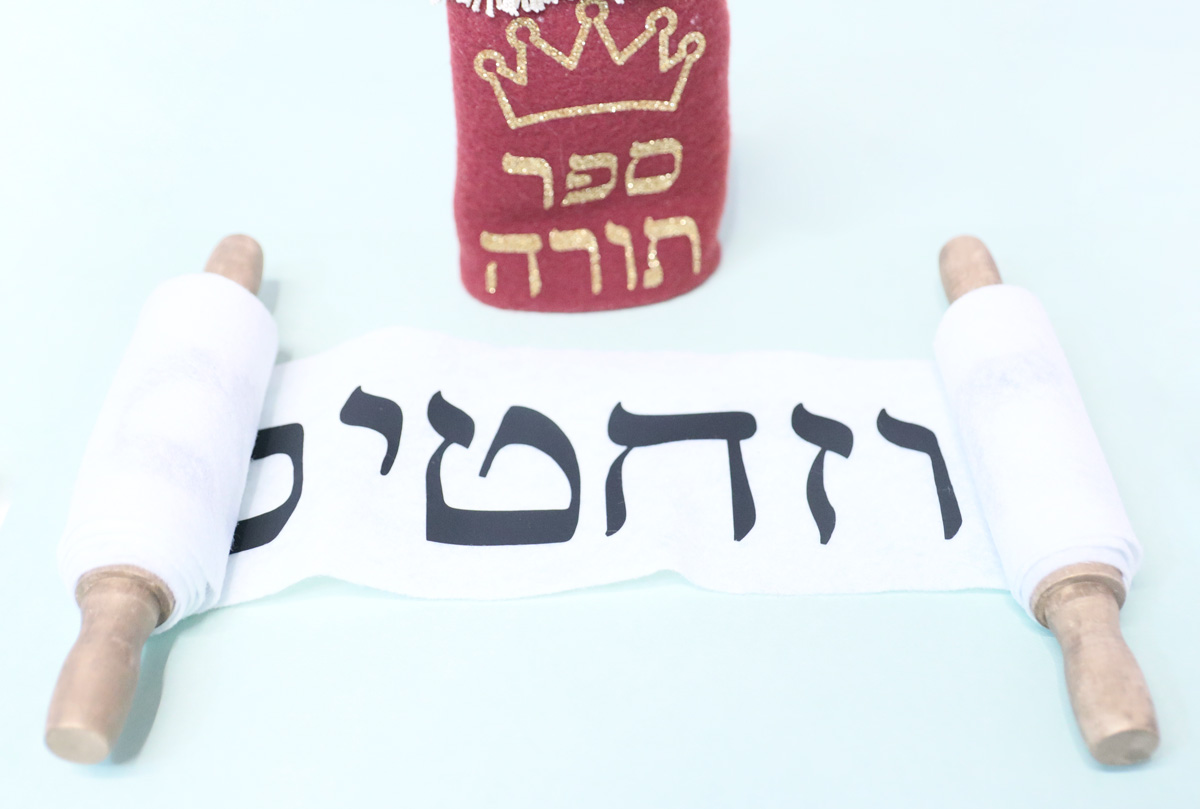
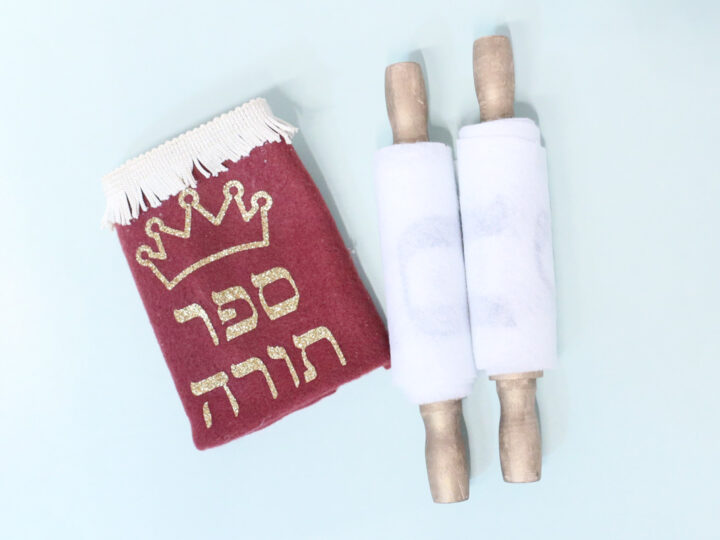
The inside of the toy Torah is made from dollar store felt, and the outside is made from fleece and some fringe that I found in my craft room. The fringe was very long so I gave it a haircut.
The materials can definitely be swapped out! Fleece and felt are interchangeable in this project. And if you don’t want to spend $$ on trim, you can use any cheap dollar store trim, ricrac, gold ribbon, or just leave it off completely!
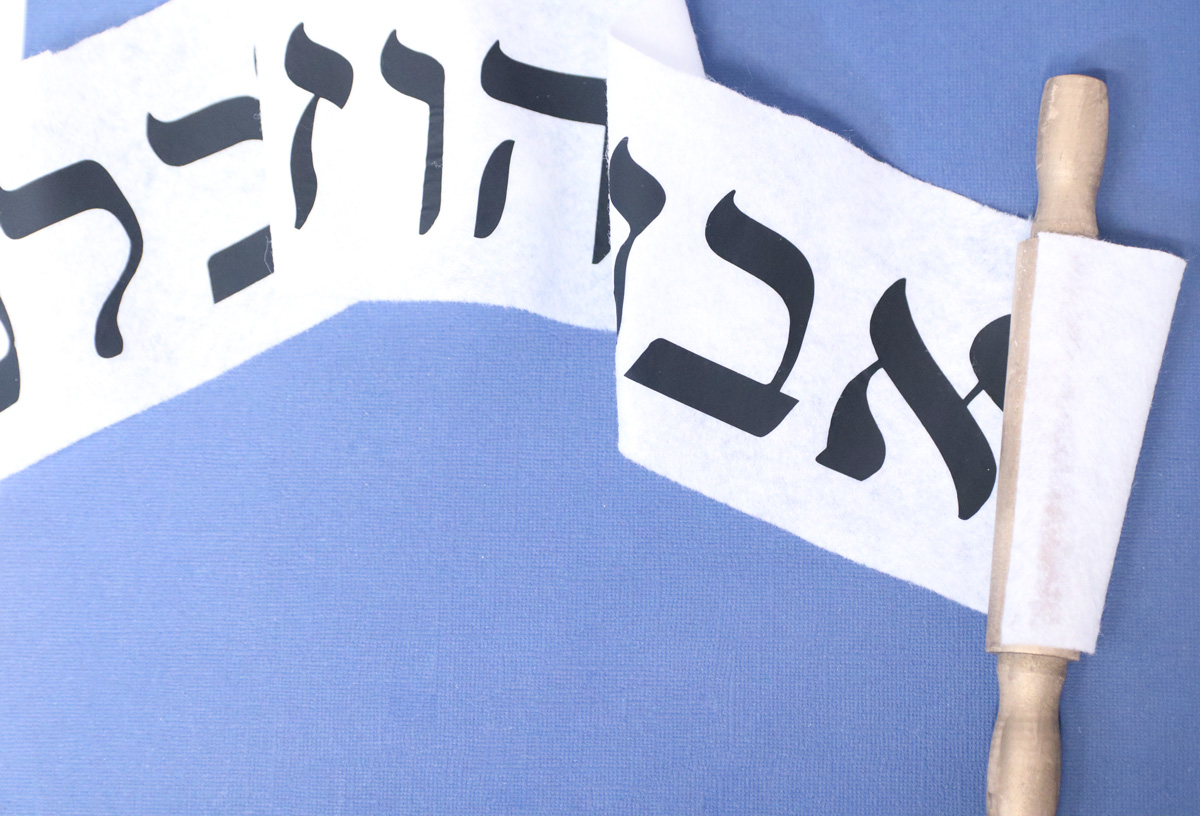
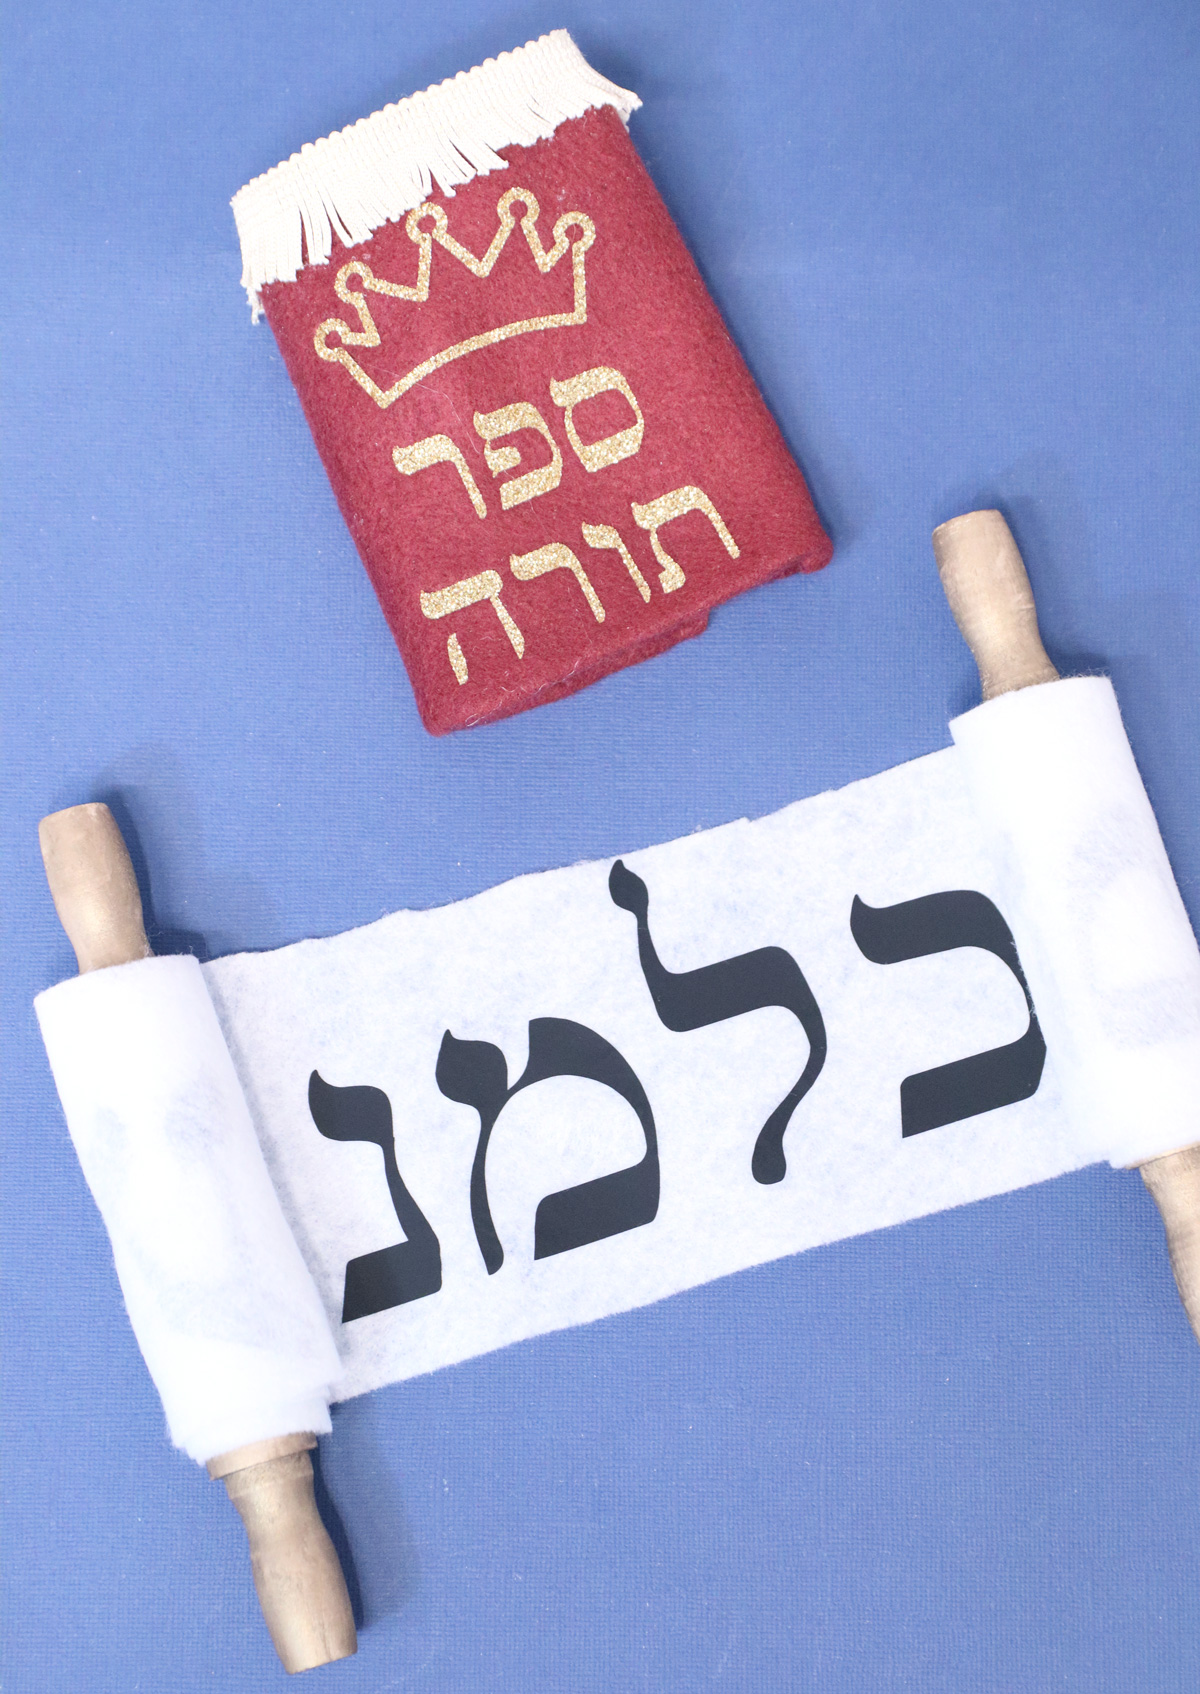
I did paint the rolling pin handles using FolkArt Brushed Metallic in bronze. That’s totally optional – you can leave it unfinished or stain it. You can also paint it a solid color to make it more fun.
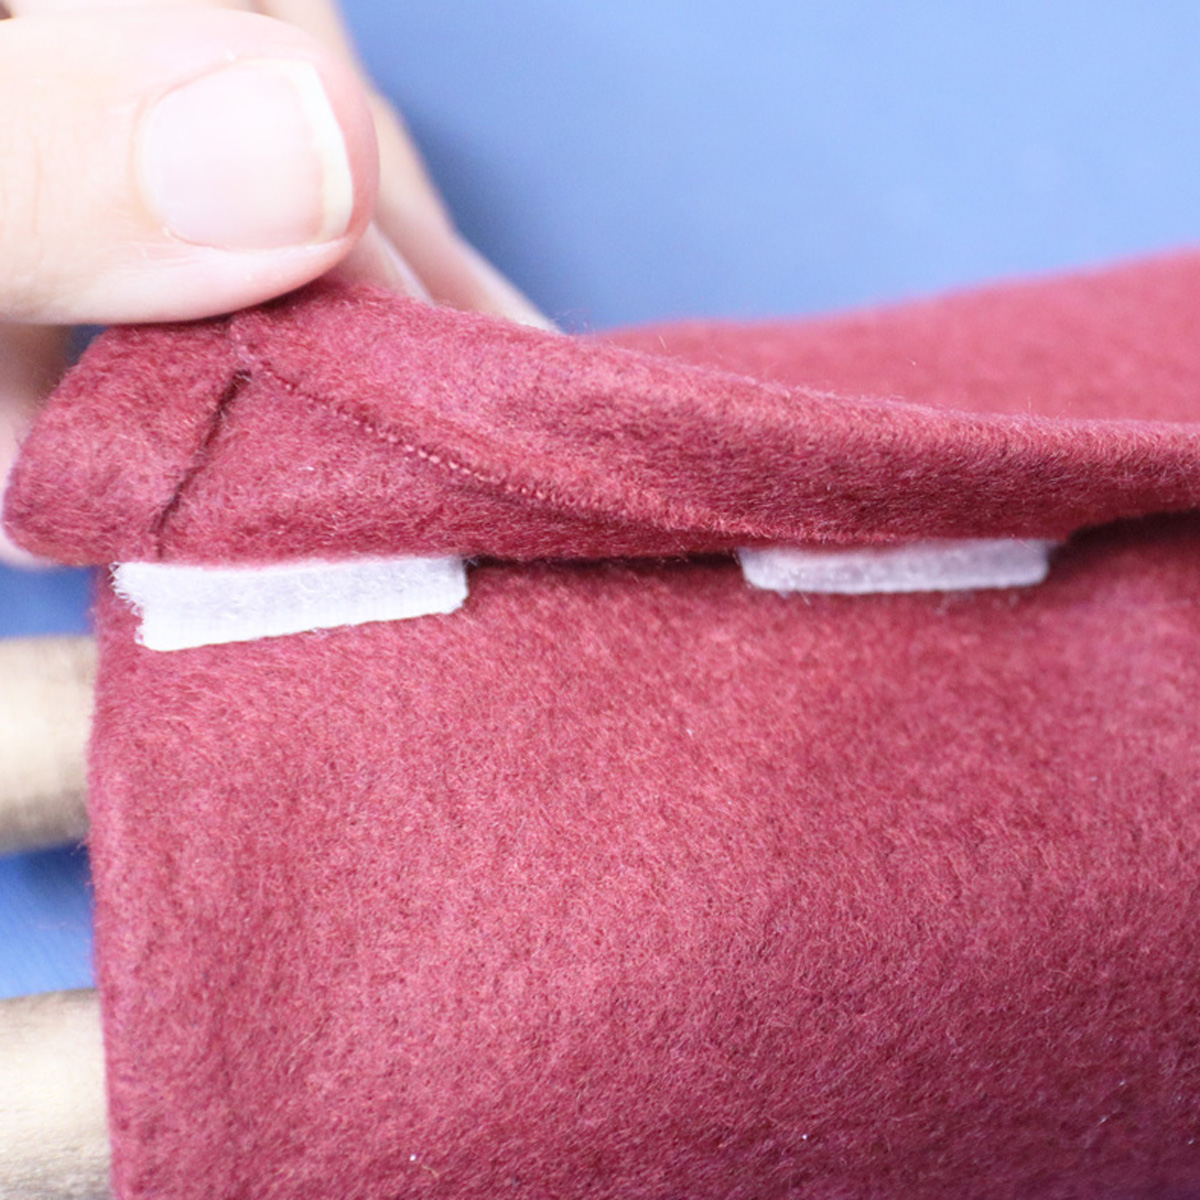
And finally, I used hook and loop closure to connect the ends of the case rather than sewing or gluing it. This simply makes it easier and more forgiving when closing it – and more toddler/preschool friendly.
It can be hard to slide fleece over felt – so this allows it to be wrapped without sliding it over.
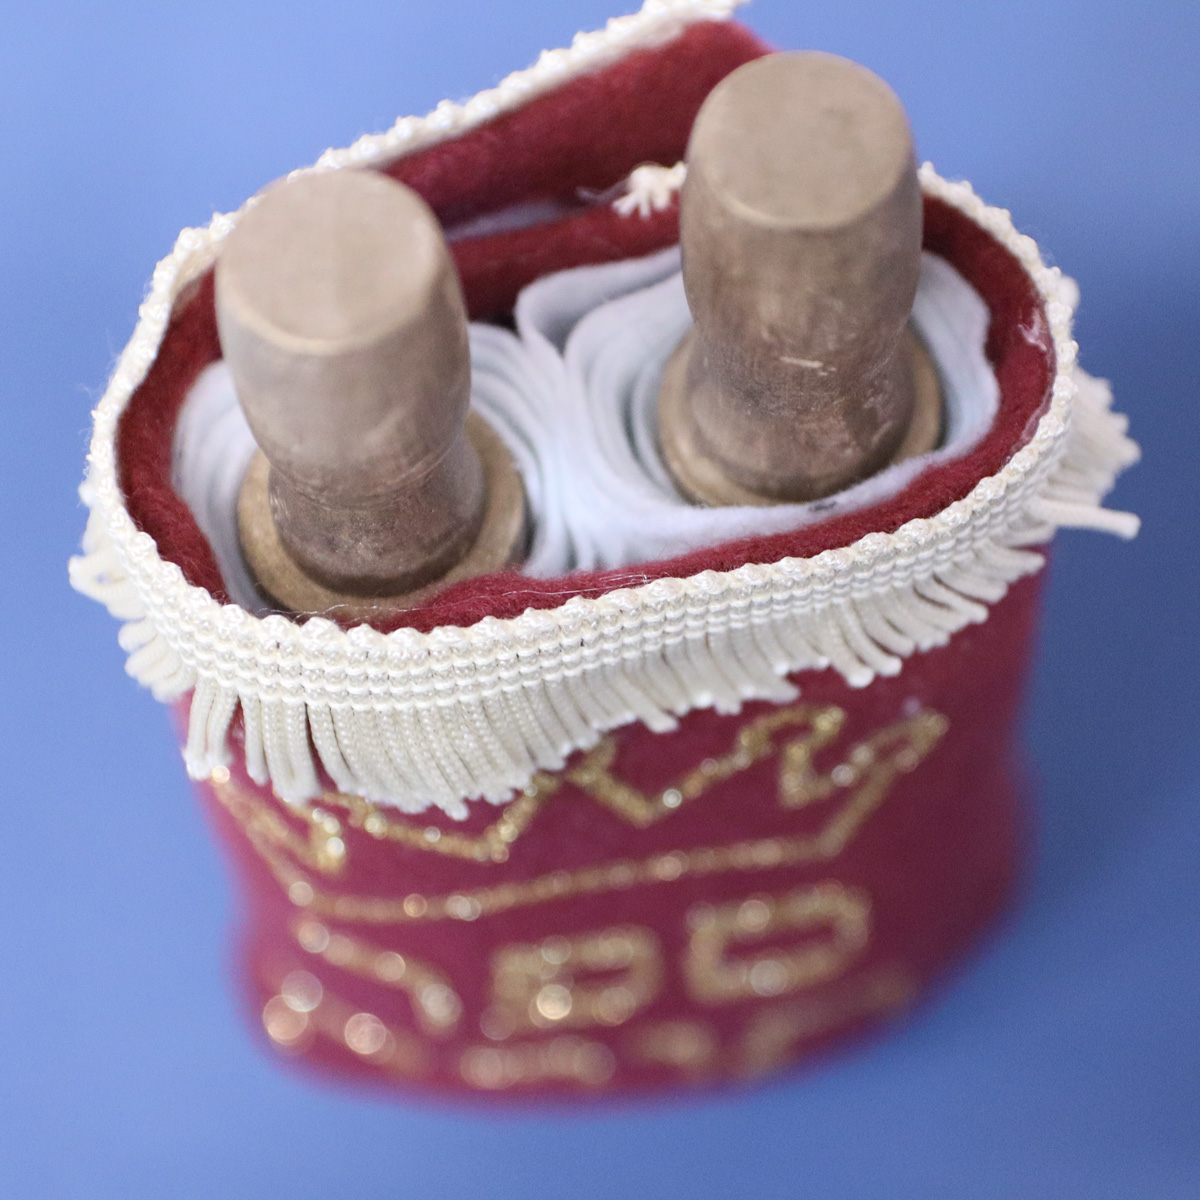
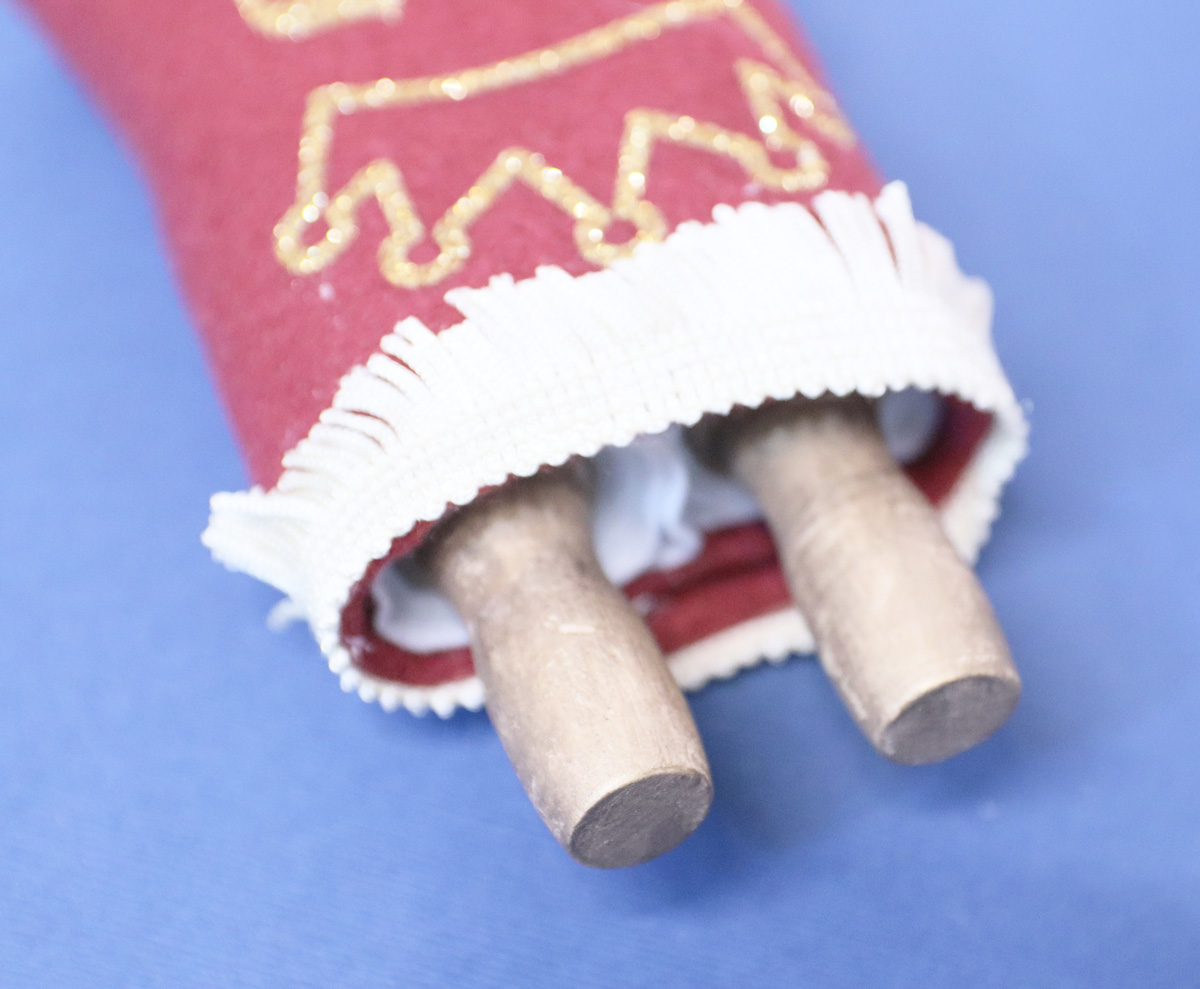
How to make a toy Torah DIY from felt
Materials
- Wooden Rolling Pins
- Optional: Paint or stain (I used brushed bronze from FolkArt)
- Optional: Paintbrush
- White Felt for the scroll – this roll from the Dollar Tree was the perfect width, but you can also glue loose sheets together
- Purple, burgundy, navy, or your own color choice fleece or felt for the cover
- Hot glue gun – see my recommendations for the best hot glue guns for crafting
- Ruler
- Fabric Scissors
- Pen
- Hook and Loop Closure
- Trim such as ricrac or fringe
For Cricut Cutting:
- Cutting Machine – I used the Maker 3
- Black Iron-on
- Gold glitter Iron-on
- Green StandardGrip mat if not using Smart Iron-on
- Brayer if not using Smart Iron-on
- Weeding tool
- Heat Press – I used the EasyPress 3
Instructions
1. If you’d like, paint your rolling pins and allow them to dry completely.
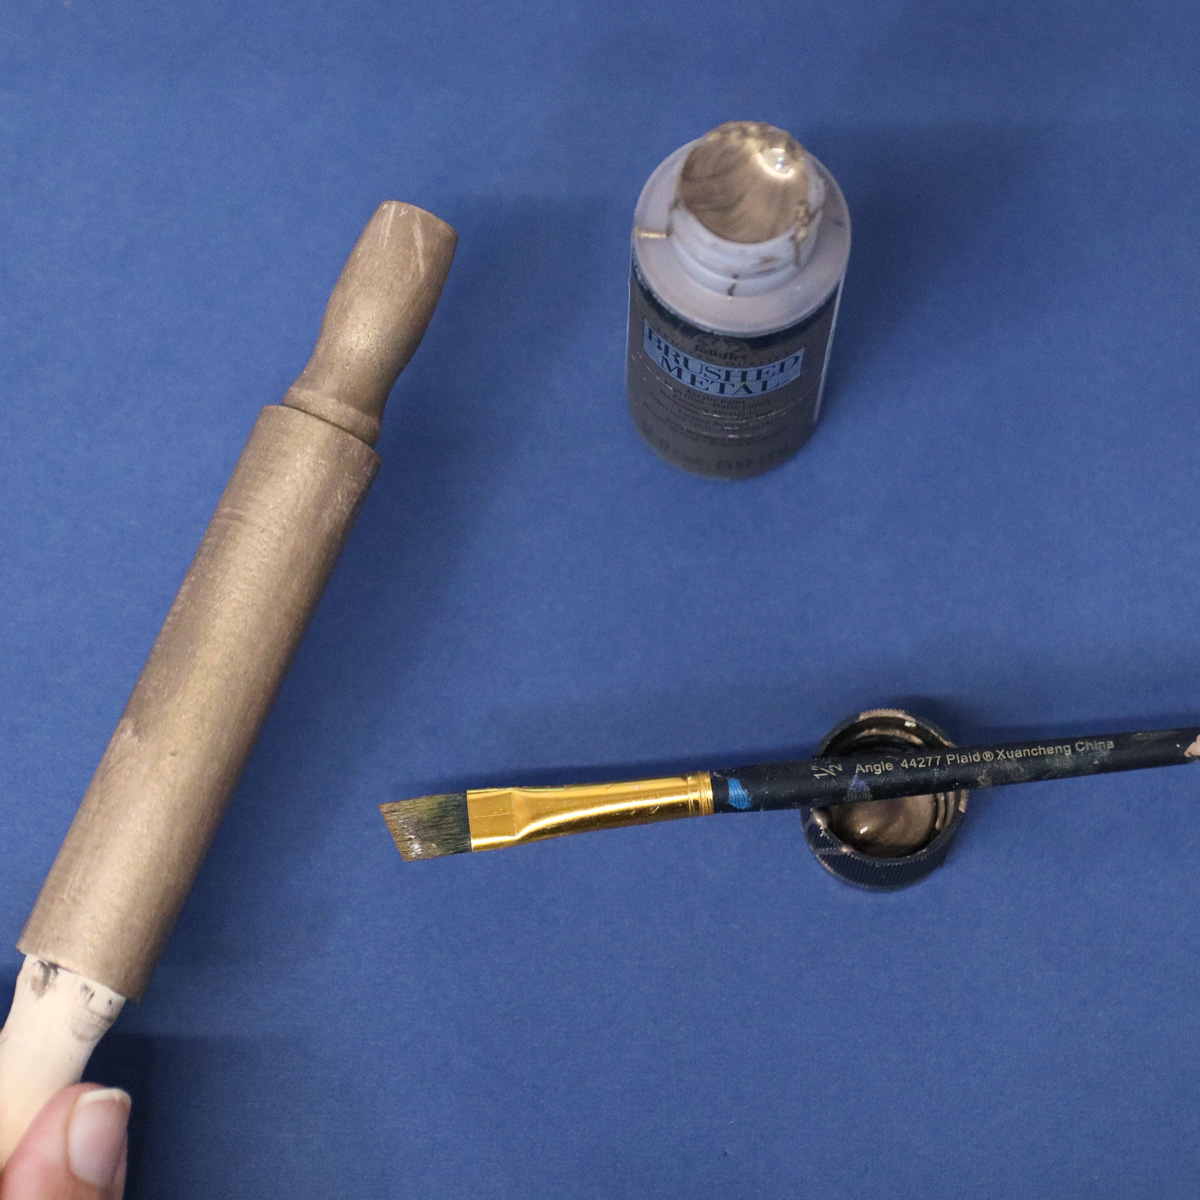
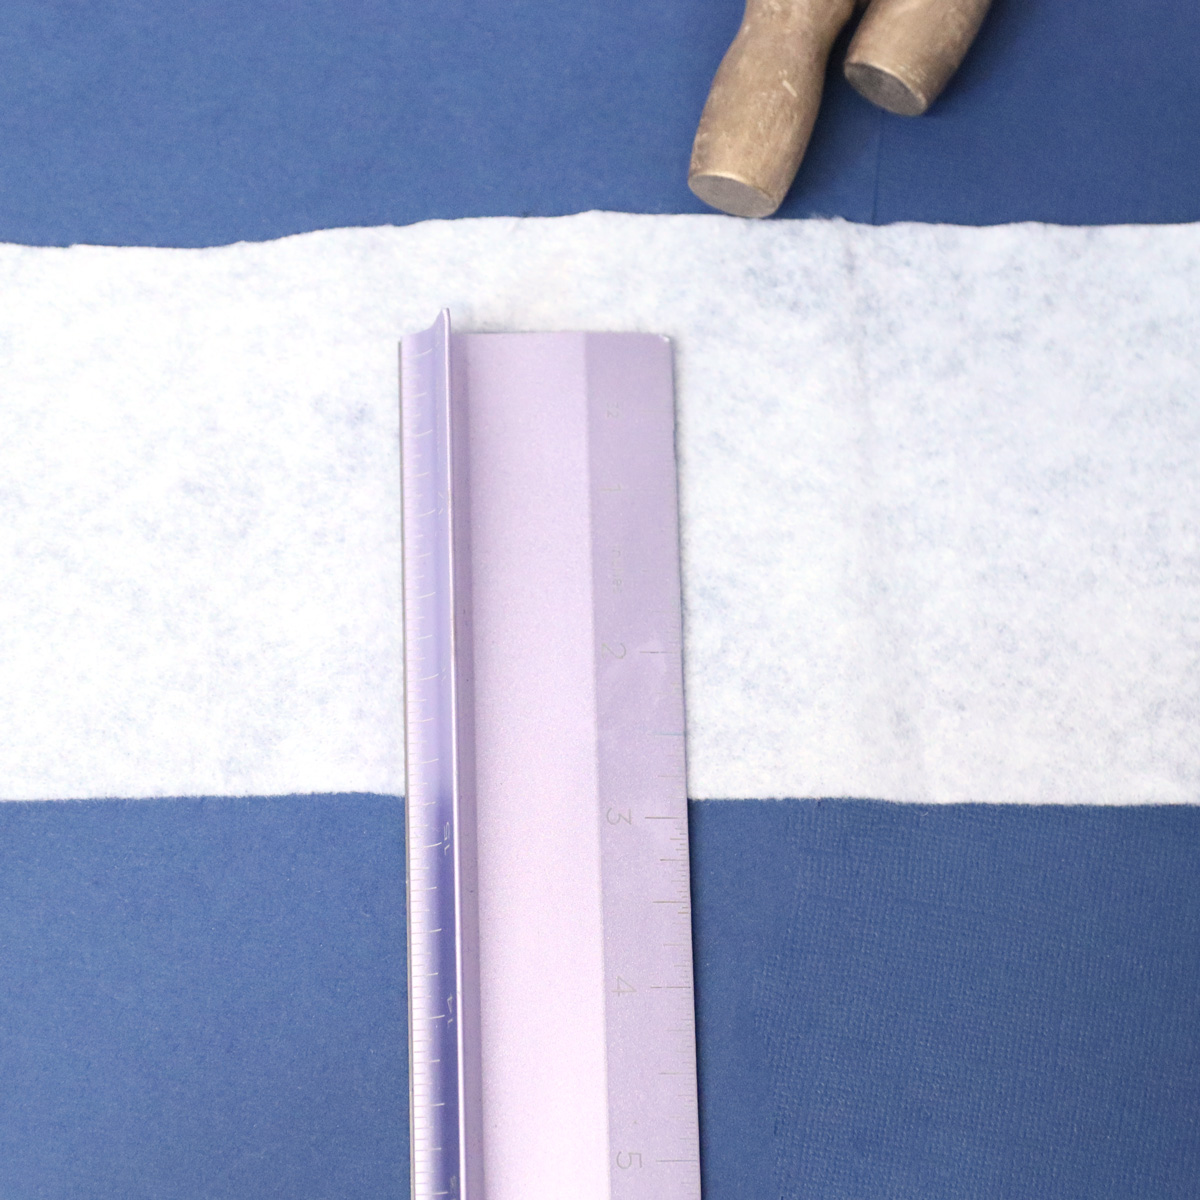
2. Measure the flat center part of the rolling pin on your felt and mark where you need to cut along the whole scroll.
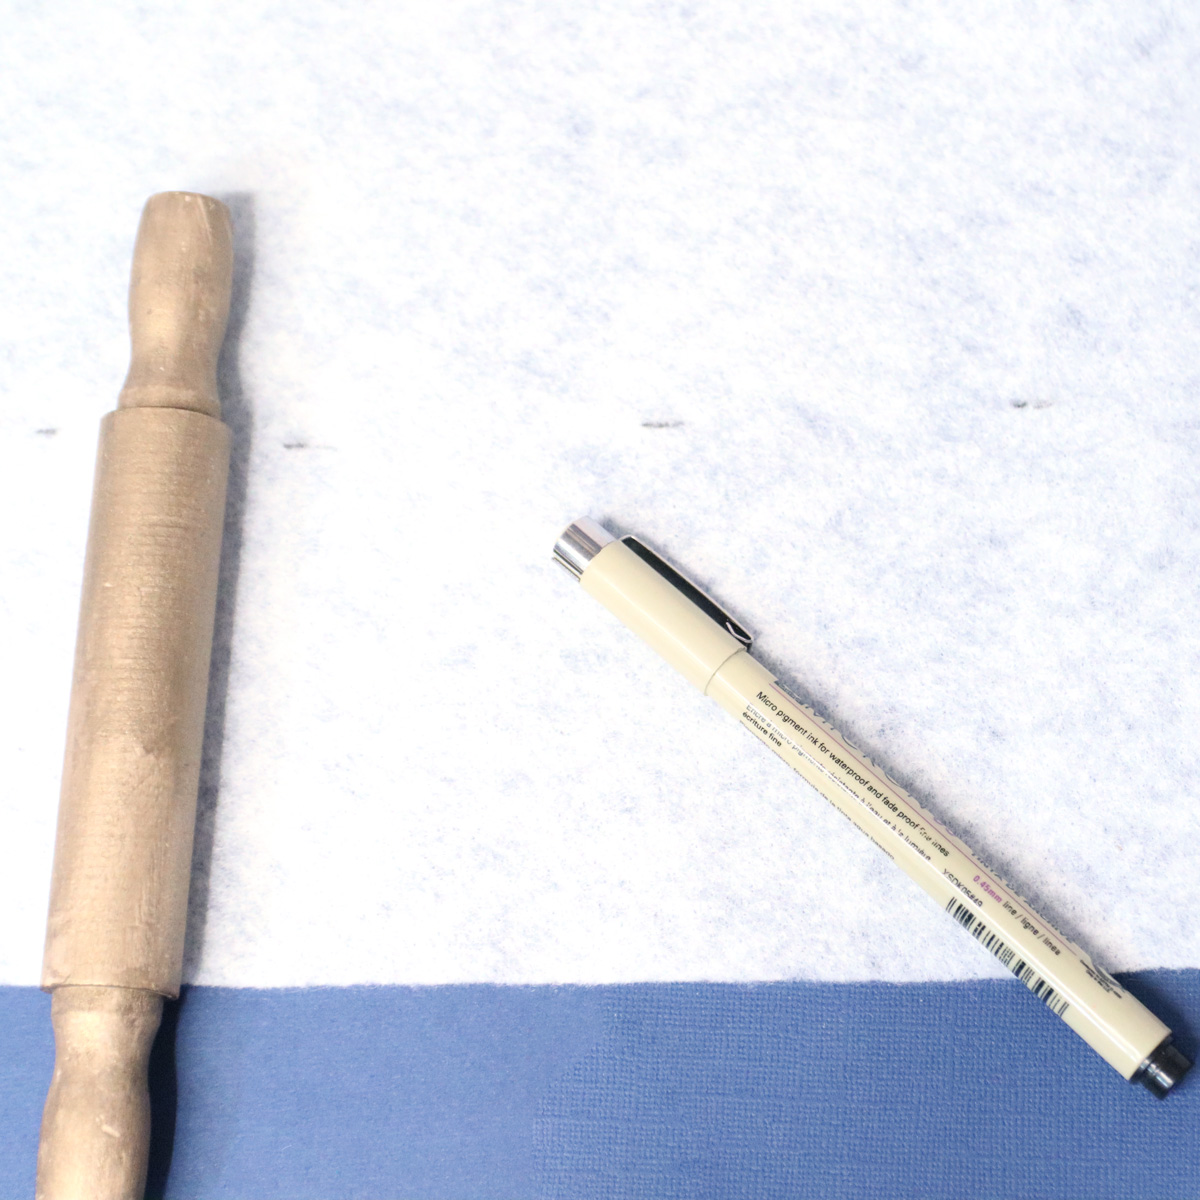
Cut your felt. I did a sloppy job, and honestly my two year old doesn’t care, but you can definitely use a ruler to do it with more care.
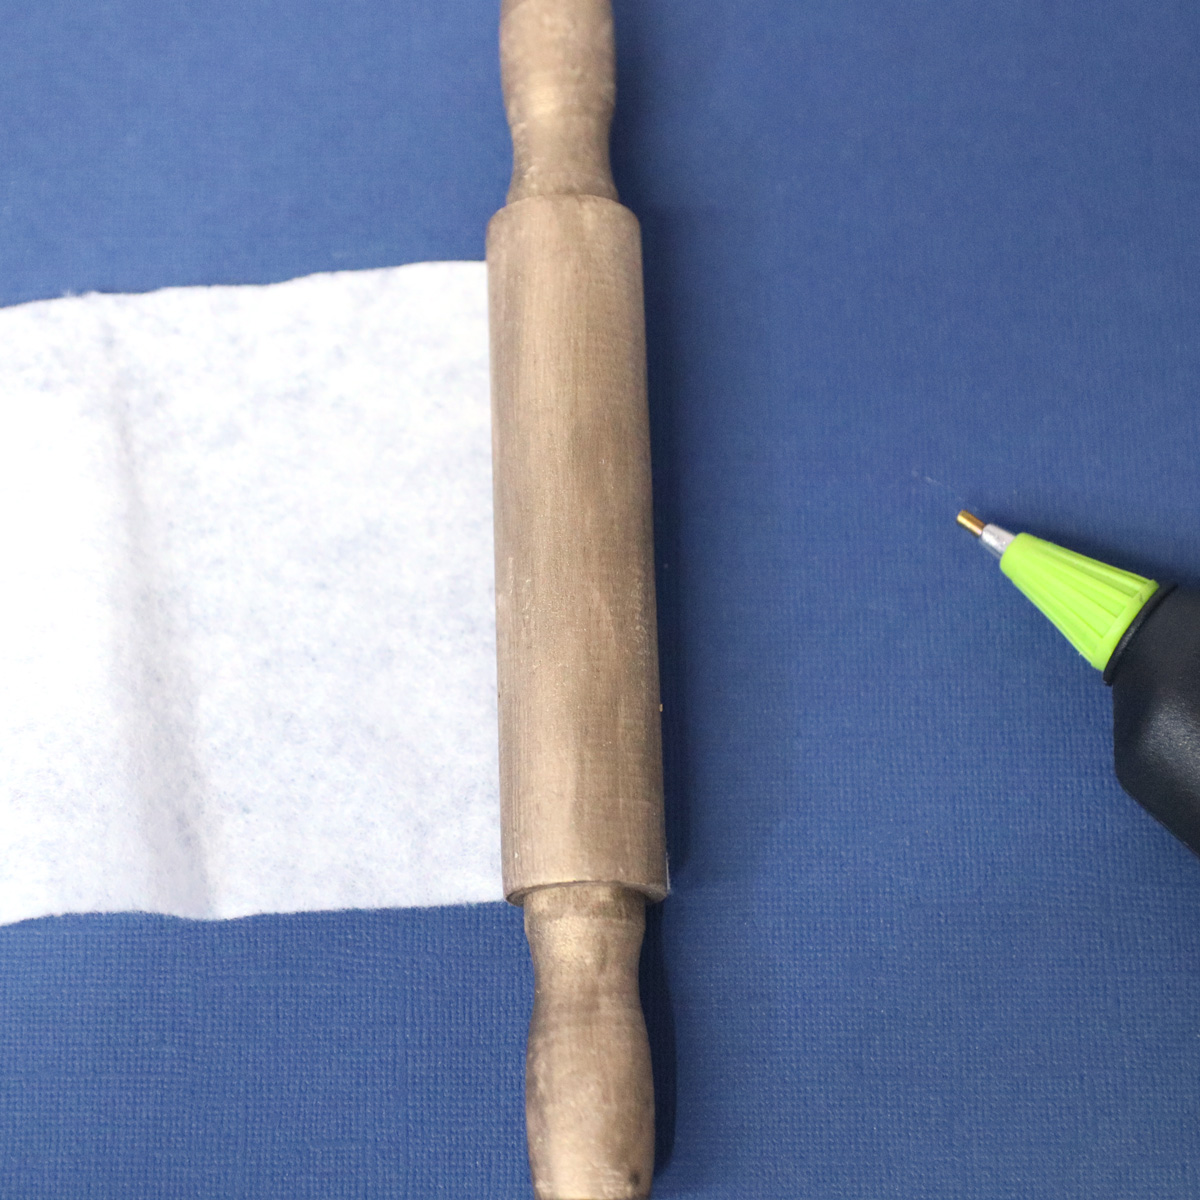
3. Hot glue the start of the scroll to your first rolling pin.
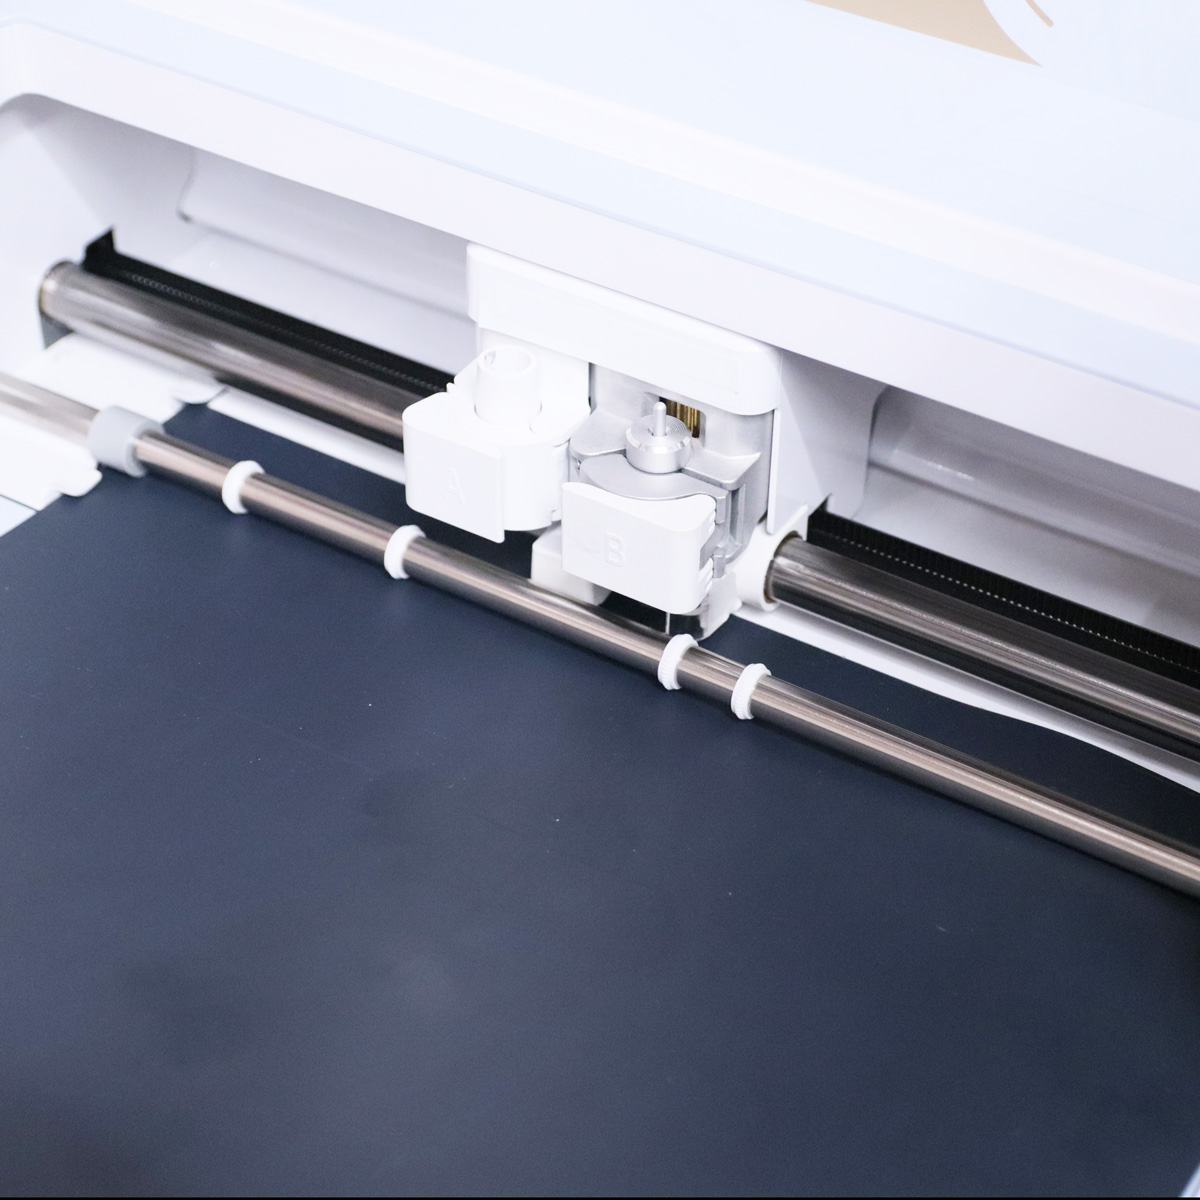
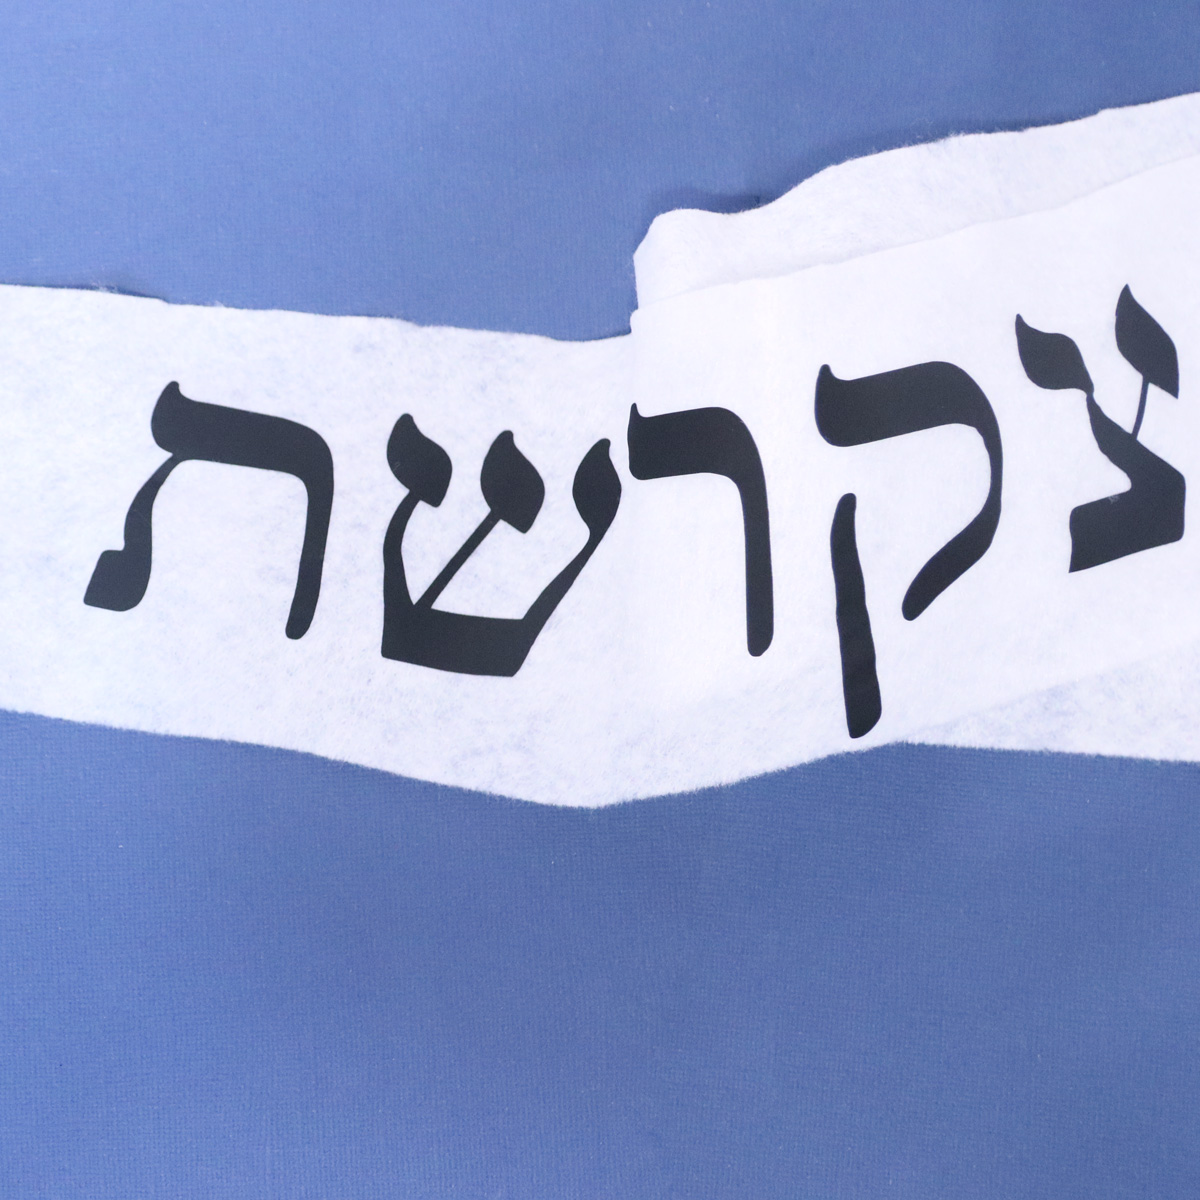
4. Cut out your letters using a cutting machine (or use any of the methods I shared above for adding them…) You can find my Design Space project here.
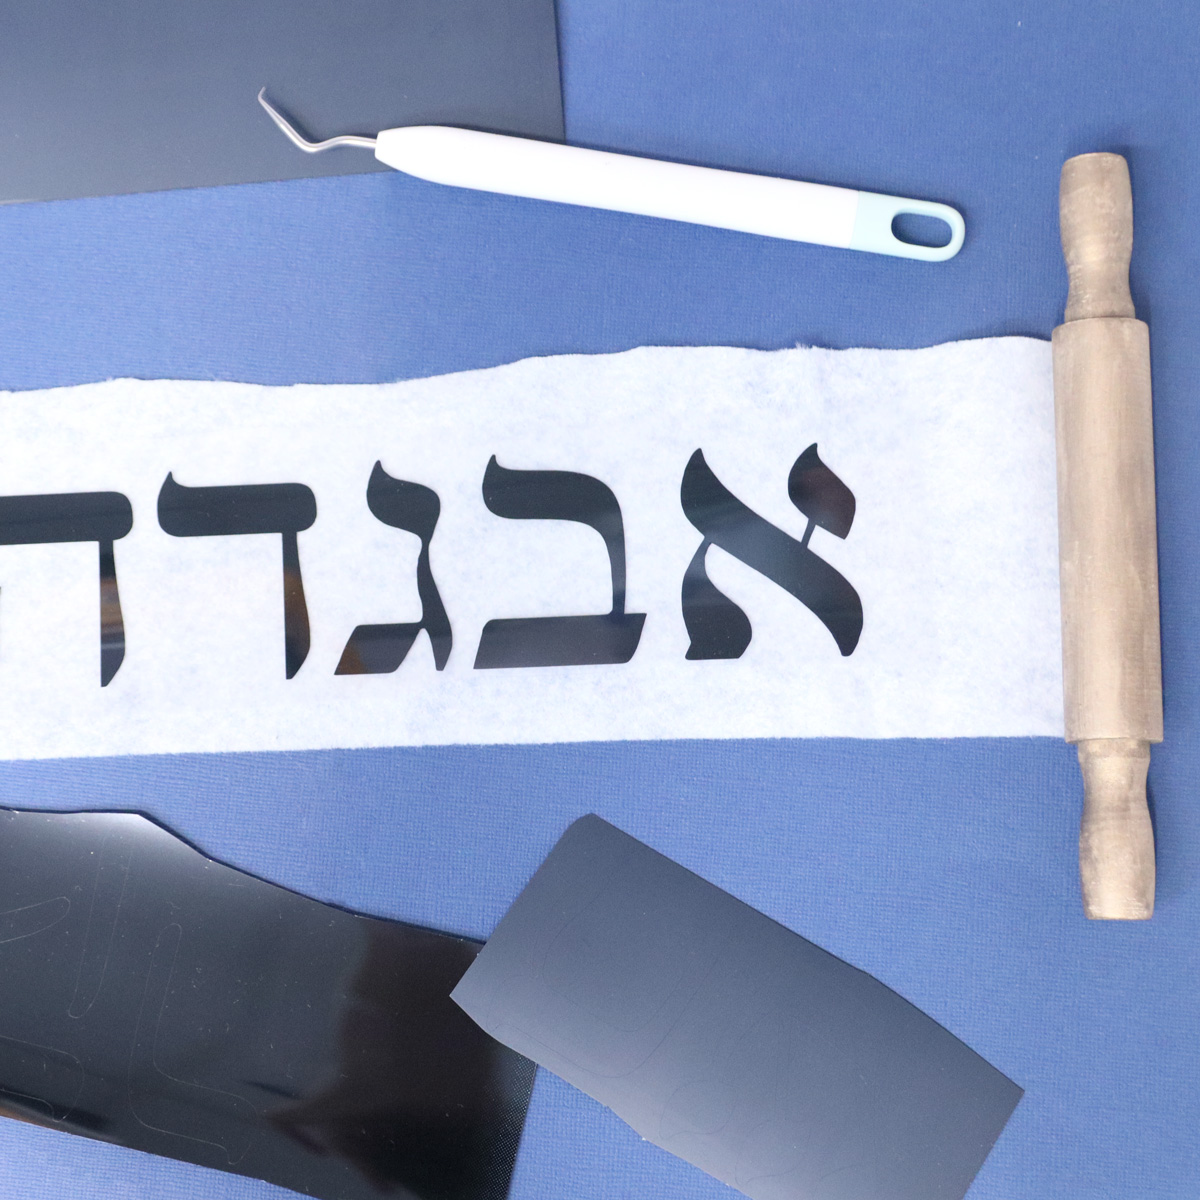
4. Weed your letters and arrange the layout. Leave a bit of a space between the letter and the rolling pin – I left about two inches.
5. Once all your letters are arranged, press them. Make sure that you don’t have any backer pieces blocking the iron-on.
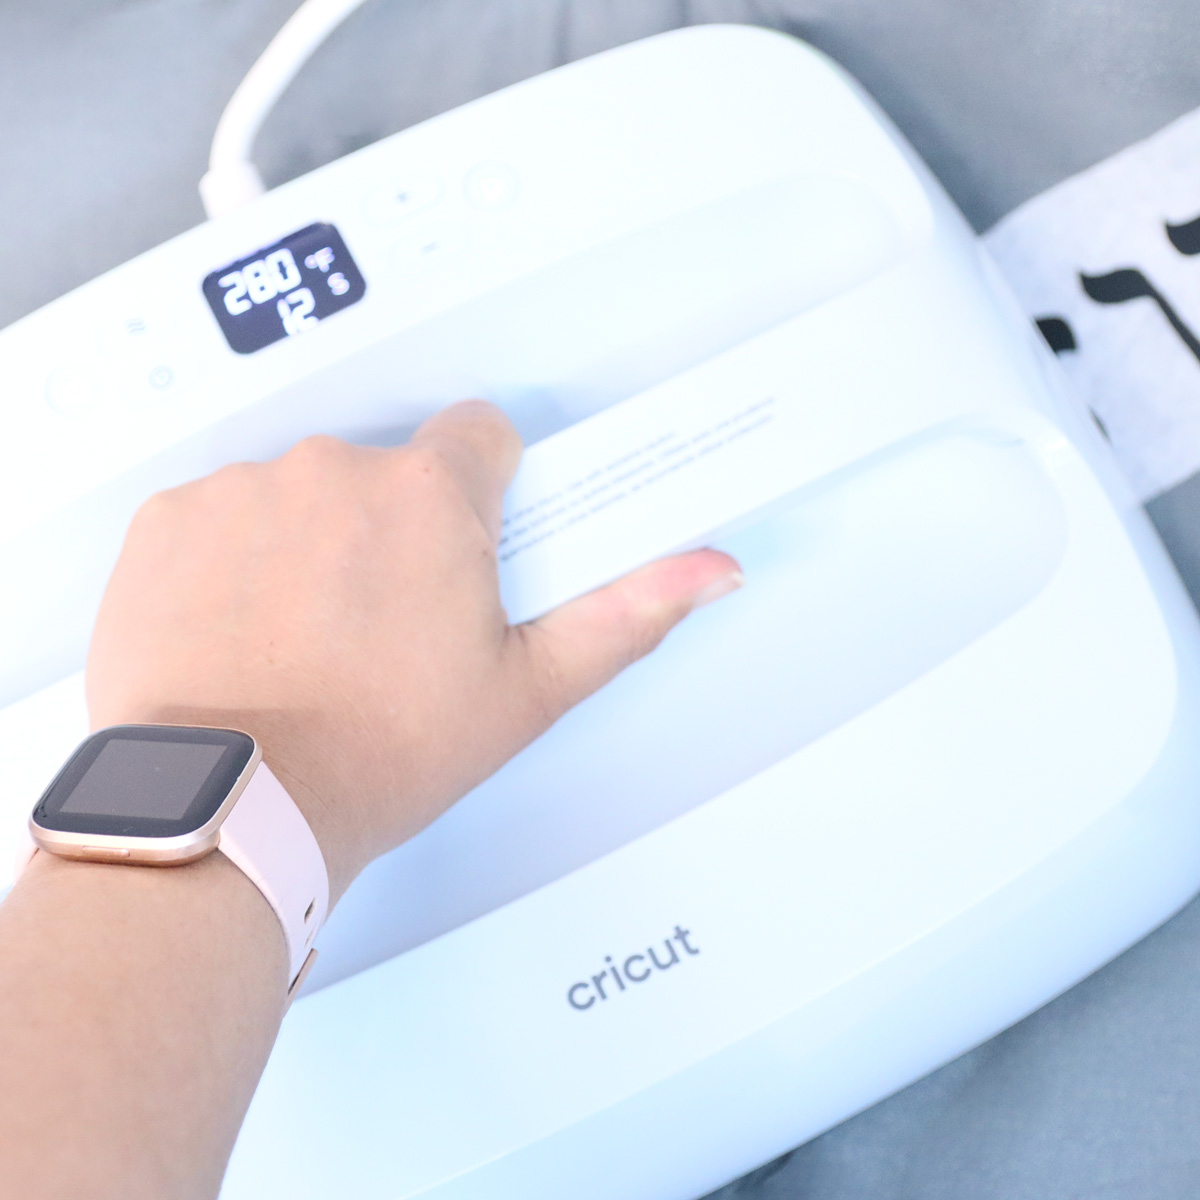
Once it’s cooled down, peel off the backers.
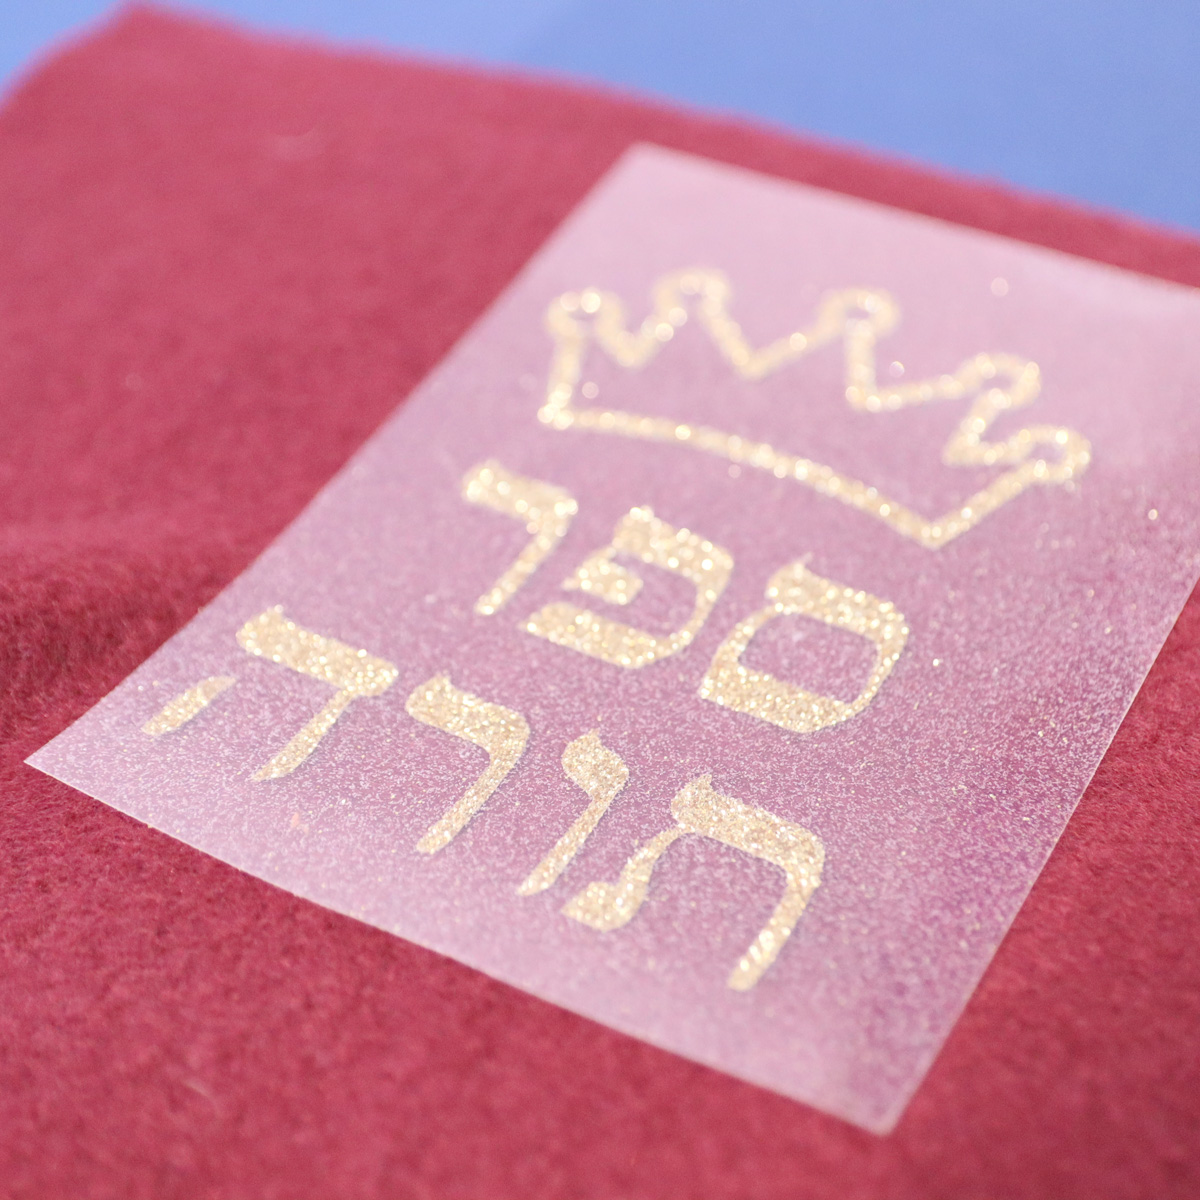
6. Cut, weed, and place your cover design. Leave enough room around it to trim to size after. (You can also trim to size beforehand, but I was happy I didn’t as it allowed me to cut it slightly bigger to accommodate the too-big design).
7. Glue your second rolling pin to the other side. Again, leave a little extra after the last letter.
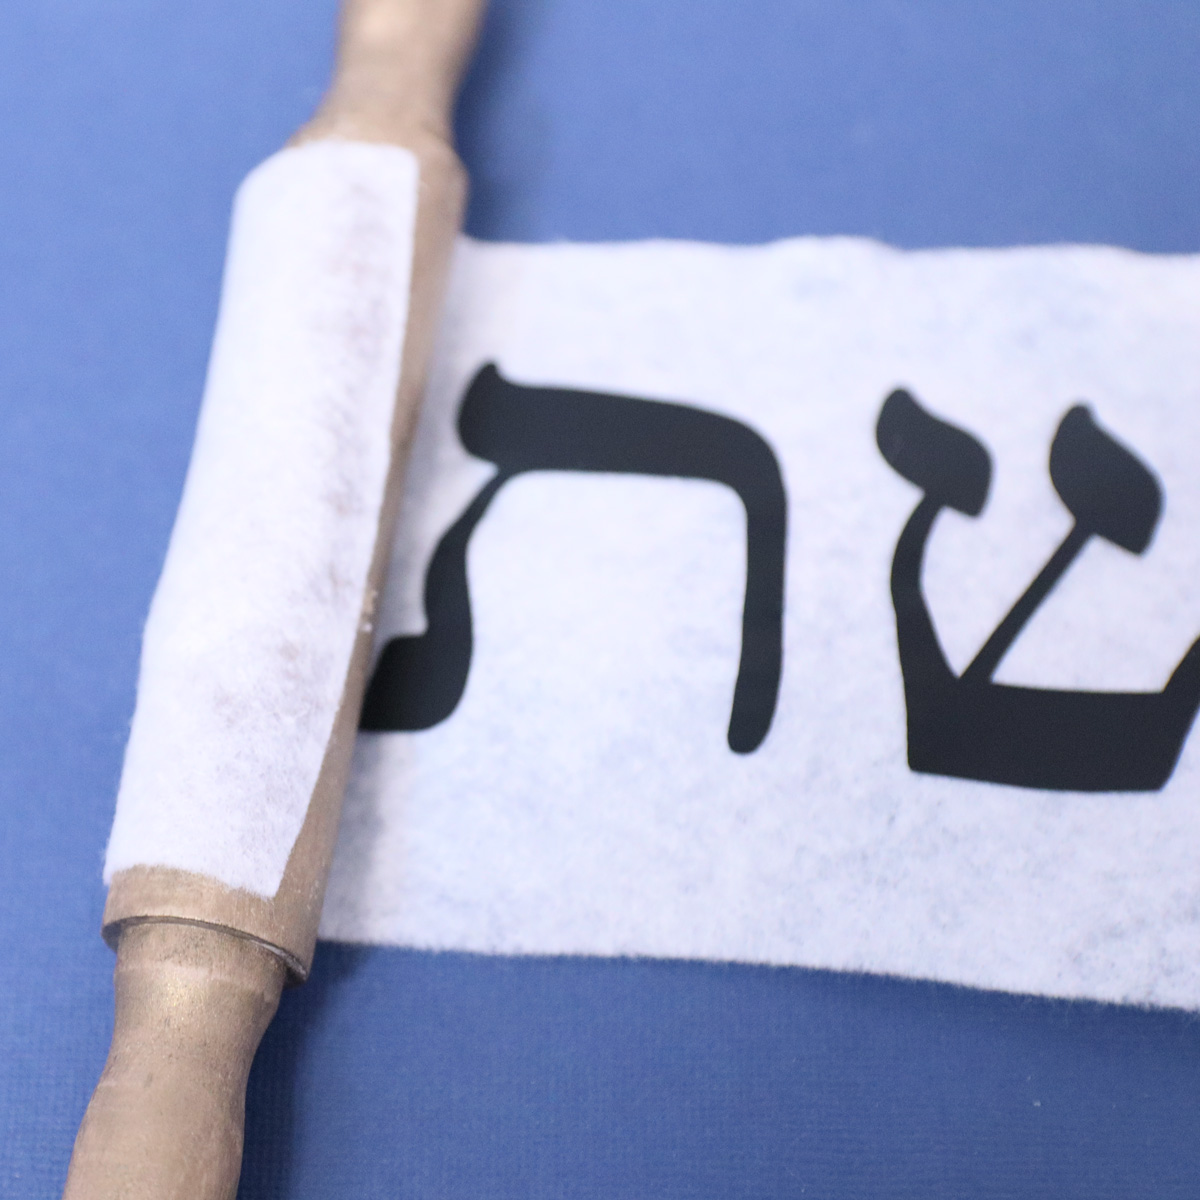
8. Roll up your scroll equally on both sides (don’t worry if it’s not perfectly straight.)
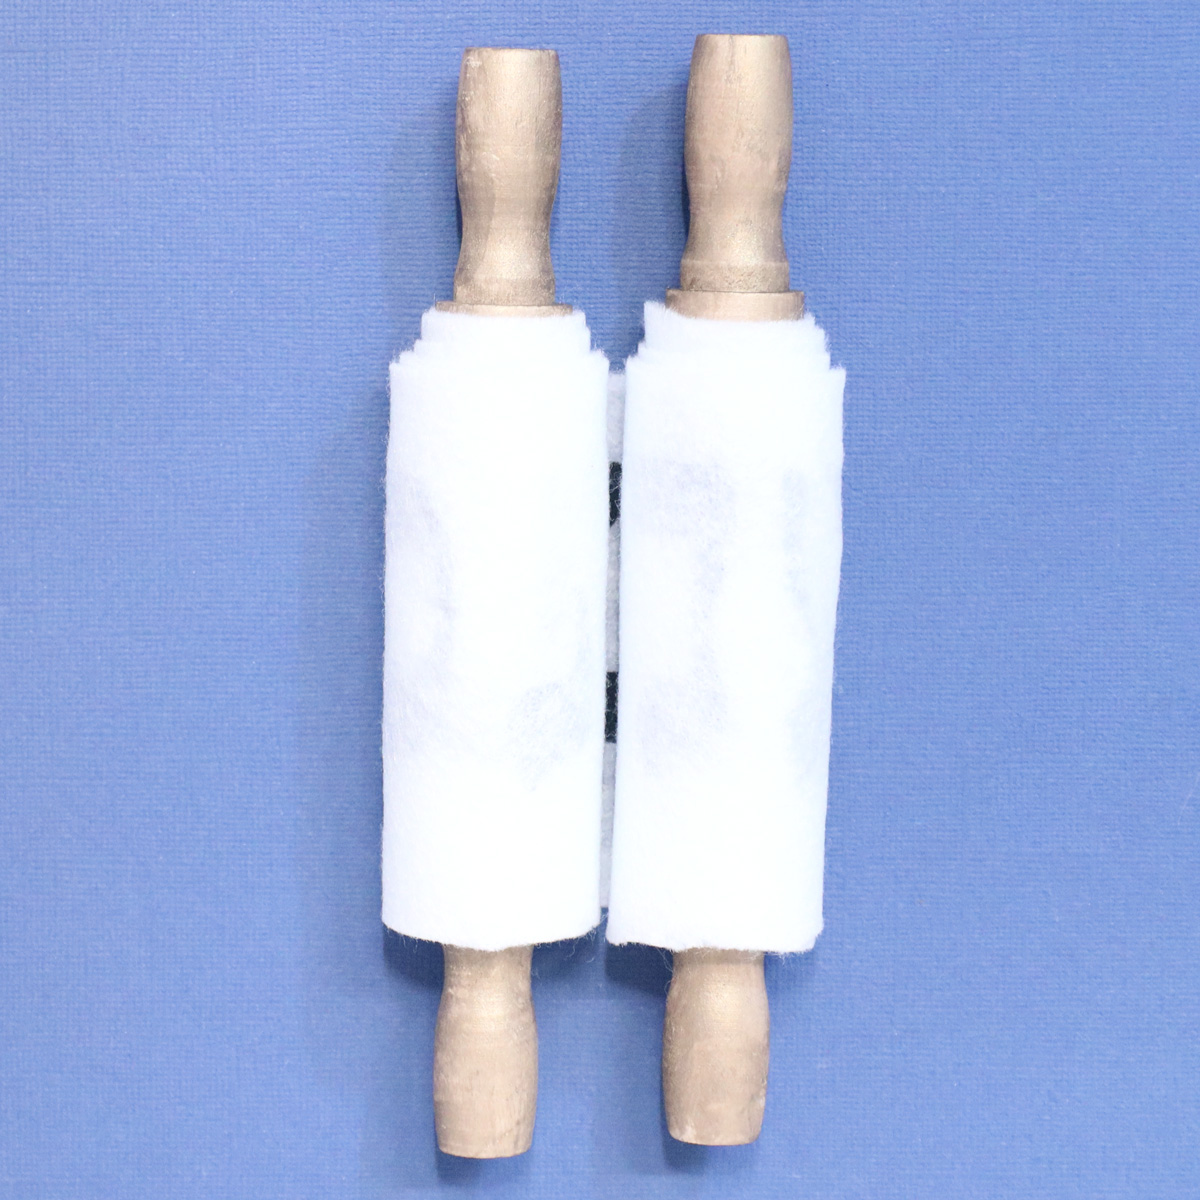
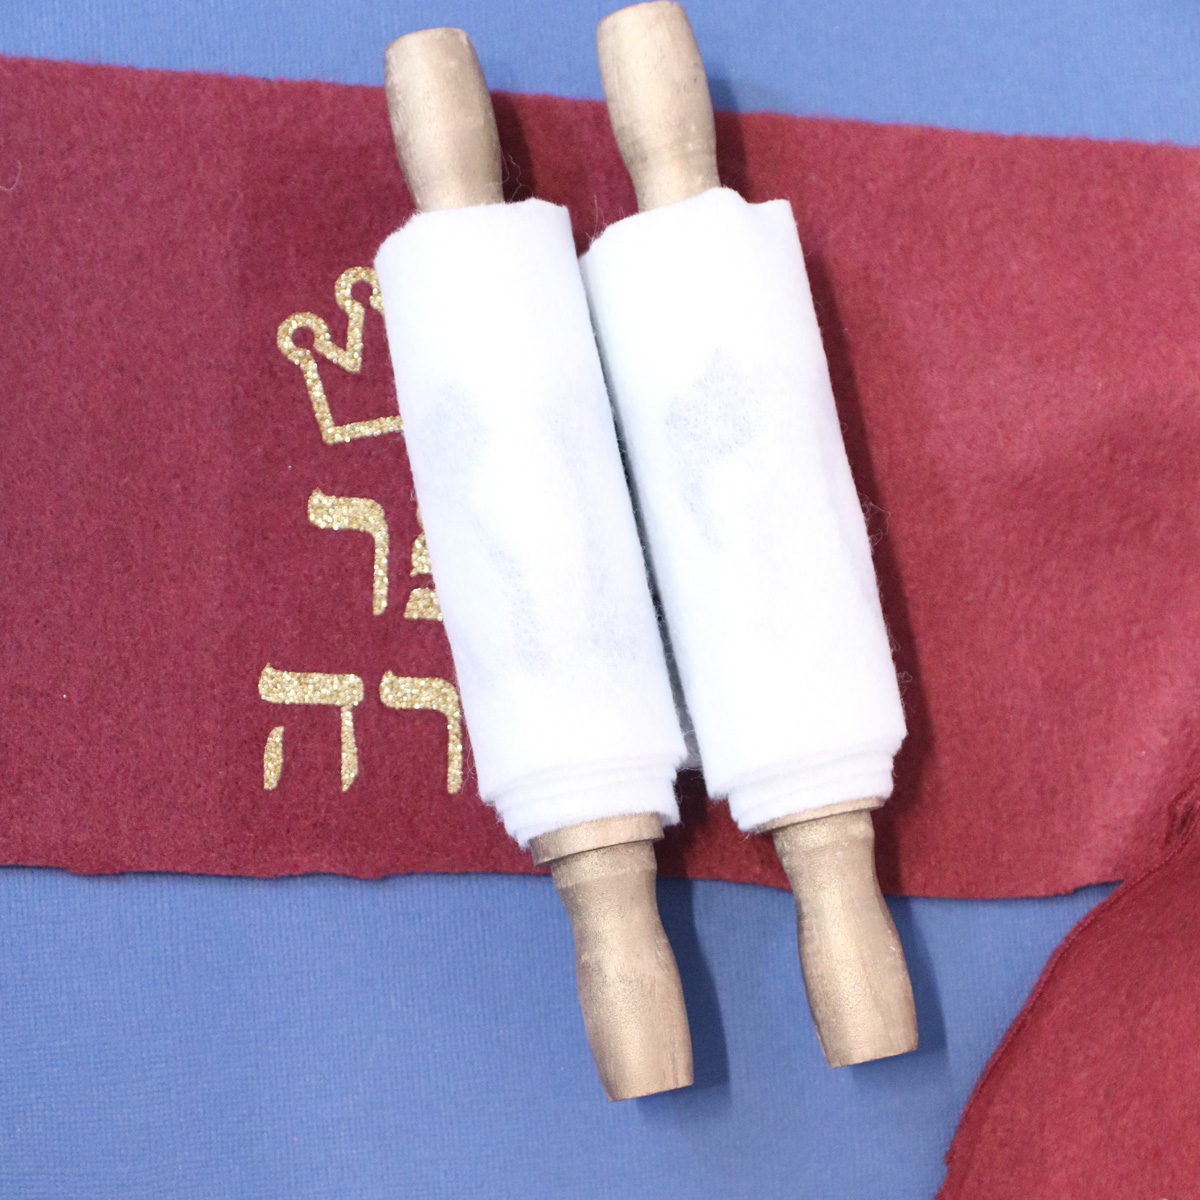
Measure the rolled up scroll and cut your fleece cover to size.
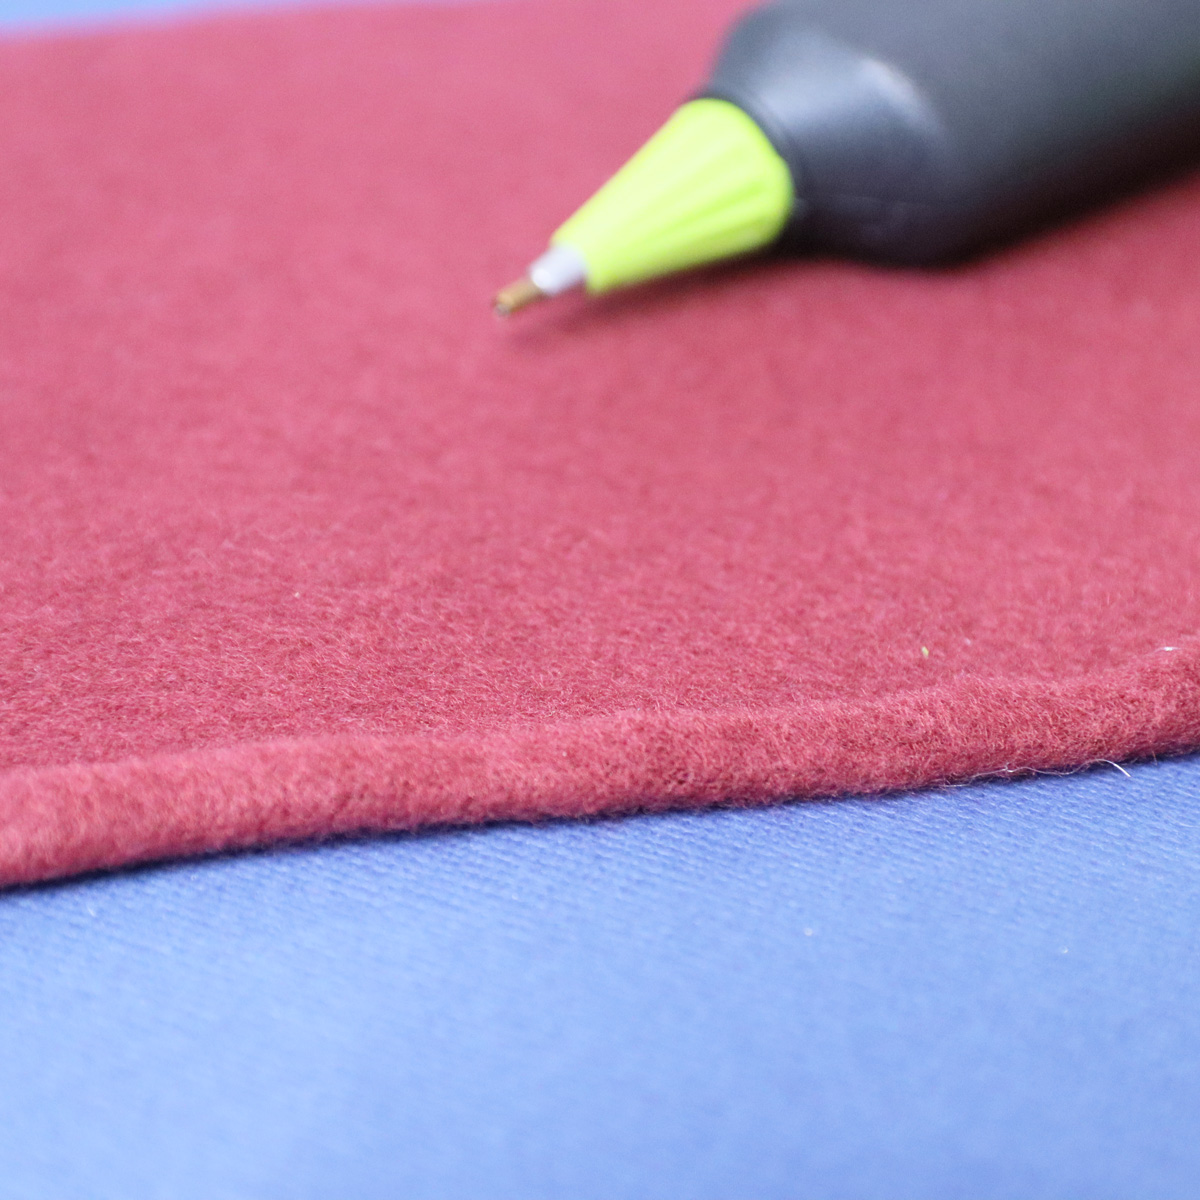
9. I glued the edges down a bit to hem it just to make it a bit stronger, but you don’t have to do that.
10. Attach a hook and loop closure in the back to secure the two sides of the cover.
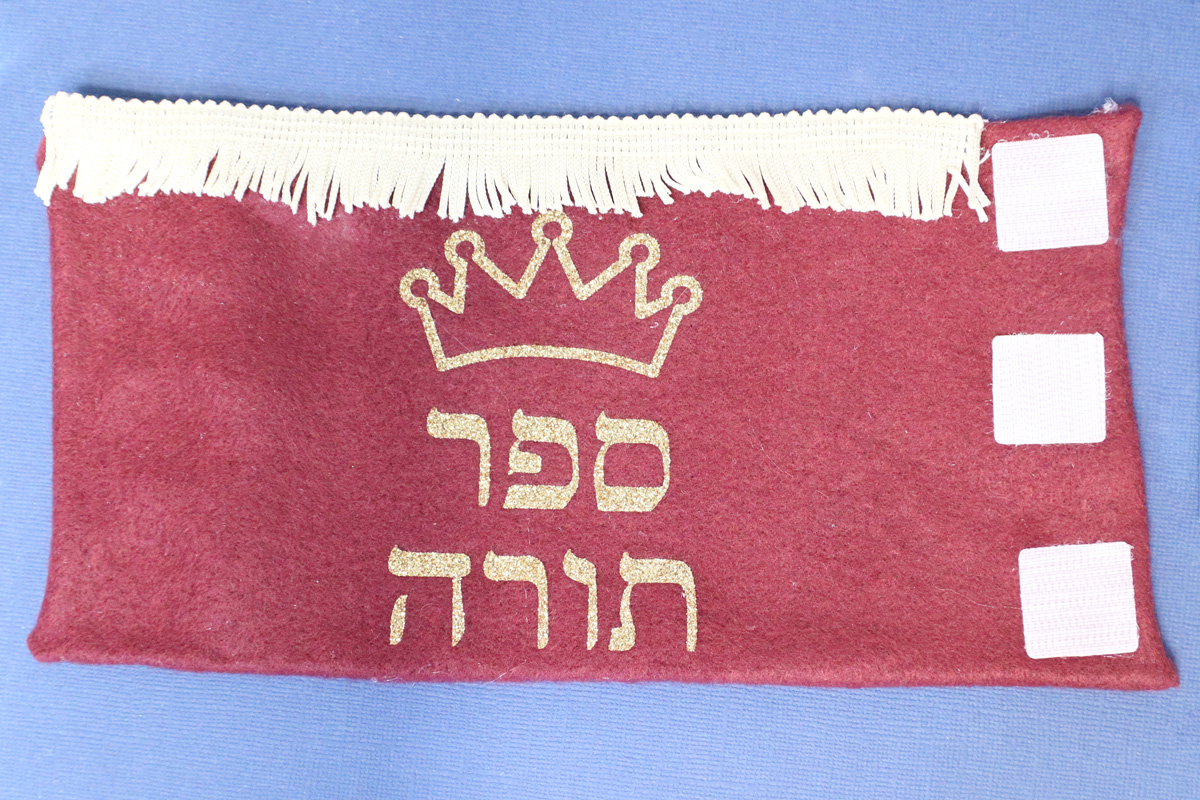
Your toy Torah DIY is complete!
