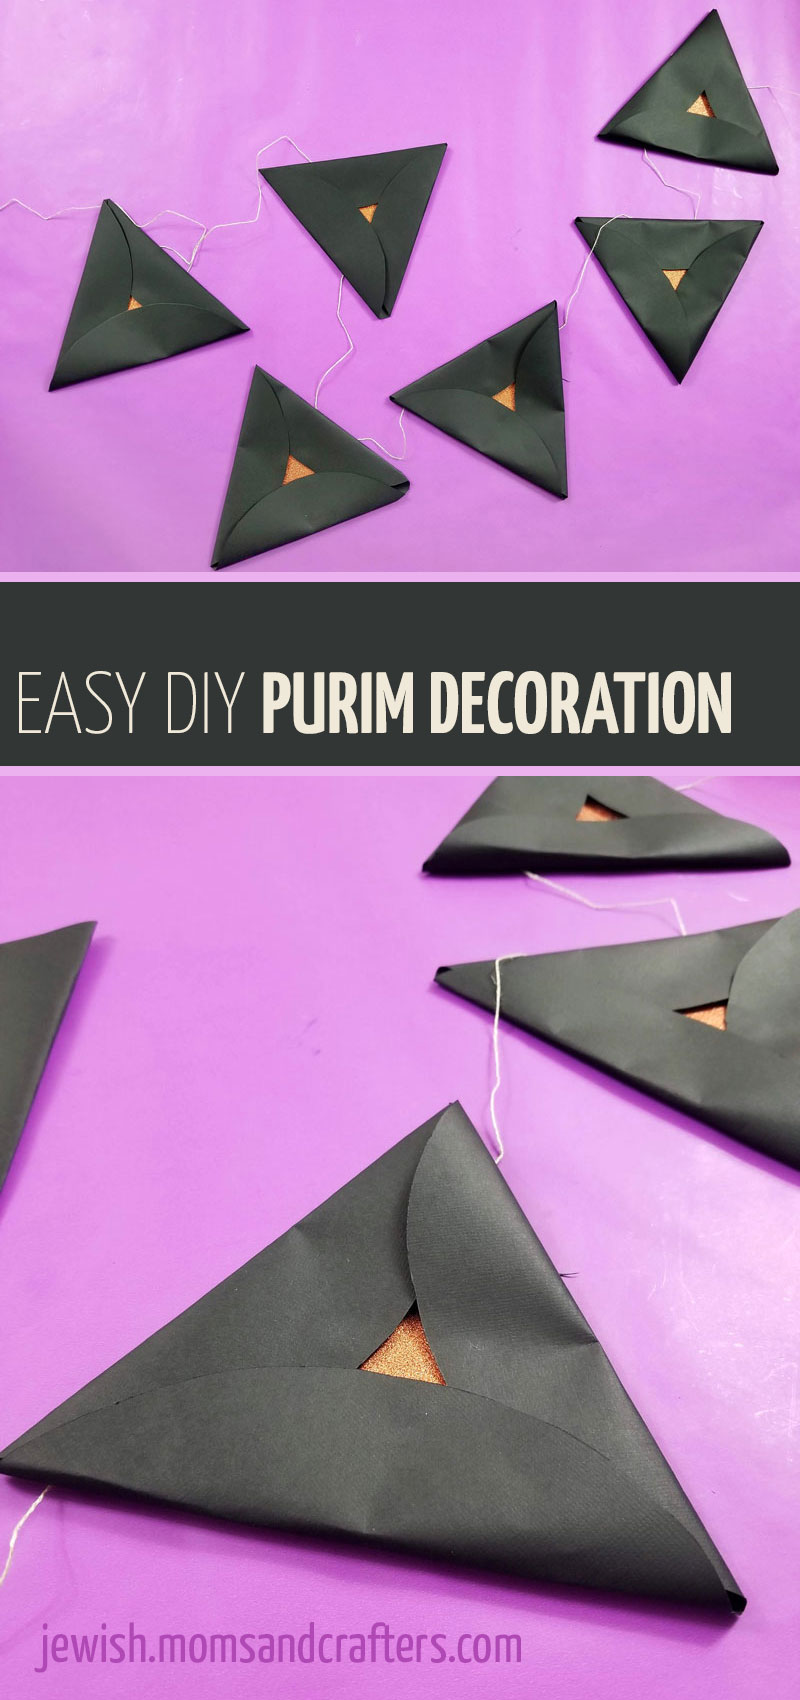
Purim Decoration: Craft a Hamantaschen Pennant Banner
Ready for a super cool but EASY Purim decoration craft? Try a folded hamantaschen pennant banner! Then browse through the rest of our easy Purim ideas. This post contains affiliate links.

Purim is an opportunity to get very creative – not just with mishloach manot ideas and purim themes!
If you’re hosting a family party, dressing it up can be so pleasing. For me, it’s a time to go all out way in advance. In fact, I’d rather go simple with my mishloach manot packages and costumes and make a stunning seudah!
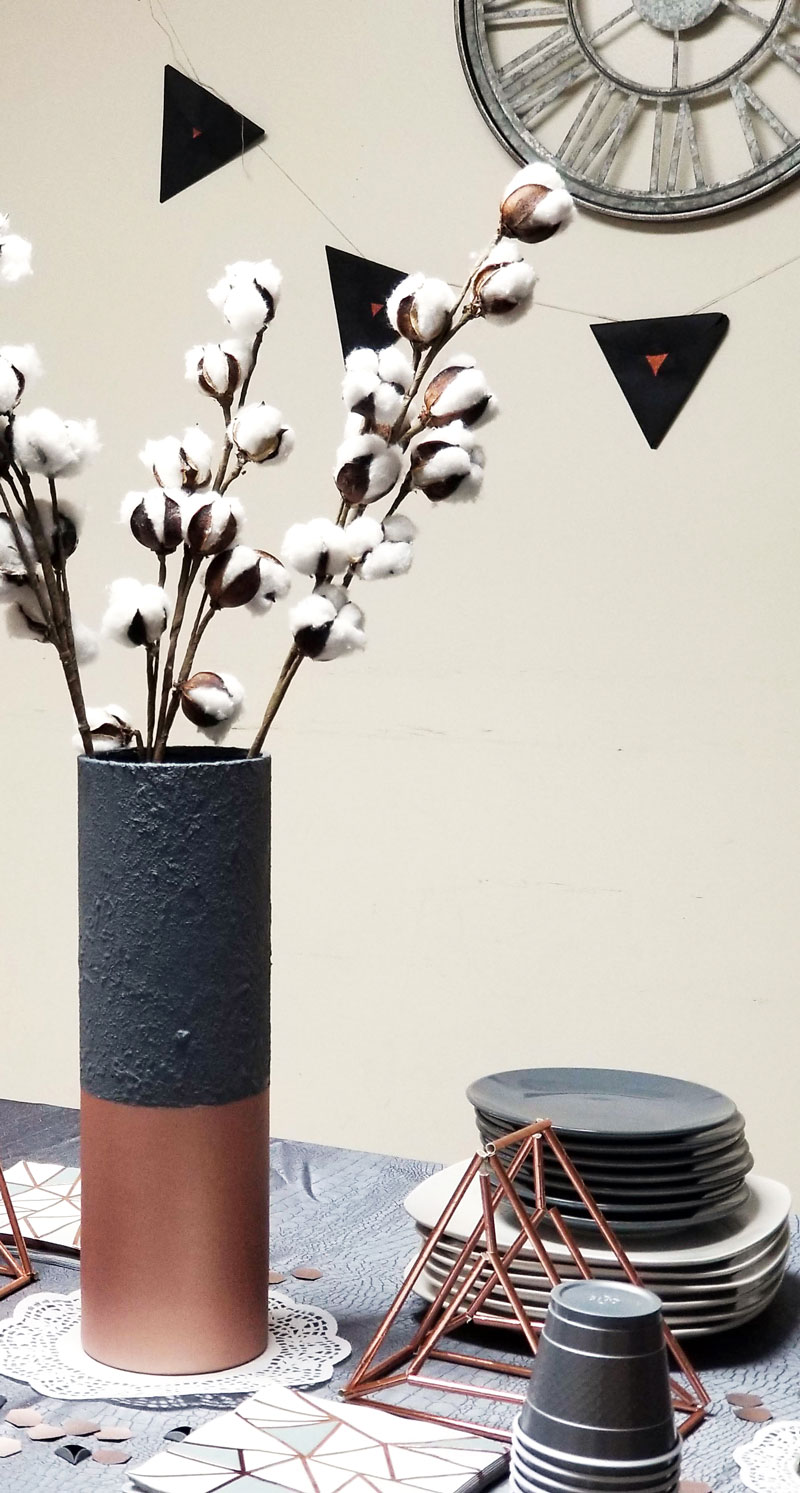

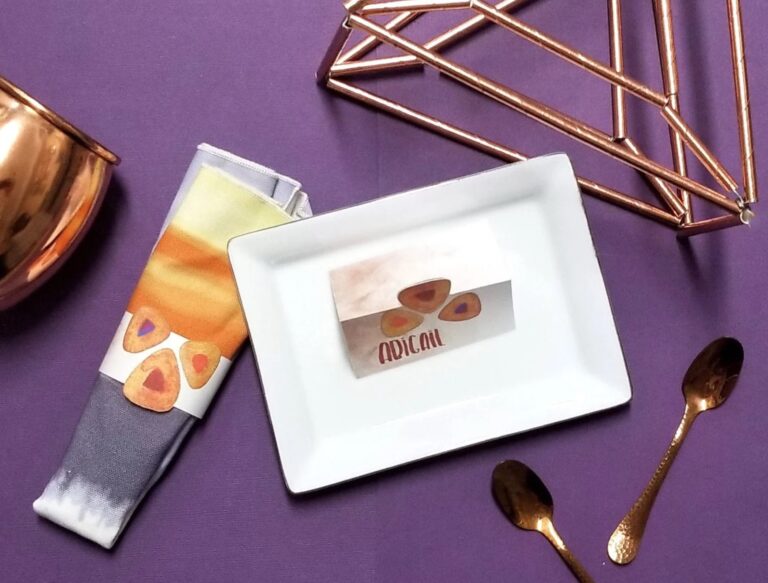
Last year, I created a charcoal, white, and copper tablescape, complete with a few new Purim decoration crafts. I wish I could share everything at once, but for now, I’m going to go with the one that’s easy but makes a big statement: the pennant banner.
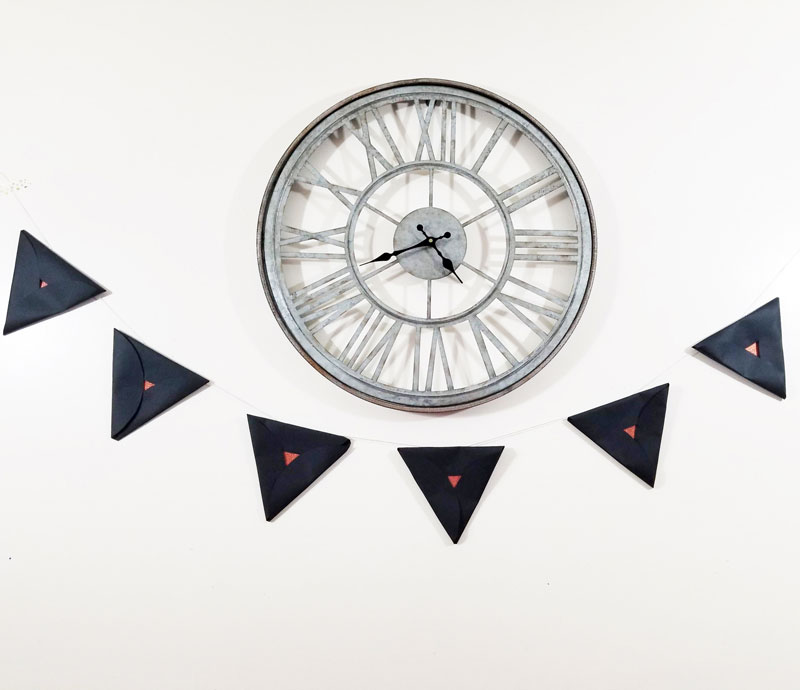
Hamantaschen are triangular (obviously) which make them the perfect choice for a pennant banner! I didn’t have charcoal paper in the quantities I needed so I stuck with black. I made the filling with copper glitter card stock.

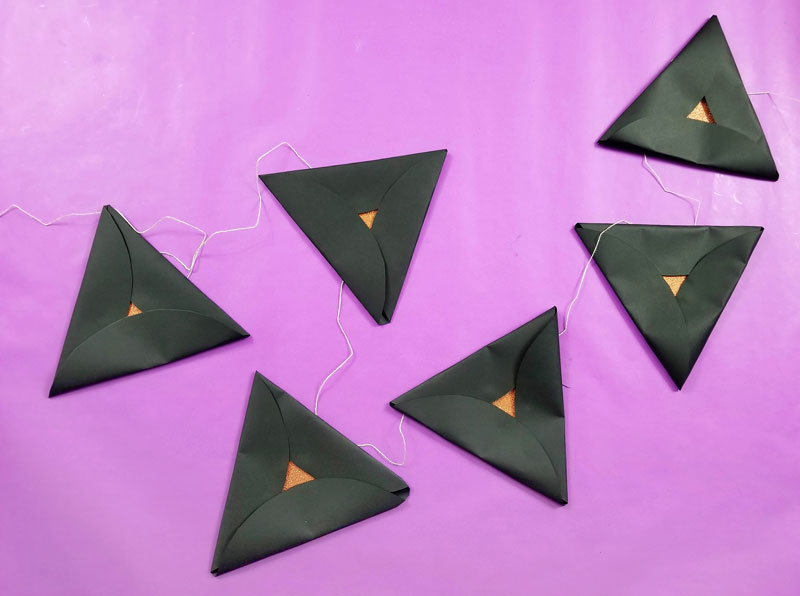
This Purim decoration is so easy to make, that you can commission your kids to help! You can even make it as a classroom decoration or a take-home craft.
Make them in real-life colors (tan or beige outside and brown, purple, red, orange inside) or match them up to your decor like I did!
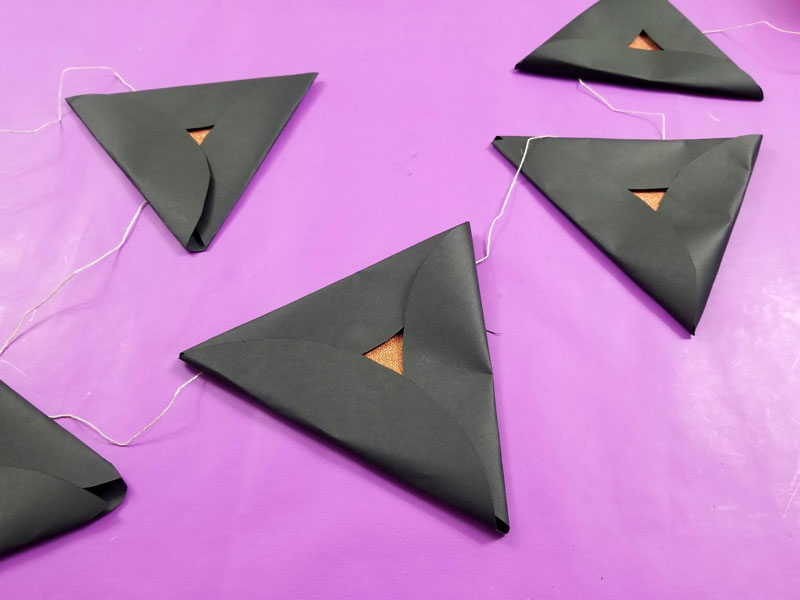
Supplies needed to make this Purim decoration craft:
- Cardstock in an outer and inner color. I used black for the outside and glitter copper for the inside.
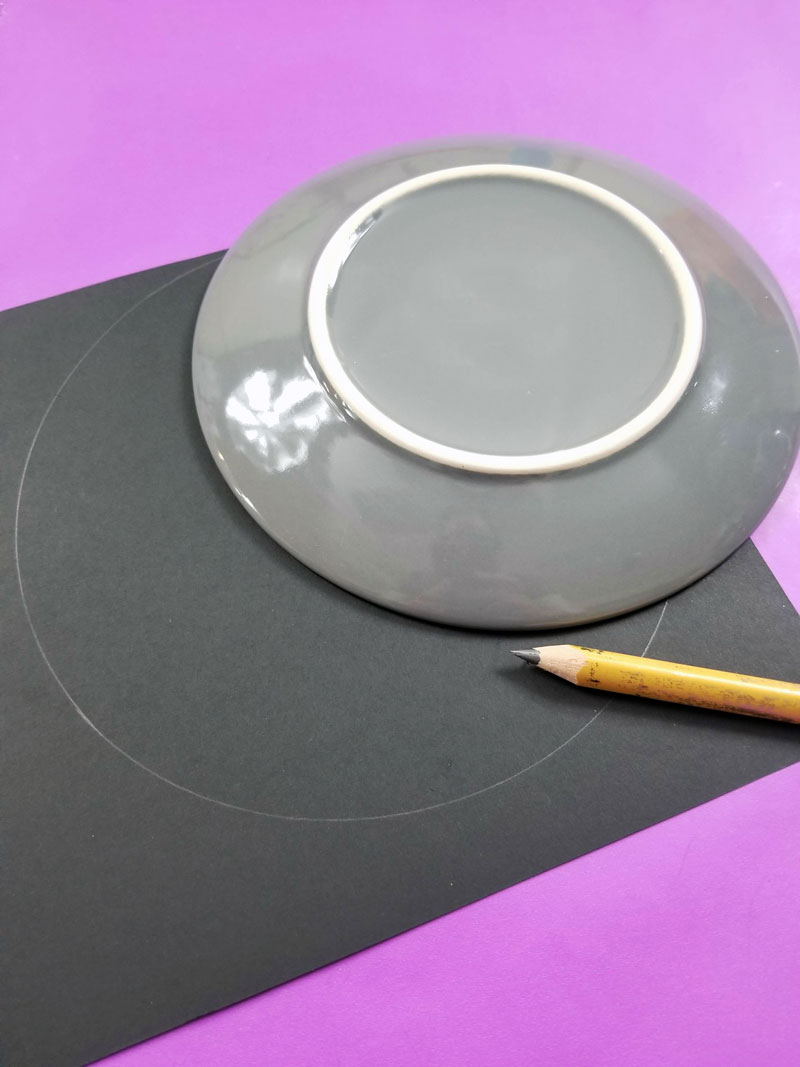
- A round bowl or plate to trace (I used a 7 inch salad plate)
- Pencil
- Scissors
- A hole punch (I used this one for smaller holes and a deeper reach)
- Glue
- Twine
How to make a hamantaschen pennant banner:
1. Trace your circle. Pencil shows up great on black paper.
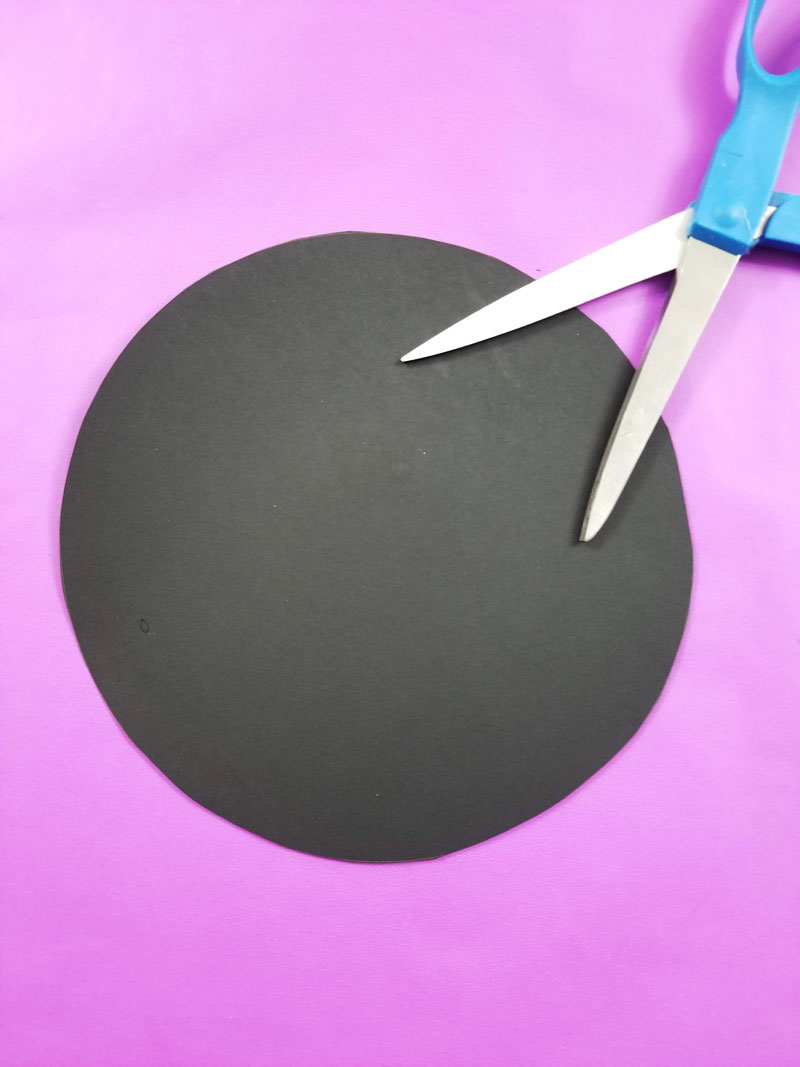
2. Cut it out.
3. Fold your 3 sides in at about even points to form a triangle. Don’t secure yet. If you’re not really good at free-forming like this, you can create a triangle template from your first circle to use as a sample to help you fold the others.
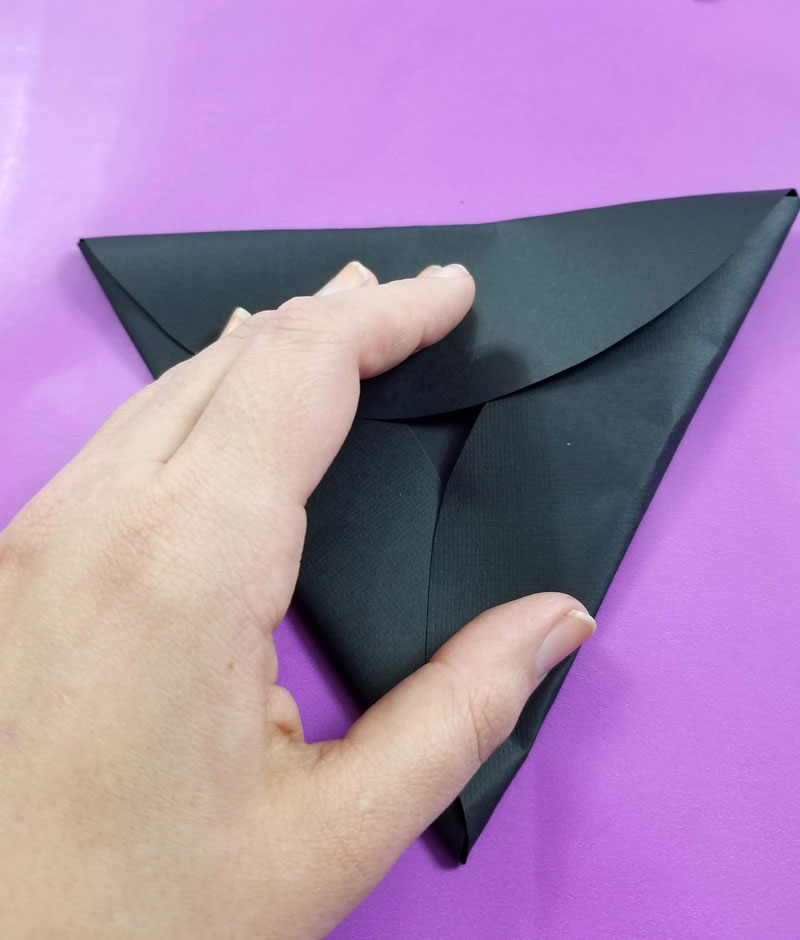
4. Add a small piece of your “filling” color to the center – large enough to cover the opening. Glue it in place.

5. Punch two holes about 1-2 inches apart at the center of one of your sides. If you don’t have a good hole punch for this, just cut an “x” with a craft knife at that spot. This won’t show so it doesn’t have to be perfectly neat.
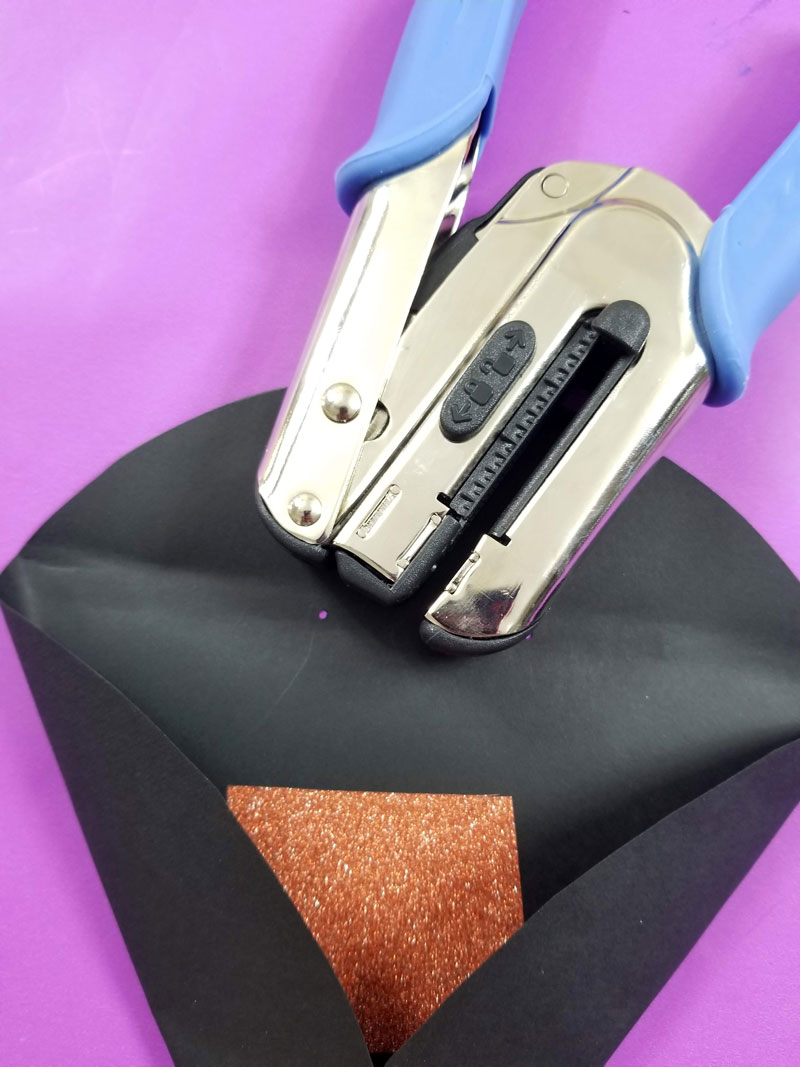
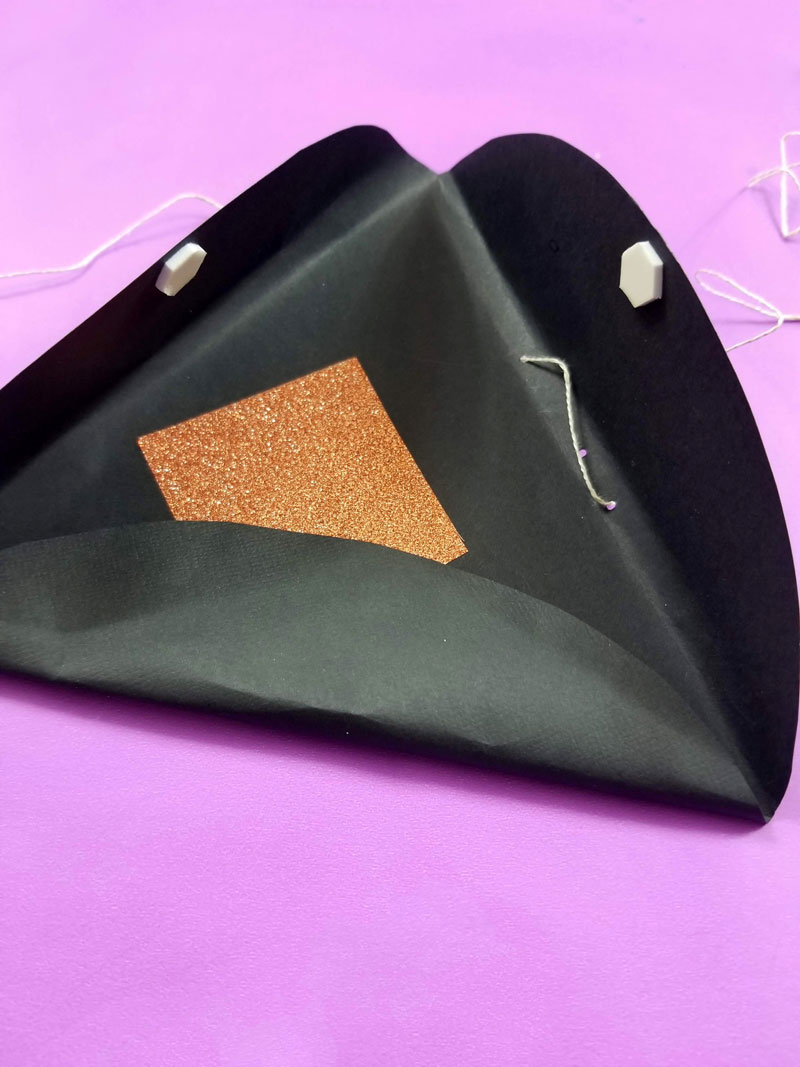
6. String your hamantaschen onto a length of twine the size you want your Purim decoration to be. Make as many hamantaschen as you need and space them however far apart you’d like. Use your own judgment on this one!

7. Now it’s time to close your hamantaschen! Glue down each fold at the center. Glue it loosely, allowing your piece a bit of form. Hold it in place until it sets. While photographing this tutorial, I used dimensional hexagons but I found that tacky glue worked better for this.
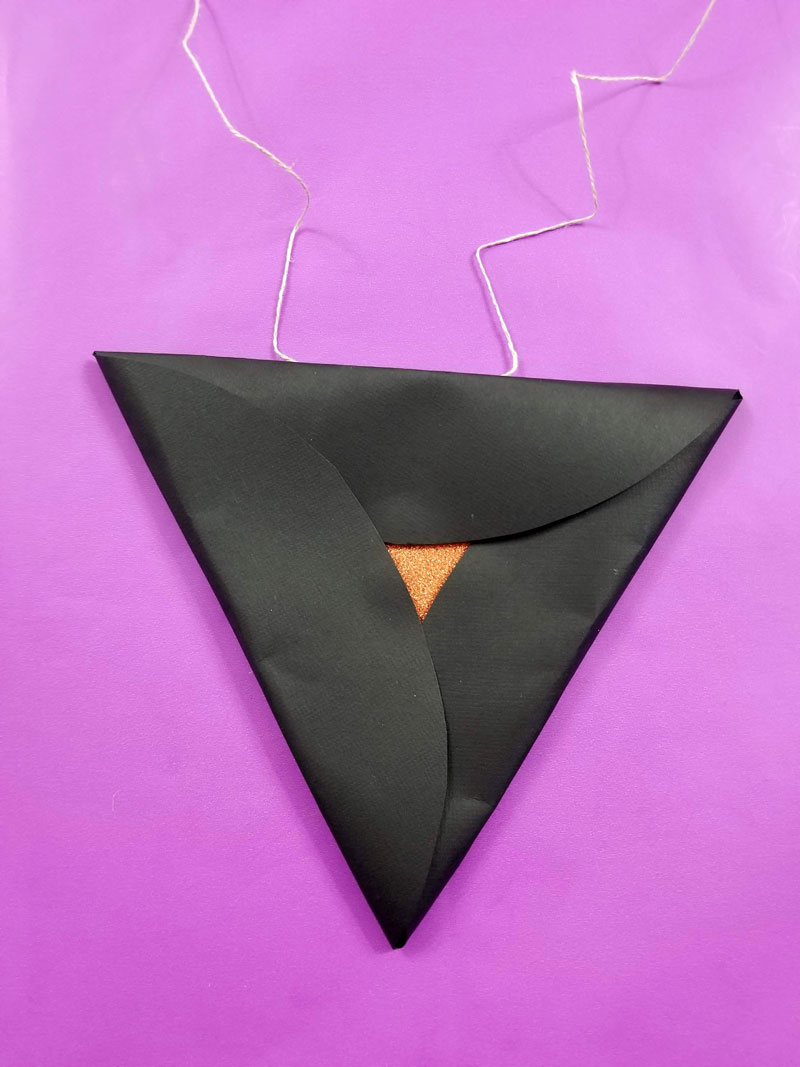
Time to hang up and enjoy your gorgeous DIY Purim decoration!
I used washi tape (not the best fix) but if you don’t mind making some holes in your wall, you can use thumb tacks, push pins, or small nails (tie your strings around them).
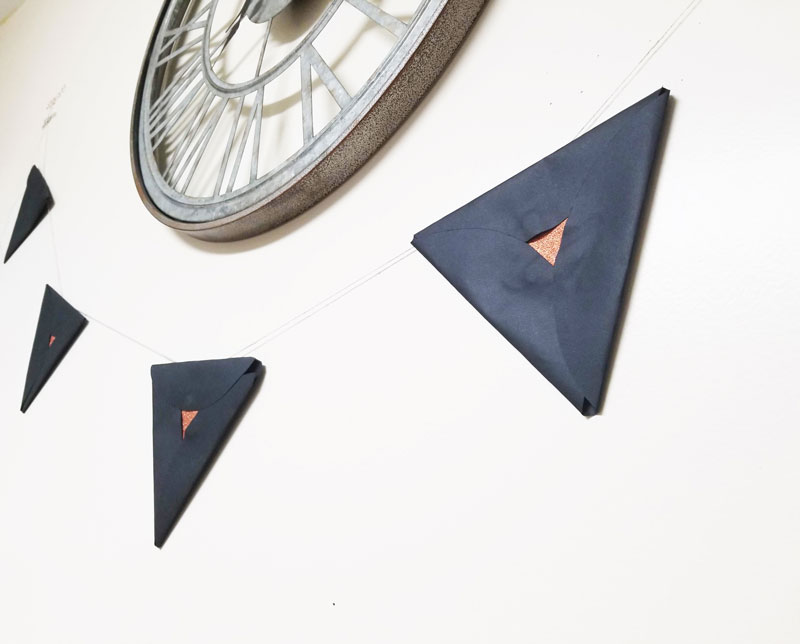
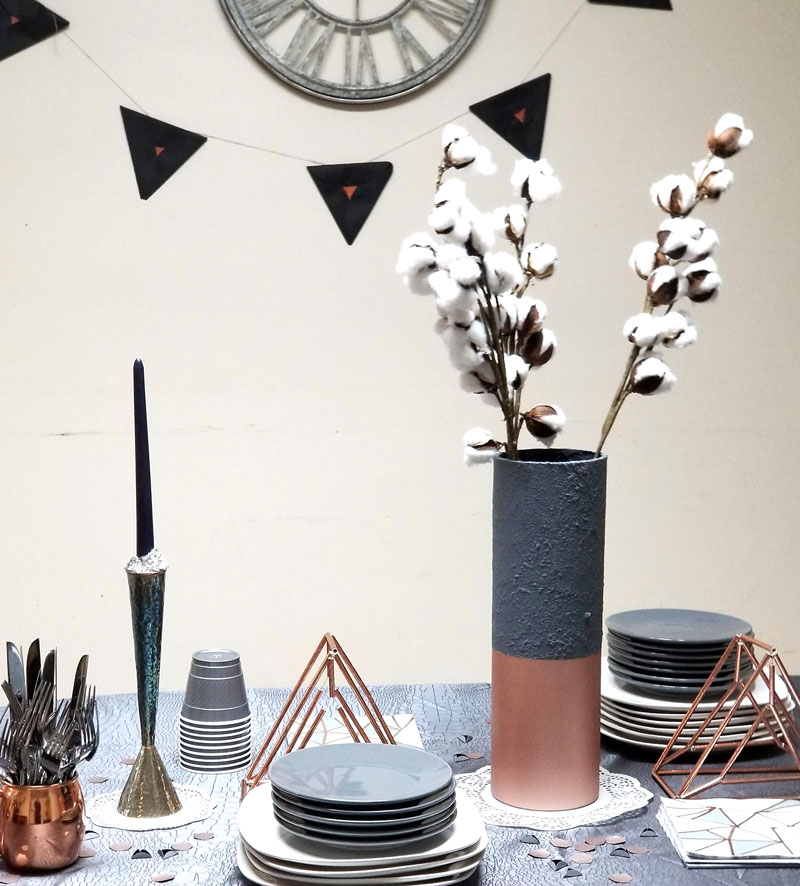
This Purim decoration is such a fantastic way to add some Purim atmosphere to your home, to your party, or to your classroom.
If you loved this idea, make sure you don’t miss a single one by signing up for our newsletter!
We won’t spam you! We mainly send out an email when we publish a new idea, as well as seasonal roundups and the occasional special announcement. Our newsletter is like a free web magazine subscription!
