Kotel Art – Salt Painting
Make a gorgeous Kotel salt art painting to go with your Kotel Art watercolor resist. This is a great Jewish process art craft for kids – or adults – and uses watercolors too. This post contains affiliate links.
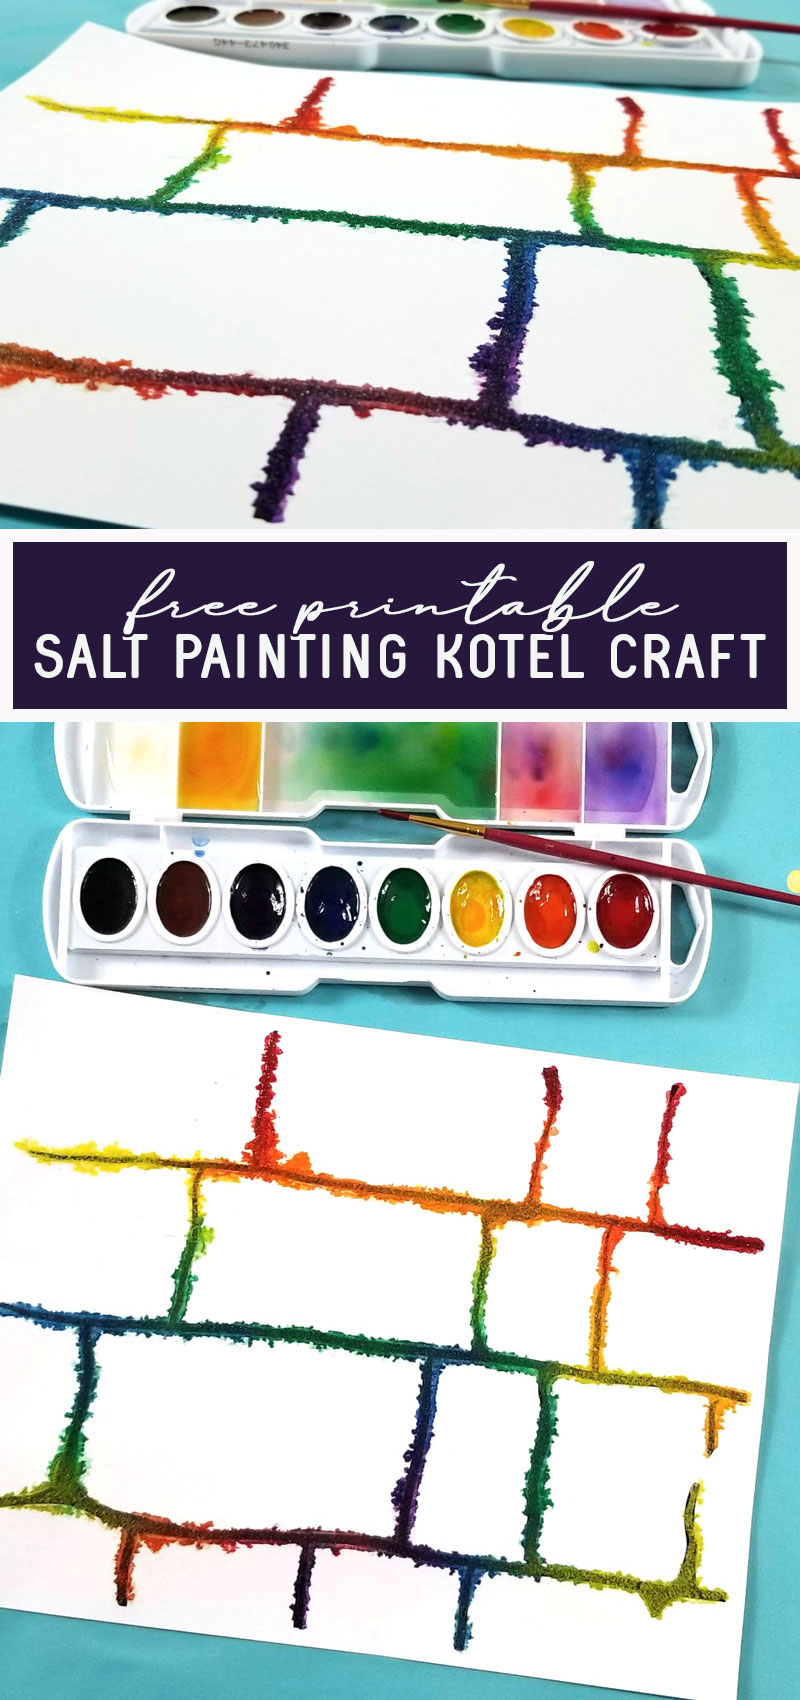
Last week, I shared a fun Kotel process art that was a big hit among you readers. I promised two more to come… eventually… using the same templates as last time.
I had some calendar reshuffles and I needed to swap for a quicker post today so guess what? I’m getting this to you just in the nick of time for Tish’a B’av.
While last week’s Kotel art made a great home decor piece or Sukkah decoration too, this one is more of a “just for fun” project that can truly be relaxing. It’s also a fantastic Jewish STEAM project to teach about absorbency.
And on that note: because salt is so absorbent, you’re better off doing it on a less-humid day (I did mine on a 95 degree humid day and it was harder to manage). It’ll sweat less that way and be easier to work with.
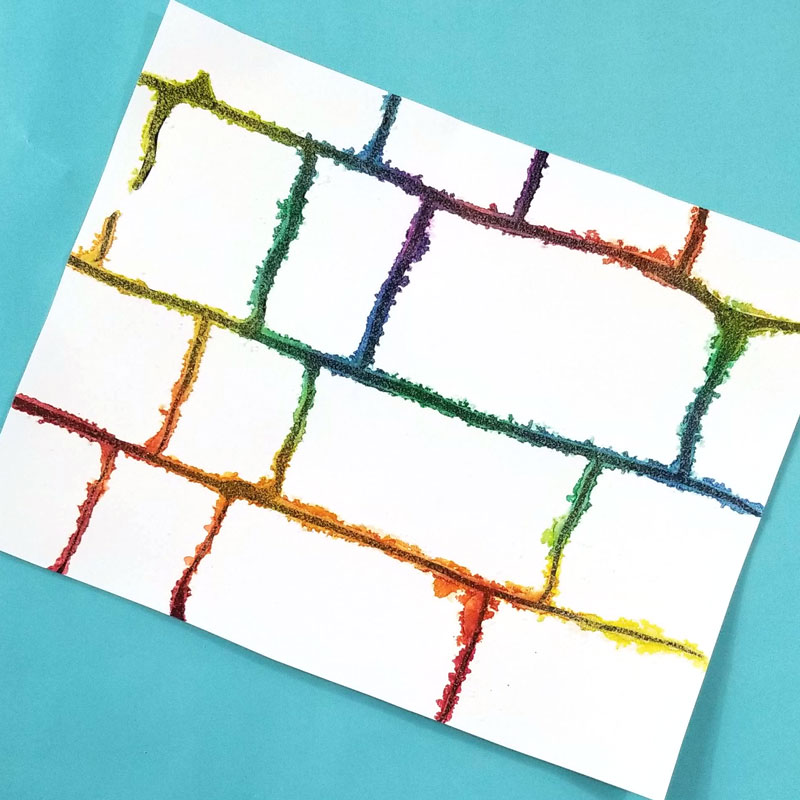
The process basically uses salt as you would glitter – outlining with glue and then covering it with salt. The salt then absorbs the watercolors as you dip your brush onto it, basically blending itself. It’s relaxing and hypnotizing – and fun for kids.
There are three points I wanted to make about the salt Kotel art:
⦁ I find salt to be so appropriate for the sadder times as it can represent the sadness over the destruction of the Beit Hamikdash, as well as the tragedies that came with it, generation after generation.
⦁ The salt isn’t a good, finished product – think of it like glitter, only less clingy. You may want to play with sealers (I didn’t) but ultimately I think it works better as a “make and toss” educational kids’ craft.
⦁ The way I made it was by gluing directly on the template. My black lines showed through. Some solutions would be to use the template only as a base later under another card stock (but you should use thicker card stock and that can be hard to trace). Or, print it in a lighter grayscale. Or just chill and let your black show through (like I did).
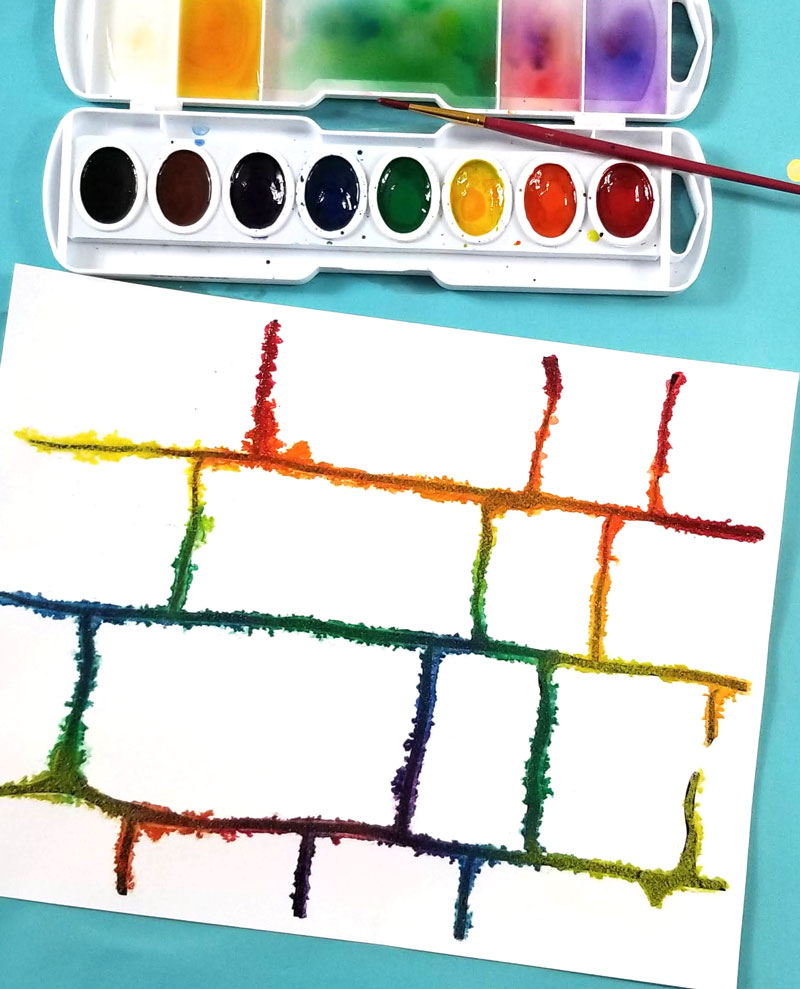
Another thing: salt “sweats”.
So make sure to put down a very thin line of glue – thin enough so that it won’t drip – so that you can shake off your salt right after putting it on.
Otherwise it’ll start sweating and dripping onto your paper, wetting it and ruining your project (ask me how I know and I’ll tell you all about Take 1 of this Kotel craft).
Download the Kotel Craft Template:
If you haven’t yet, download your template below. It’s four pages traced from the same image of the Kotel (so yes, these are really inspired by the actual bricks) that I took last year when I went with my family. I did different crops of the image so that you can make the image look how you want to – simpler, more complex.
Supplies needed to make this Kotel art and craft project:
- The template (above) printed on card stock
- White glue
- Table salt
- Watercolor paints (I used Prang’s – the colors are SO rich – but any will do)
- Water
- Thin paint brush (the one that comes with your palette should do!)
[show_boutique_widget id=”969649″]
How to make a Kotel Salt Painting:
1. Outline your Kotel image with a thin layer of white glue.
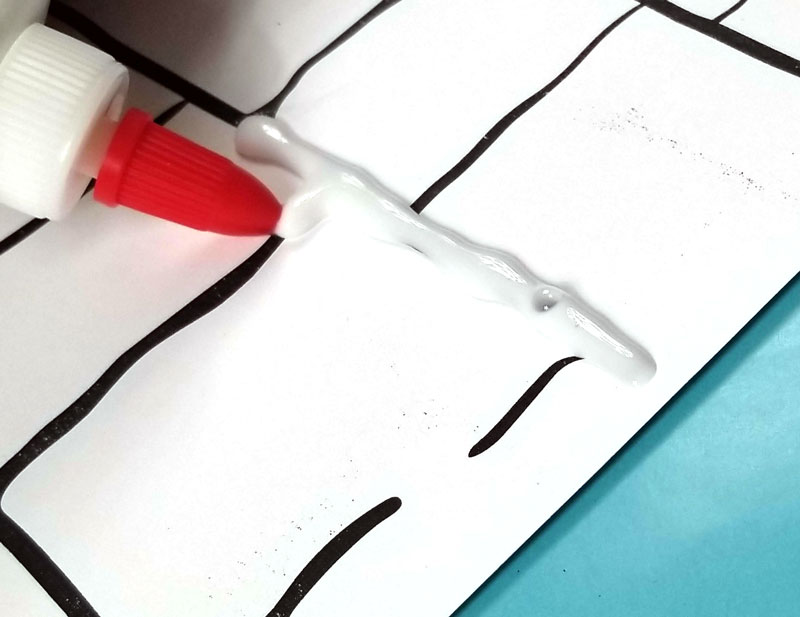
2. While it’s still wet, sprinkle on table salt. Shake off the excess immediately.
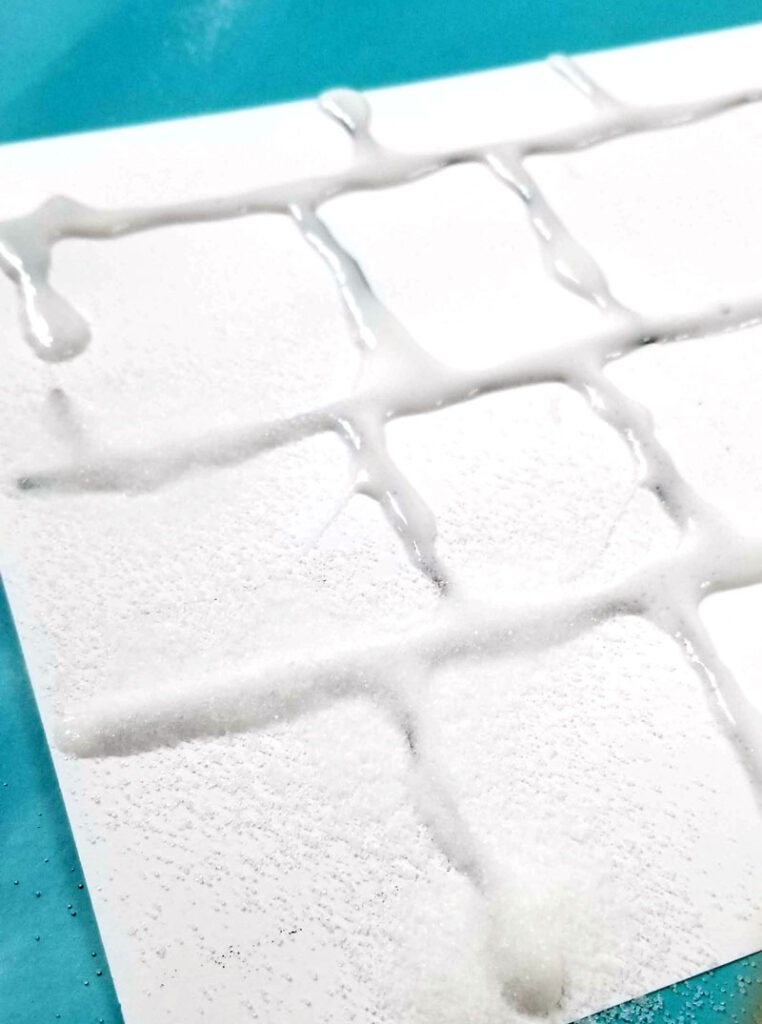
3. When your glue is totally dry, wet your watercolor pallet and load your brush with diluted paint. Gently touch the brush to the salt.
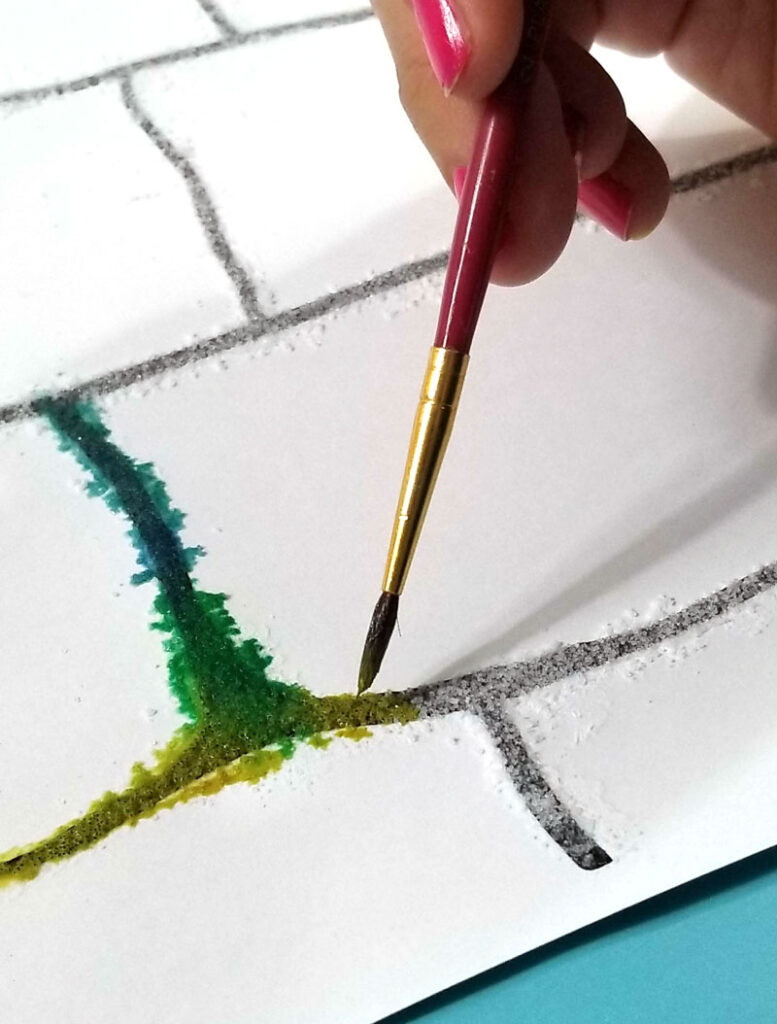
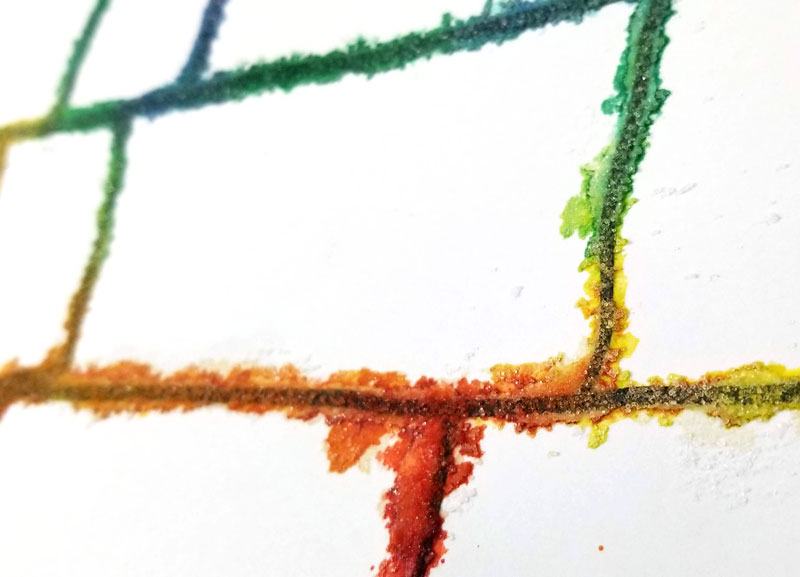
You’ll see the watercolors travel along the salt lines, hardly touching the paper.
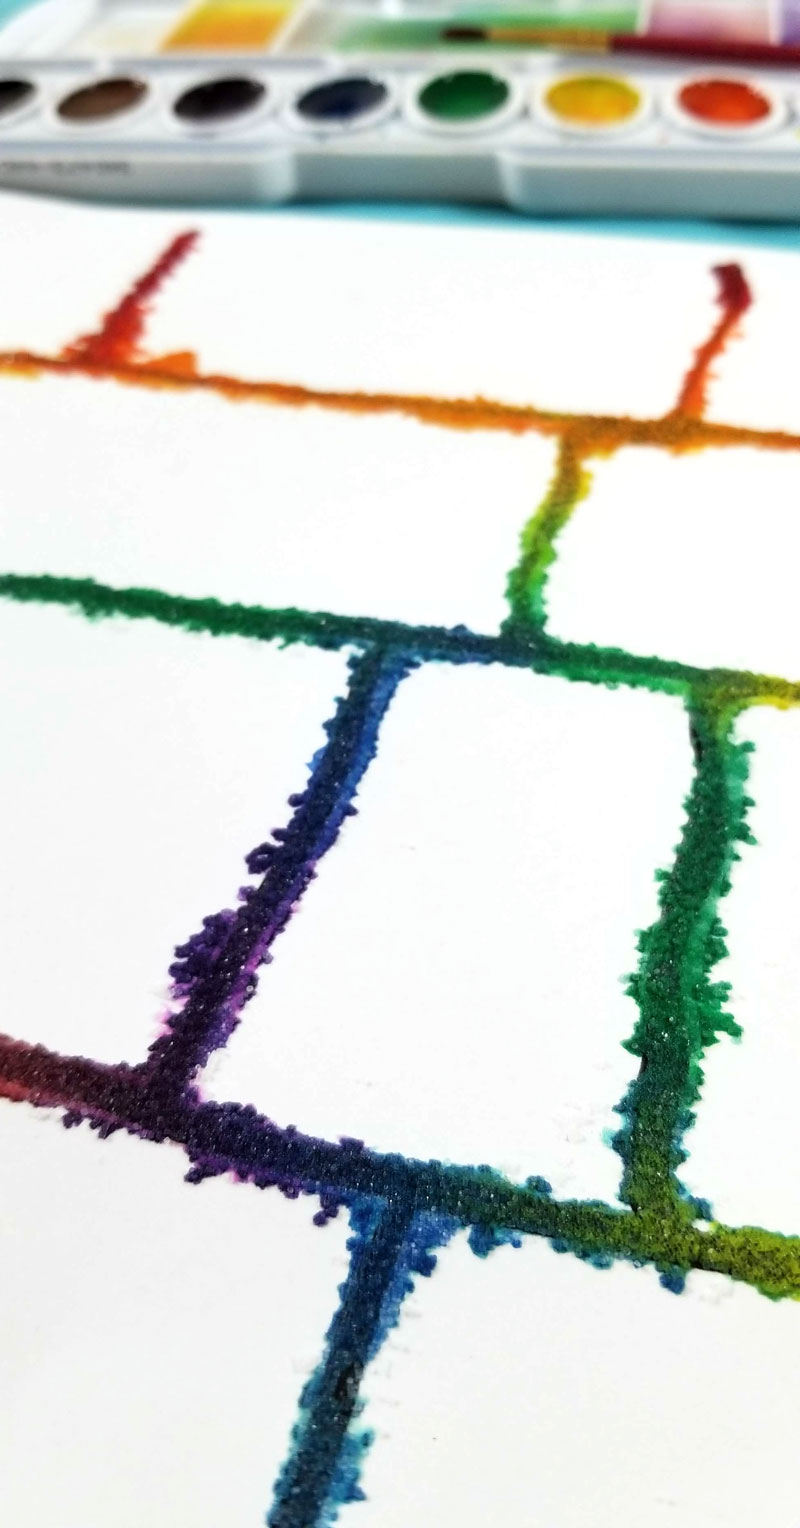
You can do a rainbow like I did, or stick to browns and tans for more realism.
Now try it with different designs – including abstract patterns, your name….
You can trim the edges when you’re done if you want.
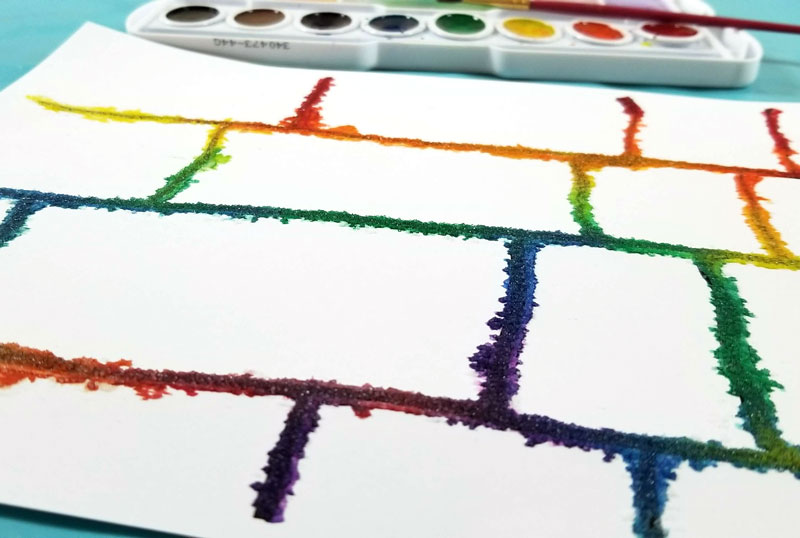
Your Kotel salt art is complete!
Make sure to follow along so that you don’t miss my third Kotel process art – to be realeased before Sukkot! It’s my favorite – best for last!
