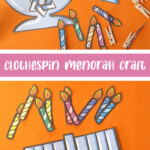
Clothespin Menorah Coloring Craft & Template
Craft a clothespin menorah as a fun Hanukkah preschool craft that builds fine motor skills! Or, you can check out this DIY felt toy menorah template. This post contains affiliate links.
The nights are early and the weather is cold, but that means good news – Chanukah is coming! Chanukah comes with so many fun traditions to engage the whole family – from dreidels to donuts, it’s like an automatic party! Of course, the most symbolic of all is the menorah, or Chanukiyah.
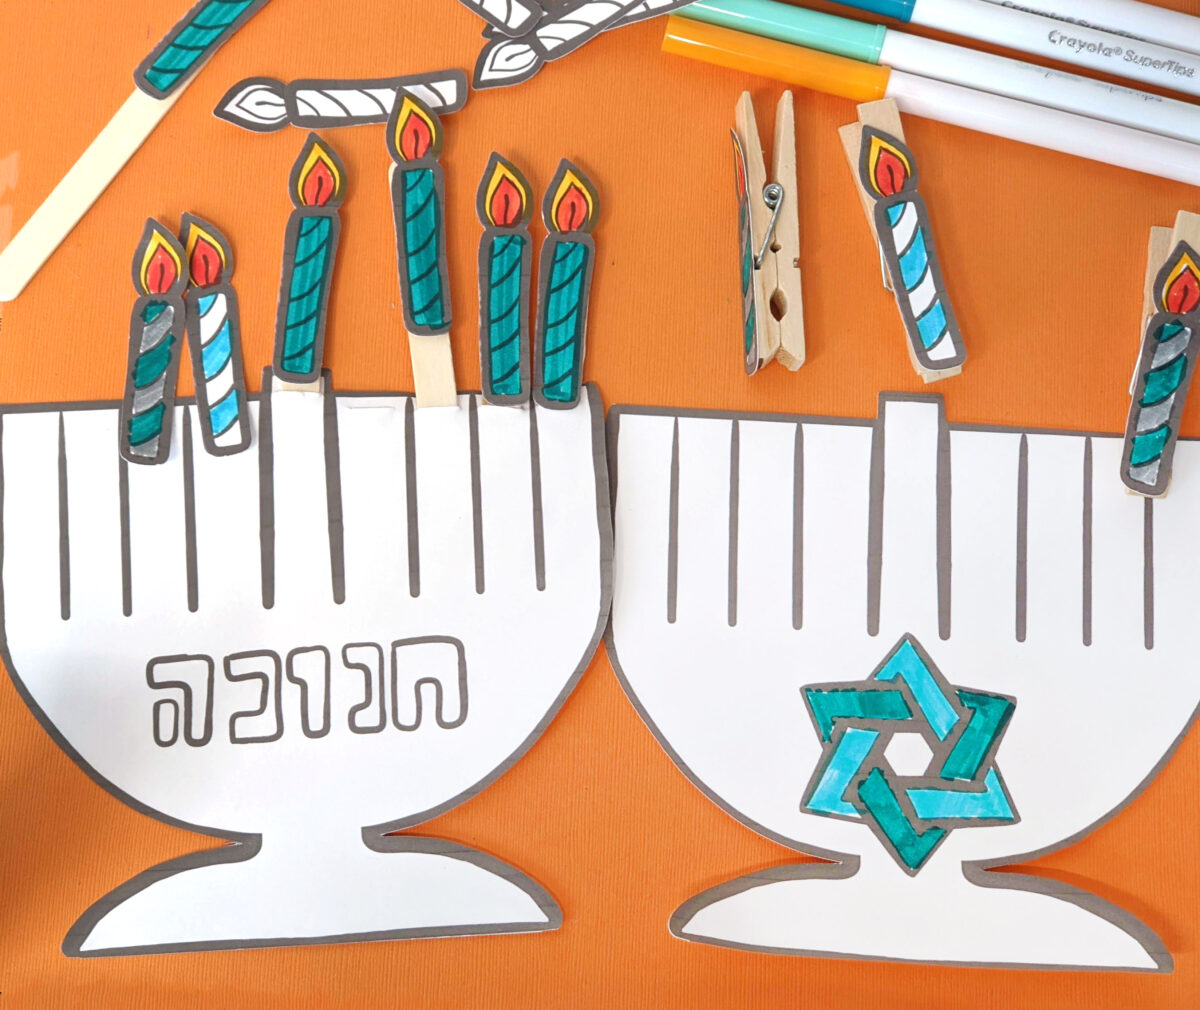
The Chanukah menorah brings light and hope in the darkest nights of winter. Lighting the candles each night is a special moment for families and friends to come together, and afterward, the quiet flames provide a spiritual backdrop to the rest of the festivities.
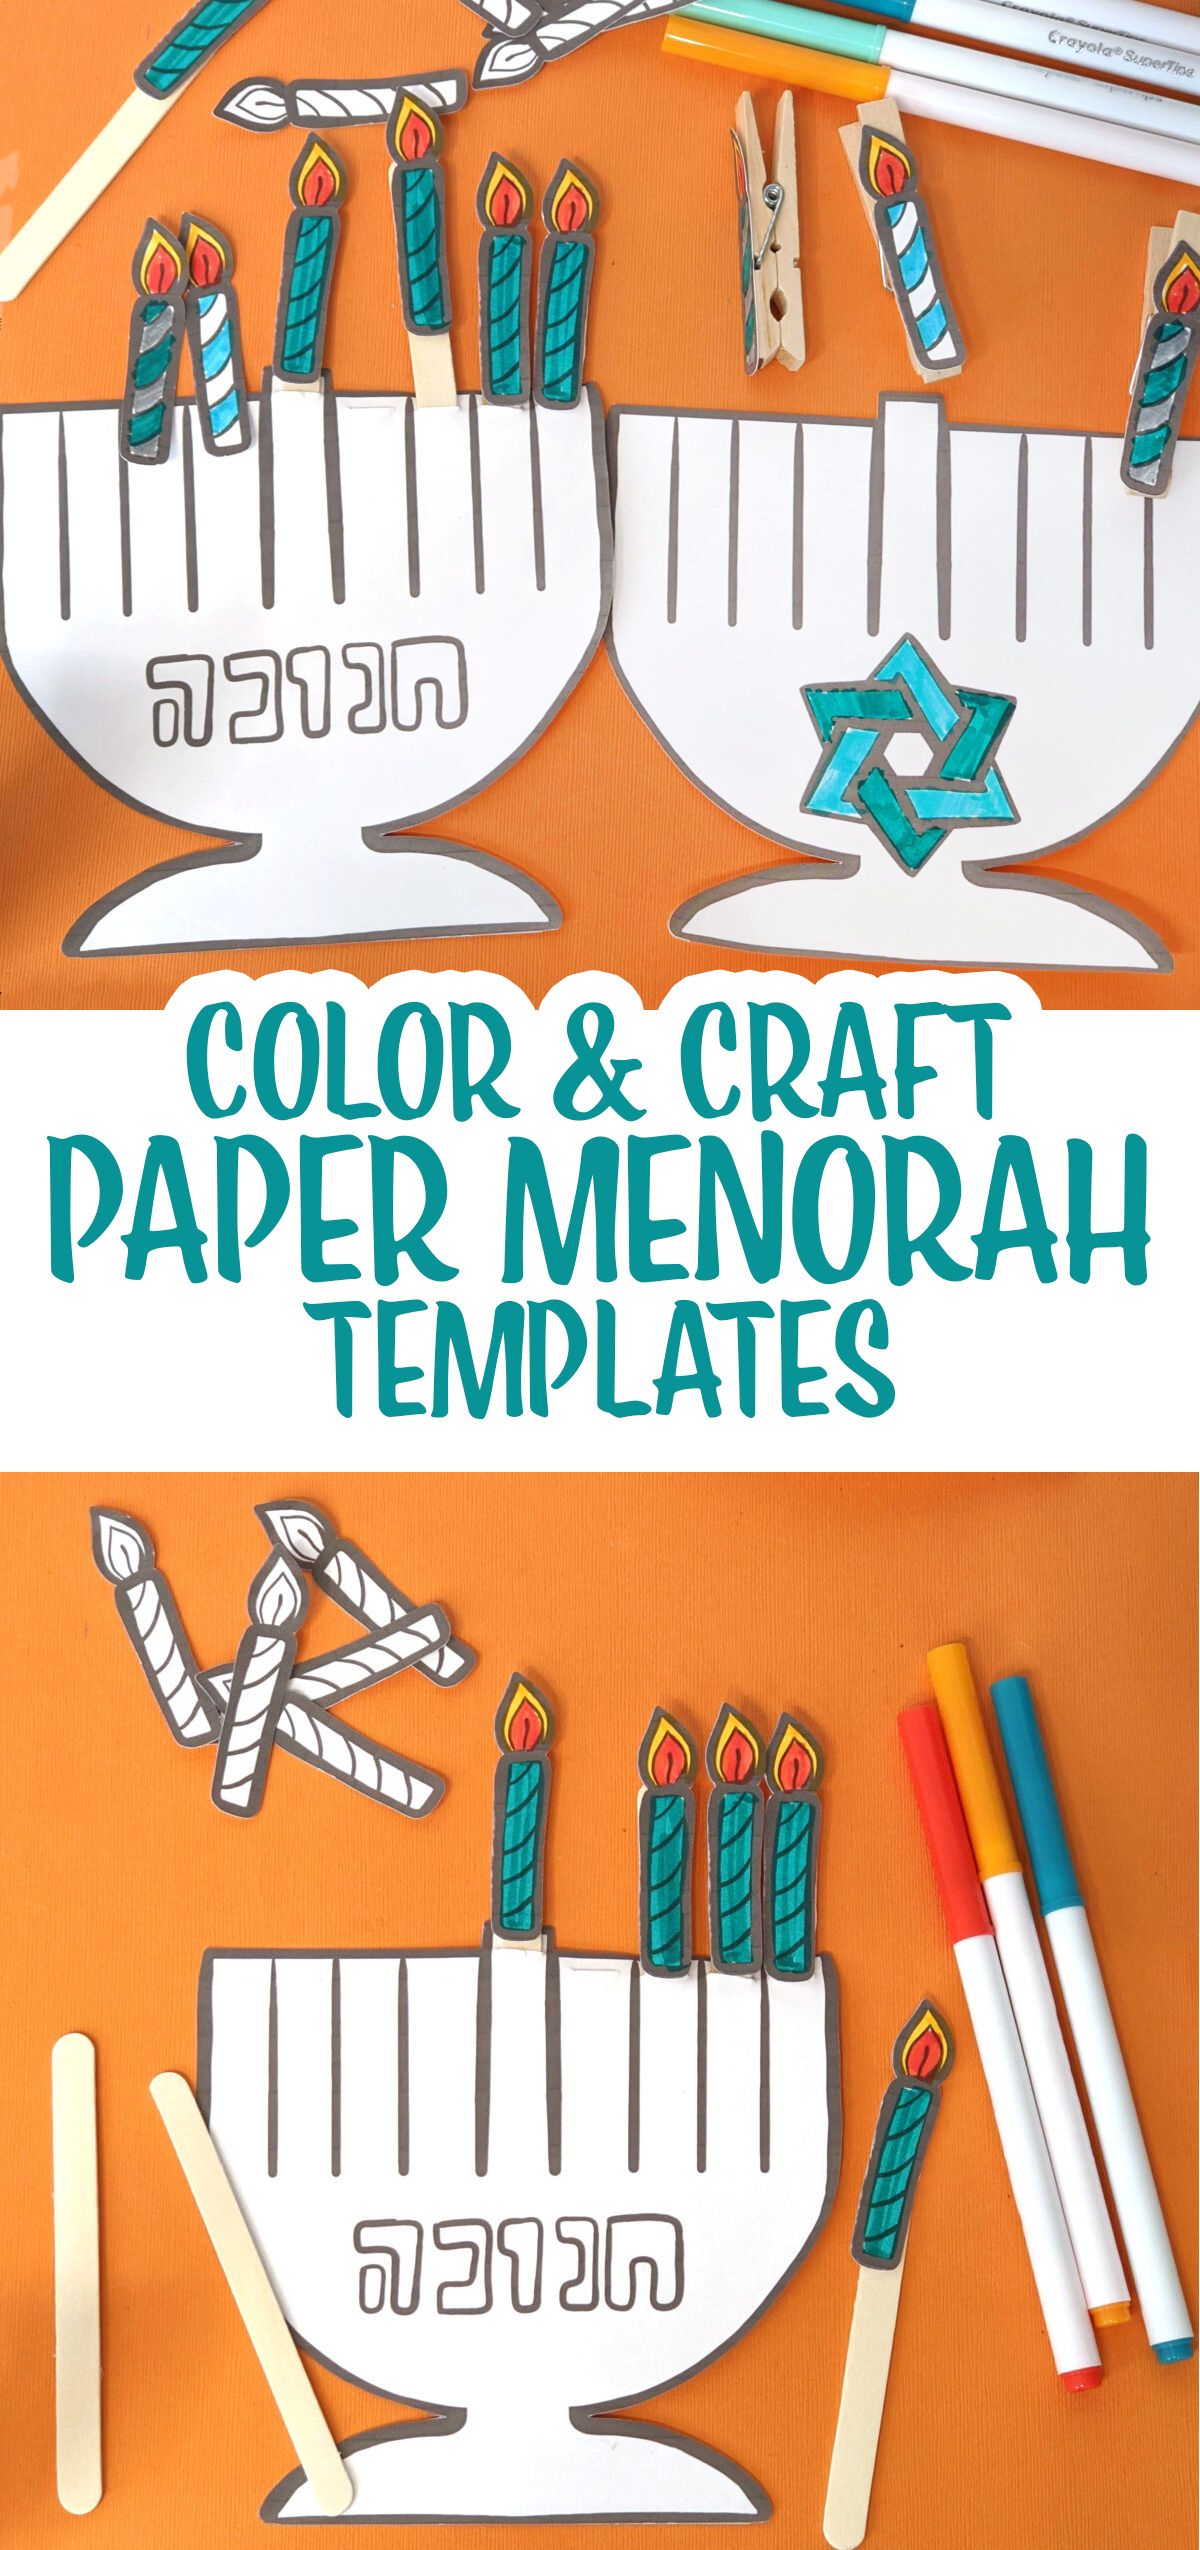
Children of all ages want a part in this special mitzvah, and it can be hard to wait until you’re old enough to use candles. That’s why I created this menorah craft for our youngest friends – after they enjoy decorating the menorah base, they get to use the clothespin candles to “light” their menorah each night – and probably several times during the day, too; it’s endlessly reusable!
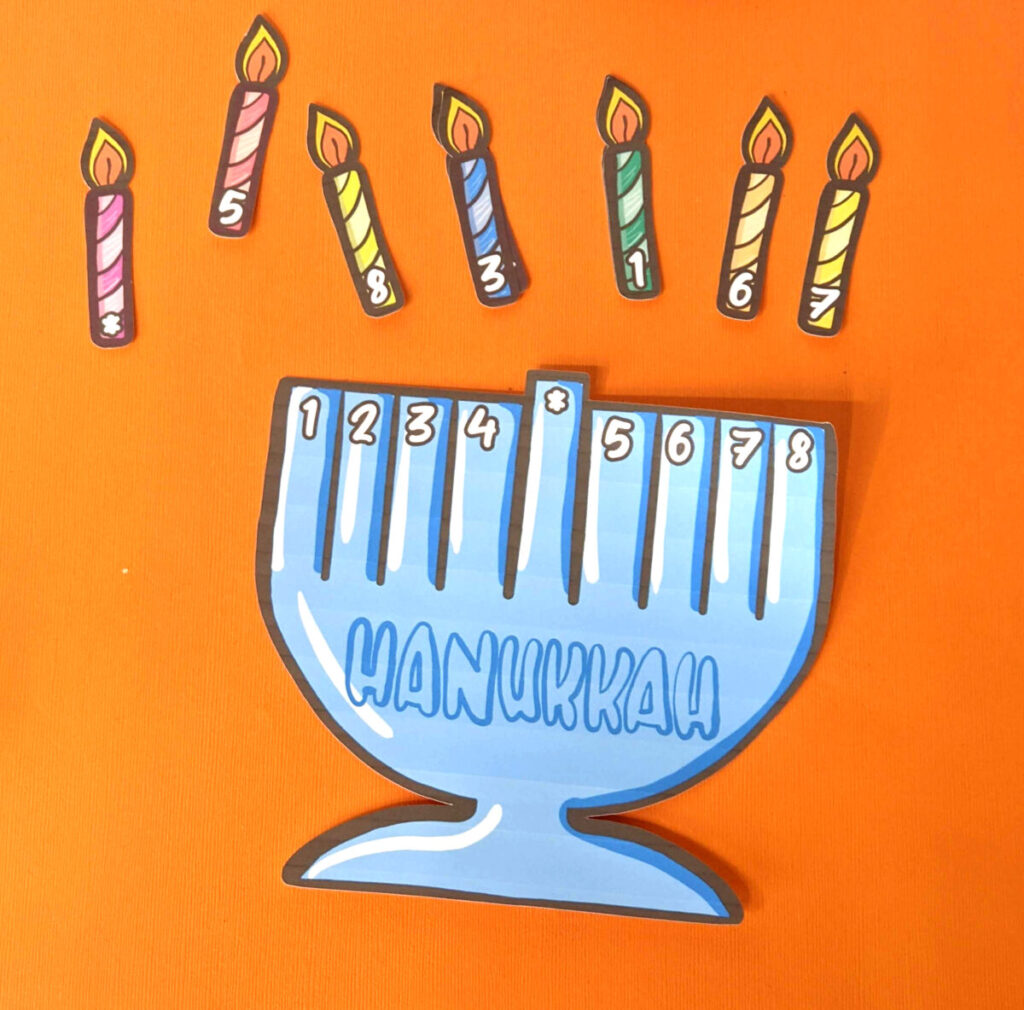
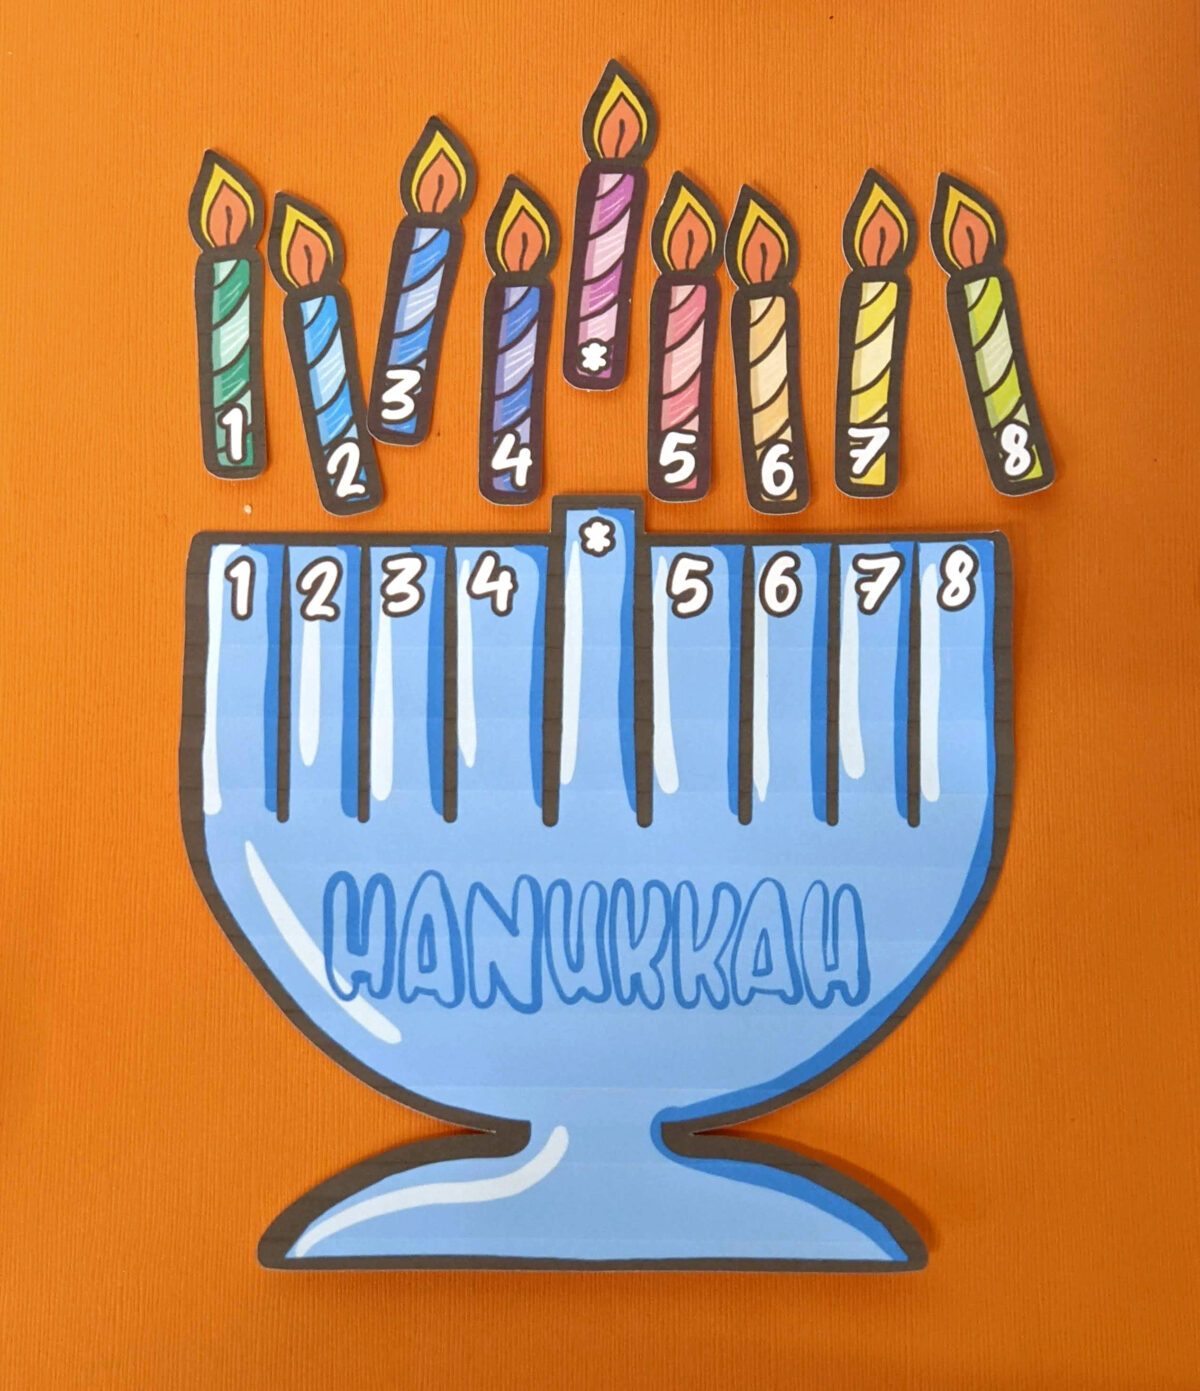
Incorporating a clothespin Menorah craft as a fine motor activity for preschool
Beyond the fun and engagement on the surface, making and using this menorah is rich with developmental opportunities for toddlers and preschoolers. In addition to the usual fine-motor crafting skills of cutting and coloring, they’ll also build their finger strength and eye-hand coordination while using the clothespins.
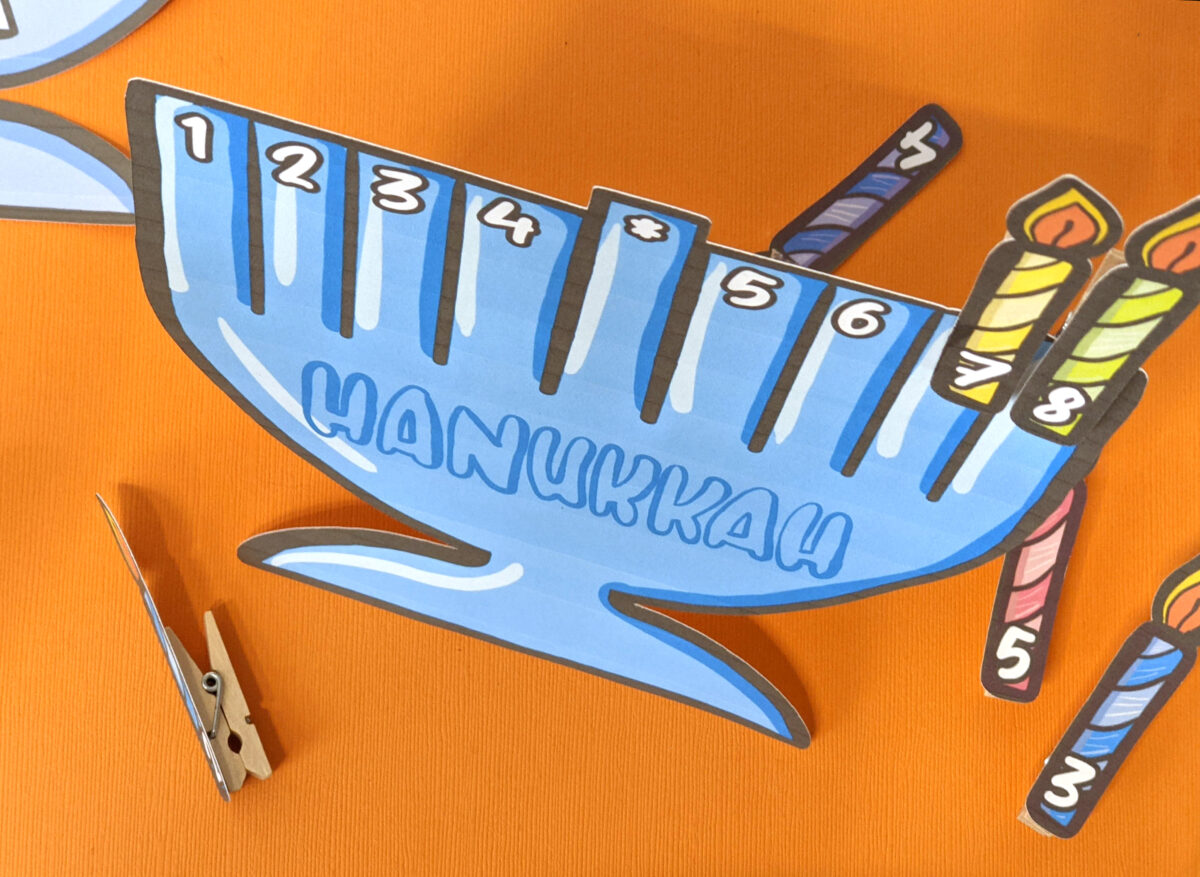
And of course, adding a candle each night is the perfect opportunity to learn and practice early counting and numeracy skills. One version of the template even has the branches numbered to help work on number recognition!
Assembling this craft is super easy, so it’s perfect for a school or shul group. To make it really simple for the youngest (or most rambunctious) groups, you can pre-cut the candles yourself or with a Cricut cutting machine and let the kids do the practically foolproof coloring and gluing steps.
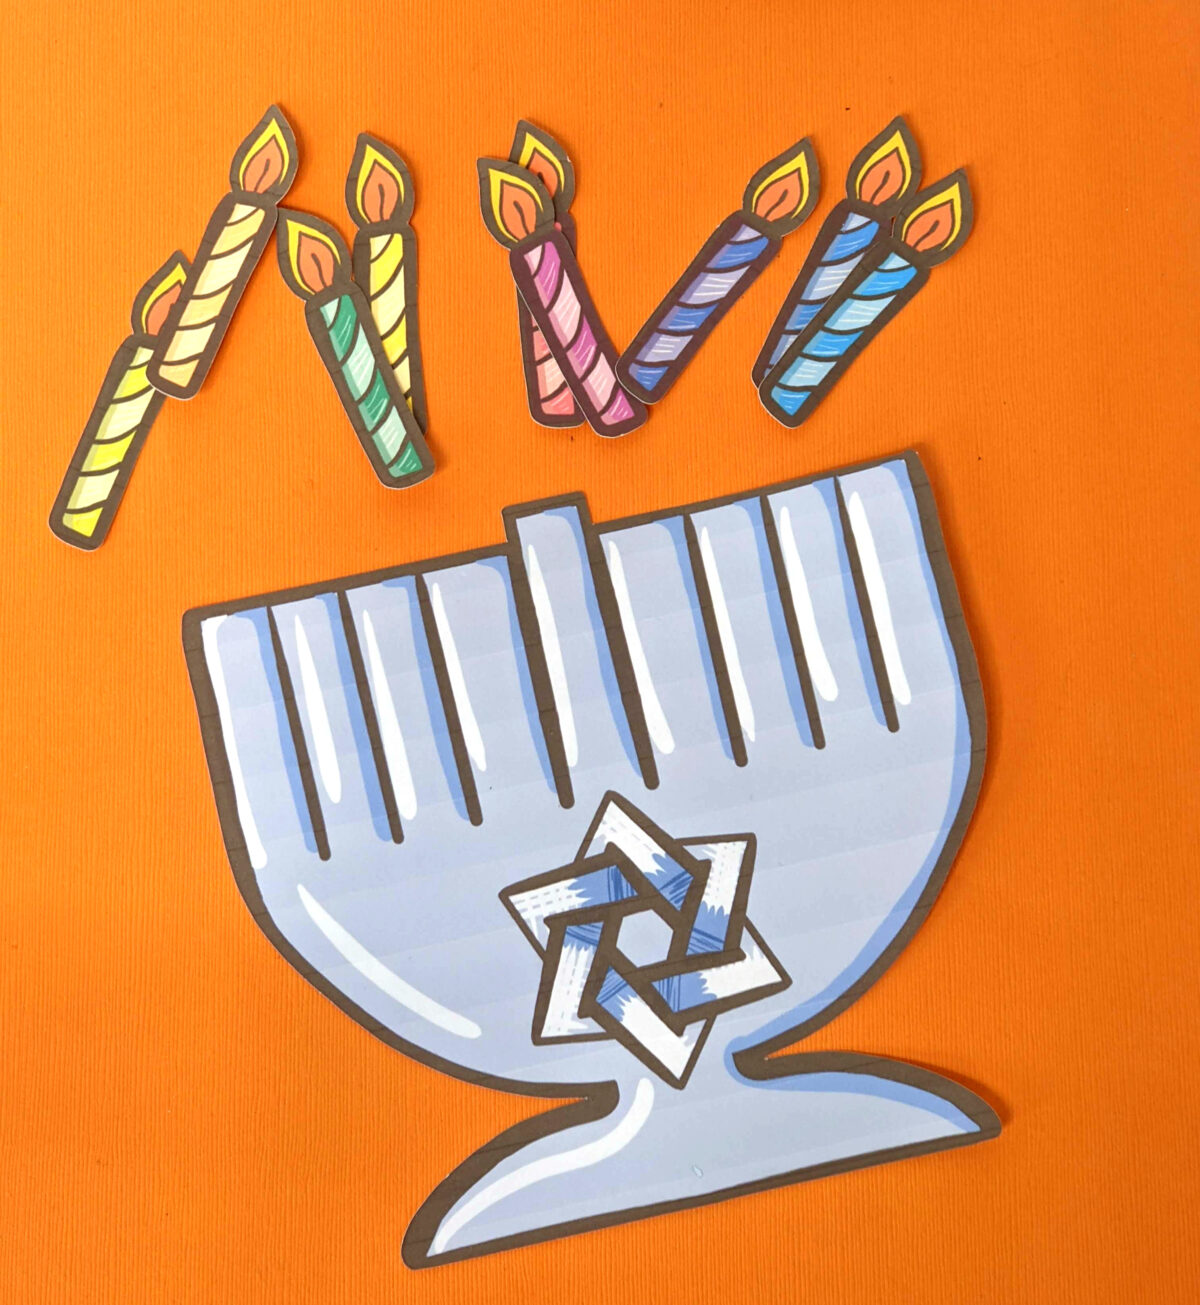
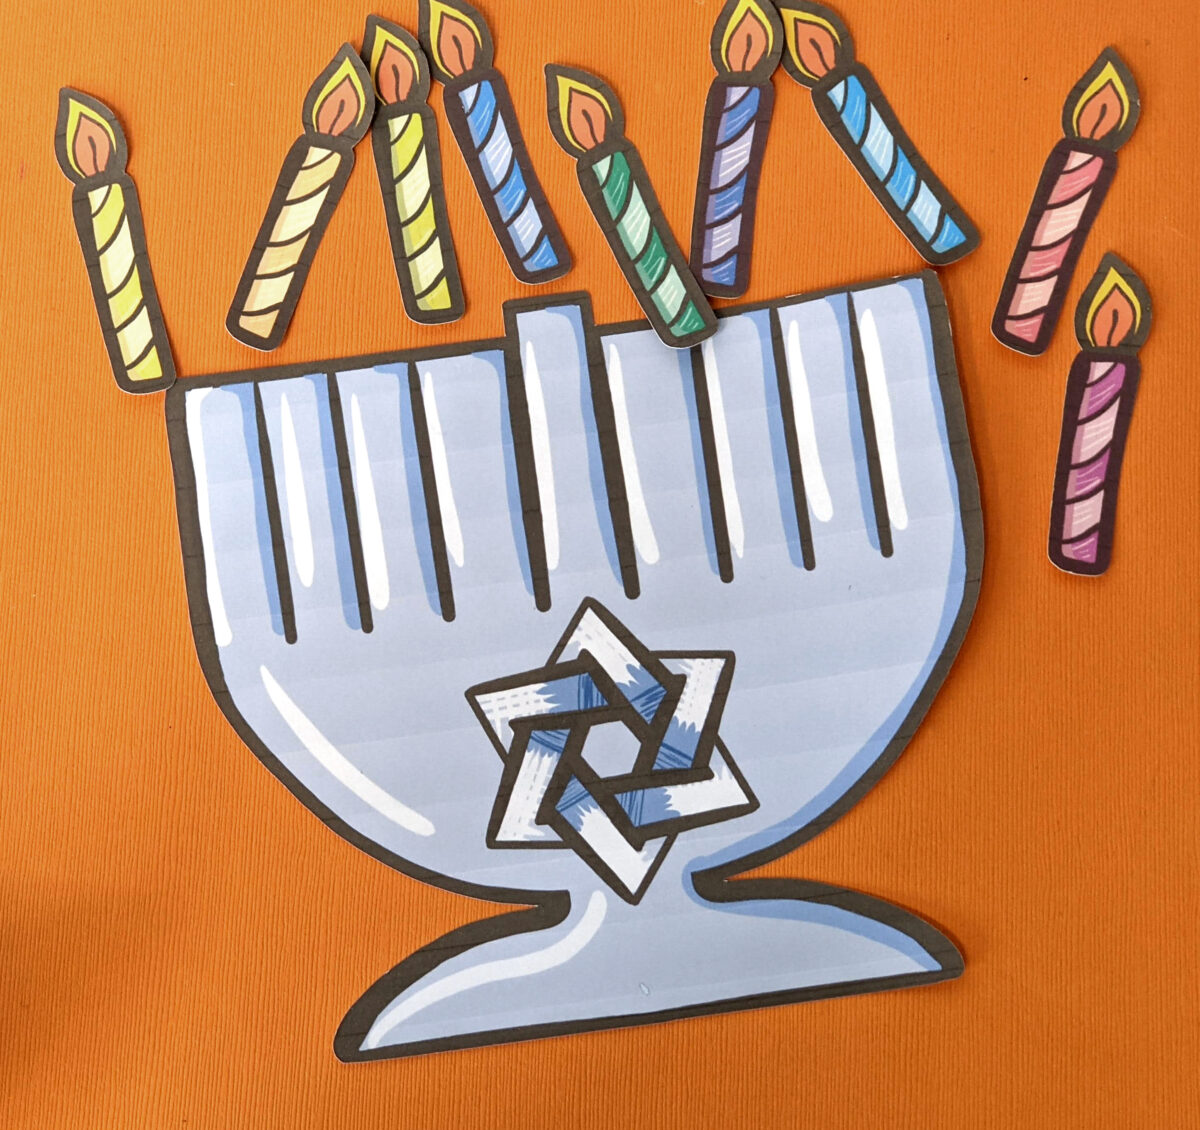
Tips for assembling the clothespin Menorah craft.
The basic design for this craft is meant to lay flat, but scroll down for instructions to make it stand upright. Just make sure to display it at a safe distance from your real menorahs!
I’m also including a variation if you don’t have or don’t prefer clothespins. This craft is truly accessible for anyone!

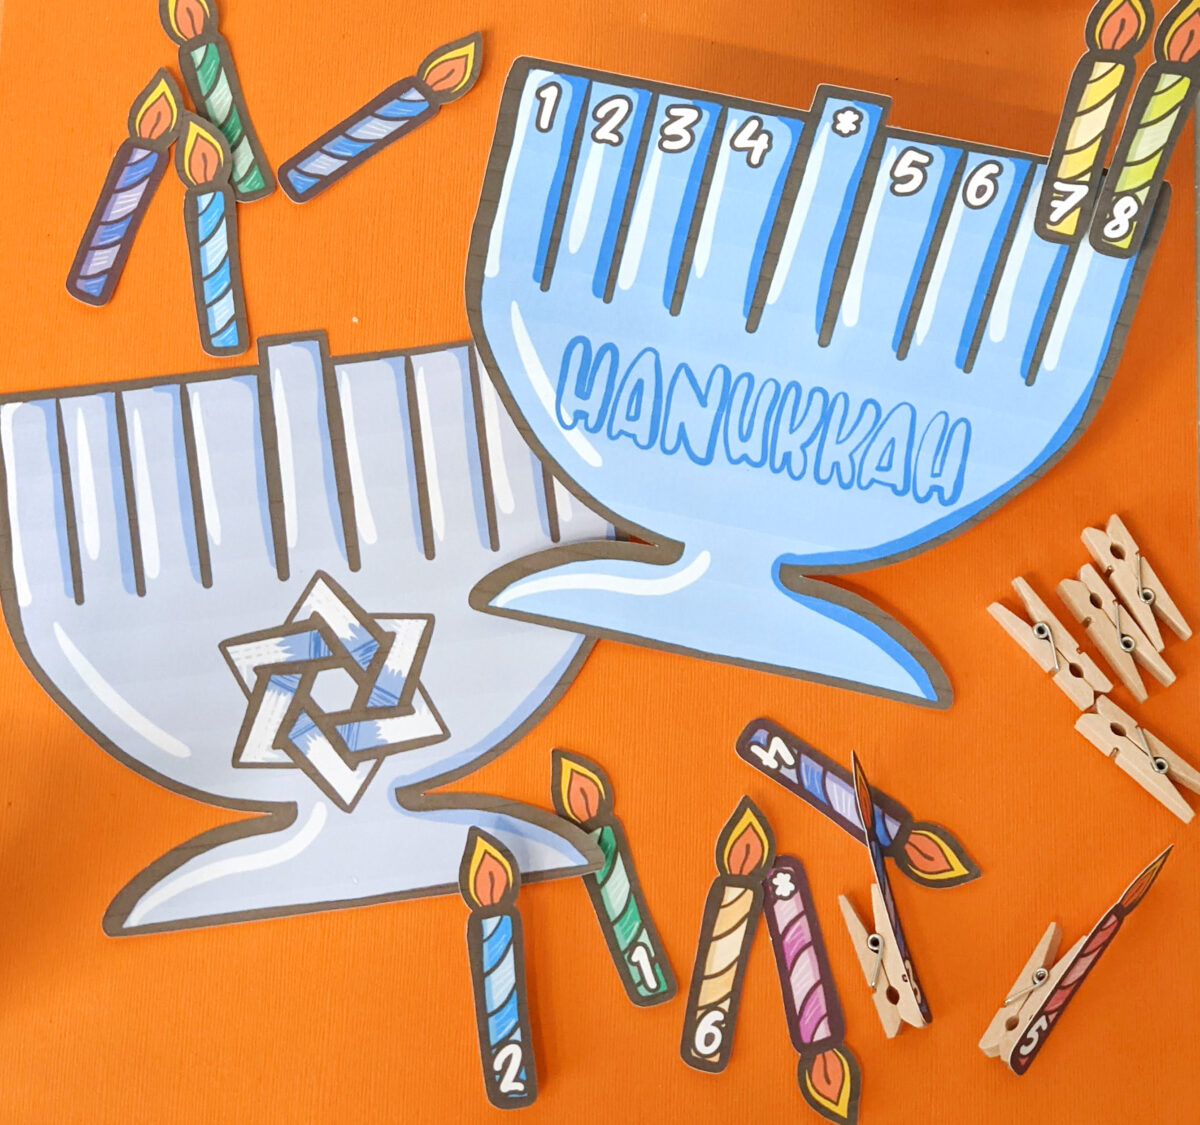
This cardstock (and optional cardboard) craft is just right to display and “light” all eight nights of Chanukah. But if you think your little one will want to play around with it all day, too, you can consider laminating the cardstock parts for extra durability.
Download the Clothespin Menorah Template
When you grab my clothespin menorah template on Etsy, you’ll be getting three different menorah designs delivered instantly. The patterns come in color-it-yourself and ready-made versions, so you can choose whether to have a coloring activity for your kids or just a beautiful menorah ready to go. You’ll also get a print-then-cut ready PNG file so you can have your Cricut or similar machine do the cutting for you – a real bonus if your crafters are too young to do it themselves!
How to make your Menorah
Materials
- Menorah template
- Cardstock
- Clothespins (or craft sticks)
- Glue
- Scissors (or Cricut/cutting machine)
- Optional: Markers or crayons
- Optional: Cardboard scraps
Process
- Download the template and print it on cardstock.
- If you’re using the color-in version, color it in.
- Cut around the outer edge of the Menorah. Do not cut the lines between the branches – those are just for illustration.
- Cut out the candles.
- Glue the candles onto the clothespins.
Alternative without clothespins
Cut a small slit about one centimeter below the top of each menorah branch. Slide the candle a little bit into the slit to “light” it each night. Or glue the candles onto craft sticks, and slide the bottom of the craft sticks into the slits as needed.
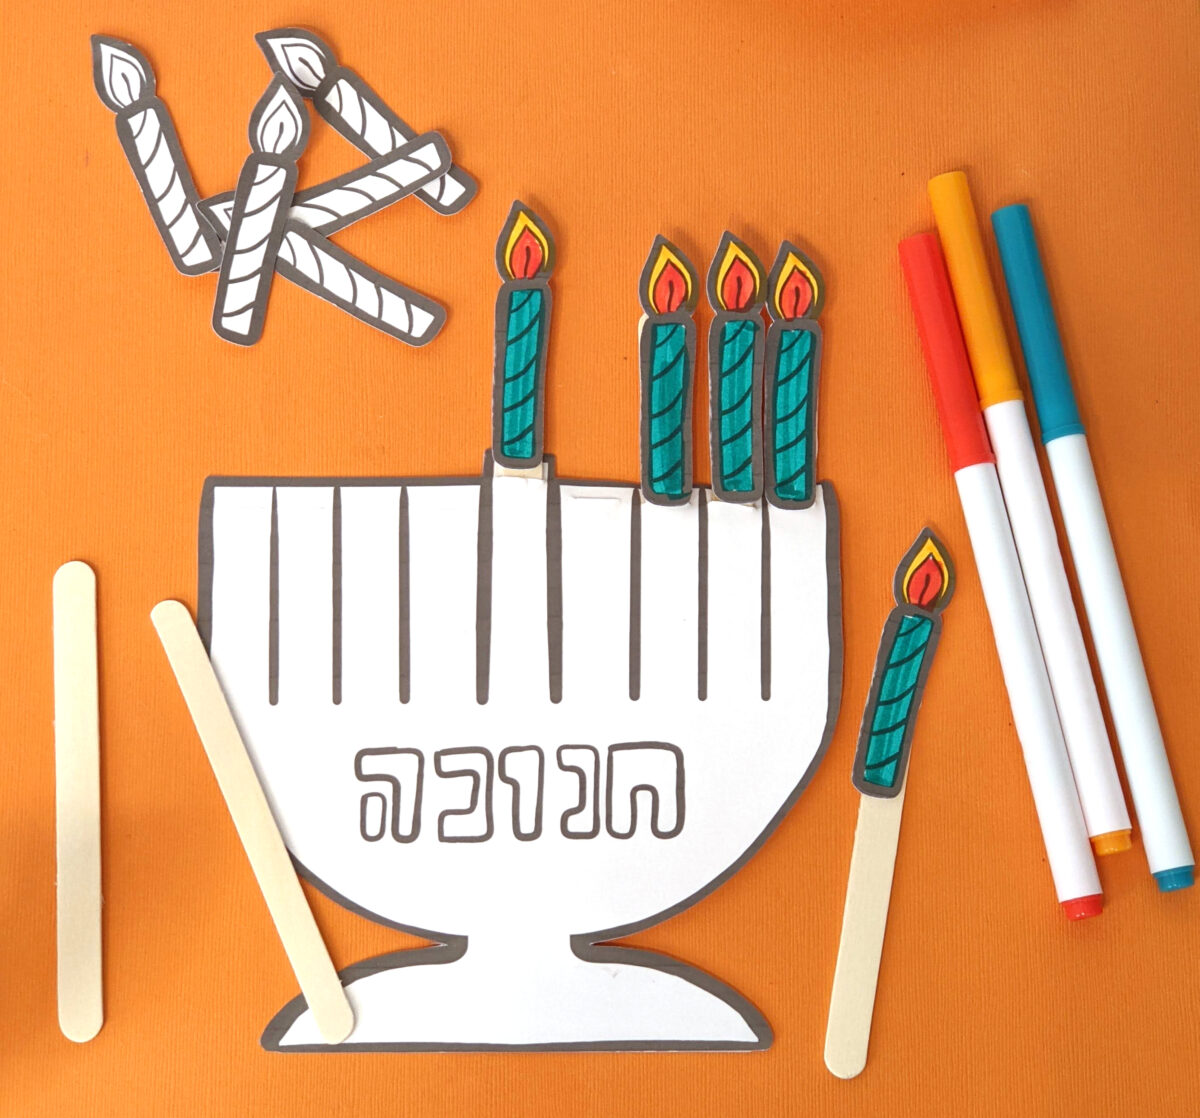
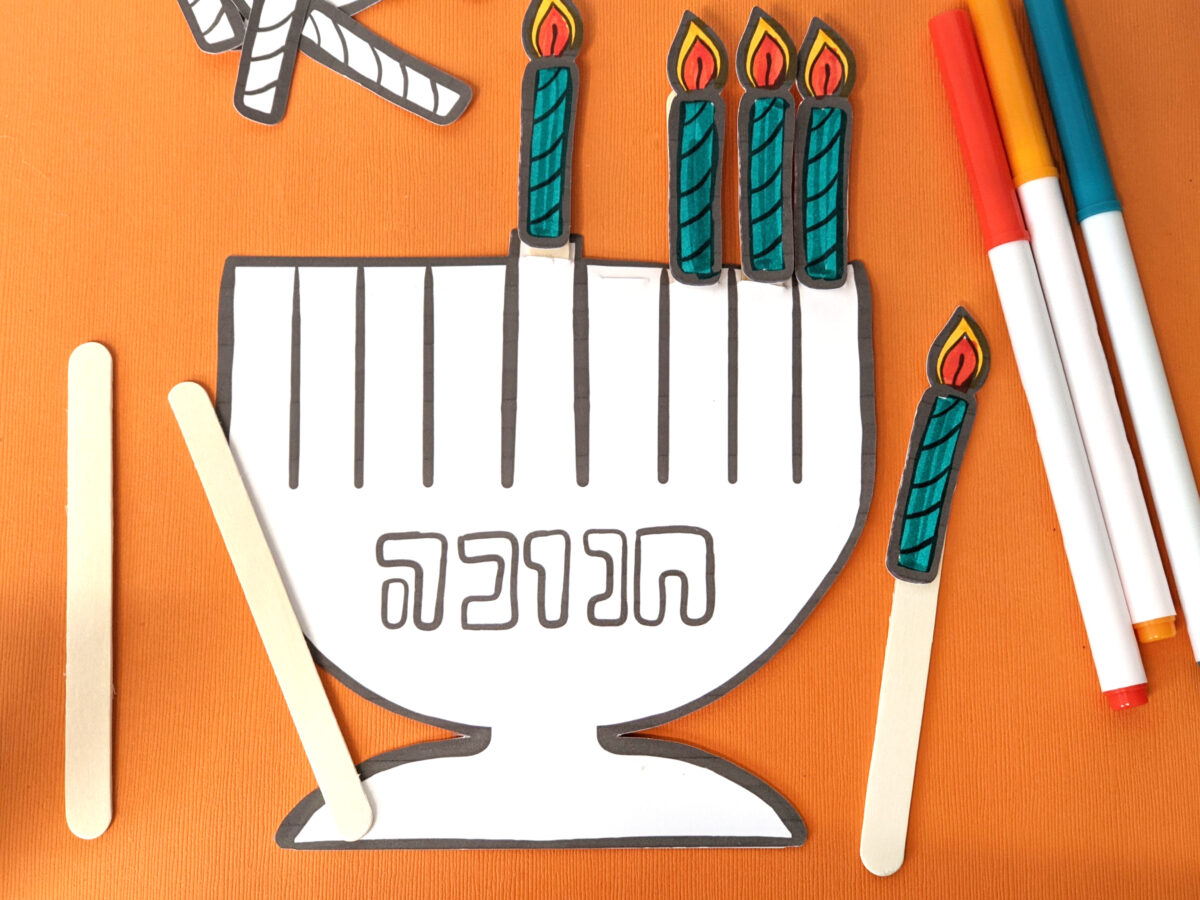
To make your menorah stand up
First, glue the entire menorah to cardboard or extra cardstock to strengthen it. Then:
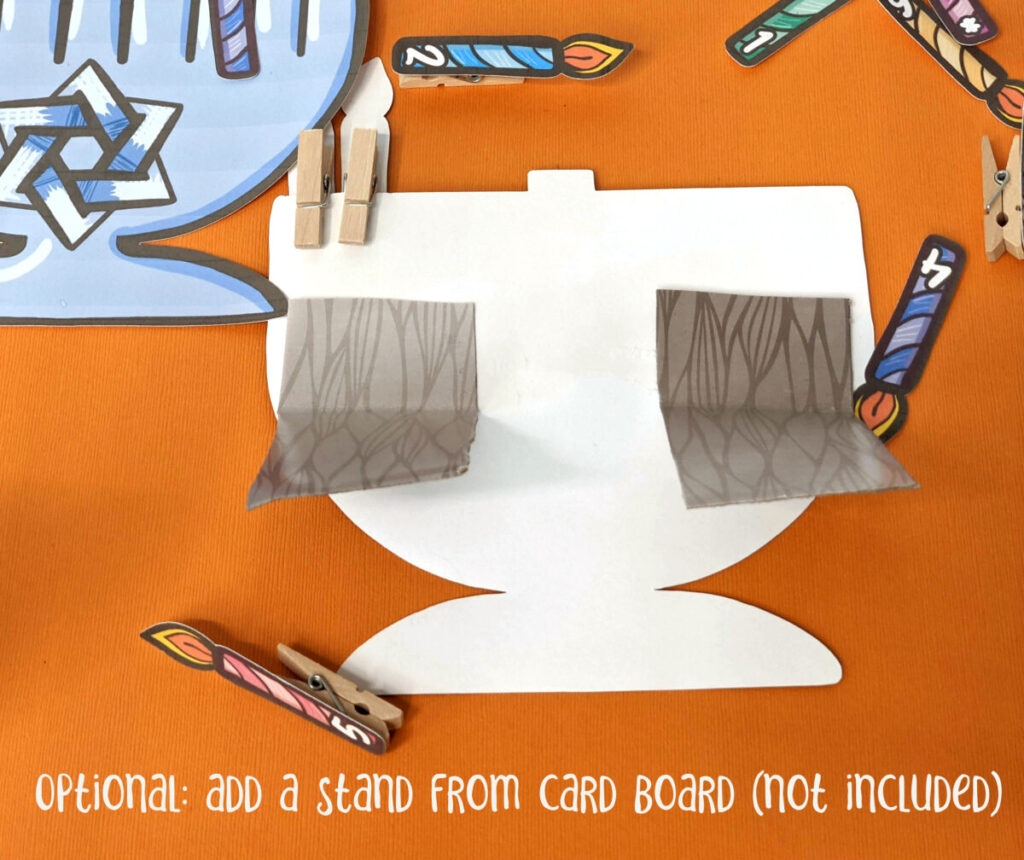
Option 1: Duplicate the menorah design and make it two-sided. Attach the two copies back-to-back at the top, then bend the bottoms outward to form a standing tent.
Option 2: Take a strip of cardboard and bend it ⅓ from the top. Line up the bottom with the bottom of the menorah and glue it in place. Use the bent cardboard as a picture frame stand to prop up the menorah.
To create with Cricut
- Upload the PNG file as a “print then cut” file.
- Resize to 6.75 inches wide or smaller, making sure to lock the proportion.
- Send it to your Cricut. It will prompt you to send to your printer and will add a rectangle around it as a registration mark.
- Add to LightGrip mat and cut.
- Remove the large menorah from your mat by flipping it paper-side-down and peeling the mat away from the paper. This helps prevent the paper curling up. The candles are less vulnerable to curling, so you can peel them off any way.
- Assemble the craft according to the rest of the instructions above.
