Design Your Own Kippah Initial Applique
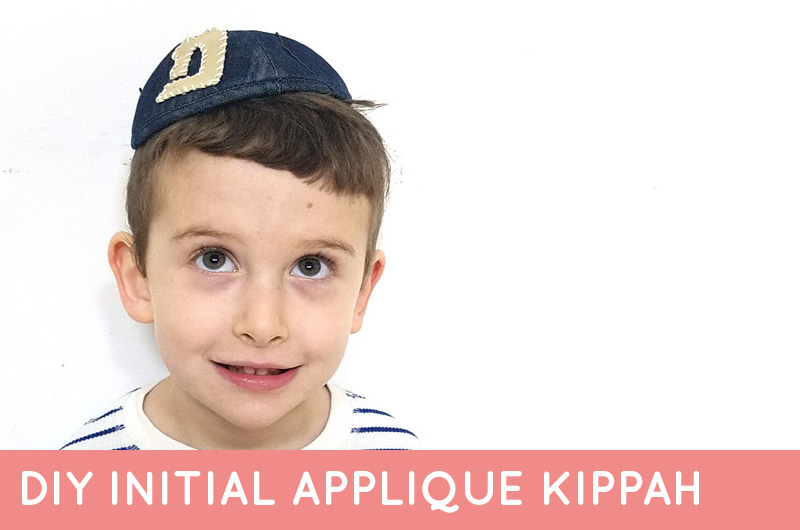
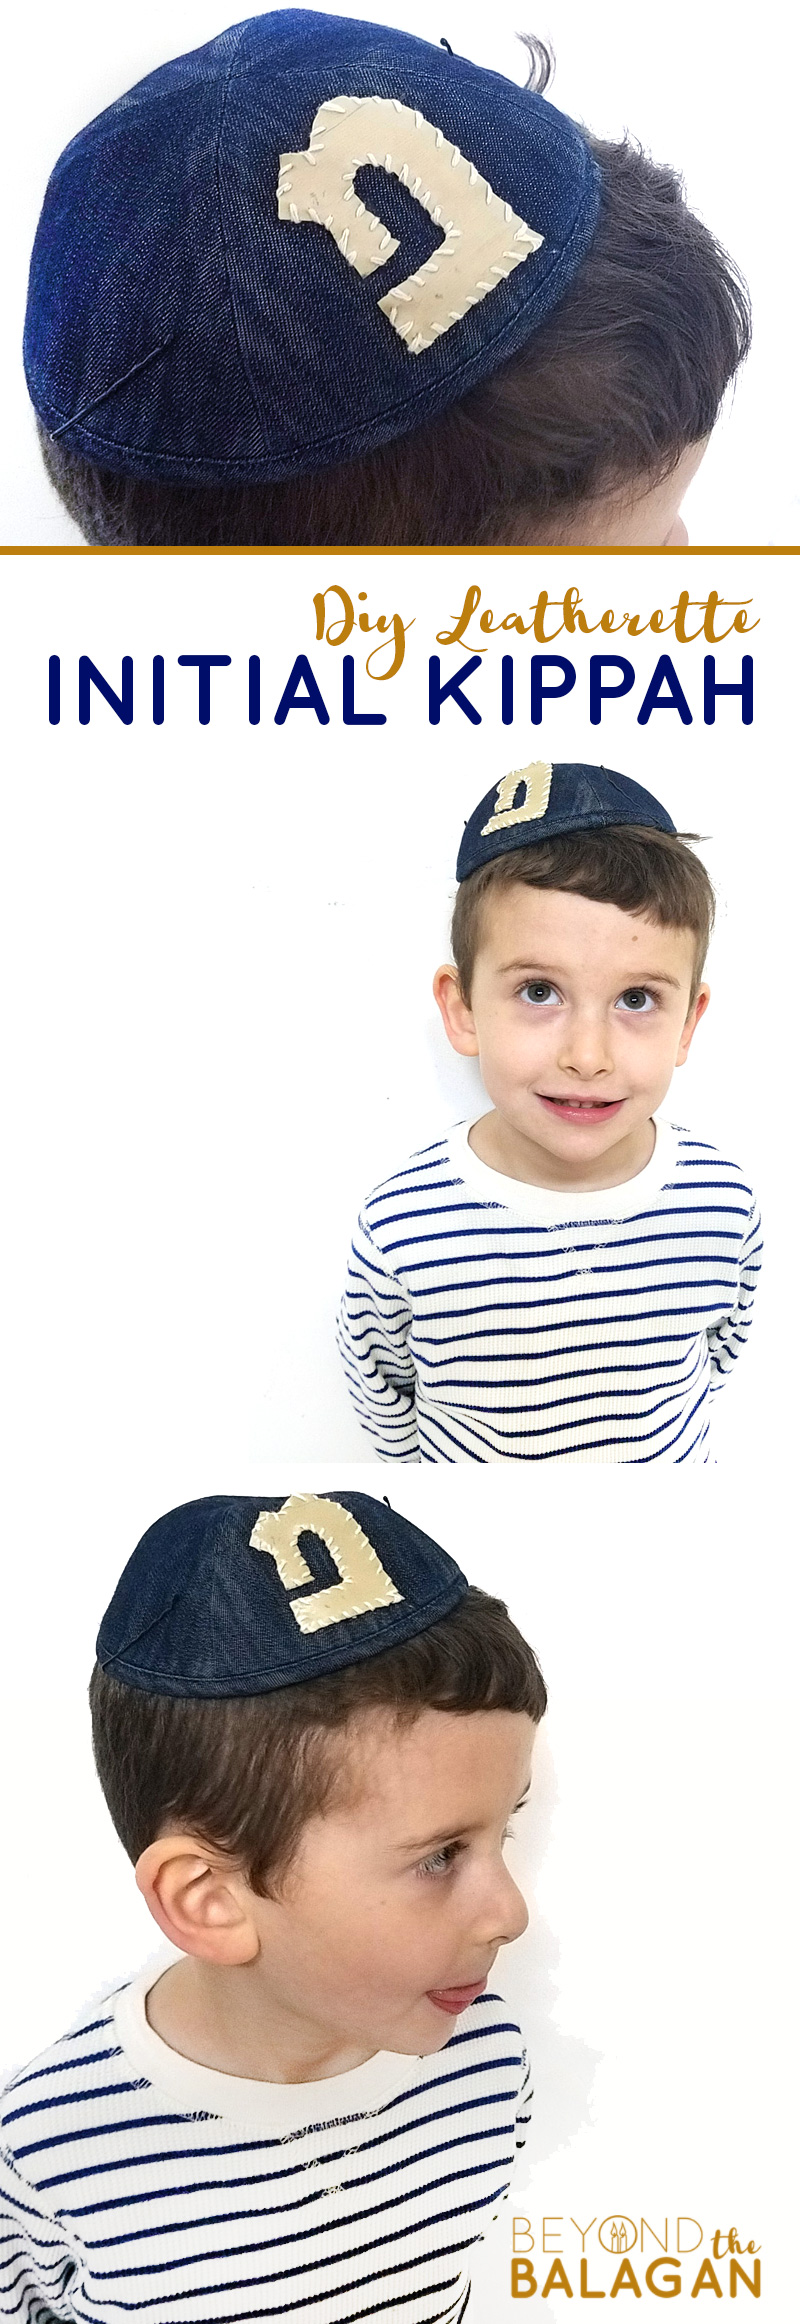
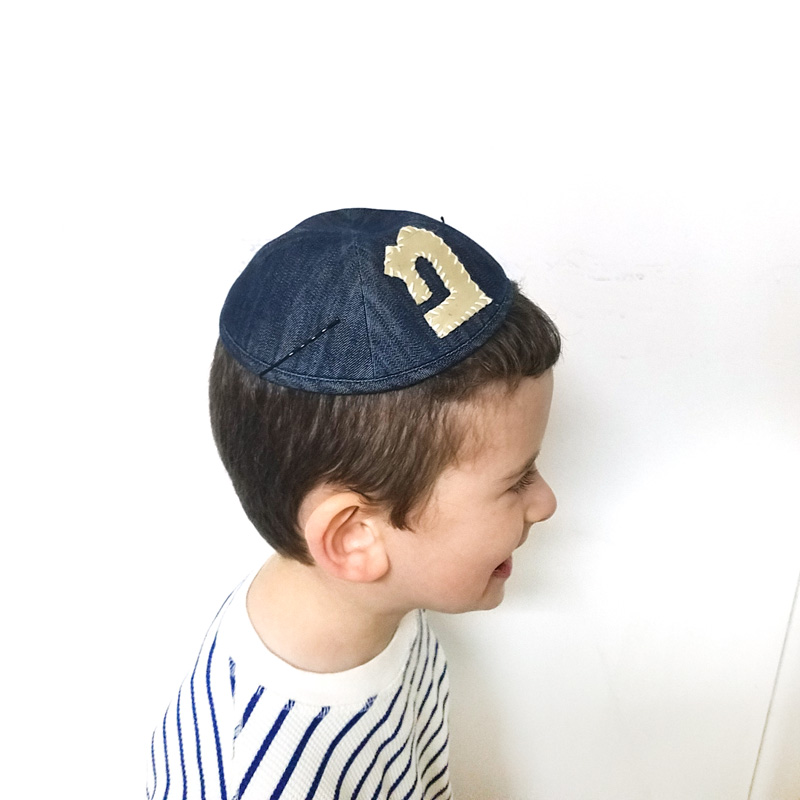
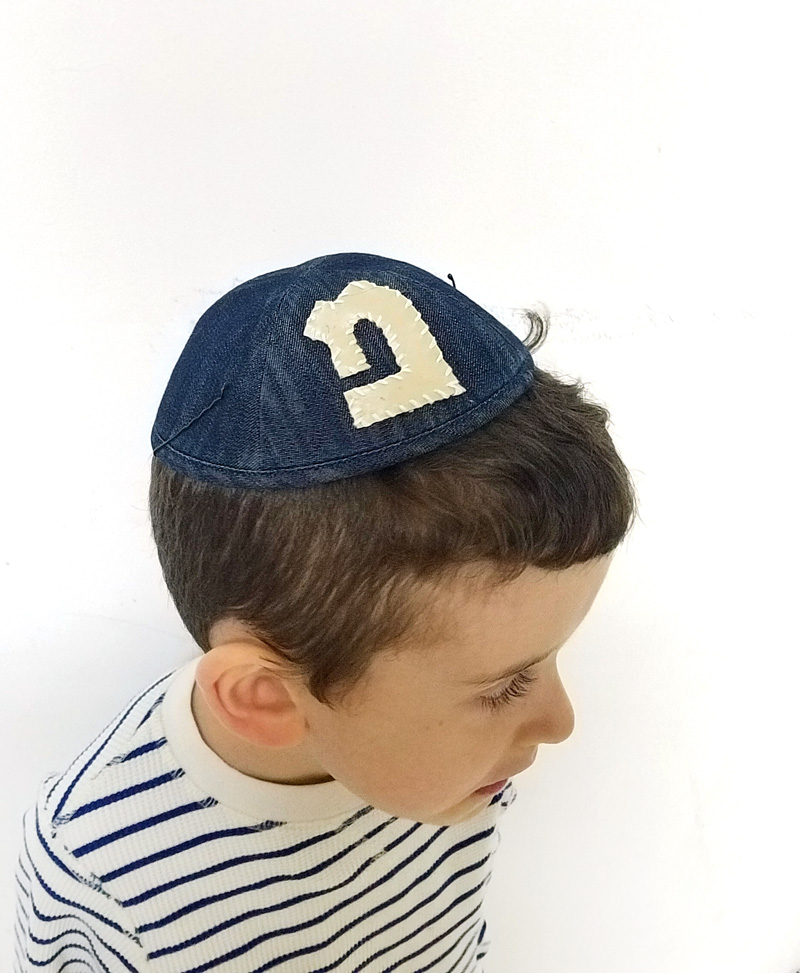
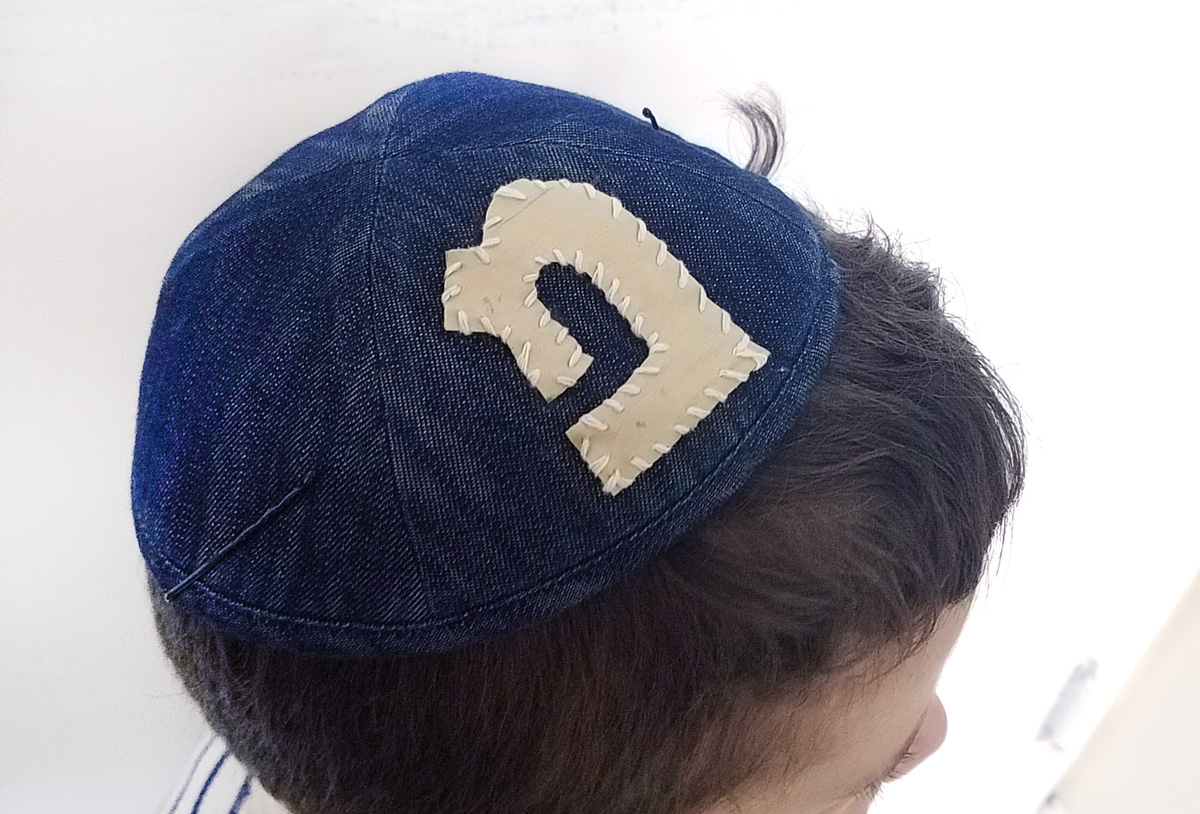
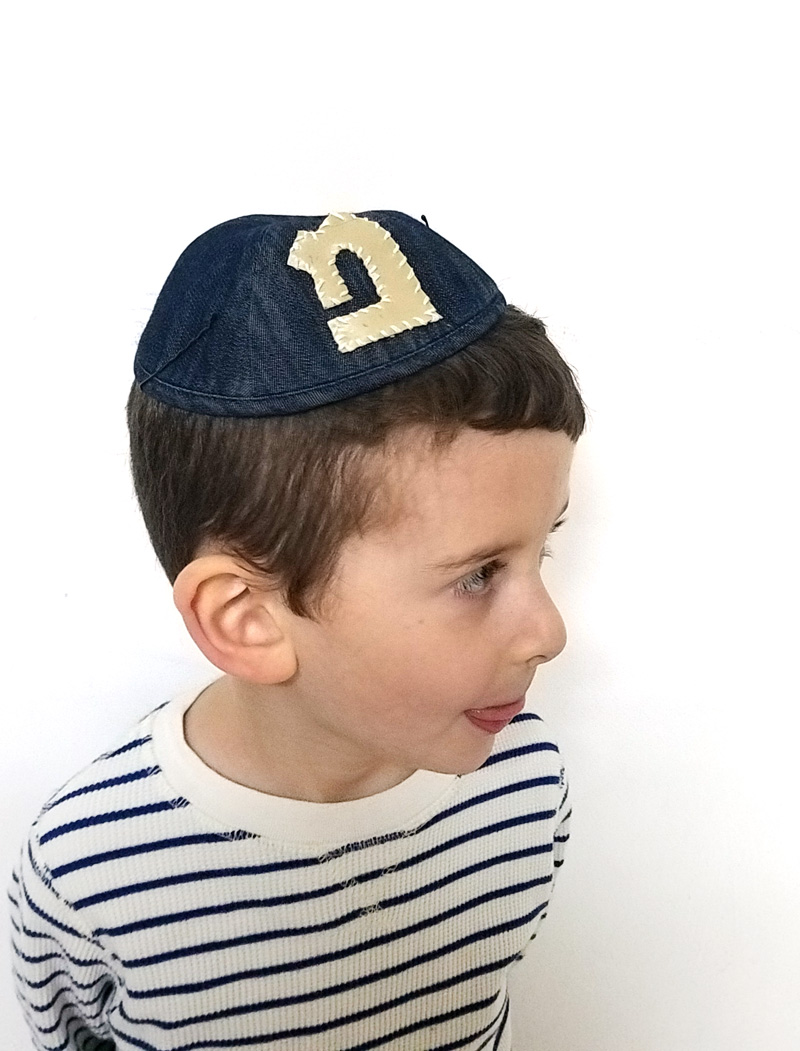
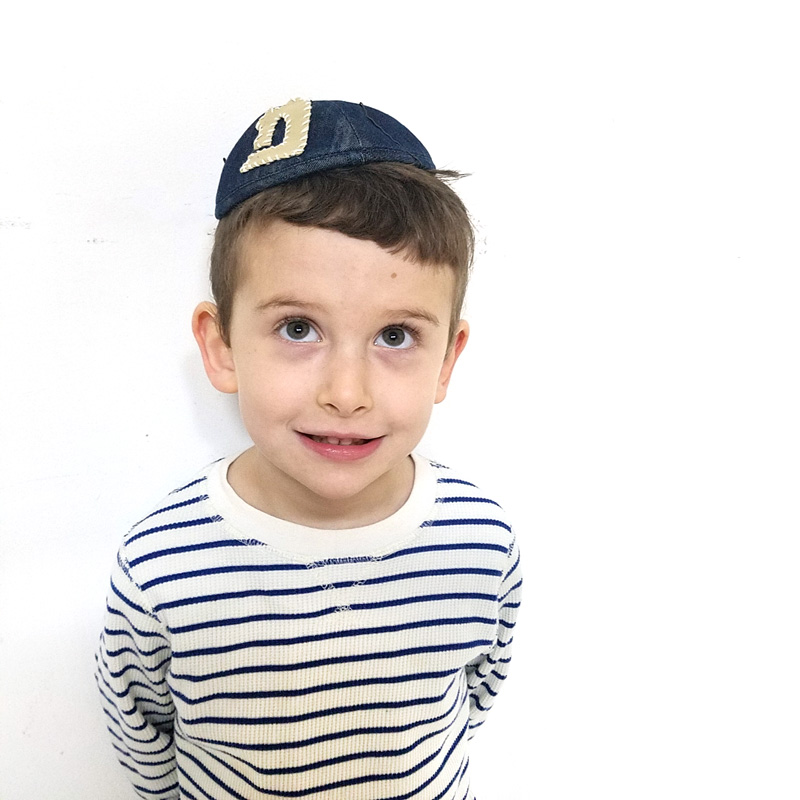
Design your own kippah for your child with this cool DIY initial applique. I made one for M with the Hebrew letter “Mem” and he absolutely loves it! It’s now been added to the stash in our DIY kippah stacker that sits in his dresser. Disclosure: this post contains affiliate links.
M is VERY picky with his kippahs. When he turned three, my mom and I collaborated on an Elmo kippah for him, and he loved it for a few months until he suddenly got this idea in his head that he can only wear fabric kippahs – not crochet ones.
I thought that maybe the size felt funny on his head, but my mother crocheted a second and let him choose his own colors and made it bigger for him. He said he’ll wear it and then didn’t…
So when I decided to make him a DIY yarmulke with an initial on it, I was nervous he won’t wear it. Nerves abated – he loves it.
So now I’m thinking it might be the WEIGHT of the kippah that matters more to him – although I wouldn’t think that matters considering he almost always wears his Paw Patrol cap on top. Go try and figure out the brain of a four-year-old…
Anyway, to make this, I used his favorite denim kippah (another area of concern – would he be annoyed that I tampered with his favorite one?) You can get a plain denim kippah like this in most Judaica stores for around $6-7.
We were missing it for a while, and of course, soon after we replaced it, we found the original. The original had a stain anyway, so I used the DIY Hebrew letter initial applique to cover up that stain. He still has the fresh, not-yet-worn-out-from-love denim kippah but he hasn’t worn it since I made this cool new DIY Yarmulke for him.
For the initial, I used a scrap of leatherette upholstery I had lying around. It was a bit hard to sew, but once I figured out the best process, it all went smoothly. I have since ordered some leather tools including a hole tool and a leather needle (along with some leather cord just for fun) as well as more leather scraps so that I can try this again.
The applique is actually NOT sewn on so all of you who panicked when you saw that you actually need to sew a straight line for this: fear not. I am notorious for not having patience to get things straight, which is why I fully embrace the “uneven handcrafted” look (which you should too – it’s totally cool!) but for this, I obviously wanted the actual letter to be straight. So I did a decorative (slightly uneven) stitch on the edges and then glued the whole shebang on.
Voila!
What you need to design your own kippah initial applique:
- A fabric scrap for the initial. Leather or leatherette is perfect because it’s thick and the edges don’t fray when cut. Something like felt or fleece could work too. Anything that holds its shape and doesn’t need the edges sewn is perfect. Make sure you’re not using a linen based kippah if you do use wool felt.
- White cotton twine – or another thick thread for the edges. You can go colorful with embroidery floss. If you’re working with a leather puncher you have more options, otherwise, look for something where you can separate the different threads that are twisted together.
- A needle – an embroidery needle will work with something thinner, a leather needle is recommended.
- Glue – I used E6000
- Bobby pins – I used the ones that were already on his kippah
- Pen/marker
- Scissors
- A simple solid kippah of course!
[show_boutique_widget id=”678431″]
How to design your own kippah with an initial on it!
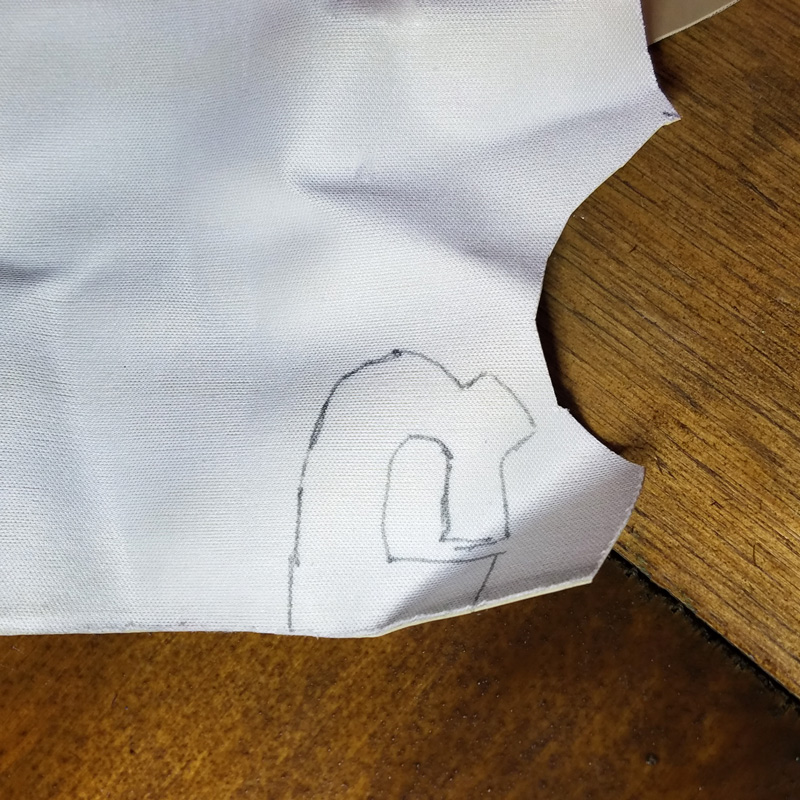
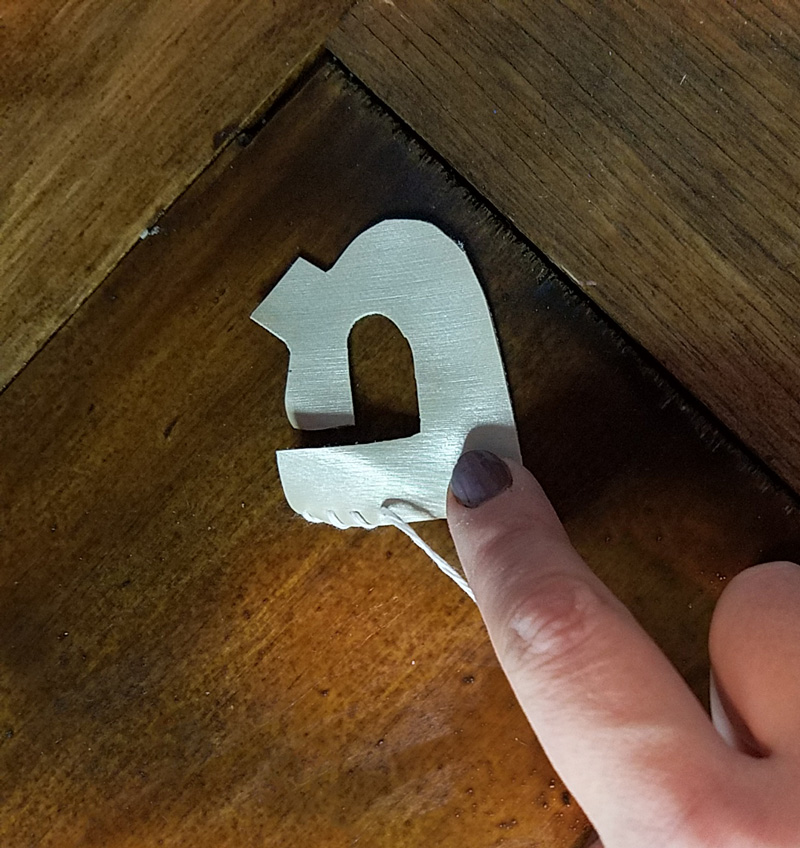
1. Draw a backwards outline of your child’s first initial on the back of your fabric. A simple block letter is perfect, and child-friendly, but if you need help, print out a template from a Hebrew font on your computer. If you’re struggling to get it right backwards, make it the right way on a piece of paper, cut it out, and trace it backwards on your fabric.
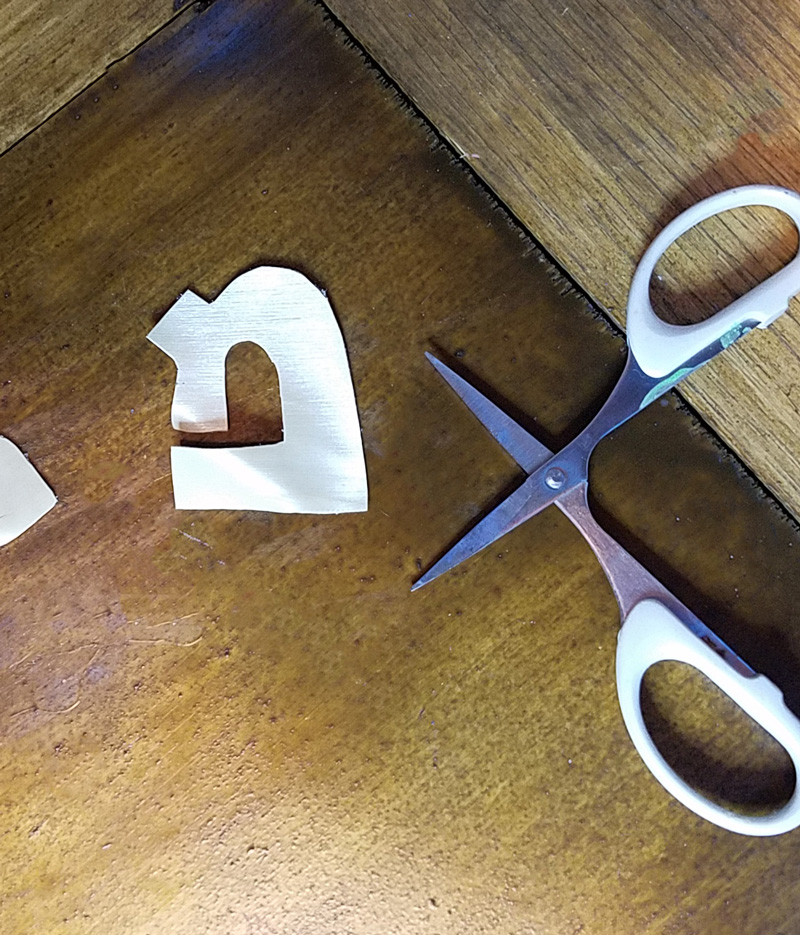
2. Cut it out.
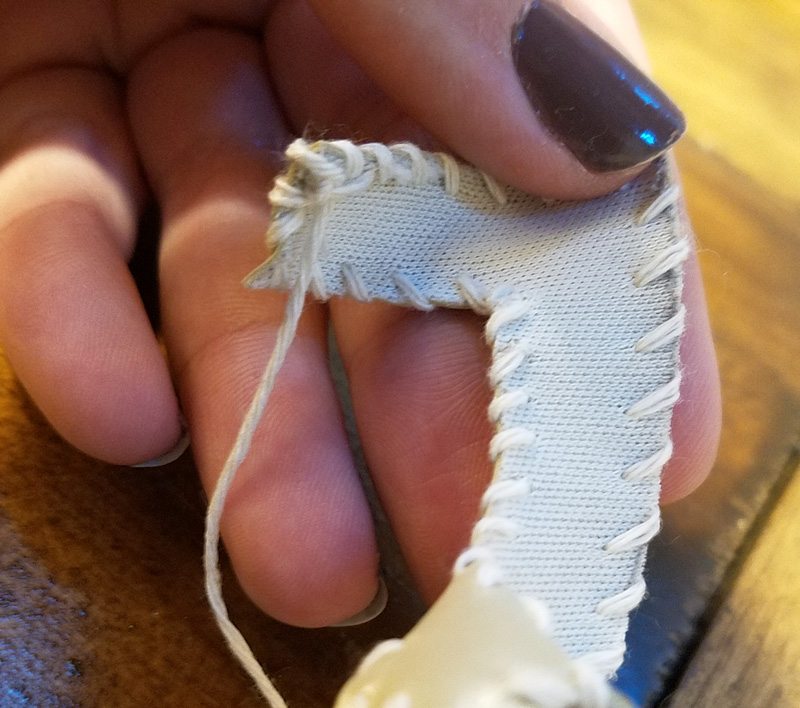
3. Start stitching a whip stitch around the edge as pictured. I used an embroidery needle with two strands unraveled from cotton twine for an organic look that goes with the leather and denim.
4. Continue all around your letter, and finish your thread off in the back.
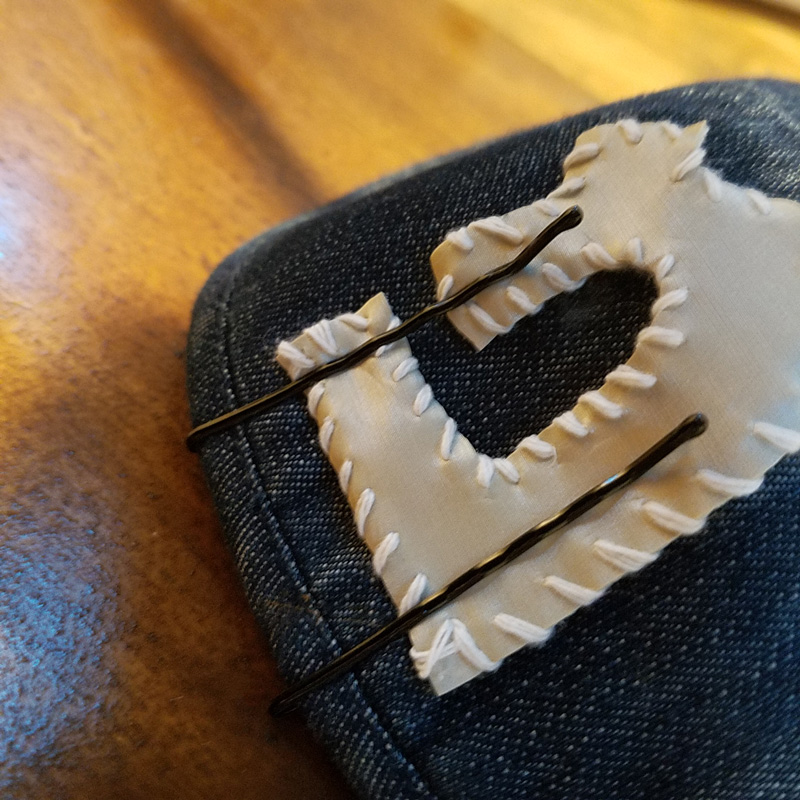
5. Secure it where you want it using bobby pins to hold it in place.
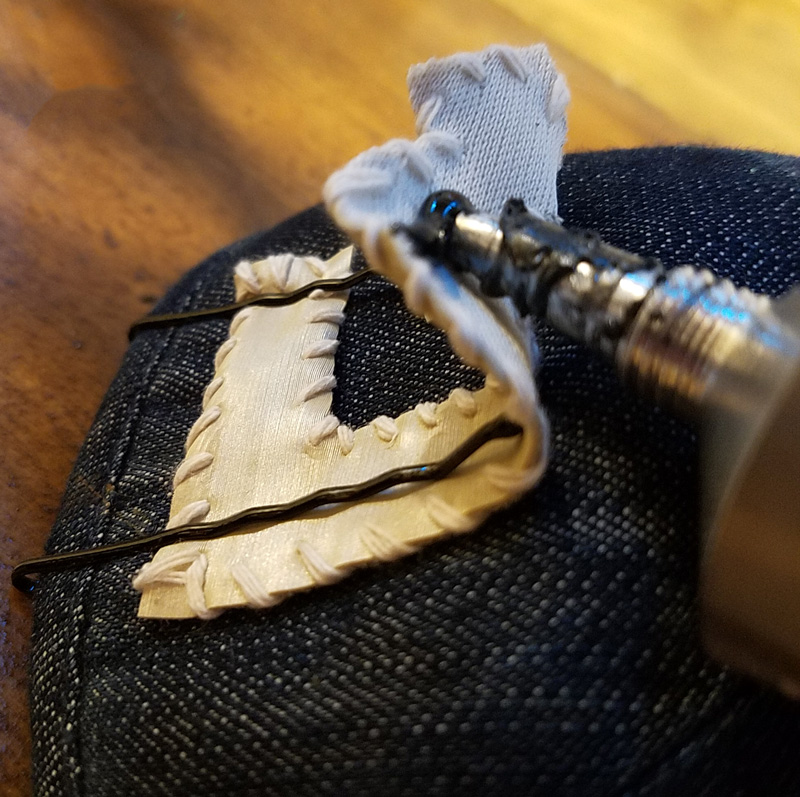
6. Lift up the edges and dab on small amounts of glue close to the end. Once your main dots are set, remove the bobby pins, make sure the applique is securely glued around all edges, and put the bobby pins back to hold it in place until it dries. Once it’s completely dry, your son can wear it!
Have you ever tried to design your own kippah from an existing one? Comment below!

