DIY Clay Mezuzah Craft for Kids
Create some Judaica for your home using one of the most versatile craft materials – clay! This DIY Clay Mezuzah tutorial is geared toward kids – the exact age range is your call! Grown-ups can try it too, but I have a much more sophisticated, polished version coming for adults in a week or so. Make sure to subscribe so that you don’t miss it! Update: you can find the adult version of this DIY clay mezuzah here! Disclosure: this post contains affiliate links.
I’m a big fan of crafts that are open-ended and offer a functional result.
When it comes to the youngest family members, those can be hard to find.
Clay is a versatile enough material to make anything you want with (pretty much) and easy for kids to work. How well this DIY clay mezuzah will come out will depend on how well your child can follow basic instructions to begin with. Then he or she can finish it off in a number of ways, leaving the final craft a very open-ended and creative experience.
I used Crayola’s air dry clay so that we don’t need to worry about baking it.
The only downside is that it’s brittle – meaning if your DIY clay mezuzah is too thin, it will crack. The good thing is, that this is something that gets fixed in place and doesn’t really get much abuse after. It’s not like you’re making a fragile baseball bat…
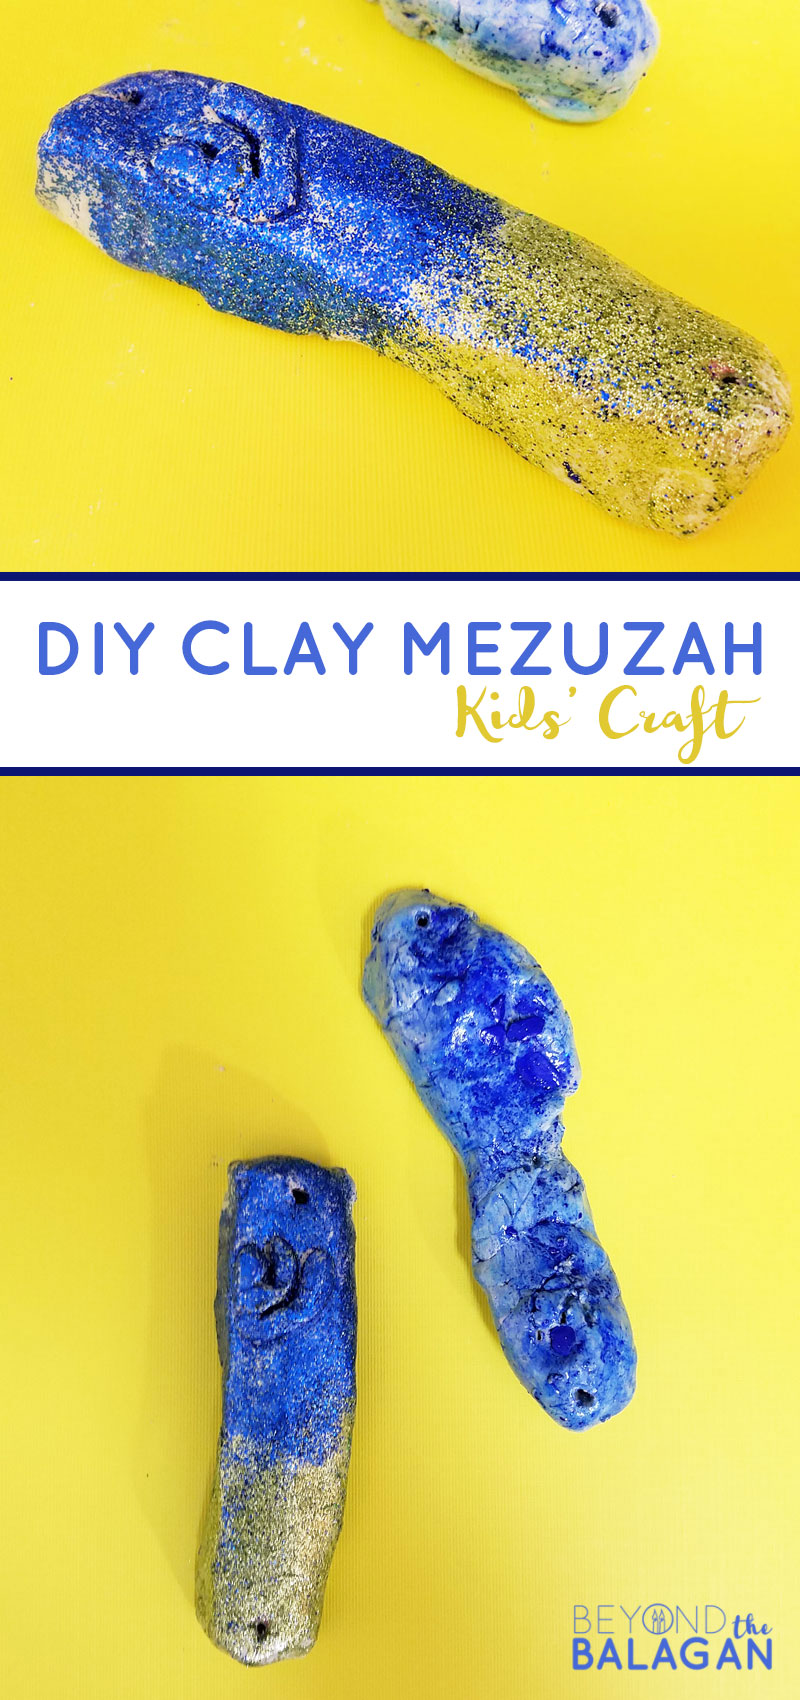
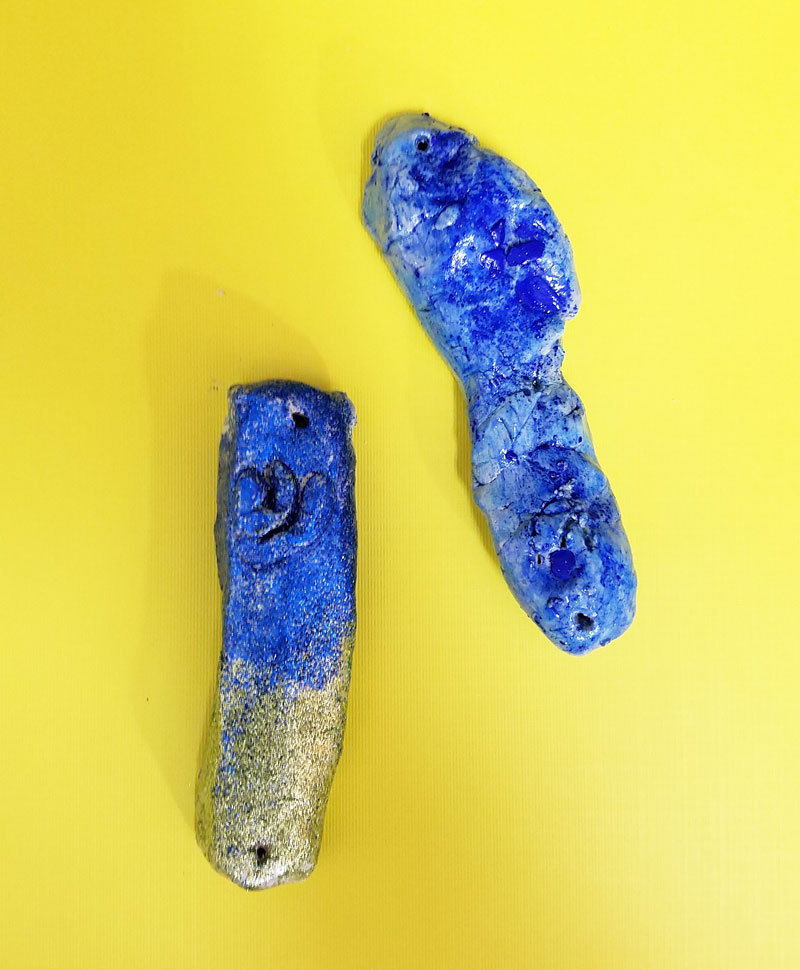
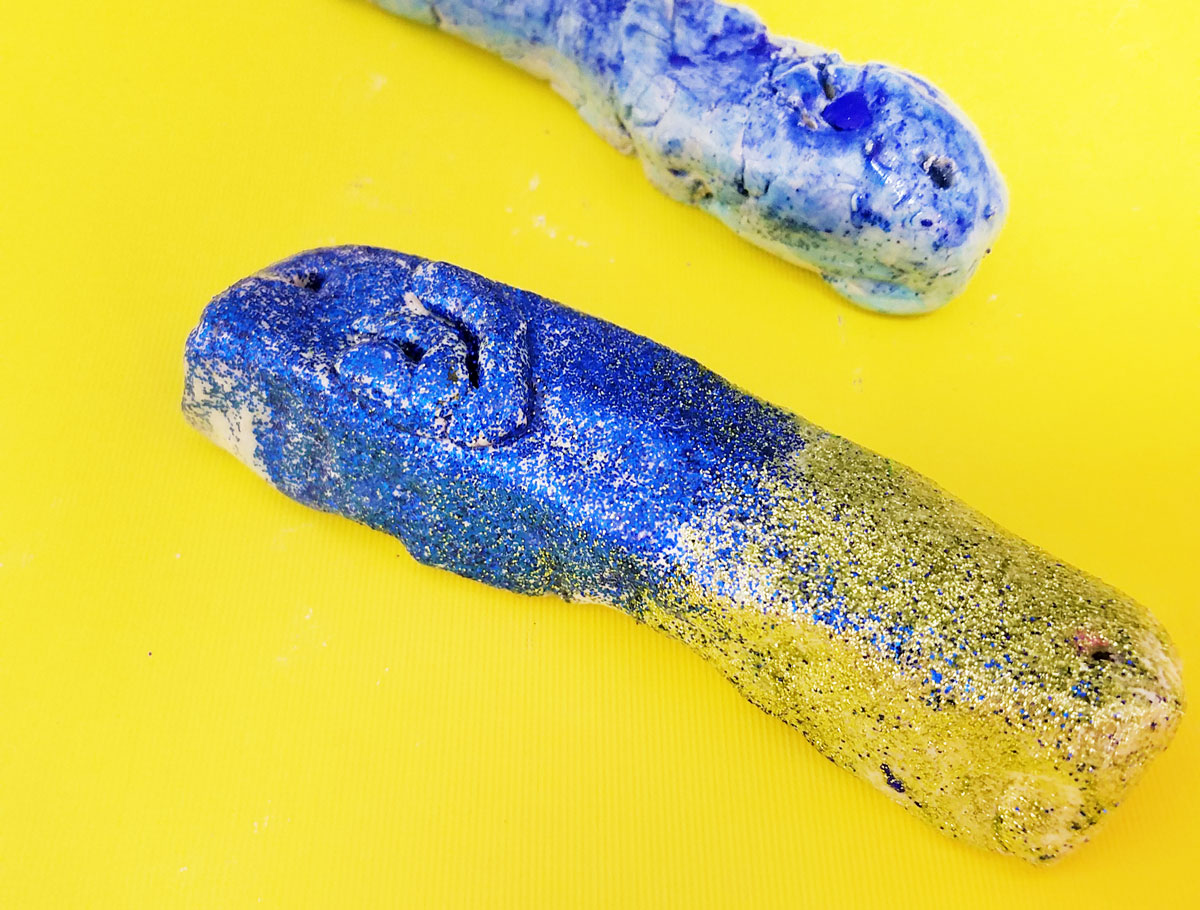
To create the kids’ version of this DIY clay Mezuzah, both me and M gave it a go. M is four years old and doesn’t follow instructions well, so you can see where we’re coming from and apply it to your situation.
He “didn’t want to create a hole in the back” so there’s no where to put his actual Mezuzah scroll! So his is purely decorative (we may hang it on his closet door…)
Update: in the end I carved a hole in the back while it was still a little soft.
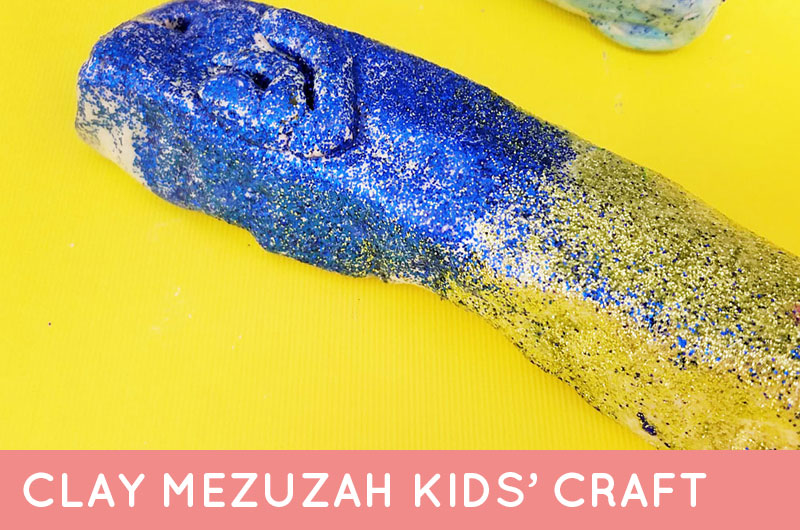
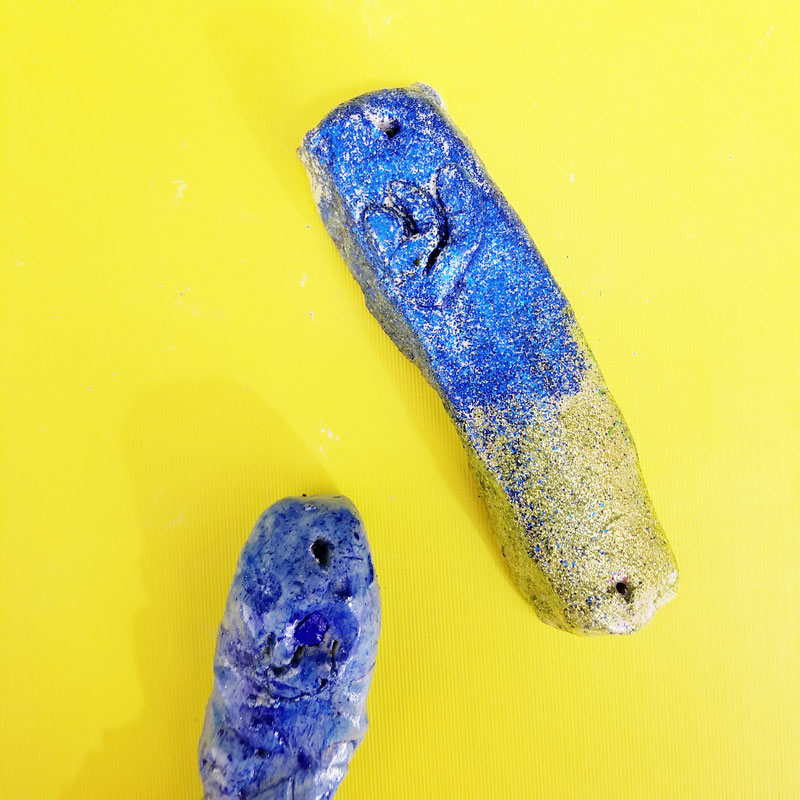
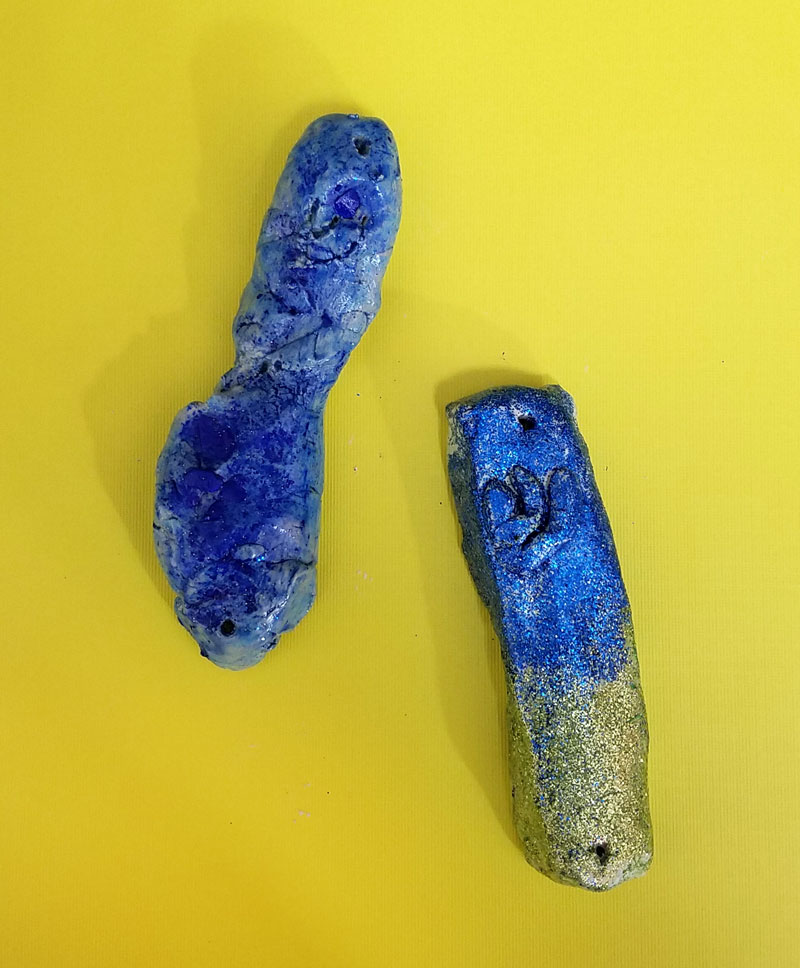
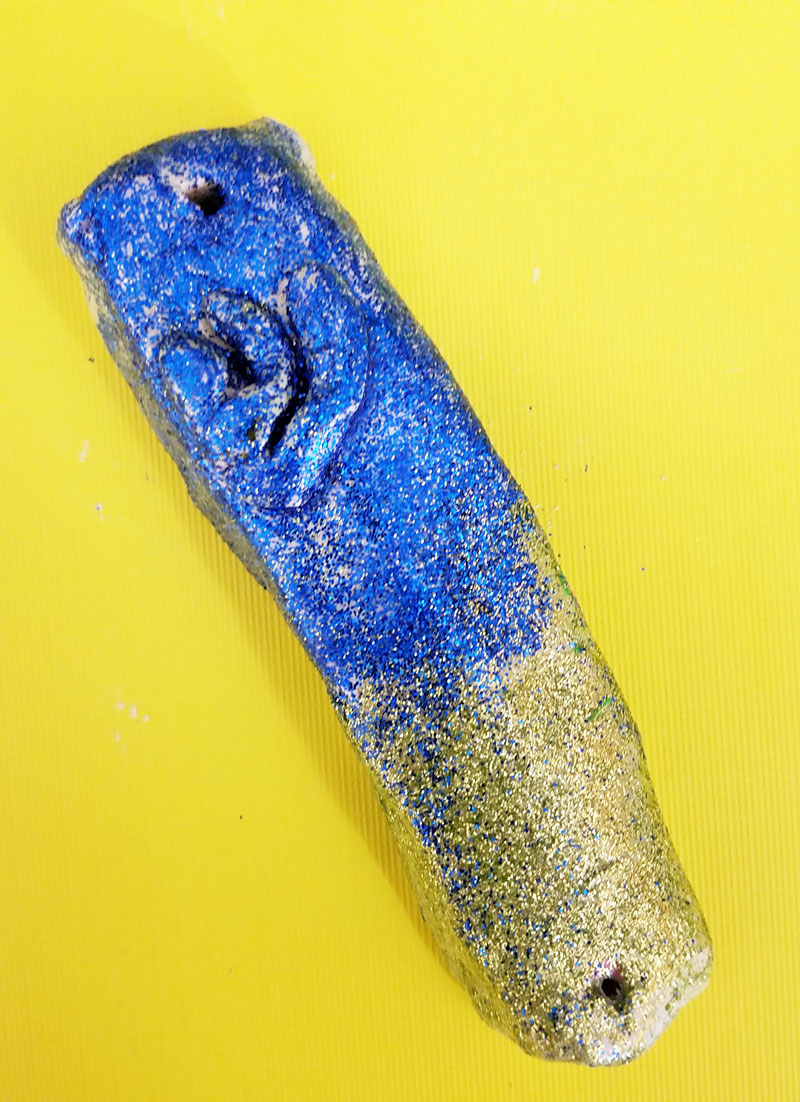
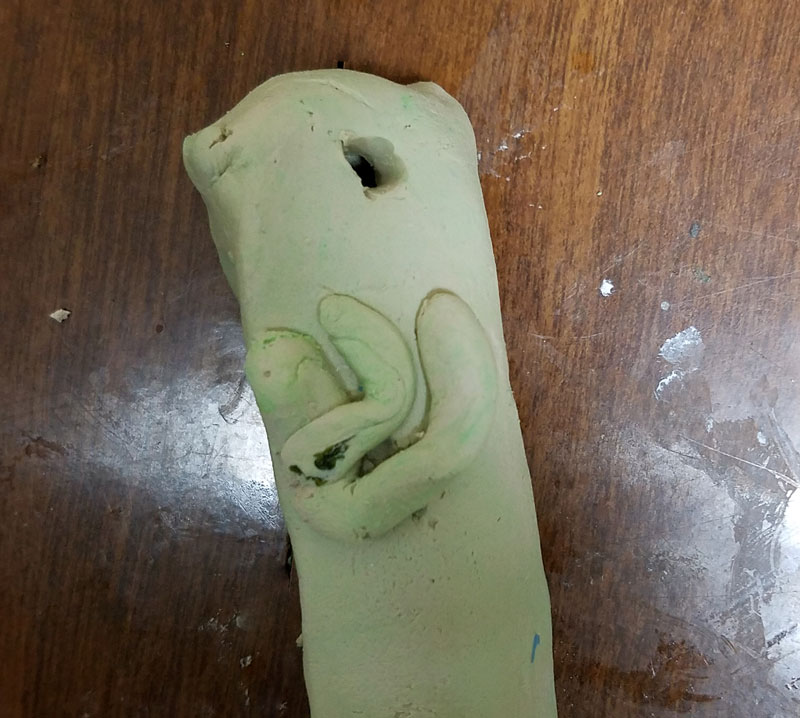
On the one that I created, I rolled out a letter “shin” from clay. On his, I carved it with a toothpick.
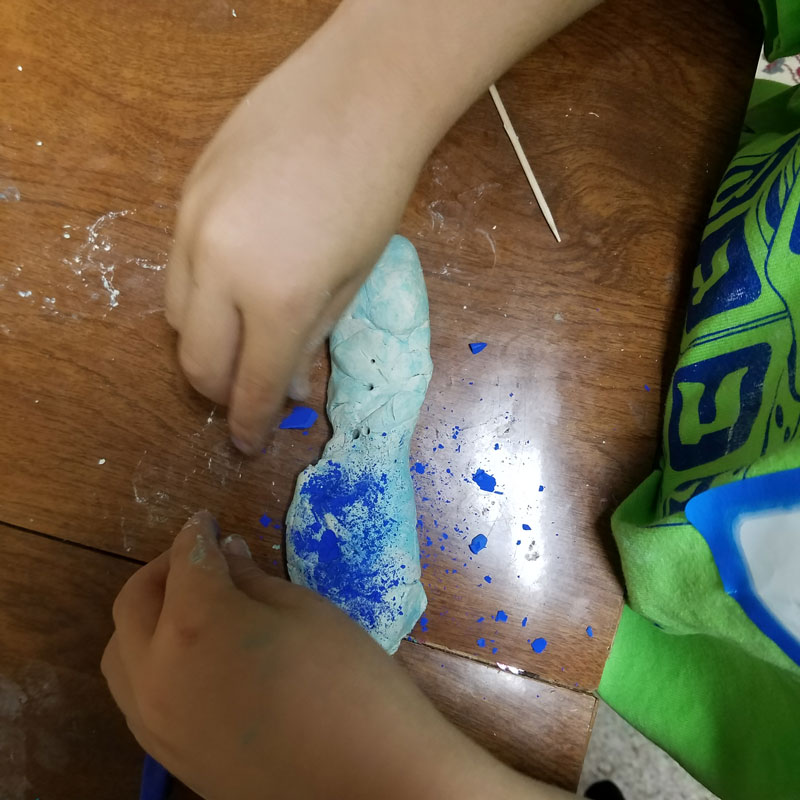
M wanted to add pastels to the mix, so I pressed shaved chalk pastels into his. That CAN look really good on clay as you can see from this project, but since his looks like it was made by a four year old, you might not be convinced. (and yes, I do like to honor his art by leaving it as is and not worrying about how perfect it came out) .
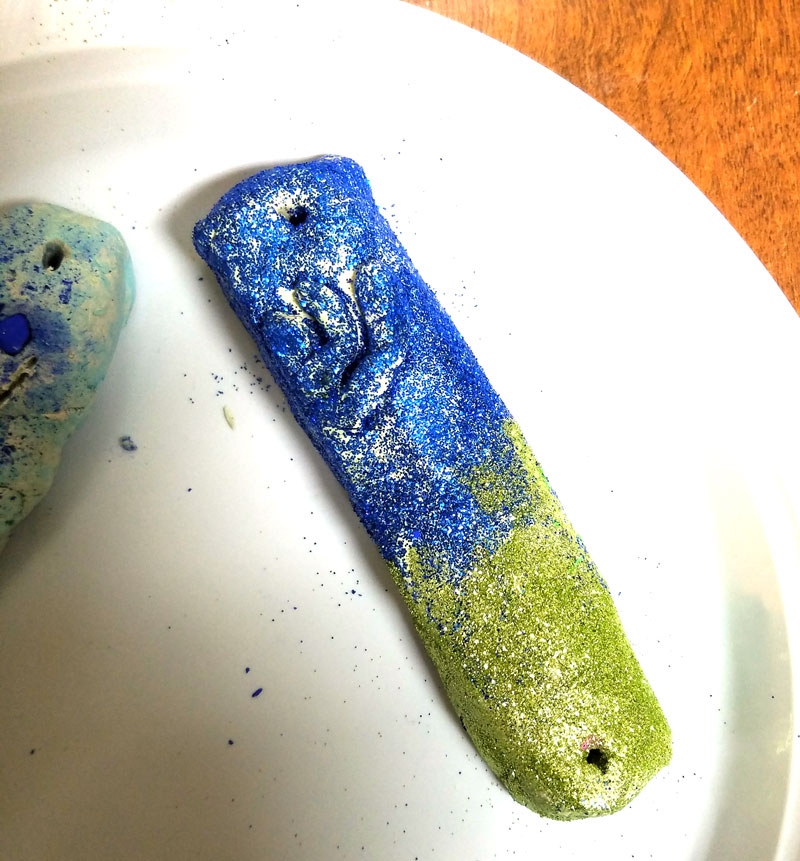
I pressed glitter into mine.
Here’s where my big recommendation comes in:
I used regular cheap tinsel glitter for this project, which doesn’t actually embed into the clay – it sits at the surface. The solution would be to use GLASS glitter – which is pricier but has more substance and will embed into the clay better. Otherwise you can use the tinsel, just try painting the surface with water first so that it sticks a bit better.
Either way, if you decorate with chalk pastel shavings or glitter, you’ll want to paint it with a glaze afterwards (I did two layers). Not only does it add a beautiful glossy finish, but it secures the glitter so that it doesn’t shed, and it finishes off the pastels so that it doesn’t color your hand every time you reach up.
Want to simplify the whole process, and just do it in the most straightforward, kid-friendly way?
Instead of coloring your clay in advance (which I did), you can make it with the natural clay, and paint it once it’s dry. Then, if you want the pretty glossy finish, you can glaze it, otherwise leave it as is!
Now, on to the actual tutorial:
What you need to make a DIY Clay Mezuzah with kids:
- Air dry clay
- Paint – kids washable paints work but don’t have rich color. An alternative can be gouache – just have a grown-up dye the clay. Or, paint it after it’s been made. The color will simply be less natural to the clay, but it’s a kids’ project so that’s cool 😉
- A toothpick
- Finishing touches: glitter, chalk pastels and a scissor to shave them, glaze
[show_boutique_widget id=”636346″]
How to make a DIY Clay Mezuzah with kids:
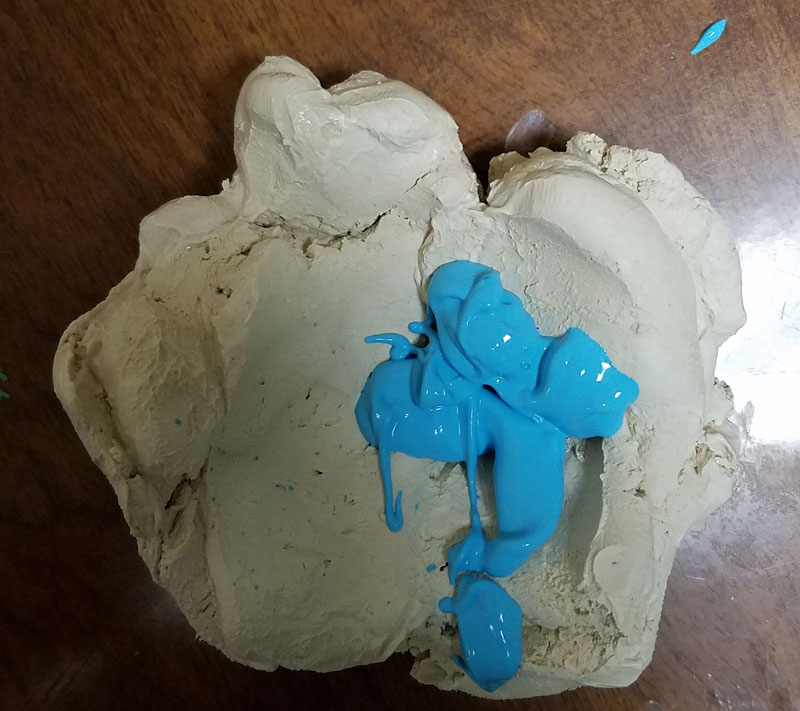
1. Soften a piece of clay by kneading it with your hands. Create a well in the clay, add your color, and mix it in until it’s evenly distributed.
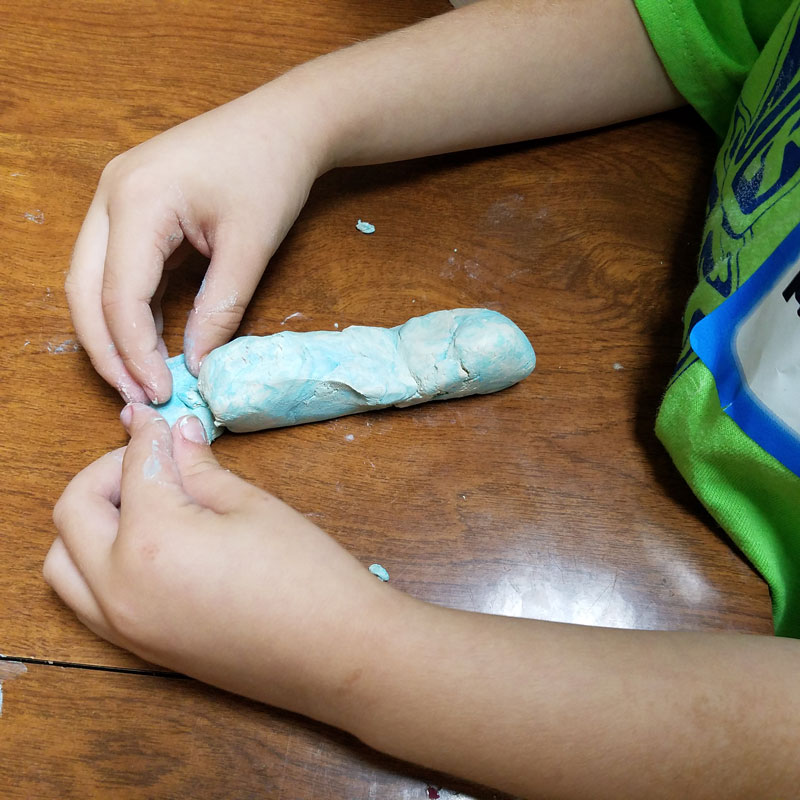
2. Roll out a snake and flatten the top and bottom.
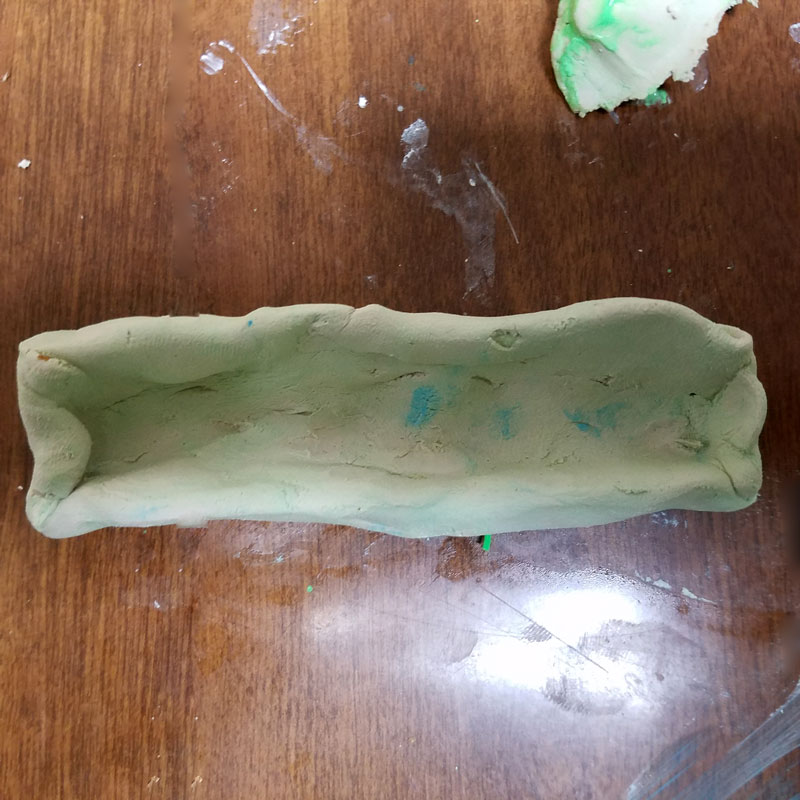
3. Use your hands to create a well in the back of the snake. Be careful not to make the body of your mezuzah case too thin, or it will be brittle. Follow the package instructions for recommended thickness.
4. Create a “shin” one of two ways: either carve it with a toothpick, or roll it out with thin clay snakes. Poke holes to hang it on the top and bottom.
5. Add your texture! Let your DIY clay mezuzah dry for around 24 hours.
6. Paint on a layer of glaze, let it dry, and paint another layer. Now let your piece cure completely according to the package instructions for both the glaze and the clay.
Your children will be so proud of their DIY clay mezuzahs! It’s such an easy and open-ended Jewish craft for kids that works for year-round too!
Who will you be creating a DIY clay mezuzah with, and how will you be doing it? Comment below!

