DIY Silk Flower Centerpiece for your Shavuot Table
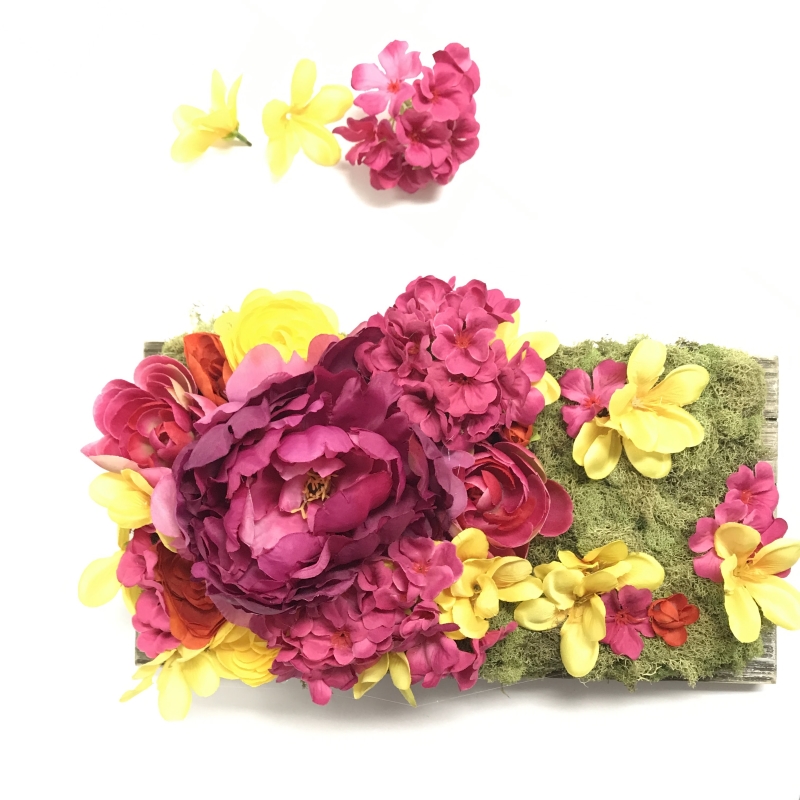
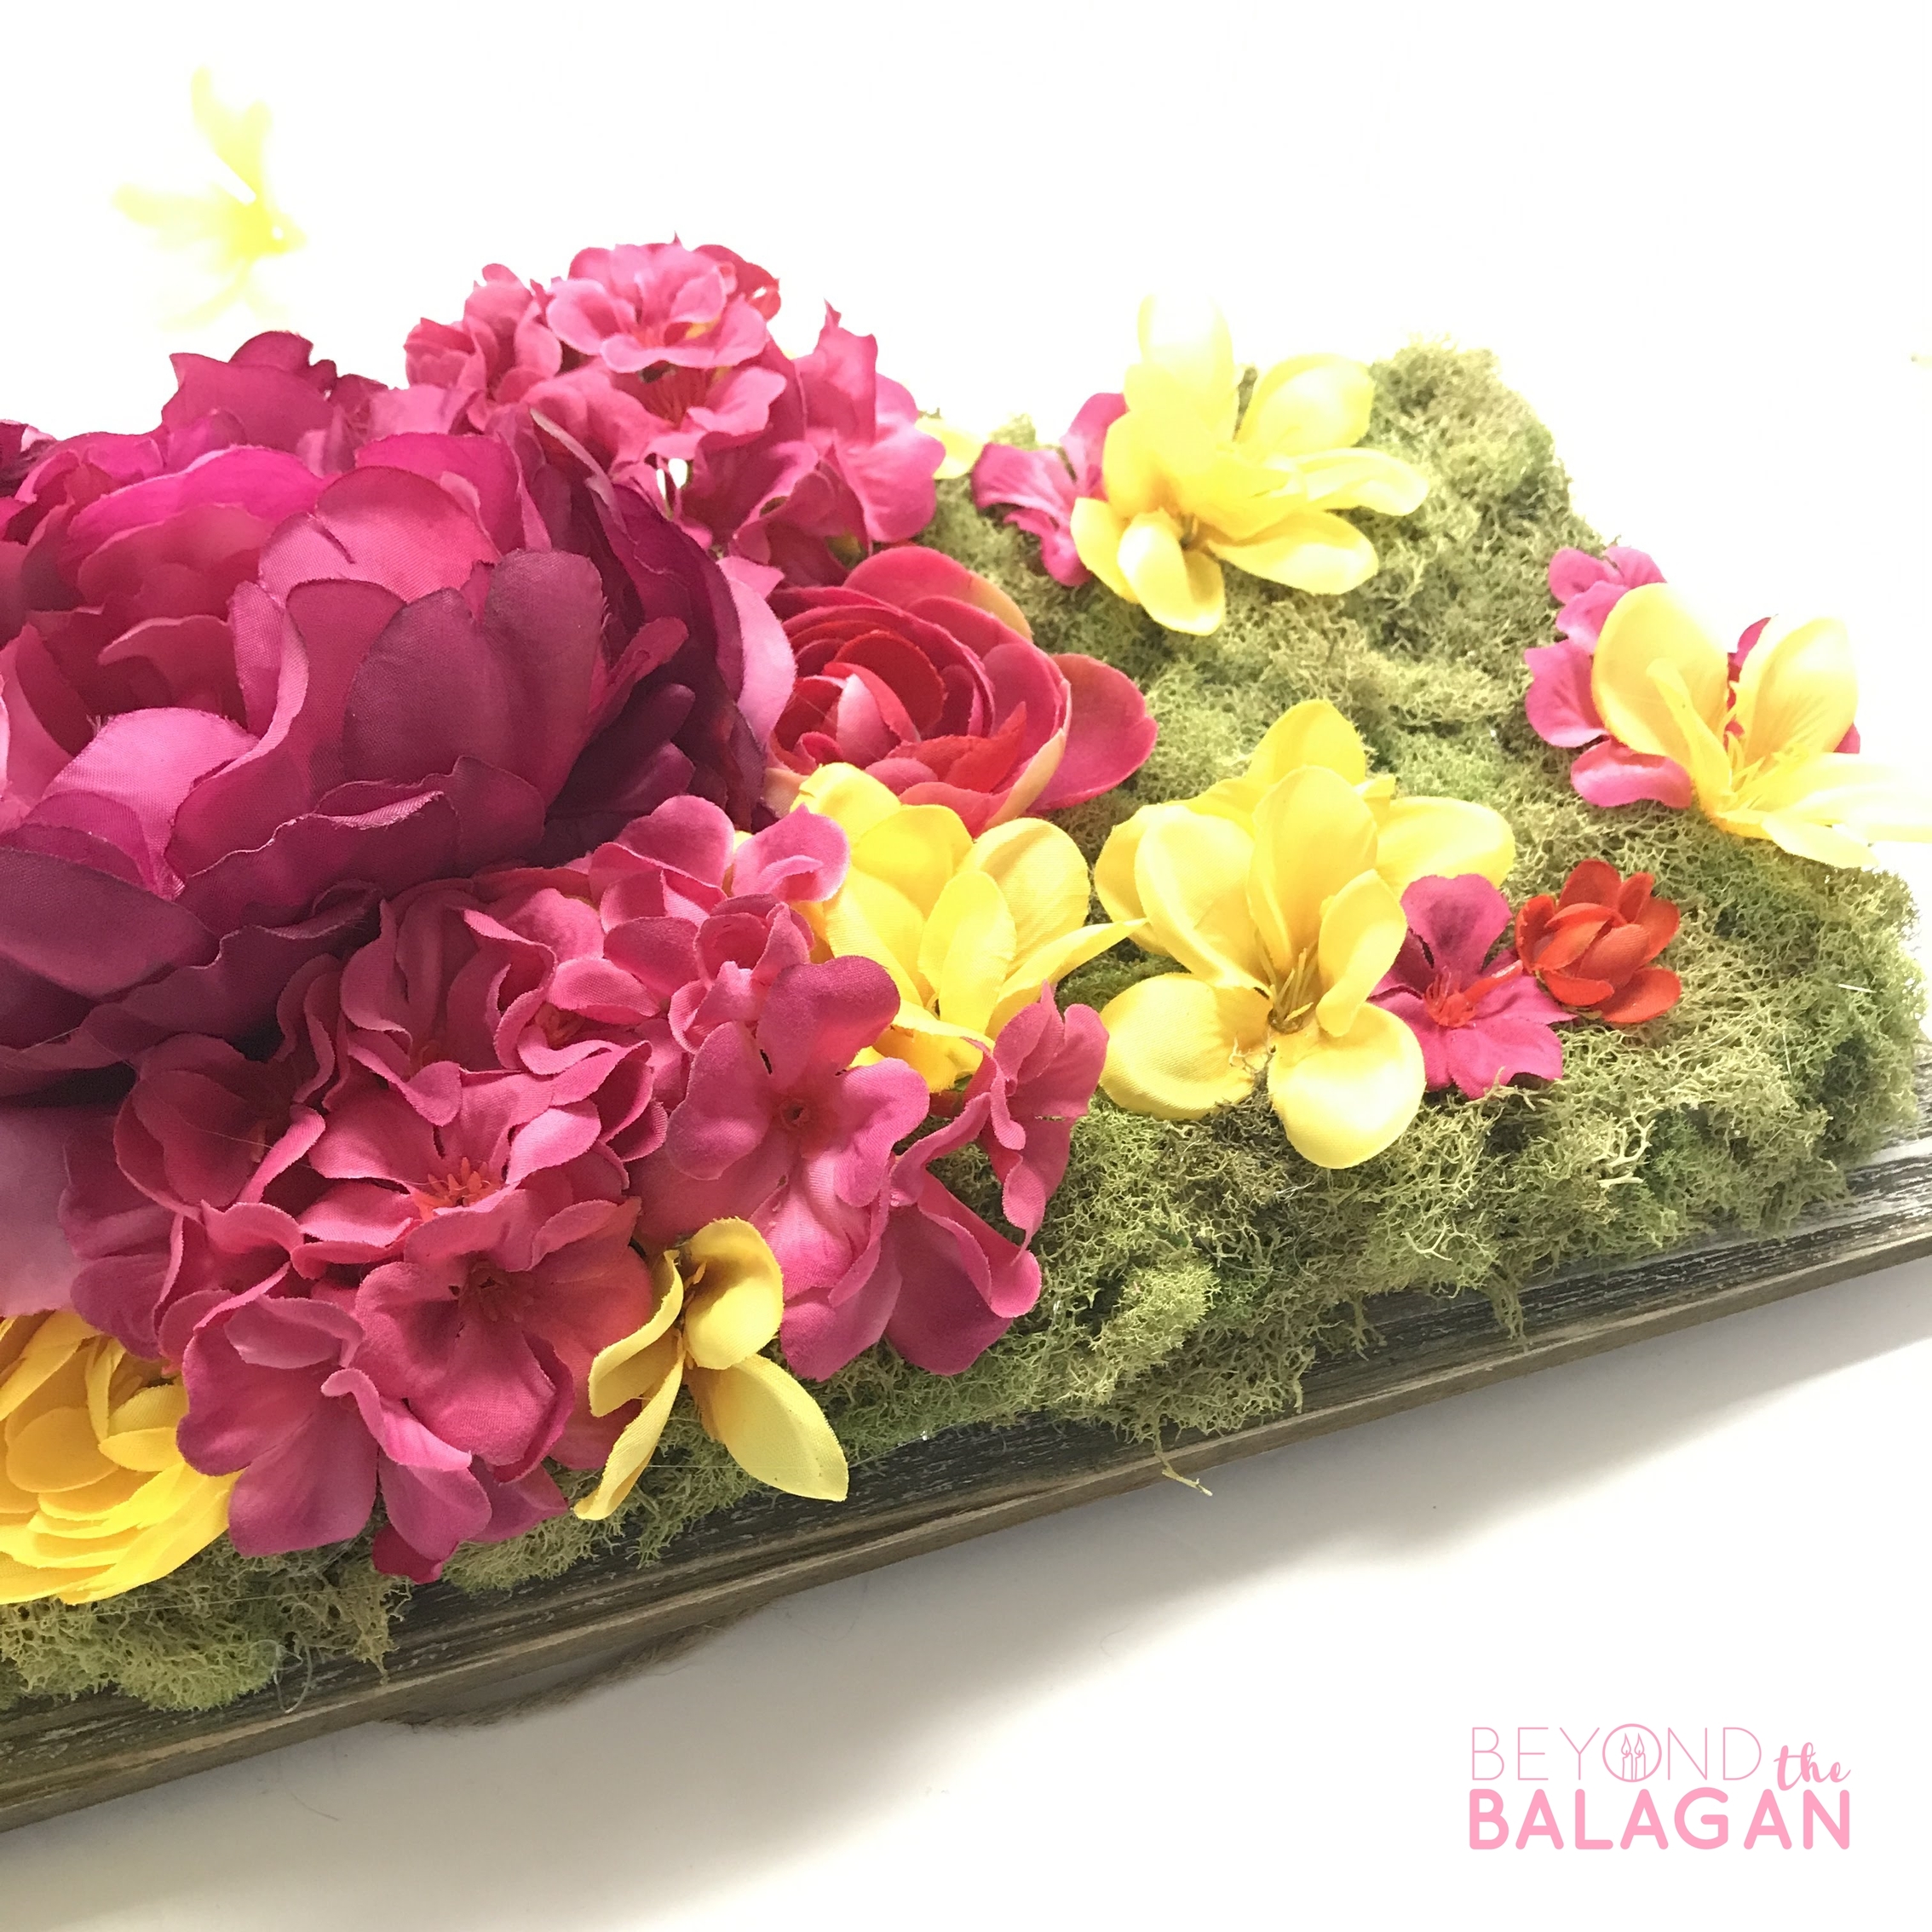
With Shavuot just around the corner, a long lasting DIY silk flower centerpiece is the way to go. I like using ready made silk or faux flowers for this arrangement, but if you’d like to DIY it to the next level, consider incorporating felt flowers like these to really personalize it. Disclosure: this post contains commissioned links and images.
While I am not the crafter on this blog (that’s Menucha’s department), I do have some crafty genes. And my favorite kind of craft is a DIY silk flower centerpiece such as this one. In fact, I make a new one for Shavuos every year.
DIY silk flower centerpieces are a great way to customize your Yom Tov table. I like them for a few reasons. Firstly, this floral arrangement won’t die over a three day holiday. You can also pick exactly which kind of colors and flowers you want to work with in order to get the perfect look.
It will also look beautiful on display anywhere in your home after Shavuos is over. In fact, I’ve used the same DIY silk flower centerpiece on both my Shavuos table and my Sukkos table!
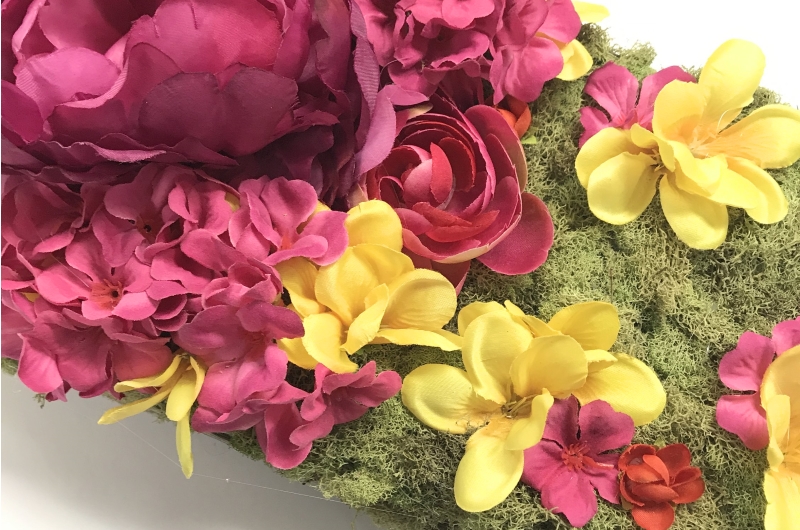
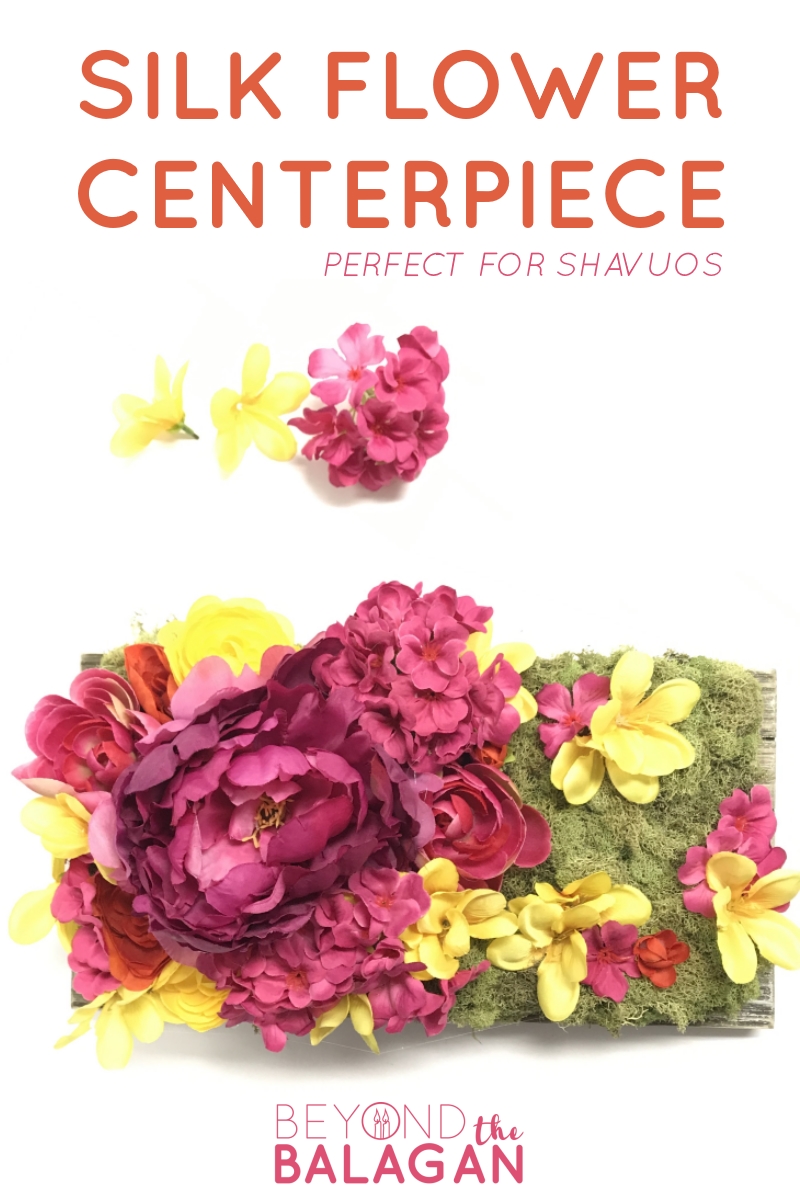
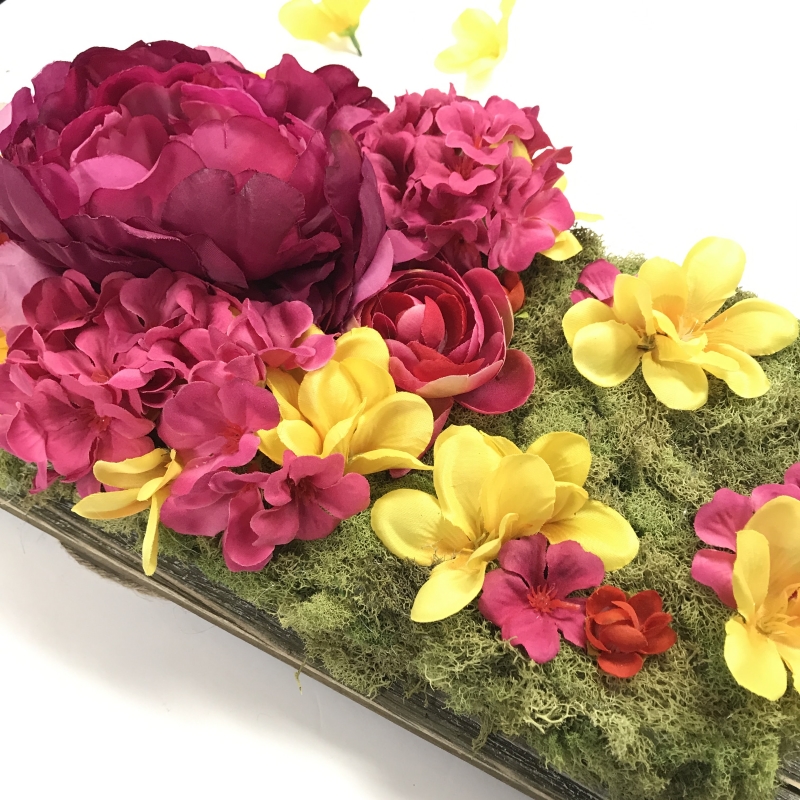
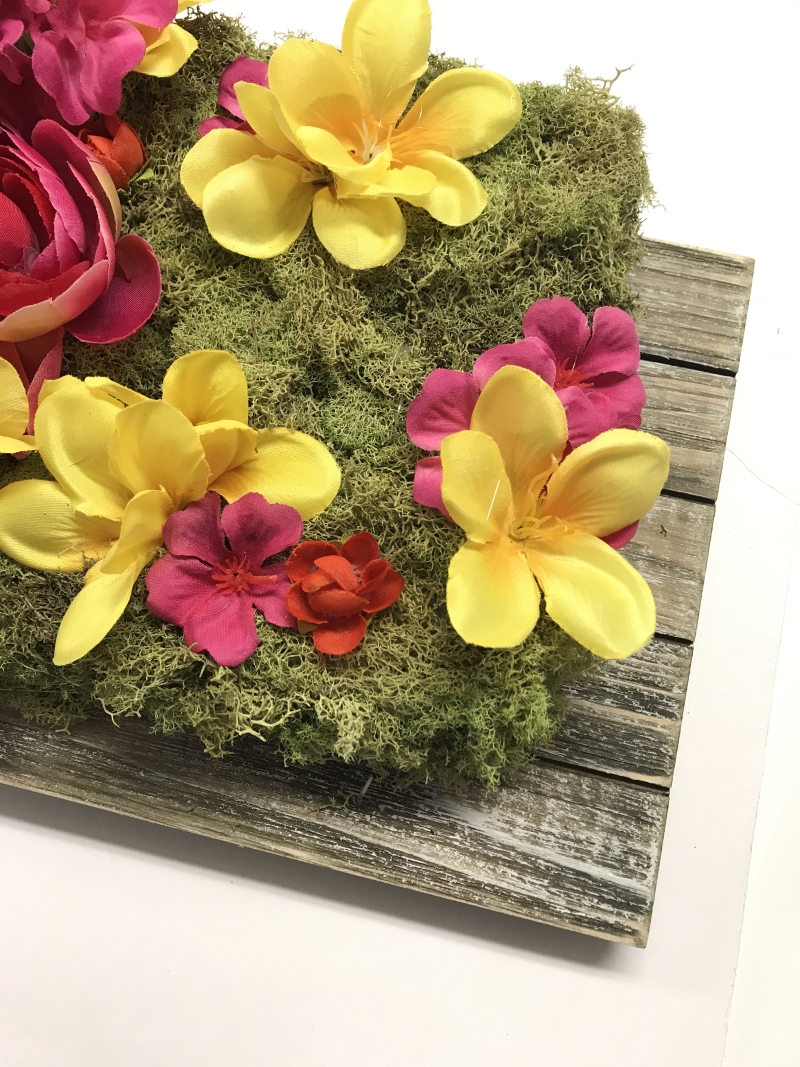
I placed a larger wooden base under my floral arrangement, but it’s not necessary if you don’t have one or can’t find one. It just completes the look and displays beautifully on a set table.
There are a few main criteria for crafting your DIY silk flower centerpiece. The first is your color scheme. The general rule of thumb is to pick no more than three complementing colors. You can go with monochrome and a pop of accent color, or three colors that work well together that are just vibrant and springy, much like I chose for this arrangement.
Secondly, I like to pick a focal point and start off center. If you check out our Instagram highlights, you can see the video tutorial on how I made this DIY silk flower centerpiece and watch exactly how I did it.
The third, and last point, is your effort level. The great thing about a faux floral arrangement is that there are little tricks to use as you go along so that you don’t have to overwork yourself. For example, I use a moss pack under my flowers so that I don’t need every single centimeter covered with flowers. Additionally, I used a styro-foam base. While I did use glue gun to adhere my flowers for extra stability, the styro-foam will hold the flowers on its own, the centerpiece just won’t last as long.
The most important thing is to make it your own. The instructions below are just a springboard for inspiration to craft your own magnificent DIY silk flower centerpiece. Pick your own colors, your own sizes and add a butterfly if it makes you happy!
Note: I linked the materials I used in the list below, but I’ve had better luck finding high quality silk flowers in local craft stores, like Michael’s or Hobby Lobby.
What you need to make a DIY Silk Flower Centerpiece
- wood base, at least one inch larger than your styro-foam base on all sides (optional)
- styro-foam base, approximately 6″x11″, no more than 1″ in height. Cut to size if necessary.
- glue gun
- wire cutters
- scissors
- moss pack
- artificial flowers in assortment of your choice. I find it better to buy these in-store so you can truly see the quality and color. You will need 1 large focal flower, 4-6 accent flowers, and filler flowers for the remainder.
- T-pins (optional; they are very helpful if you are using moss sheets to cover your styro-foam base)
[show_boutique_widget id=”711153″]
How to make a DIY Silk Flower Centerpiece

- Using the focal flower as a guide (without adhering it to the base), cover your styro-foam base with moss. If using moss sheets, secure with T-pins until ready to glue. Use glue gun to secure moss to base.
- Insert the focal flower into the base. Use glue gun to secure.
- Insert the accent flowers around the focal flower. Use glue gun to secure.
- Fill in the remainder of the base with filler flowers. You can keep some moss exposed (as pictured) or cover the entire base with flowers. If using more than one color, make sure to keep the color flowing throughout the whole arrangement. Use glue gun to secure.
- If keeping moss exposed, layer more moss (with glue gun) on top, so that no styo-foam shows.
- Place on wood base. (I did not adhere mine to the wood base, but you can do so using E6000 craft glue.)
Do you like real flower arrangements on your Shavuot table or is crafting one more up your alley? Let us know in the comments!
[show_boutique_widget id=”711161″]

