Dreidel Decoration – DIY Himmeli Style Dreidel from Paper Straws
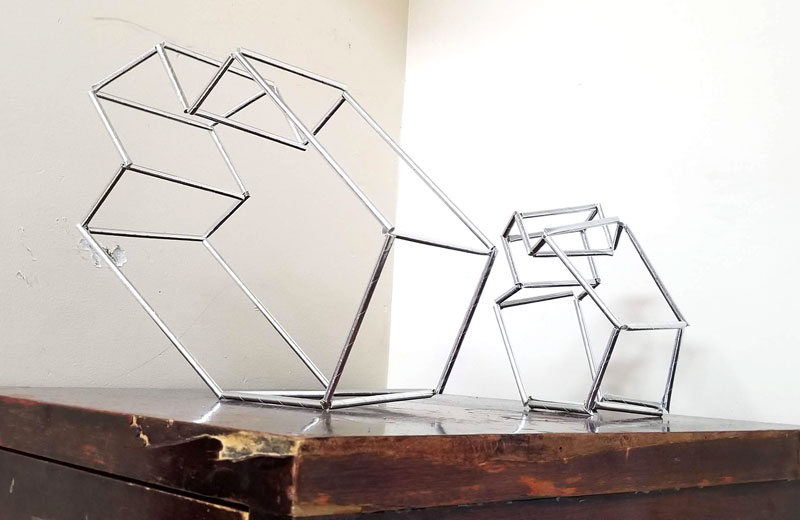
Craft some Himmeli-style Dreidel decoration centerpieces using paper straws! You can download our free printable paper dreidel boxes here or scroll down for this tutorial. This post contains commissioned links.
Since I like to be realistic with crafts, I’m going to preface this one by saying: it’s not easy and it’s very fail prone.
But I like the idea, so I want to share it. Play around, give it a go for your own home, but don’t plan it as a group activity until you’ve tried it a few times. I will share a few tips for success. Plus, the supplies are super cheap so you can experiment.
I wanted to make a dreidel decoration in the Himmeli style. I did something like this Purim time (and I’ll share it closer to then) so I wanted to replicate it for Chanukah.
For those of you who are unfamiliar with it, Himmeli is a Finnish craft that uses reeds or straw to make geometric mobiles and decorations. They can get quite elaborate, but if you’re a beginner, you’ll want to keep your design simple.
Many makers will use metal tubing for gorgeous modern takes on traditional himmeli that lasts well.
Since I’m more of a “keep it simple” kind of crafter, I decided to use paper straws. They are affordable, and easy to work with. And they don’t require special equipment. I hope to one day move on to metal designs, but for now, paper straw it is!
The trick if you’ve never done Himmeli before is to keep it simple.
But in this case, simpler might not be easier, because the design needs to hold. I made this as a simple outline, but I’ve been wondering if I could have made it stronger by adding a horizontal straw at the top of the dreidel – below the stick, and at the bottom – above the point.
Another tip is to be very accurate. Keep a ruler on hand and make sure all your measurements add up.
And finally, I’ve been considering making this as a flat dreidel garland – by just making flat straw dreidels and string them up. I need thicker aluminum wire to try that, so I haven’t yet, but if or when I do it will definitely be added to my never-ending “to share some day” list.
Either way, this dreidel decoration is perfect for a party centerpiece -you’ll just need to play around a little to get the balance you want so it stands on its own.
What you need to make this Himmeli Dreidel:
- Paper Straws
- Wire
- Scissors/Craft Knife
- Wire cutters
- Optional but helpful: serrated jaw pliers
- Ruler
How to make this dreidel decoration:
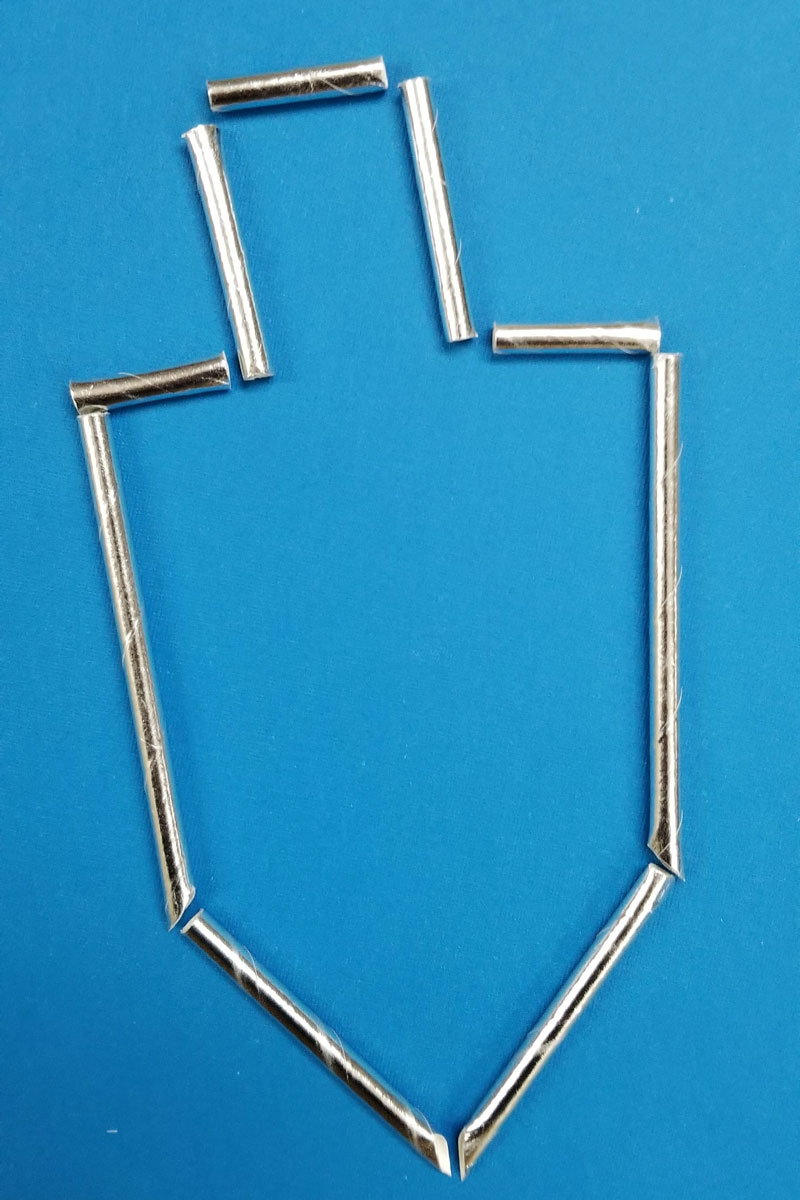
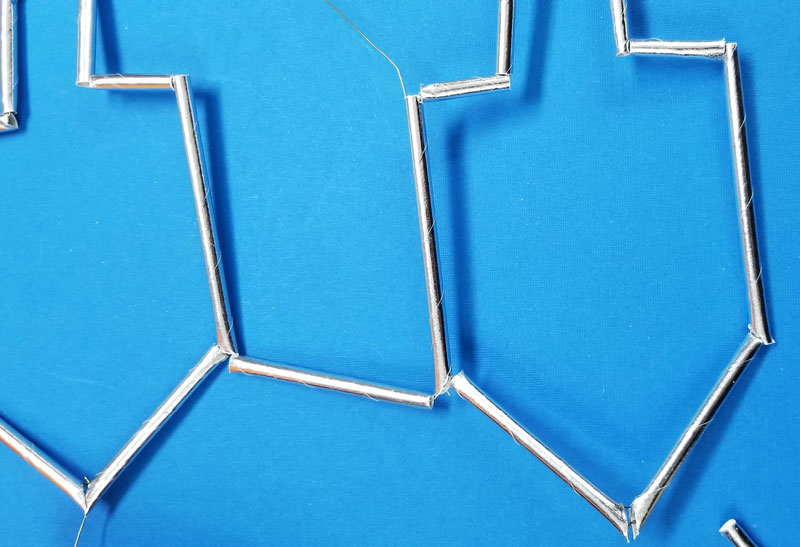
1. Start by determining the total size you want to your dreidel decoration to be. Your right and left straws should be about half that size. This is a guesstimate and not an exact science. Your parts should however line up mathematically 🙂 So Cut both a right and left that are exactly the same.
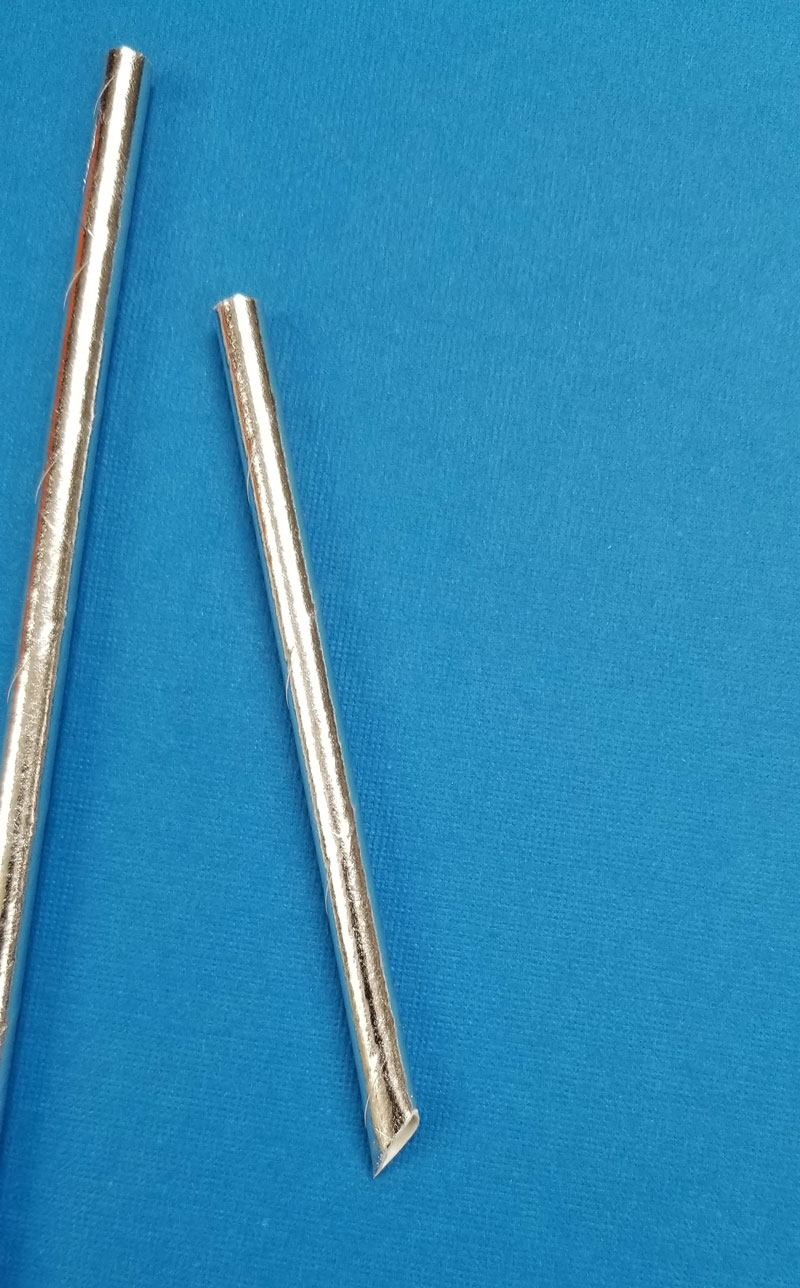
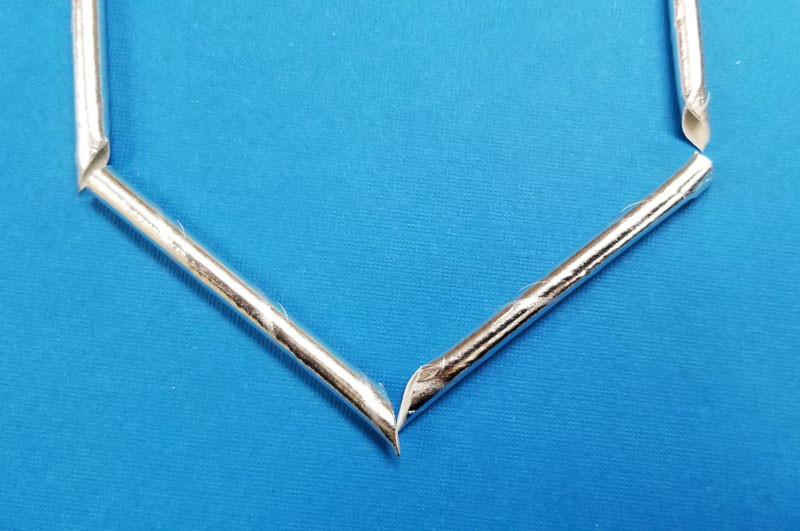
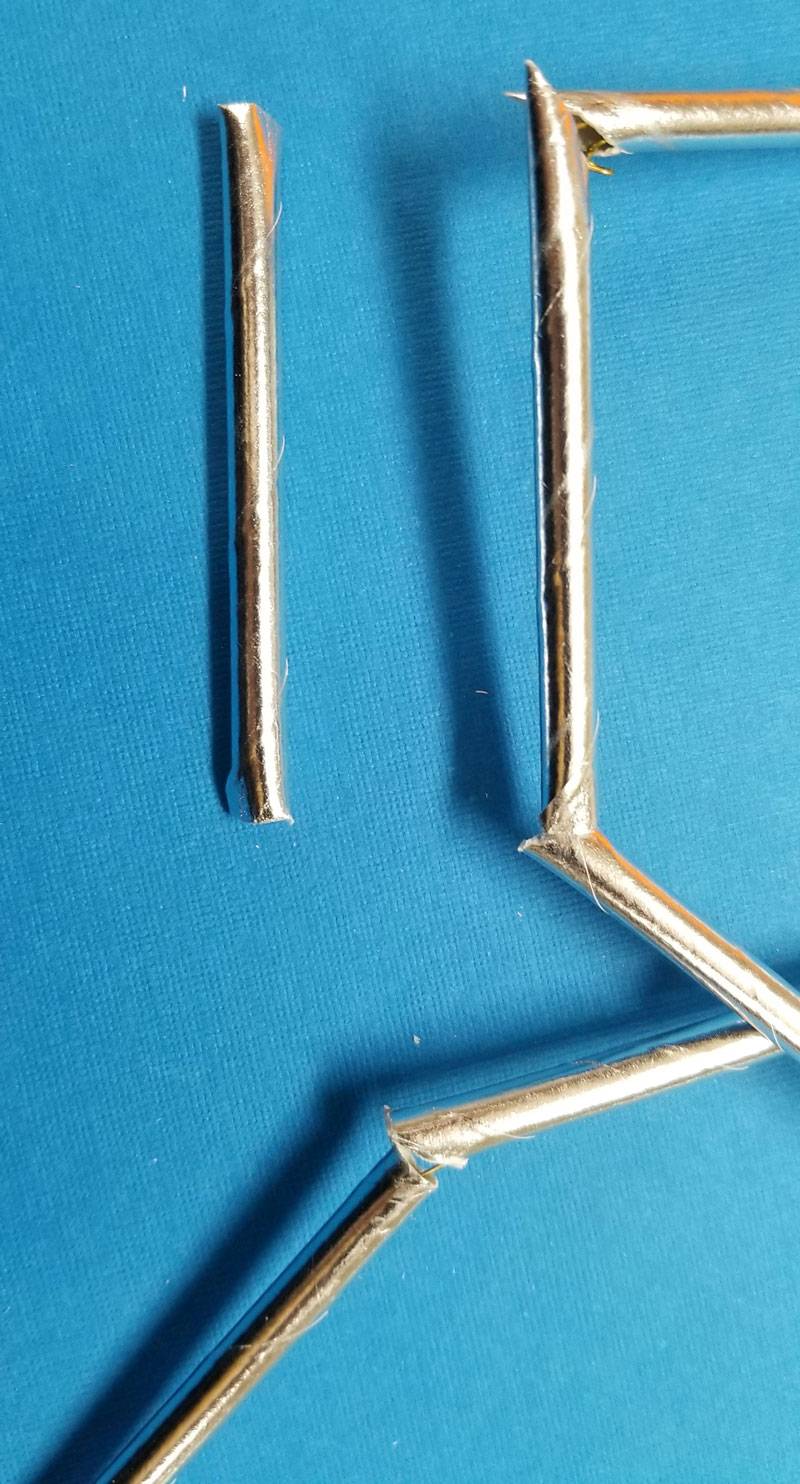
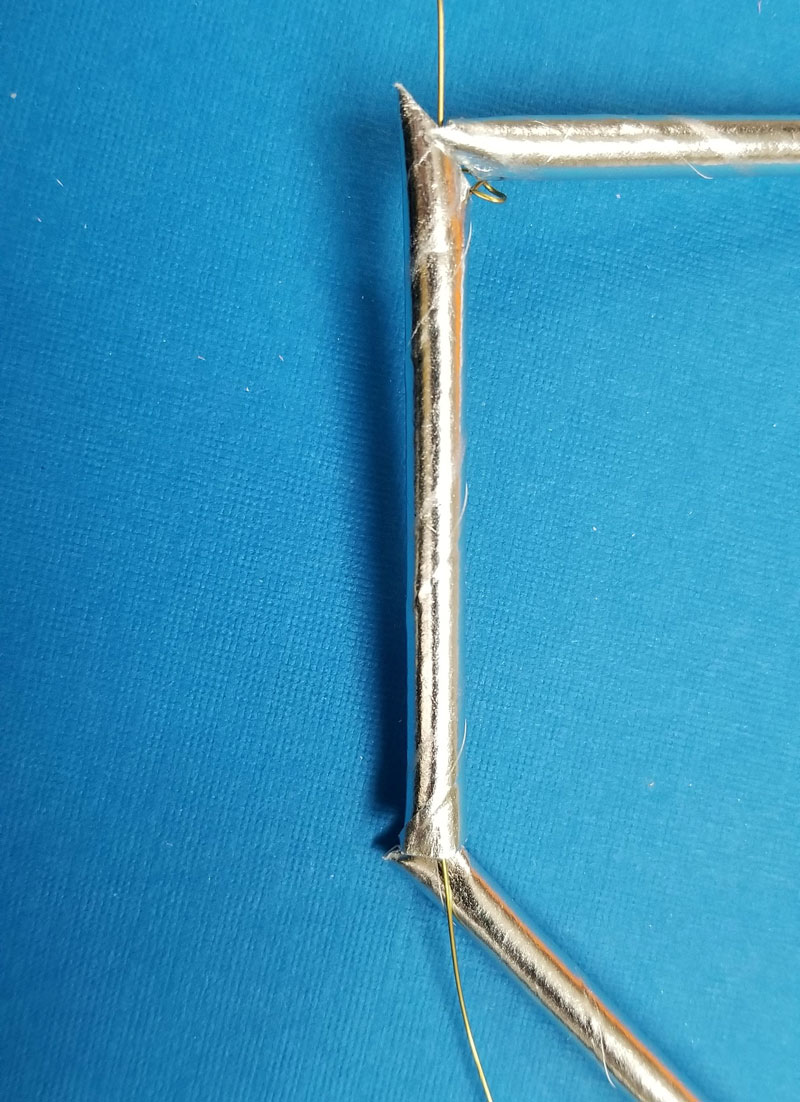
2. Cut your bottom point. Err on the side of longer – your dreidel decoration will stand up better this way. Note: I cut mine into mathematical points as you can see and actually regretted this. I’d recommend you only do that if you’re a math genius or engineer because it’s better to just cut straight ends than to try with angles and get it wrong.
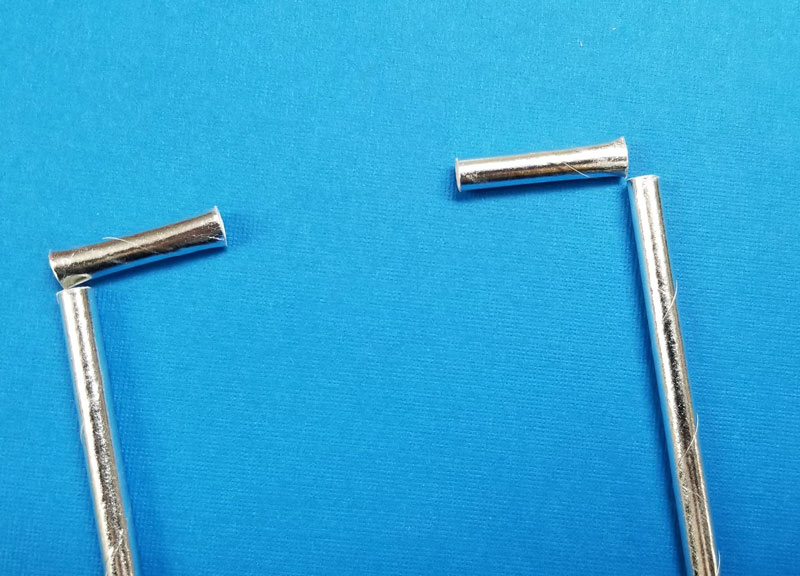
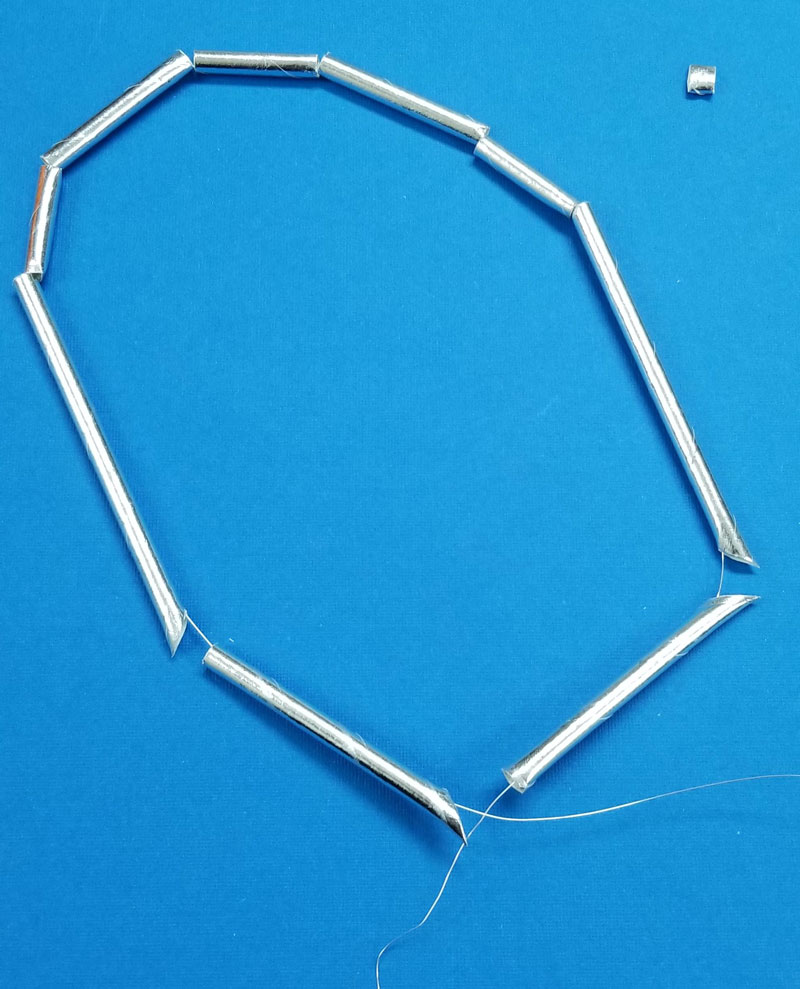
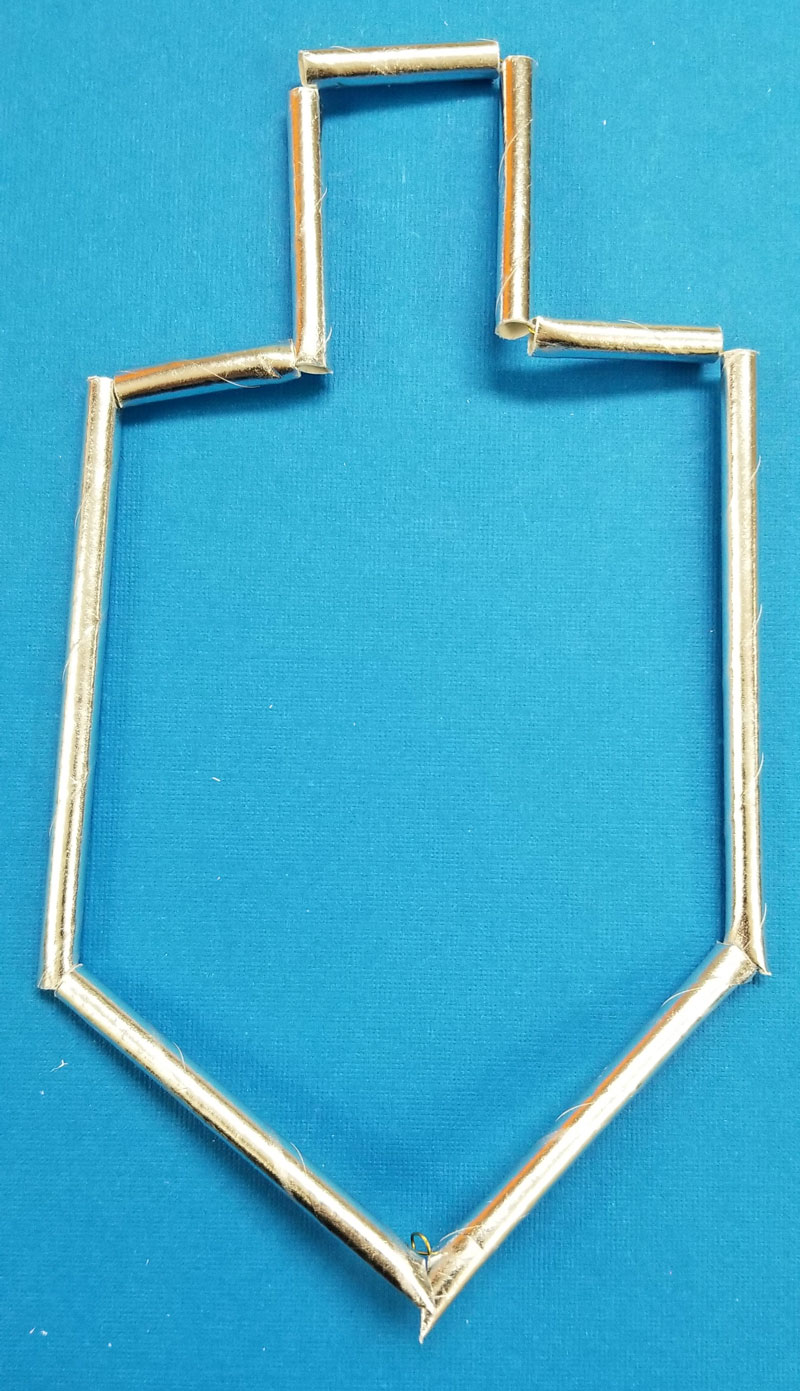
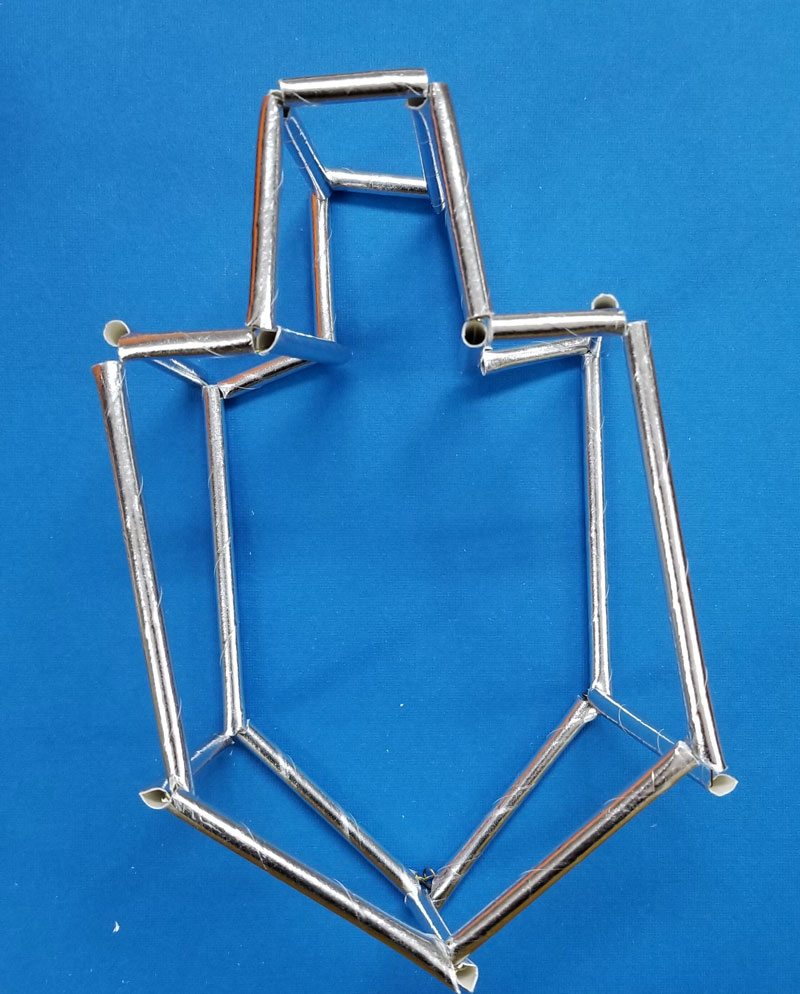
3. Here is where it’s really critical that you get the proportions right. Cut straws to fit your top of your dreidel. Start by cutting a straw that’ll fit across the width of your dreidel. Split this into 3. Decide how tall you want the top handle/stick to be and cut two exactly identical straws for that.
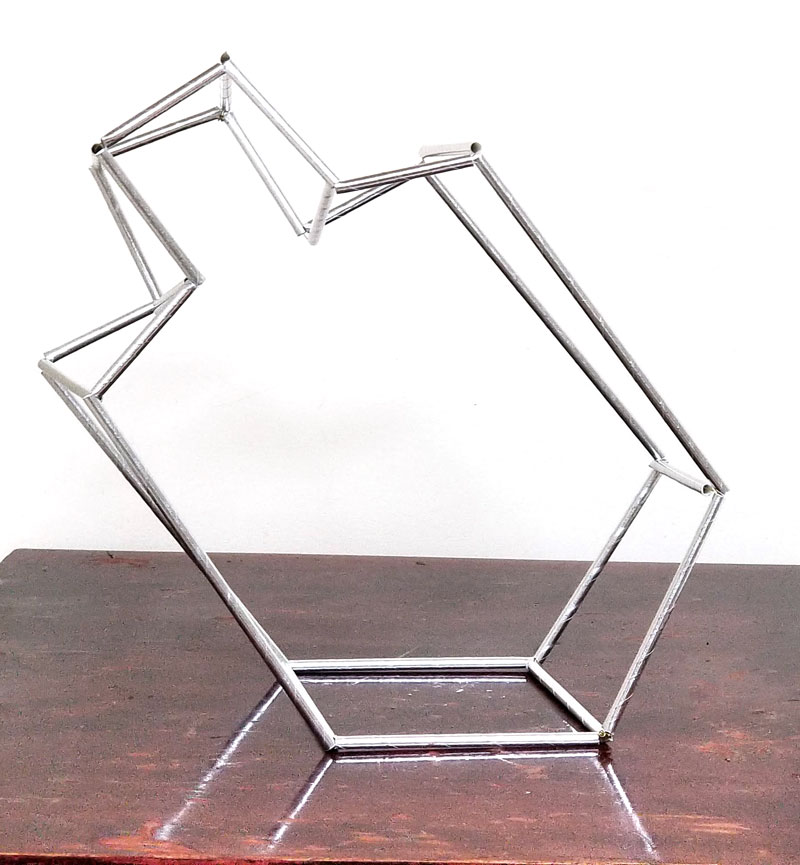
See how mine is sitting? If you want your dreidel decoration to look right, it should not look like this. It should all be symmetrical and straight. This is why you’re better off not cutting angles at the ends of your straws (I eventually cut mine off).
4. Wire them up in the right order.
5. Twist your two ends of your wire around each other, making sure it’s secure.
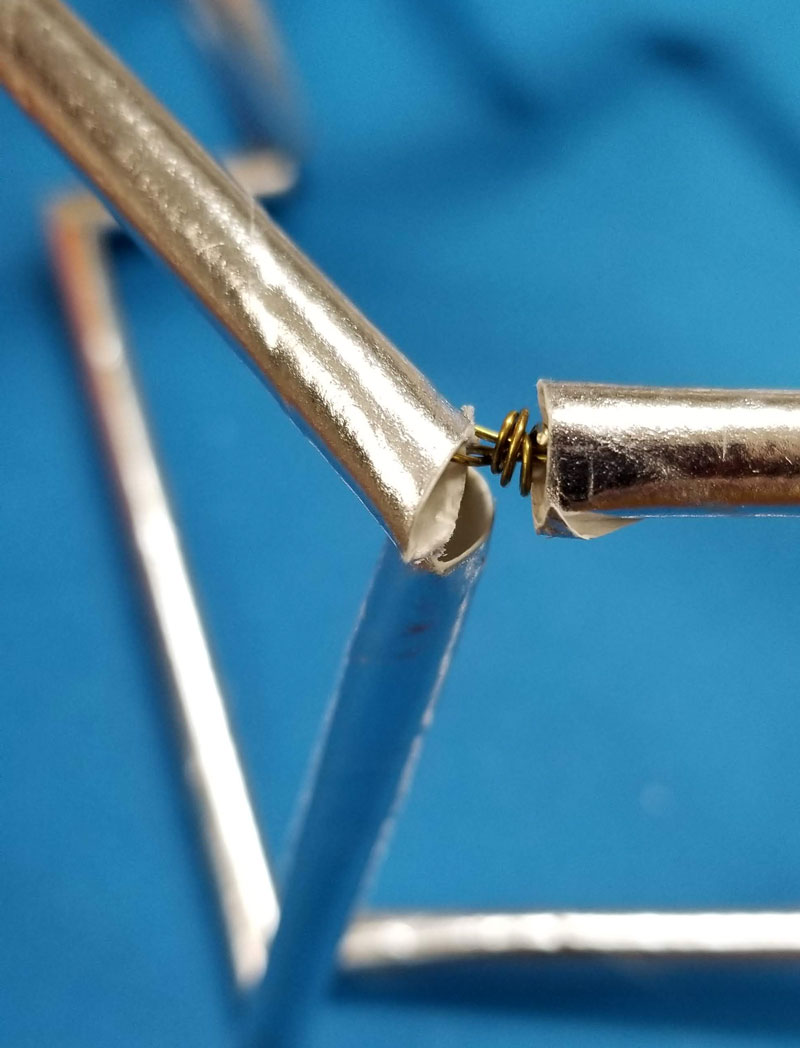
6. Bend and manipulate your wire to form your dreidel shape. You may need to create sharper bends in your wire where the straws meet.
7. Create another flat straw dreidel that matches up exactly.
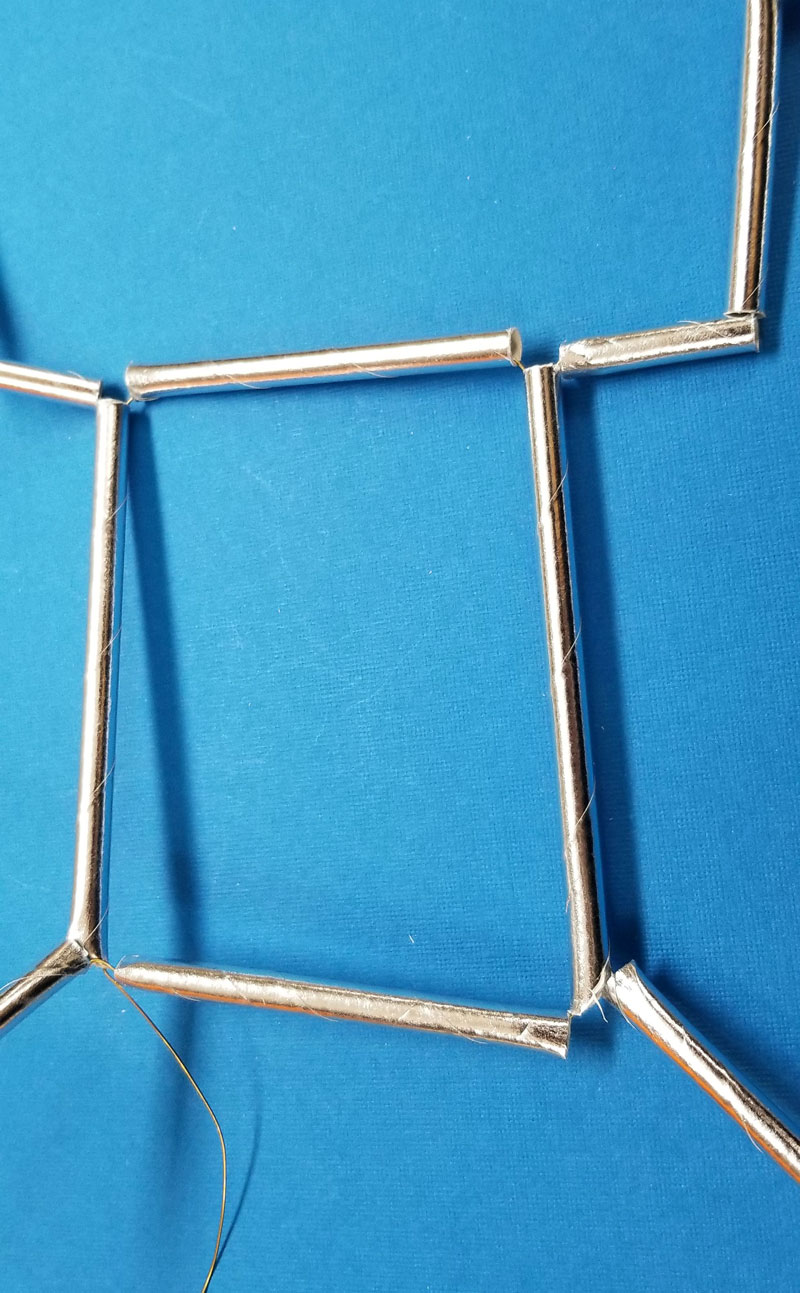
8. You now need to cut “connector” straws for each point of the dreidel (9 in total). This should be at least as big as the bottom two straws – the ones that form the triangle at the bottom.
9. Cut a long but workable piece of wire. Thread it through one of your straws on your dreidel.
10. Thread it through one of your “connector” straws and back through one straw on the other dreidel.
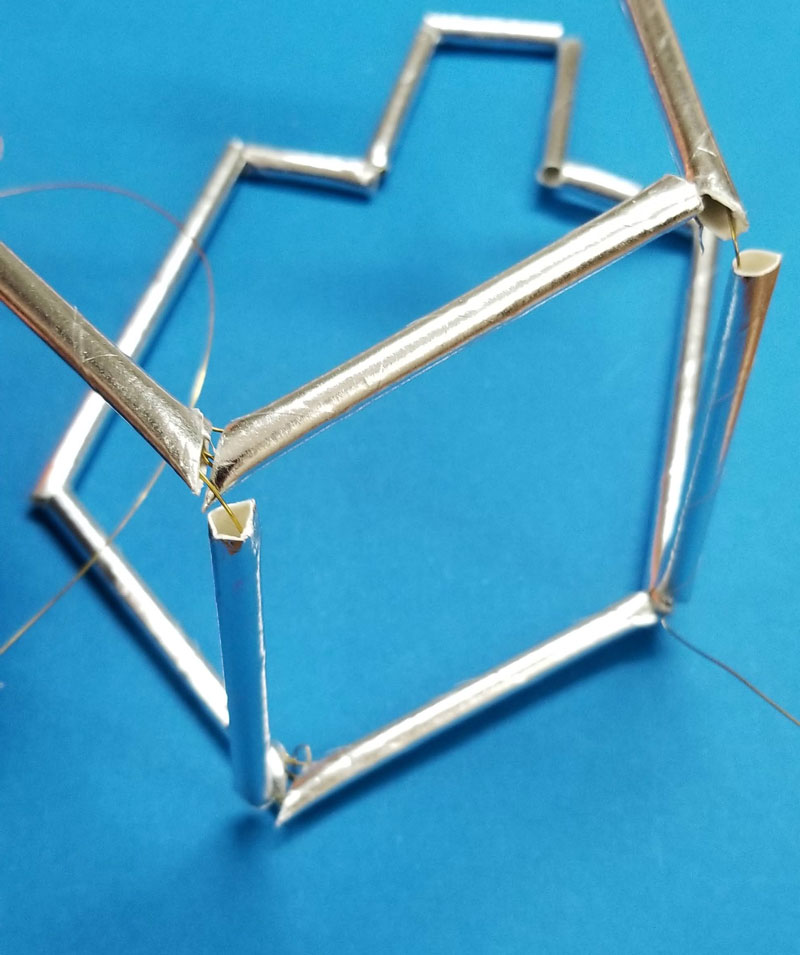
11. Continue through the next straw, add a connector straw, and go through the next straw on the other half of your dreidel. Your dreidels are still connected in a flat layout – you’re about to make it 3D.
12. Keep on stringing through both dreidels with connector straws in between. If you run out of wire, simply finish off the previous wire by winding it around the main wire a few times tightly, and star a new wire by winding it around as well. Hide all ends as well as you can.
13. When your dreidels are connected at all points, finish off your wire by winding the working wire around the interior one and making sure it’s tight.
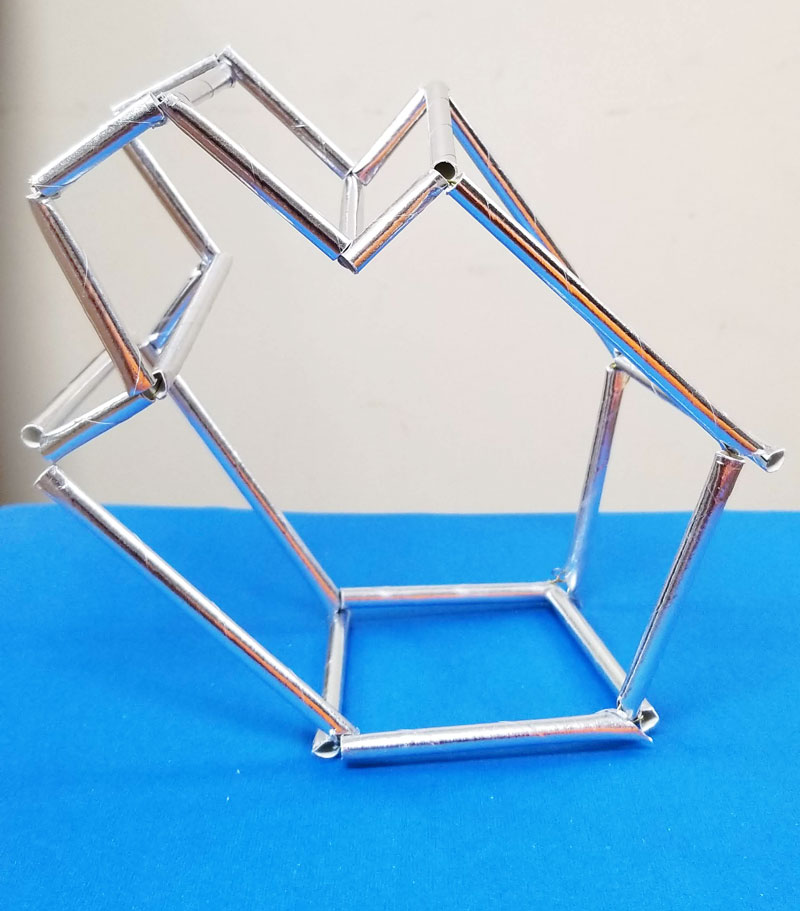
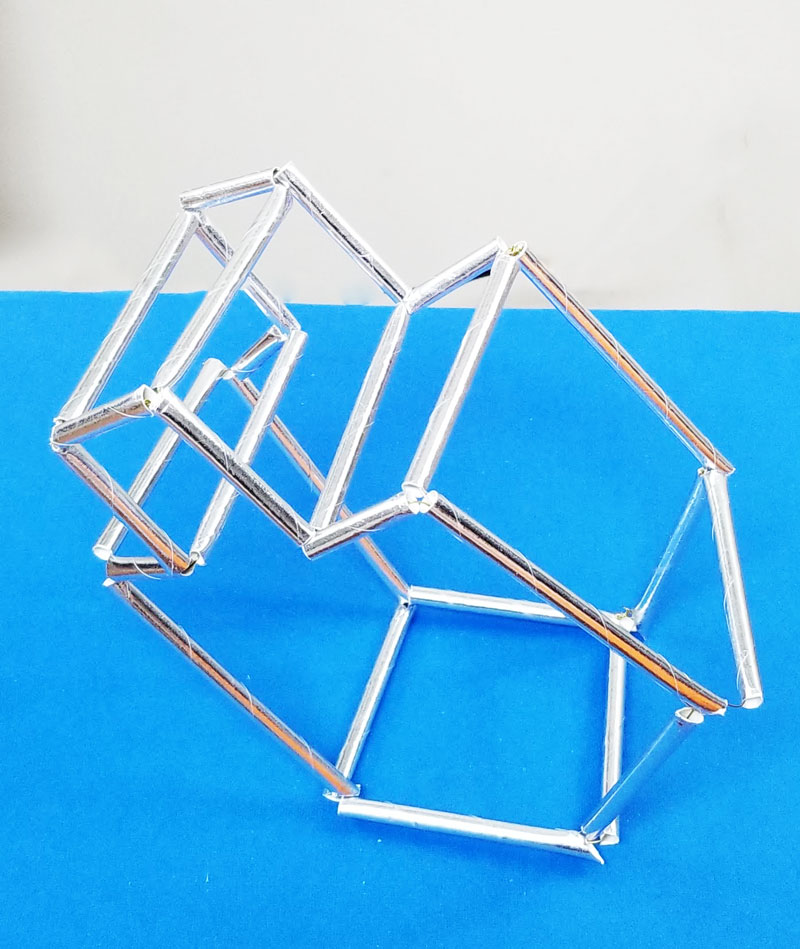
Your Himmeli-inspired dreidel decoration is complete, but you’ll still want to reshape and make sure it stands well.
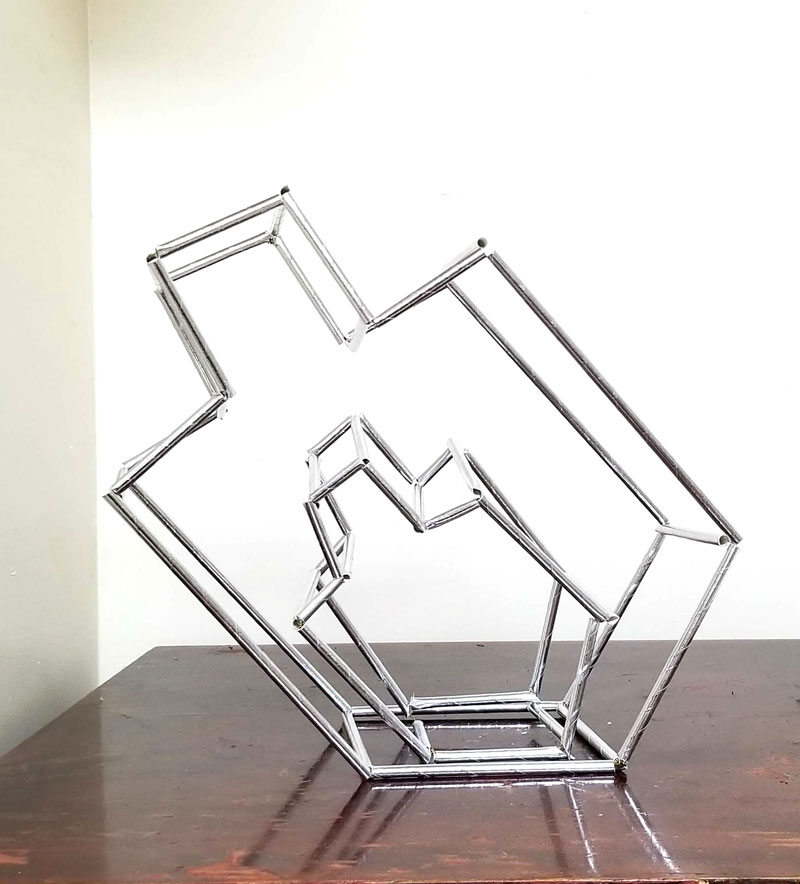
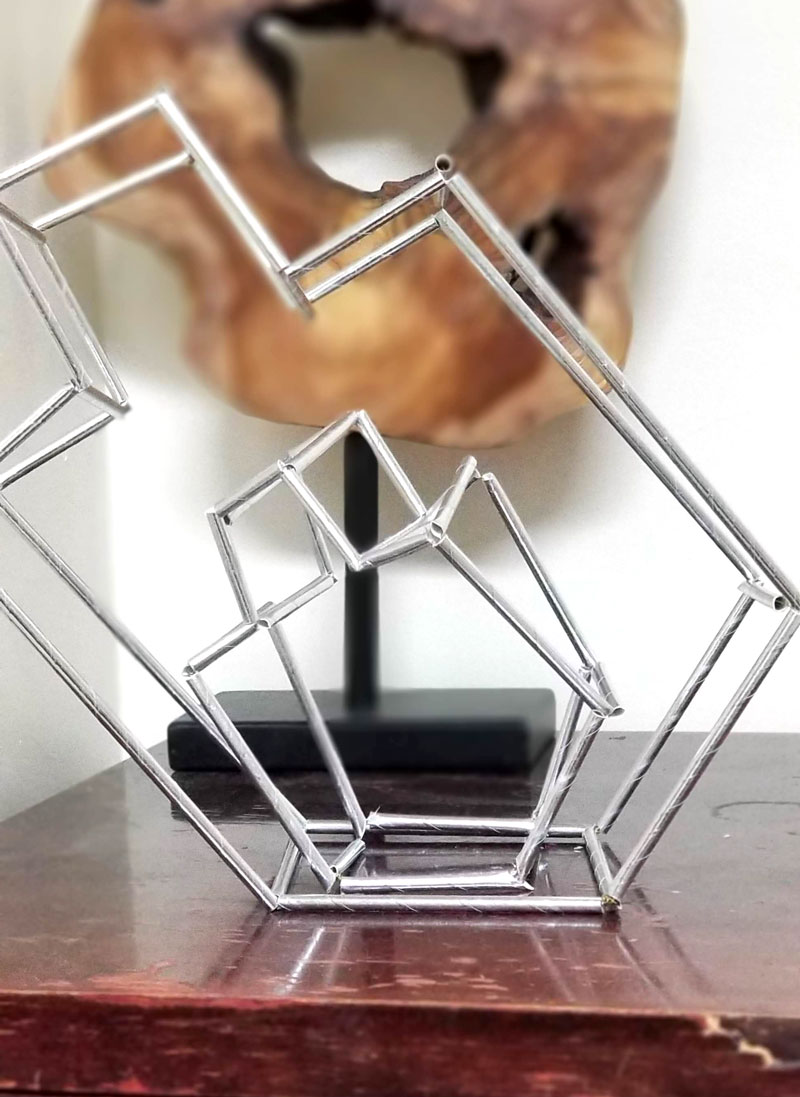
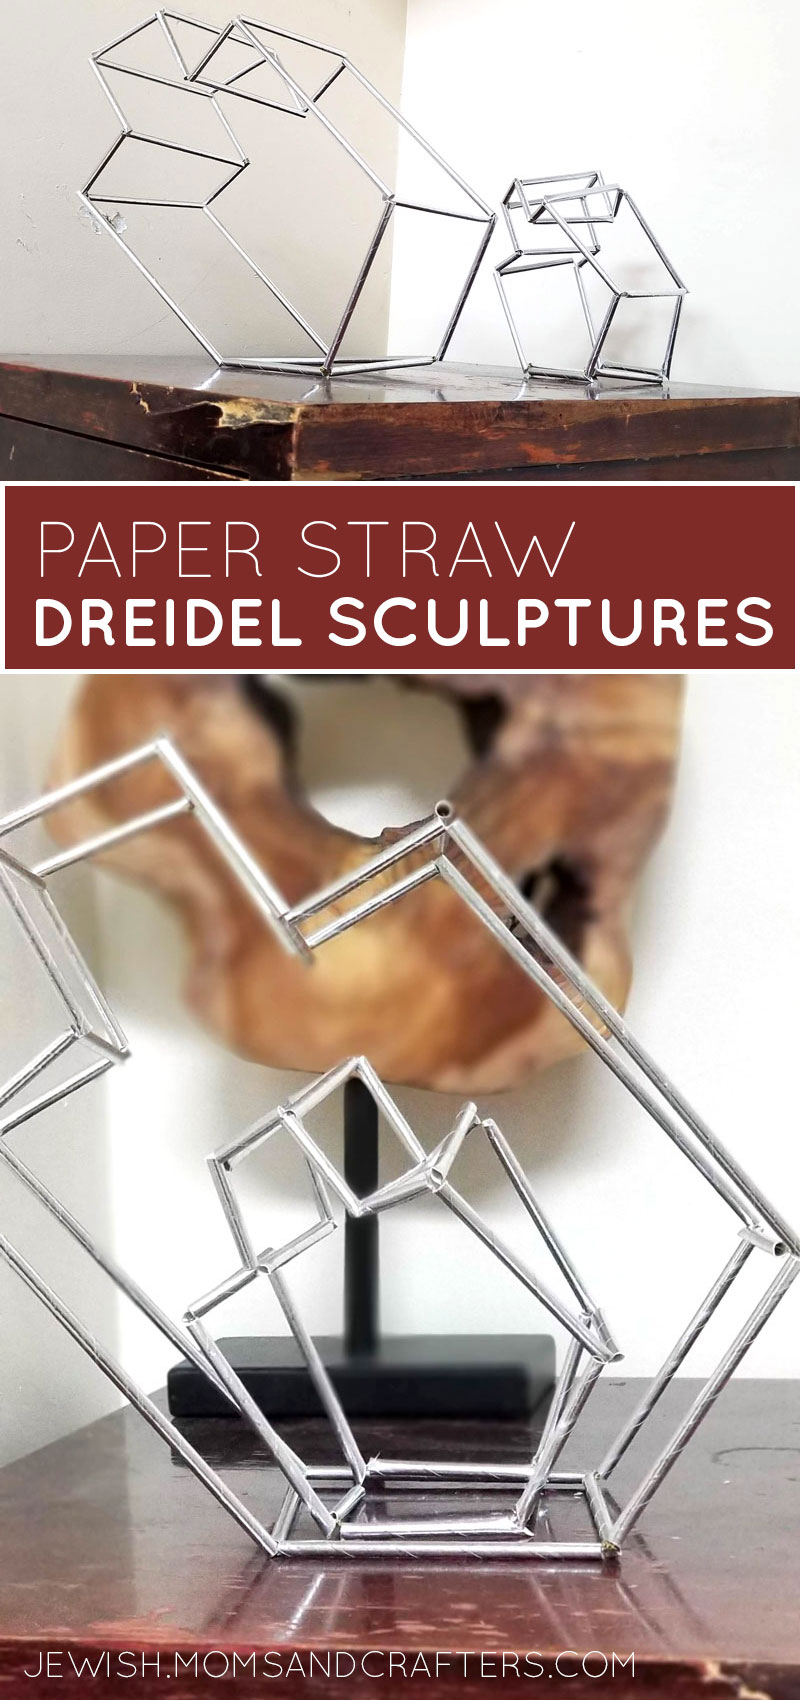
I made two different sizes and placed one inside the other. Mine stands at an angle on one of the “triangle” sides at the bottom point.
[show_boutique_widget id=”902095″]

