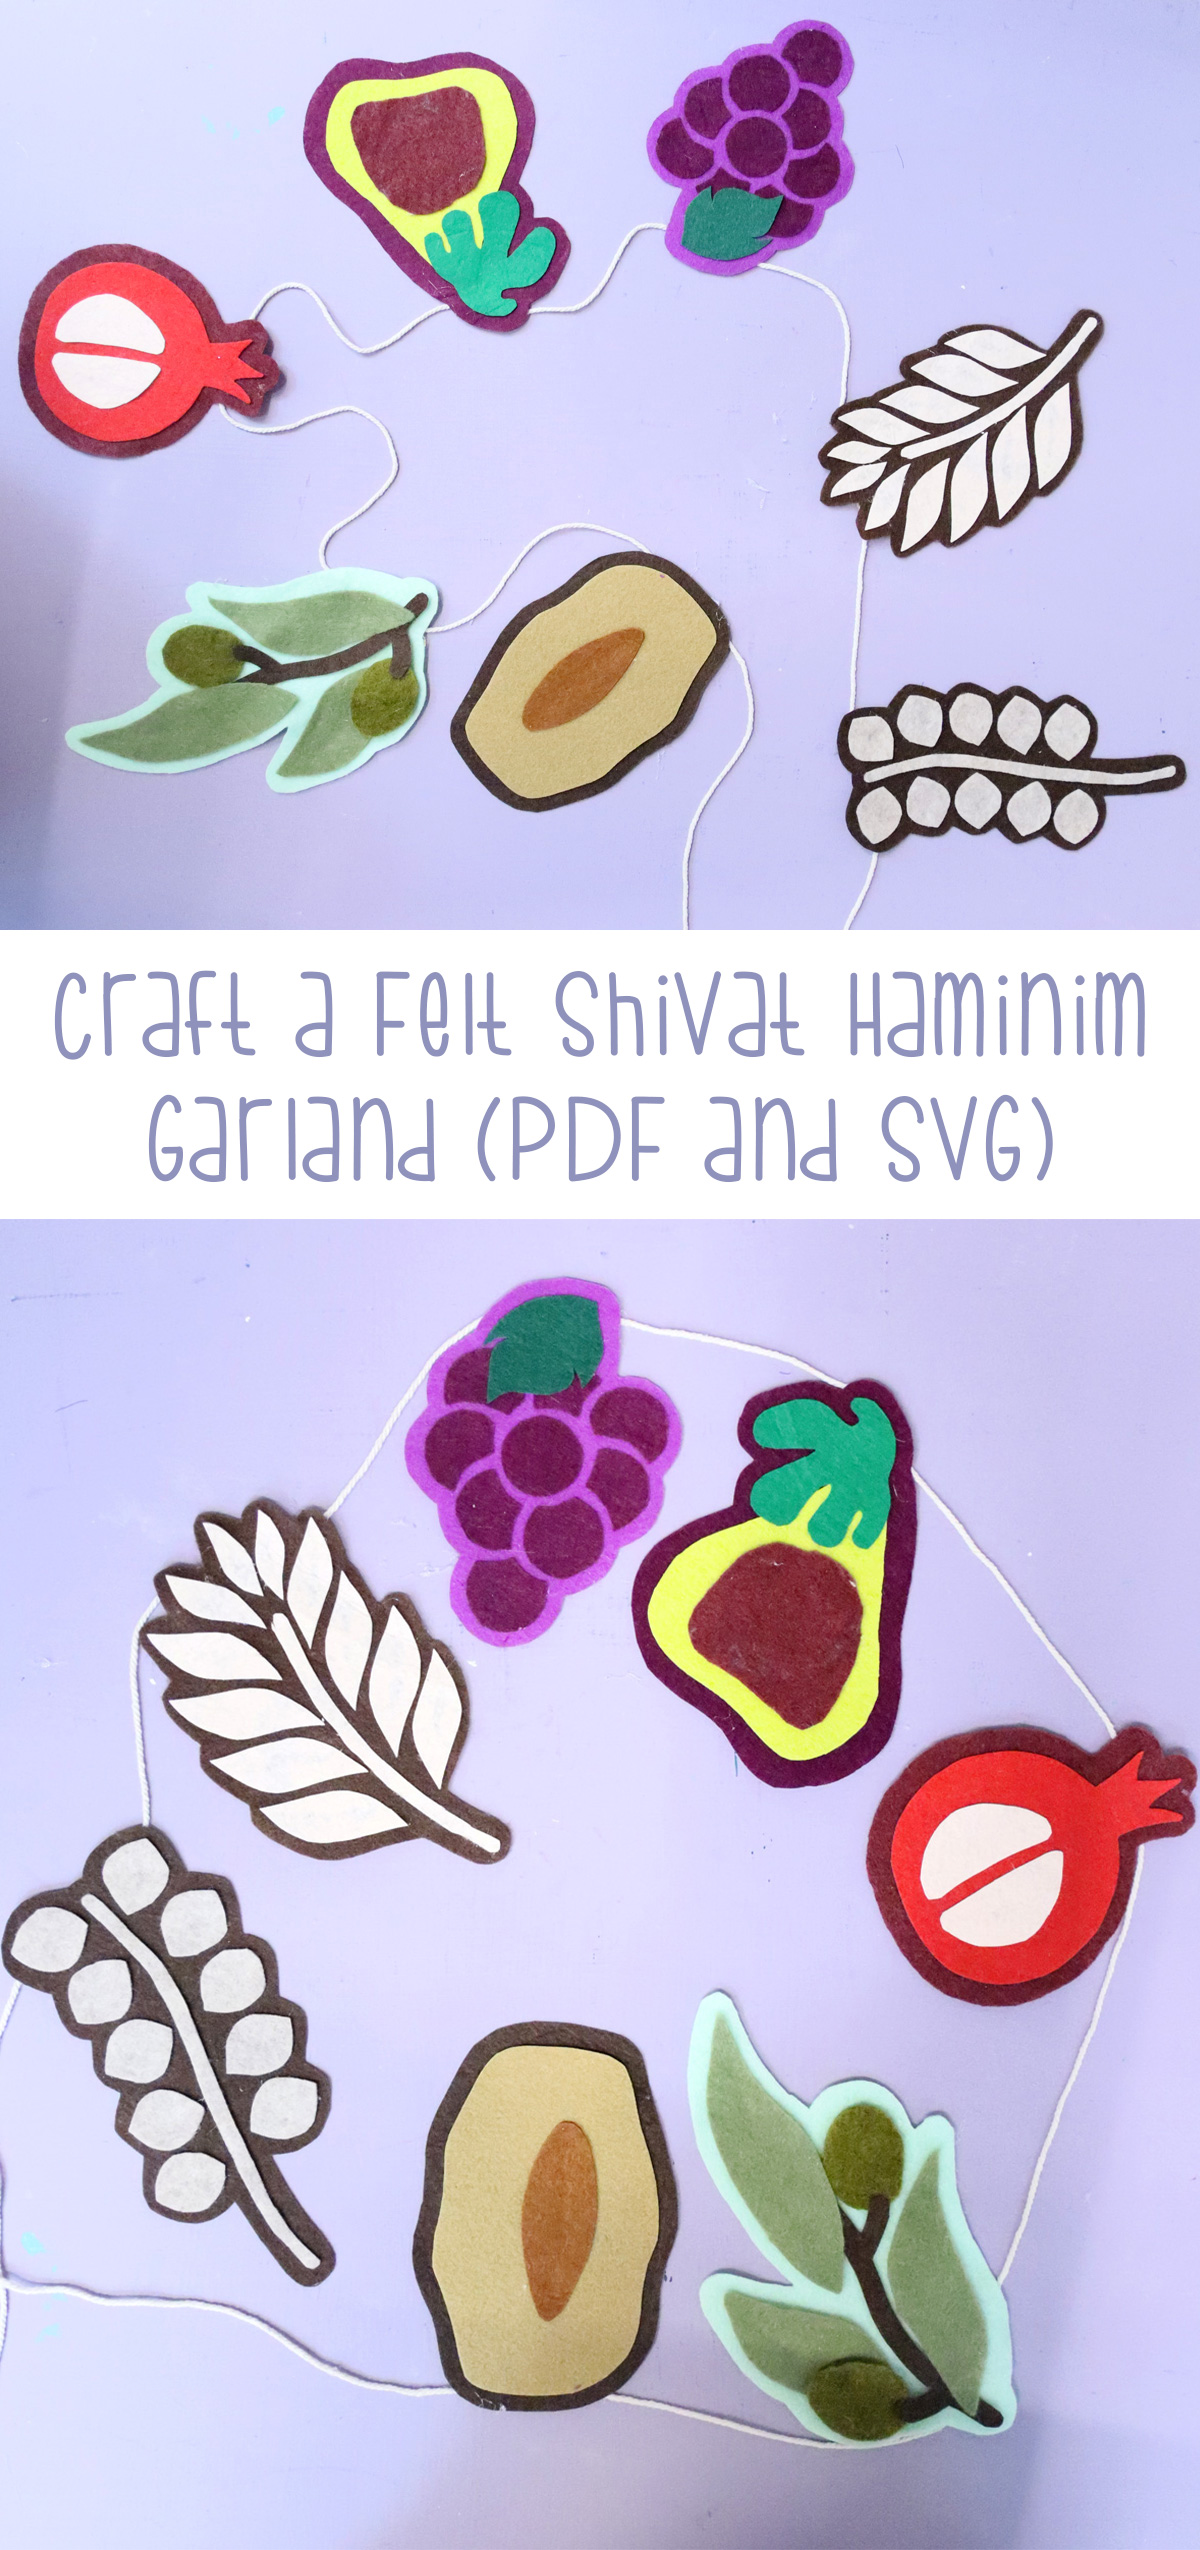
Felt Shivat Haminim Template – DIY Garland
Use this simple felt Shivat Haminim template to craft some beautiful home decor for Tu B’svhat or the Sukkah. When you’re done, try making an air dry clay fruit bowl too. This post contains affiliate links.

While I created an SVG and PDF template a while ago for a paper Shivat Haminim garland, I wanted to create one that is more felt-friendly. While they are totally interchangeable, that one is more detailed and a bit harder to work with felt.
So I loosely based this off of that one, but also changed it up to make it more current and simpler. I wanted to show it beautifully stitched but ran out of time, so I hot glued mine together.
Get your felt Shivat Haminim template
The felt Shivat haminim template is available for a few bucks in my shop, on Etsy, and on TpT. Purchasing premium products from me enables me to keep doing what I do, to give more focus to my Jewish blog, creating authentically Jewish resources for homes, educators, and parents.
Assembling your felt Shivat Haminim Template
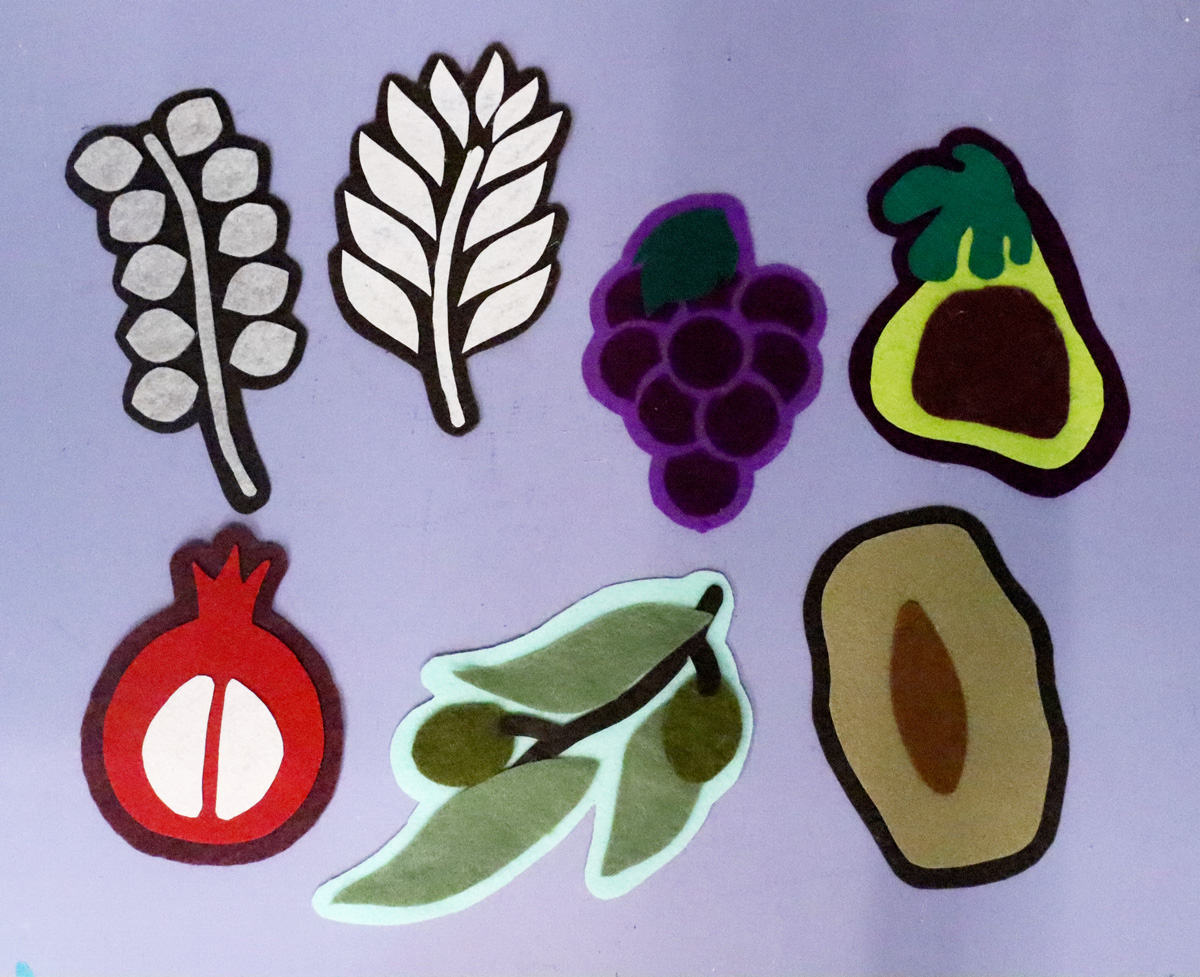
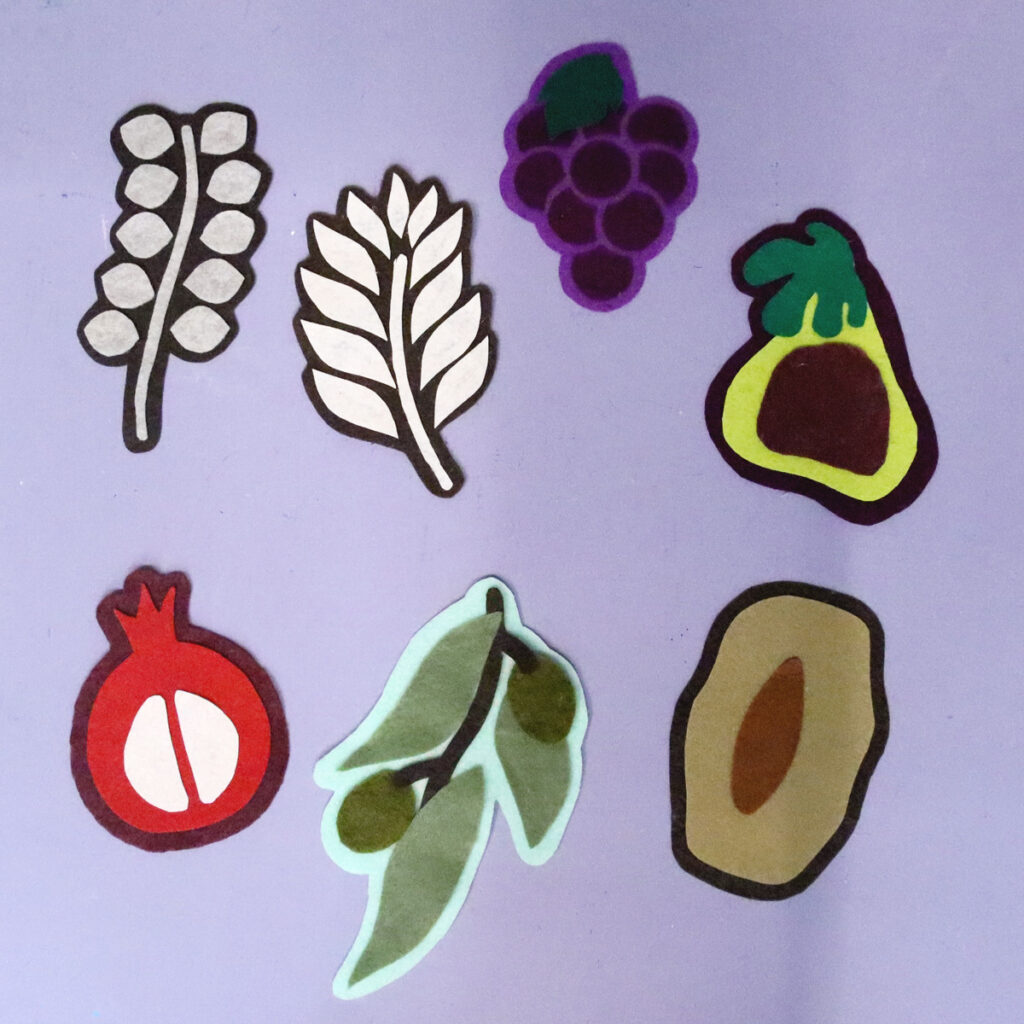
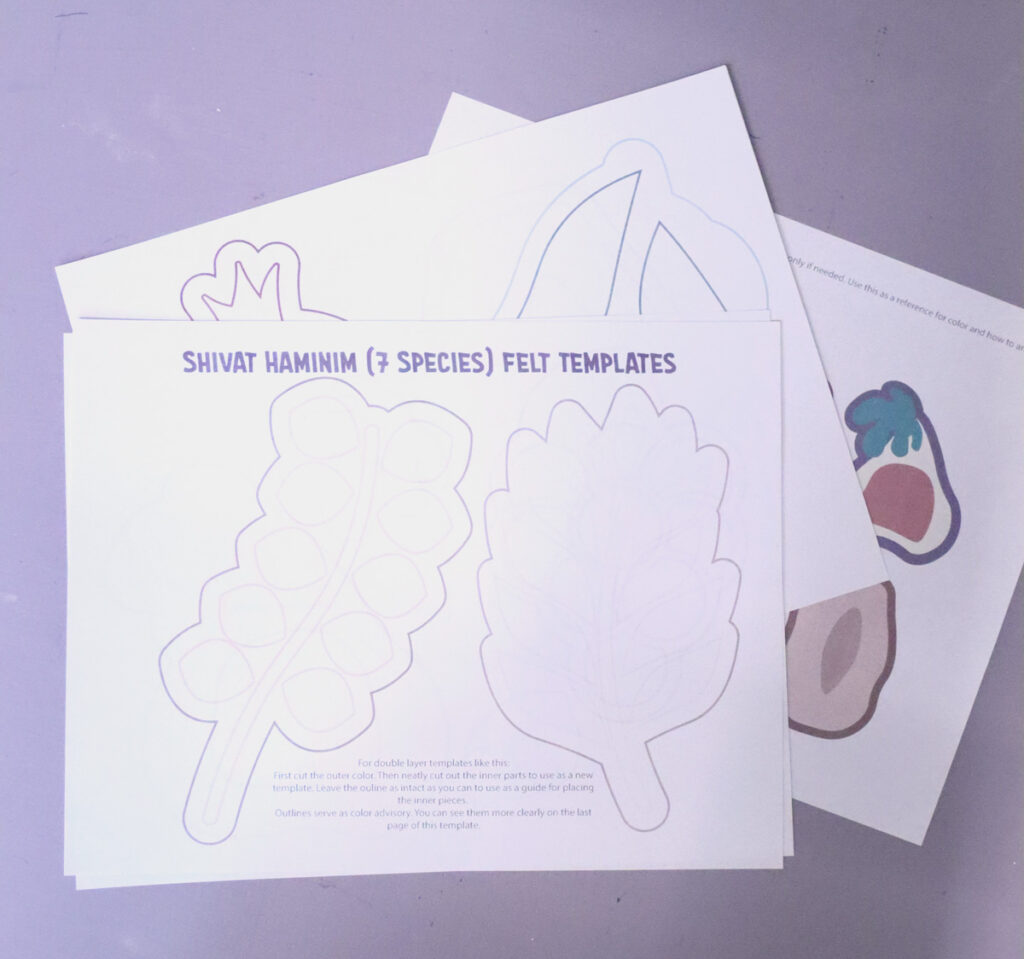
The basic structure of the template
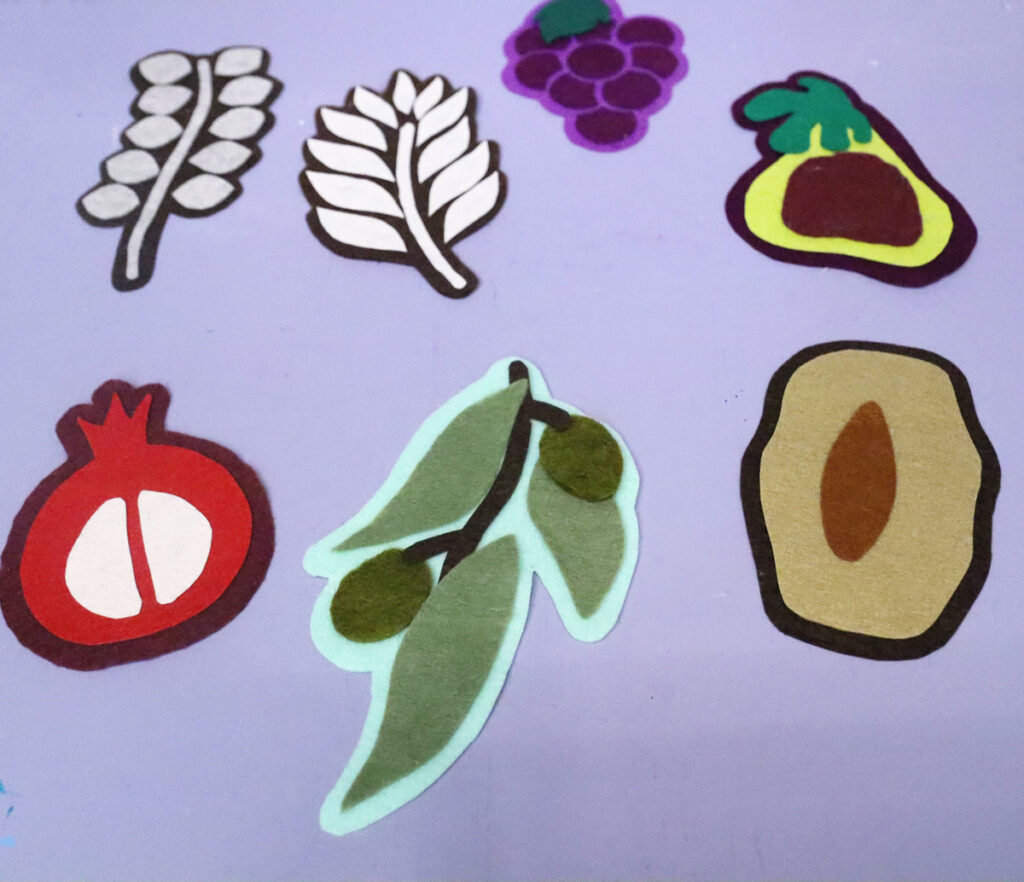
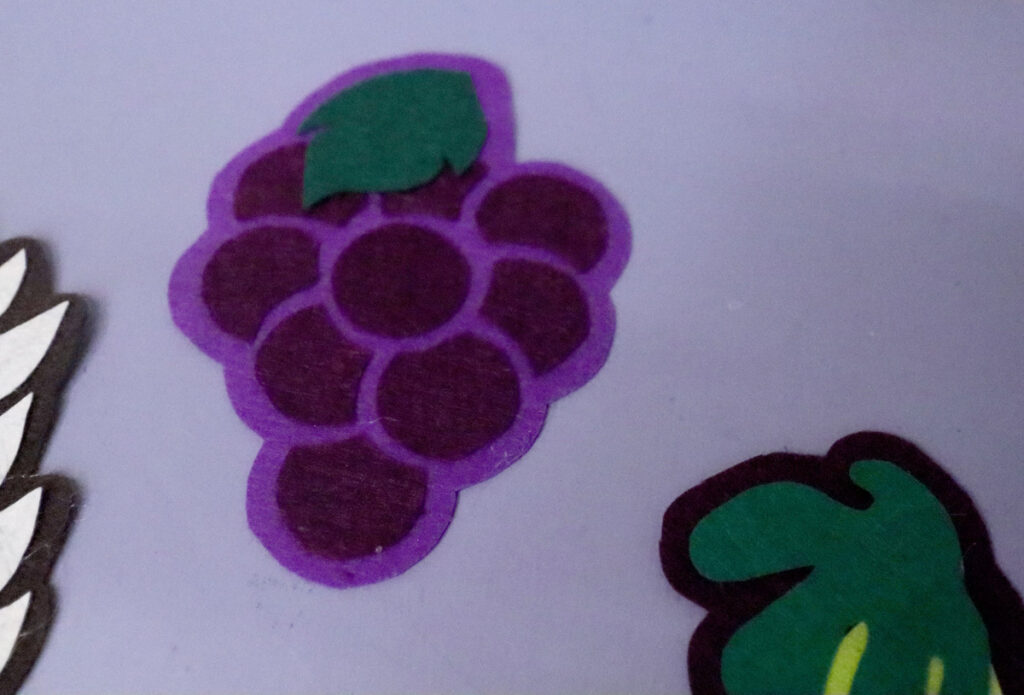
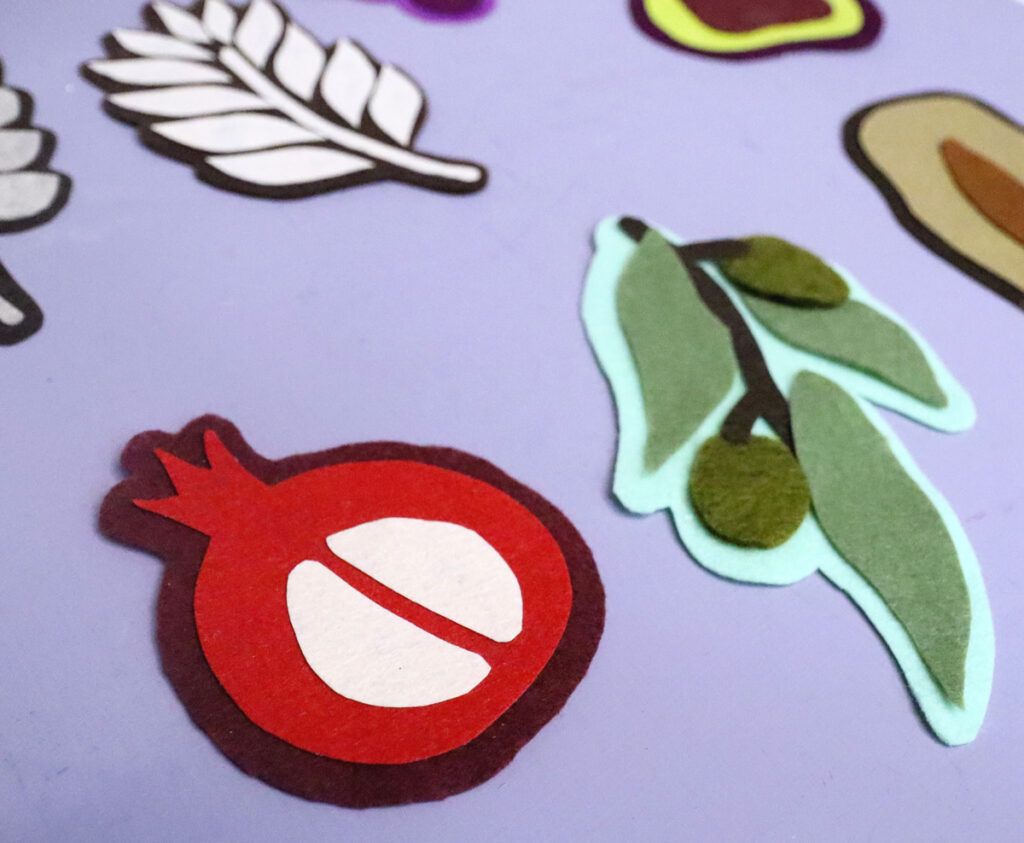
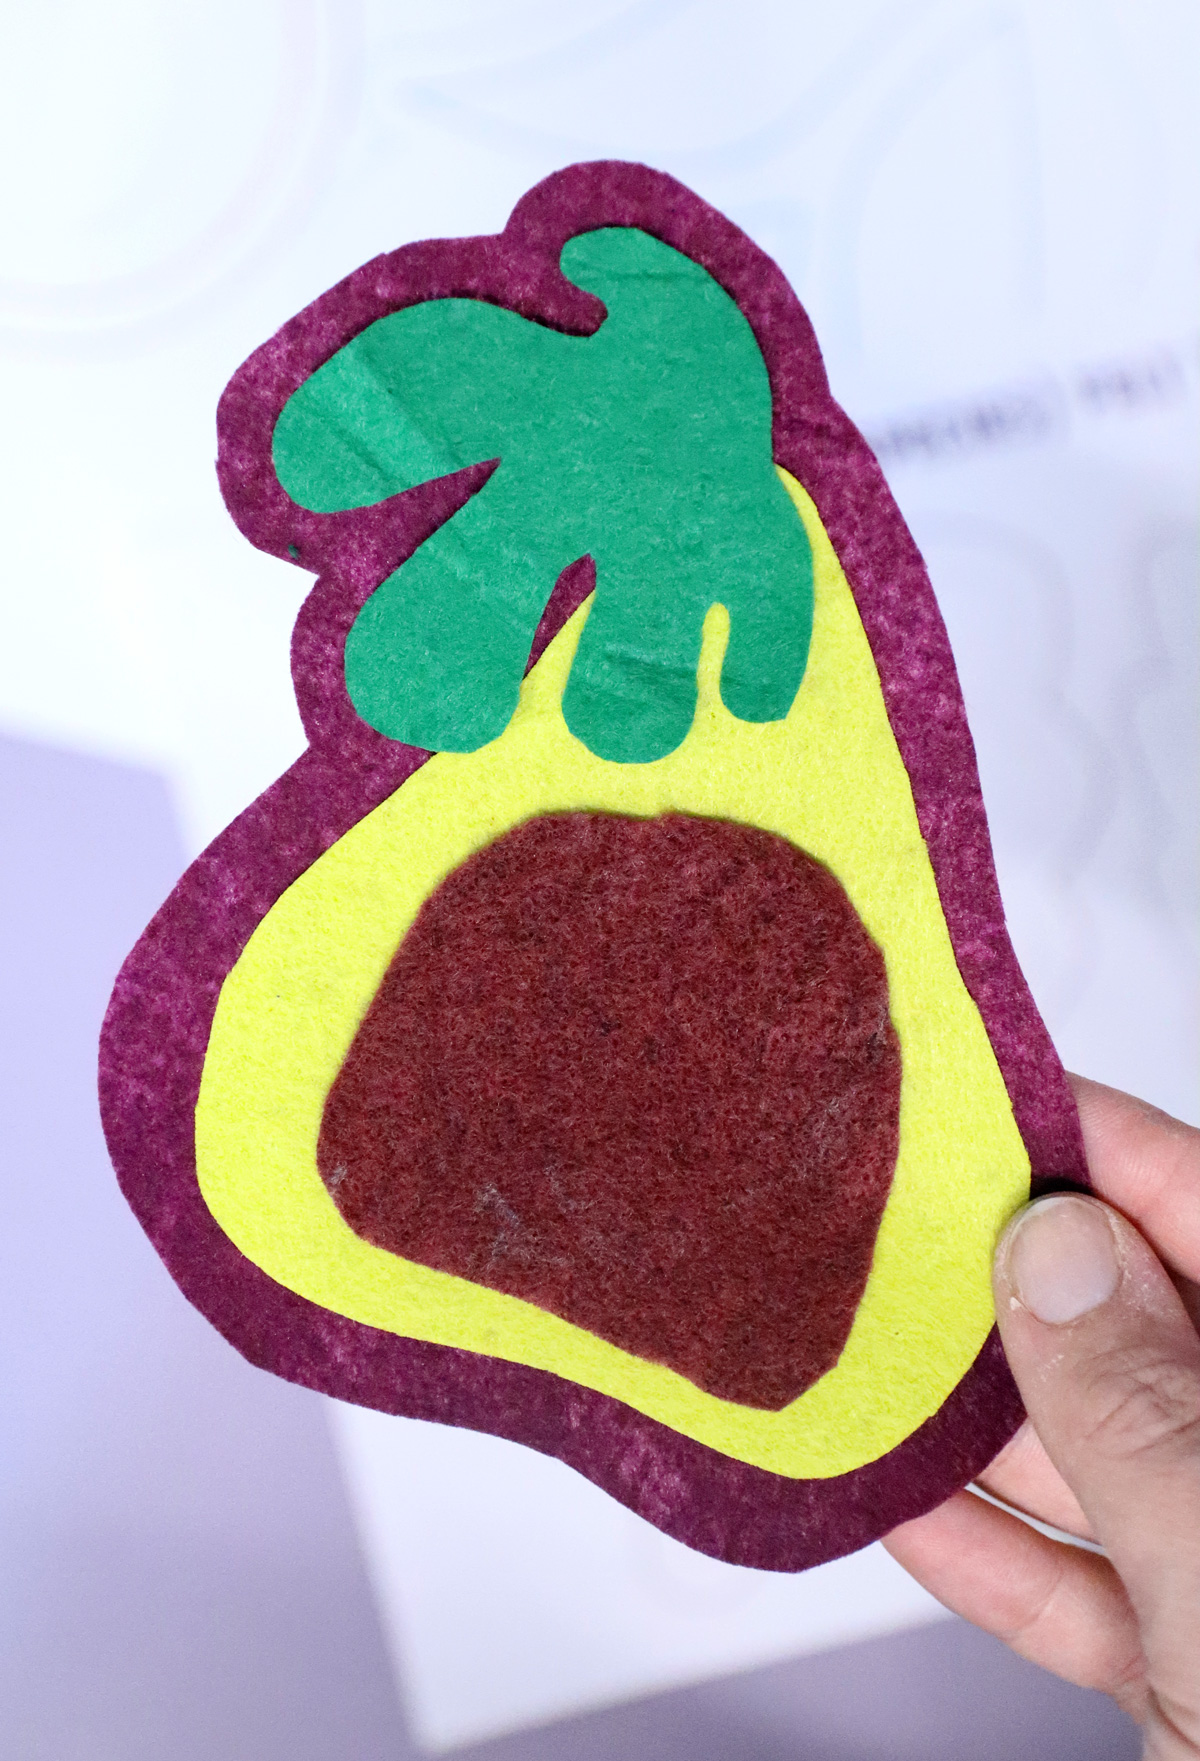
The idea of this template was to avoid any unnecessary details and focus on the basic shape of the fruit. To accomplish that, each piece has a background base, and a fruit made of simple shapes that fit on it.
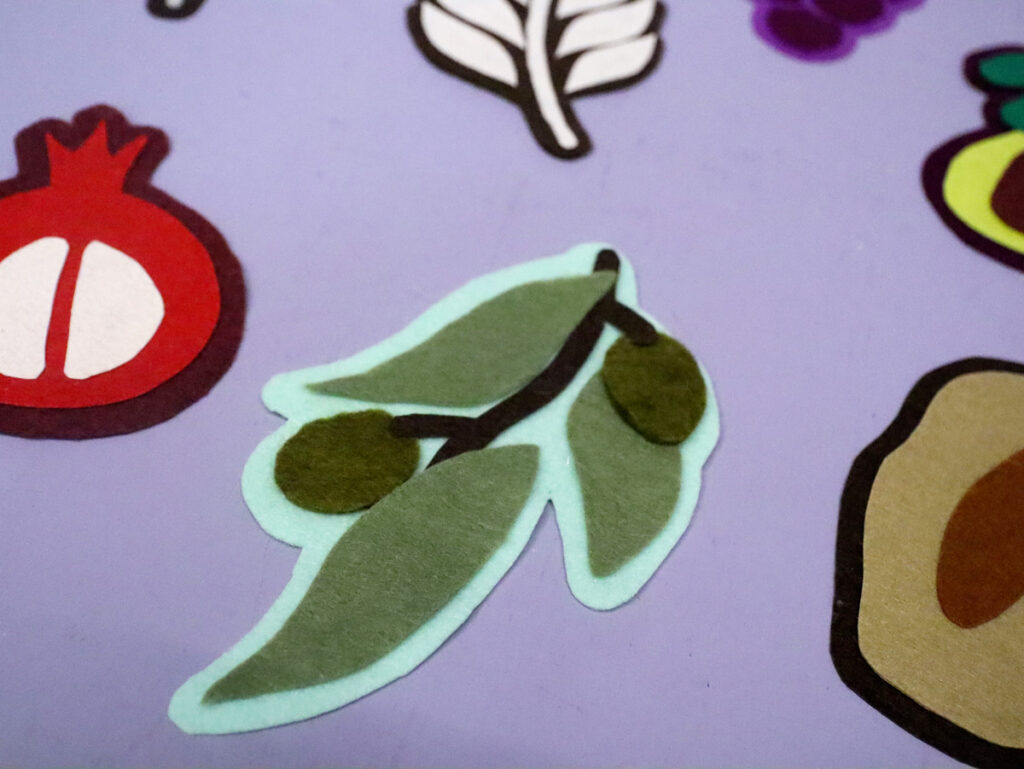
Additional items like leaves are separate pieces that fit over the “main” fruit to lend it some texture.
Cutting it out
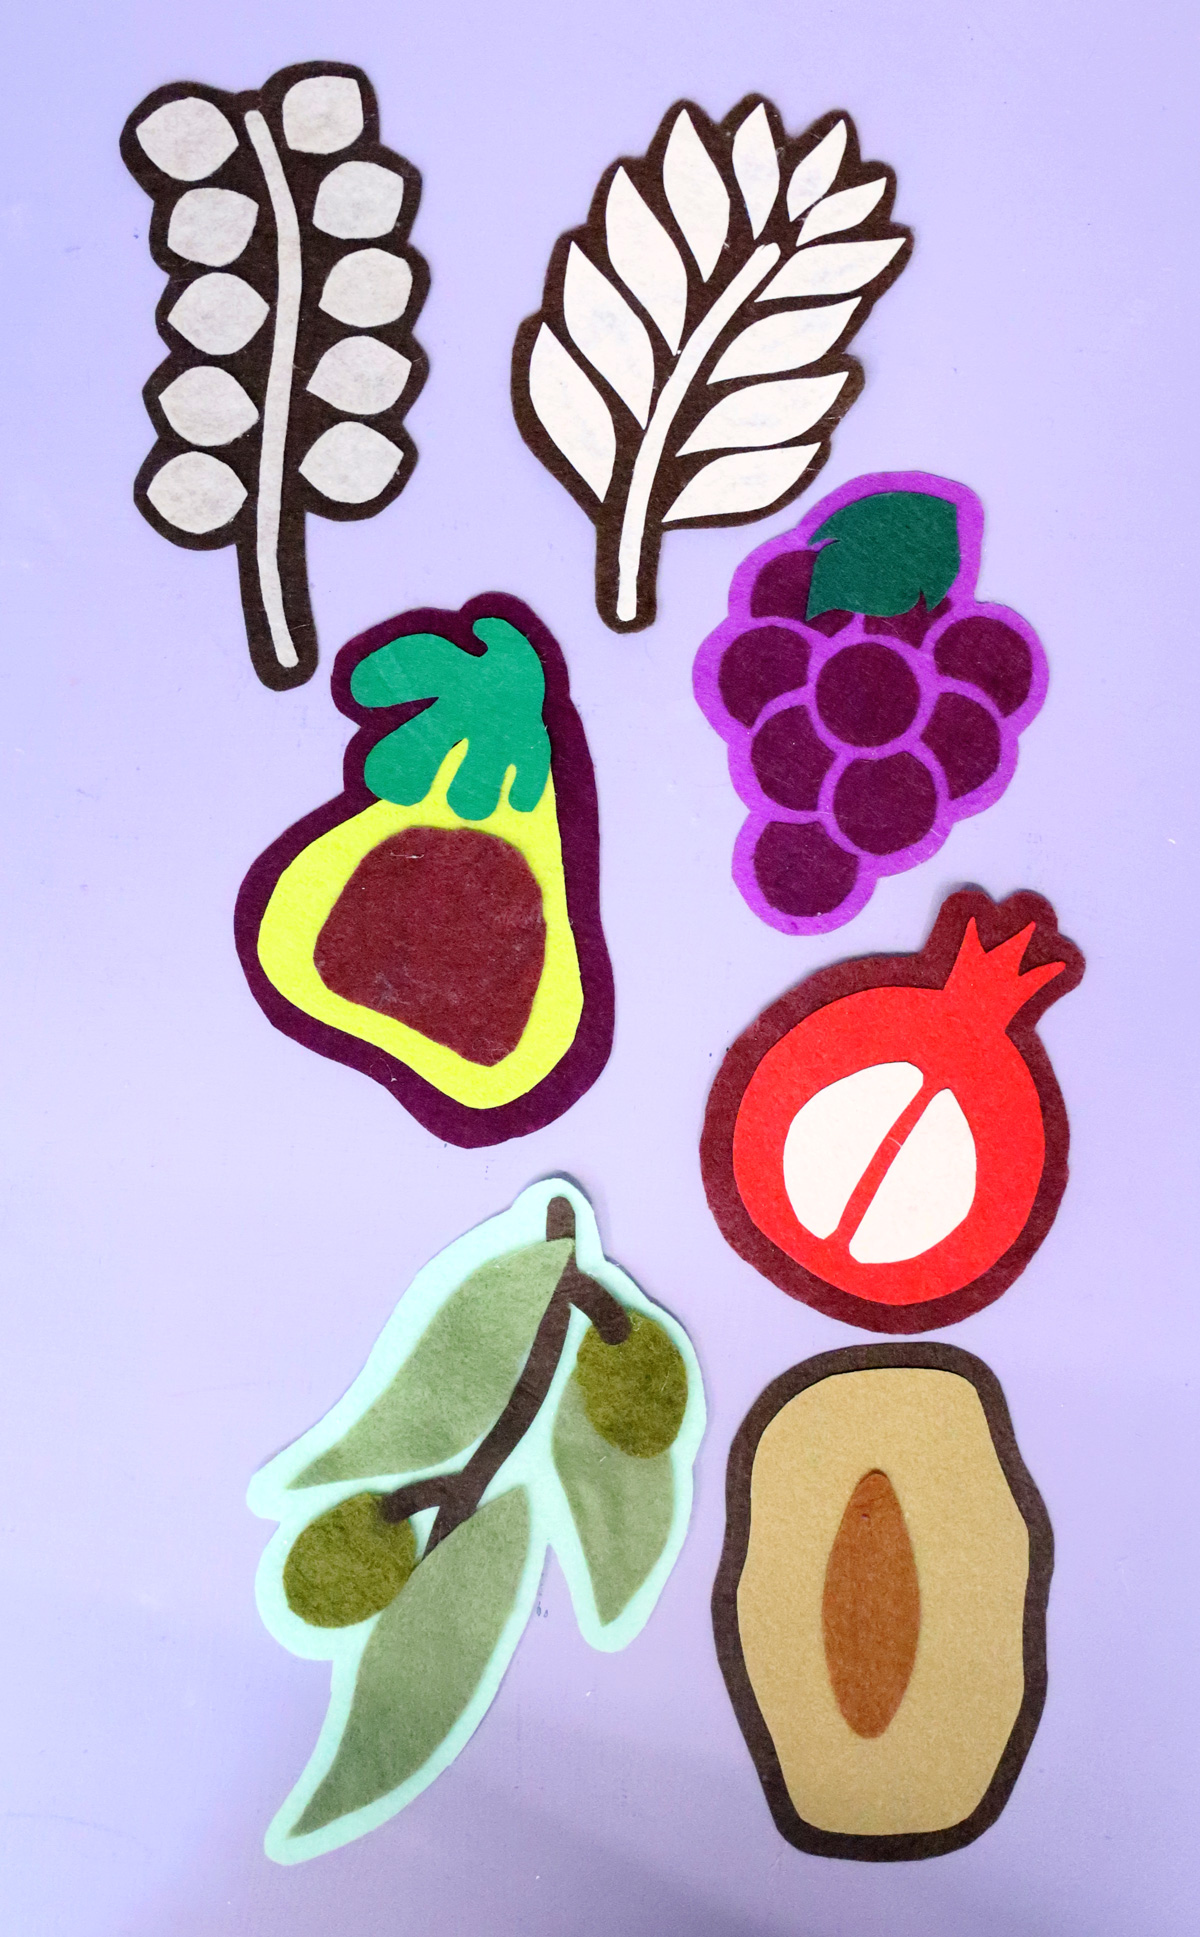
The felt Shivat haminim template can be cut out by hand or using a Cricut. I cut mine by hand. Some of the shapes (especially on the wheat and barley) do get quite fine and need to be handled with care.
It’s a bit time consuming to cut by hand, but if you can put on a podcast and relax with the job, it can be really enjoyable.
The hand-cut template is a fixed size. The Cricut one is scalable and can be made any size.
I used a mixture of different textures and finishes of felt to cut out my garland. Stiff felt is okay for glued-on details, but you’ll want softer felt for any items that will be sewn. Very thick high quality felt is worth it if you want to make a quality piece that will last, but it can get pricey.
Assembling it
There are many ways to assemble your final piece. I highly recommend carefully stitching your work together by hand… but that takes time. You can glue on the finer details and stitch around the outline for a good mix. Or just hot glue them all together…
You can also machine sew some parts, but you’ll need precision and a good command of the sewing machine for that. I only recommend doing that if you’re using your Cricut to make these large.
Another cool way to assemble this is to glue it and then use careful stitching as a decorative edge.
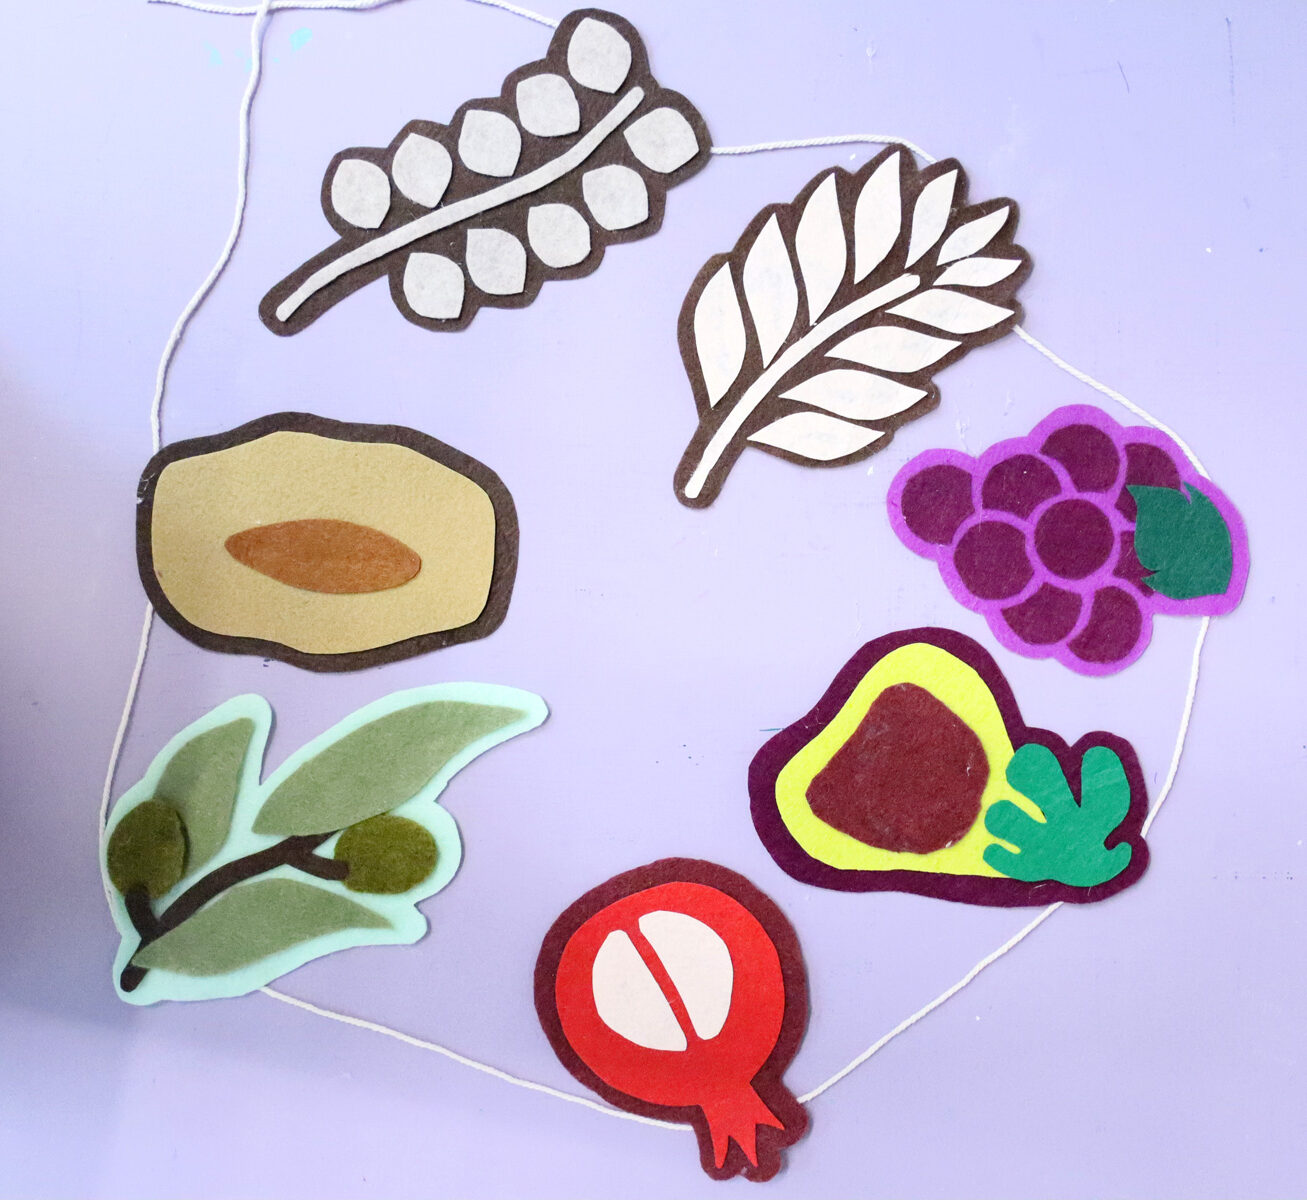
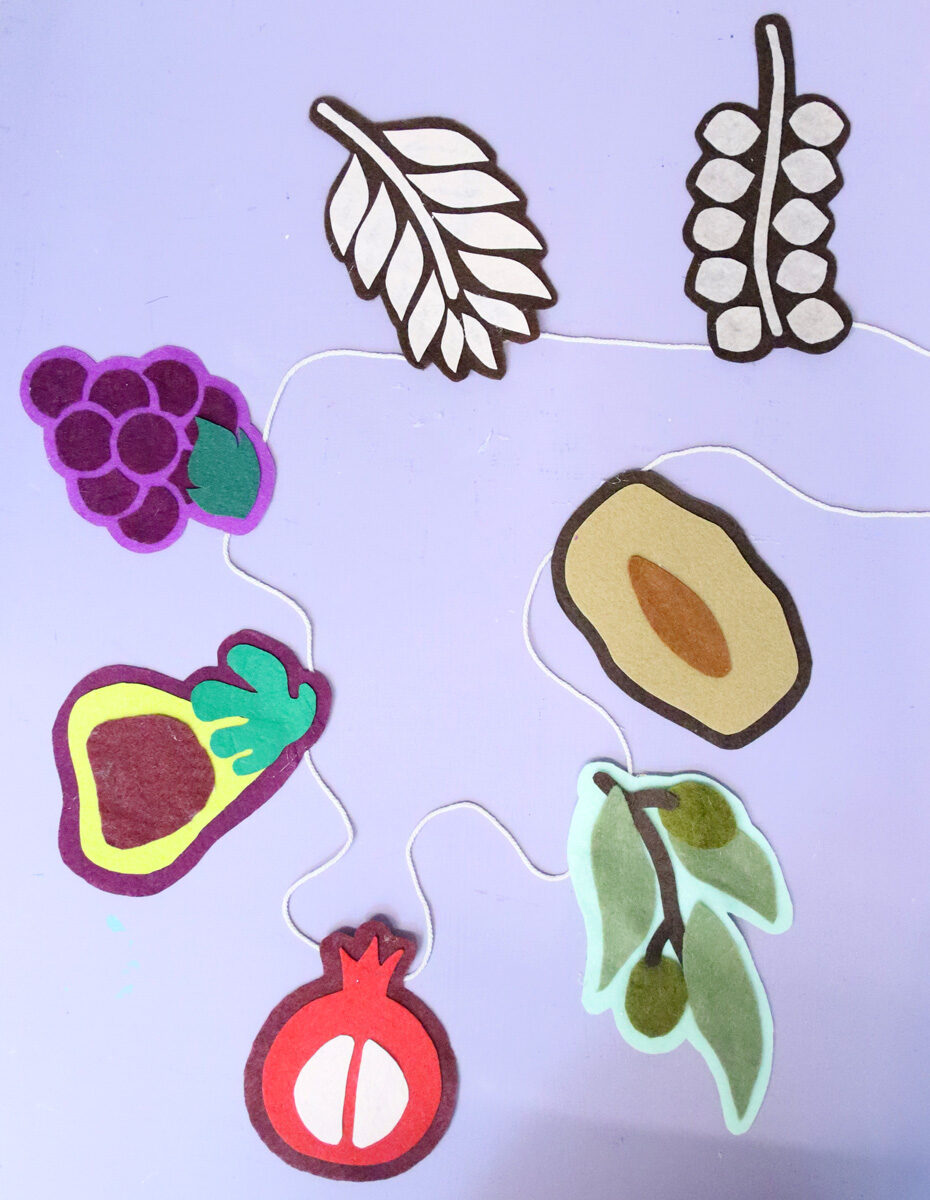
I turned mine into a garland by simply gluing the fruit along a piece of twine, but I’ll share more ideas for this below.
More ways to use this felt Shivat Haminim template
Adding detail
Felt projects look so much cuter with detail added. If you’re hand or machine sewing, add some embroidered detail. Think: lines down the leaves, French knot seeds on the pomegranate and fig, a little shine on the grapes…
If you’re not up for sewing or embroidering, you can also try puffy paint! Add color-on-color details for a classy touch. For example, use green for detail on the leaves. The goal is to add texture, not necessarily color.
Beyond a garland
While I designed this as a garland, felt lends itself to so many different final creations.
Repeat the back layer and turn them into stuffies by filling them with poly fil and then stitching around the edge. You can even make beanbags by filling them with poly pellets. Or turn them into crinkle toys by adding crumpled cellophane between the layers.
Use these as appliques as well. Make them smaller (it will be a bit more challenging) and from stiff felt and glue them onto headbands or barrettes. And you don’t need to do all of them! Choose your favorite fruit and run with it!

How to make your felt Shivat Haminim Garland
You’ll need
- Felt – quality matters. If gluing, you can use stiff felt, if sewing go for a soft felt.
- Good fabric and detail scissors OR
- Cricut, rotary blade, and fabric mat
- Embroidery floss in corresponding colors or hot glue gun – or both!
- Recommended sewing clips and/or straight pins
- If hand sewing: scissors that are not fabric scissors for your template.
- The template – find it in my shop, on Etsy, and on TpT
Assembly instructions
1. Print out your templates if hand cutting. I recommend printing them in color as an easier color reference. The last page is a color reference, so if you’re short on ink, you can print only that one in color.
2. Cut your shape around the outer line. Start by pinning the outer layer on your background color.
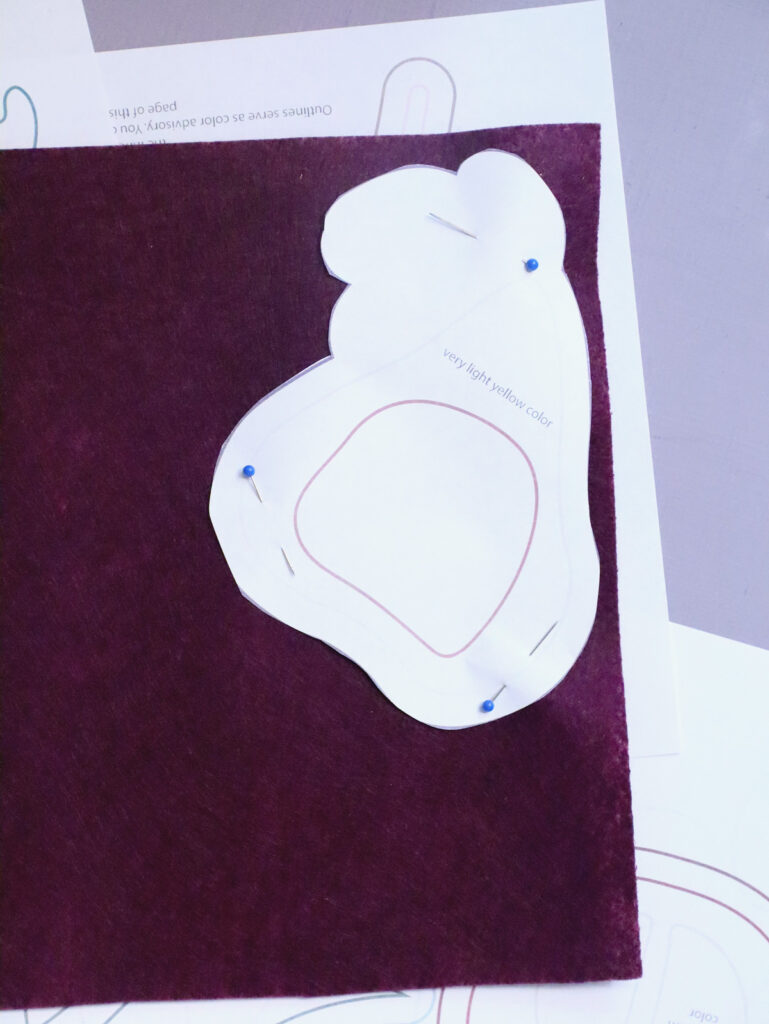
3. Cut out your outer layer from felt. Then, cut out the outer layer, preserving it to use as a placement guide when assembling your fruit. Pin and cut out the next color.
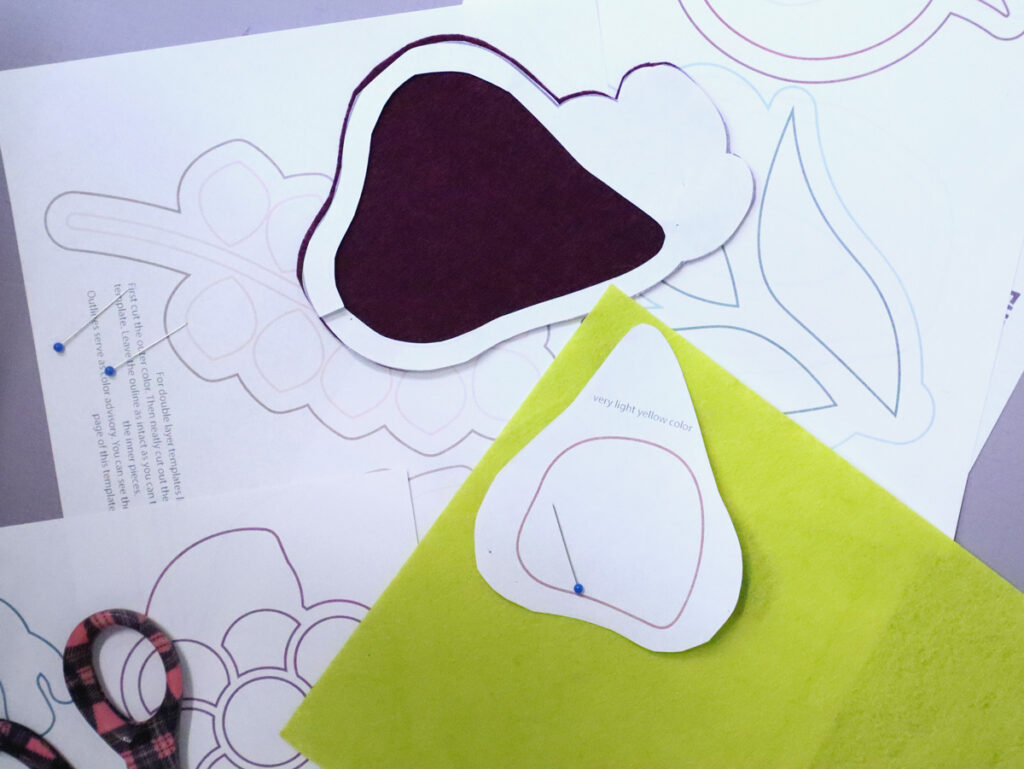
4. Repeat with all your parts. Use the cut outlines of the fruit as guides for placement and glue or sew them on the base.
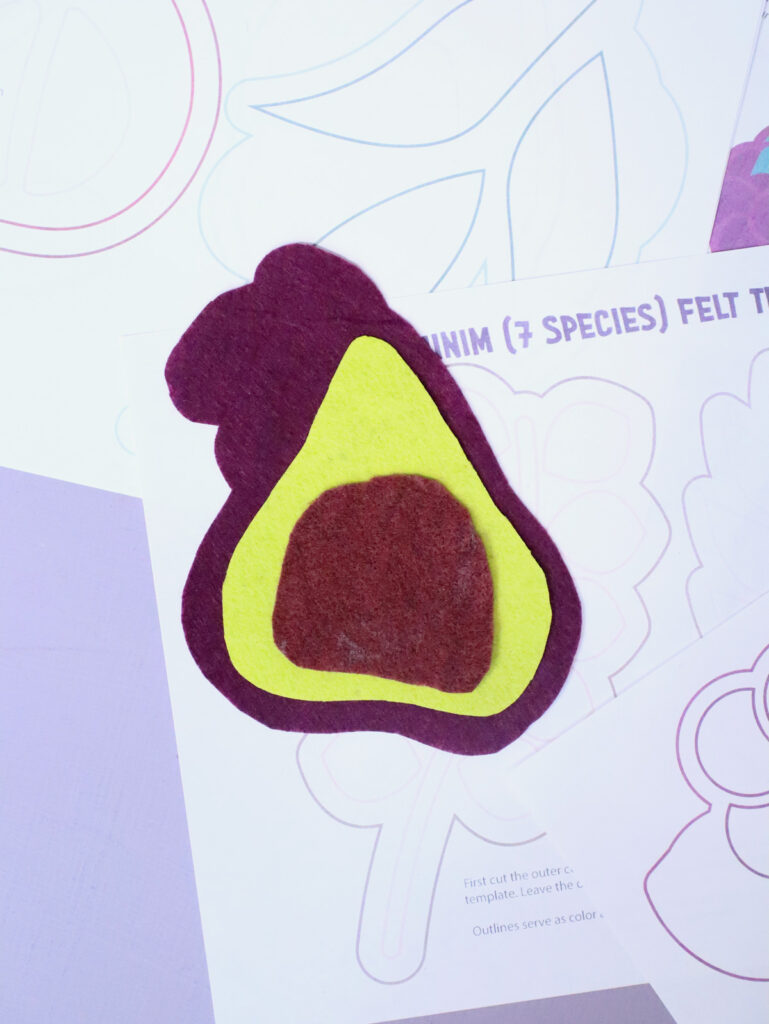
5. For designs with leaves, sew that on top of the piece. It’ll give it a bit of texture.
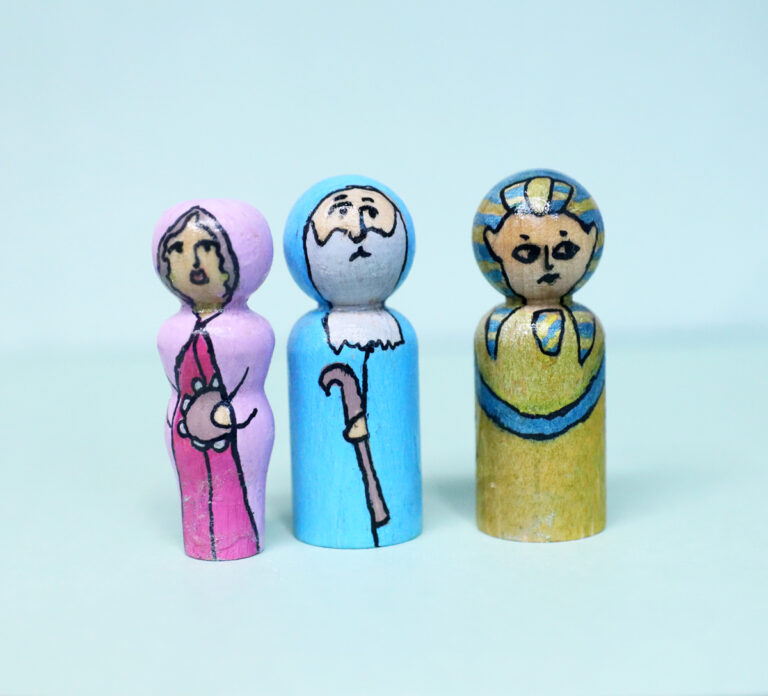
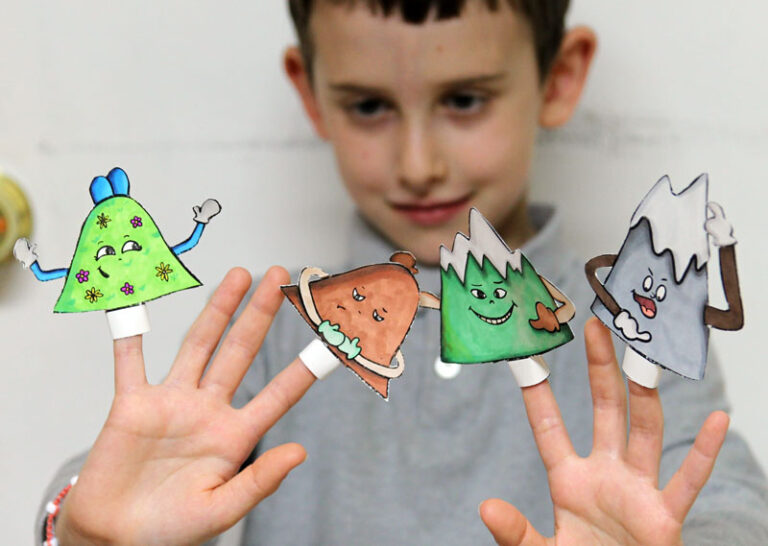
Your felt Shivat Haminim are complete! If you want another fun craft for Tu B’shvat, try this Tu B’shvat coloring page – it’s free! Or, download these Shivat Haminim puppets – a fun craft for kids.
In case you missed it, you can download your Shivat Haminim template in my shop, on Etsy, and on TpT.