Happy Purim Banner – Free Template and Cut File
Enjoy the free PDF and SVG template for this Happy Purim banner – a fun and easy Purim decoration that anyone can make! Find more ideas for Purim here. This post contains affiliate links.
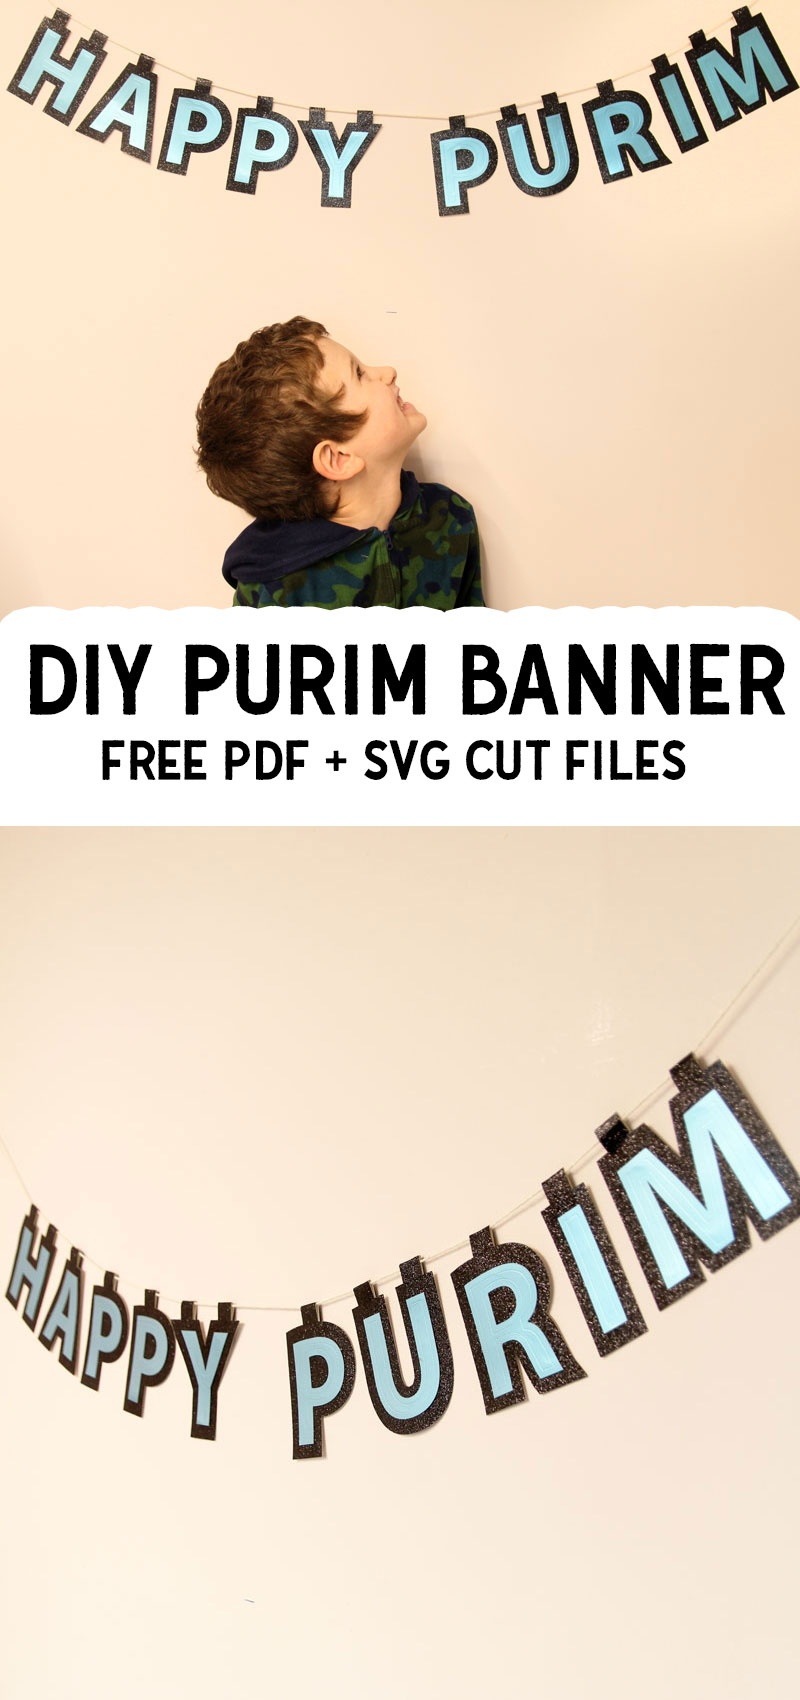
I’m starting to feel Purim in the air – in the Jewish stores, in the online networks… and I’m super excited! Today, I’m going to share with you a fun Purim decoration from March 2020 (yes, that March 2020!!)
It’s a pretty open-ended Happy Purim banner that you can make once, store flat, and reuse year after year. In fact, I recommend using good quality super stiff cardstock so that it stays fresh from year to year!
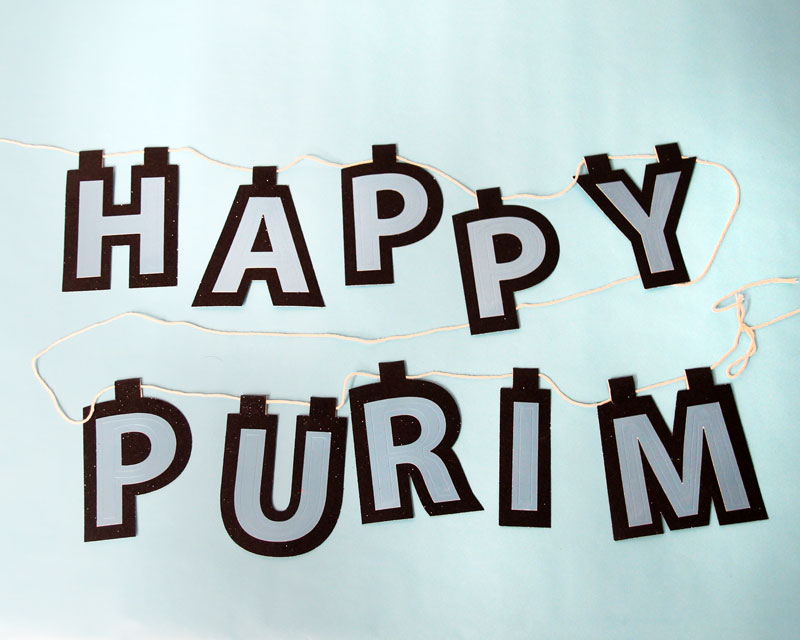
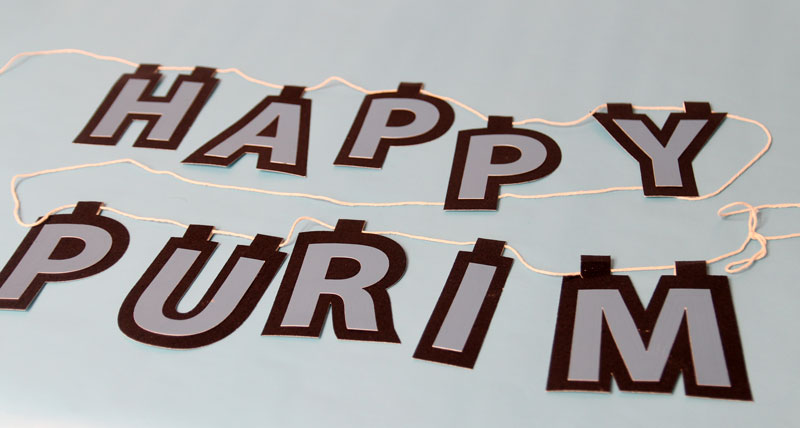
Make this in the color of your table decorations, customize it for your home decor, or just make it colorful in the spirit of Purim! I kept it elegant to go with a beautiful aqua, black, and silver Purim Seudah table.
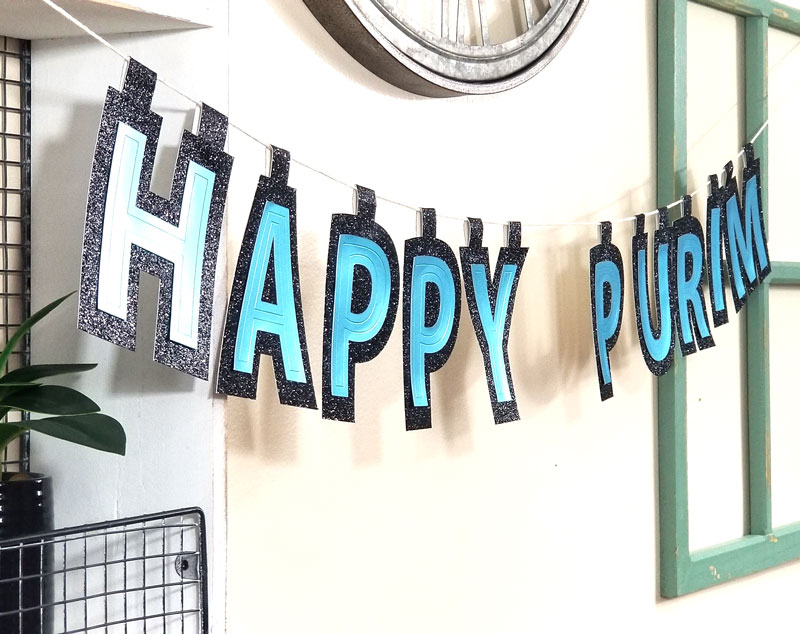
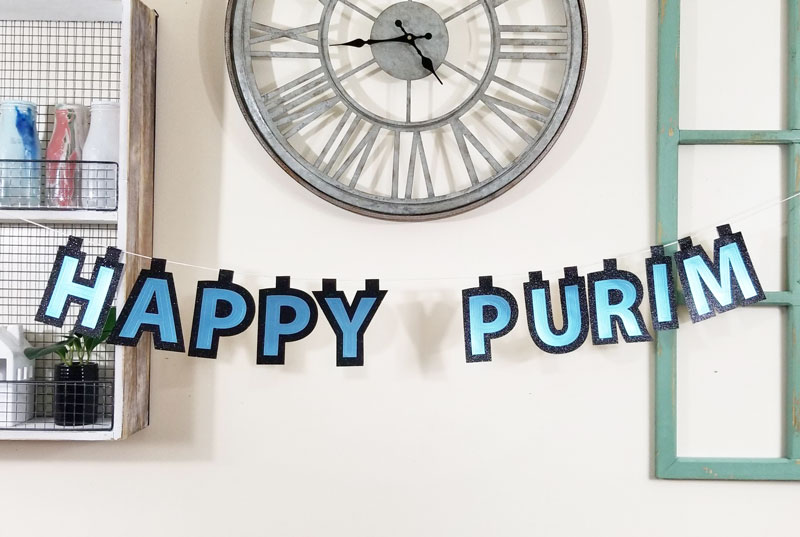
I made this using my Cricut Maker, however I am fully aware that this is a luxury that I have. To make this Happy Purim banner accessible for everyone, I am offering a free template in both PDF and SVG versions. The PDF is for hand cutting. The SVG is for use with cutting machines.
The PDF is formatted so that you have each letter once – you’ll need to trace some of them multiple times. I made it so that it’s two letters to a page.
The SVG can be resized as you’d like.
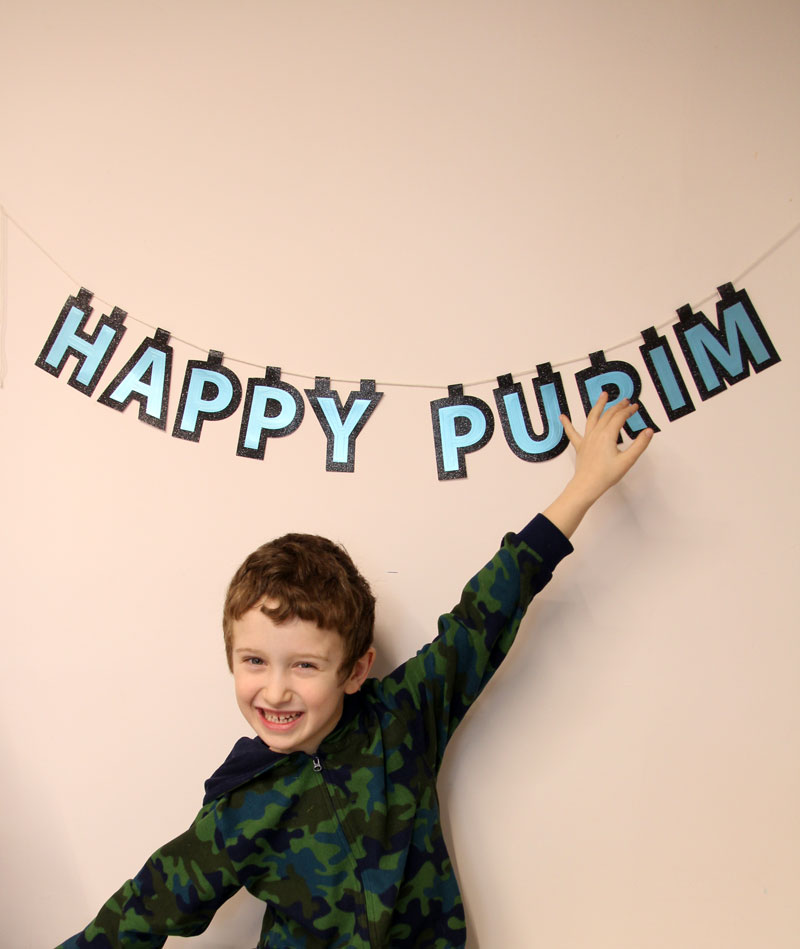
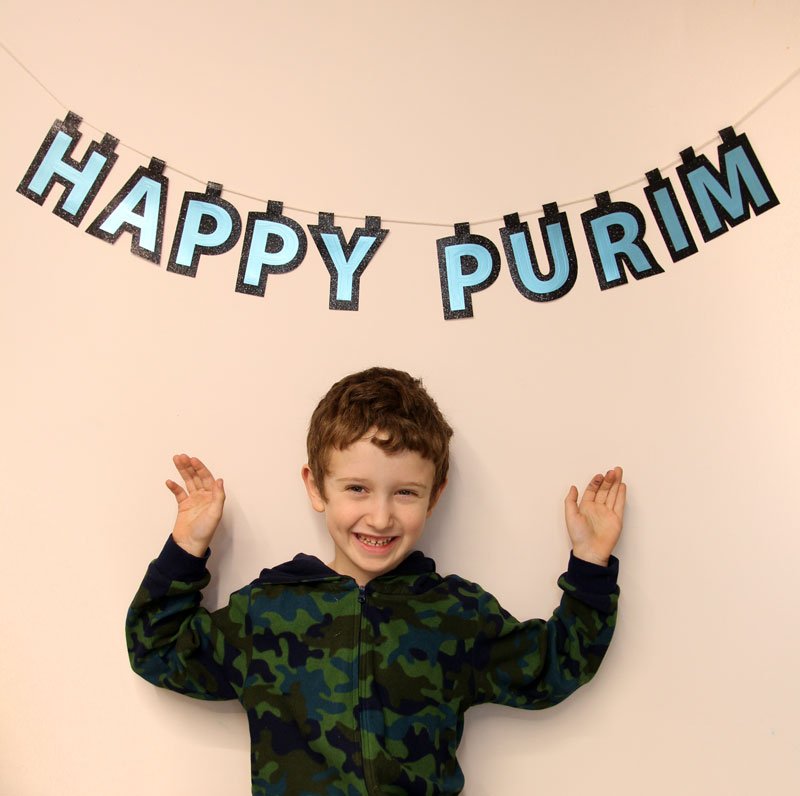
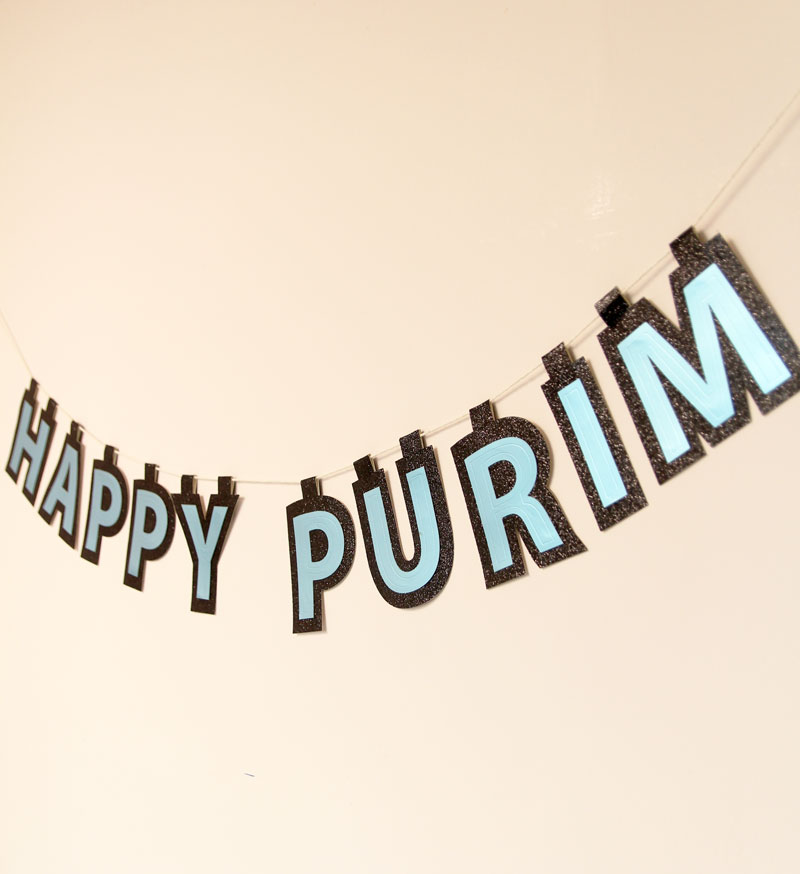
Of course, it’s much easier to make it with a Cricut. But if you don’t have one, just read the first step in the tutorial carefully to understand how to make it using the template. I wanted to conserve paper on the PDF template so I did keep the parts of the letters overlapped.
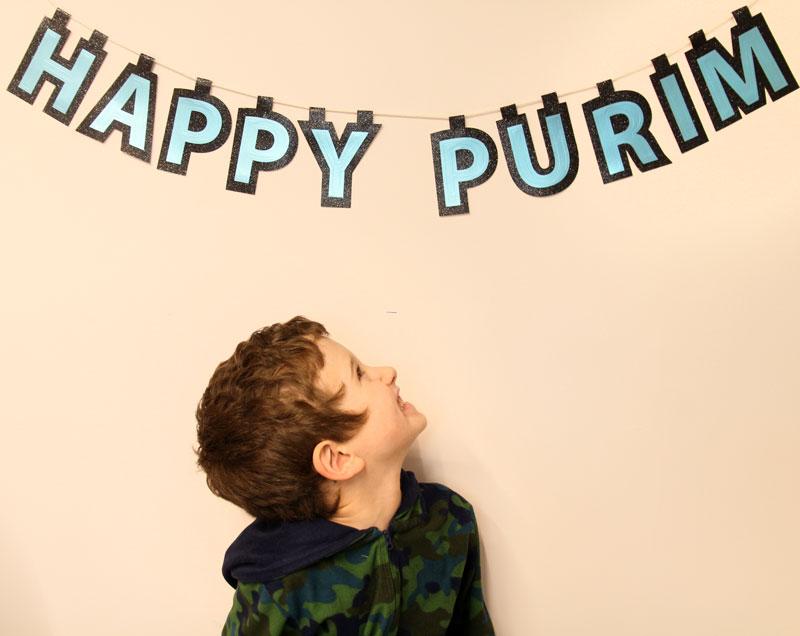
This template is for personal (or classroom) use only – no redistribution of the files in any way is allowed. If you have questions pertaining to your specific use needs, just reach out to me (jewish at momsandcrafters dot com).
Download the Free Template
Download your free template! It’ll arrive right in your inbox. By downloading, you’re subscribing to our FREE newsletter with updates on cool printables like this, ideas to simplify Jewish life, and more. Unsubscribe at any time at the bottom my emails. I respect your privacy and the law, and won’t share or sell your email address.
Your download will arrive in a ZIP folder. For information on how to “unzip” see this article. If you’re having trouble with it, try again with a Gmail account, since some email providers block ZIP folders.
What you need to make this Purim decoration
Hand Cutting
- The PDF template printed on cardstock paper
- Scissors
- Pencil
- Optional: hand embossing tool
Machine Cutting
- Cricut machine
- Blue LightGrip mat (included with some machines)
- Fine Point Blade (included with any machine)
- If using the Maker you can deboss using the debossing tip and QuickSwap Housing
- If using any machine you can use pens to add detail if you prefer
Materials
- Cardstock for base (I used glitter cardstock)
- Paper, or cardstock for letters (I used metallic poster board which foils beautifully)
- Cotton twine
- Glue: Hot glue gun will hold fastest. Tacky glue works too.
How to make a Happy Purim banner
1. Cut your letters. If cutting using a Cricut, upload the SVG and format as needed. Resize if you’d like. Set the top layer to deboss if you’d like, draw if you prefer that, or remove it entirely. The middle layer is for the main letter and the bottom is for the background and hang-tabs.
If hand cutting, I recommend printing your template on cardstock paper to make it easier to work with. Start by cutting out your template and tracing the largest outline first on your background paper. Make sure to repeat any letters for the correct quantity to spell Happy Purim. Then cut out the next layer and trace that on your main letter paper. If you’d like to emboss or do an inner embellishment, cut out to the thinnest part of the letter, center and tape temporarily with painter’s tape on the main letter. Use an embossing tool or whichever tool you prefer to trace around the letter.
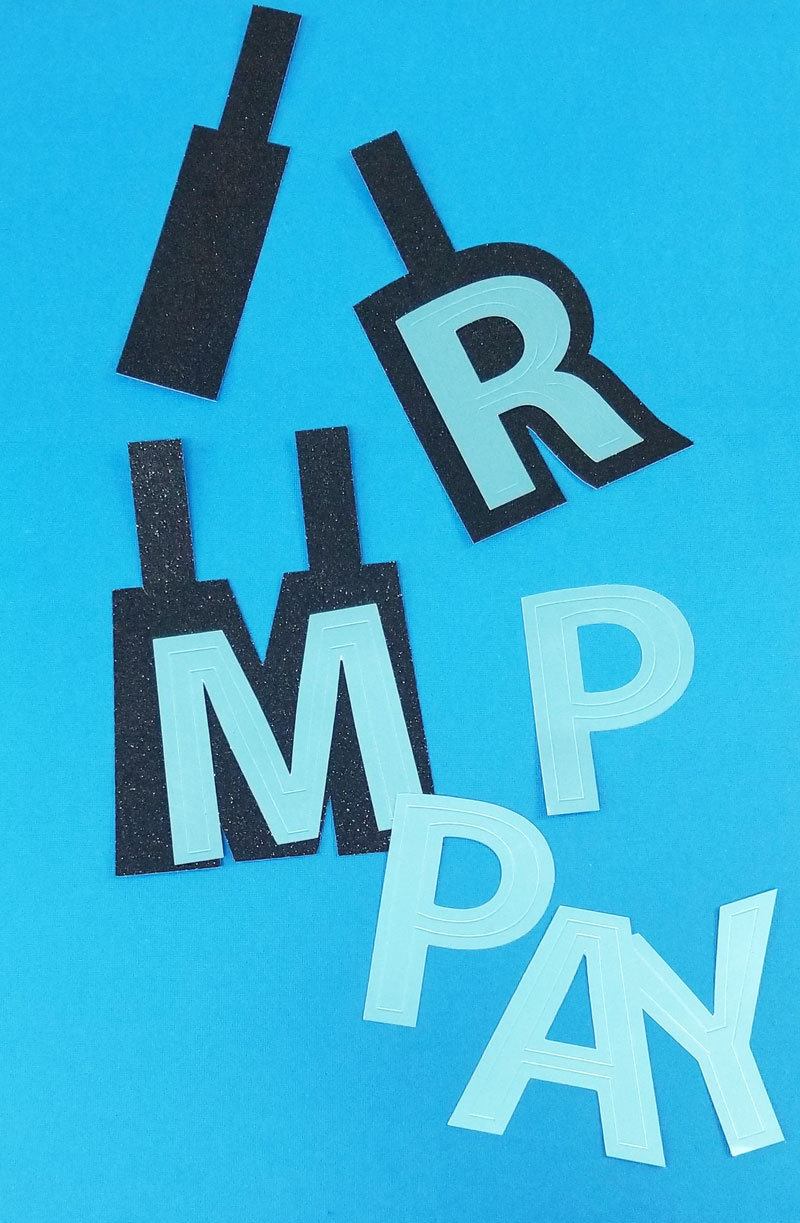
2. Glue the main letter on the background letter.
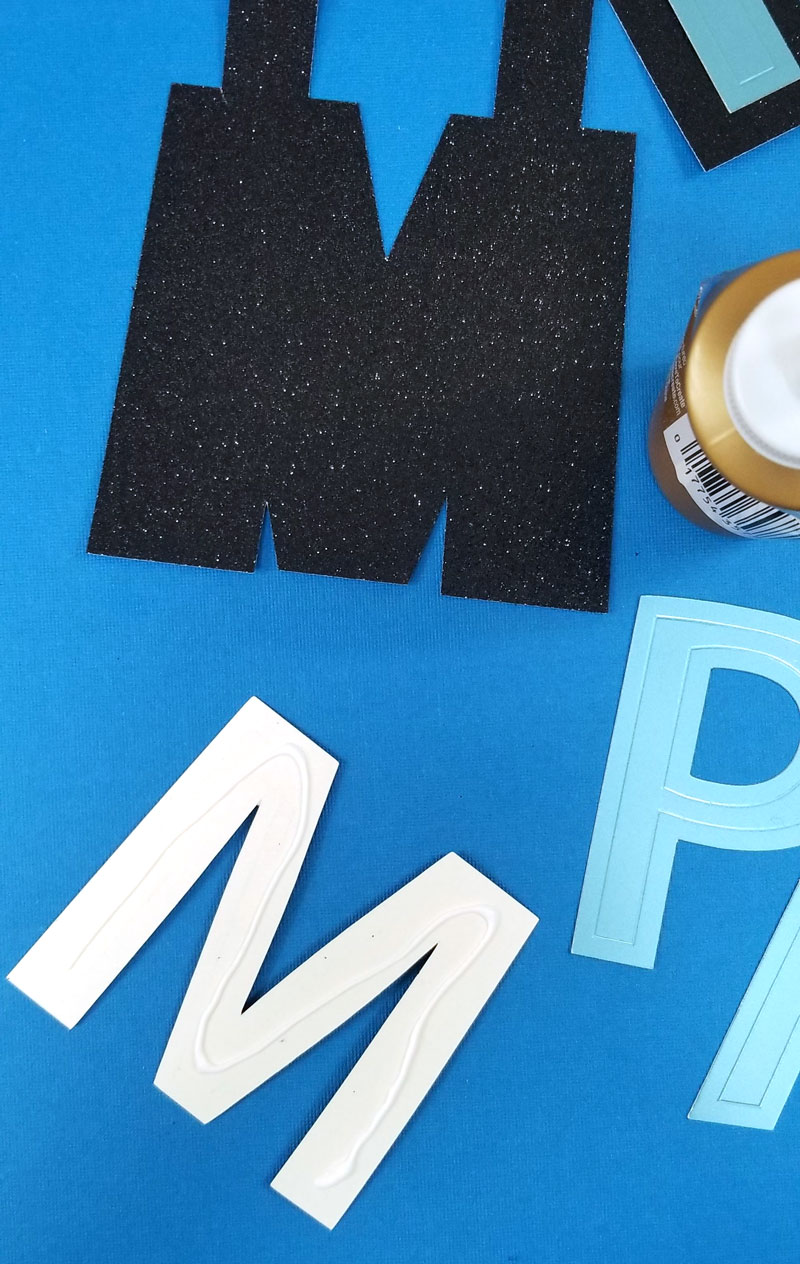
Make sure it’s centered on the background and allow it to dry.
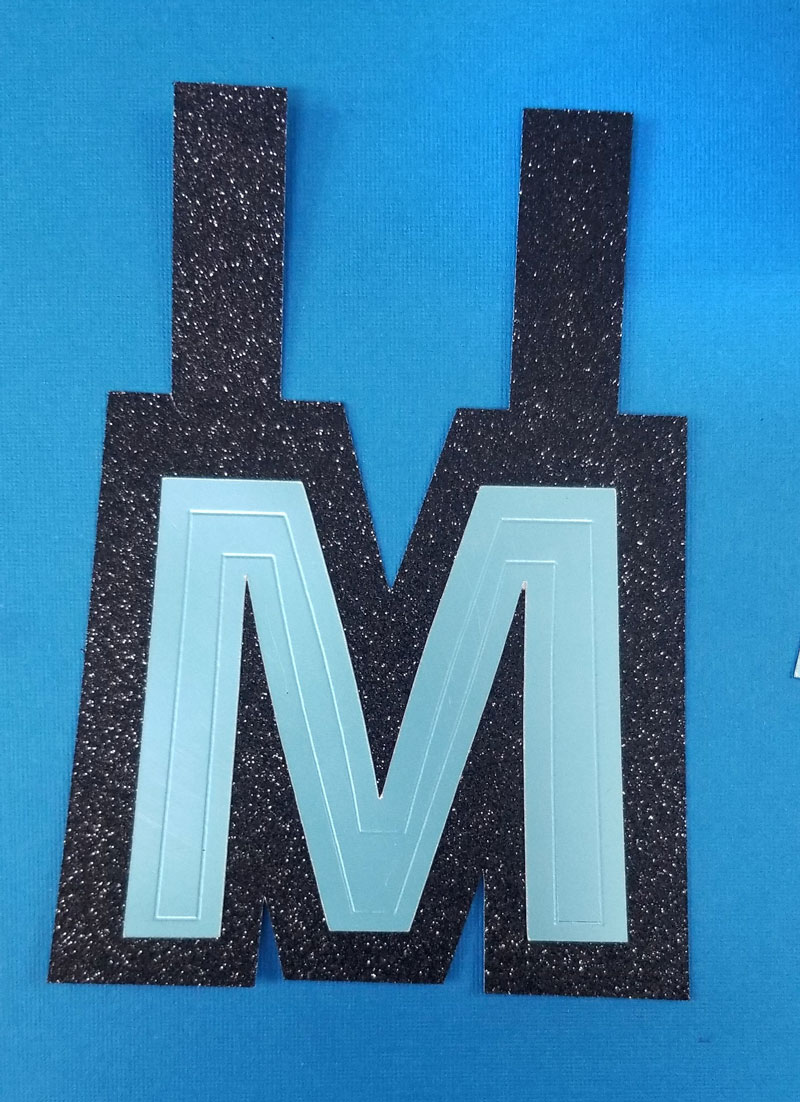
3. Fold back your tabs a third of the way up. You can curve it around a paintbrush handle or something similar if you want it curved instead of folded.
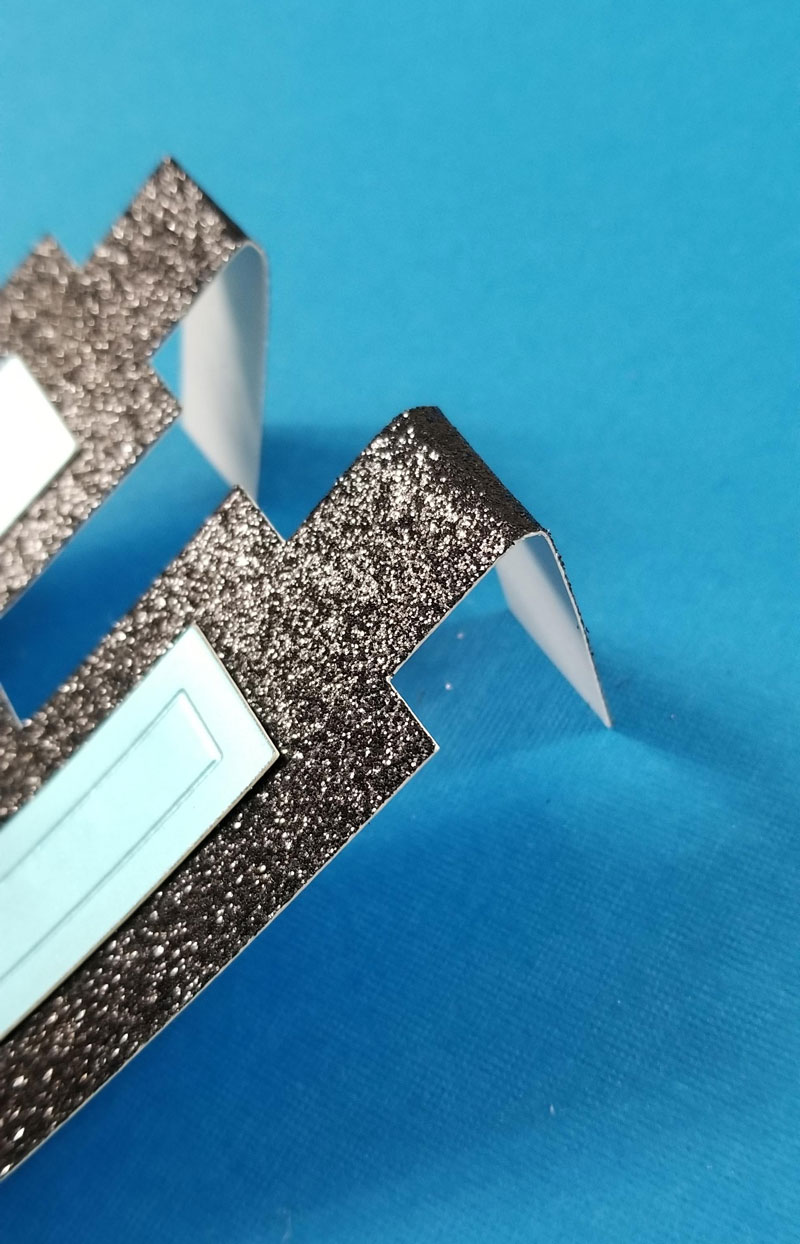
4. Glue your tab down in the space where it overlaps the letter. Hold it in place (you can use clothespins to clamp it until it dries if you’d like). If you want this to go quicker, you can use hot glue here, especially if using glitter cardstock, which is much firmer and thicker.
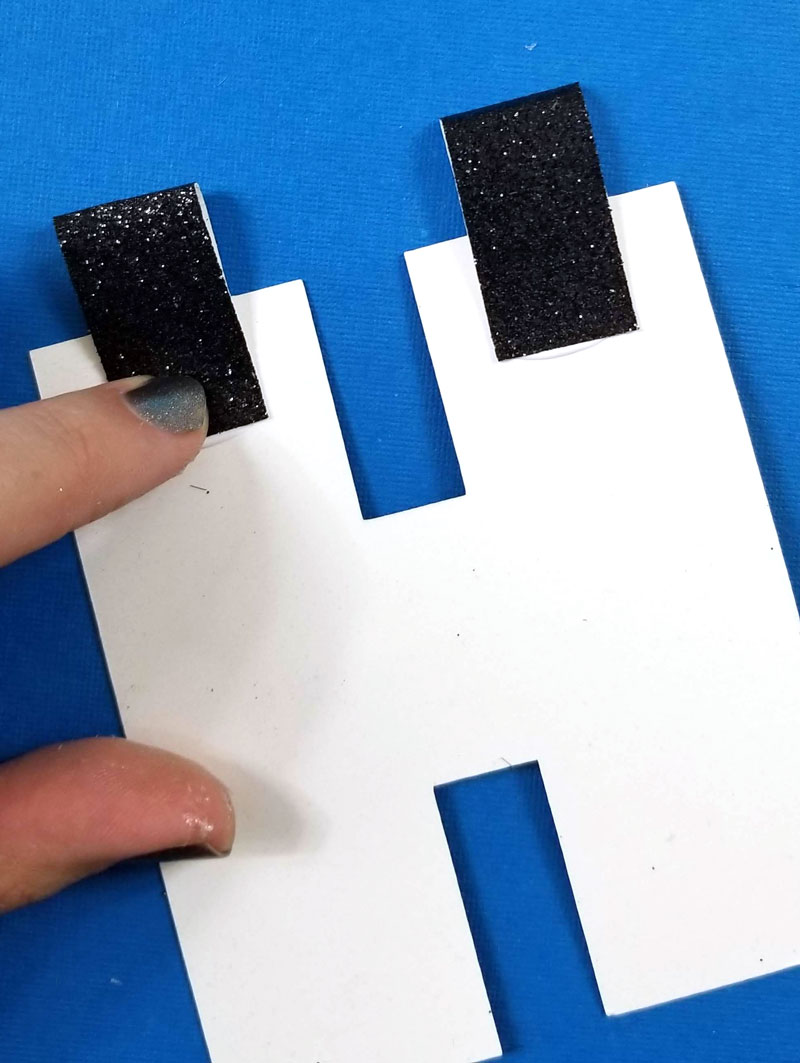
5. String her up! Make sure to do it in the right order. I rely on the friction of the string to hold my letters in place – and it works fabulously! Just rearrange the letters to center and position them well once it’s hanging.
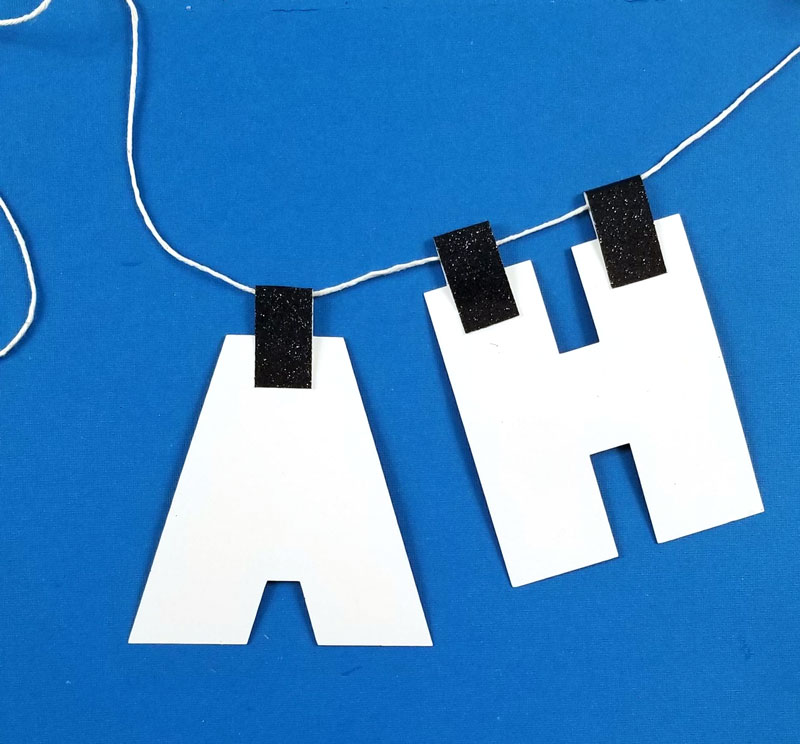
Your Happy Purim banner is complete! I hope you enjoyed making it! Comment below with any questions, ideas, variations…
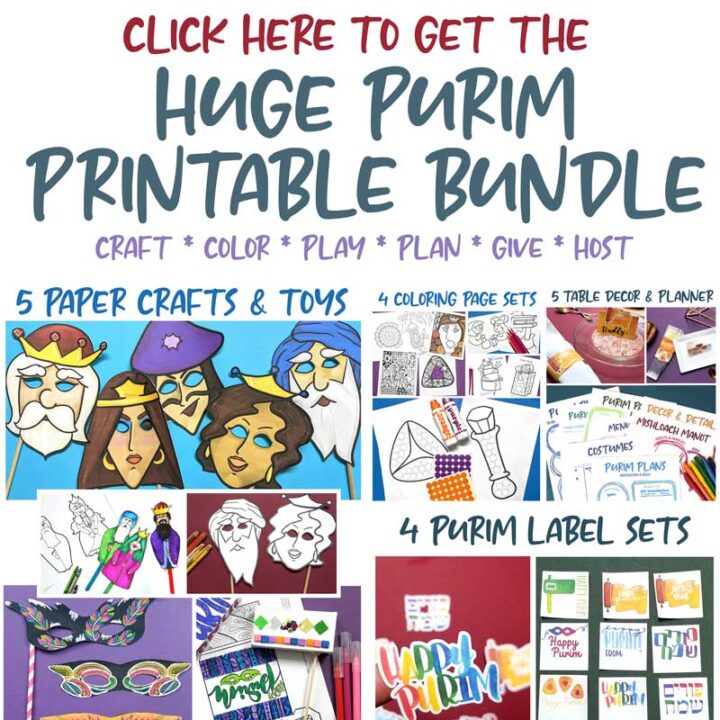
Want to make your Purim prep easier, your feast table more beautiful, and your kids’ happier and busier? Get the printable Purim bundle today for 75% off the full value! It’s full of table decor planners, kids’ crafts, coloring pages, and more as well as mishloach manot labels

