Origami Apple
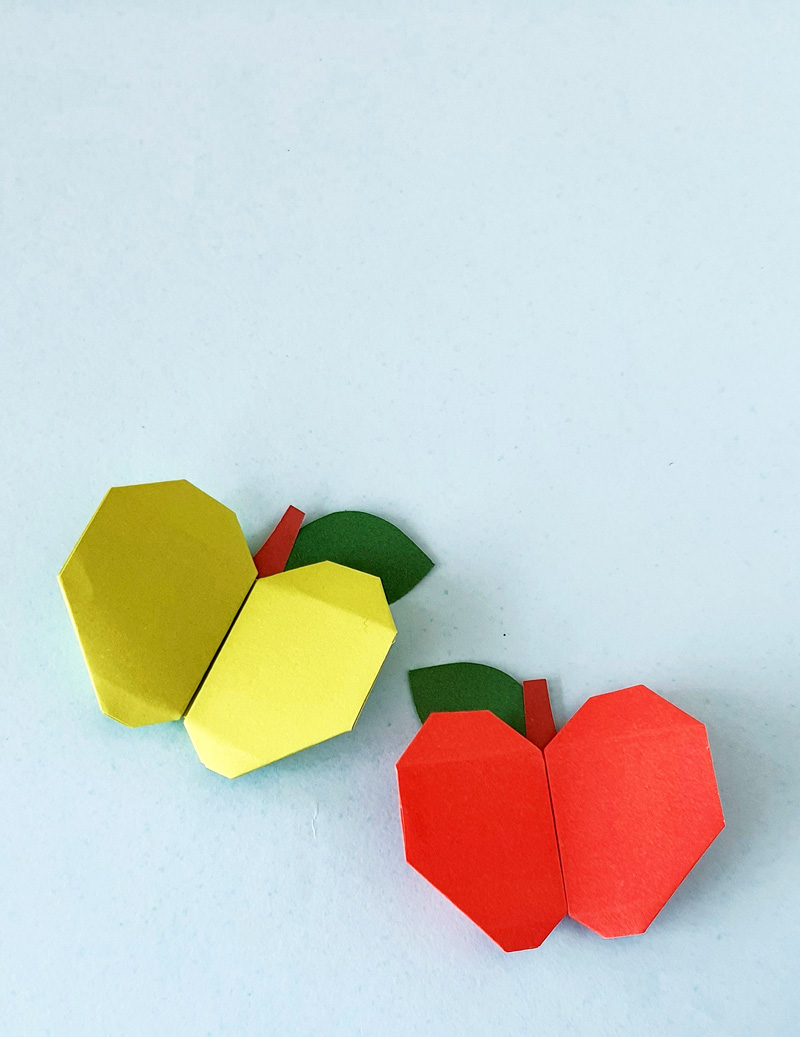
Make an origami apple for Rosh Hashanah, back to school – or any time of year! If you love this craft, check out the apple card craft for kids. This post contains affiliate links.
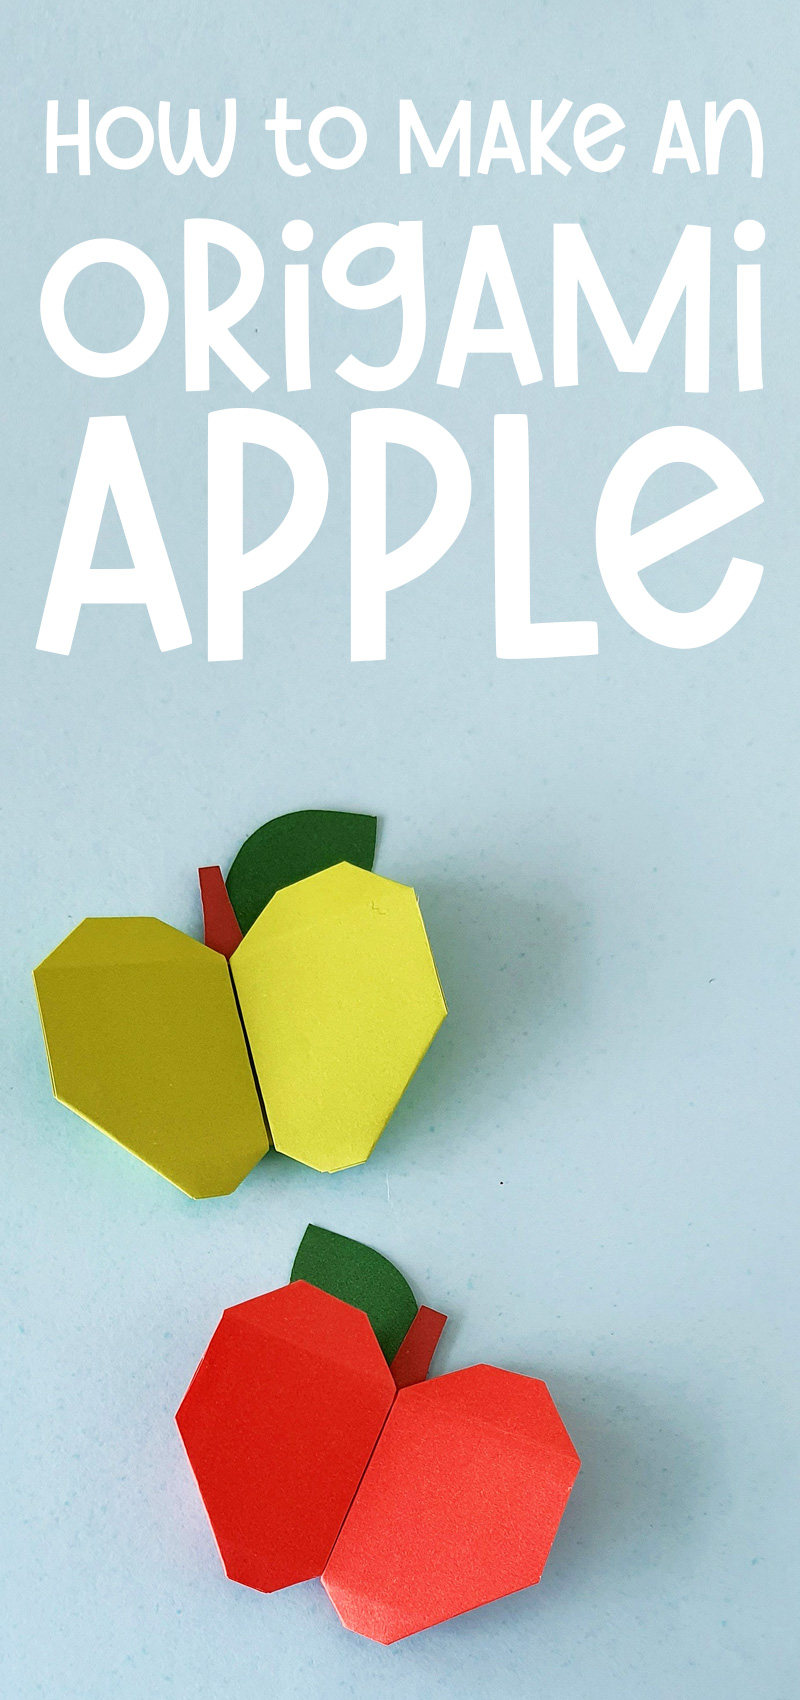
When you’re searching for Rosh Hashanah crafts for kids, you might hit some limitations. I like to think of Rosh Hashanah crafting as adapted classic crafts, and for that reason, today I’m sharing a fun origami apple craft.
Don’t celebrate Rosh Hashanah? Don’t worry! Make origami apples for fall, back to school, or whatever you’d like! You can use these to add a bit of dimension to a classroom bulletin board, apple tree, basket, or whatever you’re creating.
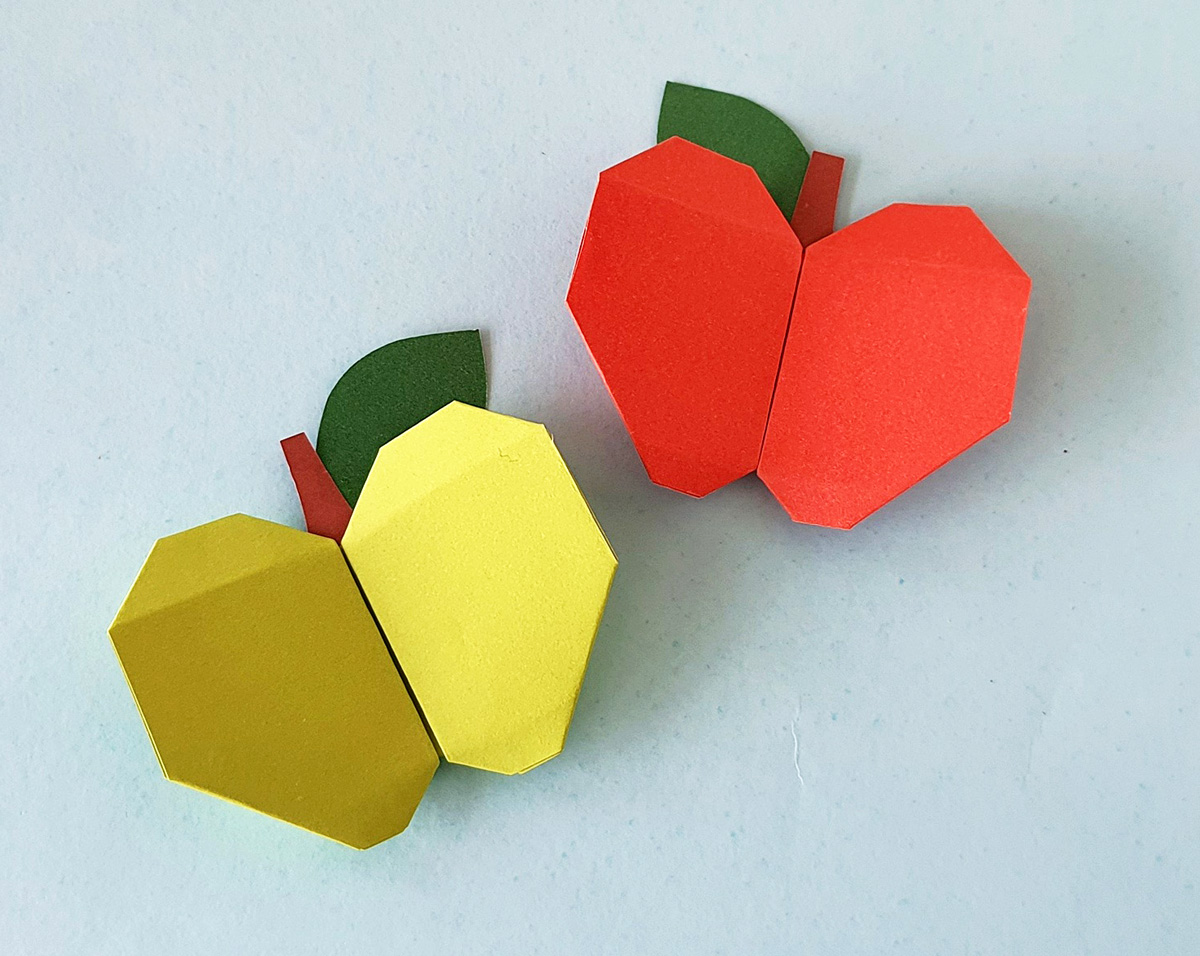
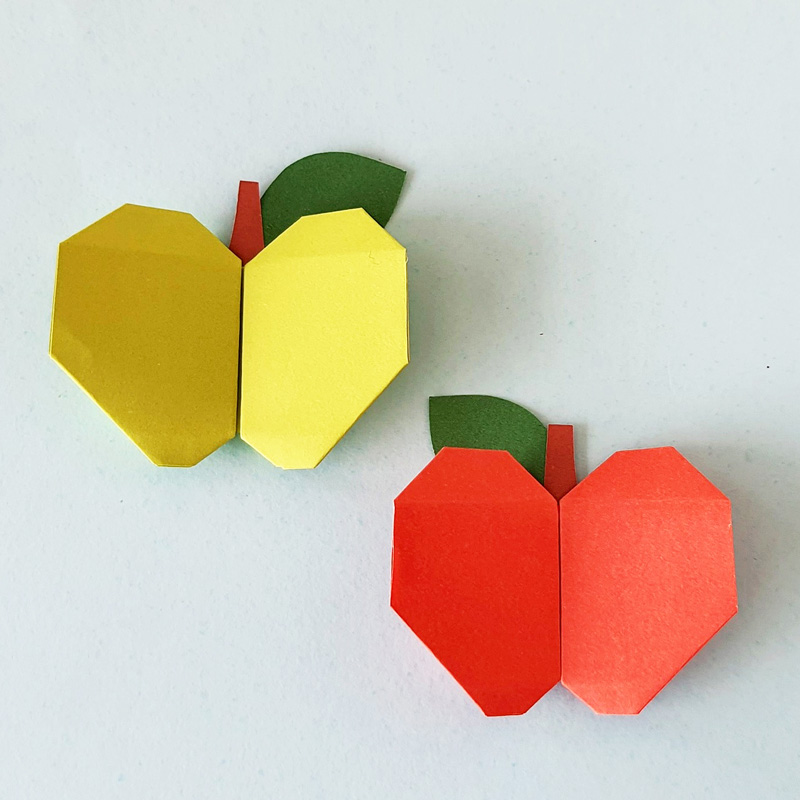
We love making origami because of how affordable and accessible it is! If you don’t have a fully stocked craft room, a pack of colored paper is an easy item to have handy. And don’t worry if you’re not a pro! The step-by-step photo tutorial is beginner-friendly
A few years ago, I shared an origami pomegranate that I turned into a banner with another apple tutorial. That one used a simply hexagon with a leaf added to give the impression of an apple. This is the next level: an actual origami apple.
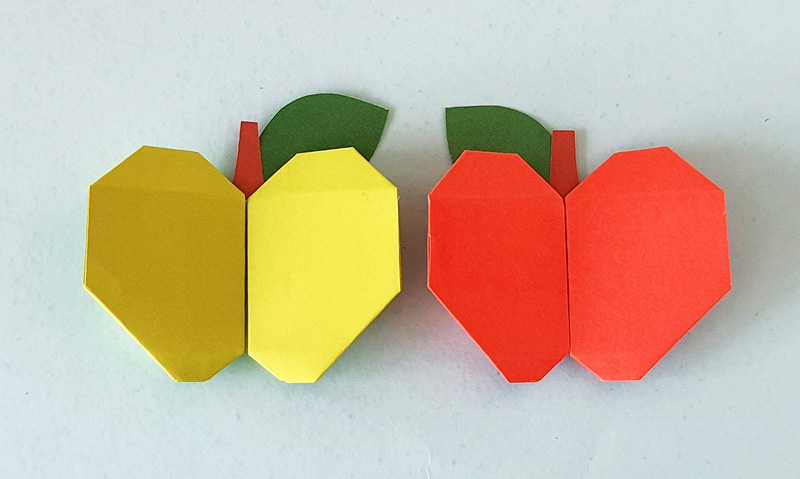
How to adapt an origami apple for Rosh Hashanah
Since I’m sharing this in honor of Rosh Hashanah, but it’s not strictly a Rosh Hashanah craft, I figured I’d share a few ways to turn it Rosh Hashanah themed
Since we generally speaking eat apples with honey on the holiday, to celebrate a sweet new year, the best way to adapt it is to add a honey drip! Here are a few ways to do it.
- Cut out a drip from a transparent yellow plastic divider or similar.
- Use yellow puffy paint – bonus points if you can find one that is transparent like honey!
- Or, go for yellow colored glue.
- When you complete your apple origami, lay it face down (so it’s flat) on yellow paper and use that to trace and cut a honey drip that’ll align with the end.
- Simply add a drip with marker! Use paint markers or something else that’ll show on the paper, since you’re coloring light over dark.
Want to make your Tishrei prep easier, your holiday table more beautiful, and your kids’ happier and busier? Get the printable Tishrei bundle today for 65% off the full value! It’s full of loads of planners, coloring pages, sukkah decor, as well as cool table decorations and place cards!
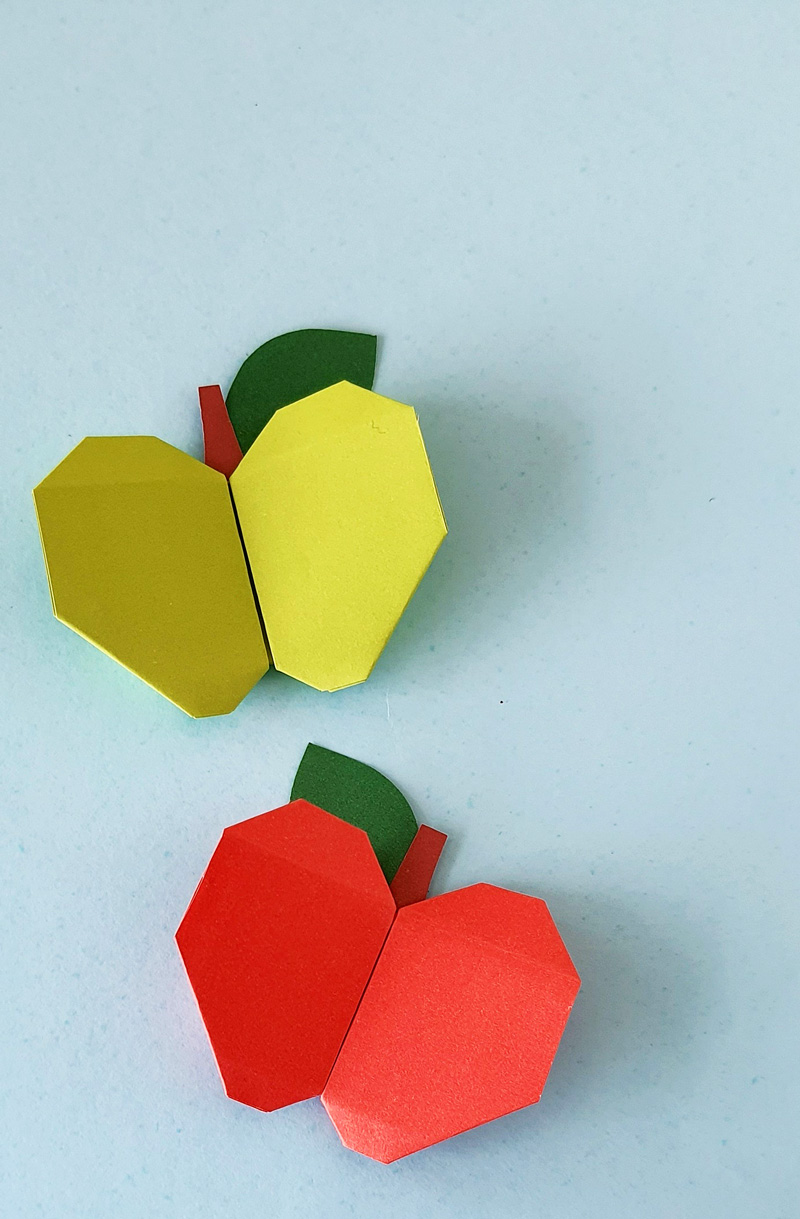
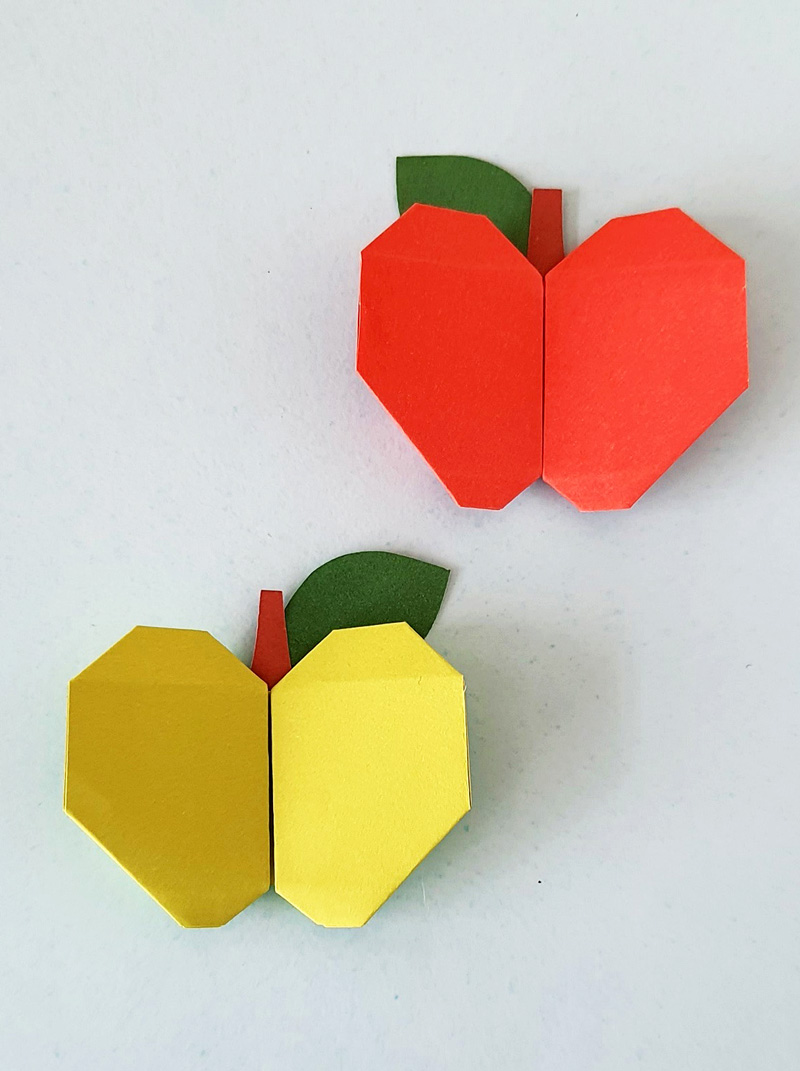
Origami is a fabulous starter point for carfts where you might have otherwise just cut out a flat shape. Use it on Shana Tovah cards, string it into a garland (if you first secure it by gluing the folds down). Create a border for a bulletin board, make it in different sizes to create a “gallery” wall, glue them onto bifold cards as place cards, glue them onto strips of paper to turn into napkin rings…
The possibilities are endless! When you’re done, check out more Rosh Hashanah crafts!
What you need
- Colored craft papers or origami paper
- Scissors
- Glue or glue dots
- Optional: markers
How to Make an Origami Apple
1. Choose a paper for your apple. If it’s not a square origami paper, cut it into a square.
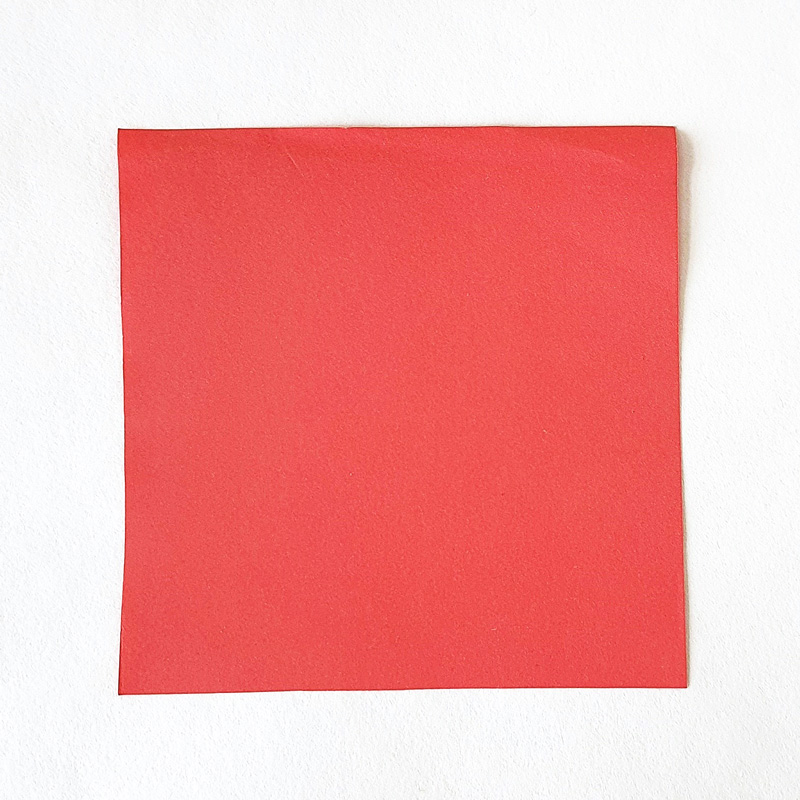
2. Fold the paper in half vertically.
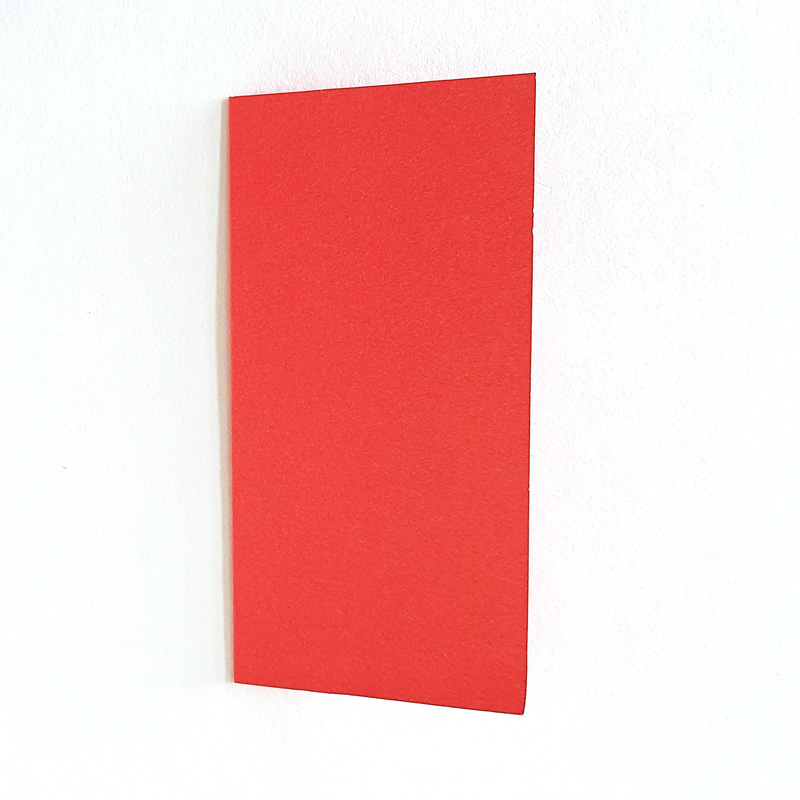
3. Fold the paper in half again, horizontally.
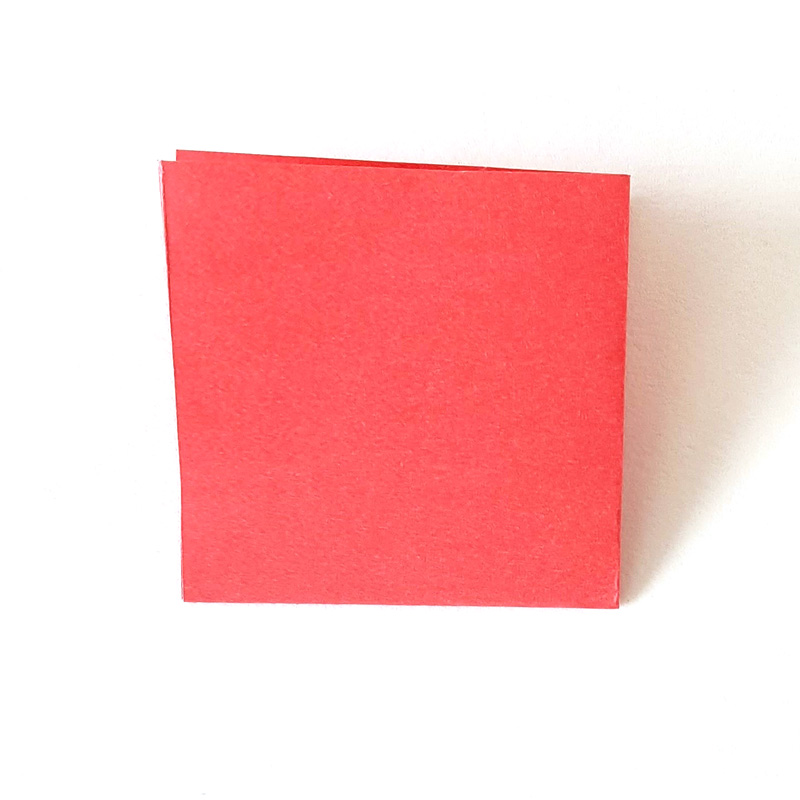
4. Unfold the last horizontal fold. This will leave a crease along the middle. Your paper should be held horizontally.
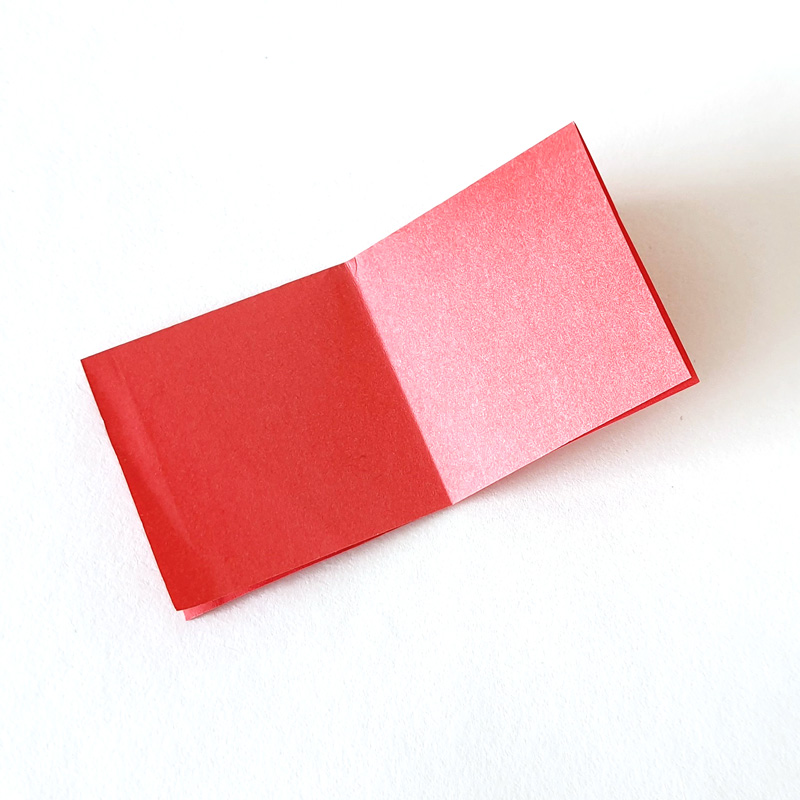
5. Fold the paper into thirds and unfold.
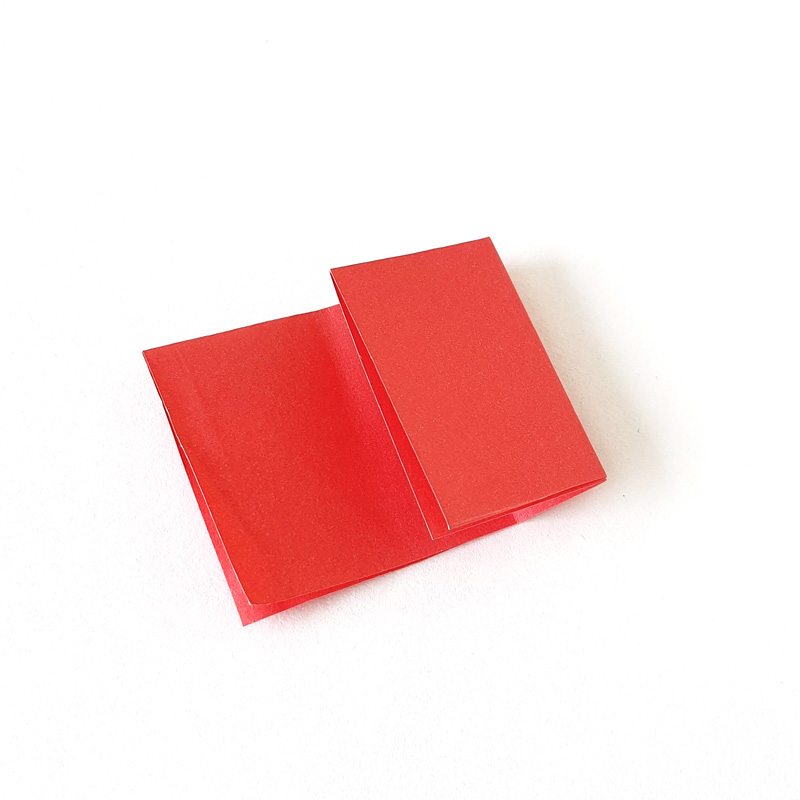
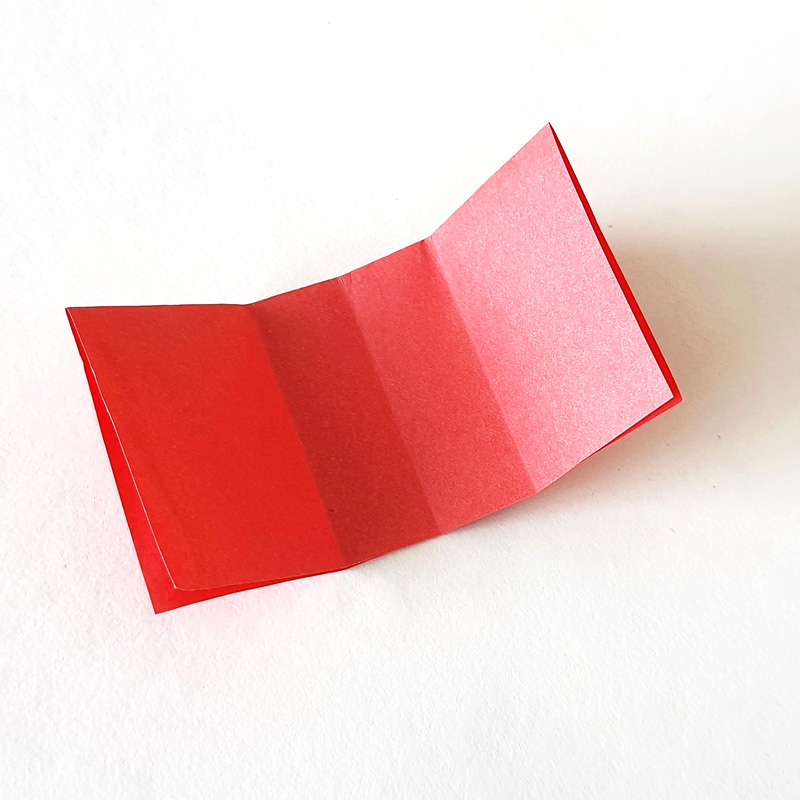
6. Work on the right side first. Bring the right 1/3 mark crease to the halfway mark crease and fold down.
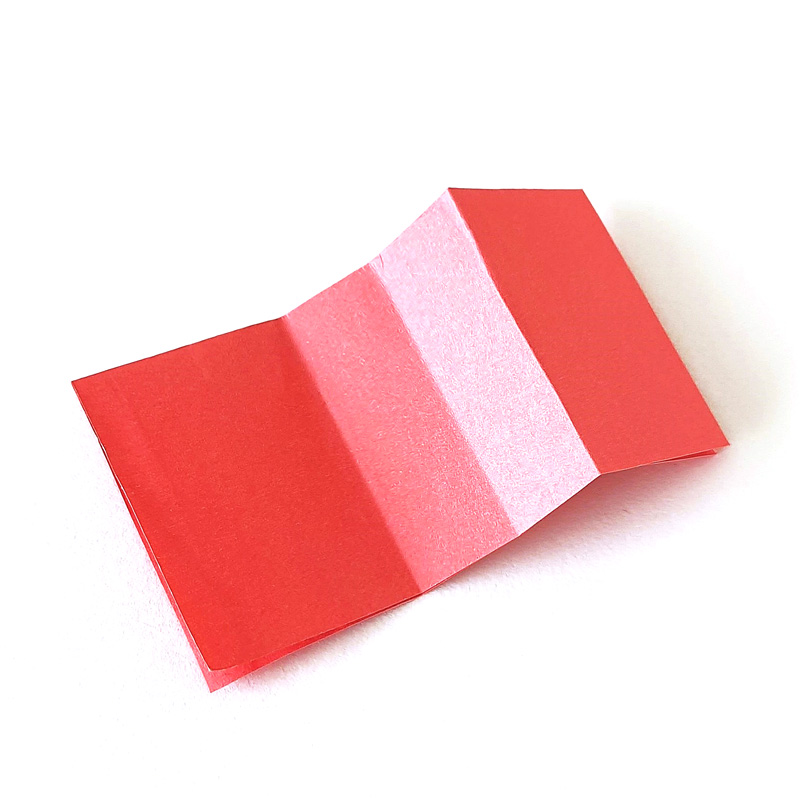
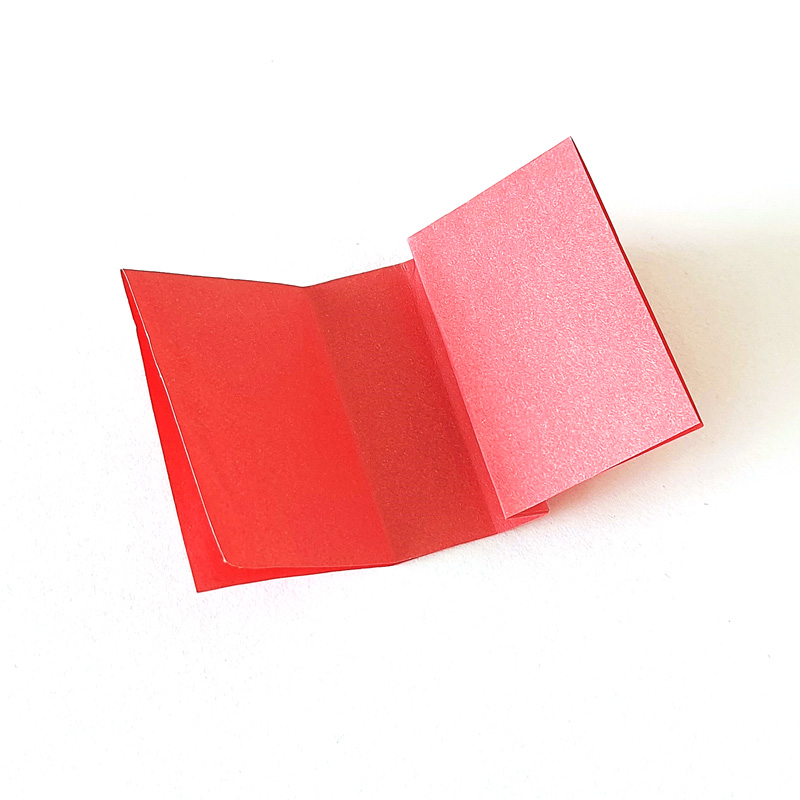
7. Repeat on the left side. Bring the left 1/3 mark crease to the halfway crease and fold down.
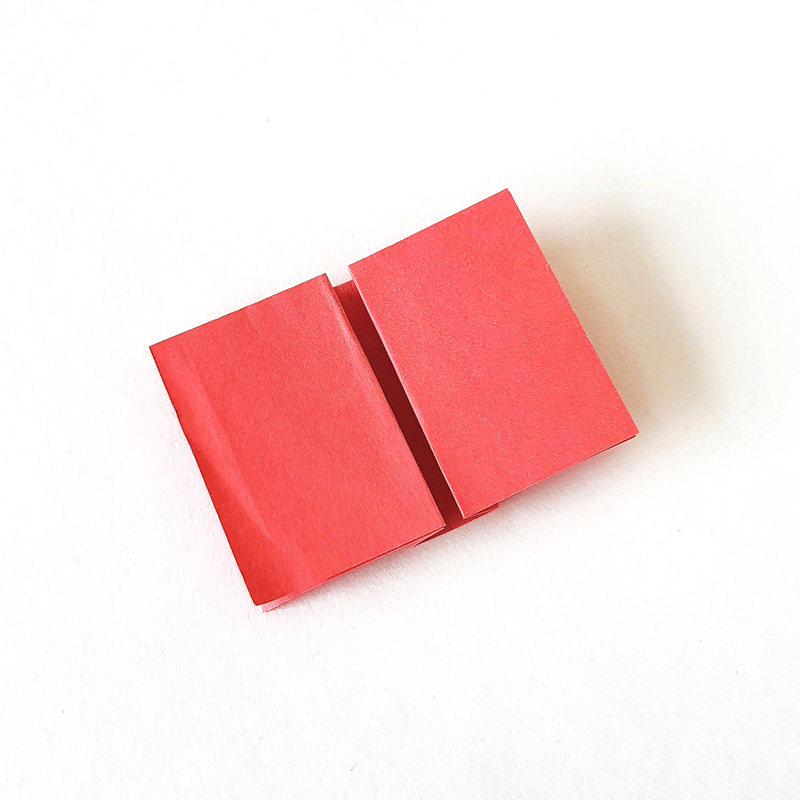
8. Flip your origami over to the other side.
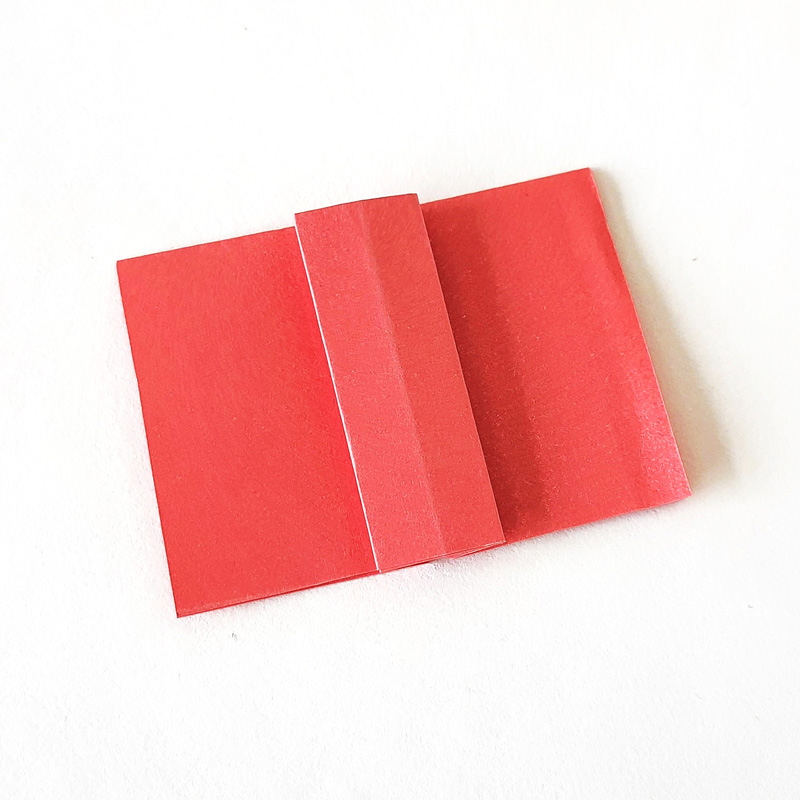
9. Fold down about 1/5 of the way from the top.
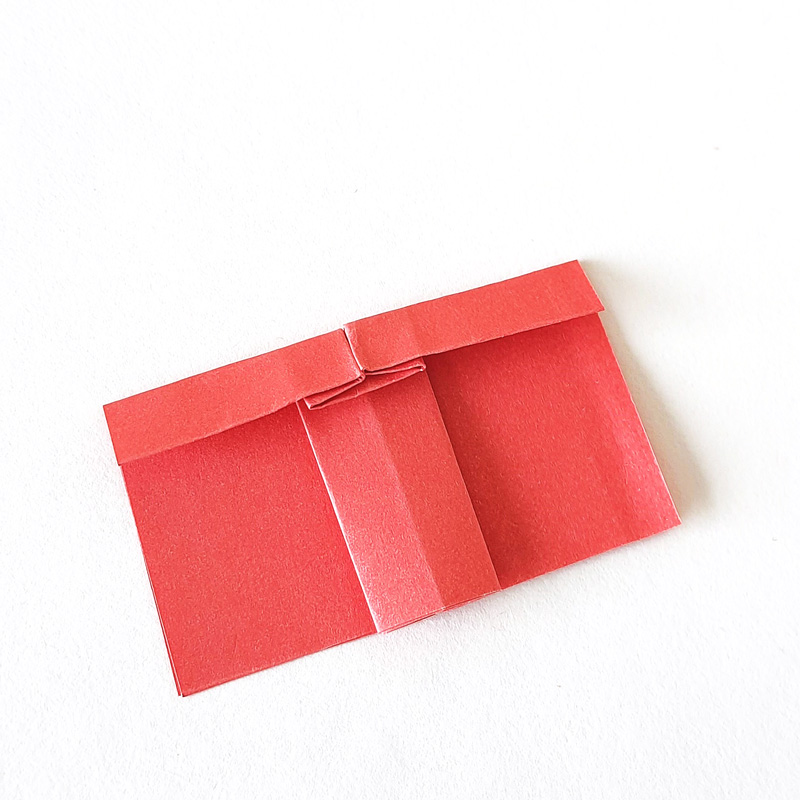
10. Open up this last fold on the left side, keeping the middle portion folded.
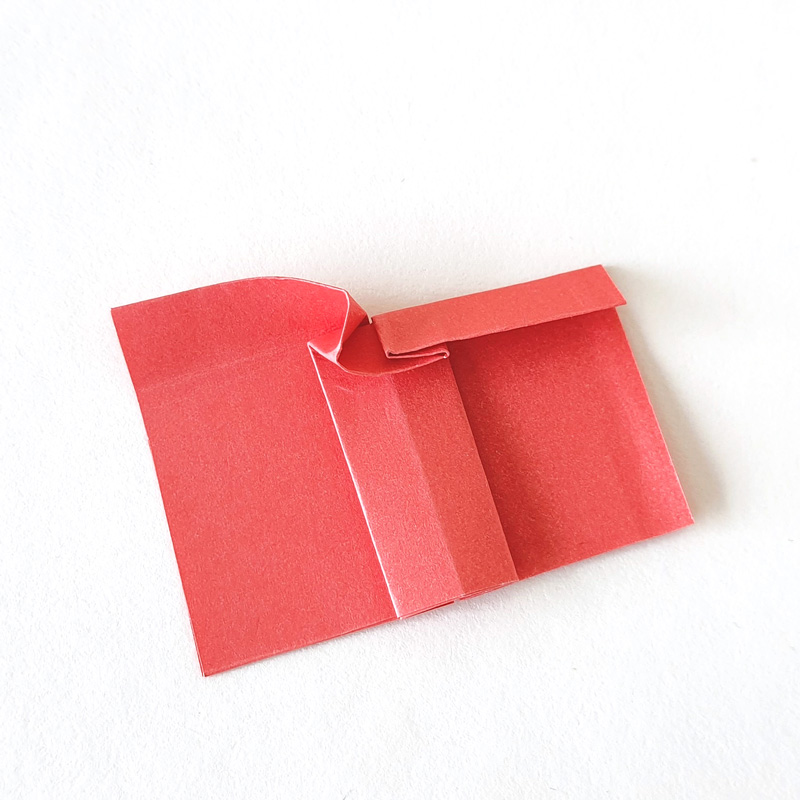
11. Flatten the left side (that little triangle that forms when you unfold it) of the middle portion.
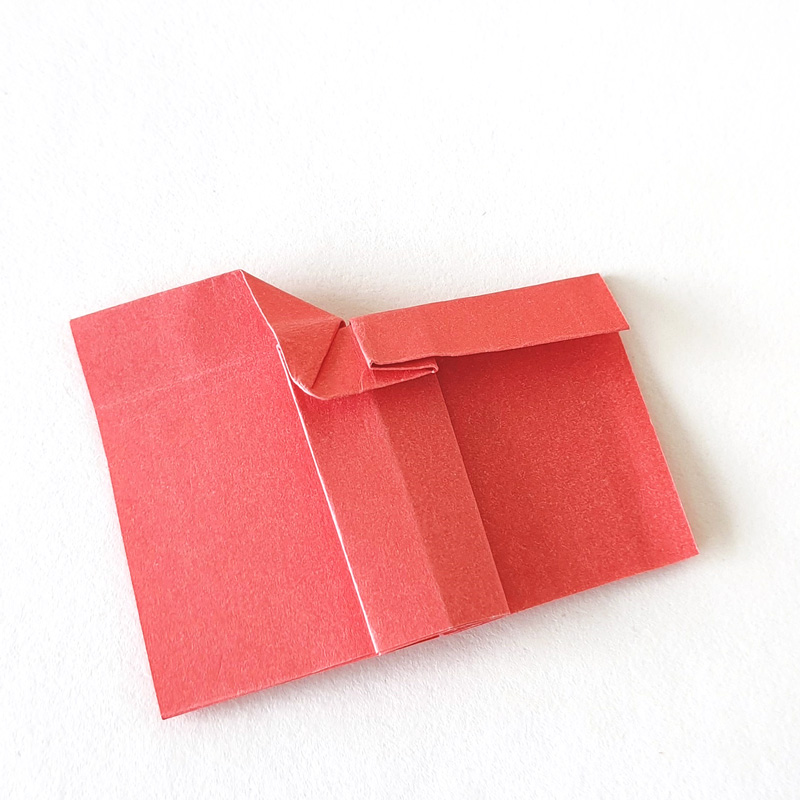
12. Repeat on the right side. Unfold the top fold keeping the center folded, and flatten the triangle.
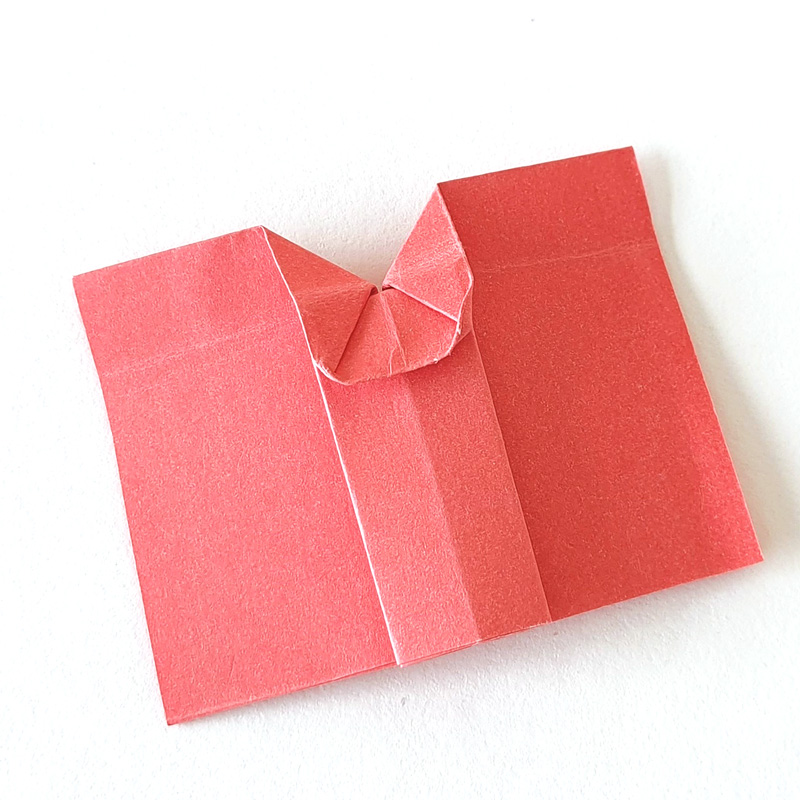
13. Fold the bottom up, a little shorter than the top (about 1/6 of the way up.)
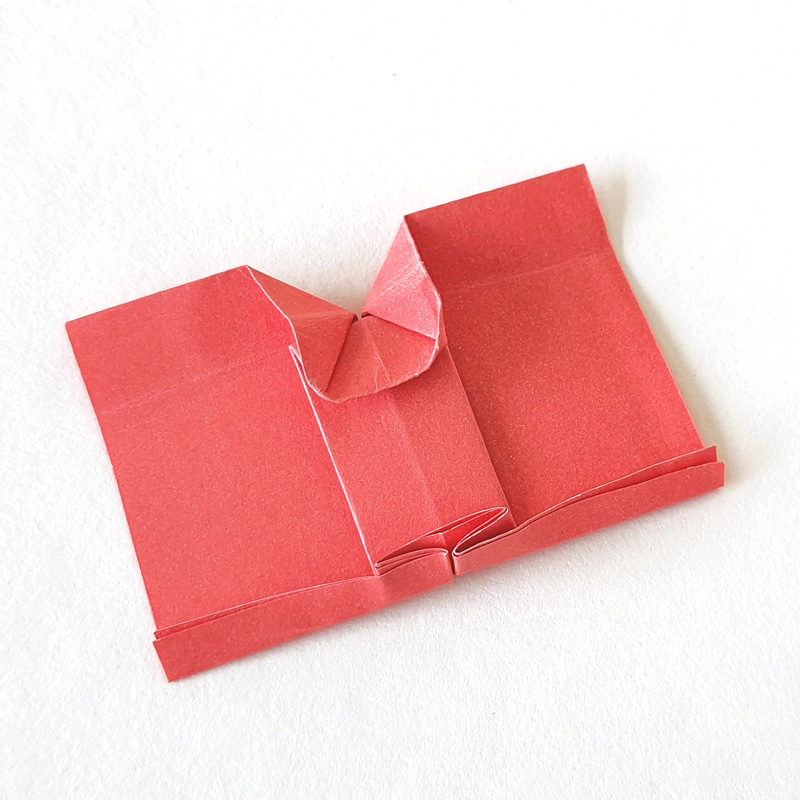
14. Unfold the right and left sides keeping the center folded the same way you did with the top – making sure that the part where the sides overlap the center gets flattened neatly into a triangle.
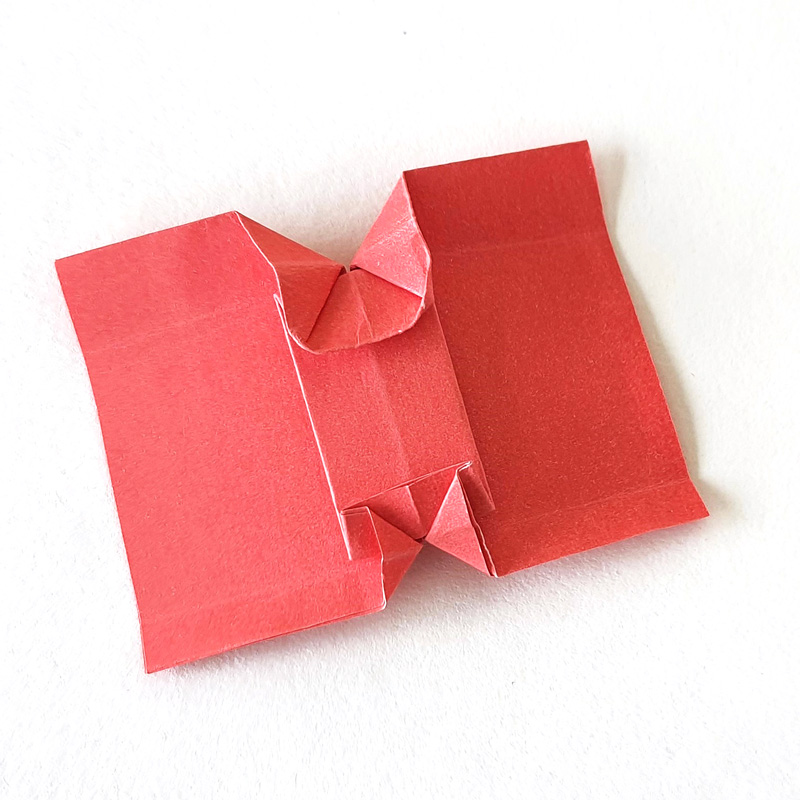
15. Fold in the top corners until the horizontal crease.
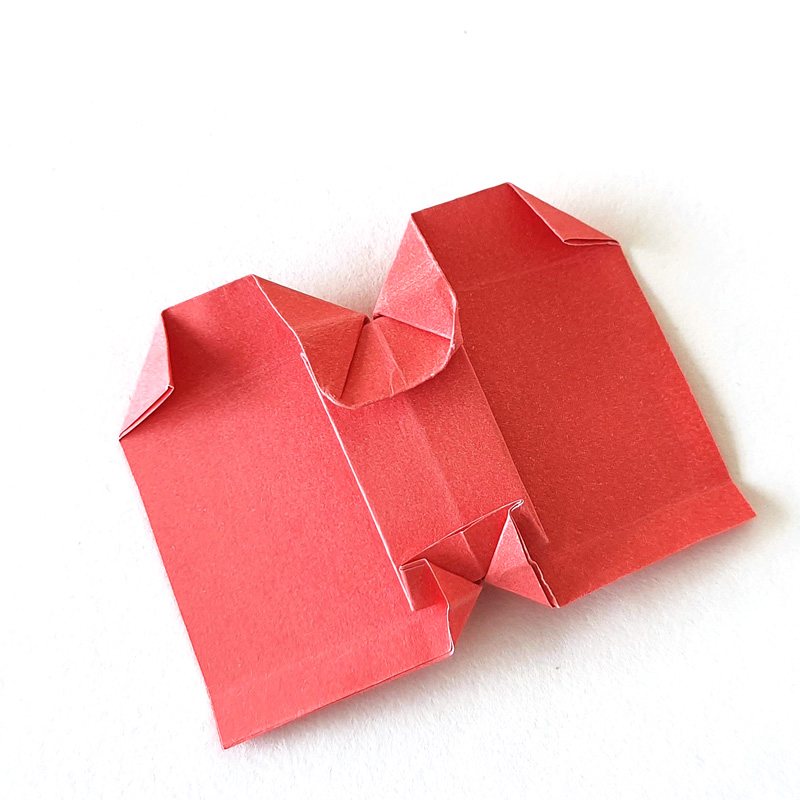
16. Fold the bottom corners a little more than you did the top.
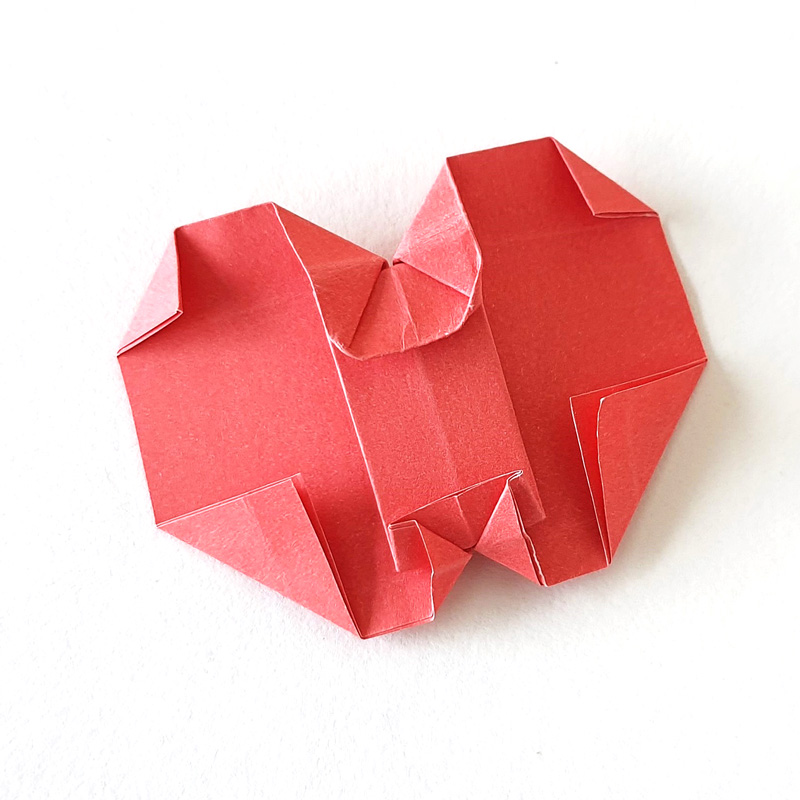
17. Flip the origami pattern to the right side. Trace and cut out a stem and a leaf from the correct colored papers.
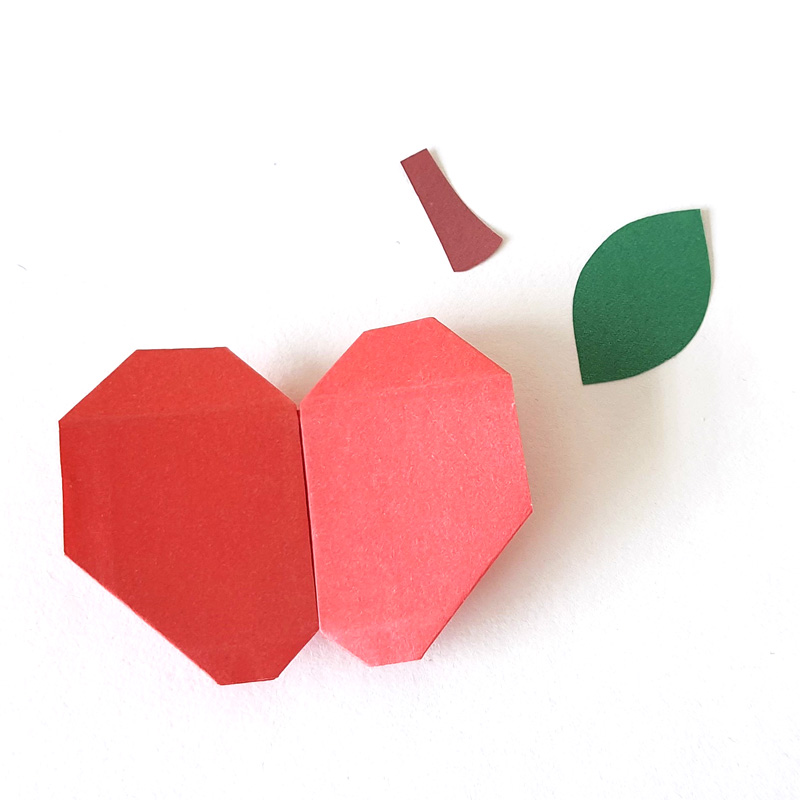
18. Glue on your stem and leaf.
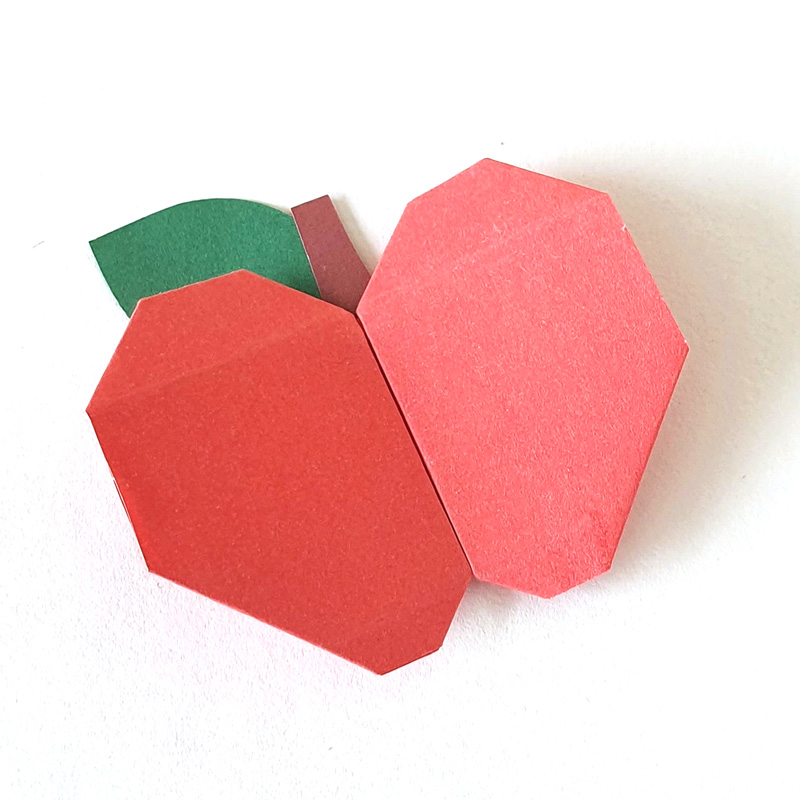
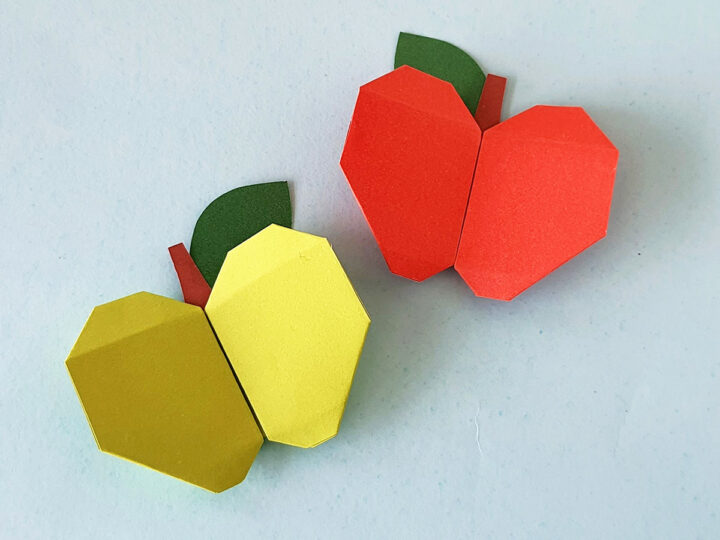
Your origami apple is complete! What will you be making with yours? Comment below!


Can you do a video of it?
Hi Reena,
I’m so sorry – it takes a long time to do videos and I’m not sure I’d manage it. I’d give it a try but I’m way behind now. If I remember for next year I can try, but that won’t help you now.