How to Fold an Origami Torah Scroll
I’m super excited to share with you an exciting tutorial for an Origami Torah, perfect for Shavuot or Simchat Torah! Also check out this Aleph Bet Torah craft for kids. This post contains affiliate links.
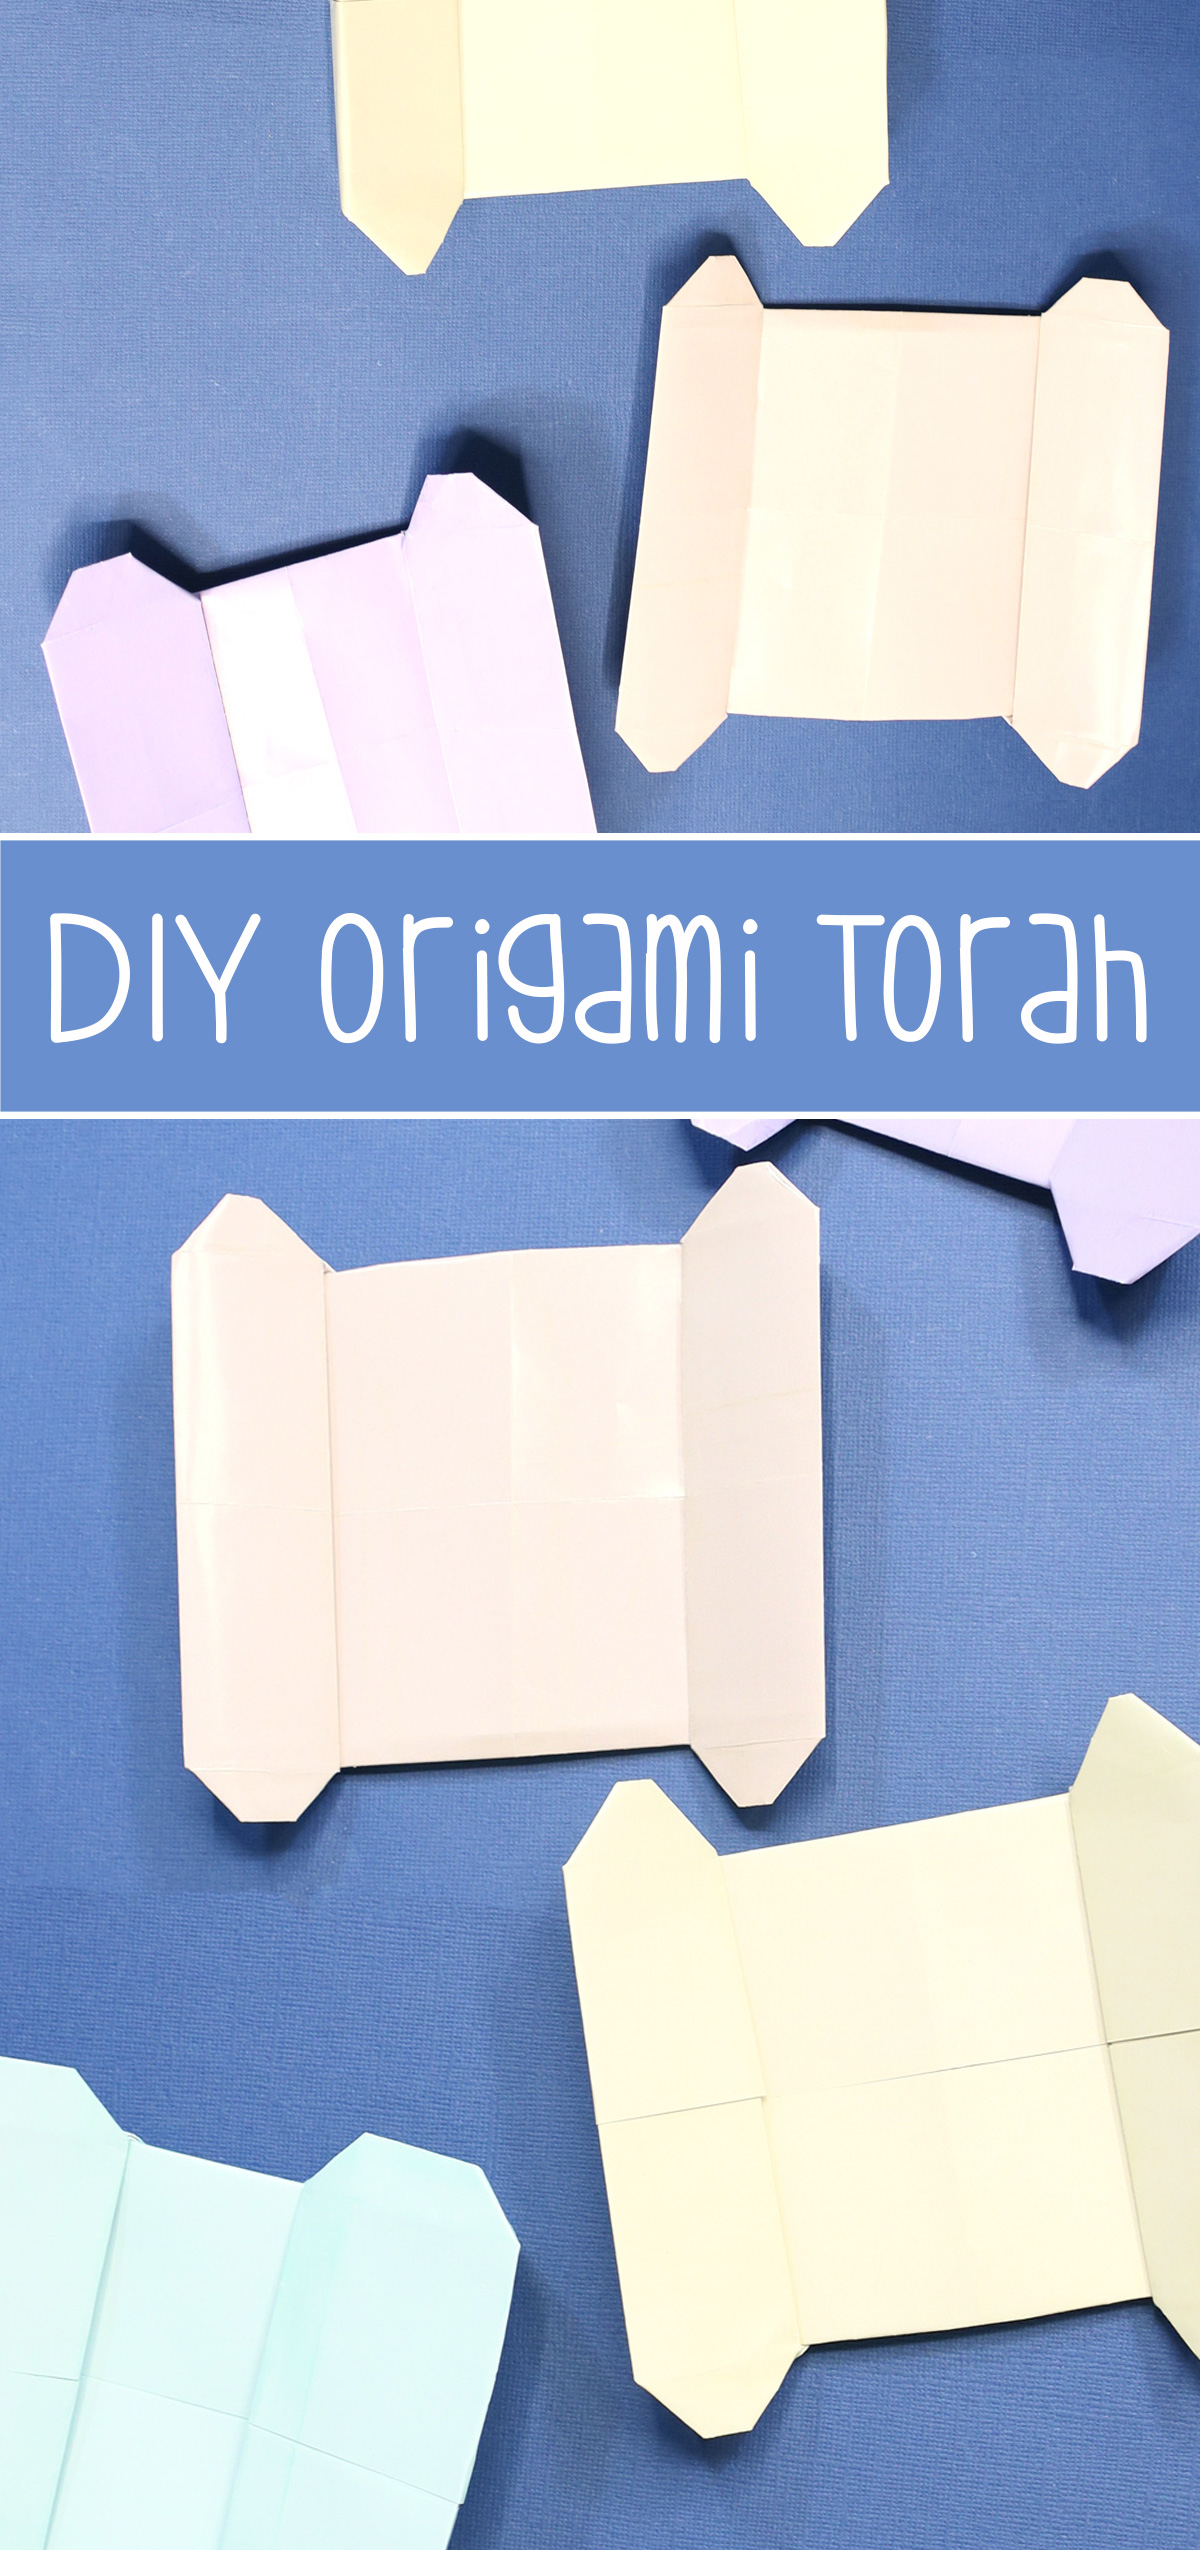
I started designing this Origami Torah last year for Simchat Torah, and just couldn’t get it right. Then, while creating a different Origami, I had a breakthrough when I noticed that the first few steps took me where I needed to be to finalize this project.
So in time for Shavuot – and perfect for any time – here is a fun Origami Torah for you to fold.

Making an Origami Torah scroll
There are so many different things you can do with your final project! My main goal was simply to challenge myself. But this origami Torah scroll would make perfect place cards for your Shavuot table or decorations for holiday greeting cards. You can also pull it out for other occasions such as a bar mitzvah, upsherin, or anything really!
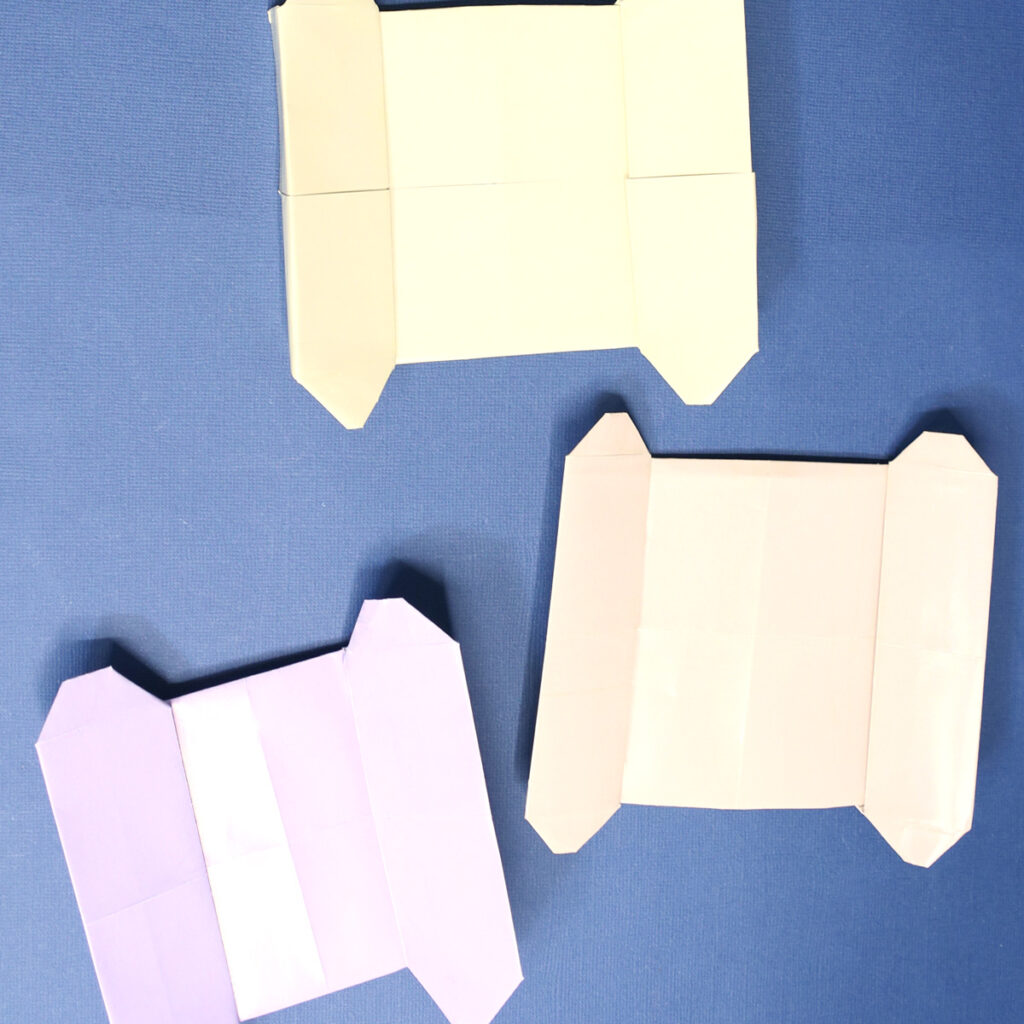
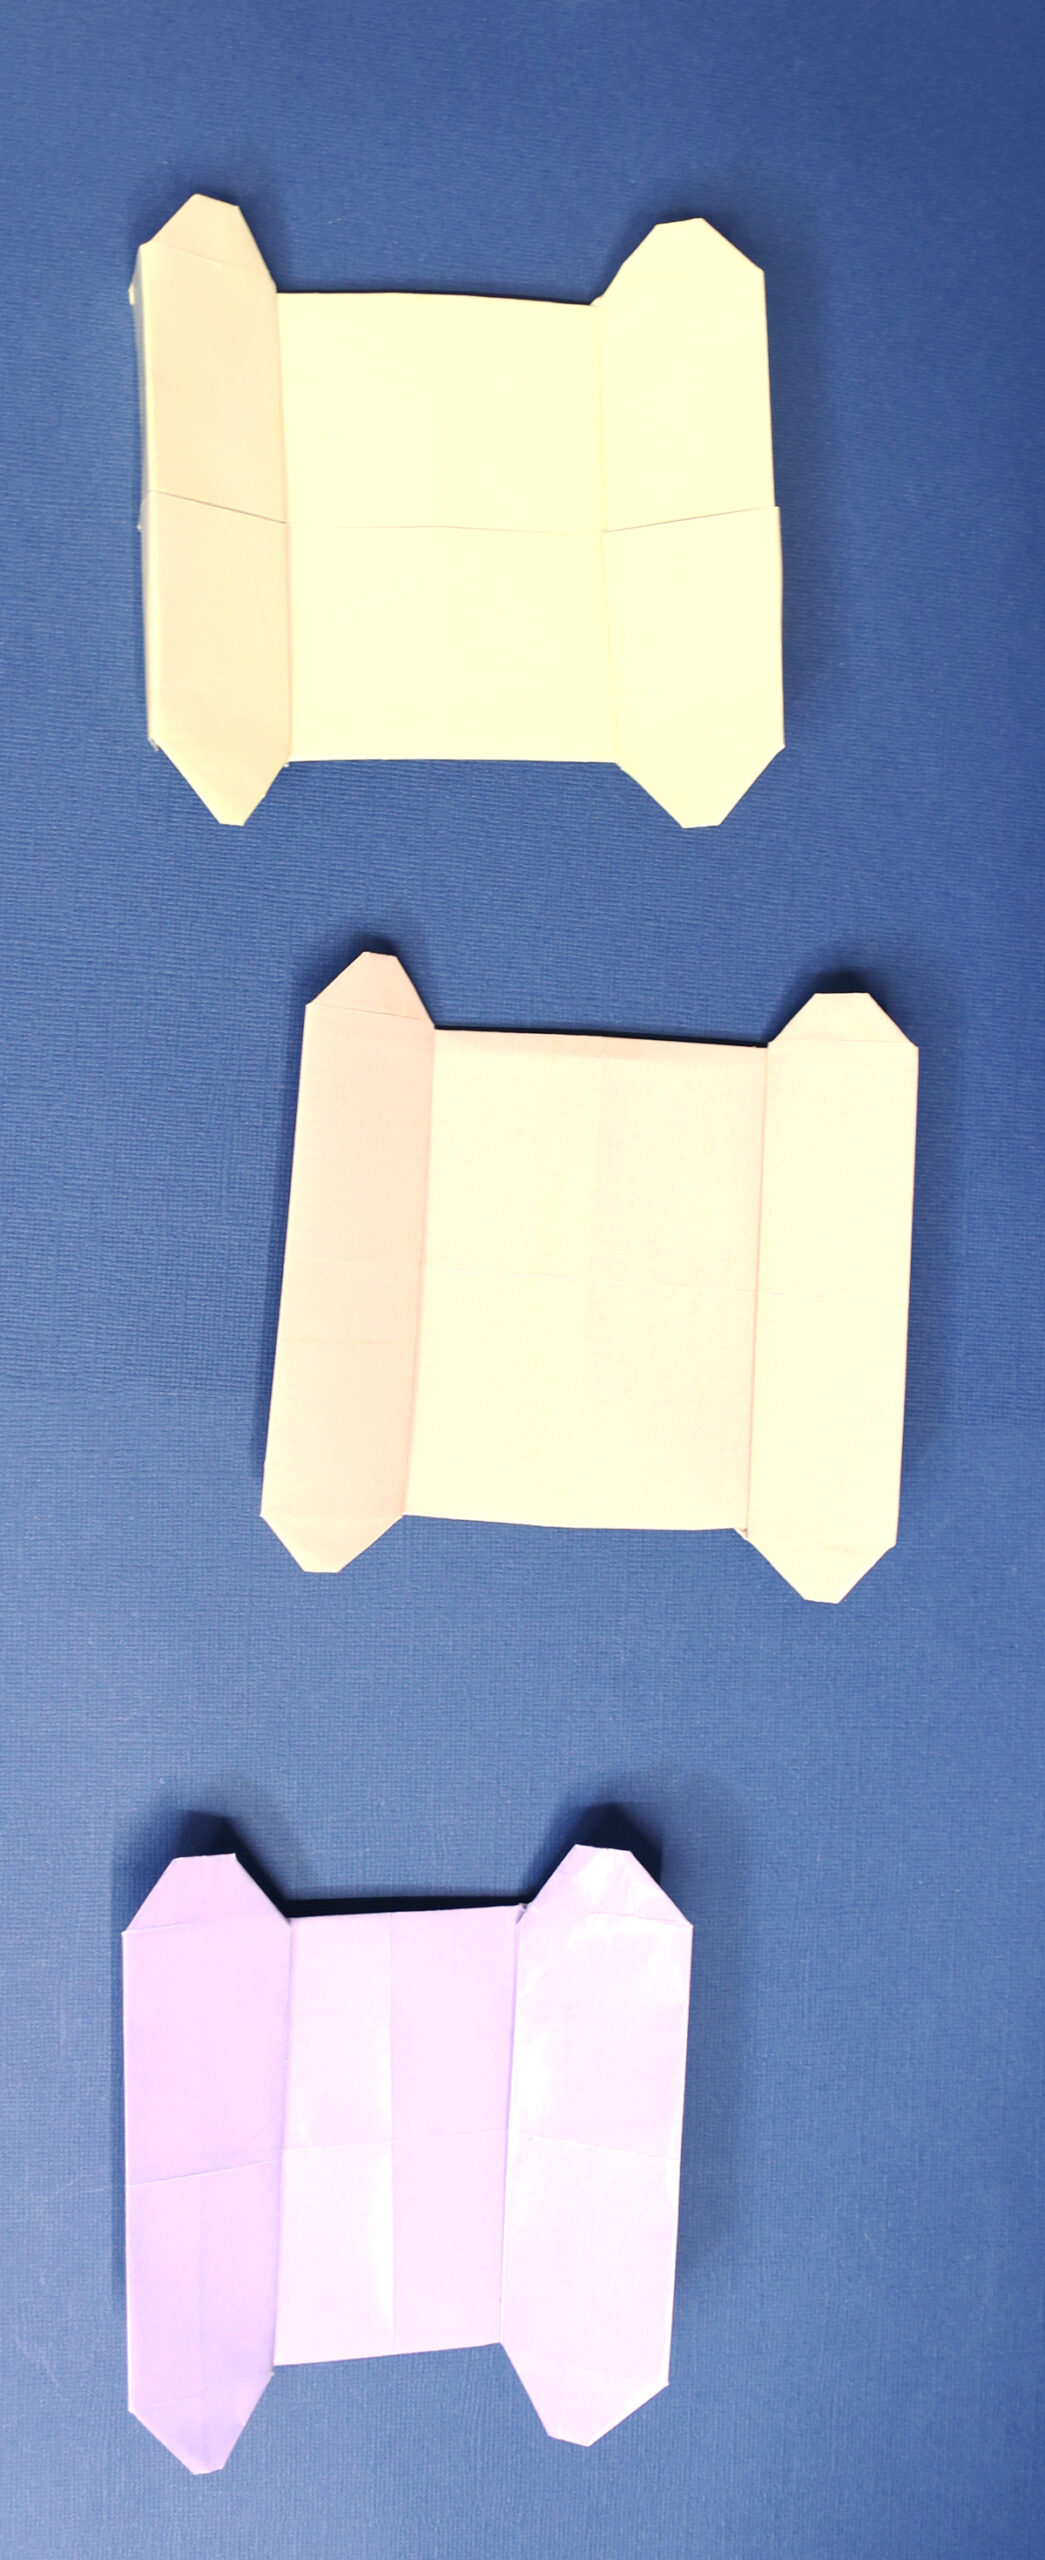
This is an intermediate level origami tutorial – it has a lot of steps, but I’ve tried to make them clear for you to follow. Some of the folds are small, so they require a fair level of fine motor skill, and very young crafters may need help. It took me a few tries to get this one right, but the final result is so rewarding!
I’ve given approximate measurements for some of the folds, but don’t worry about being exact. The most important thing is to have fun, and the project will still look great even if it’s not perfect. It’s perfectly fine if your Torah scroll appears more or less open, or if the handles are taller or shorter – just like in real life. Relax and enjoy the process!
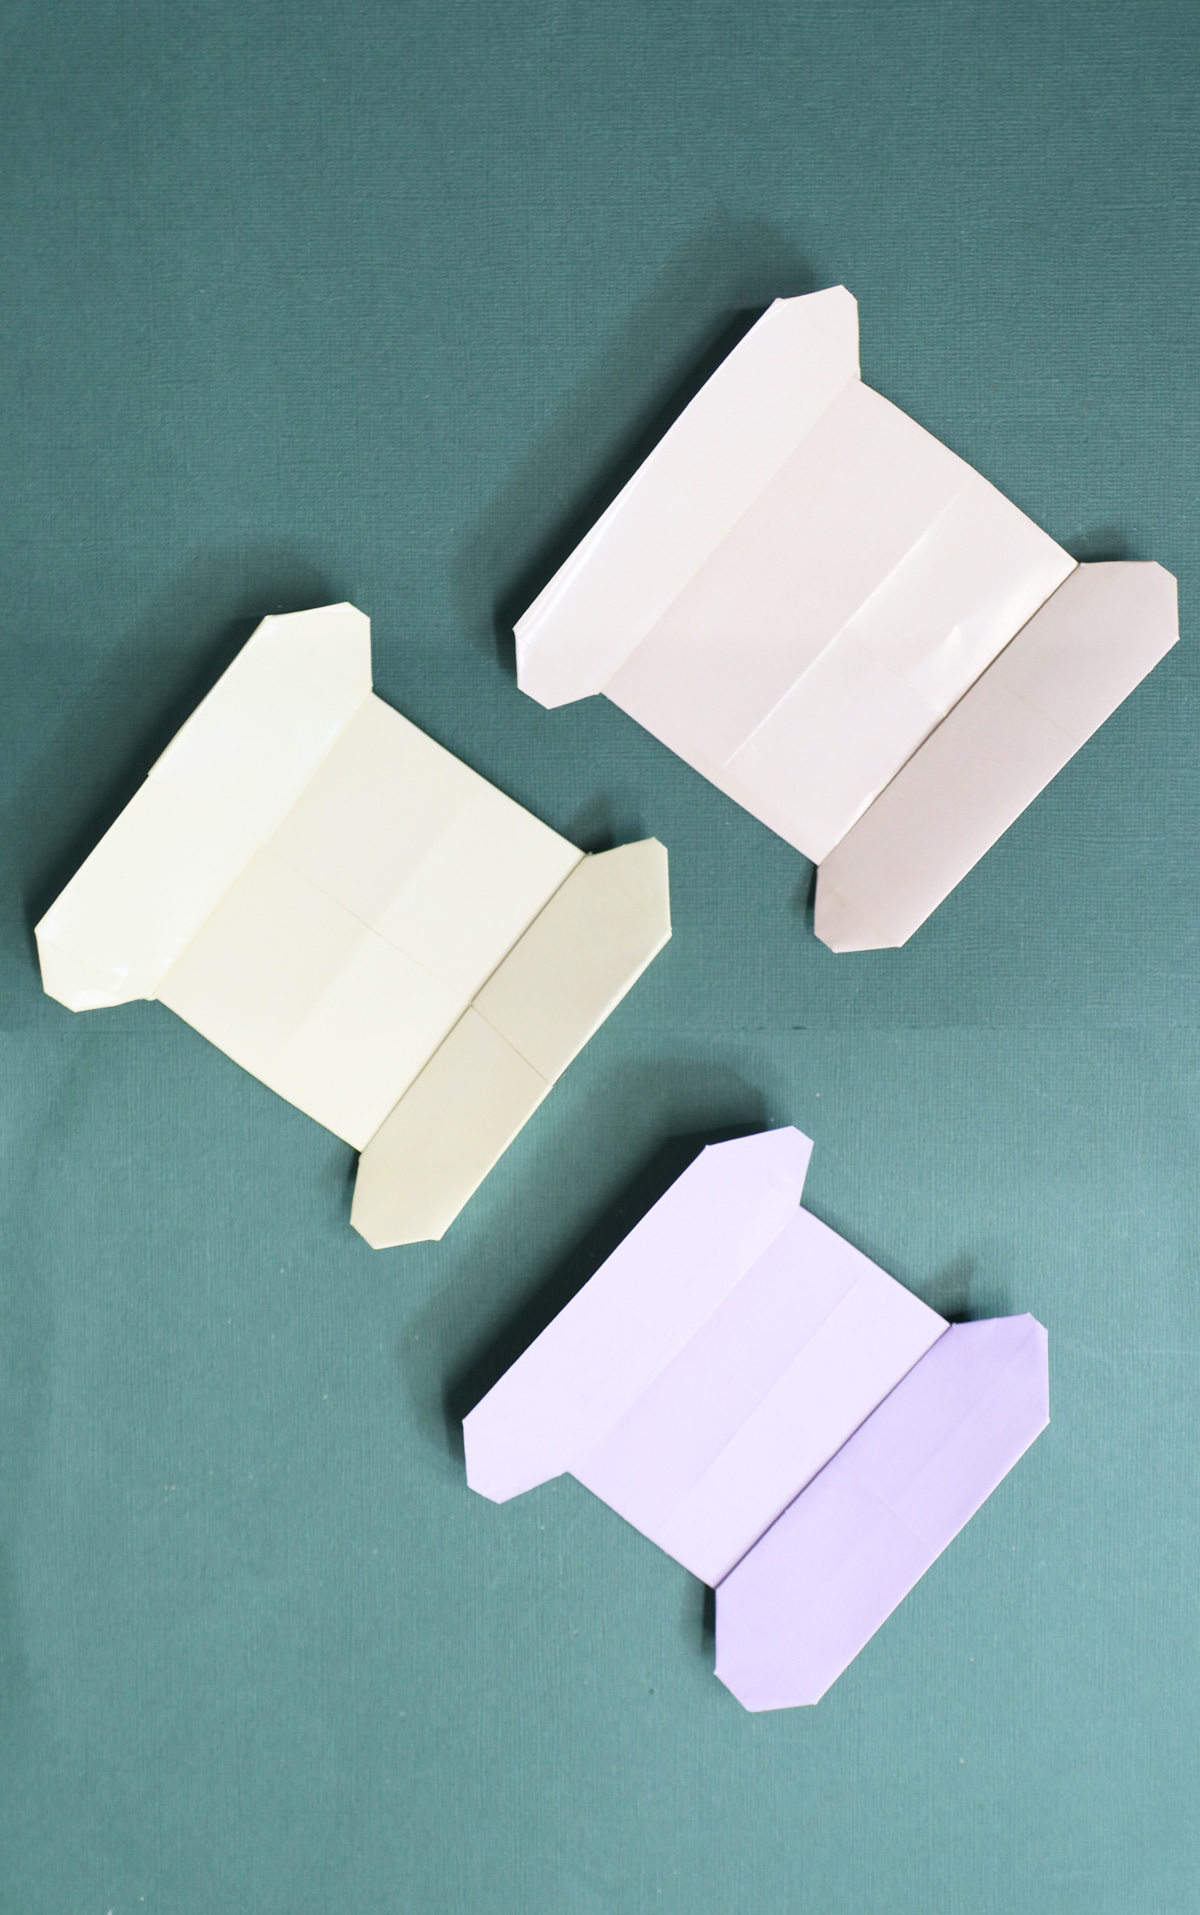
You’ll see that in the photos there are many different variations to this origami Torah. That is because I made it a number of times before I got it right, as I was designing the project from almost-scratch. So I played with the proportions and other factors.
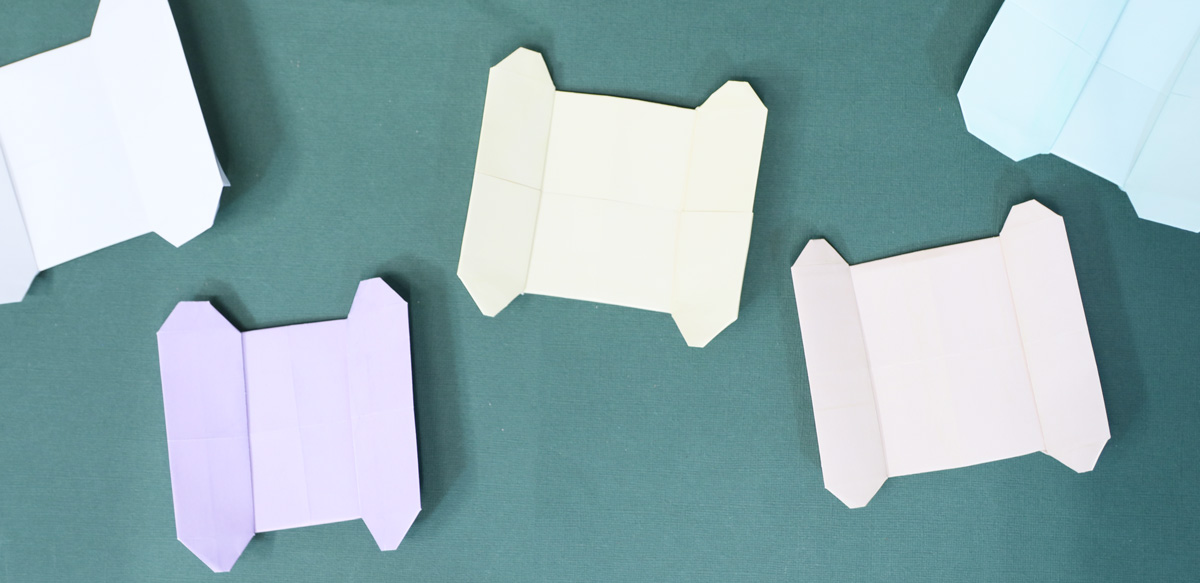
You can definitely vary the rolled up part as I did, and I shared a tip for doing that below. But otherwise, your Origami Torah scroll should look mostly like the purple one pictured. I included the others in the shoot to make the photos more fun.
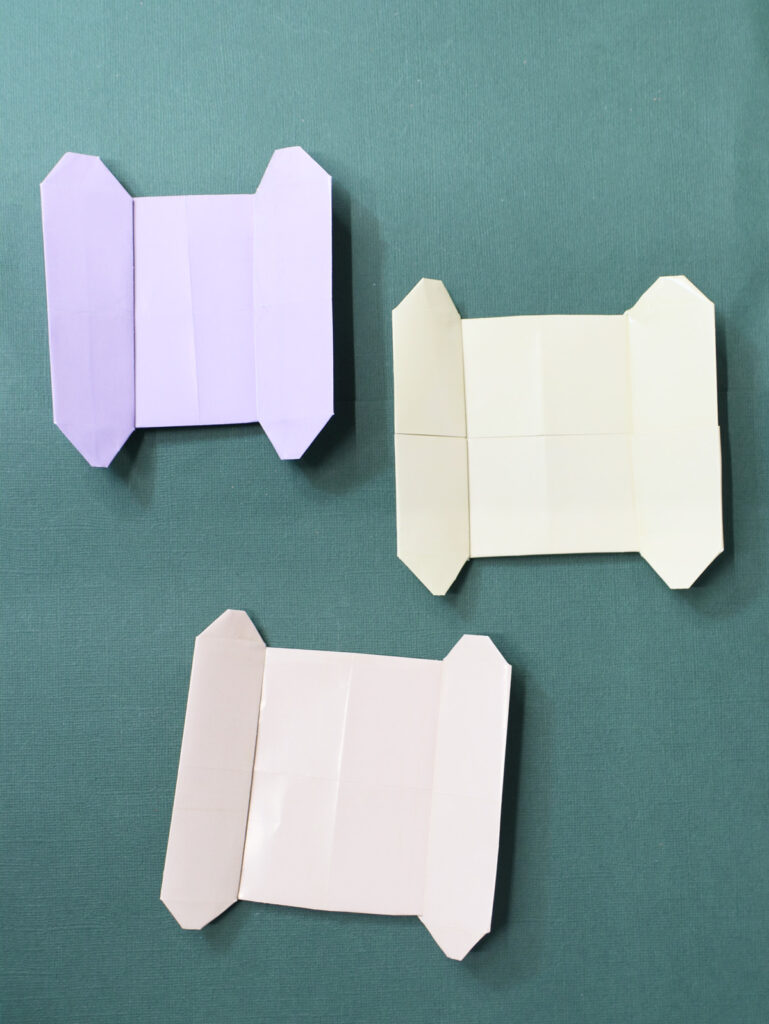
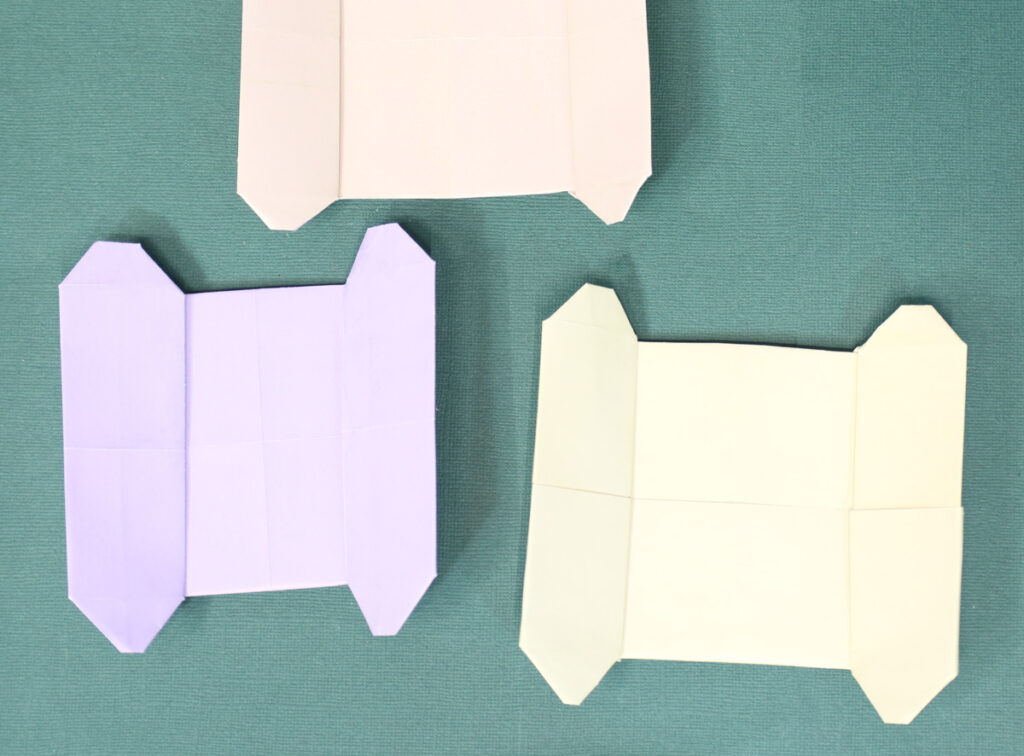
Choose a thin paper for this project – origami paper is best, but if you choose a different paper just keep it thin. You’ll be folding the paper over a number of times and you don’t want it to get too bulky to fold, especially at the corners.
It would also be helpful to get out a bone folder or plastic ruler to help flatten your folds. You can use these tools for any origami craft, but it’s especially helpful when there are numerous layers of folds. Smoothing them out to be flat and sharp will make the next steps easier as well as giving your finished project a nice, crisp look.
I prefer a bone folder – a really cheap and handy tool – because the curved edges are designed to glide smoothly over paper, whereas other tools (a craft stick, a ruler) can work but may pull at the paper’s fibers.
What are you waiting for? Grab a paper and start folding! When you’re done and ready for more, check out these flower crafts to add to your Shavuot decor.
What you’ll need
- Origami paper, about 8×8 inch square (or cut copy paper to size)
- Bone folder (optional but helpful)
How to fold an Origami Torah
I created a YouTube video – a full narrated tutorial – to teach you how to fold an origami Torah. I highly recommend that you watch it if you can! Origami tutorials are full of heavy-worded descriptions but they are simply clearest on video. If you can’t, follow along here:
1. Fold the paper in half horizontally (fold the top down to the bottom) and open.
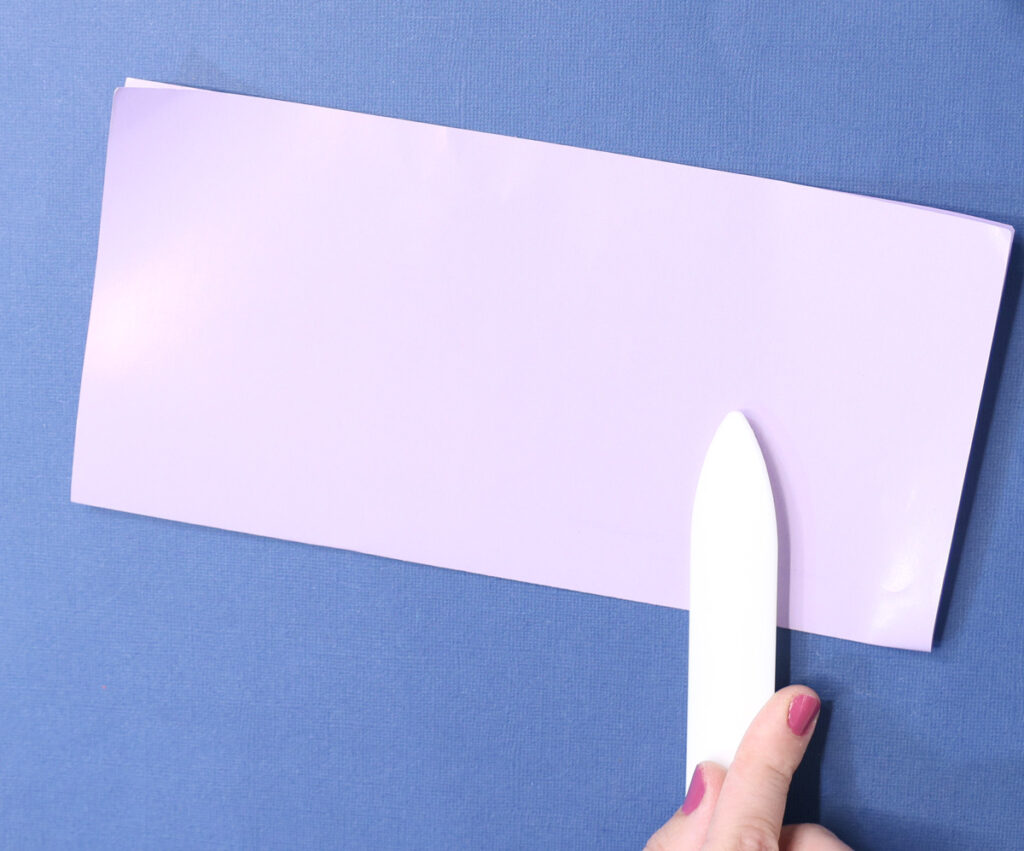
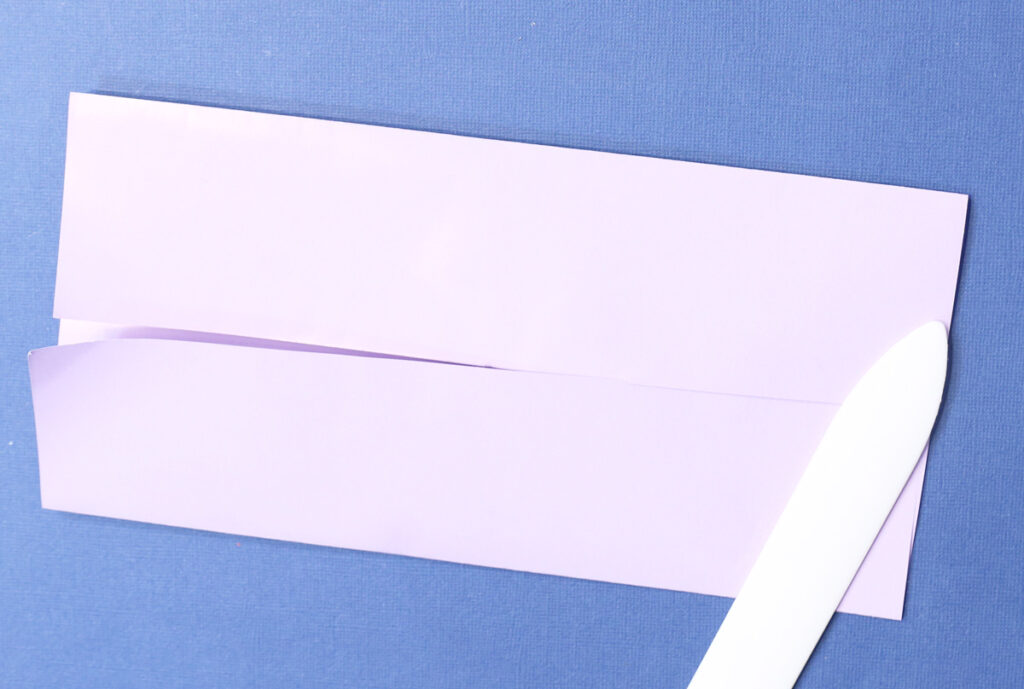
2. Fold the bottom edge up to the center fold. Fold the top down to center fold.
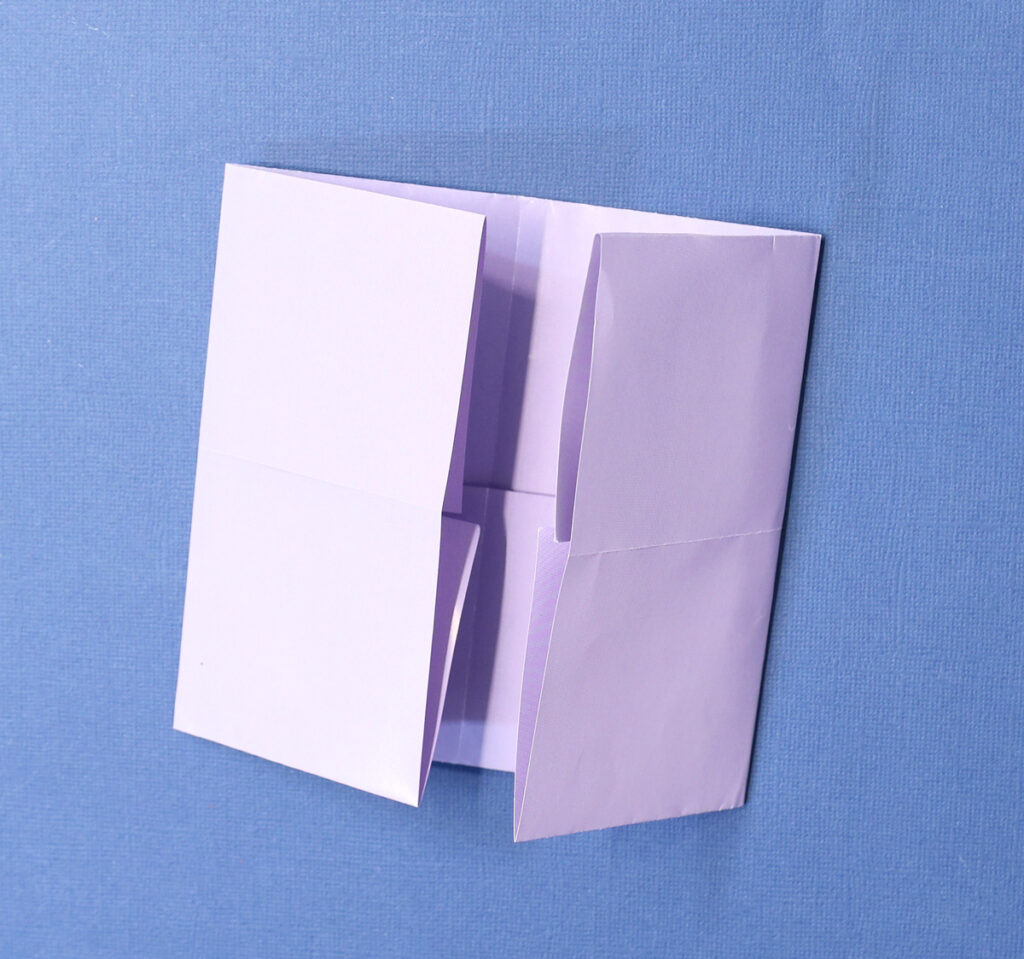
3. Fold it in half the other way (side to side) to locate the center, then unfold.
If you want the torah less open then fold in thirds instead of half
Fold the right and left sides in to the center.
4. Flip over the project so you are looking at the smooth side
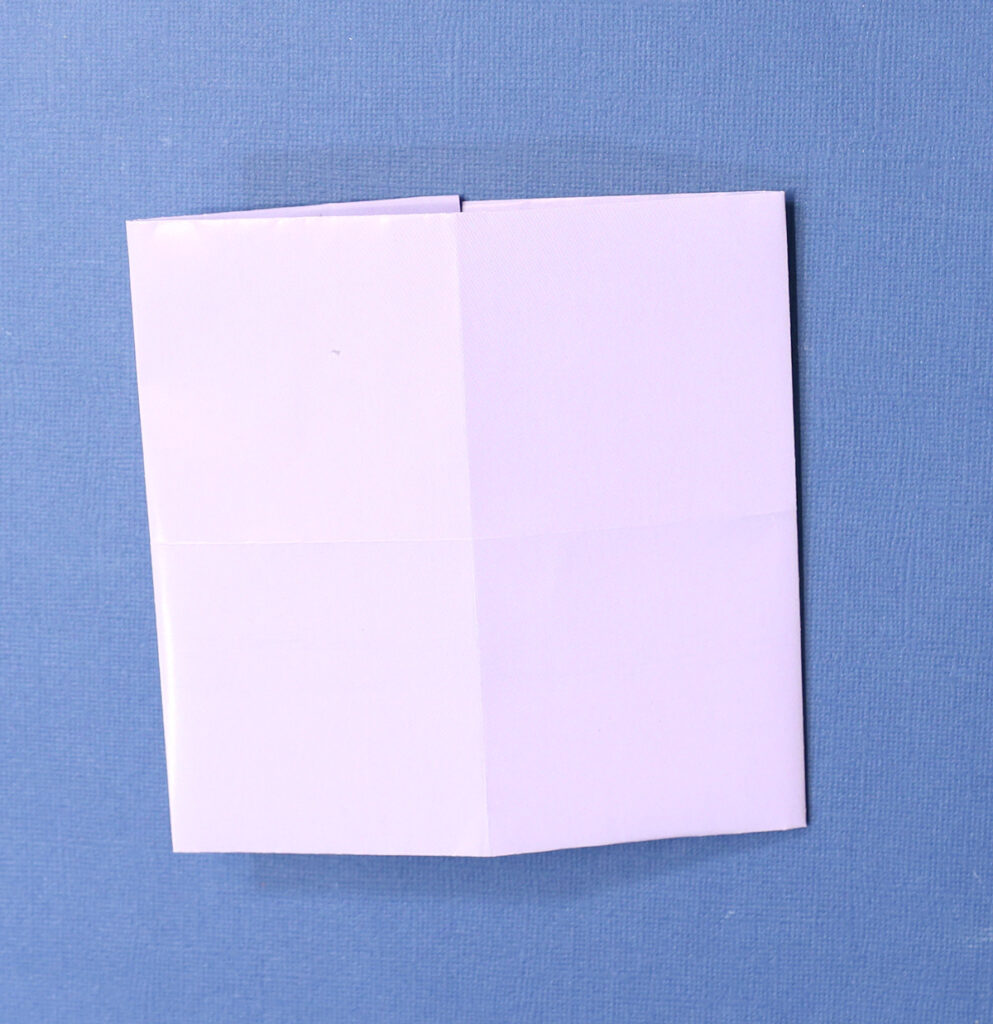
5. Unfold that last set of folds temporarily.
Fold the left side toward the center, about 1 cm past the fold that you just unfolded.
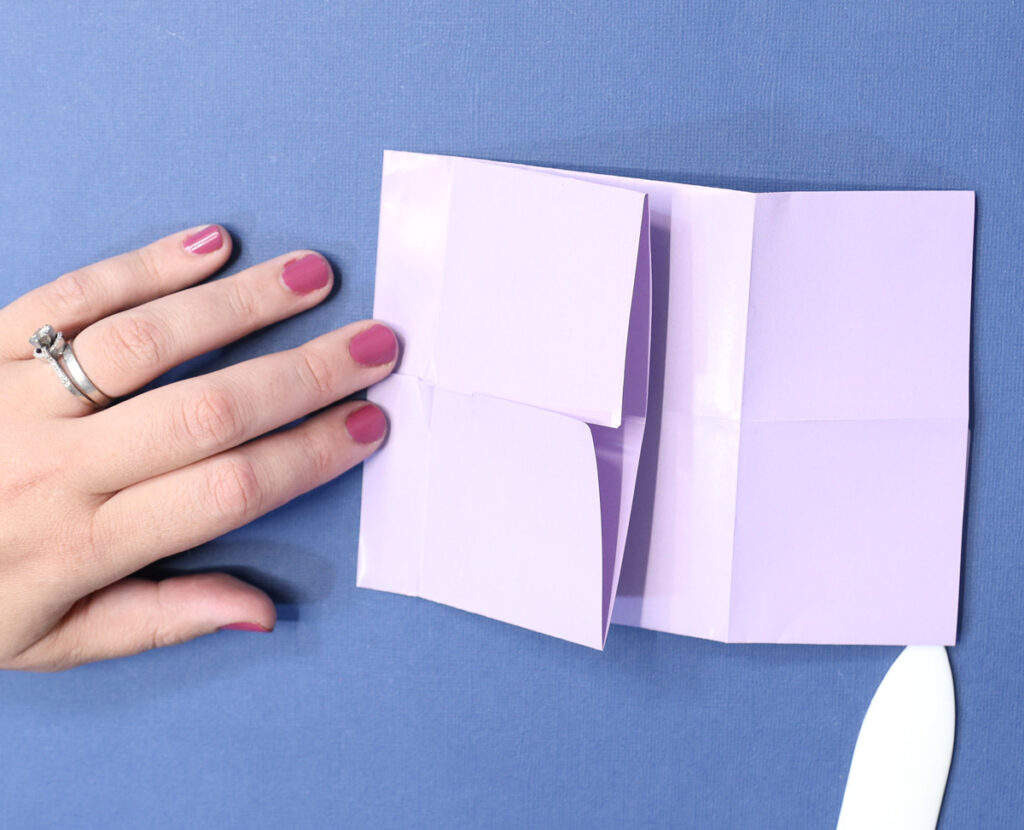
6. Now fold it right back on the fold that you had just made.
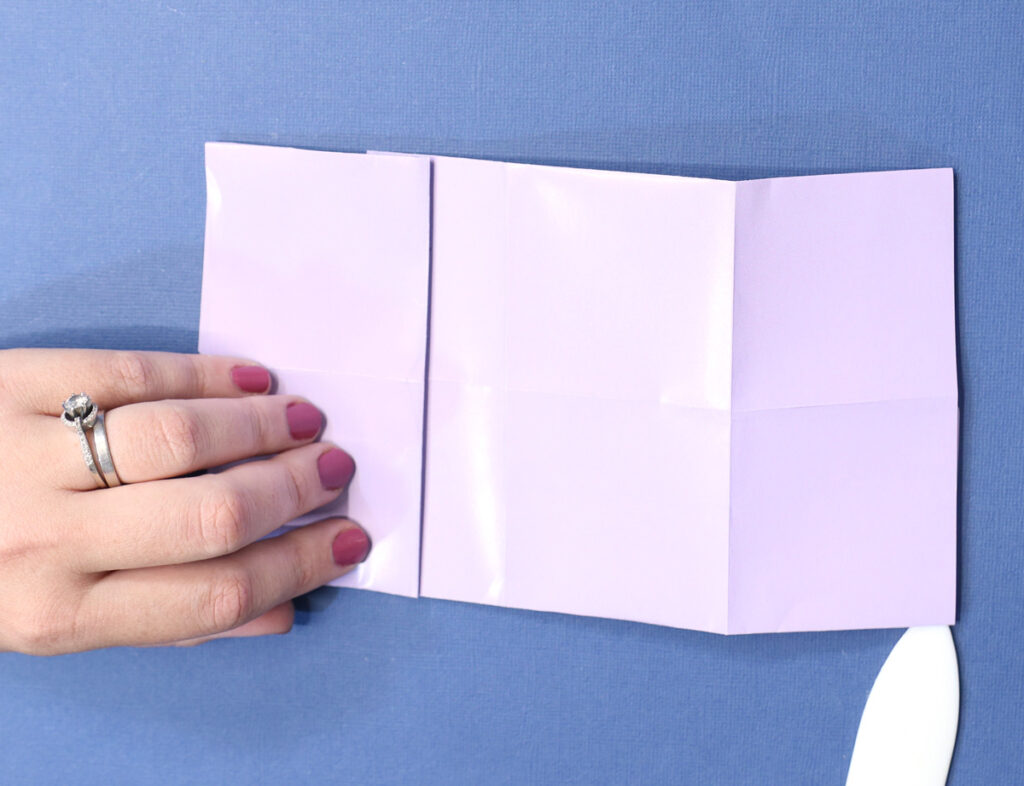
7. Repeat with on the other side
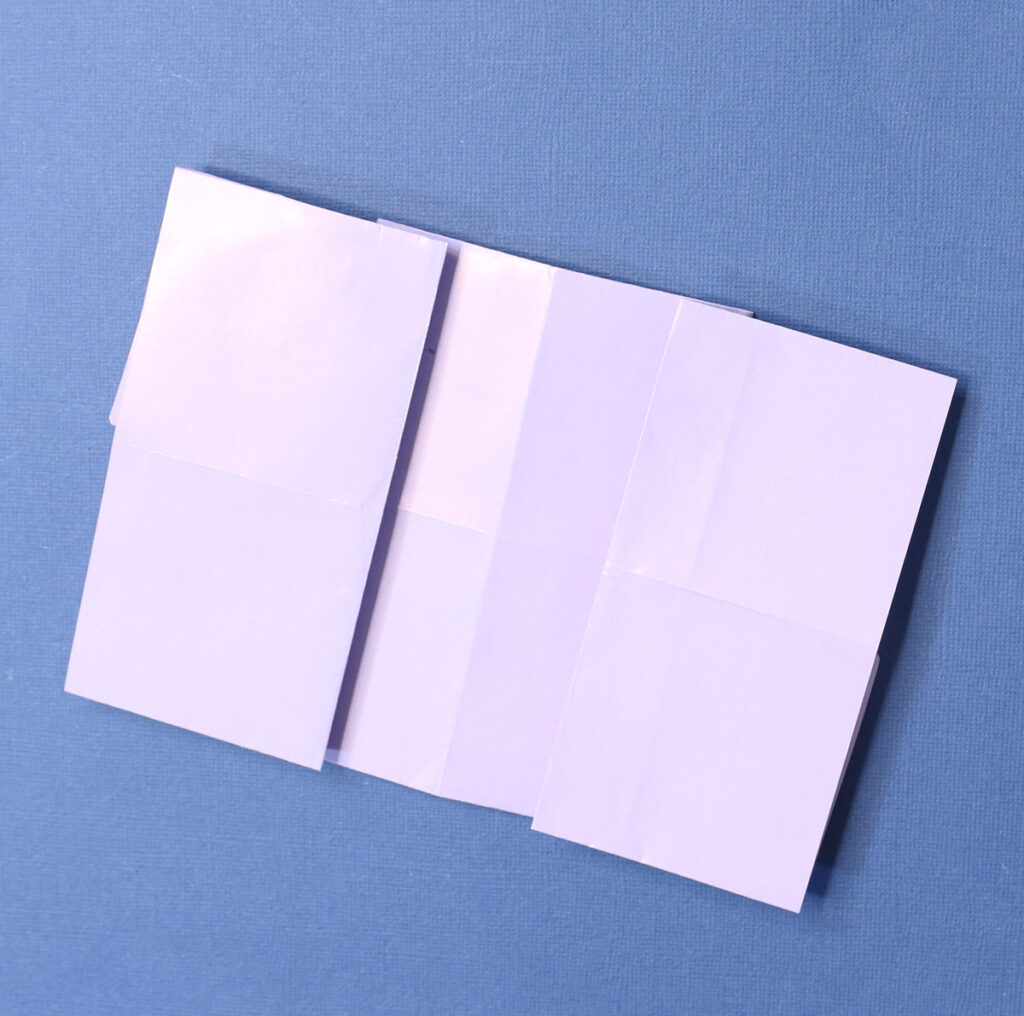
8. Flip the project over. Now the center is sticking up toward you, and you can see the edges of the paper. This is the back of your origami Torah.
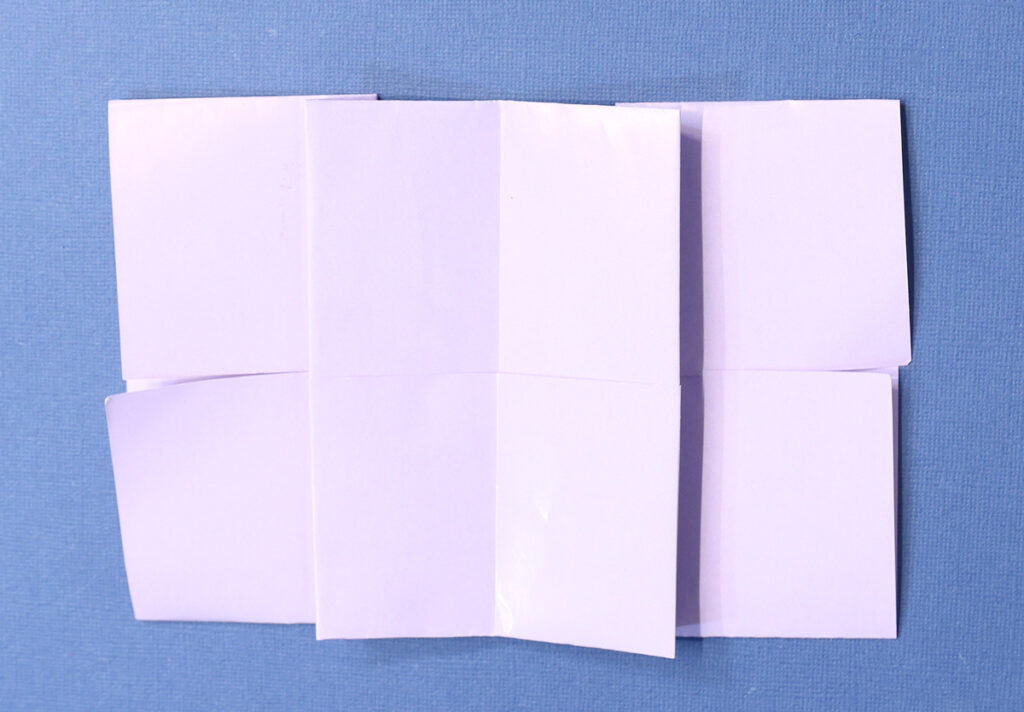
9. Fold the top down and the bottom up about ½ inch. Smooth it down with a bone folder or ruler. It’s important to make this crease sharp, even though you’ll be unfolding it, so that you have a strong mark and your origami Torah comes out nice.
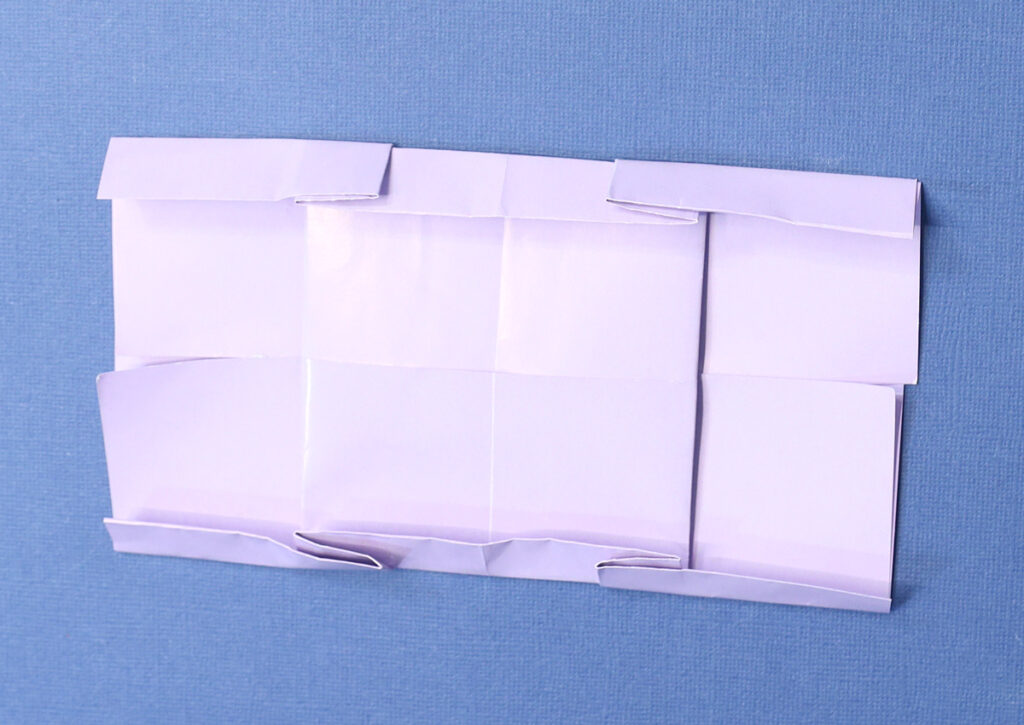
10. Unfold these top and bottom folds.
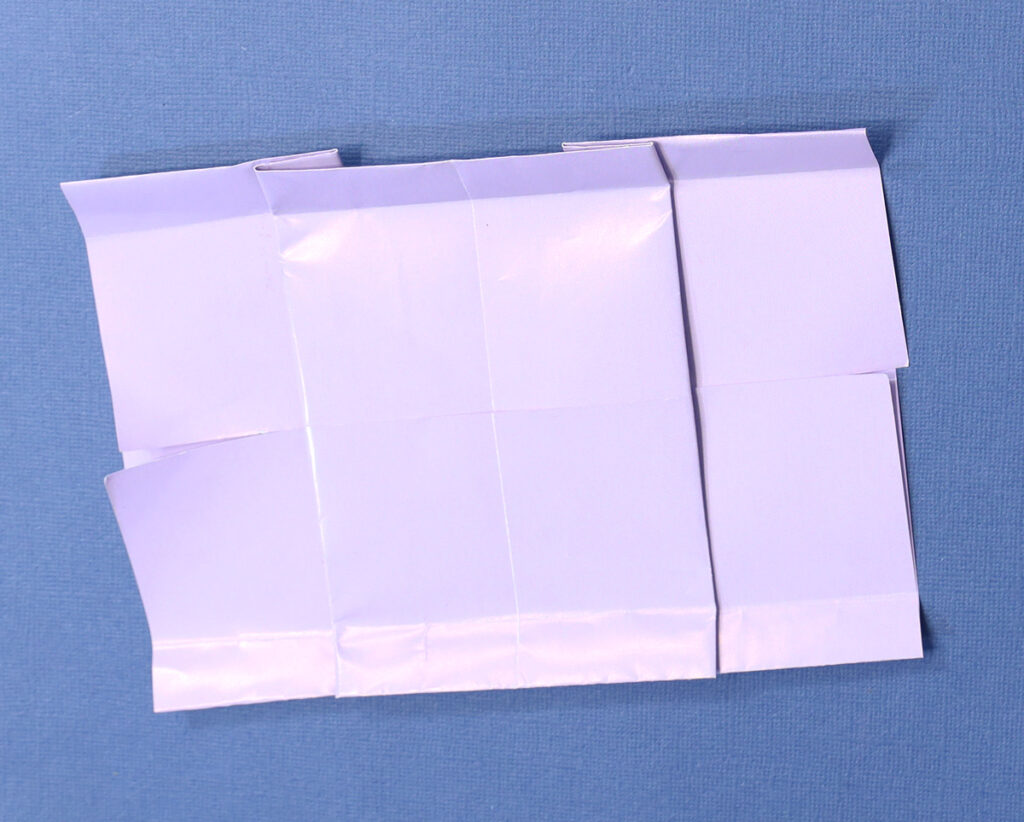
11. Focus on your center rectangle now. You’ll be folding all four corners down and inward to the horizontal line you just made. Be careful not to fold it too far; you’ll be able to feel if it starts pulling at the corner. Do this on all four corners of the inner rectangle.
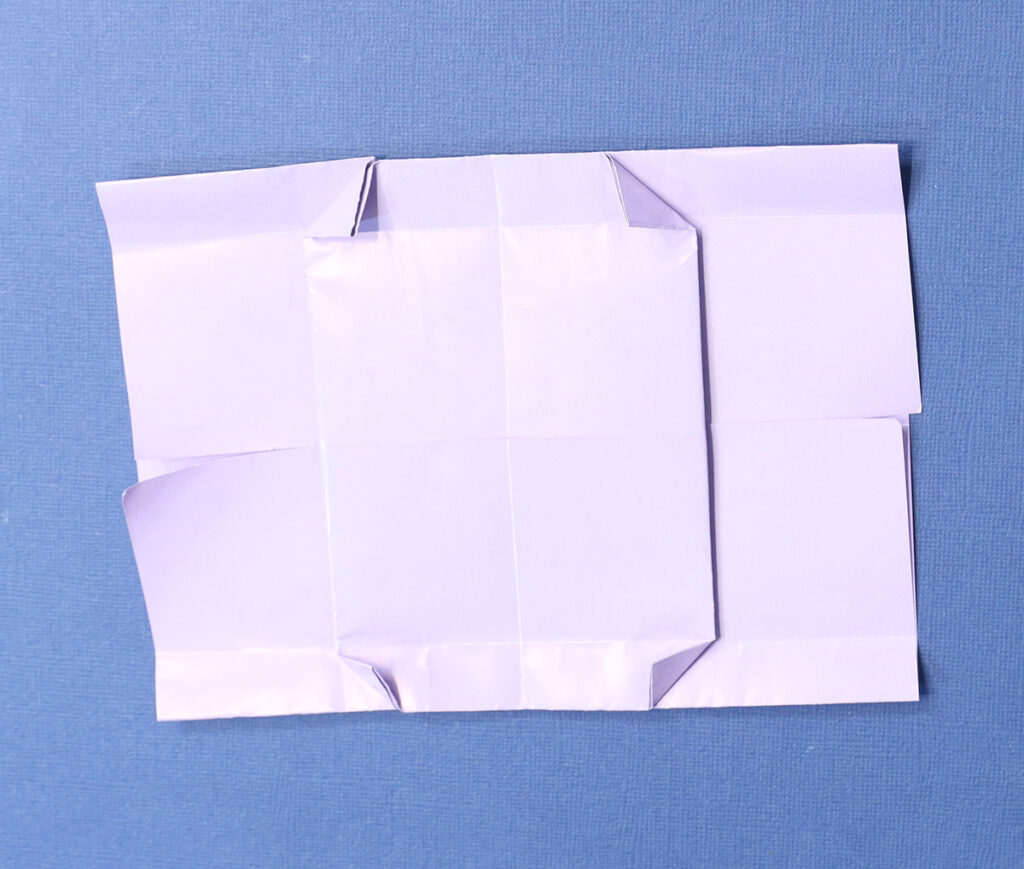
12. Invert these folds.
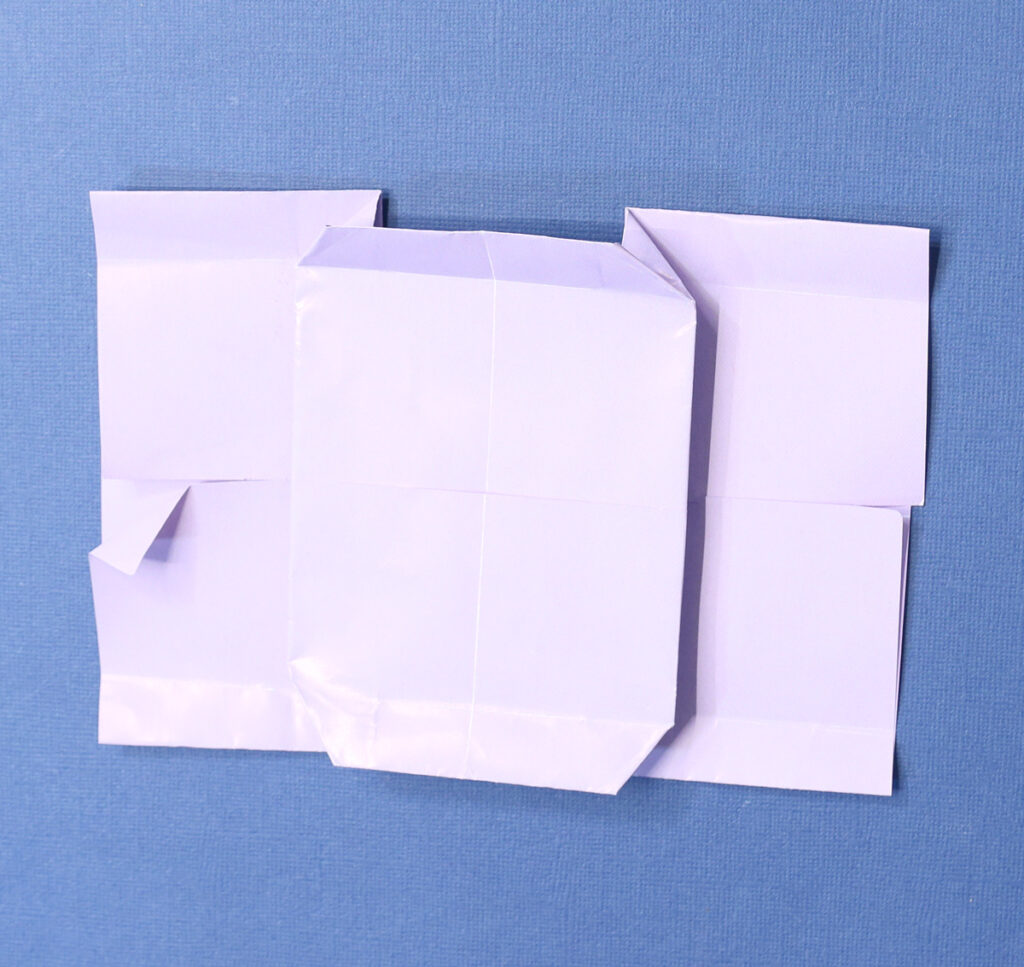
13. Take the top side in the middle, and fold it down on the temporary horizontal line you made previously. Flatten those inverted corners into a larger triangle as you fold. Repeat on the bottom edge. You can actually do this step while inverting the folds in the previous step, but I broke it down for you for your first time.

14. You have a rectangle on the right and left of your paper. For each of these rectangles: fold it inwards, about halfway, aligning with the edge that sits behind the center segment. You can peek at the other side of the project to see if you like the way the size looks for the rolled up parts of the Torah – they should be about the same as each other. Then flip it back to the work-in-progress side.
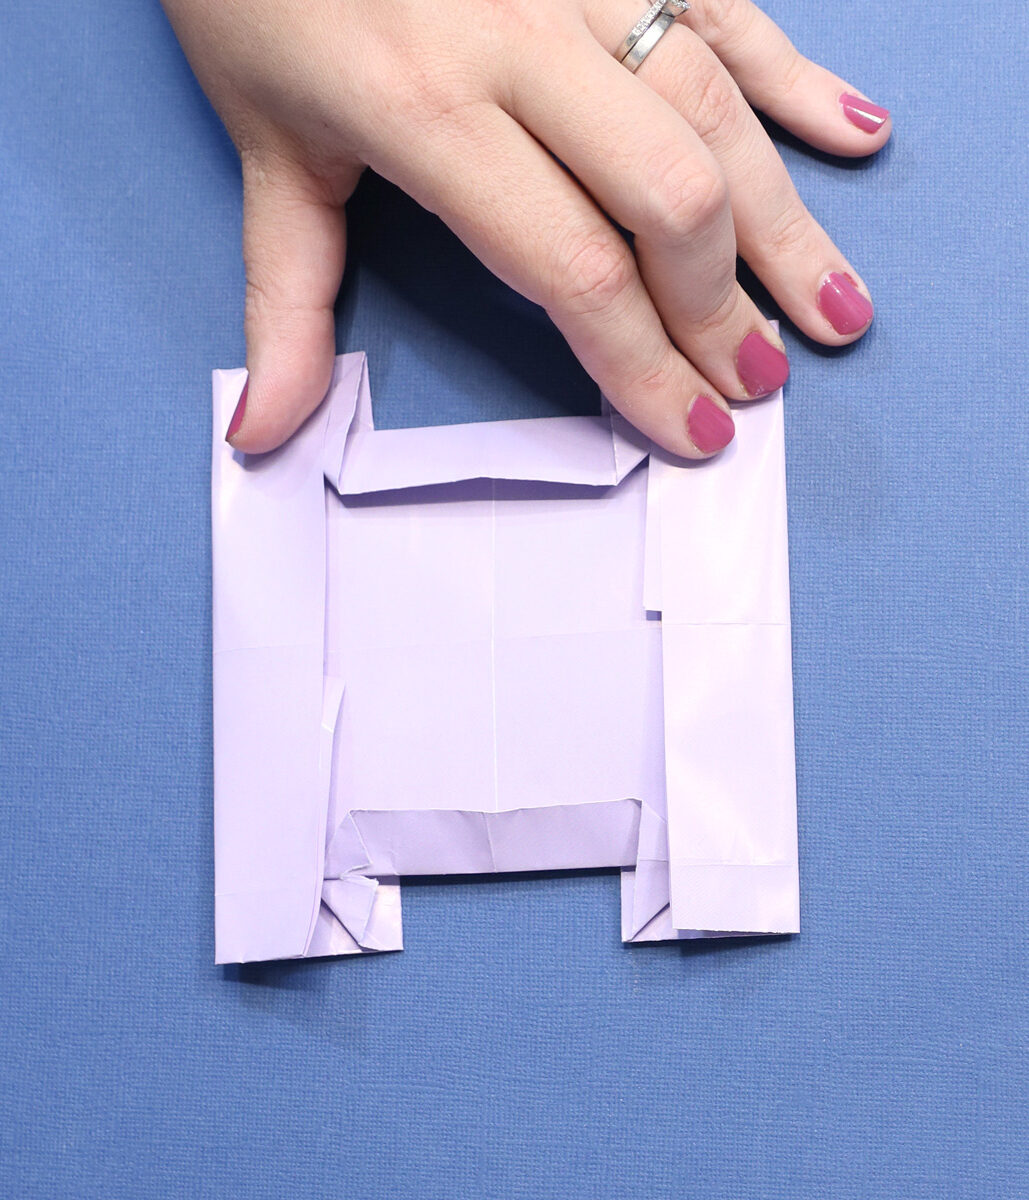
15. We’re now going to be doing the same thing to the right and left rectangles. Fold down each corner (you should have a total of eight – four on each side) to the horizontal line you formed in steps 9 and 10. You want to keep it small to create a rounded effect, so that the sides of your Torah don’t turn out sharp and pointy. So if you’re getting the “pointy” effect, your horizontal line was too low down. Just fold your triangles a bit smaller, keeping them proportionate to each other.
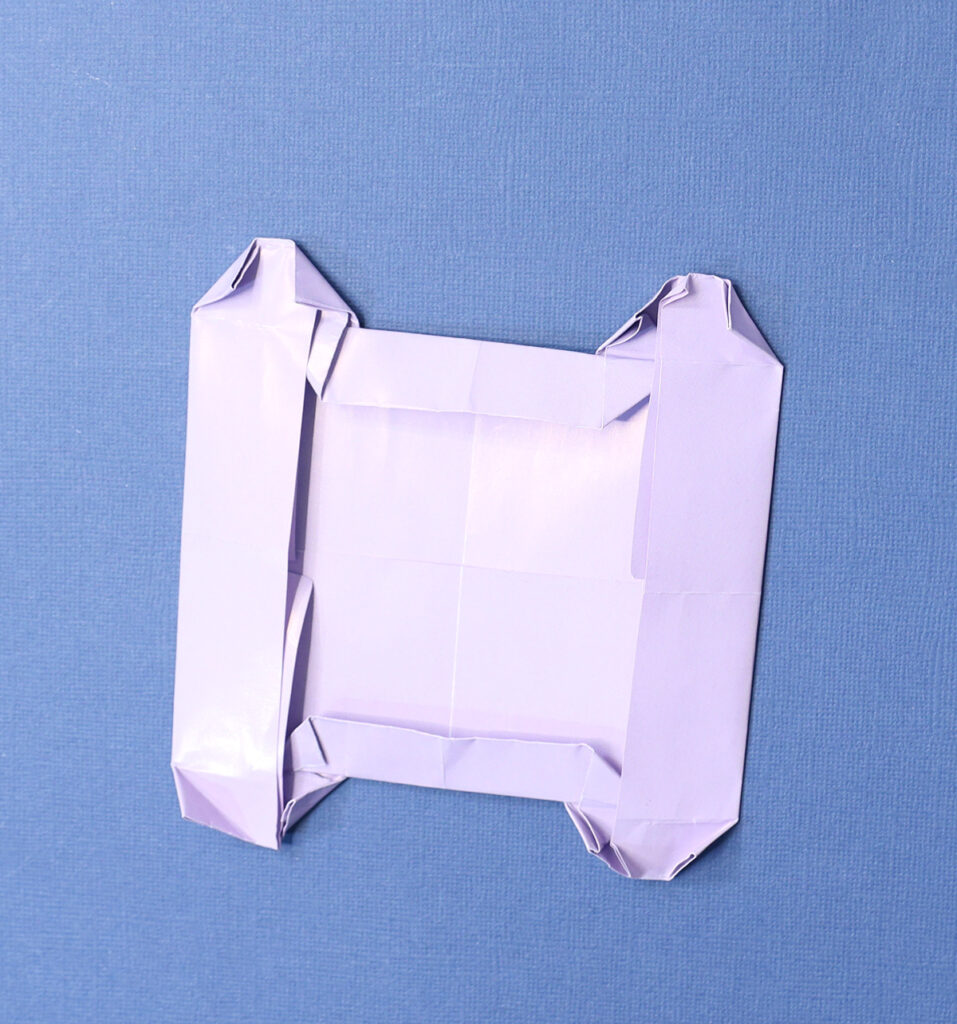
16. Take one of the posts and lift it a bit gently. Take the inner corner, which you folded as part of step 15, and tuck it beneath the center rectangle (the “open” part of the Torah) – you’ll be kind of inverting a previous fold as well as you do that. Flatten that center bit over the tucked corner.

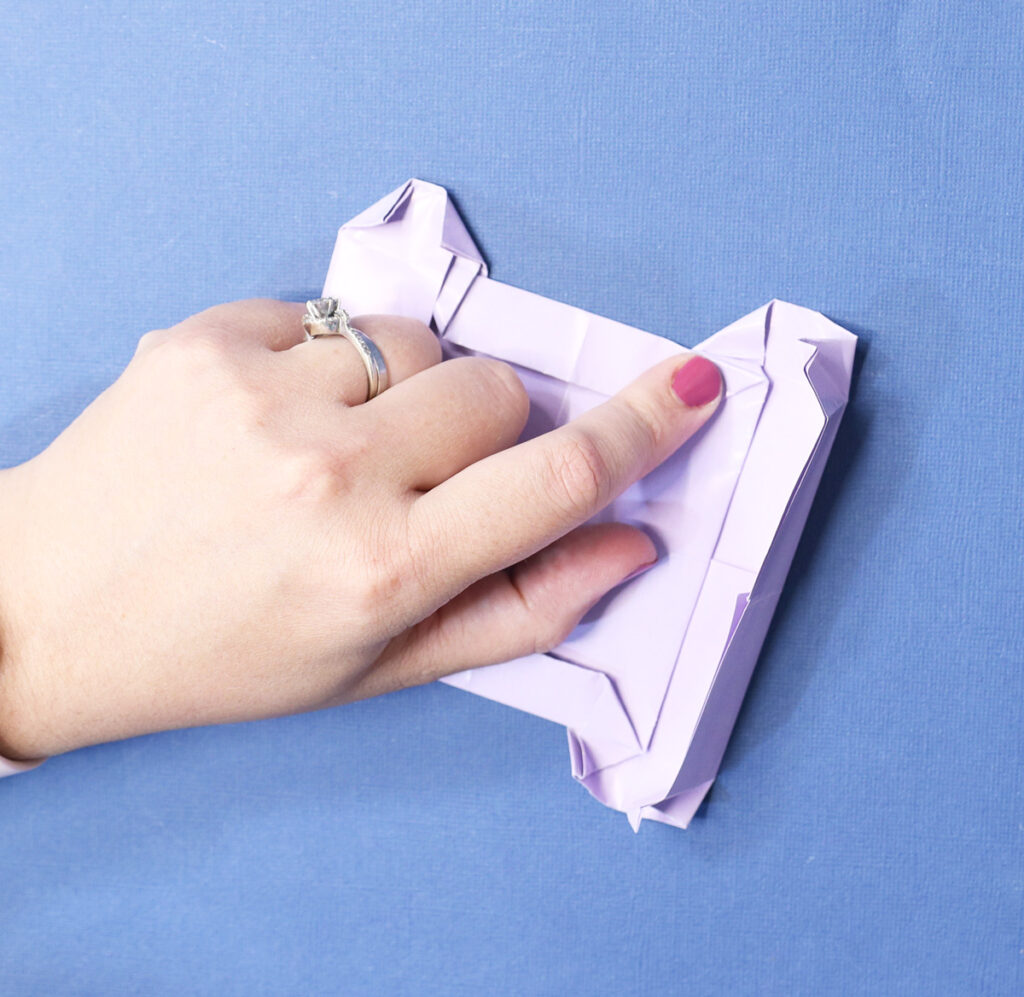
17. Now, take the outer corner of the same post. Invert that fold, tucking the corner inside as you re-close the post horizontally. The top of that top layer tucks in naturally.
Repeat, inverting all the corner folds the same way.
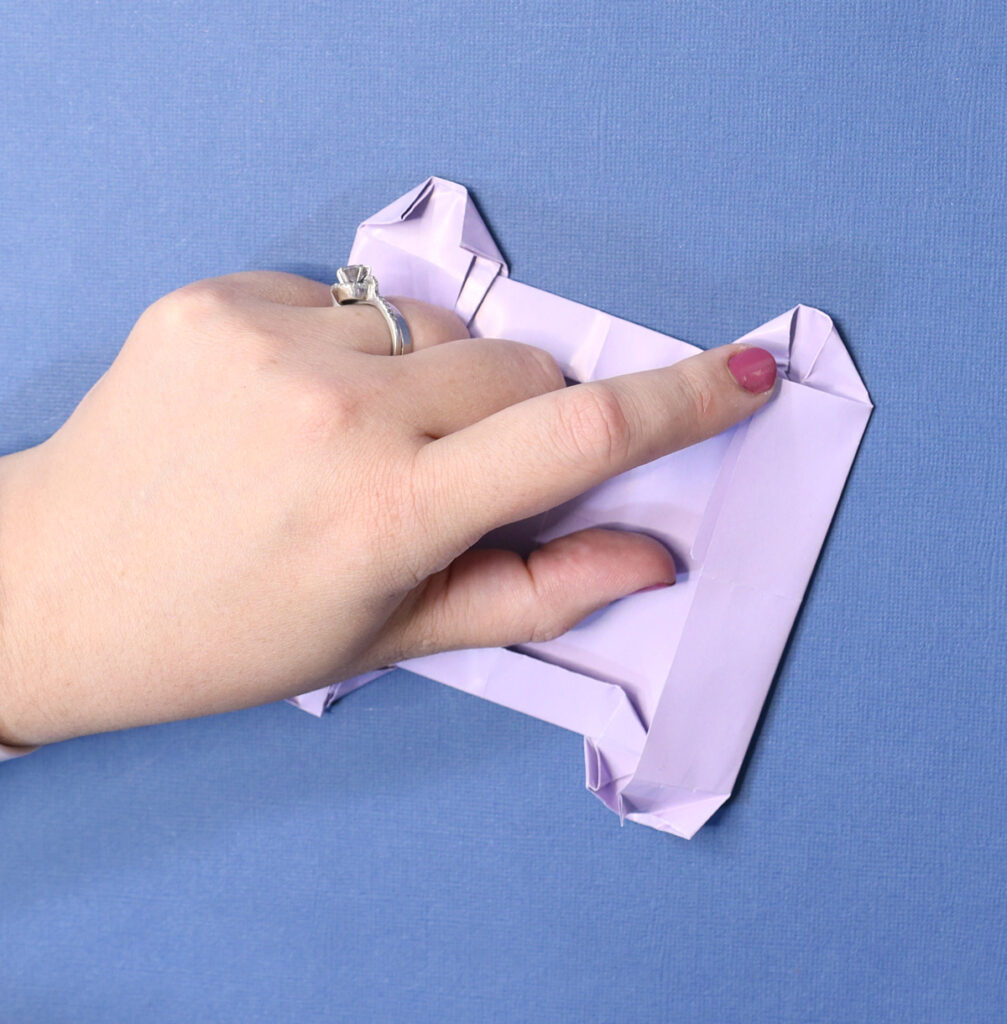
19. Finally, finish the project by tucking the loose corners of the posts underneath the center part of the Torah. This helps everything stay in place in addition to giving you a neatly finished appearance. Depending on your proportions, you may also simply be able to fold it under the top and bottom flap on the center portion of your Origami Torah.
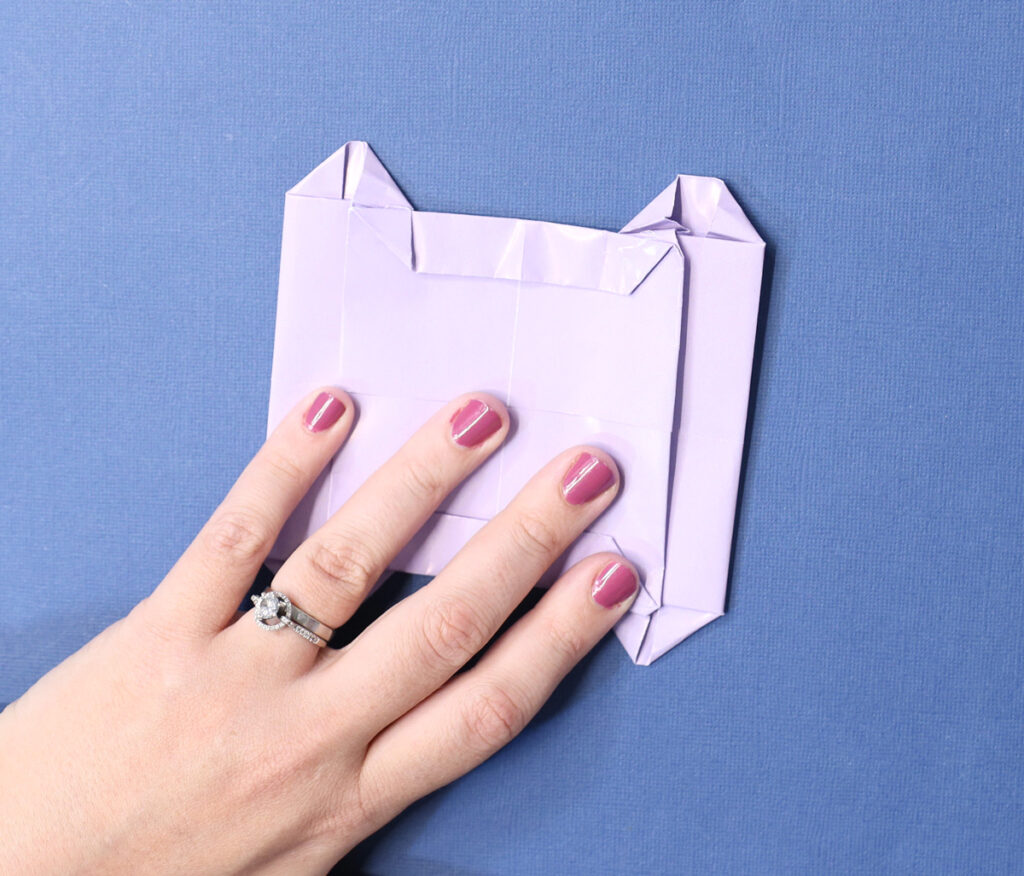
Flip the project over to admire your finished origami Torah scroll!


