Paper Gragger Craft for Purim
This paper gragger craft for Purim is so much fun to color and assemble – and you have eight designs to choose from! If you want a more traditional shape Grogger craft, try this. This post contains affiliate links.
One of the reasons that I love turning coloring pages into crafts is that kids can really get busy with it, playing a meaningful part in the “design”, and then come out with a functional creation.
Sometimes I create something that requires a bit more assembly – more of a complex template. With this paper gragger craft for Purim my goal was the opposite: keep assembly as simple as possible and leave room for creativity there too.
I’m going to share loads of assembly tips and ideas, plus a closer peek at this, but first, you can download it here.
Download the Paper Gragger Craft for Purim here
The paper gragger craft for Purim is available for a few bucks in my shop, on Etsy, and on TpT. Purchasing premium products from me enables me to keep doing what I do, to give more focus to my Jewish blog, creating authentically Jewish resources for homes, educators, and parents.
About the Paper Gragger Craft for Purim
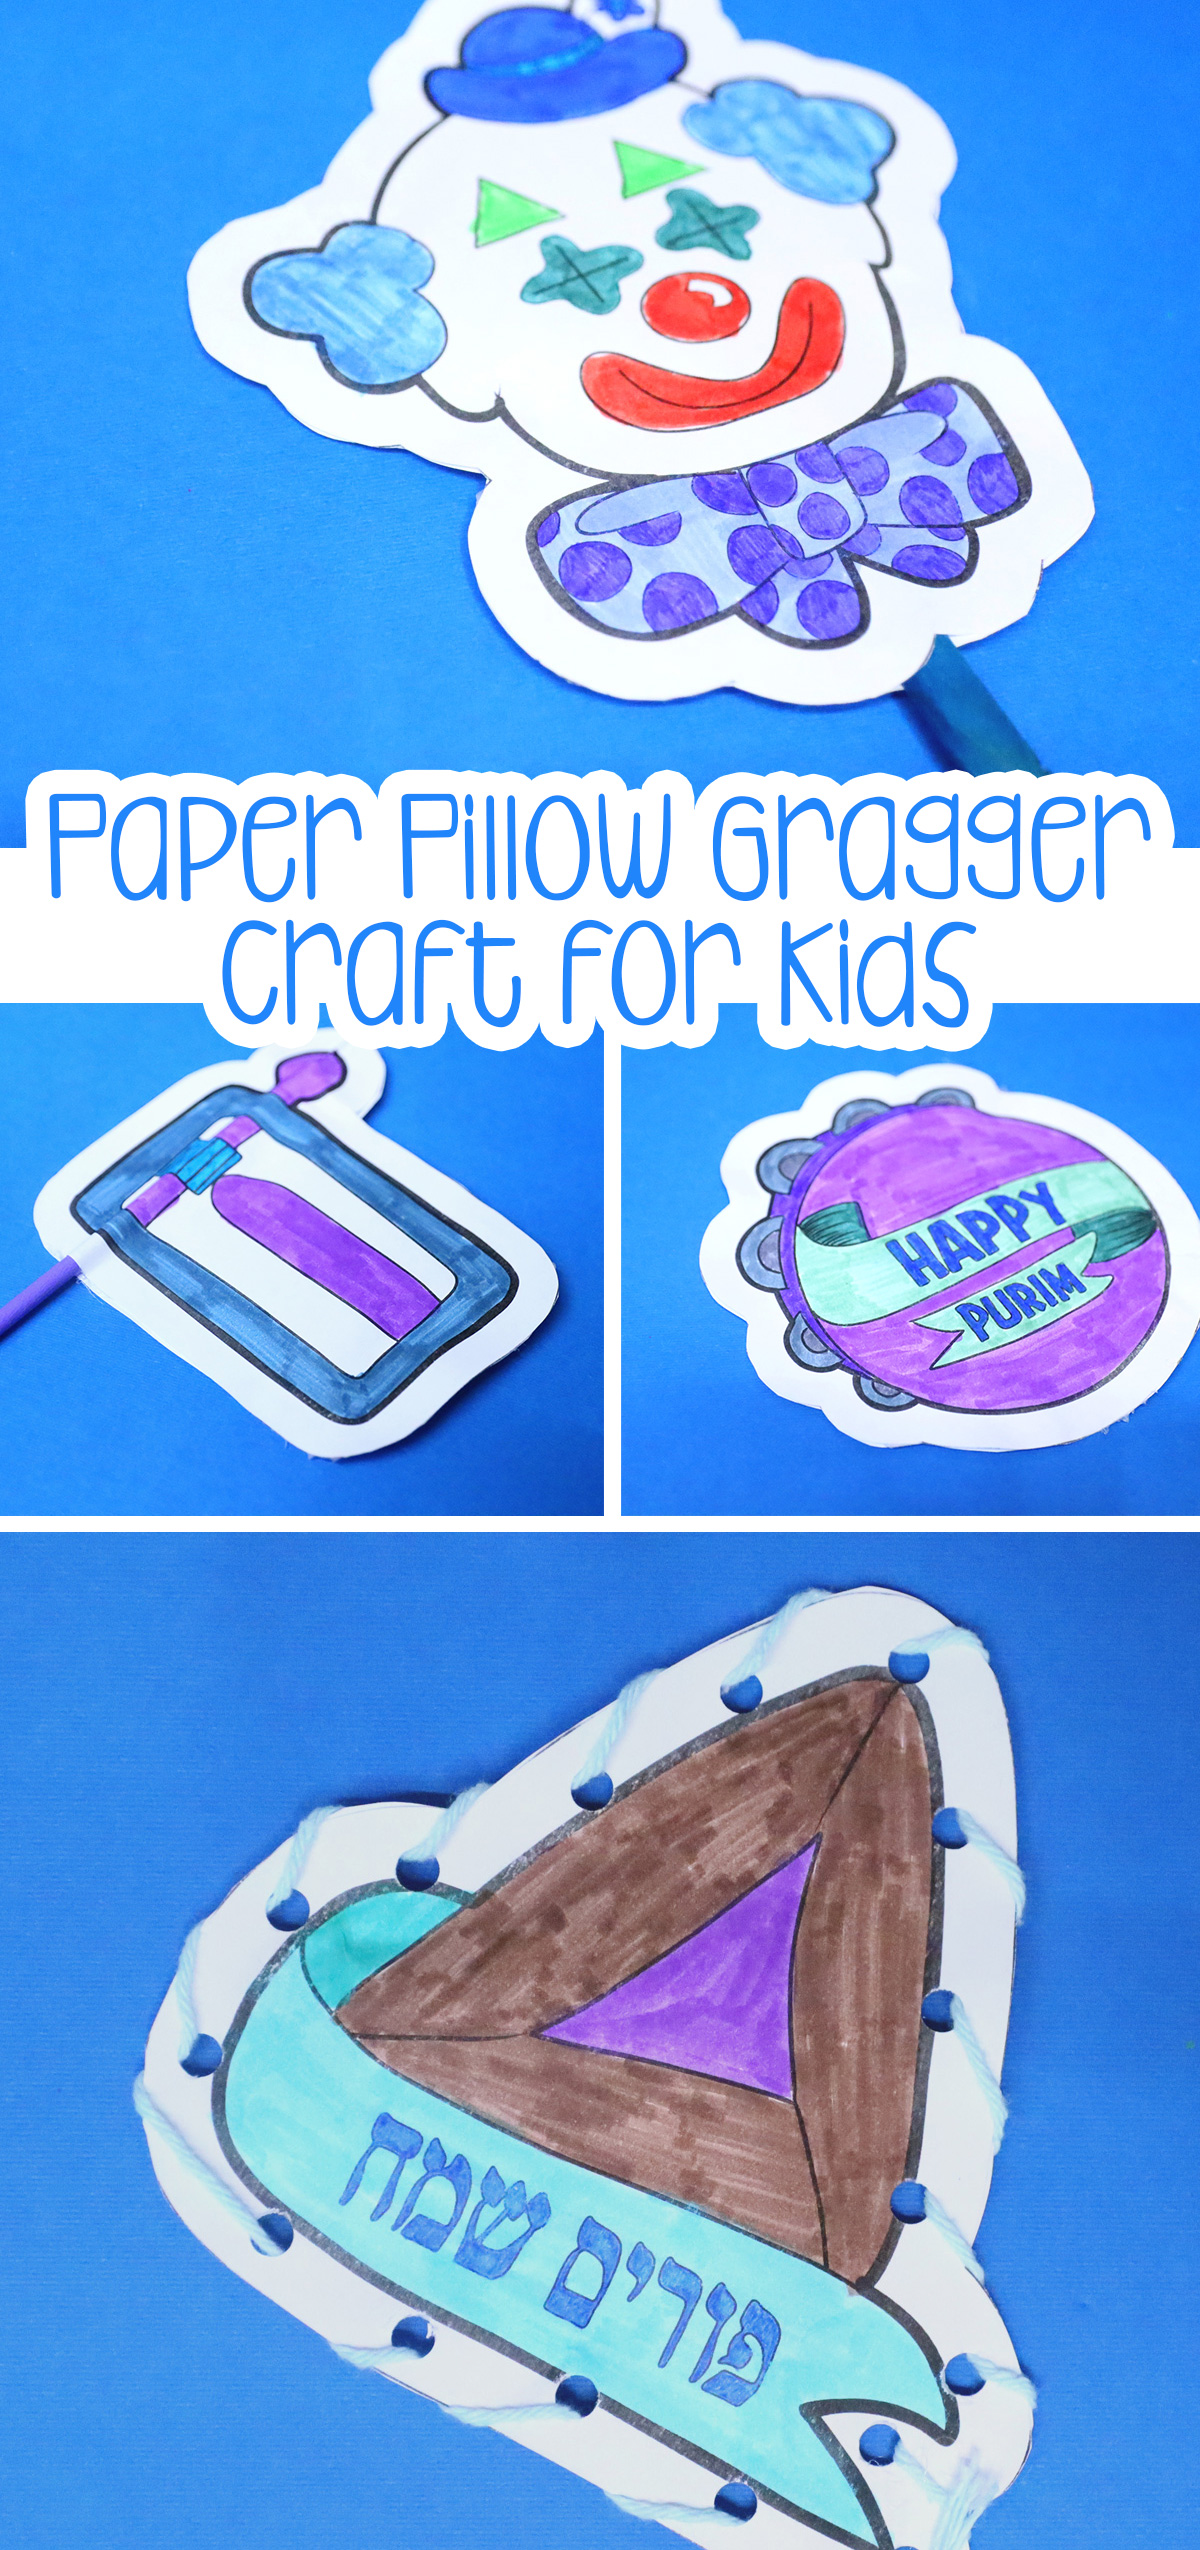
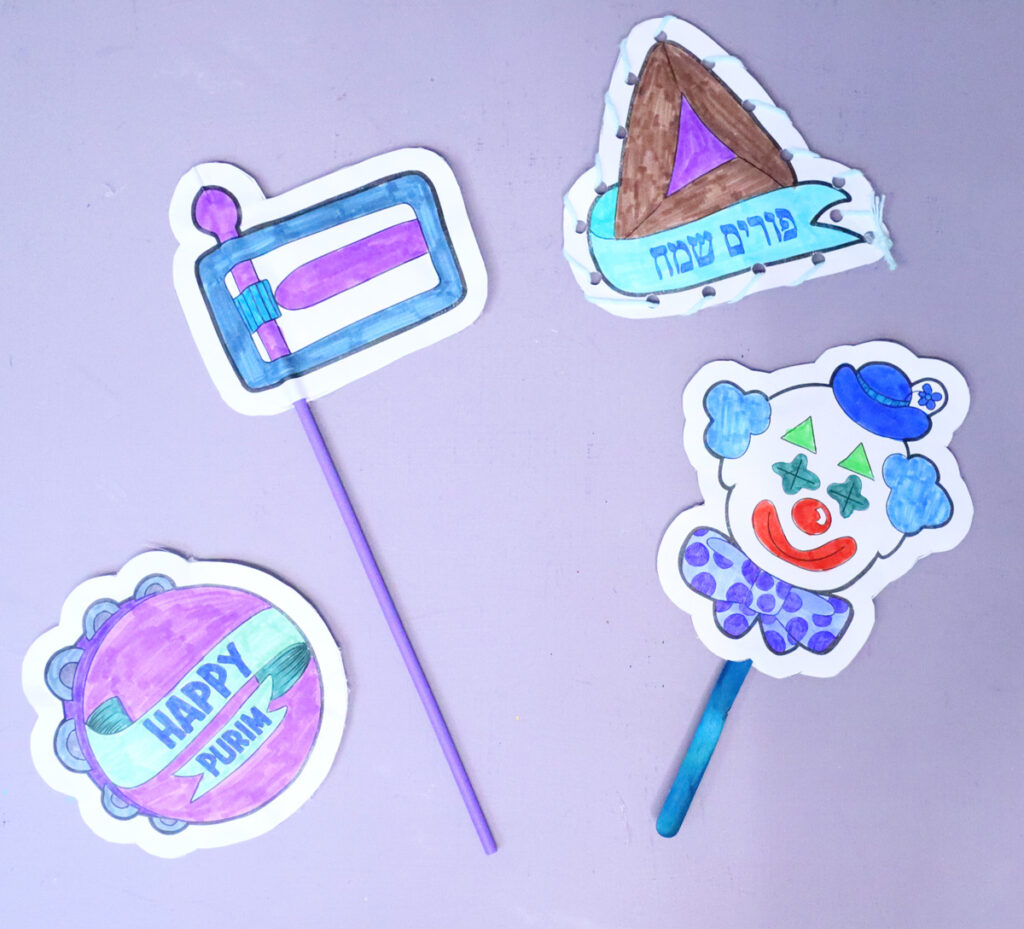
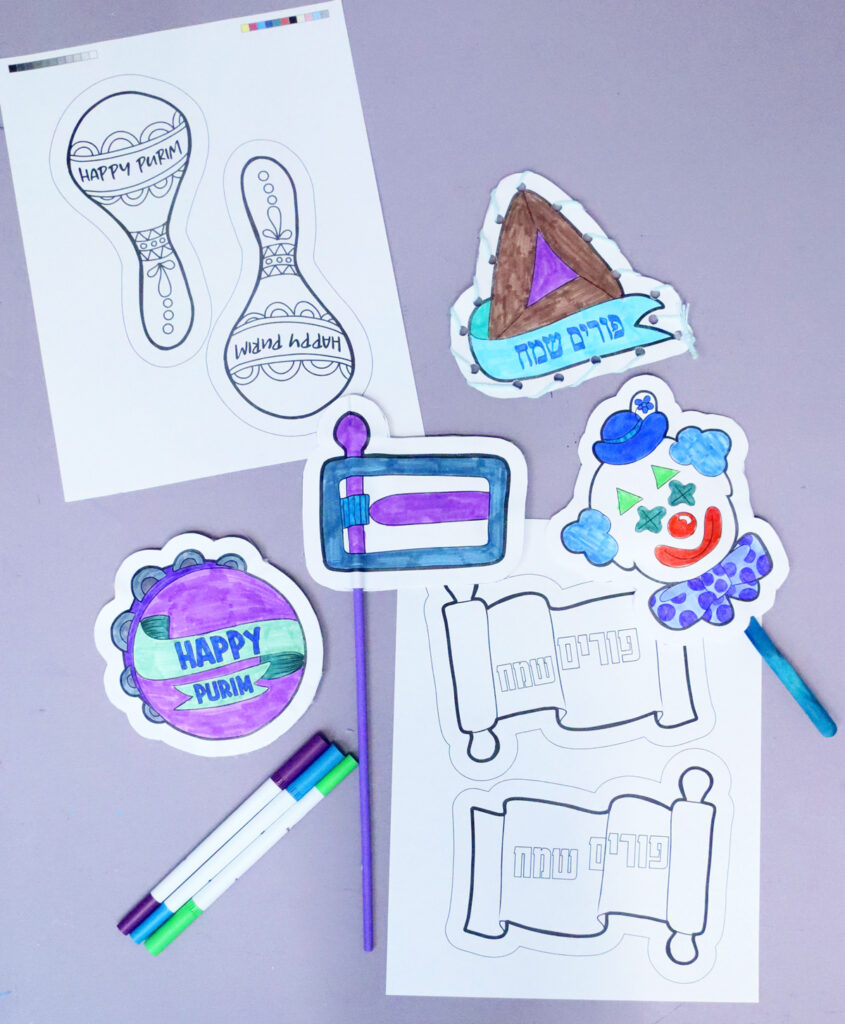
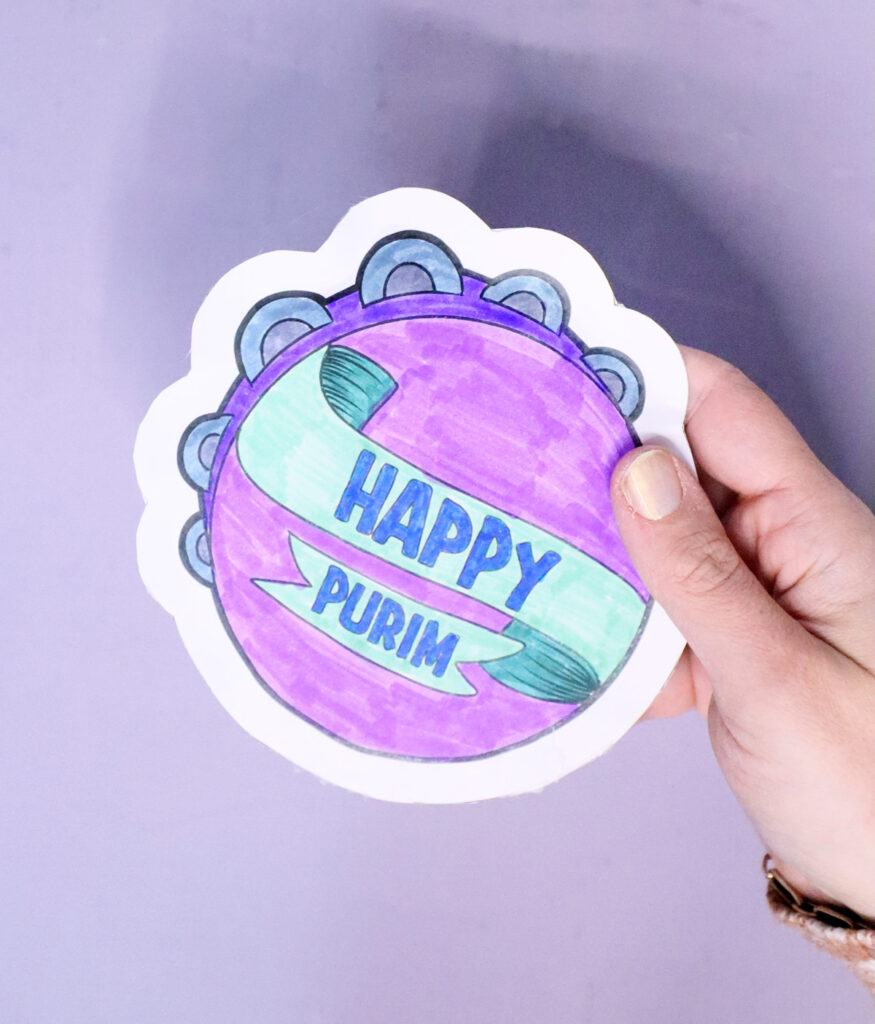
The design of this craft is meant to be a simple “pillow” gragger. You have two designs back to back (identical deigns mirrored) and sandwiched between them is a filler that makes noise when shaken.
They’re like mini paper stuffies.
Different ways to craft it
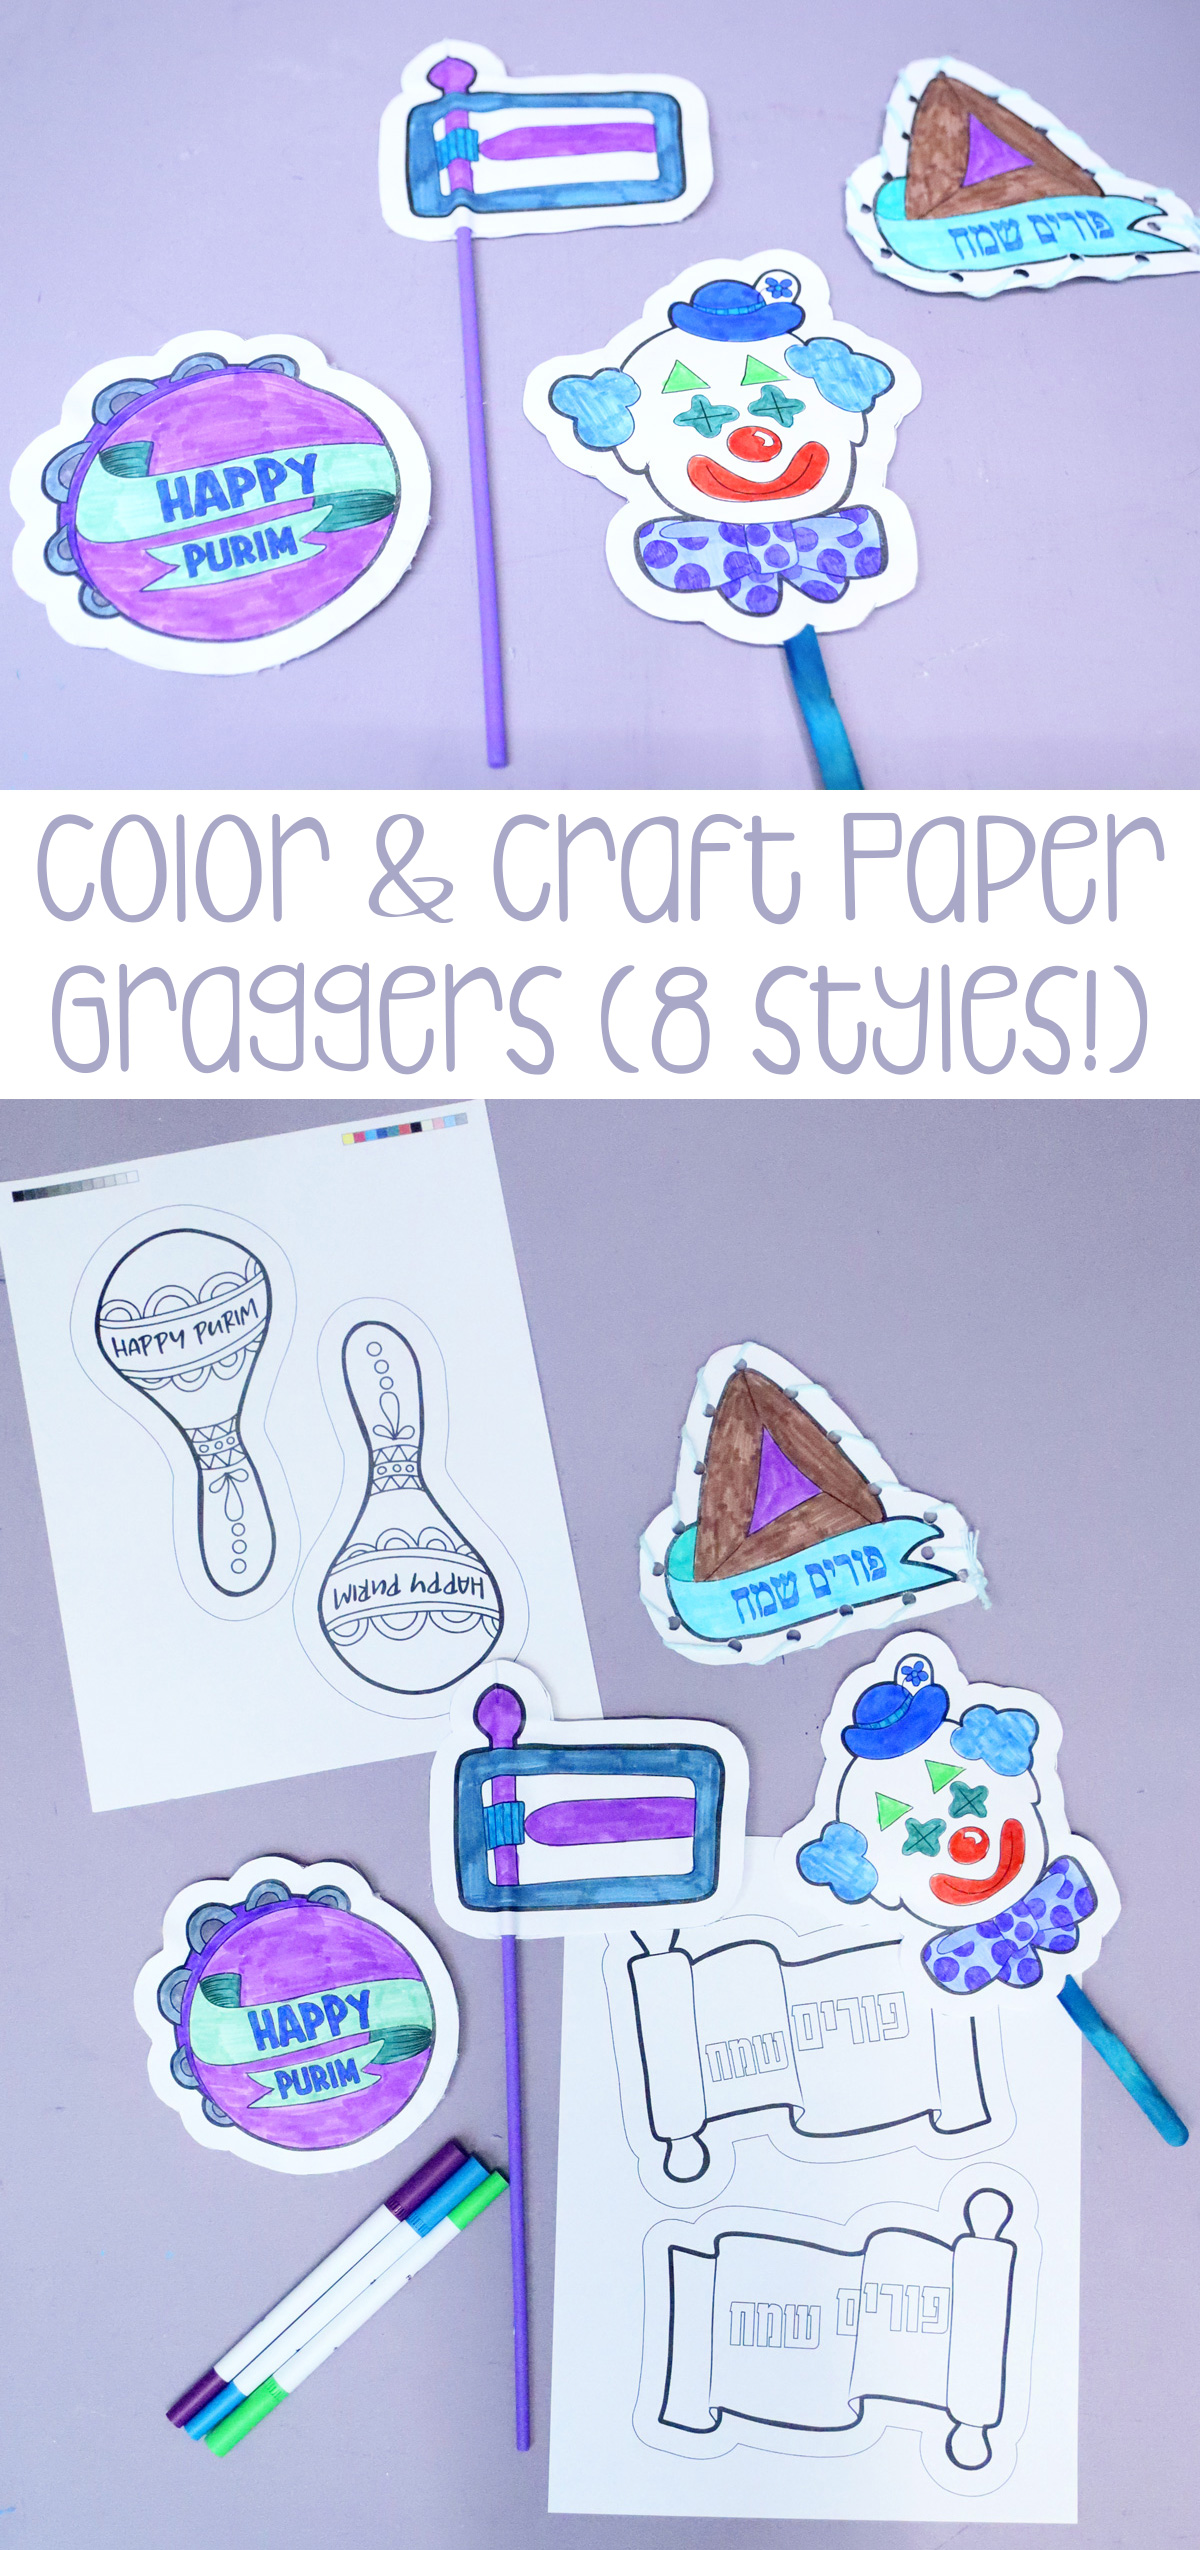
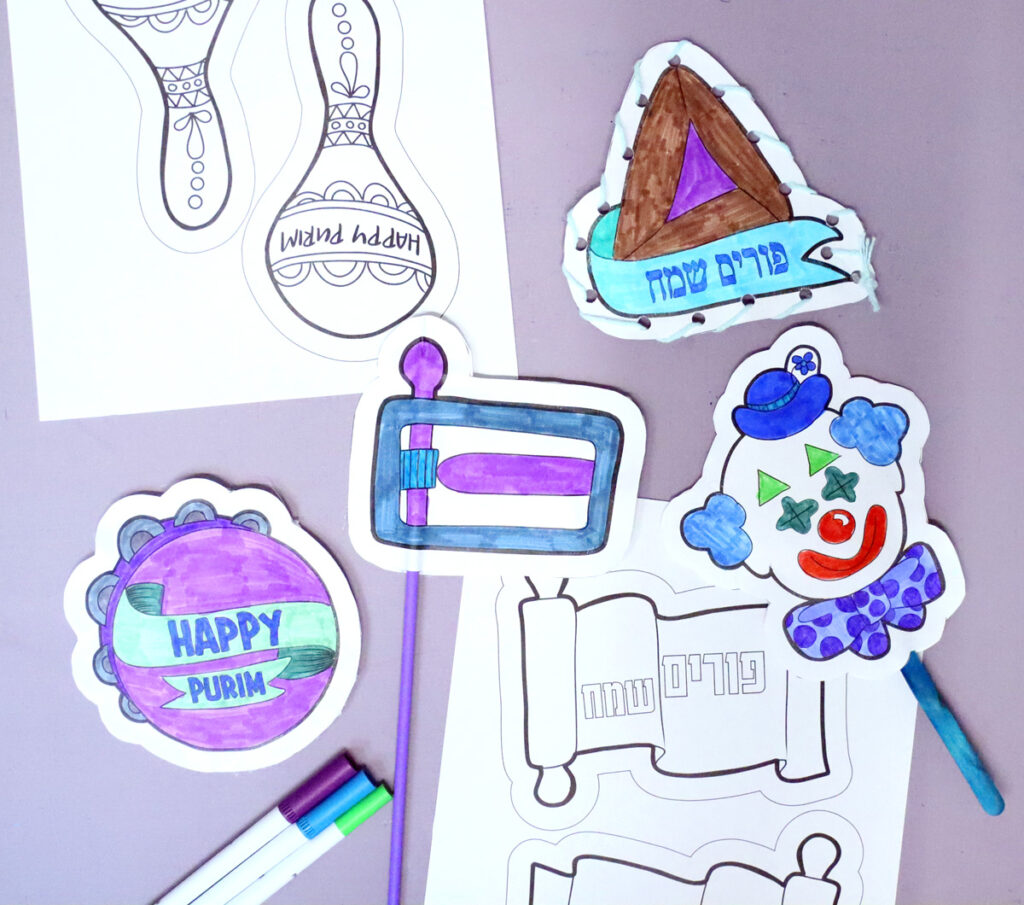
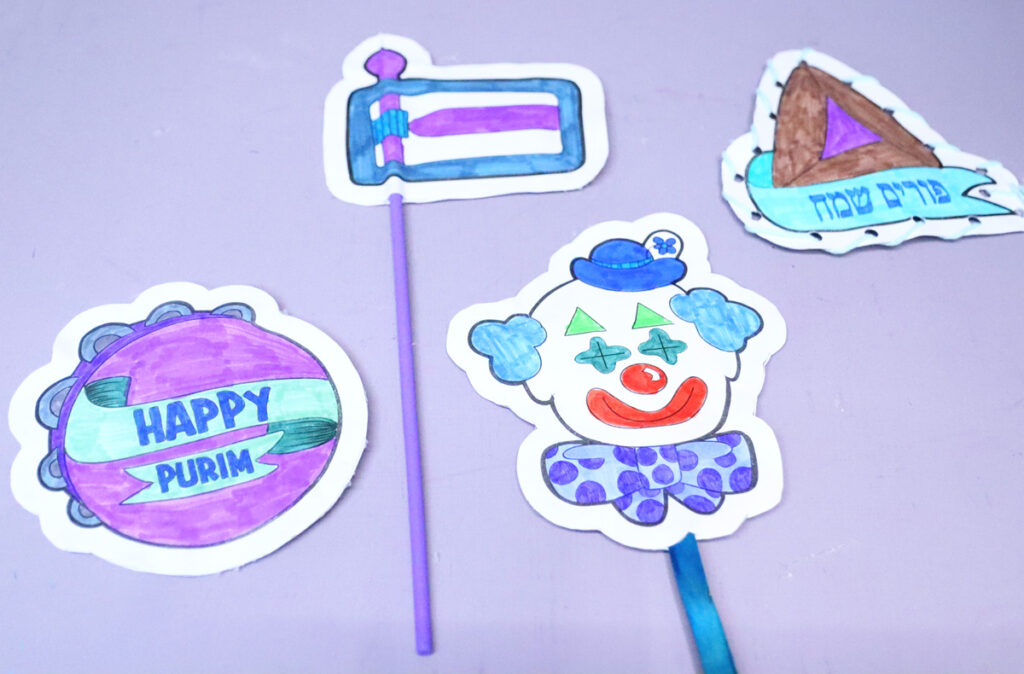
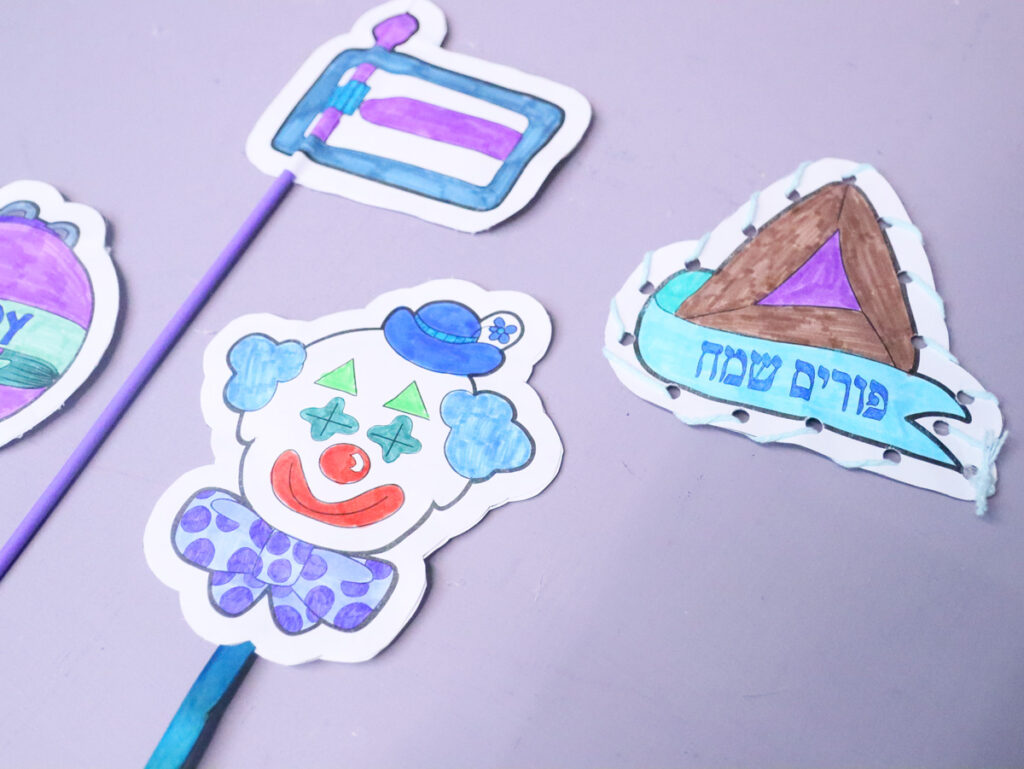
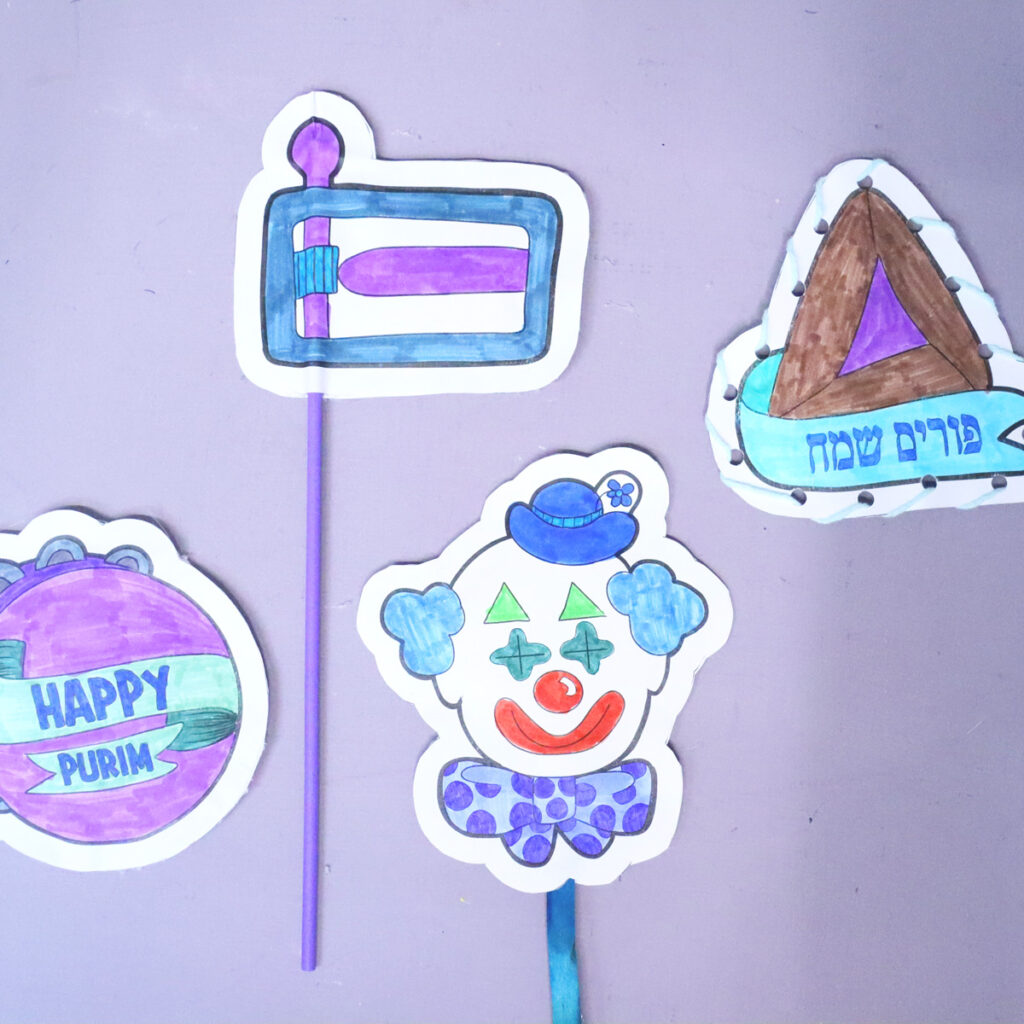
I wanted to keep assembly versatile and assembled it a few different ways. The clown was crafted with a craft stick as a handle for easy shaking.

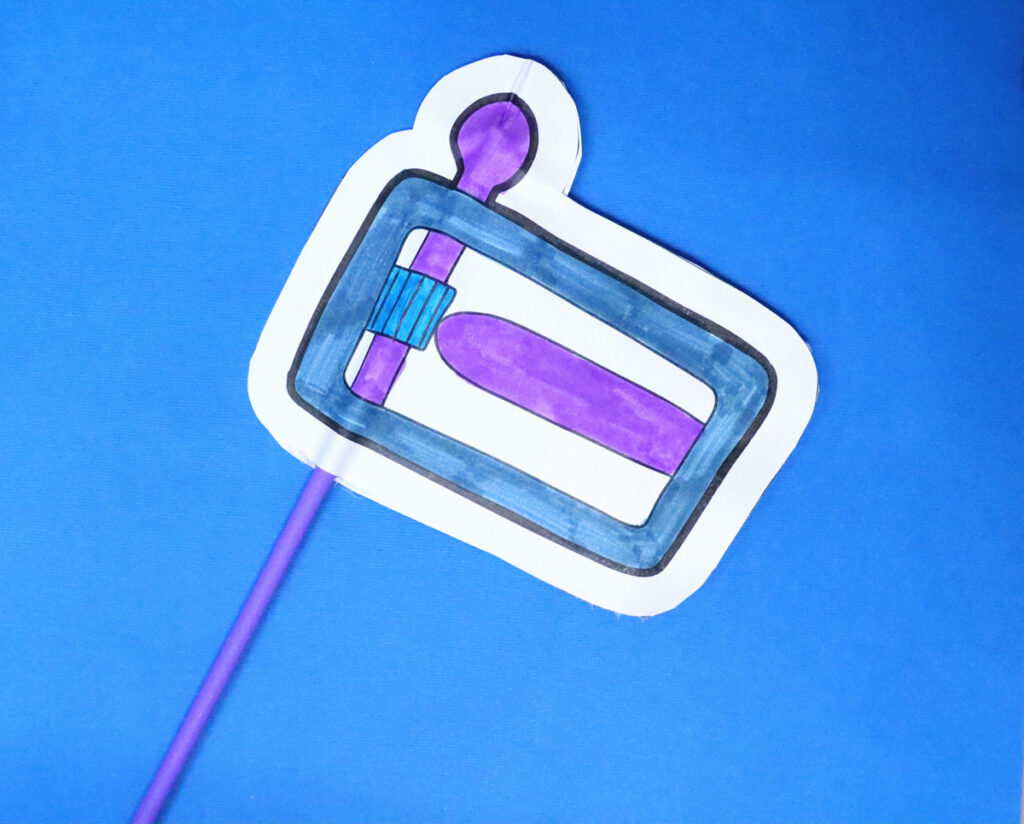
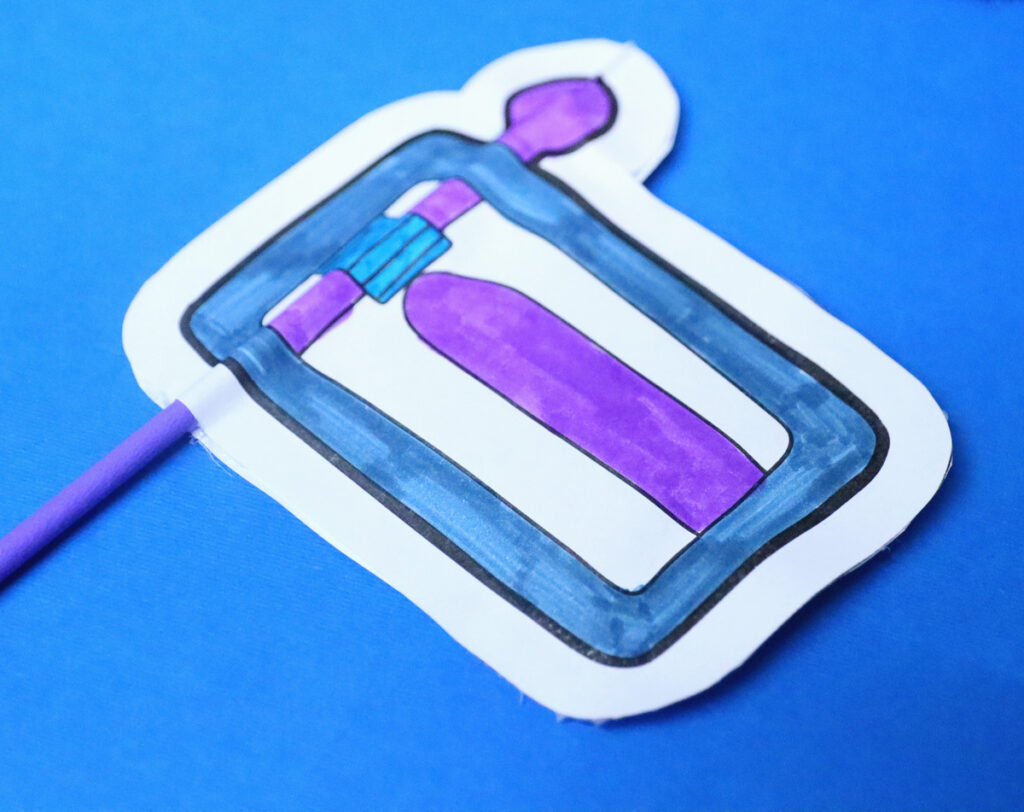
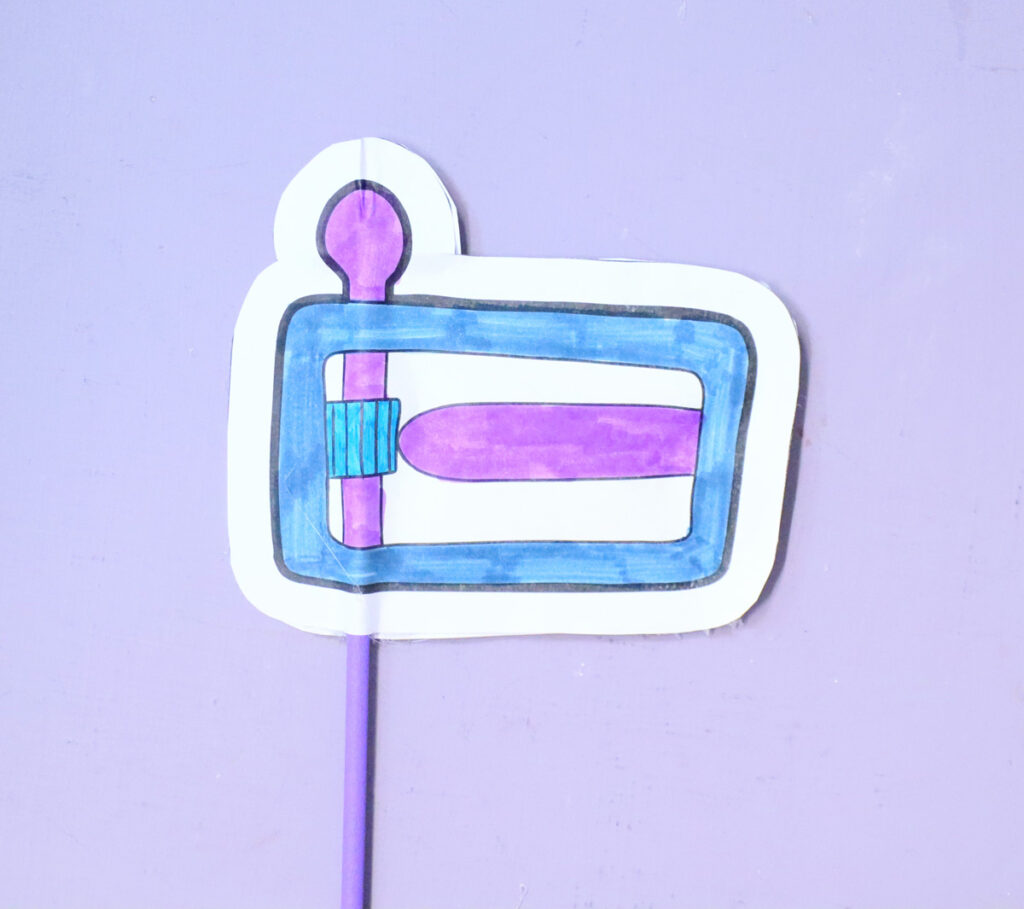
The Gragger style was designed with a stick in mind. I used a dowel in the same color as I colored the stick.
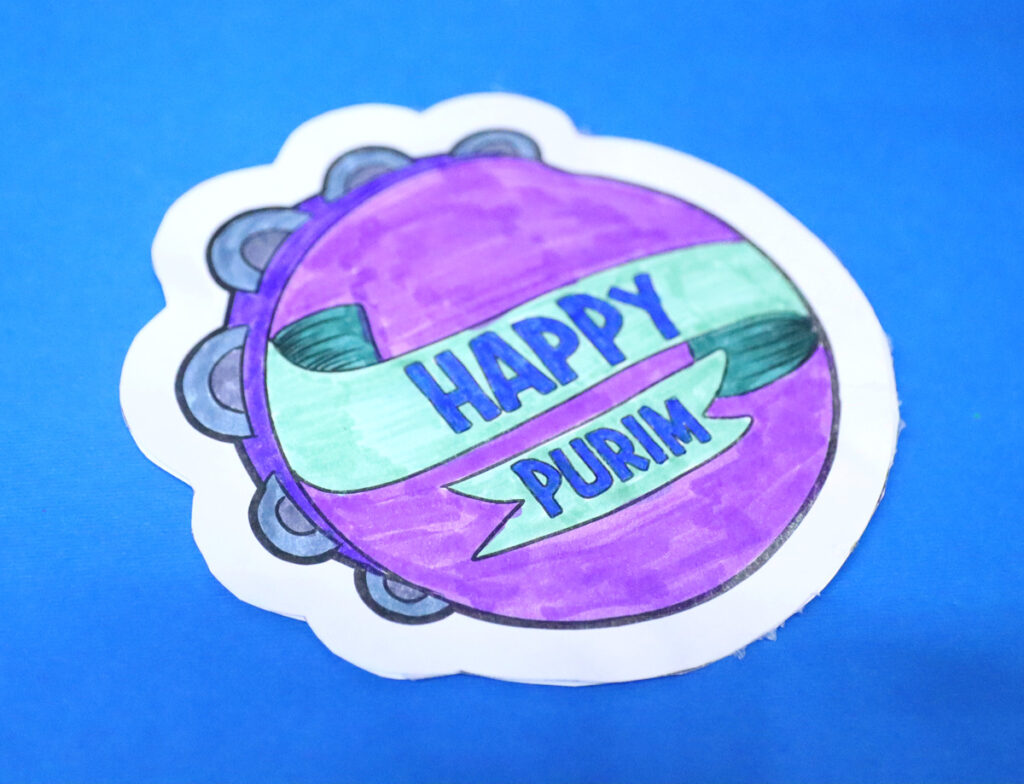
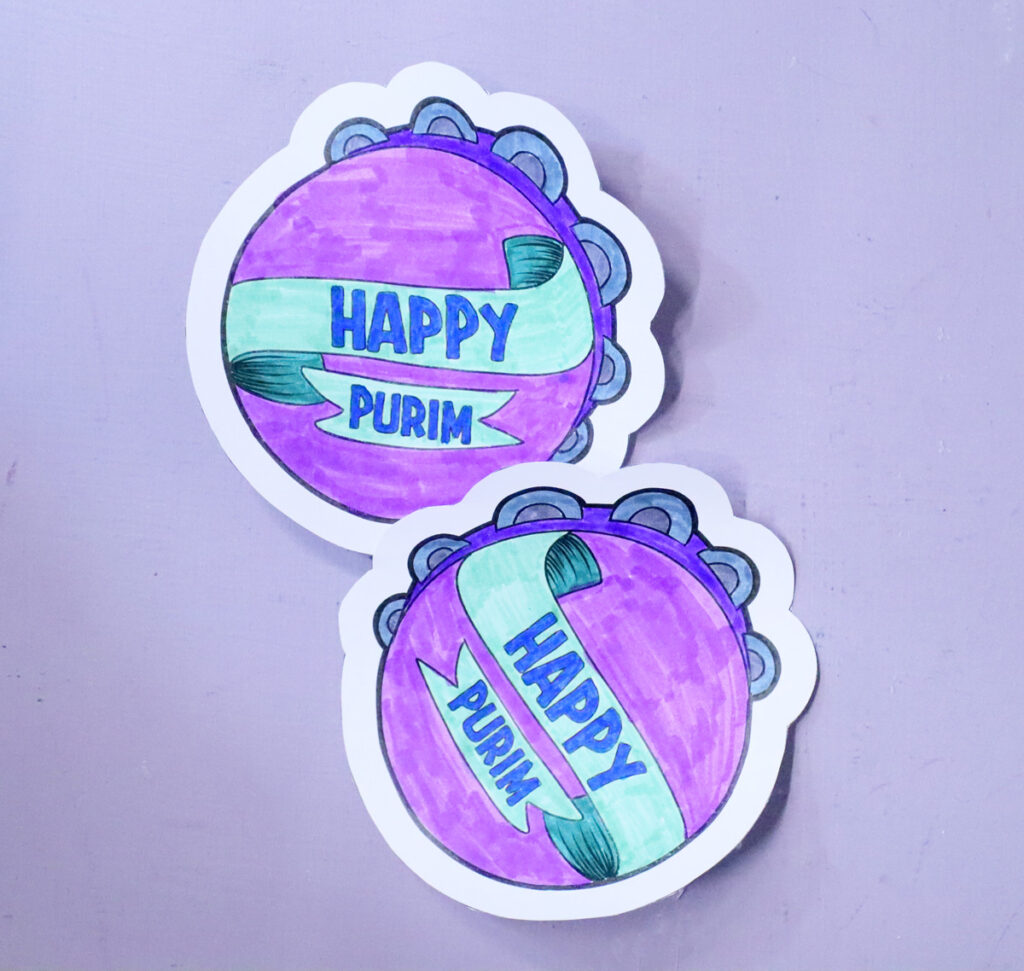
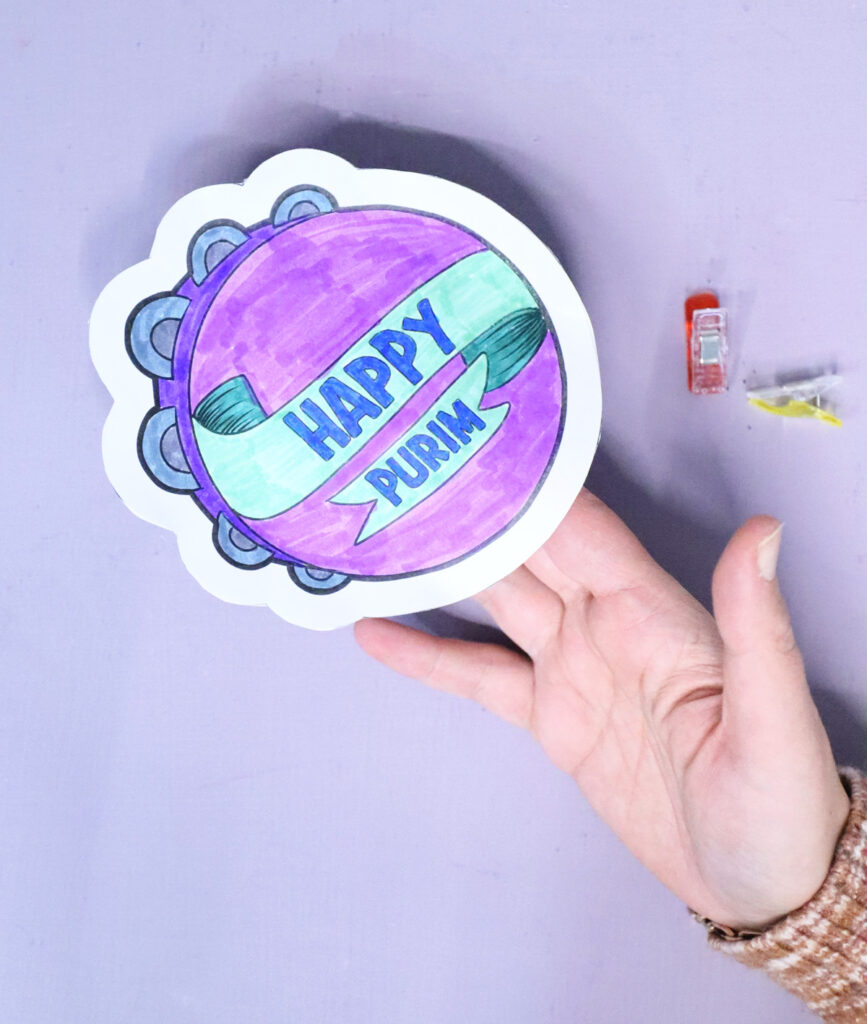
The tambourine I kept flat – it leads less into having a stick or anything like that. All of these were glued shut.
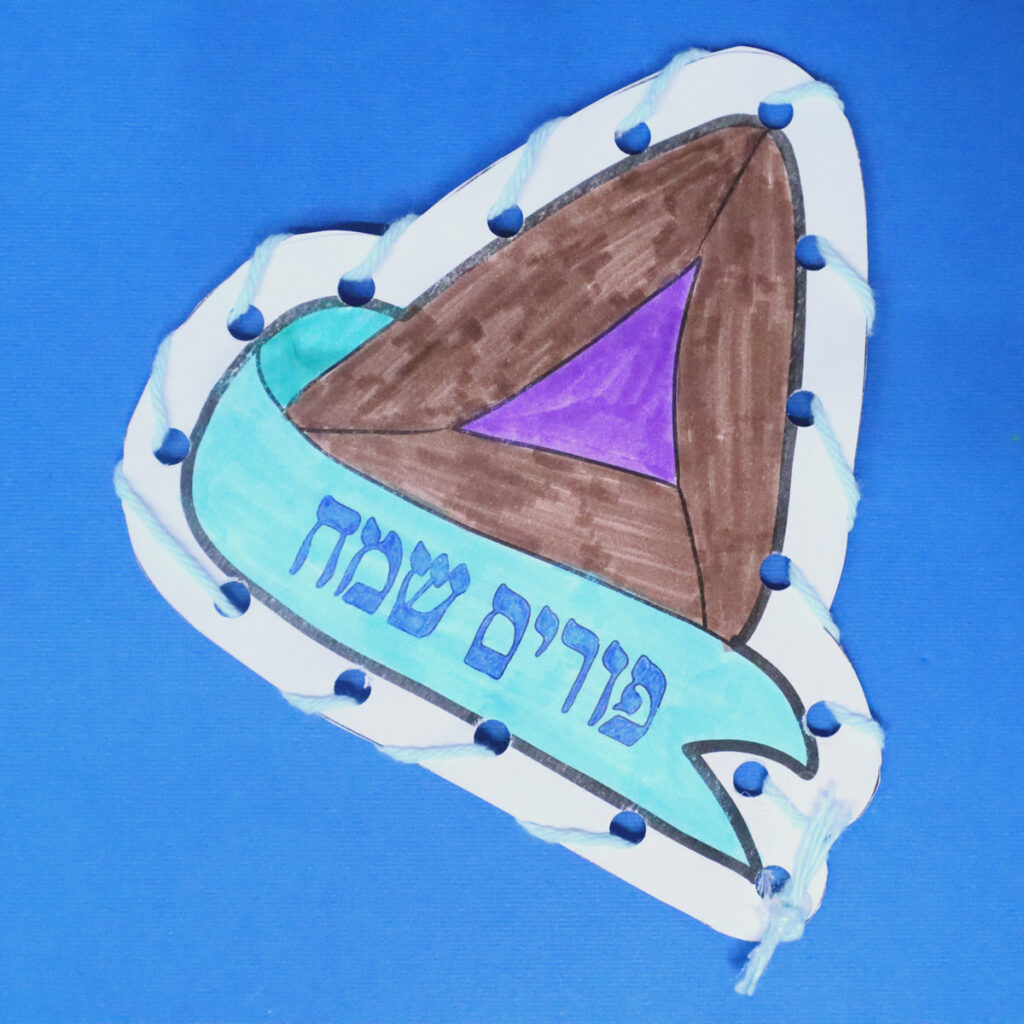
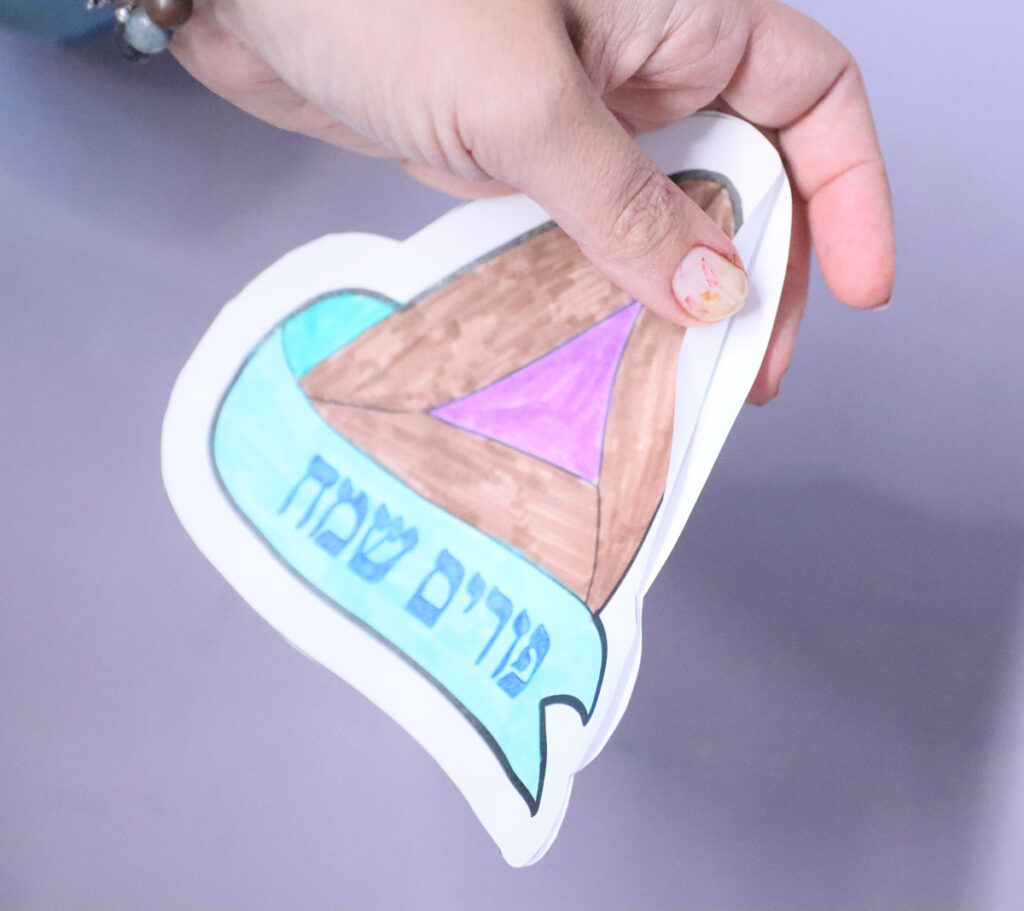
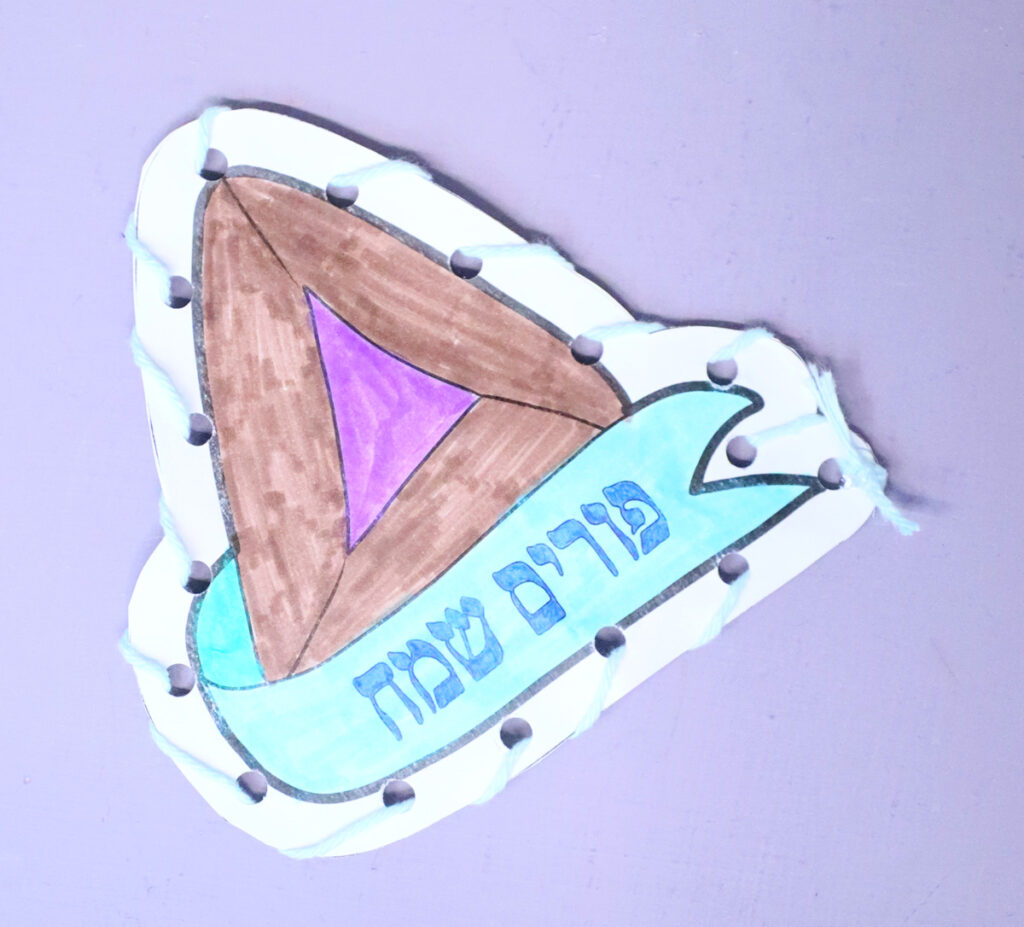
On the Hamantaschen, I wanted to show you how you can lace these. I punched around the edge and laced it up. It’s purely decorative – you don’t want your filler to fall out so it’s anyway glued around the edge.

The versions your craft comes with
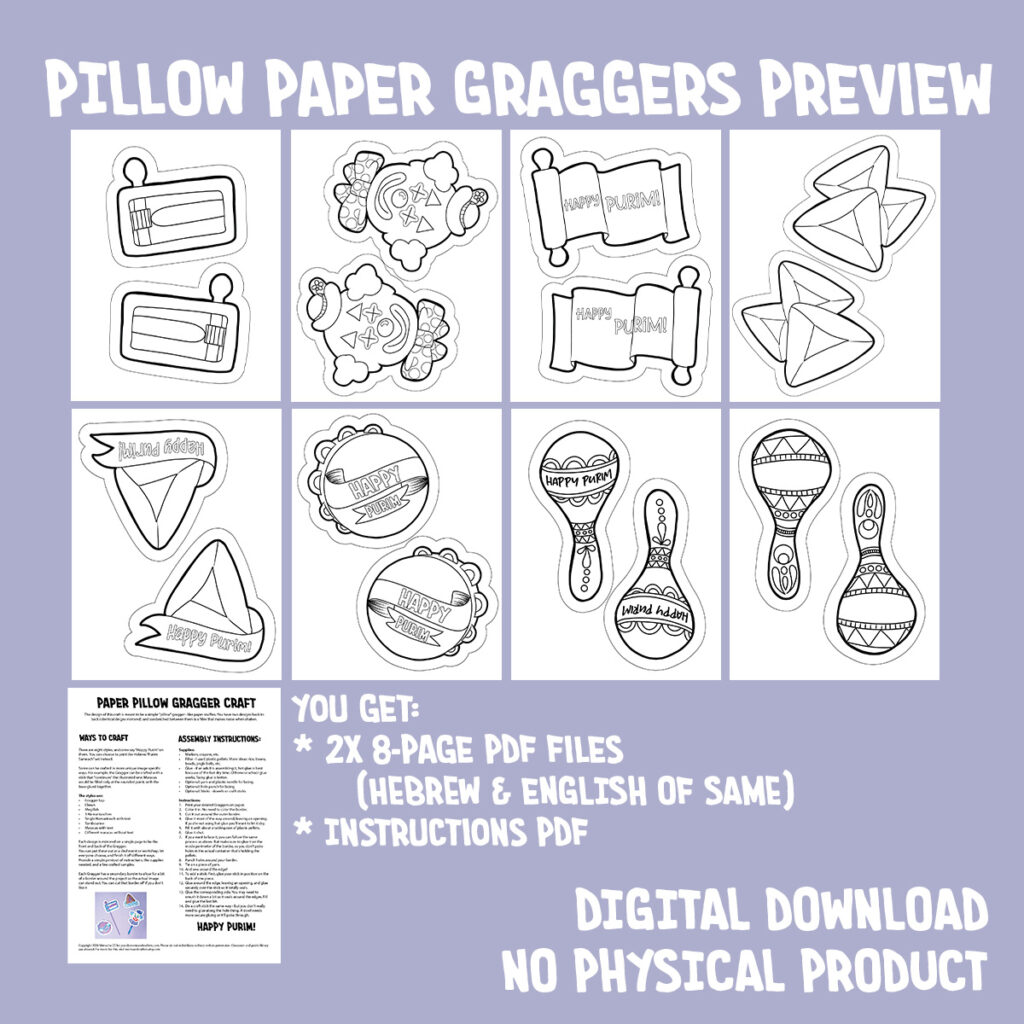
To make this paper gragger craft for Purim fabulous for everyone, I’ve included repeats of the ones with text in Hebrew as well as English.
These are PDF files, with each design on one page to make it really easy to hand out. You can put these out at a shul event or workshop, let everyone choose, and finish it off different ways. Provide a simple printout of instructions, the supplies needed, and a few crafted samples.
Each Gragger has a secondary border to allow for a bit of a border around the project so the actual image can stand out. You can cut that border off if you don’t like it.
8 Styles to choose from
To keep things creative, I provided eight styles of Gragger – that way everyone can craft the one THEY want. These are fun illustrations made special for this craft.
Some can be crafted in more unique image-specific ways. For example, the Gragger can be crafted with a stick that “continues” the illustrated one. Maracas would be filled only at the rounded point, with the base glued together.
The Gragger styles included are:
- Gragger top
- Clown
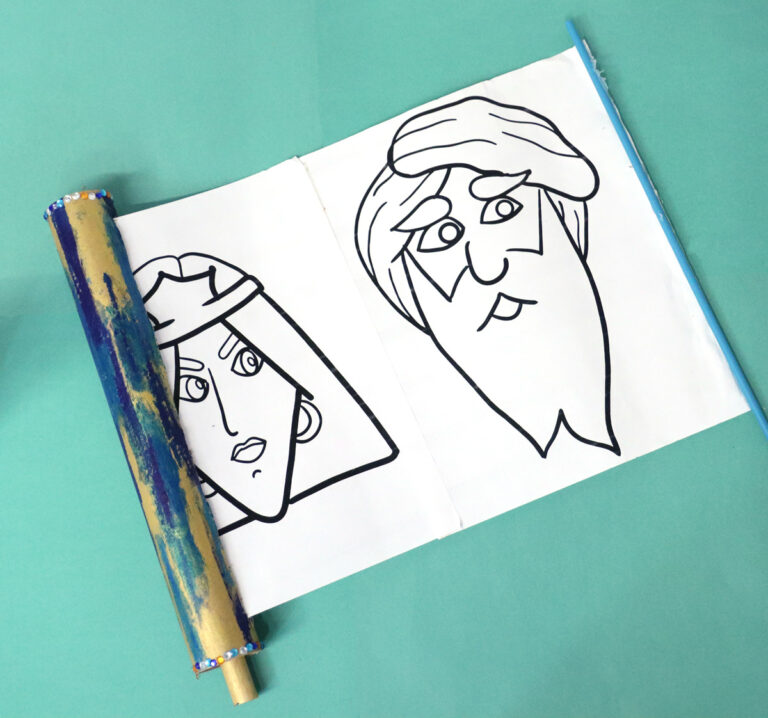
- Megillah
- 3 Hamantaschen
- Single Hamantasch with text
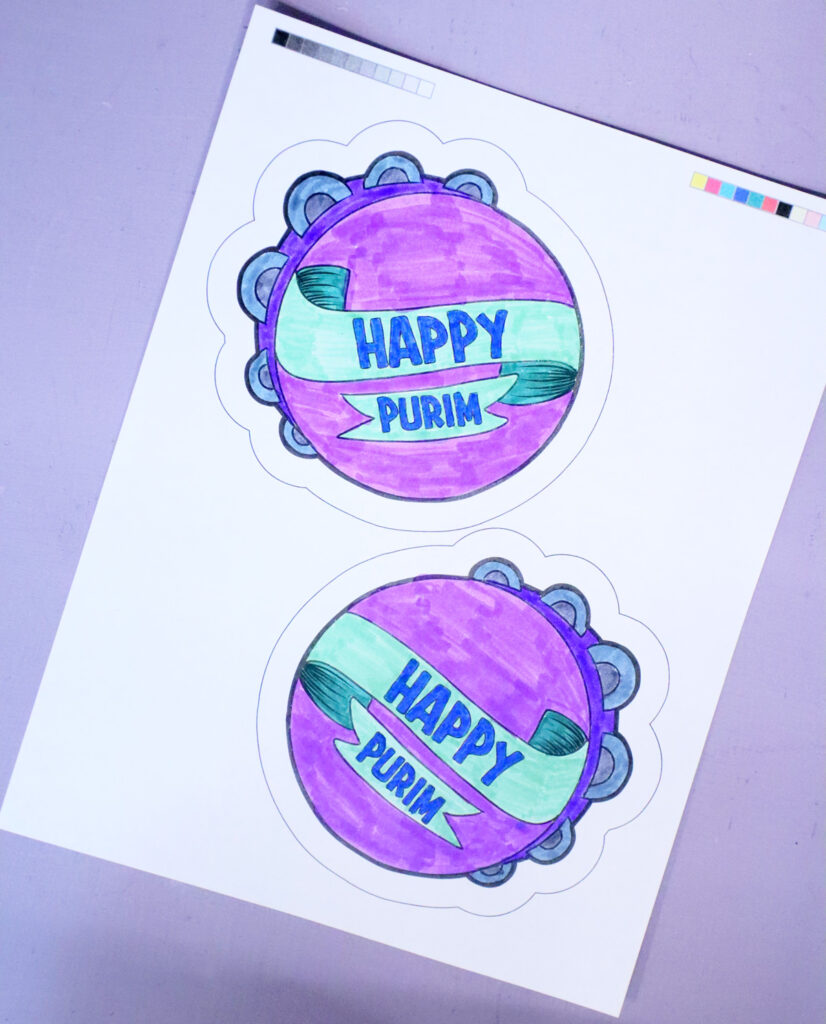
- Tambourine
- Maracas with text
- Different maracas without text
How to Assemble the Paper Gragger Craft for Purim
You get a printable version of instructions with your download.
You’ll Need
- The templates (get them in my shop, on Etsy, and on TpT) printed on paper
- Markers, crayons, etc.
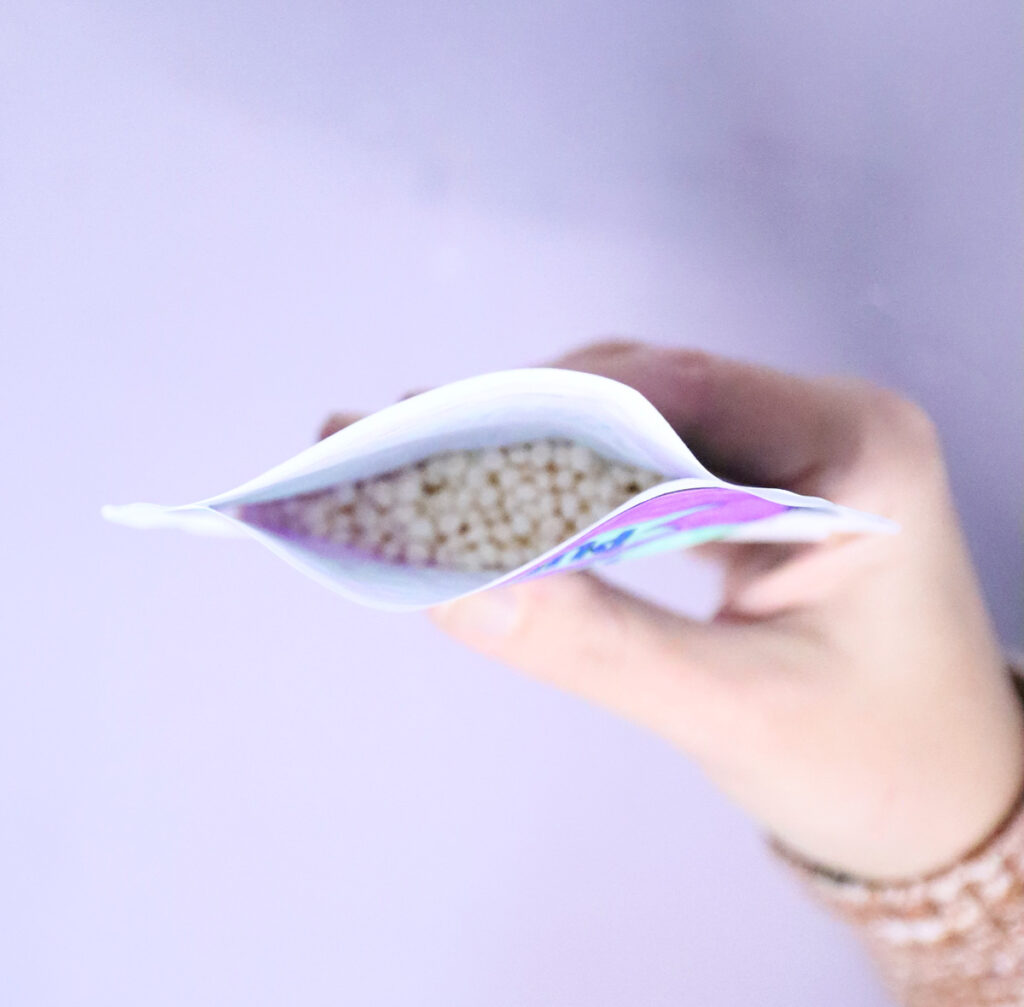
- Filler – I used plastic pellets. You can get more ideas in myPurim gragger game instructions here.
- Glue – if an adult is assembling it, hot glue is best because of the fast dry time. Otherwise school glue works, Tacky glue is better.
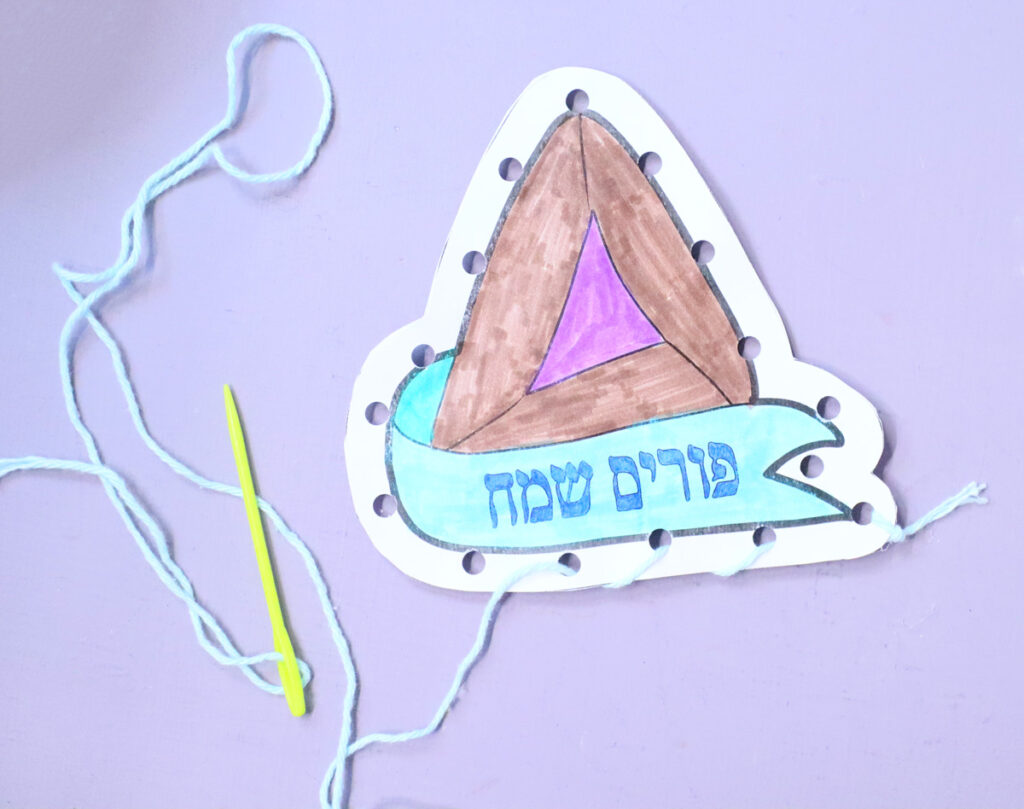
- Optional: yarn and plastic needle for lacing.
- Optional: hole punch for lacing
- Optional: Sticks – dowels or craft sticks
Assembly Instructions
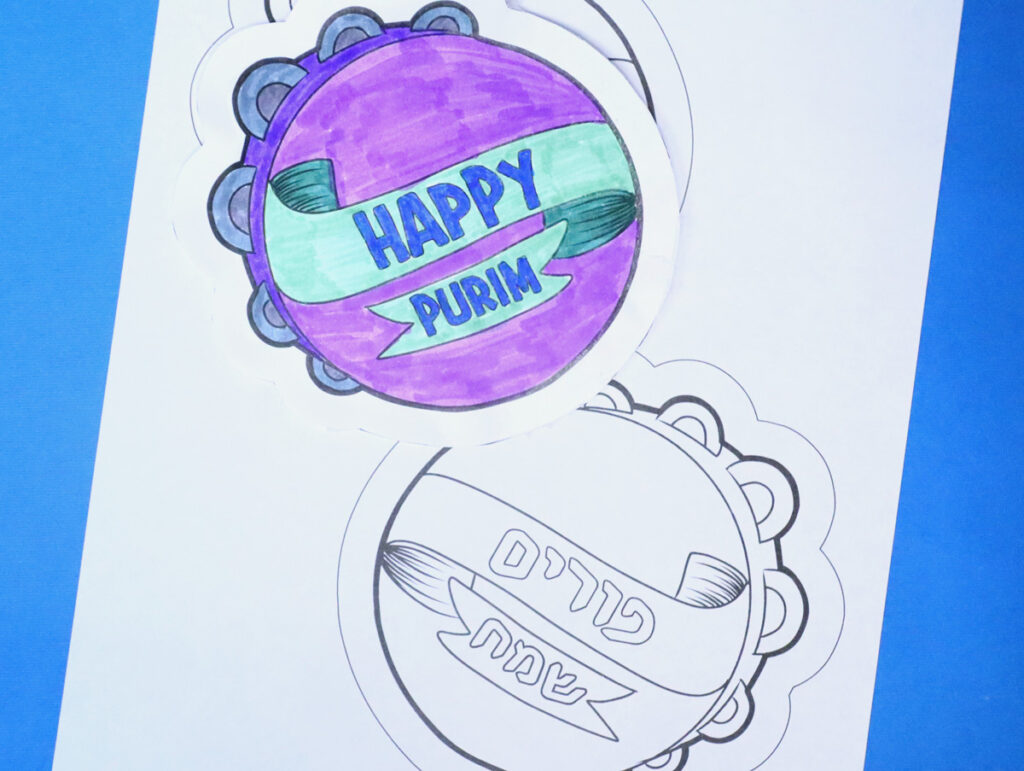
1. Print your chosen templates on paper.
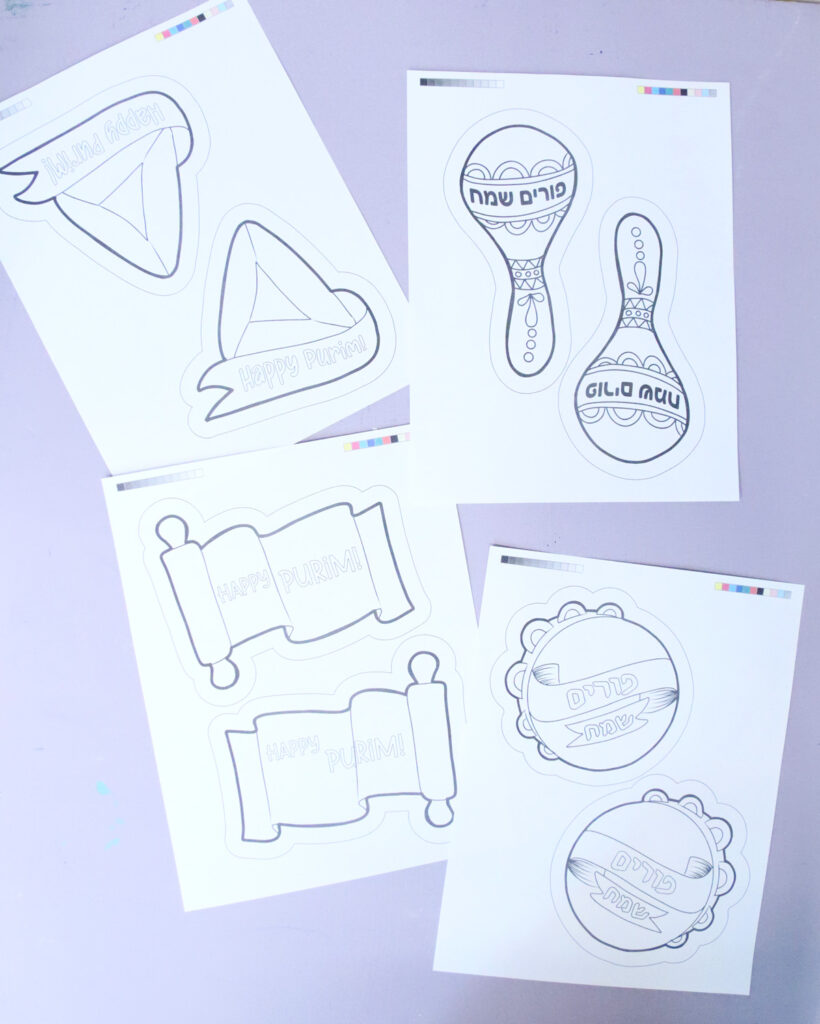
2. Color it in. I skipped coloring the extra border.

3. Cut it out around the outer border.
4. Glue it most of the way around, leaving an opening. If you’re not using hot glue you’ll want to let it dry.
5. Fill it with about a tablespoon of plastic pellets.
6. Glue it shut.
7. If you want to lace it, you can follow the same process as above. But make sure to glue it on the inside perimeter of the border, so you don’t poke holes in the actual container that’s holding the pellets.
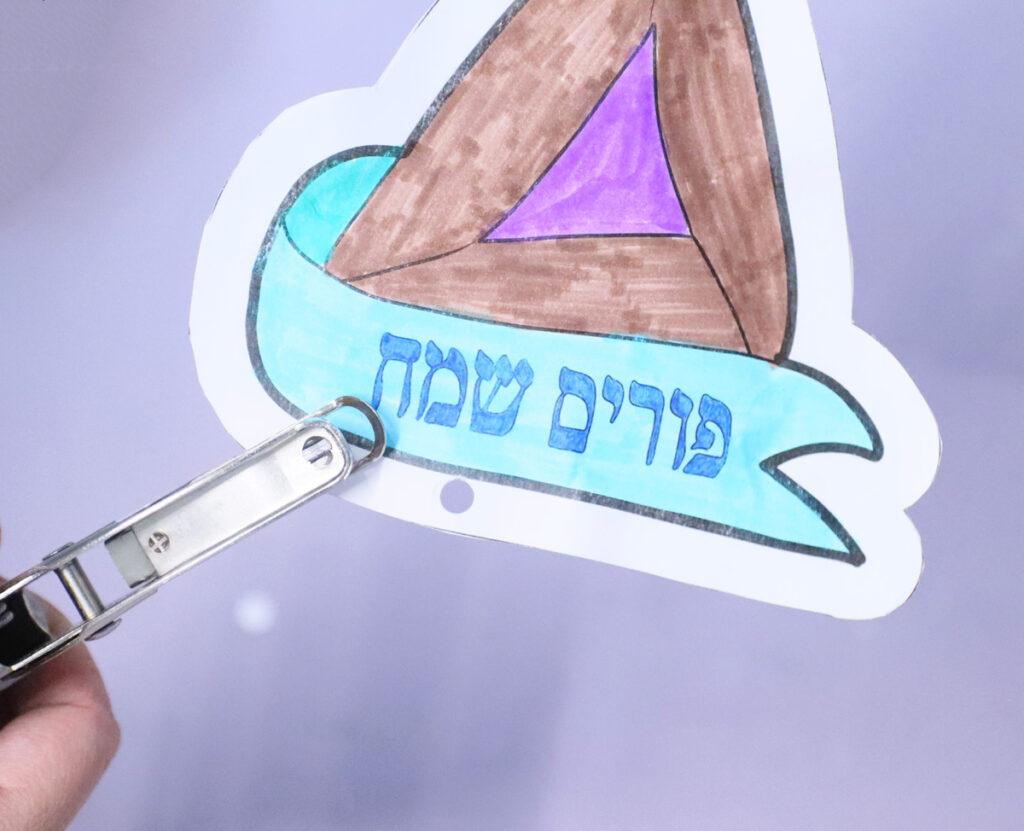
8. Punch holes around your border.
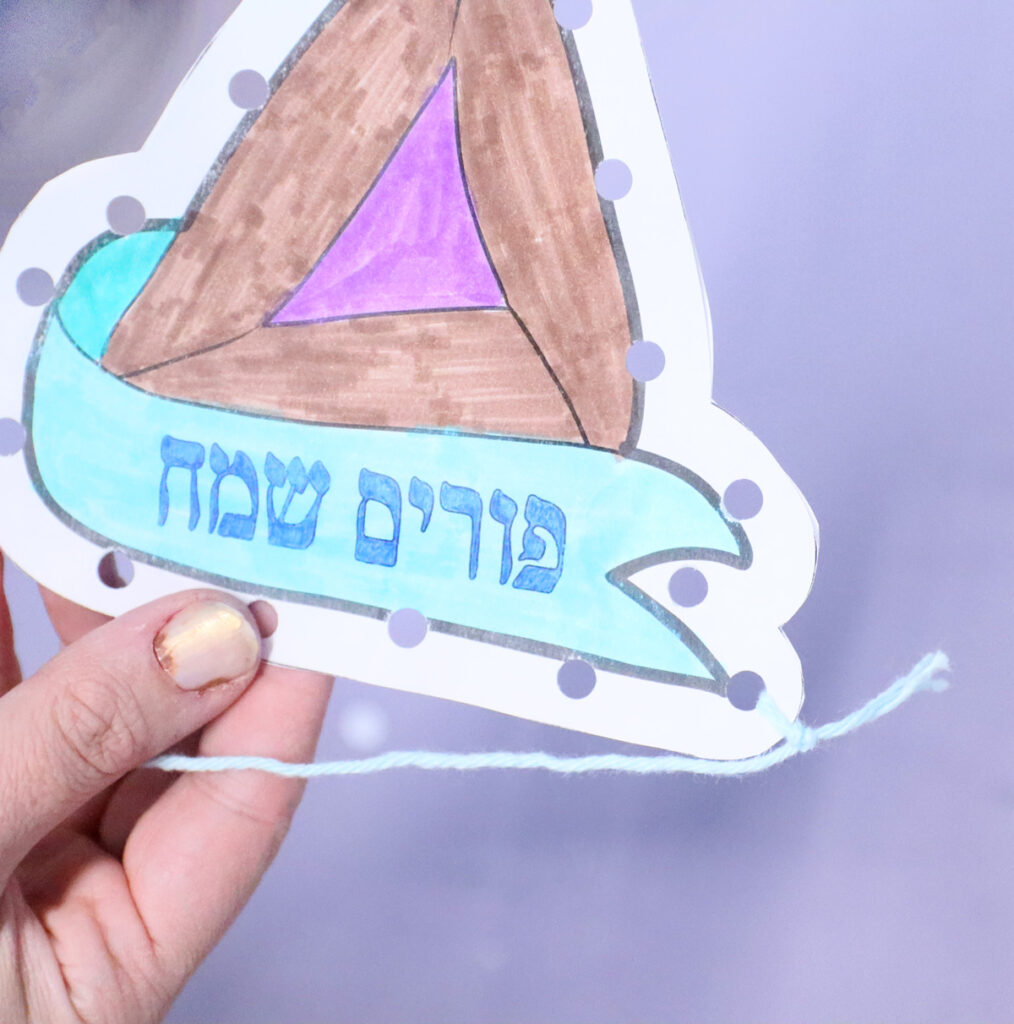
9. Tie on a piece of yarn.
10. And sew around the edge!
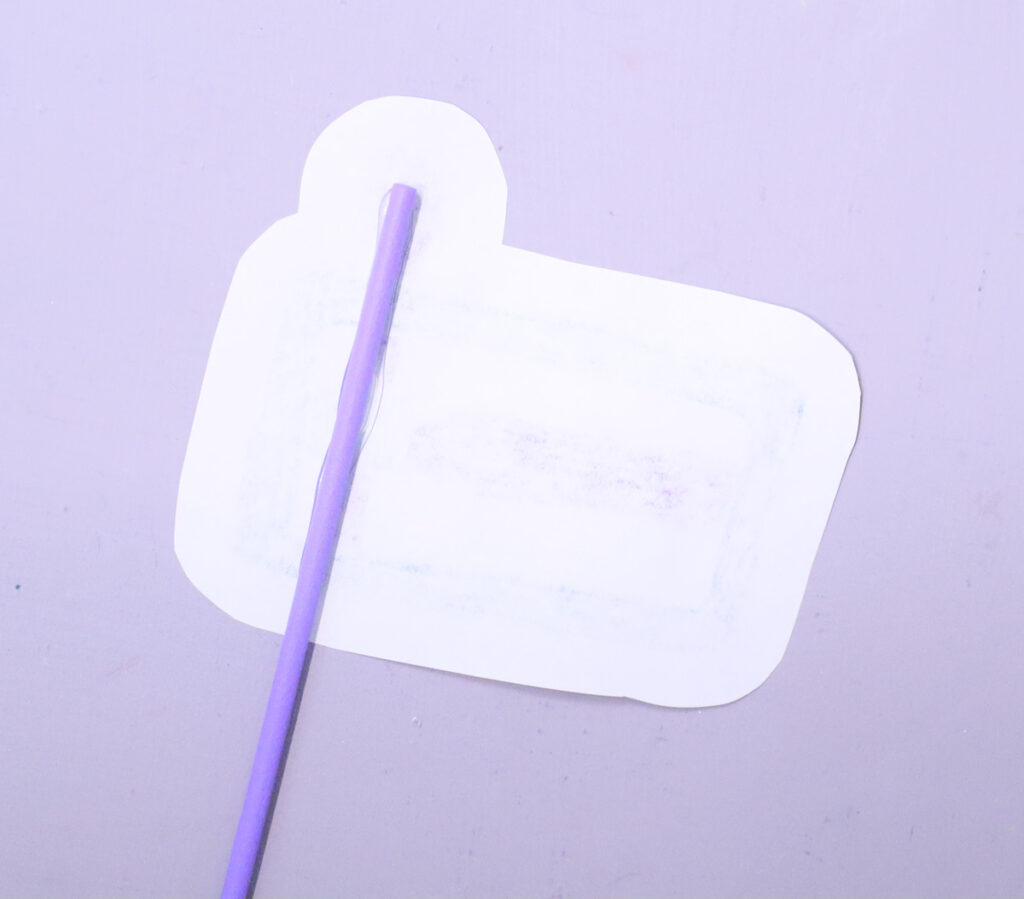
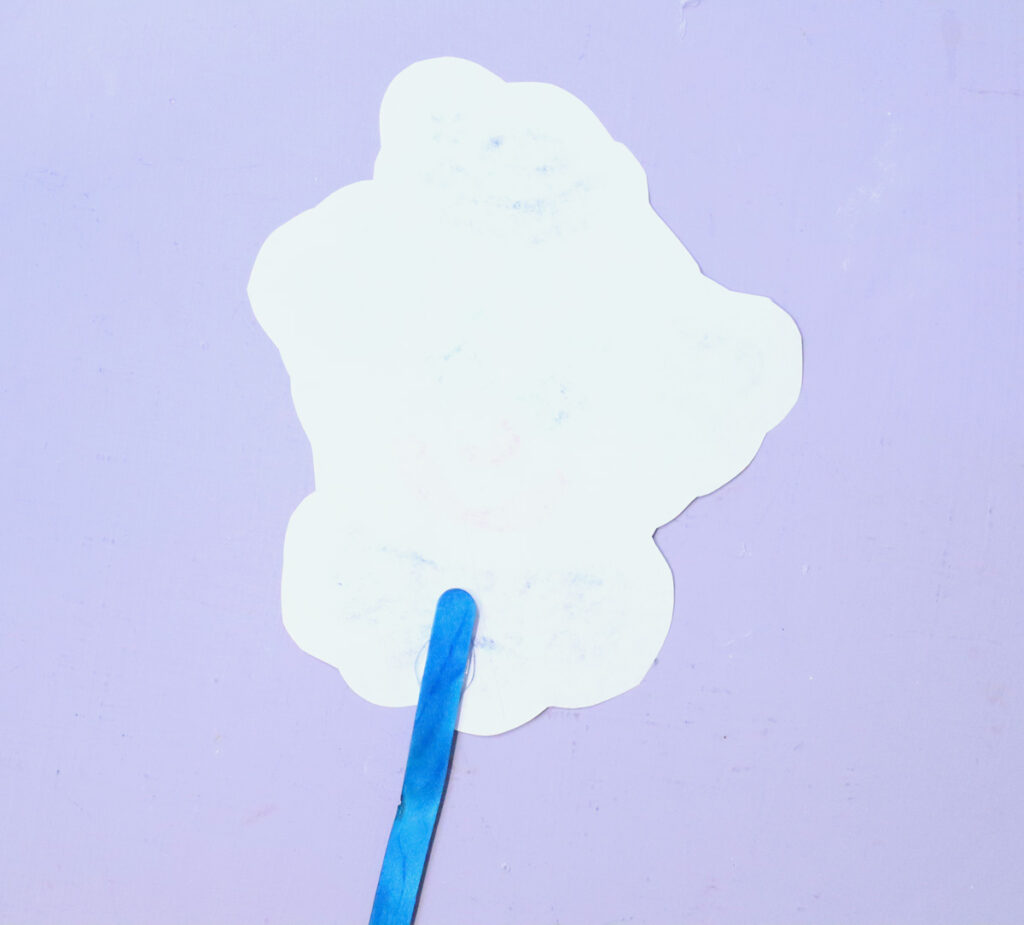
11. To add a stick: First, glue your stick in position on the back of one piece.
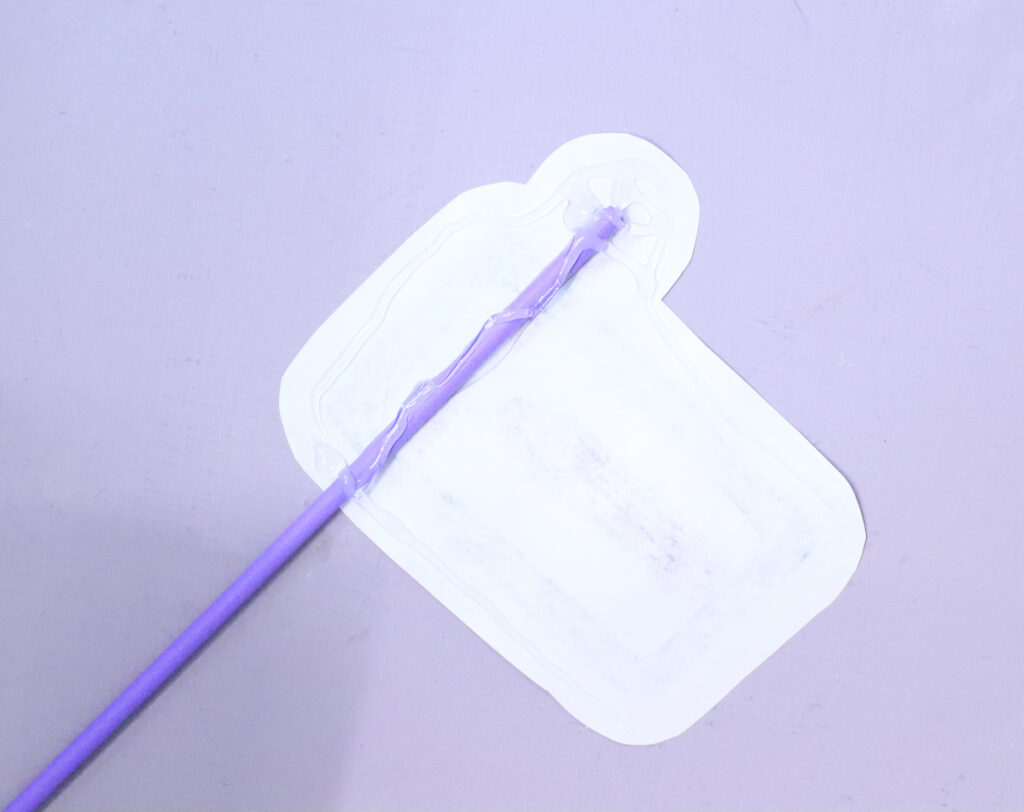
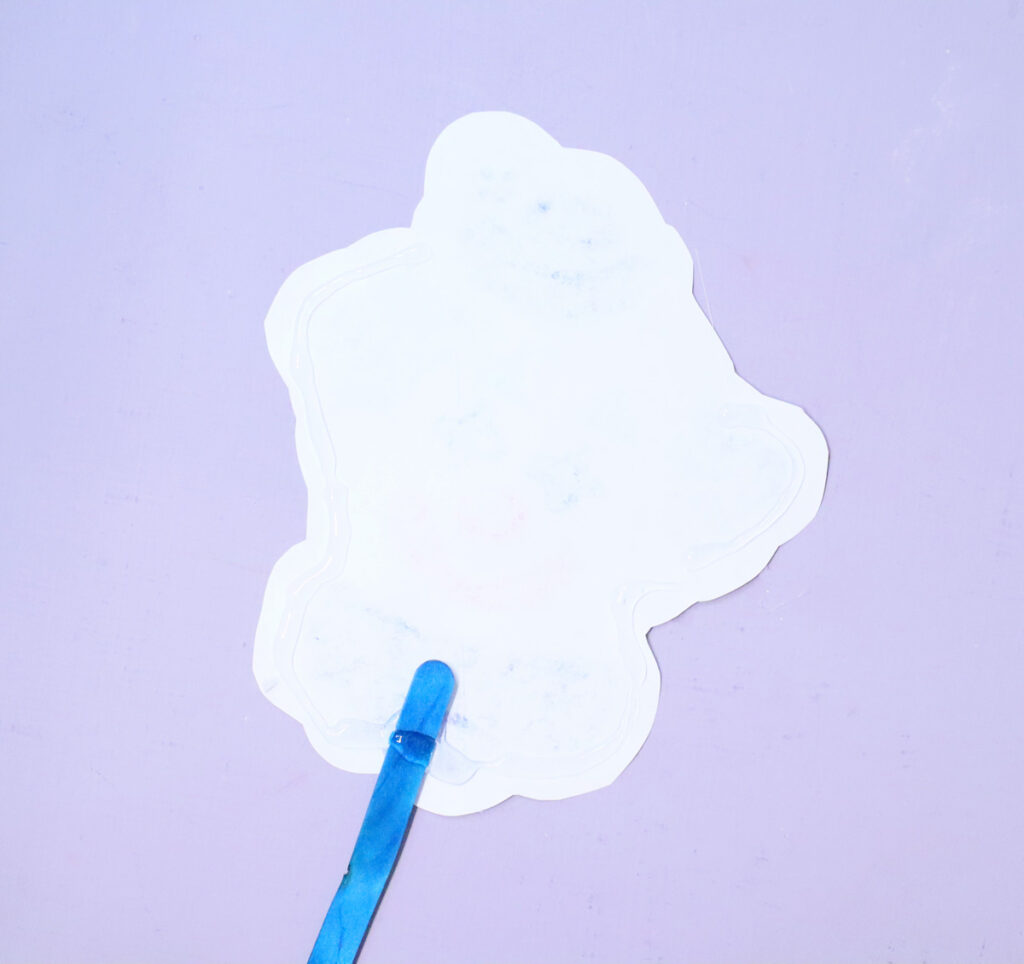
12. Glue around the edge, leaving an opening, and glue securely over the stick so it totally seals.
13. Glue the corresponding side. You may need to smush it down a bit so it seals around the edges. Fill and glue the last bit.
14. Do a craft stick the same way – but you don’t really need to glue along the hole thing. A dowl needs more secure gluing or it’ll poke through.
Your paper gragger craft for Purim is complete! Just a reminder that you can get it in my shop, on Etsy, and on TpT