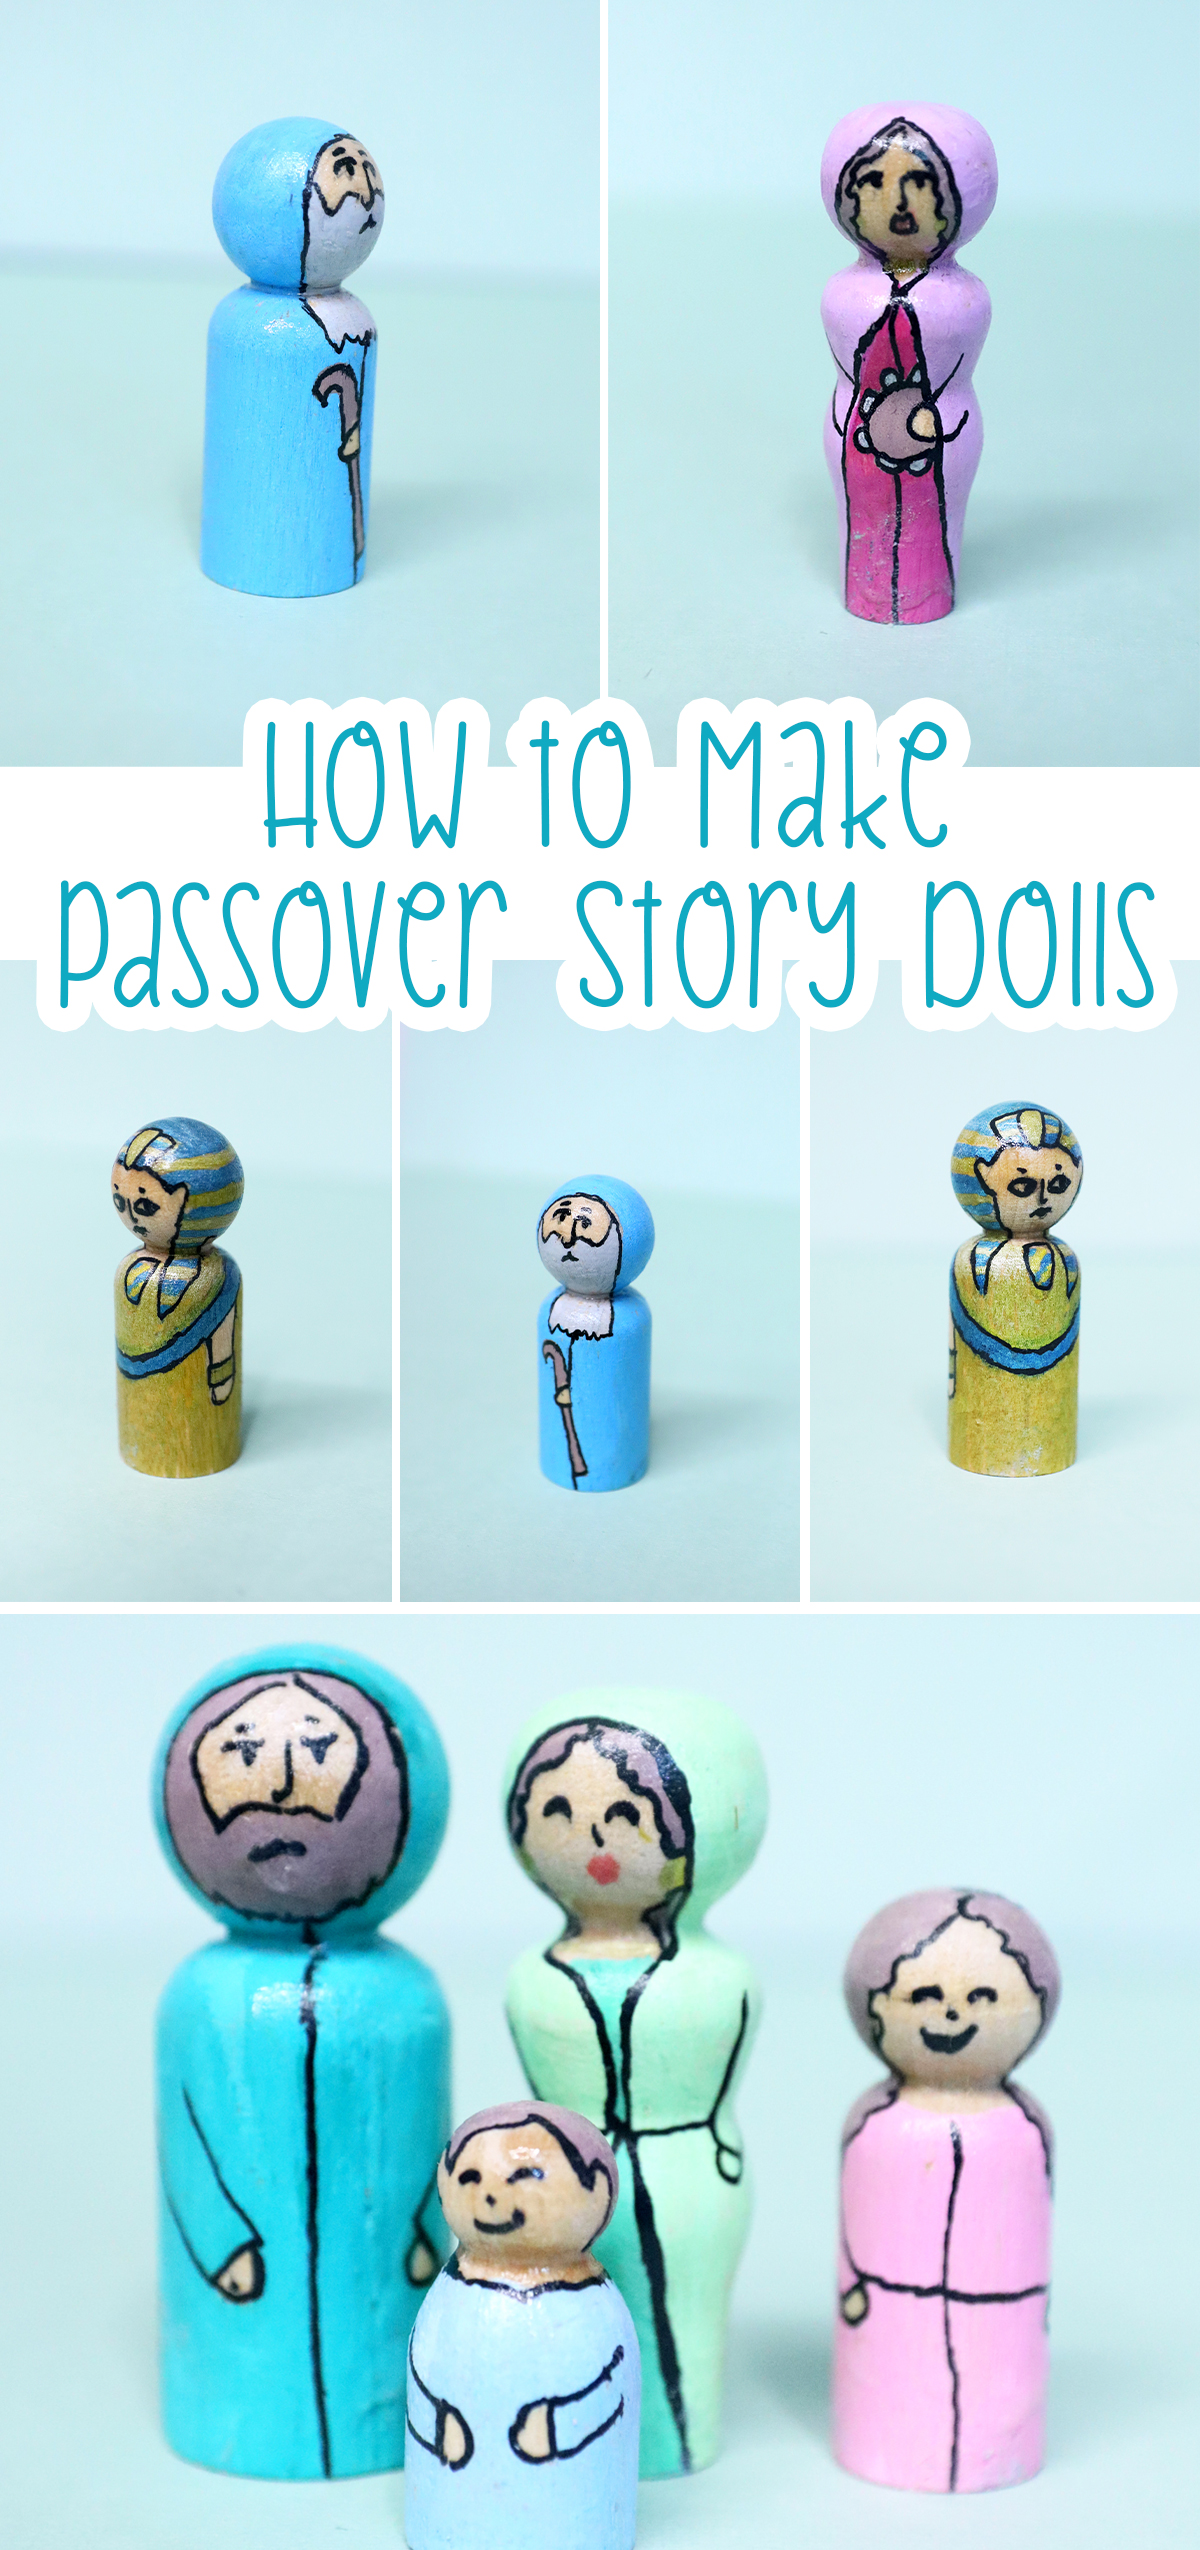
DIY Passover Peg Dolls
Craft these DIY Passover Peg dolls with me to use in a Passover sensory bin – or any of the other ideas shared below! This post contains affiliate links.
One of the requests that I had was to share how to make DIY Passover peg dolls for sensory or pretend play. In fact, it’s something I’ve been wanting to do for a while, which is why I purchased these peg dolls to begin with – years ago!
I needed that specific request to push me to do it.
This post follows a slightly different format than my typical post. First I’m going to do as I usually do: share tips and advice. Then, I’m going to share the step-by-step tutorial as a basic process outline for all peg dolls. Finally, I’ll share more specifically the sketch vs. colored version of each.
You do NOT need to be a big artist or professional illustrator to make these come out really cute – although it does help to have some artistic skill.
Peg dolls are made using really simple colored shapes and then outlined in thin, black marker to add definition. The less detail the better, and one of my biggest mistakes I make with these often is adding too much detail.
They are very cute and can be reused from year to year, especially if finished properly.
And yes, this is a time-consuming project (it took me about two hours to create this set and I work pretty quickly) BUT it’s a “one and done” that you’ll save and use in many different ways.
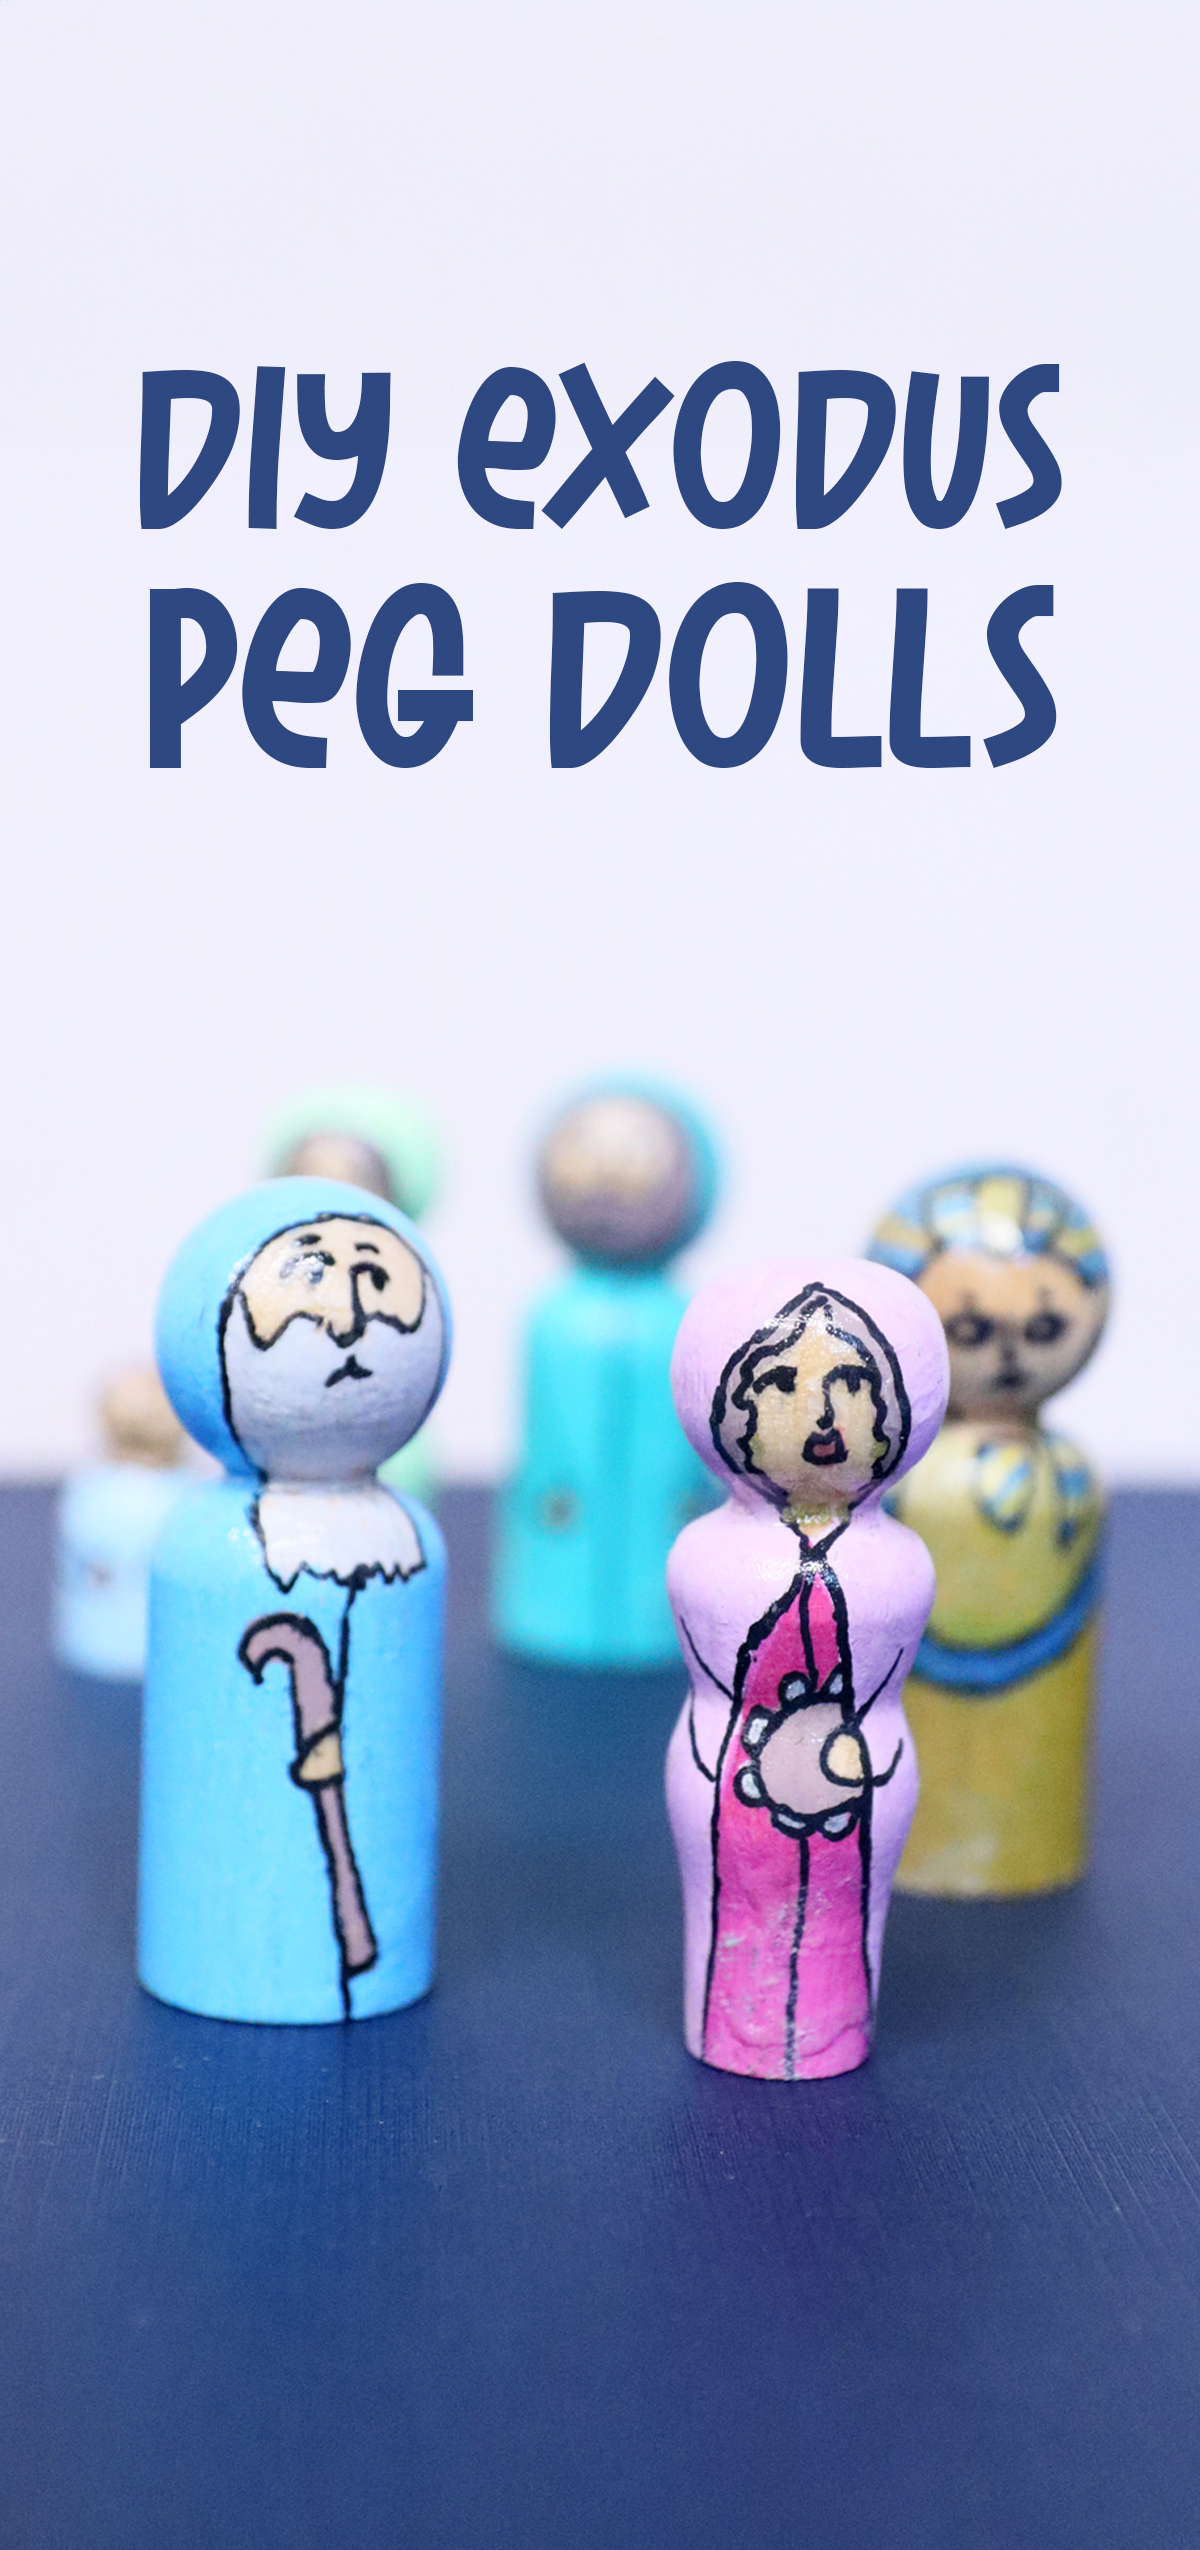
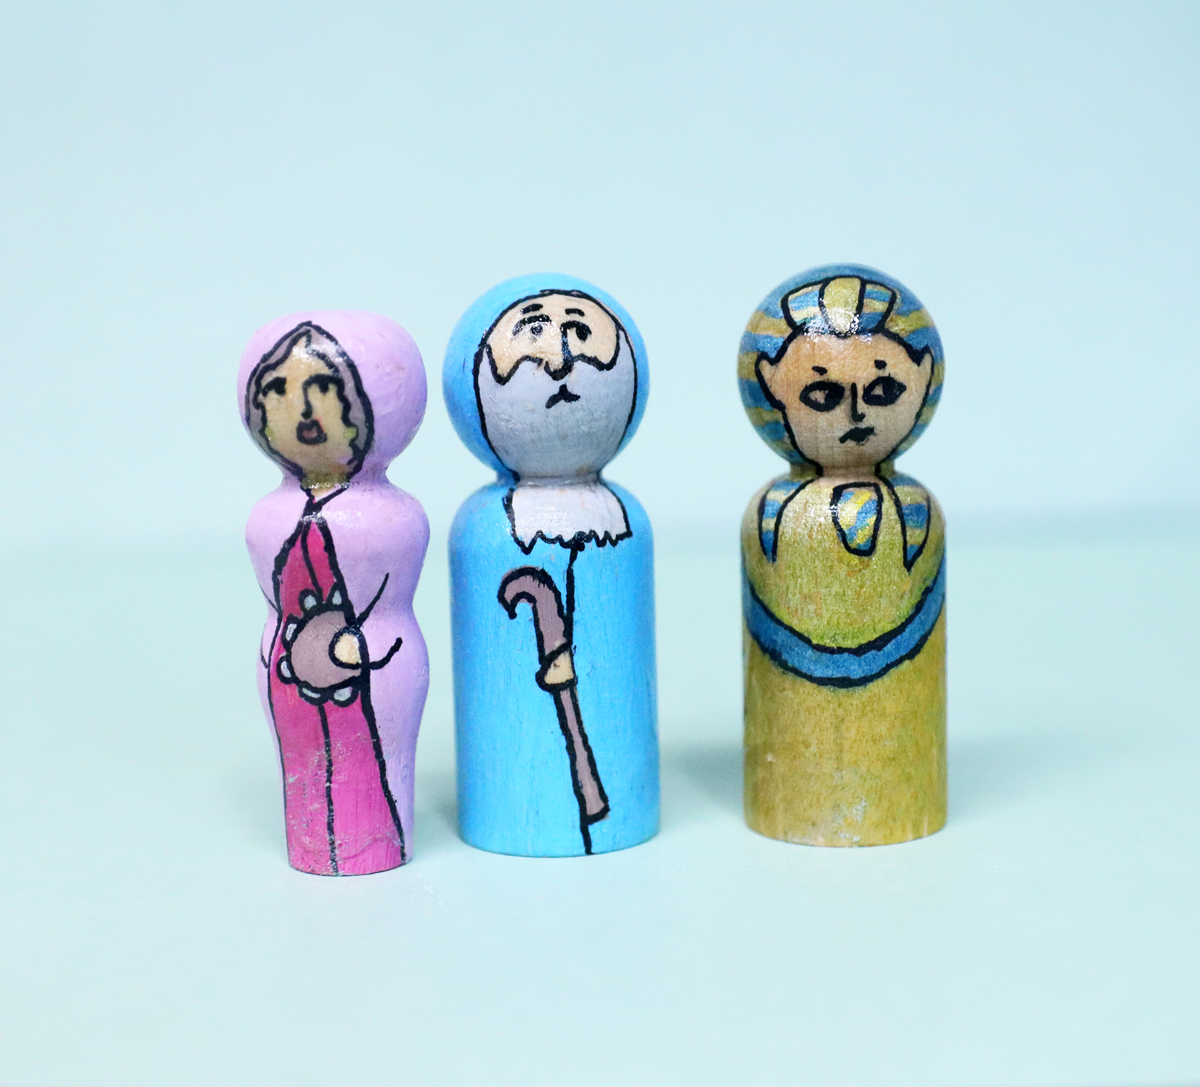
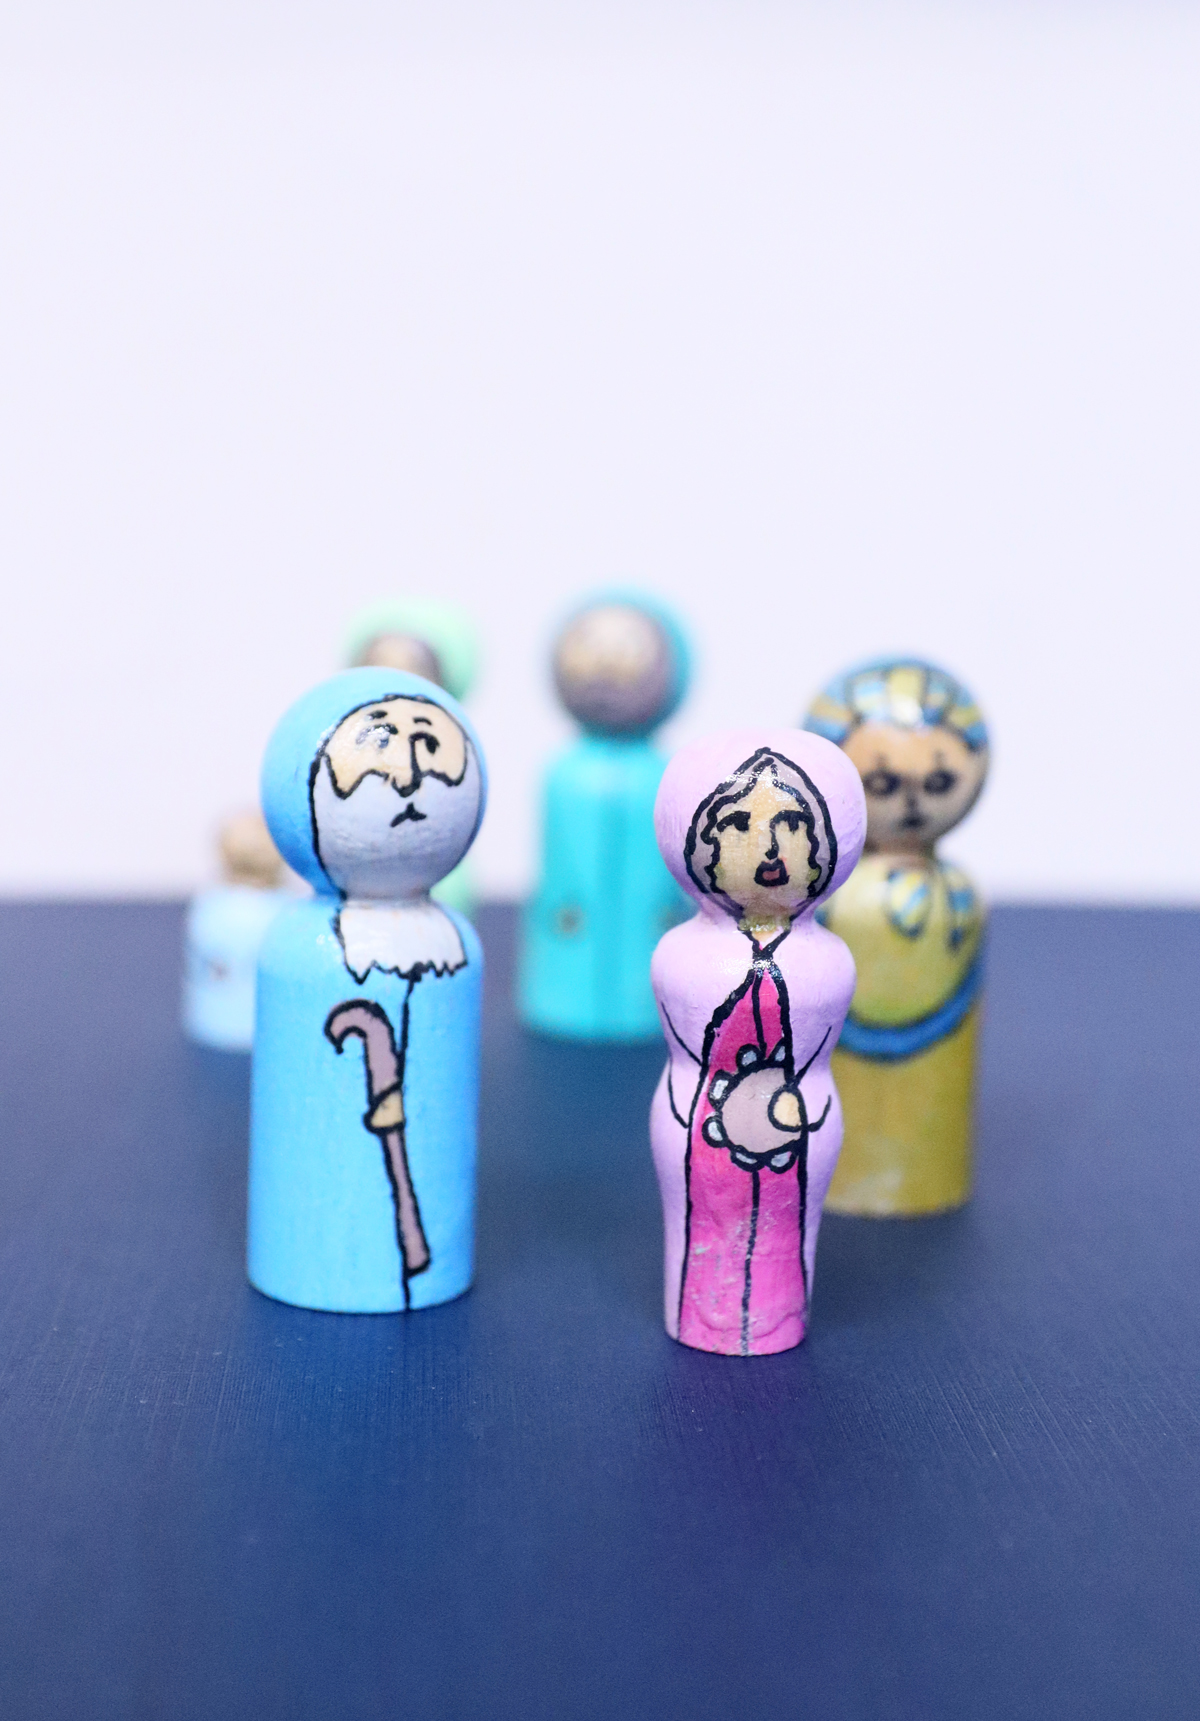
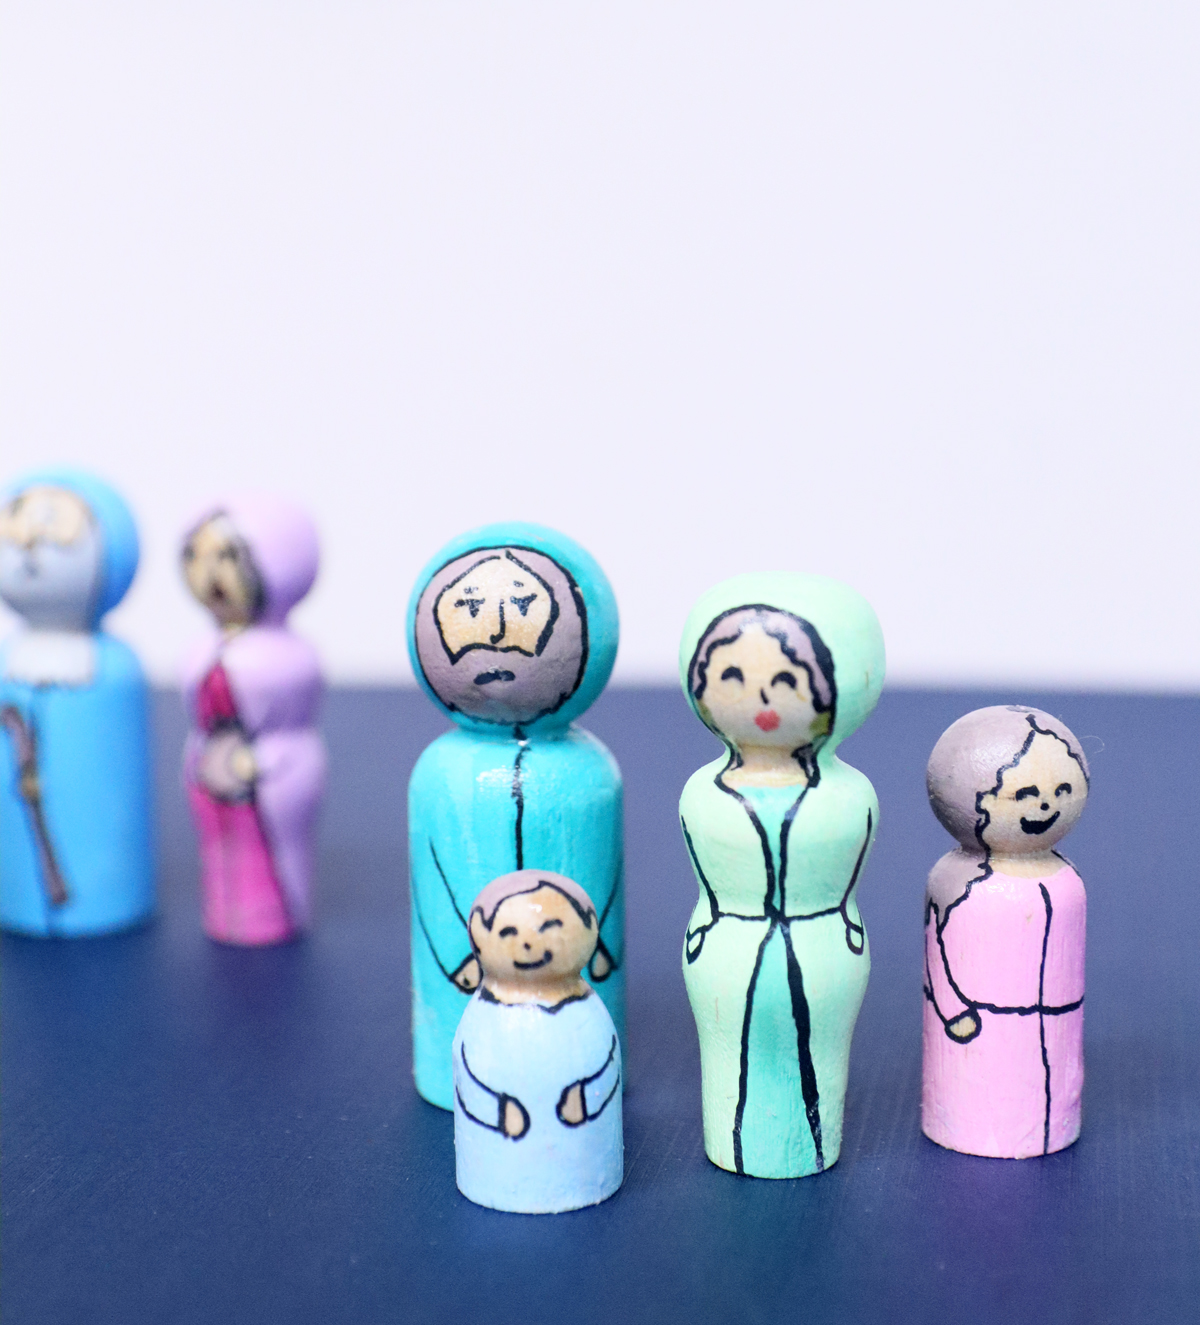
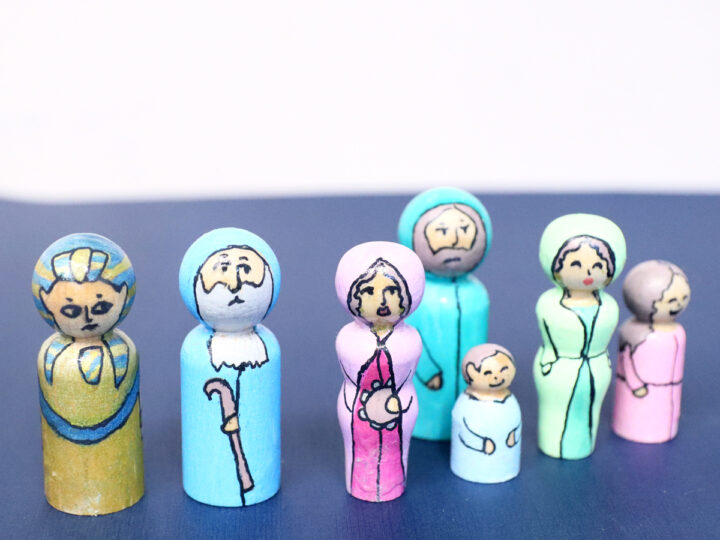
I made the following dolls:
- Pharaoh
- Moshe (Moses)
- Miriam
- An Israelite family (Mom, Dad, two kids)

I did not make Aharon because he doesn’t play an active role specifically in the part of exodus that I’m making this for, but you can do that too.
Tips for crafting DIY Passover Peg Dolls
Most of these tips will focus on which supplies you choose for making DIY Passover peg dolls – and really any peg dolls. Some crafts are “anything goes” kind of crafts, and for some, the quality of supplies really matter.
Here, the main supplies – the base, the markers, and the sealer – are all supplies where quality matters to a degree.
The wooden peg dolls – I bought this set from Woodpeckers on Amazon years ago. It has lots of different shapes and sizes giving you a good variety. You can also get it directly from Woodpeckers – use code MOMSANDCRAFTERS for 5% off your purchase.
You want a decent quality wood base – cheaper woods aren’t cut as nicely, splinter, etc. Woodpeckers has consistently good quality – and you’ll be supporting a US based Jewish owned business. This is not sponsored by them, and I purchased this myself – but I do get a commission (as I would from any supply I share on Amazon – I truly do recommend this product.)
On to the markers I used – Again, paint markers quality matters for both opacity and longevity. I personally find Posca markers to be consistently worthwhile, however, for these, I used Ohuhu dual tipped acrylic markers to give me the ability to cover larger spaces and get into smaller spaces with the same color.
The quality of these is excellent – with rich, consistent colors, and a good life span. They did send me a sample for holiday gift guide features – not this post – and I’m not paid to promote them specifically here.
You’re specifically using markers, not paint, so that you can get that detail right.
You CAN paint a base layer but I didn’t – I didn’t want to mess with skin tones so I just left the wood as-is. Sue me. The wood has some absorption of the marker, so you might even want to just prime it but I was happy to work straight on the wood.
And finally, sealing your DIY Passover peg dolls – I simply used Super Gloss Mod Podge – one of Mod Podge’s hard finishes. Their regular ones sometimes are a bit tacky and so you’ll specifically want to use something like this, or even their outdoor or dishwasher safe formulas.
You MUST wait until the paint is completely dry before sealing, or you’ll smudge your design. Give it an hour – or even overnight!
Don’t overwork the Mod Podge. Just slightly tap it on and smooth it. You can always paint another layer after and work that one as much as you want…
You can also use an acrylic spray sealer – there’s less risk of smudging your design. I just find it hard to work with on something small like this.
How to use these Passover Peg Dolls
There are so many different ways to use DIY Passover peg dolls. In fact – you’re probably looking at this because you already have a need in mind! However, I’ll share some below just in case:
- Dramatizing the seder – tell the story of the Seder using these as puppets/figures to illustrate it.
- Crossing the sea Passover Seder tablescape – many people like to include the splitting of the sea as part of their Passover tablescape. Add these figures to the center too!
- Sensory Bins – This is what I made this for! I have a new one coming this year…
- Small Worlds – This is similar to sensory bins but usually with less of a focus on the sensory and more on the play. Usually it’s a tray – set these out with pyramids, dry/wet land props, play bricks, etc.
- Classroom demonstrations – Use this as a teacher telling the story to create visuals and engage the kids.
- Themed play areas – My kids’ preschools always have areas they set up as a “themed” play space for every holiday. This is a great toy to include.
The Basic Process for creating DIY Passover Peg Dolls
Supplies
- Peg Dolls
- Pencil
- Acrylic Paint Markers in super fine and medium tips (same colors) – I recommend these double tipped ones. You’ll need a very fine black one too, which comes in the pack
- Mod Podge Super Gloss
- Paint brush
Process
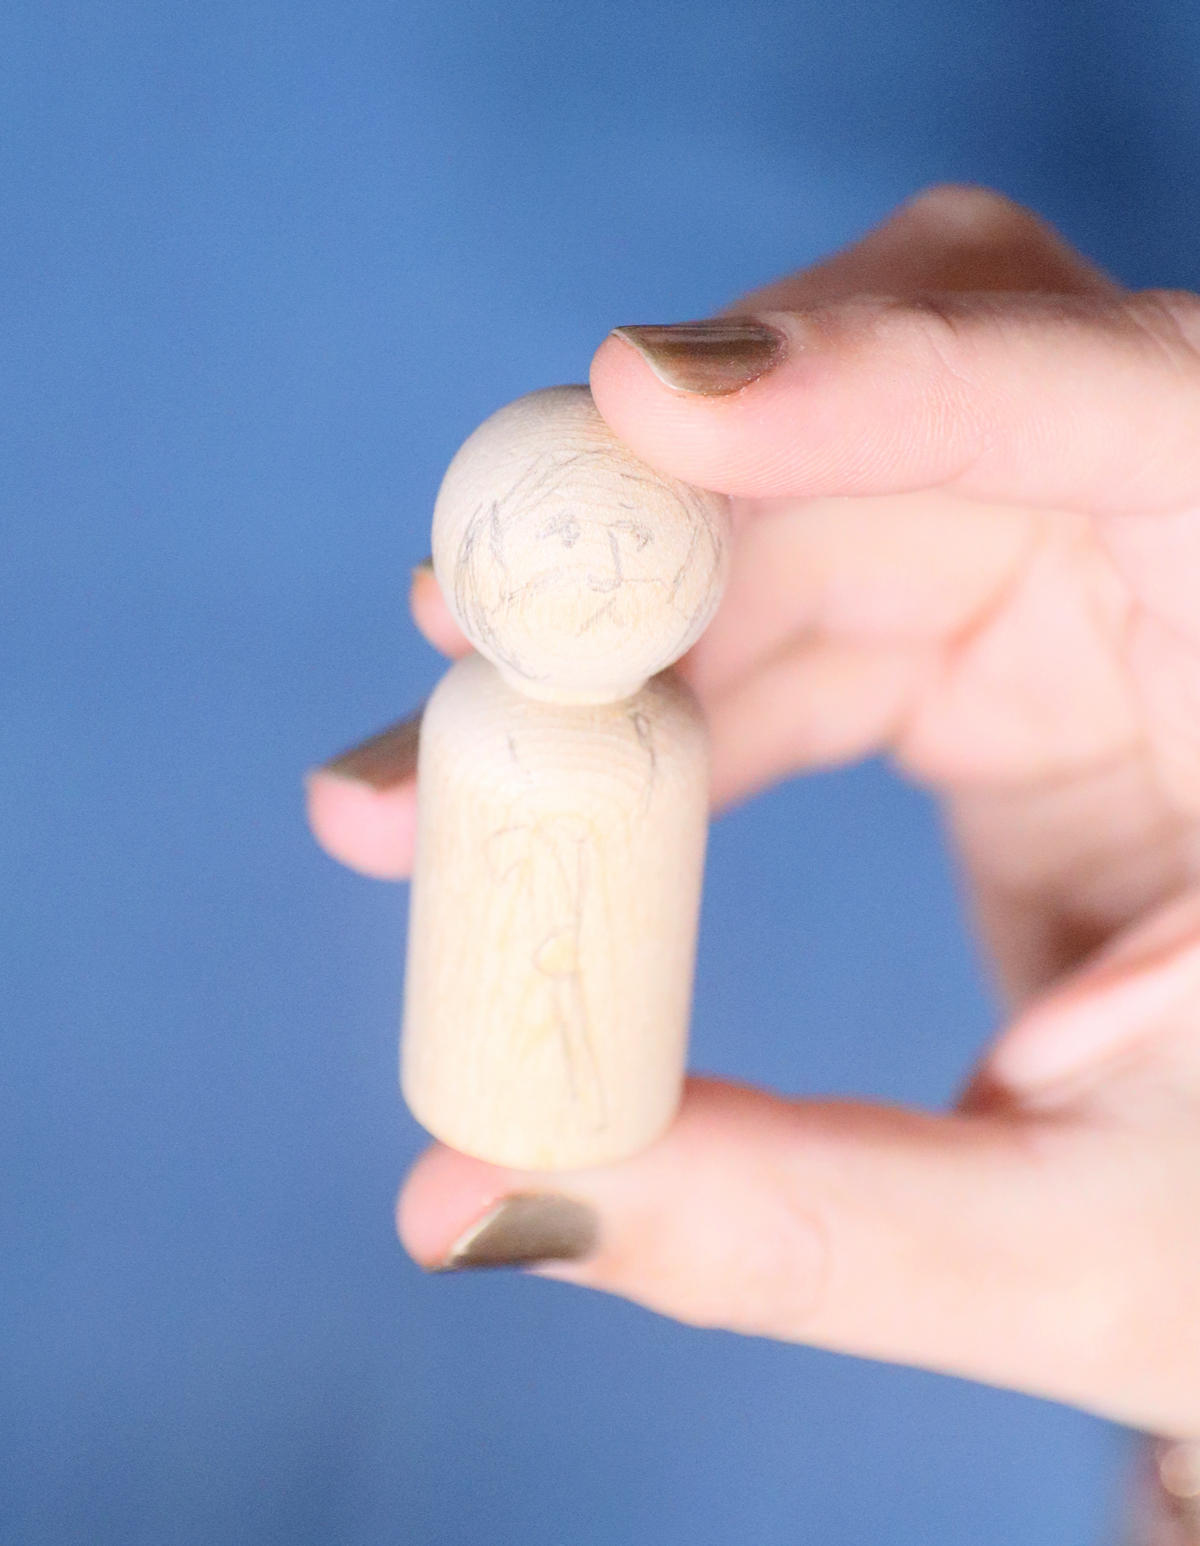
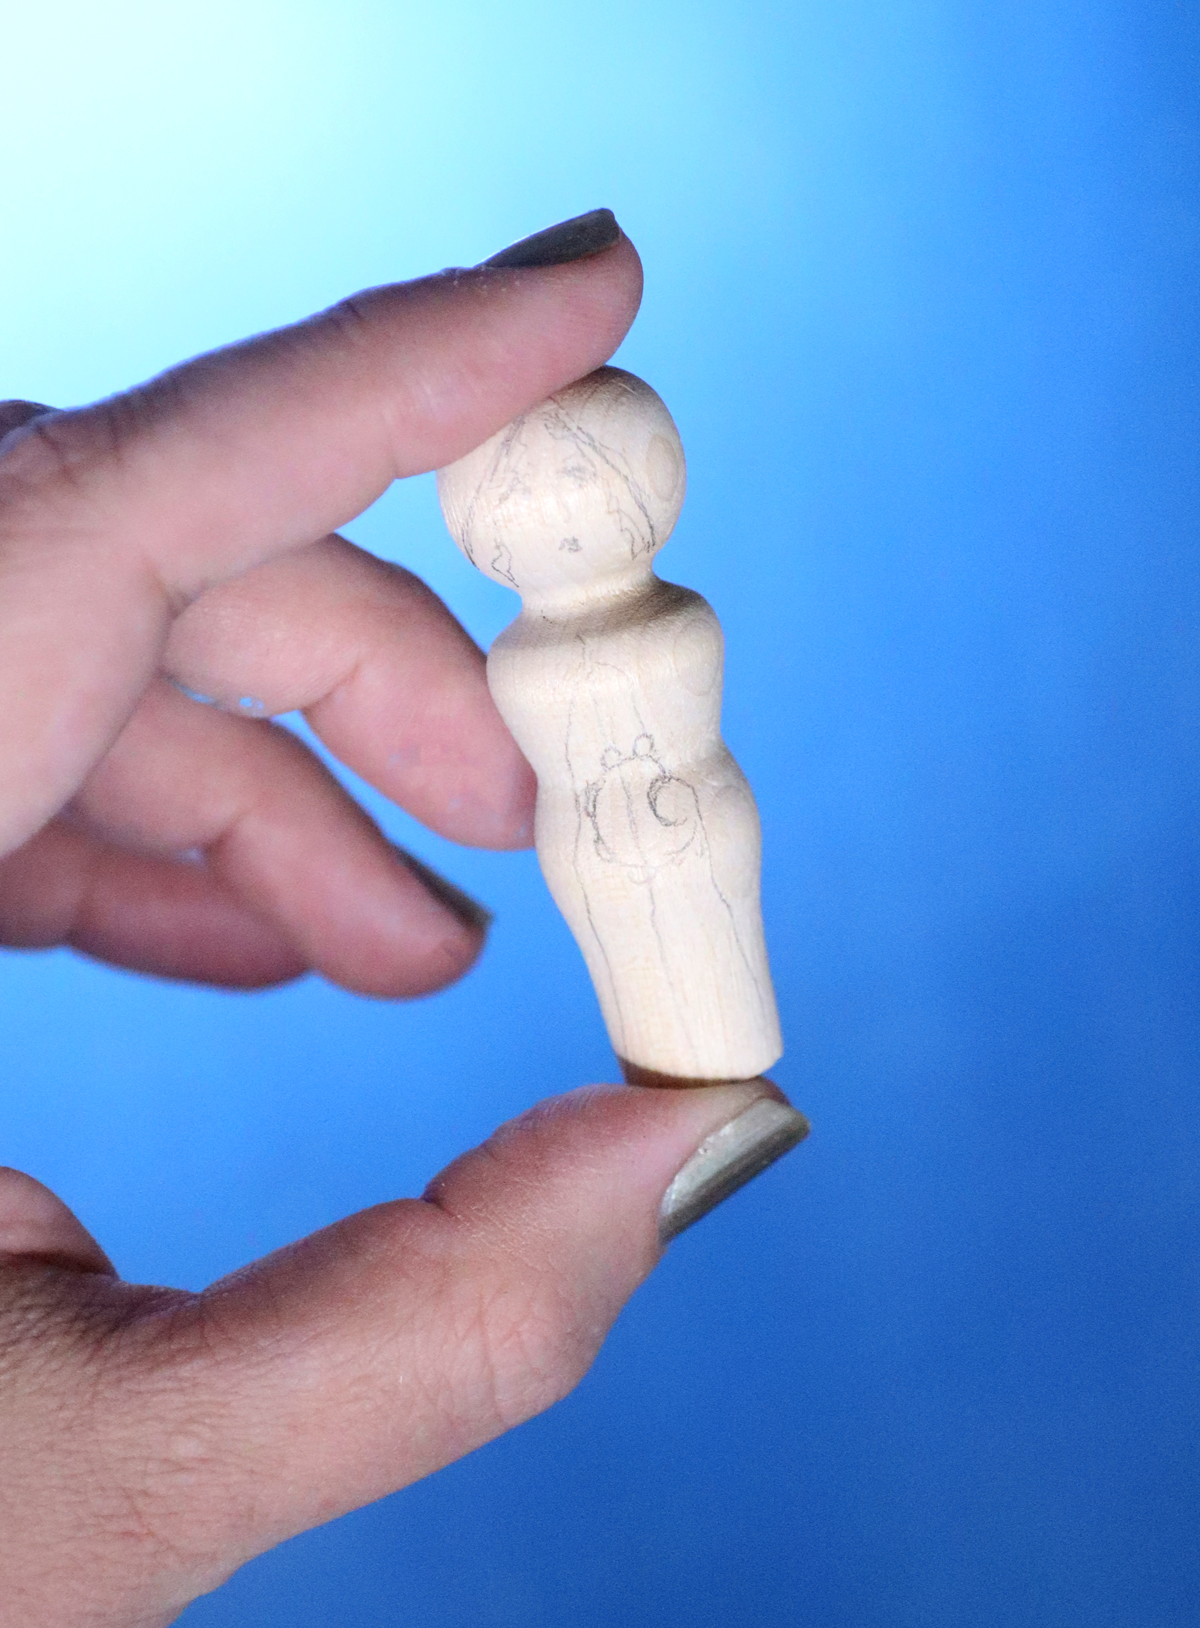
1. Pencil in the rough outline of your design. Keep it simple – simple shapes, simple features.
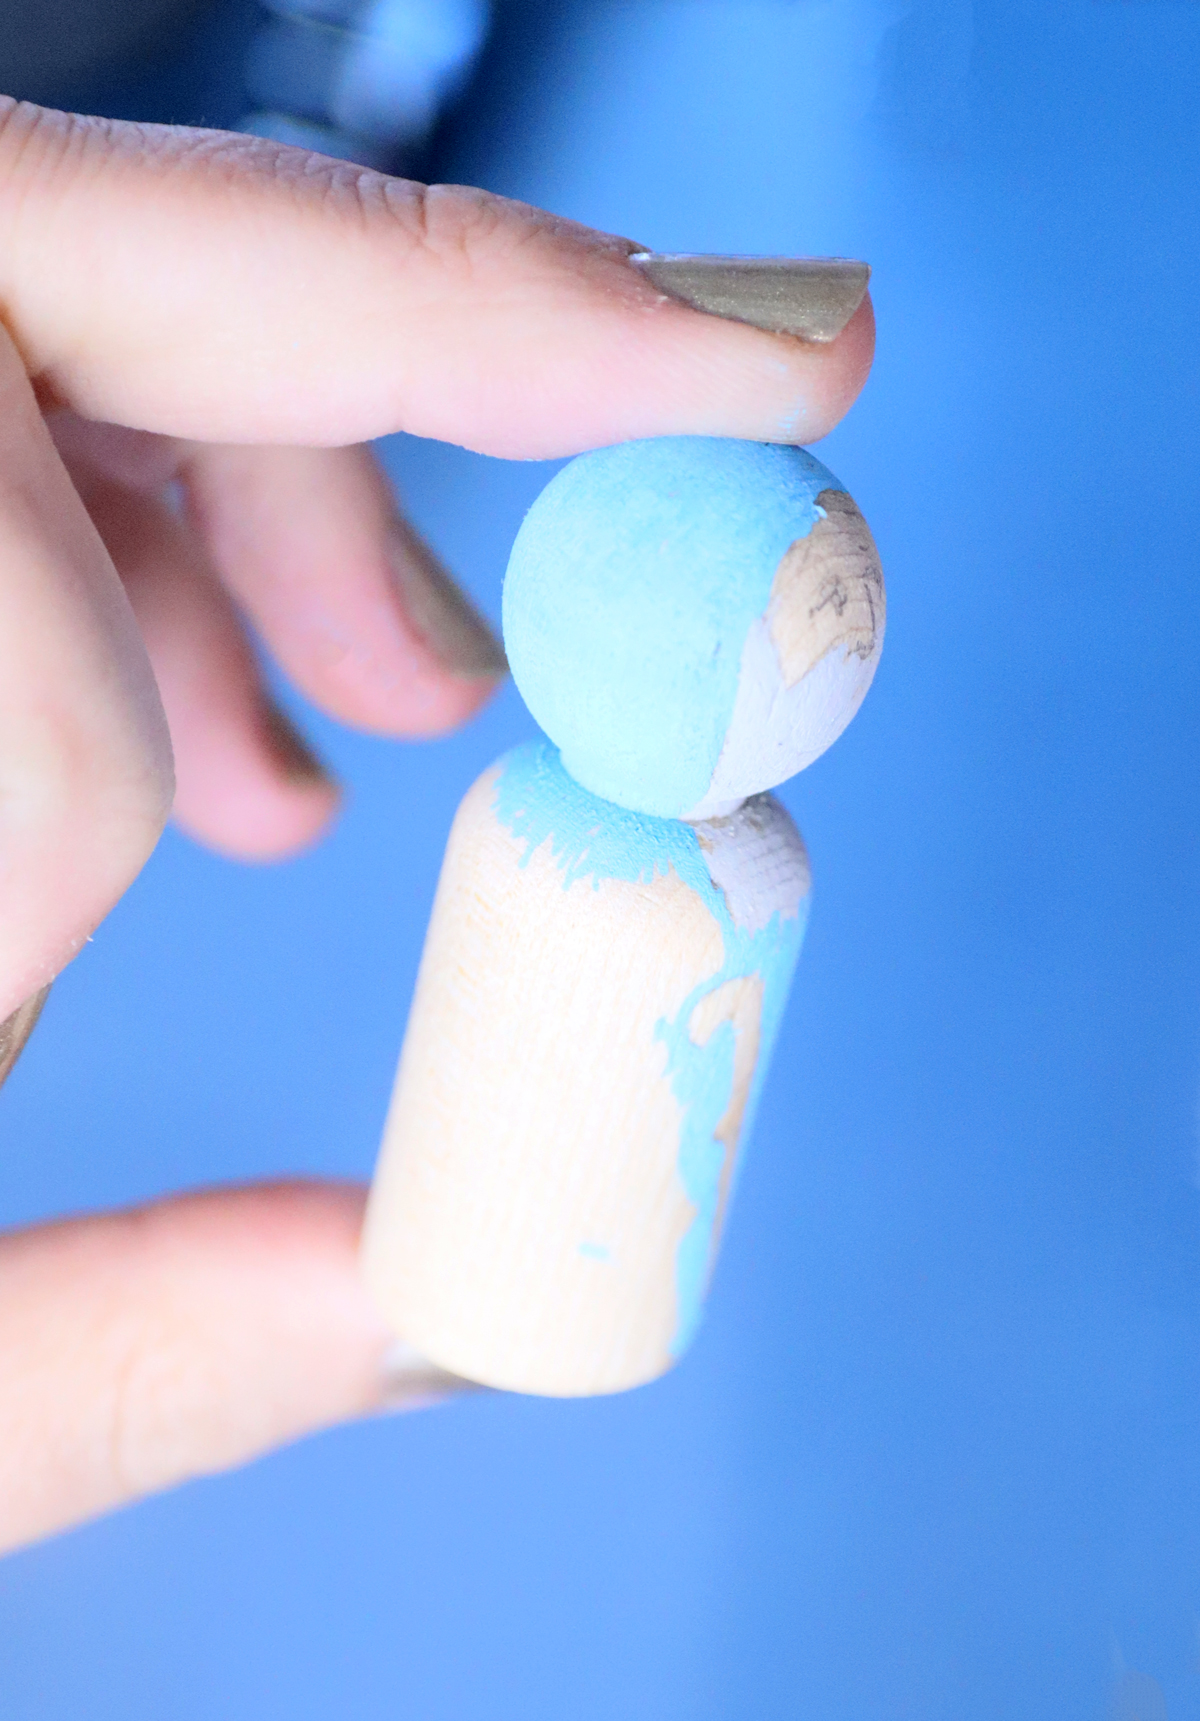
2. Block in the color of each area, using the finer tip to get into small spaces and the larger one to cover larger areas.
3. Outline it in black, defining areas well. Don’t worry if your hand isn’t the steadiest – neither is mine and it came out great regardless.
4. Allow the paint to COMPLETELY dry (give it an hour or so) and paint a layer of sealer over it. Do another layer if you want. You may need to paint it in two batches regardless.
The Passover Peg Dolls by Character
Moses/Moshe
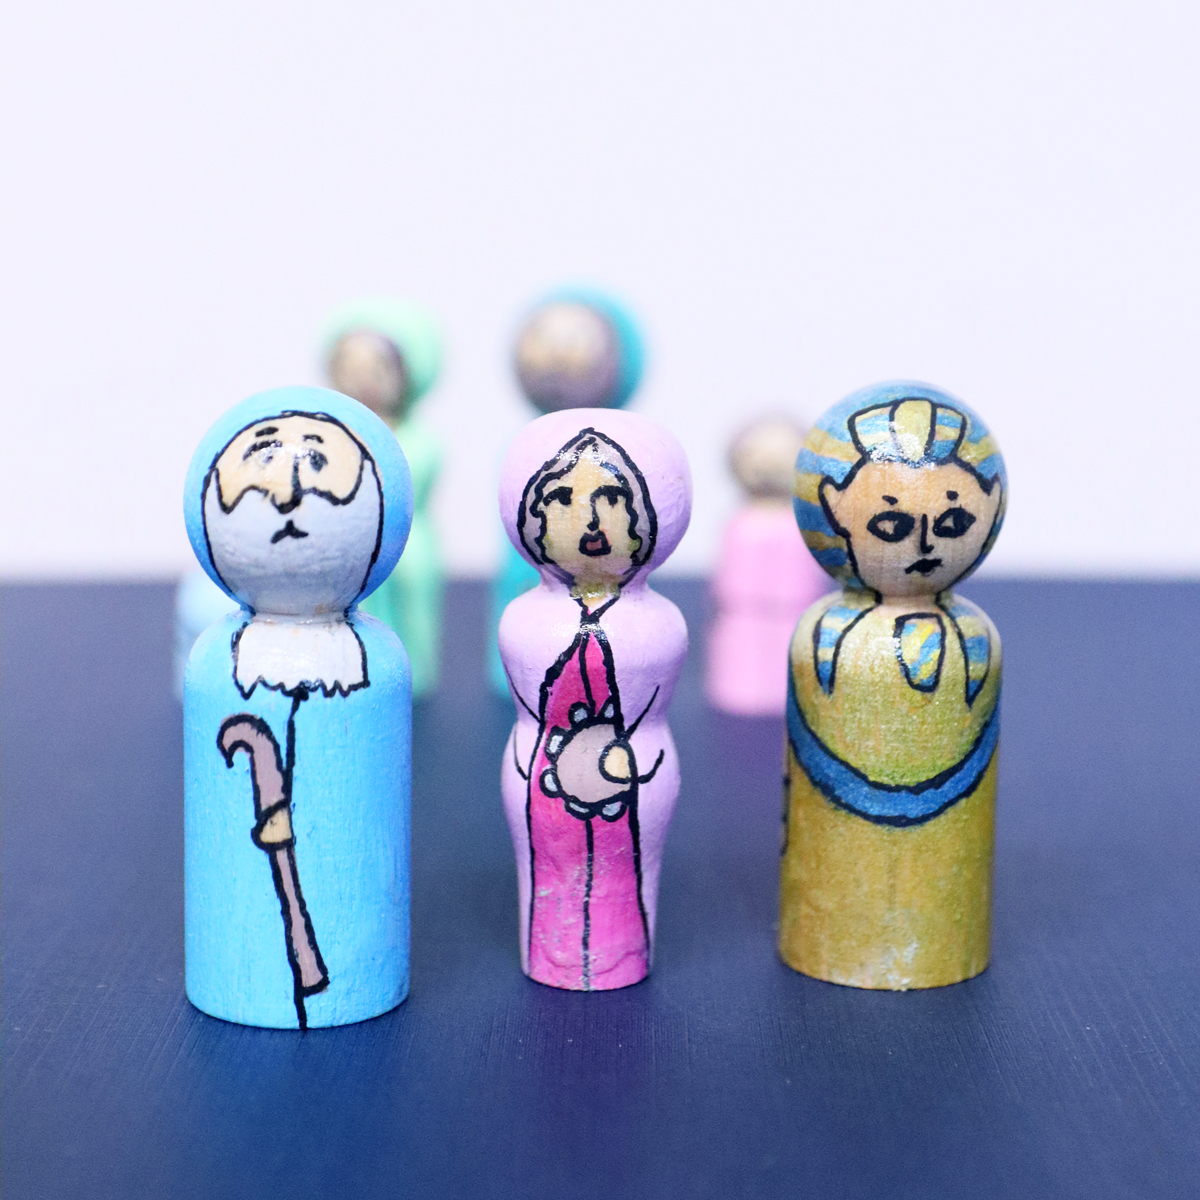
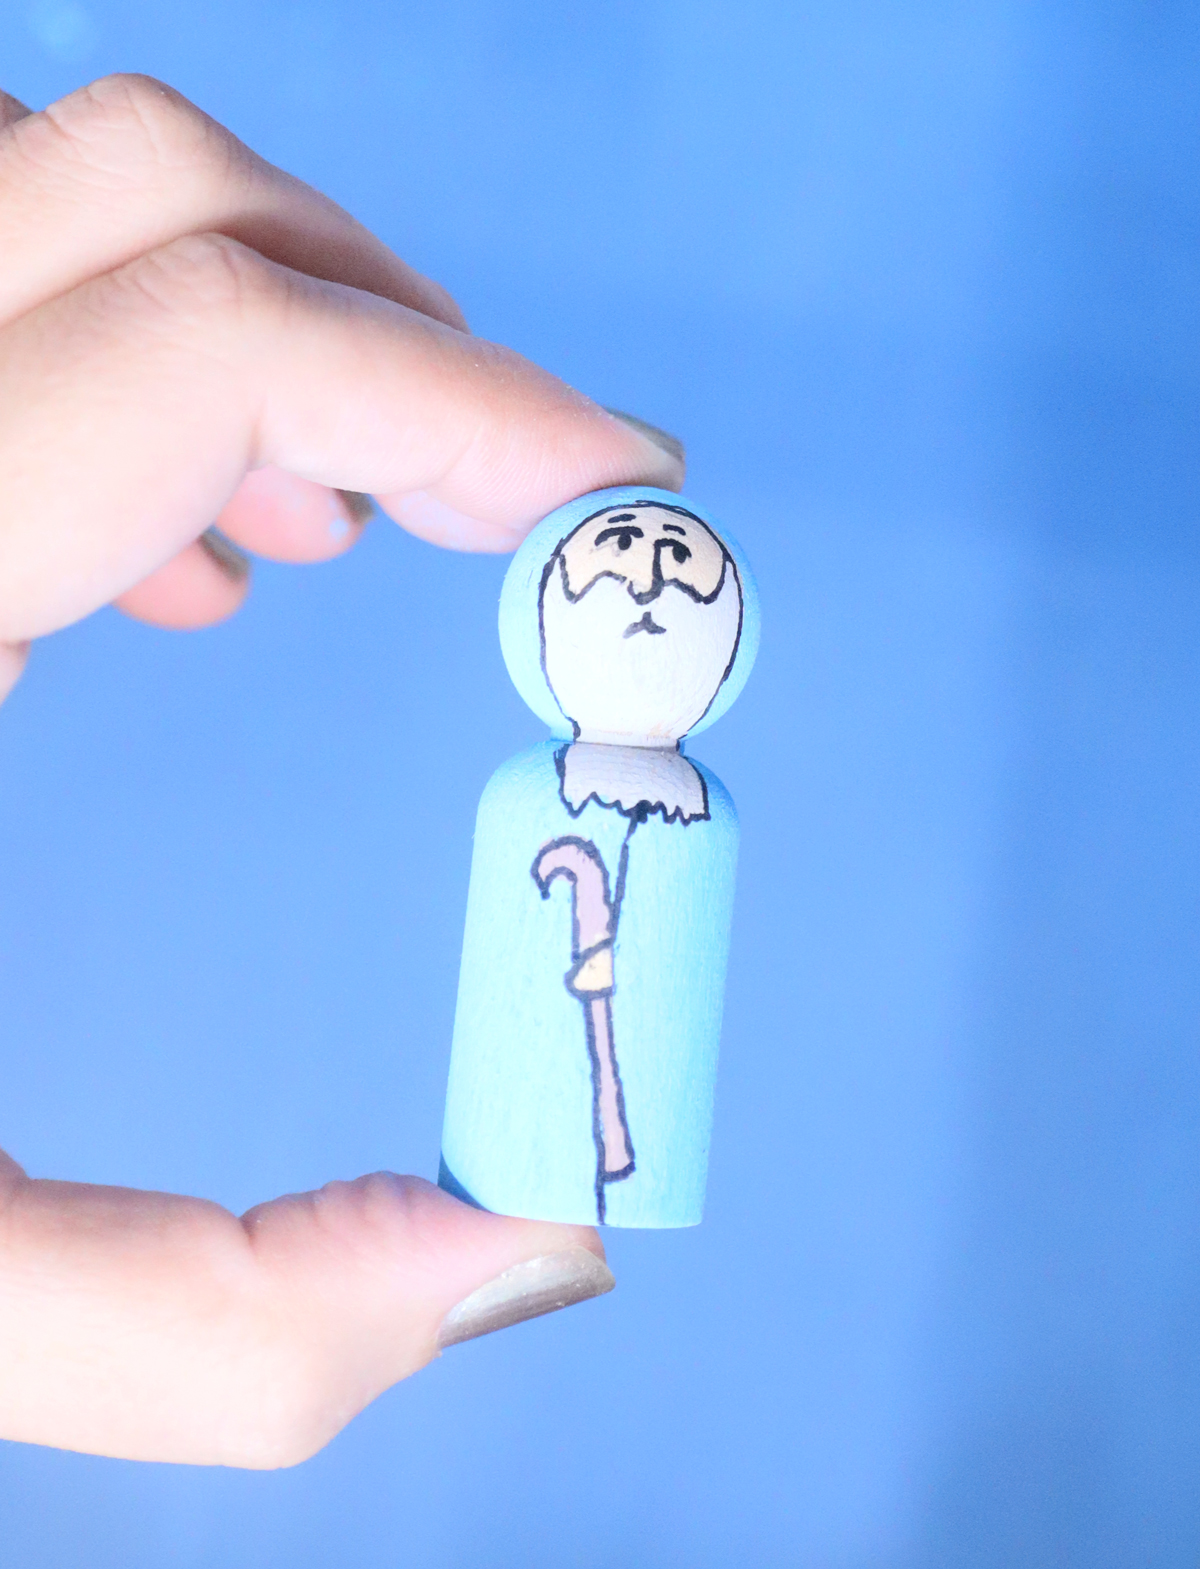
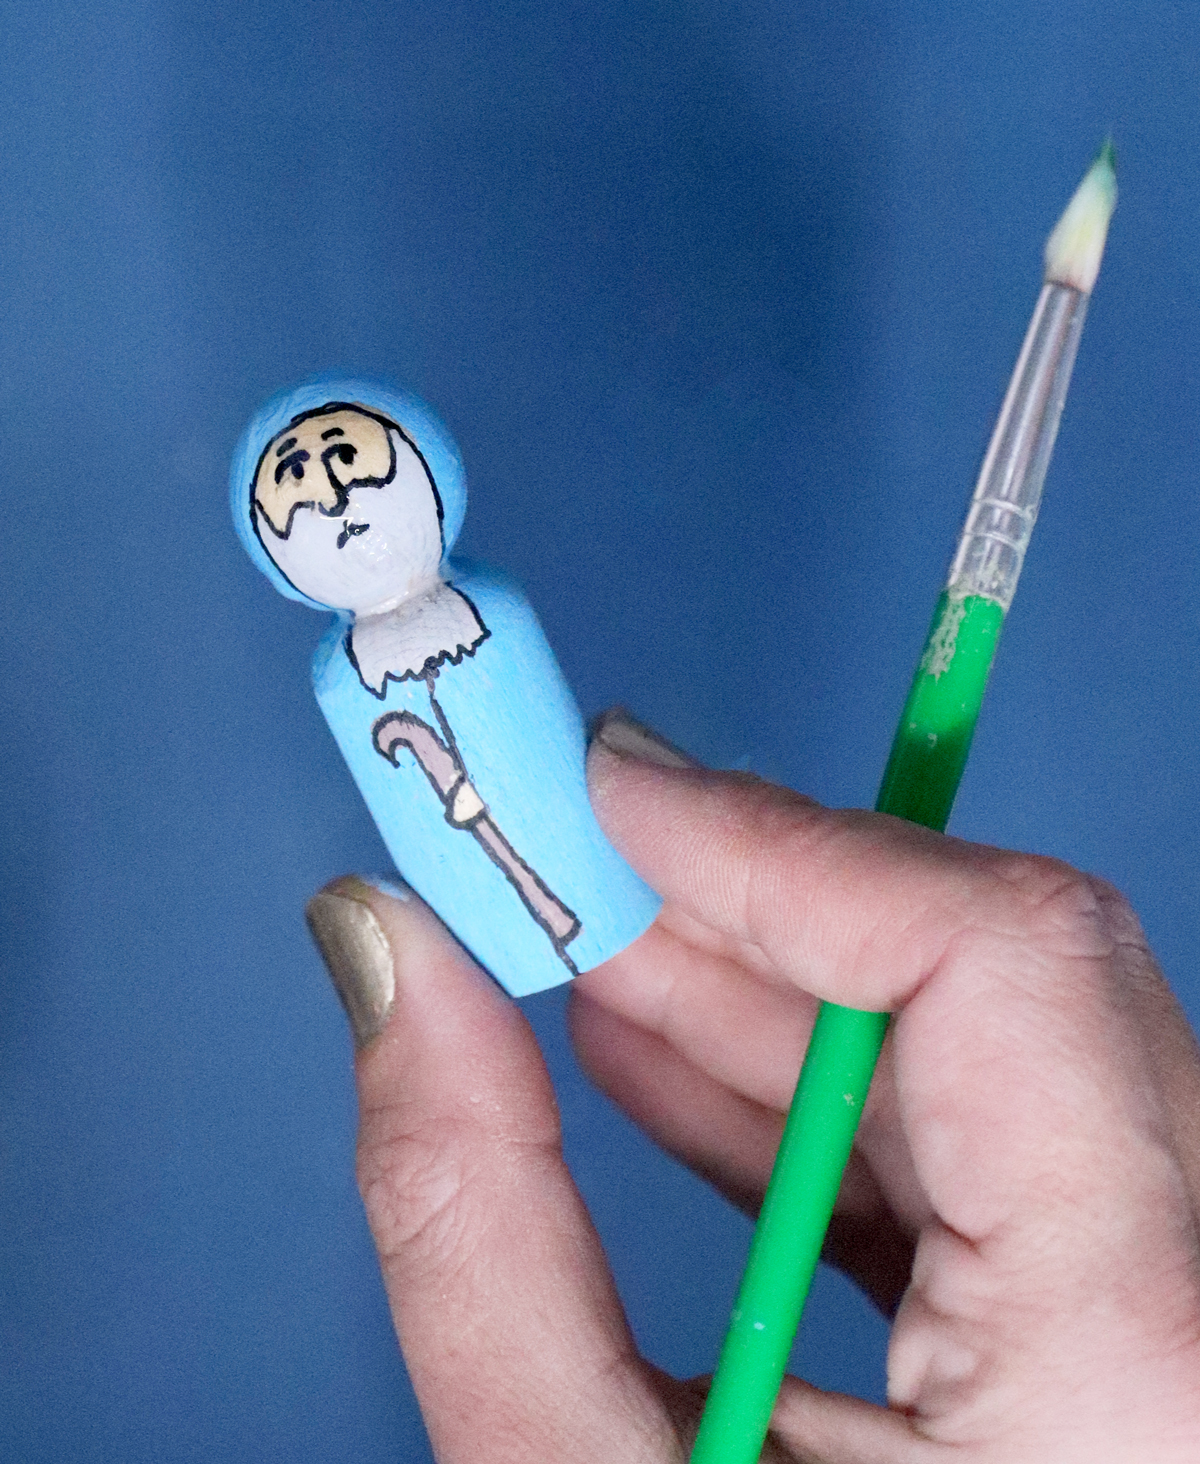
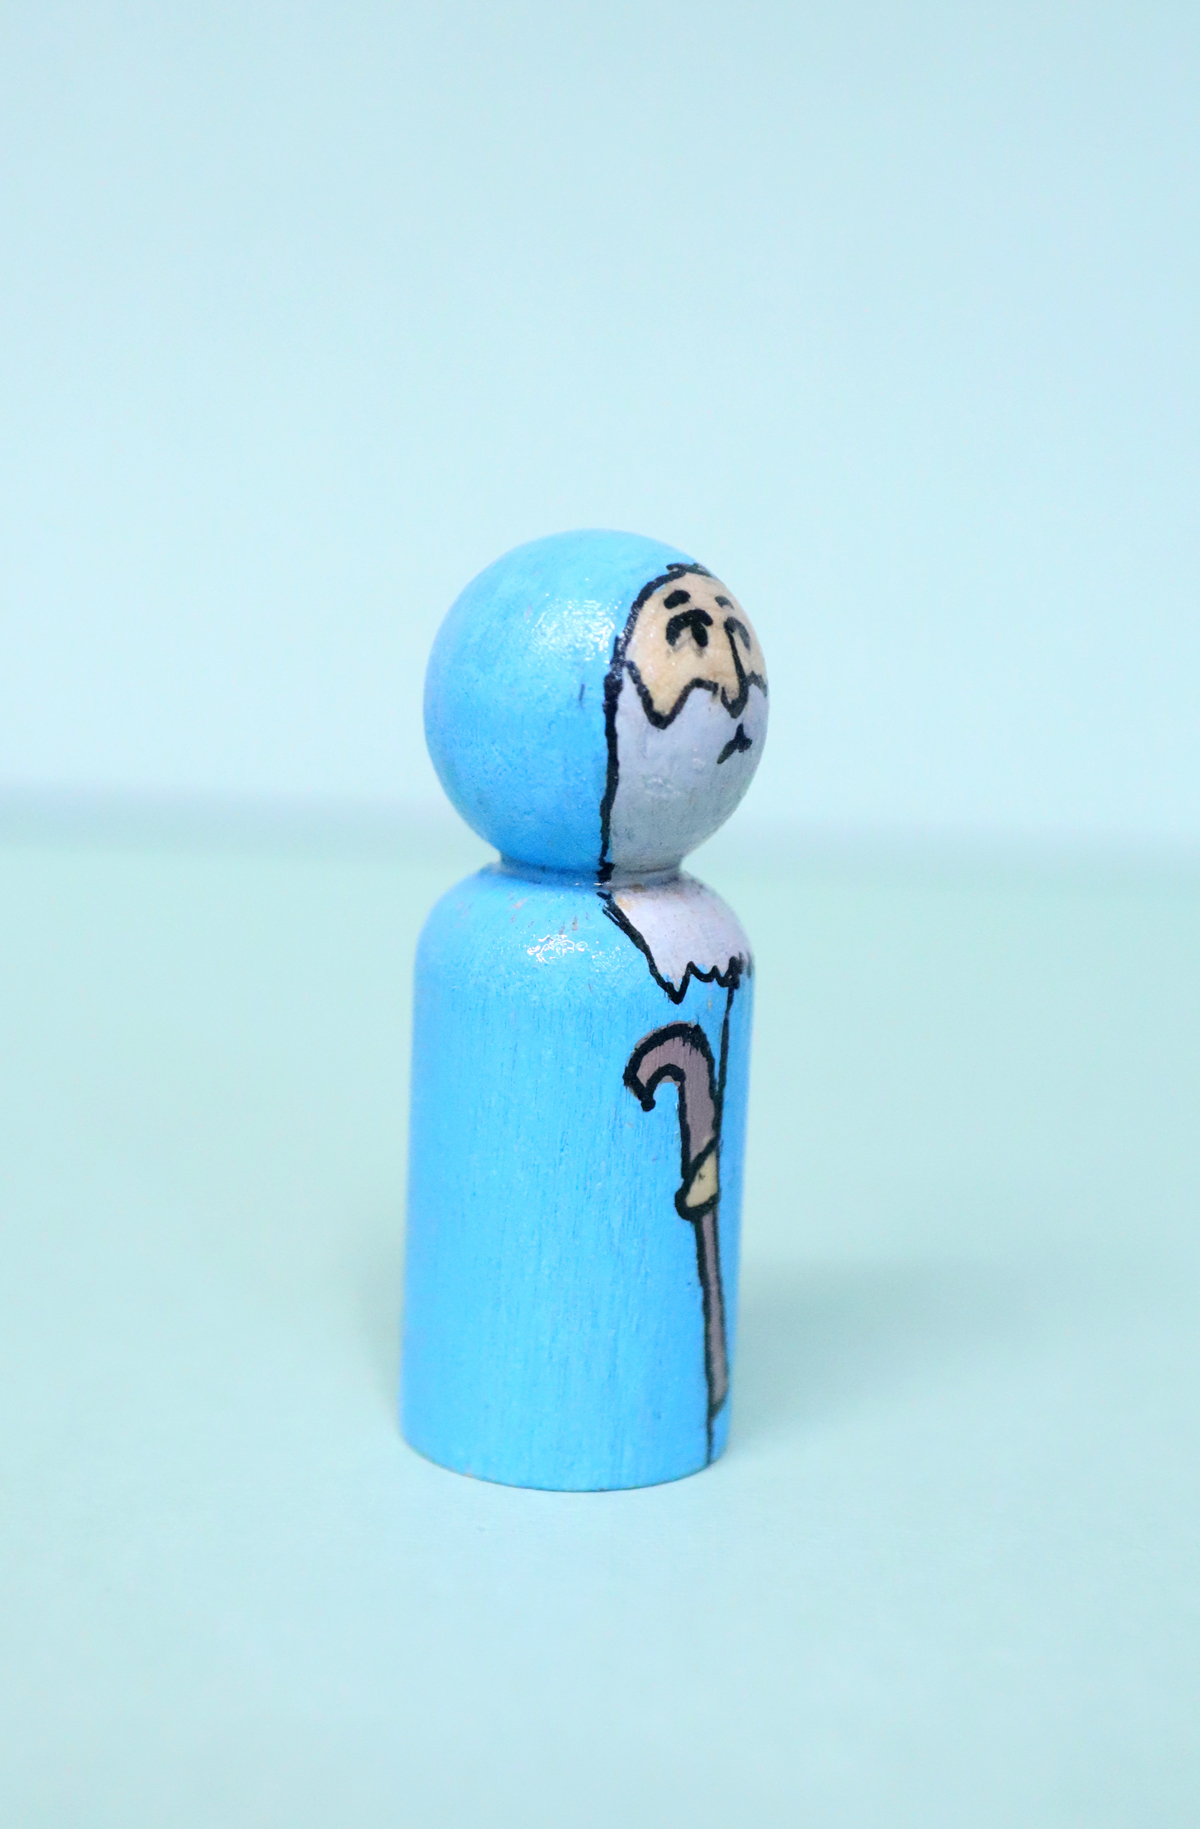
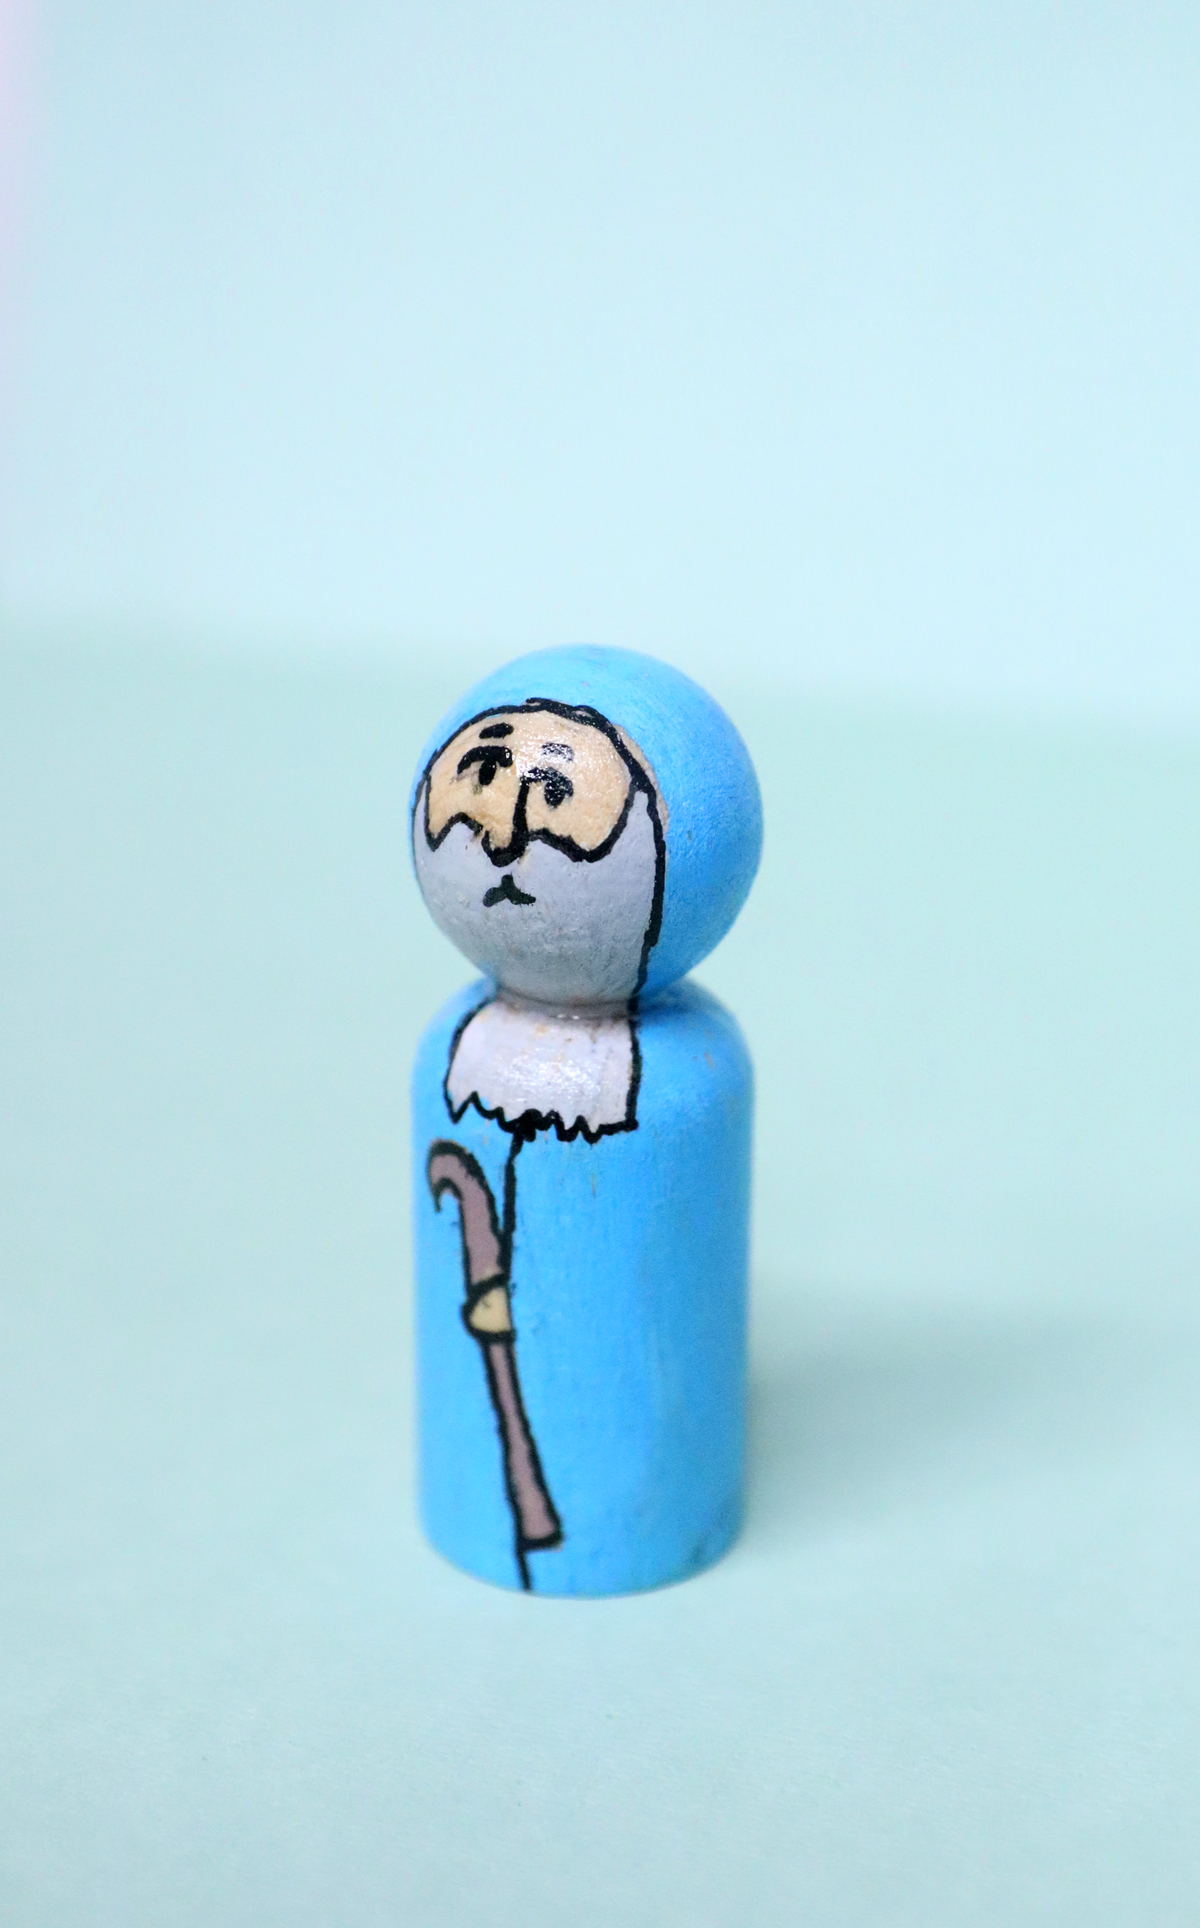
I started with a face and continued with a beard. There is a “cloak” around the face and the beard continues to sideburns until the rest of the hair disappears under the cloak. I did continue the beard onto the shirt – I don’t love it but I couldn’t think of a better way to do it. Technically, felt cutouts can be glued on after, but the goal here was to keep it simple.
He has a split in the front of his cloak, with one hand sticking out holding a staff.
The finished Moshe:
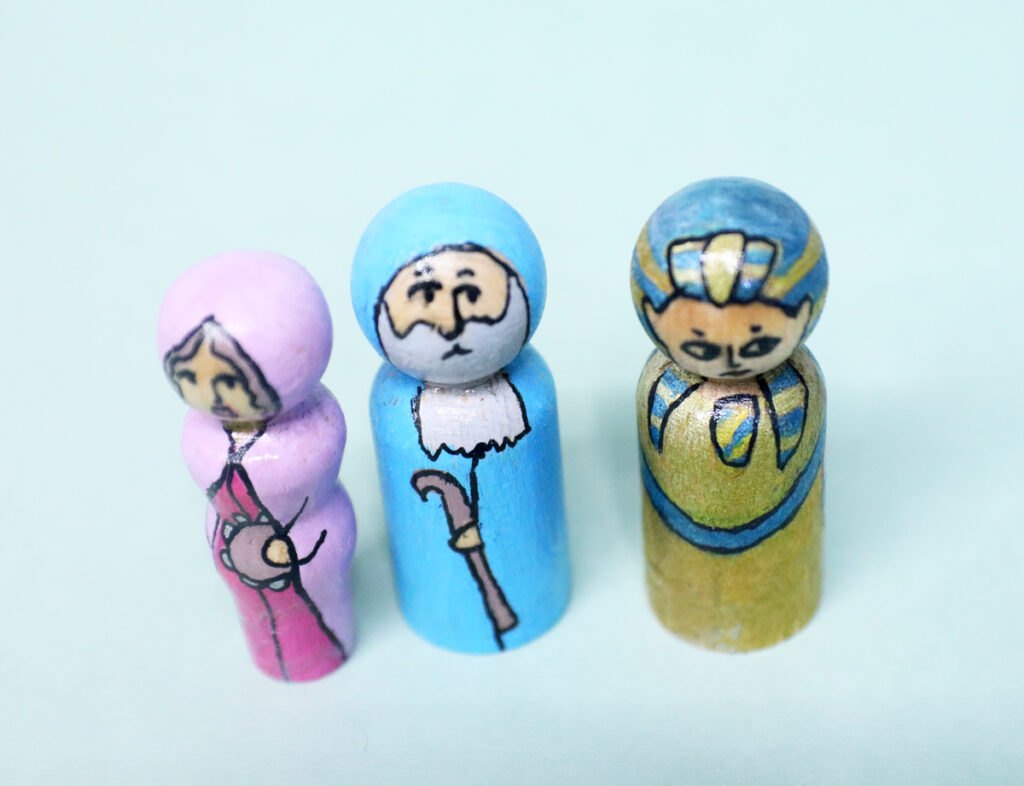
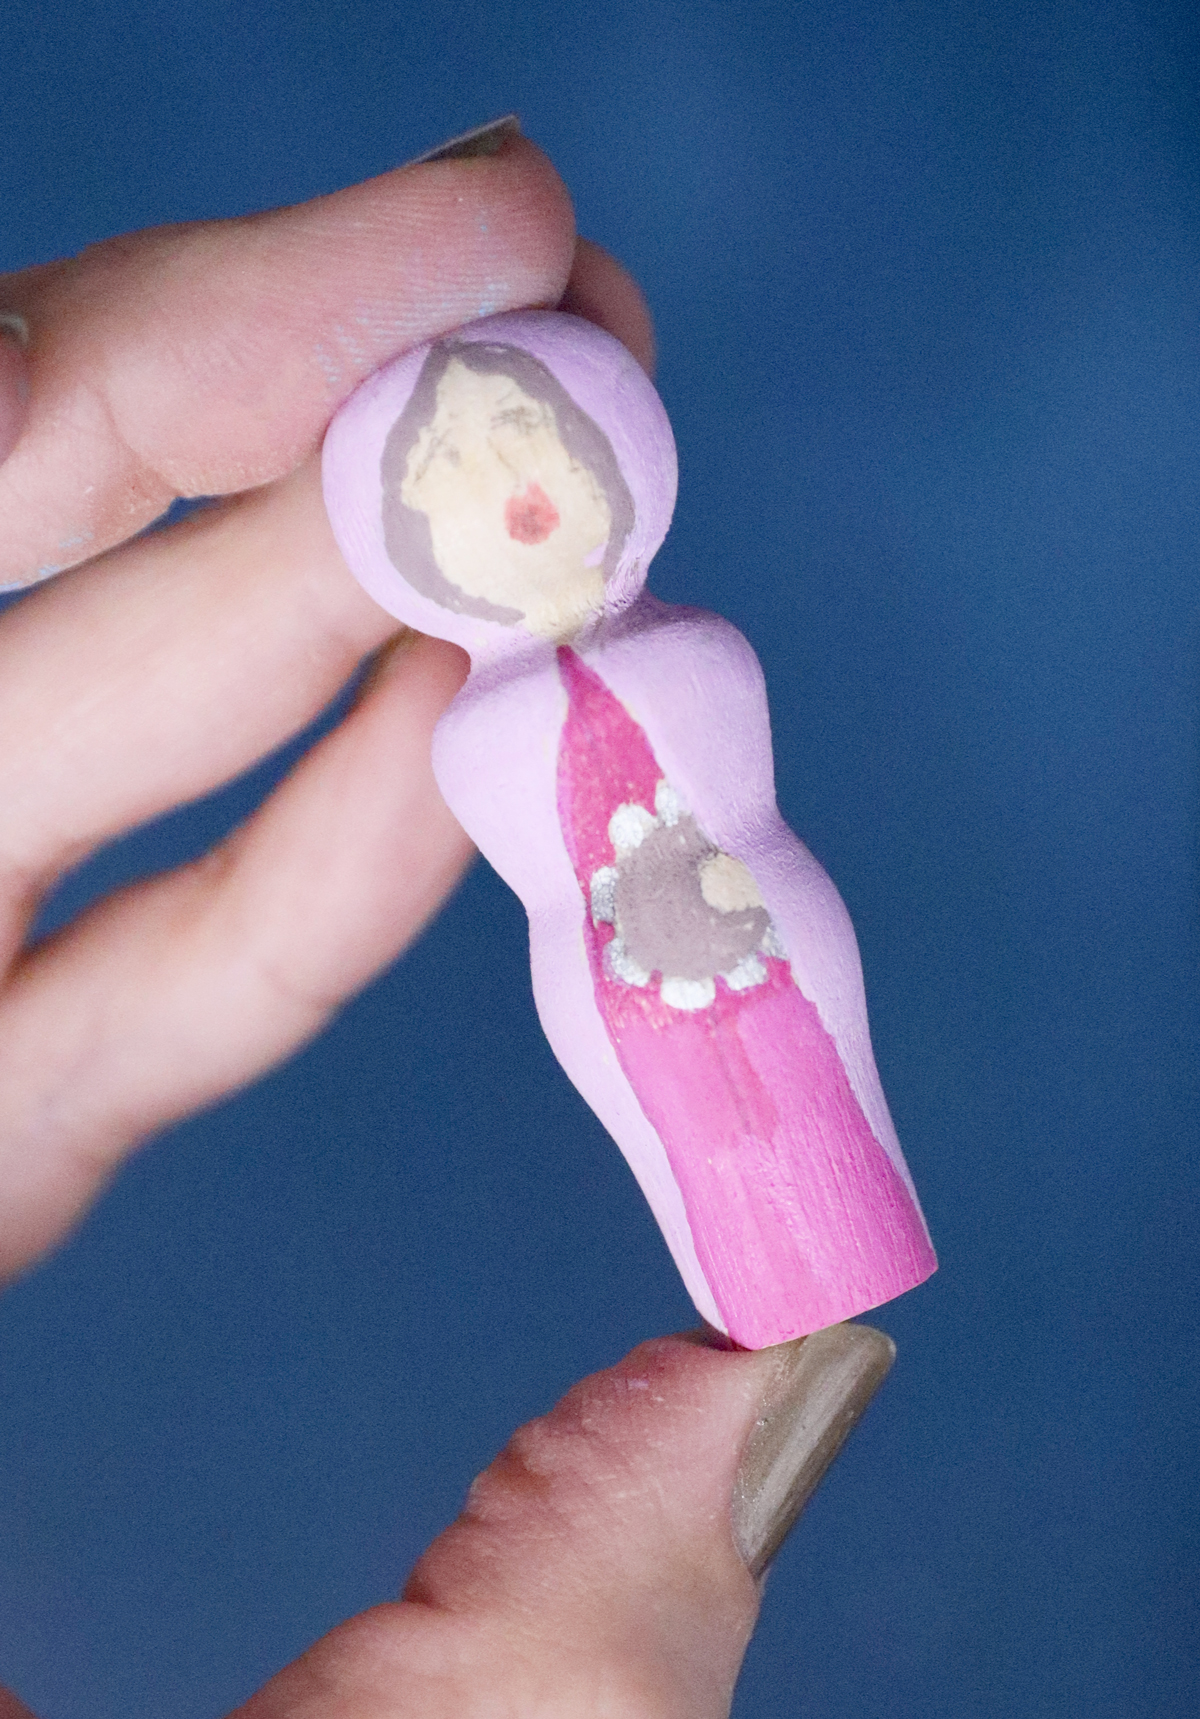
Miriam
Her cloak opens to show a dress underneath and she has small bits of curly hair showing under a v-split hood. Skip the hair if it doesn’t fit with your hashkafah.
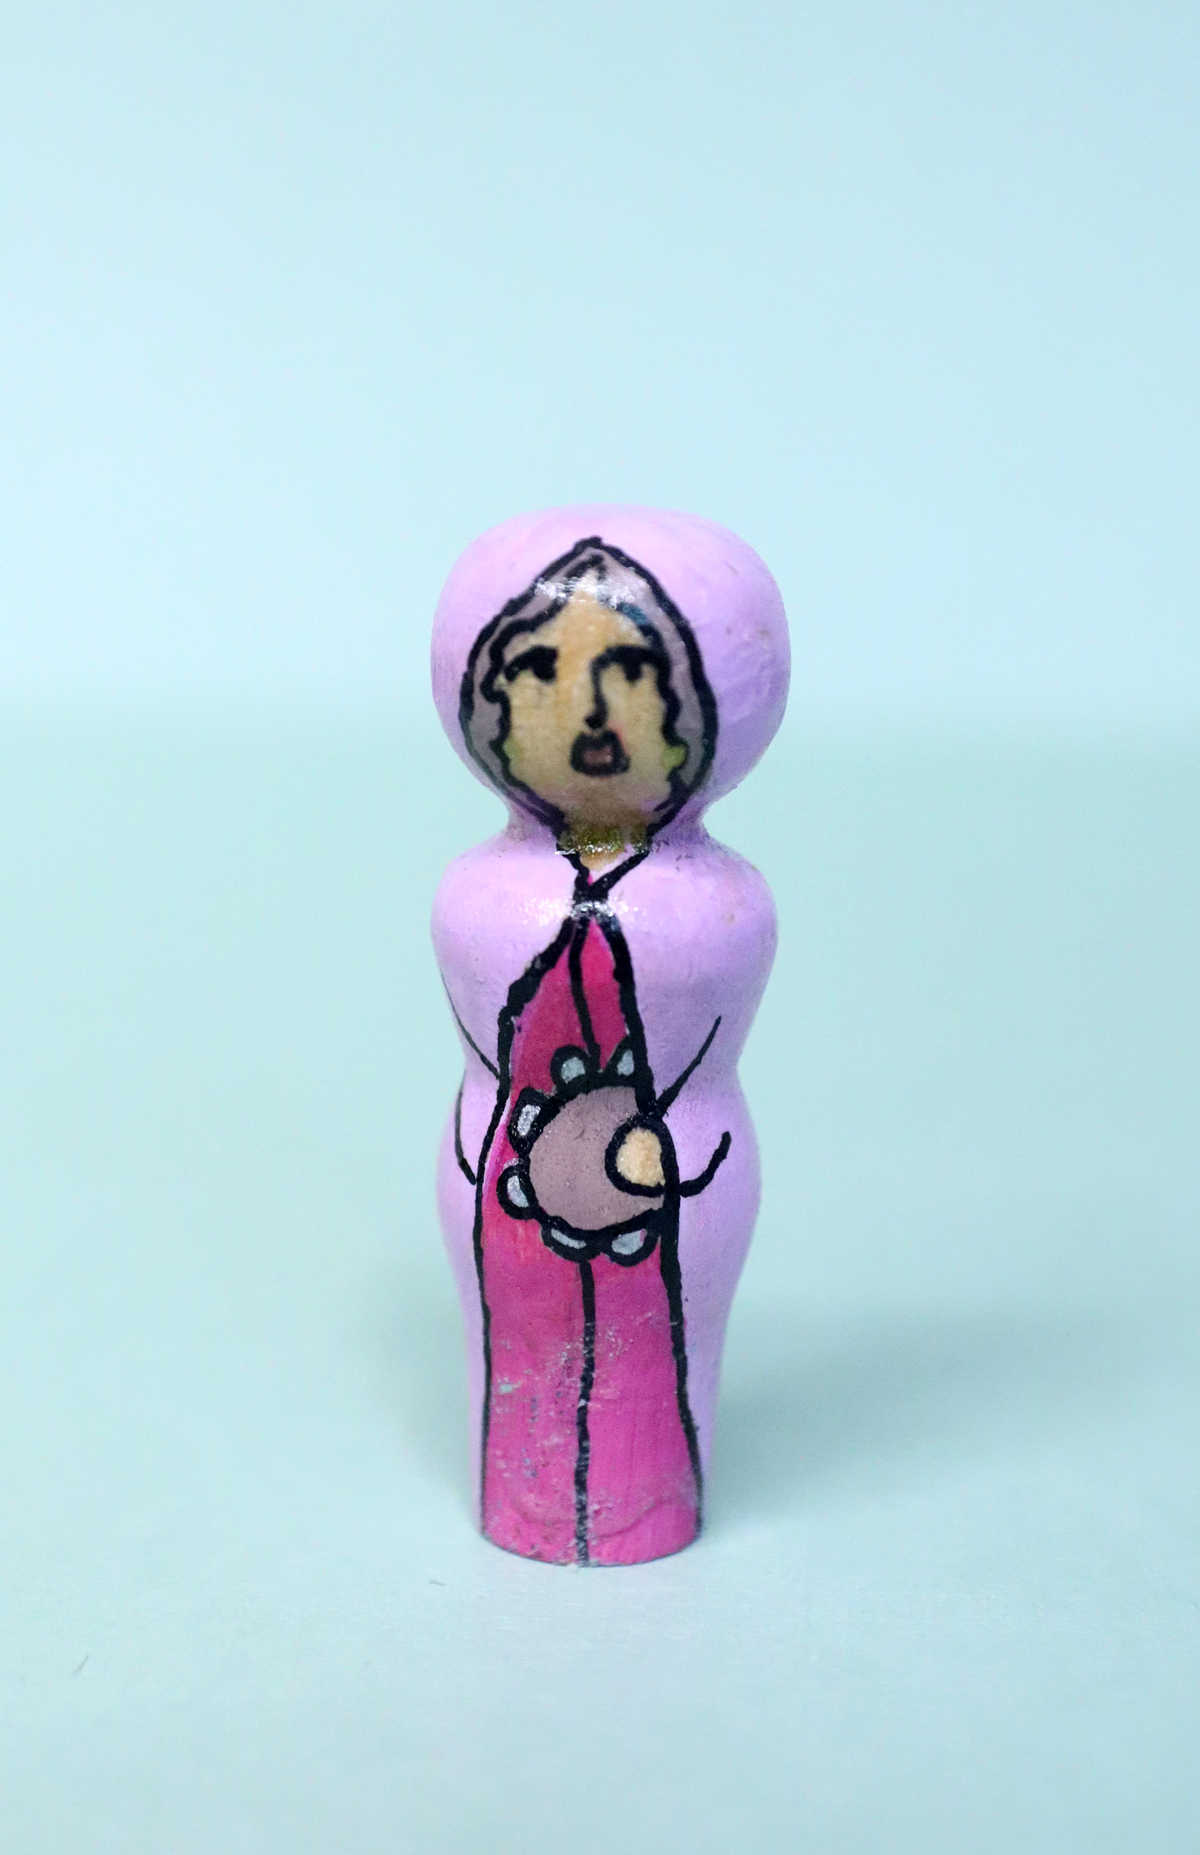
The hand emerges from one cloak with a tambourine (a circle with half-circles around it). She has simple features with a heart-shaped mouth.
Miriam finished and outlined:
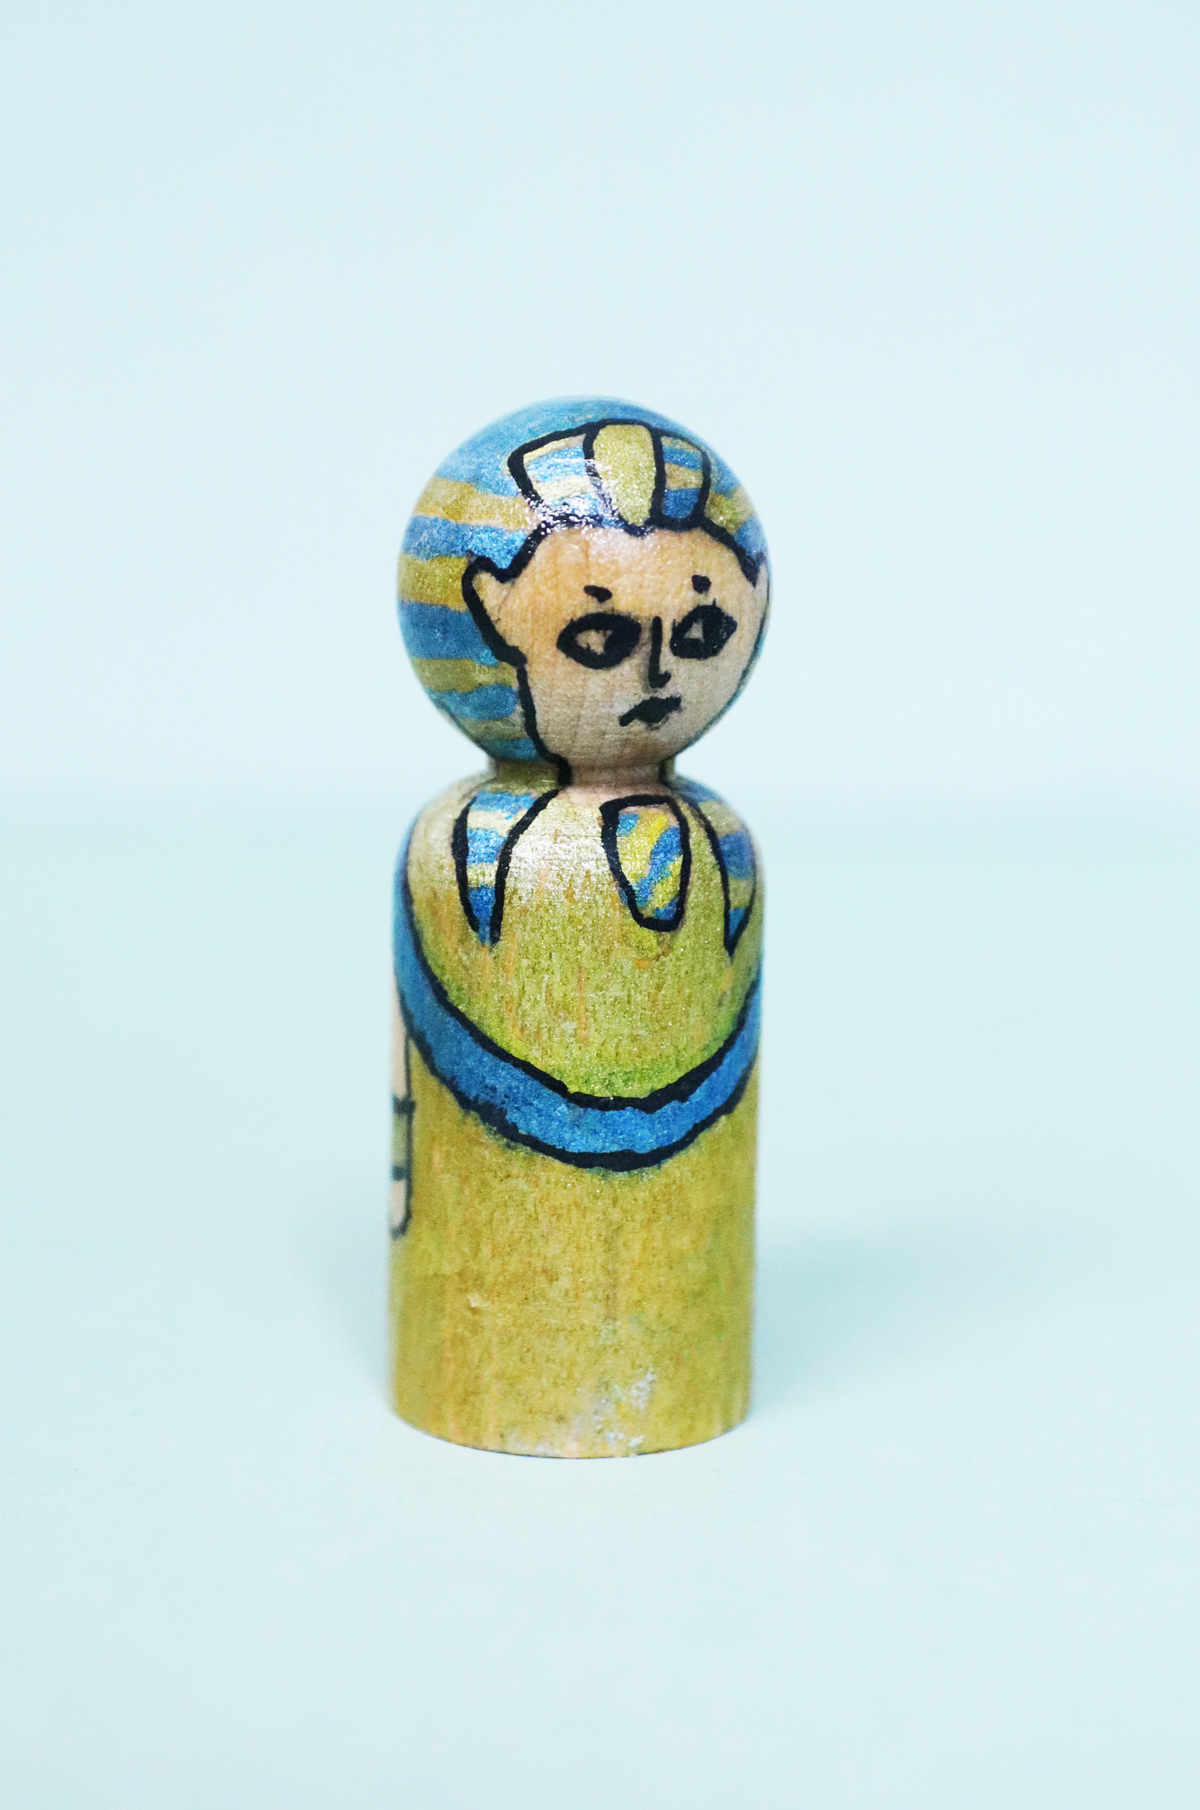
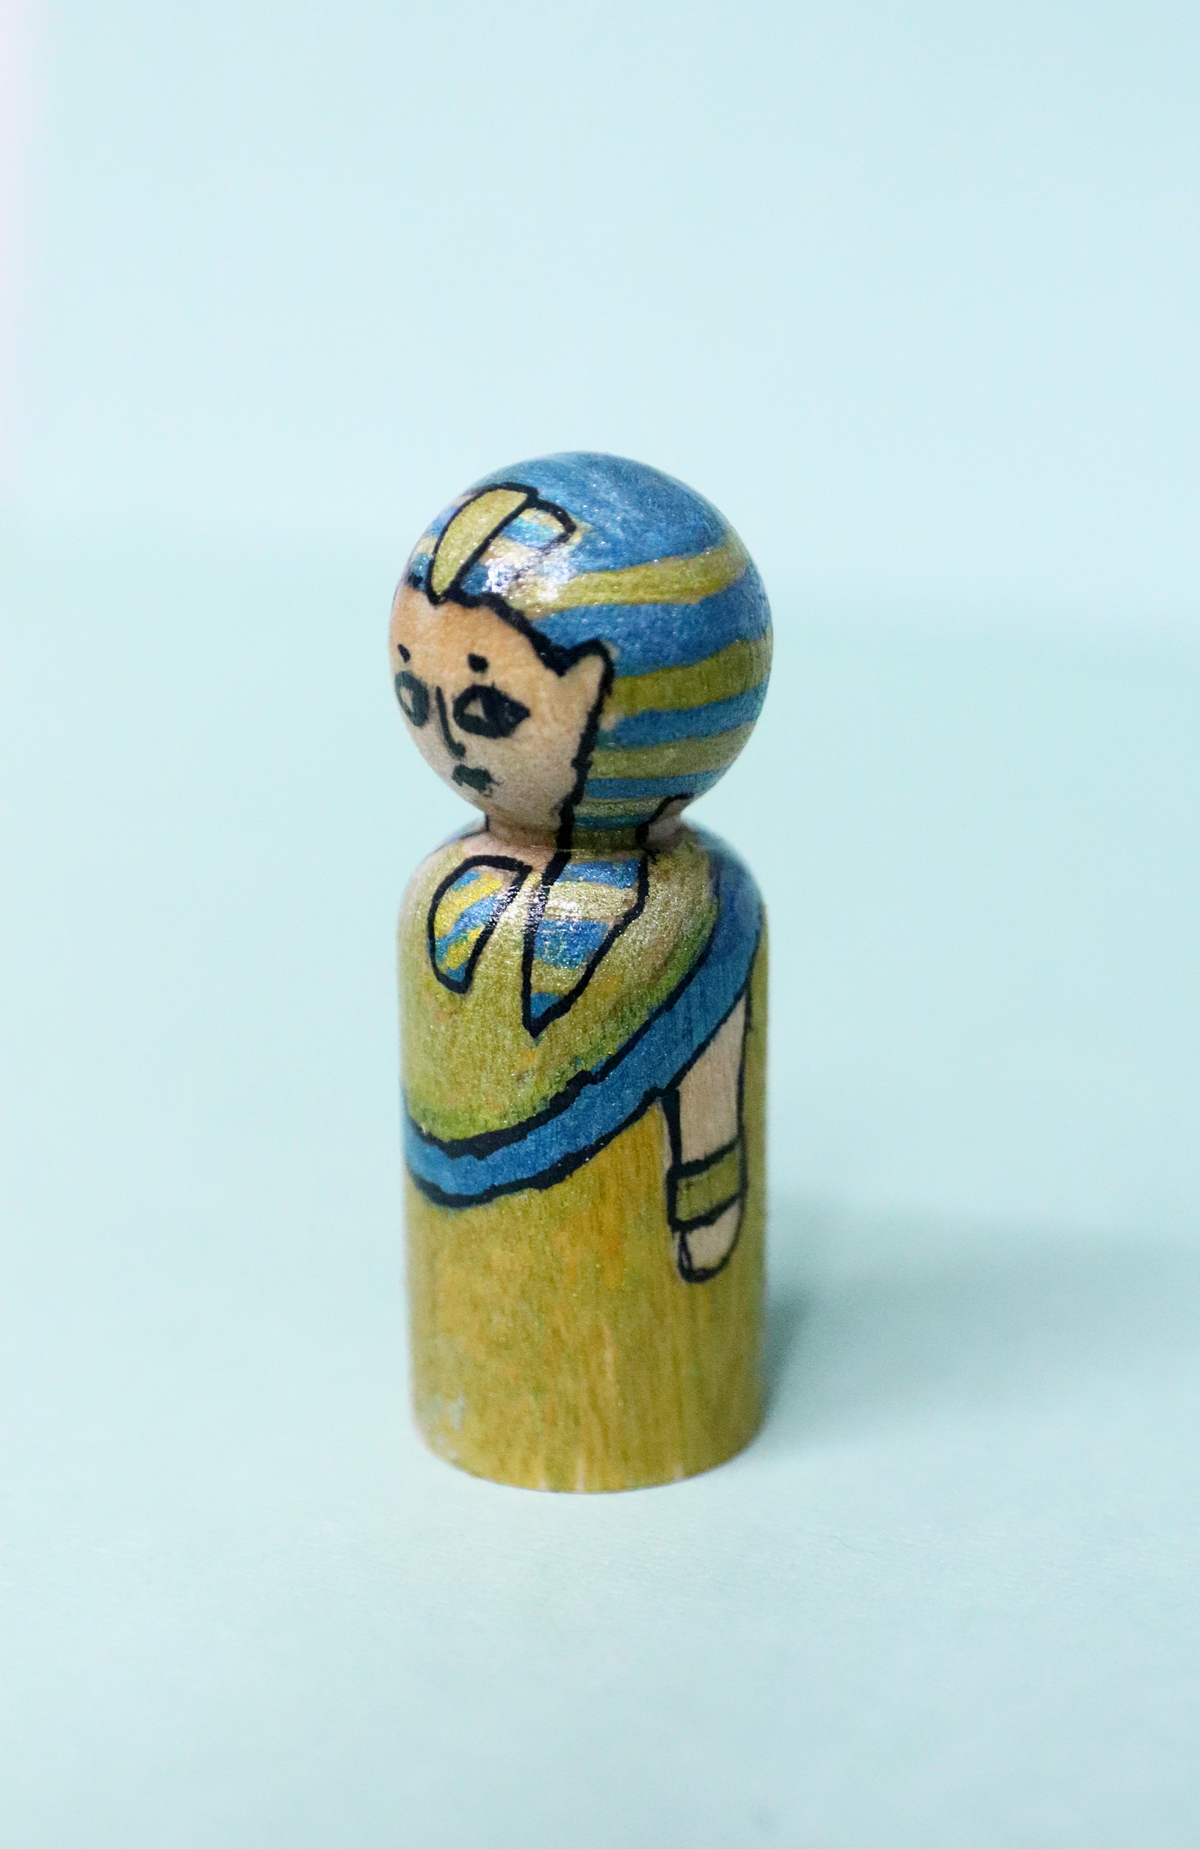
Pharaoh
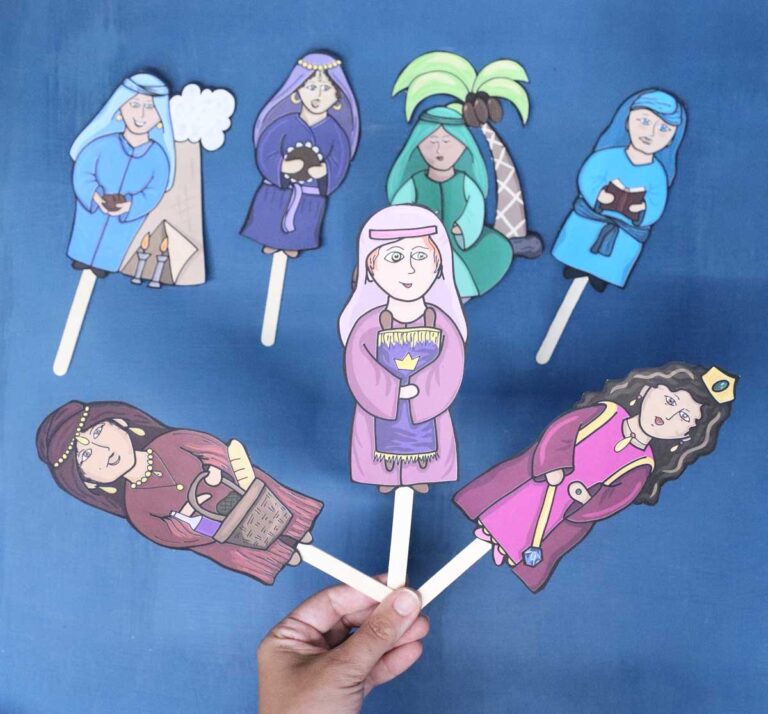
I HIGHLY recommend refrencing a photo when creating Pharaoh – I used my Passover puppets as a reference! Do try to simplify it. I put hands going down the side on him, with thick gold bracelets.
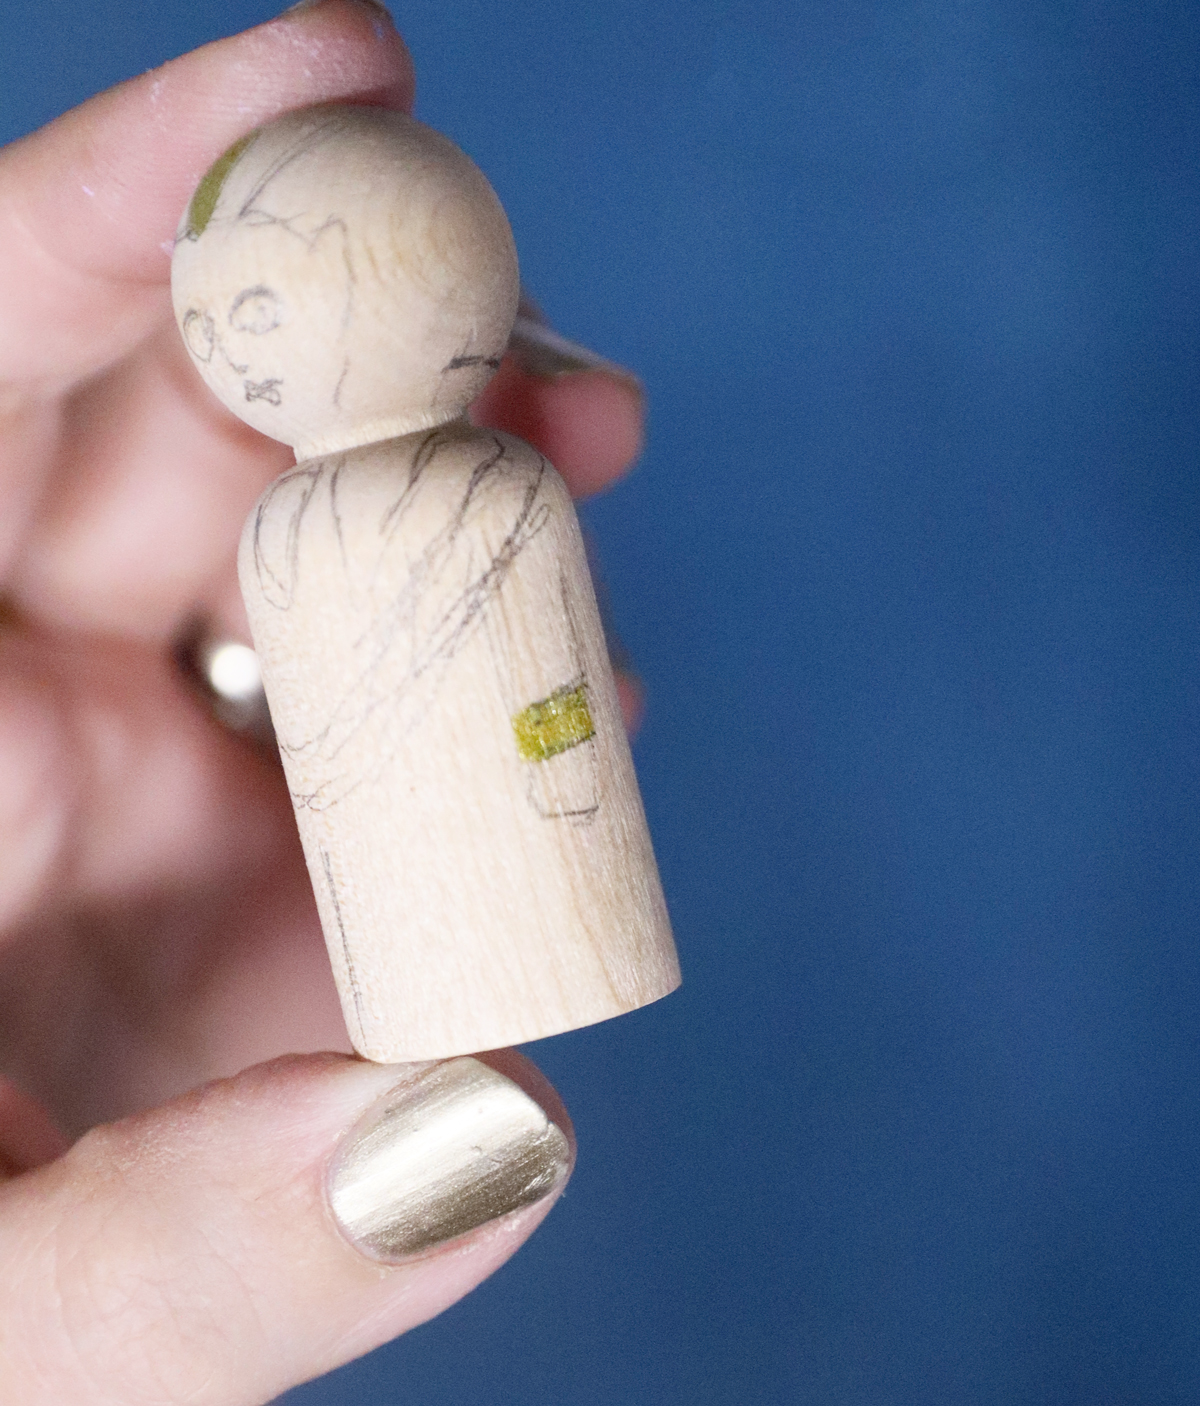
His head piece is blue and gold stripes – and don’t worry about keeping those neat!
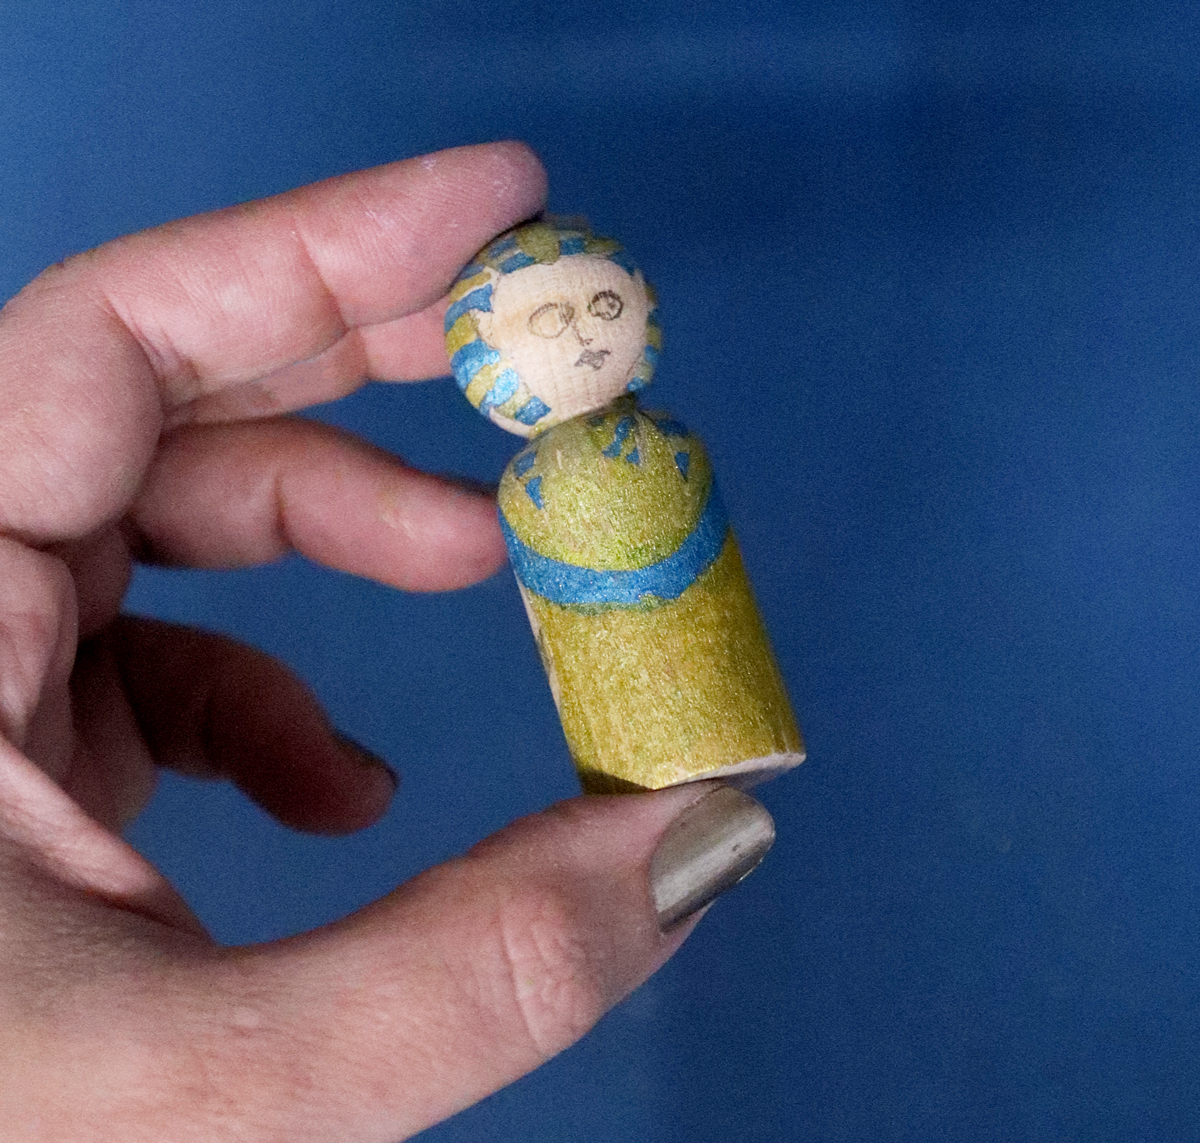
When I outlined him, I did not outline each stripe – just the main forms of his headpiece.
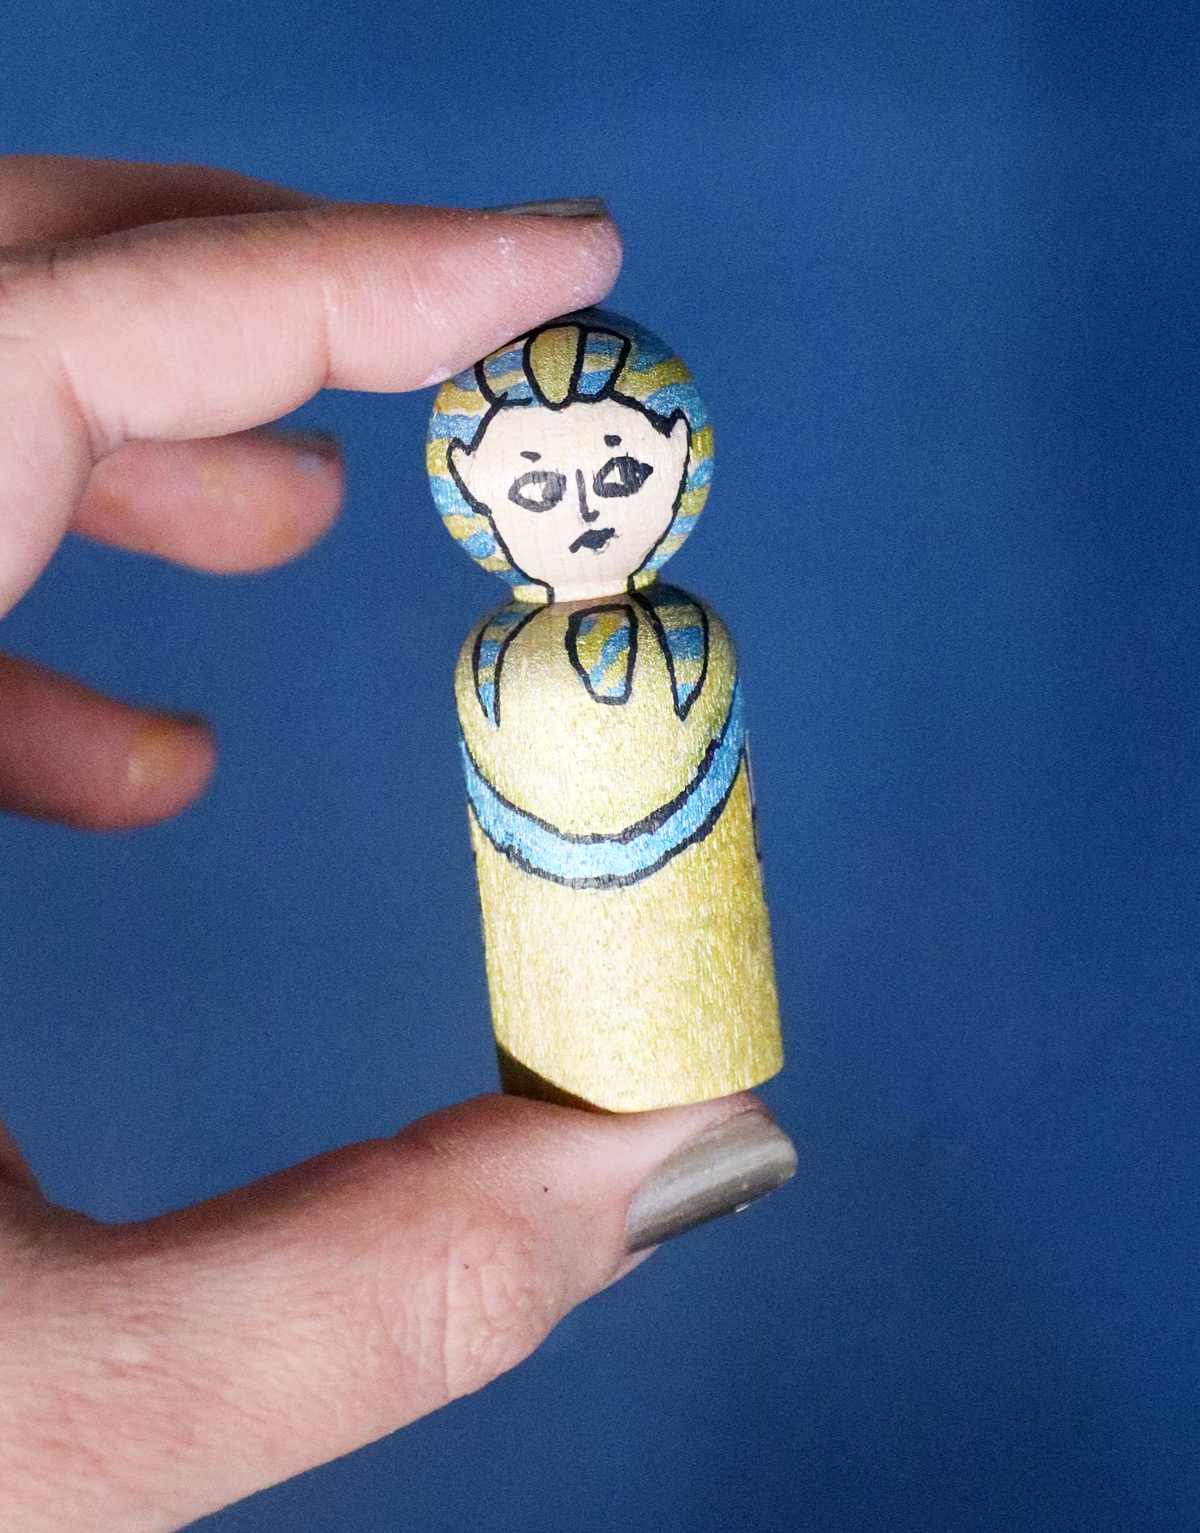
The final finished result:
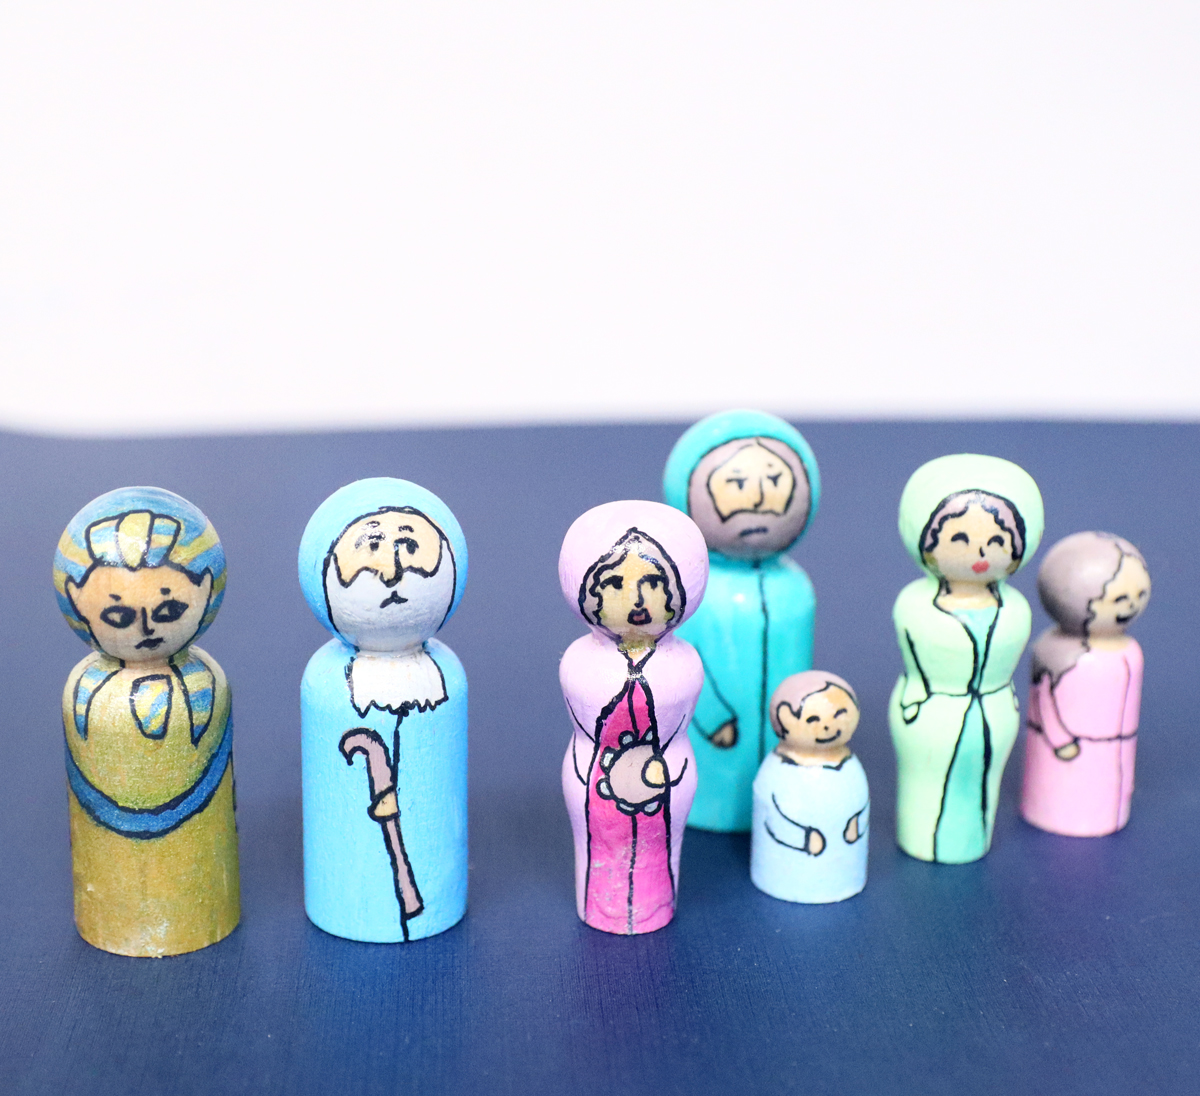
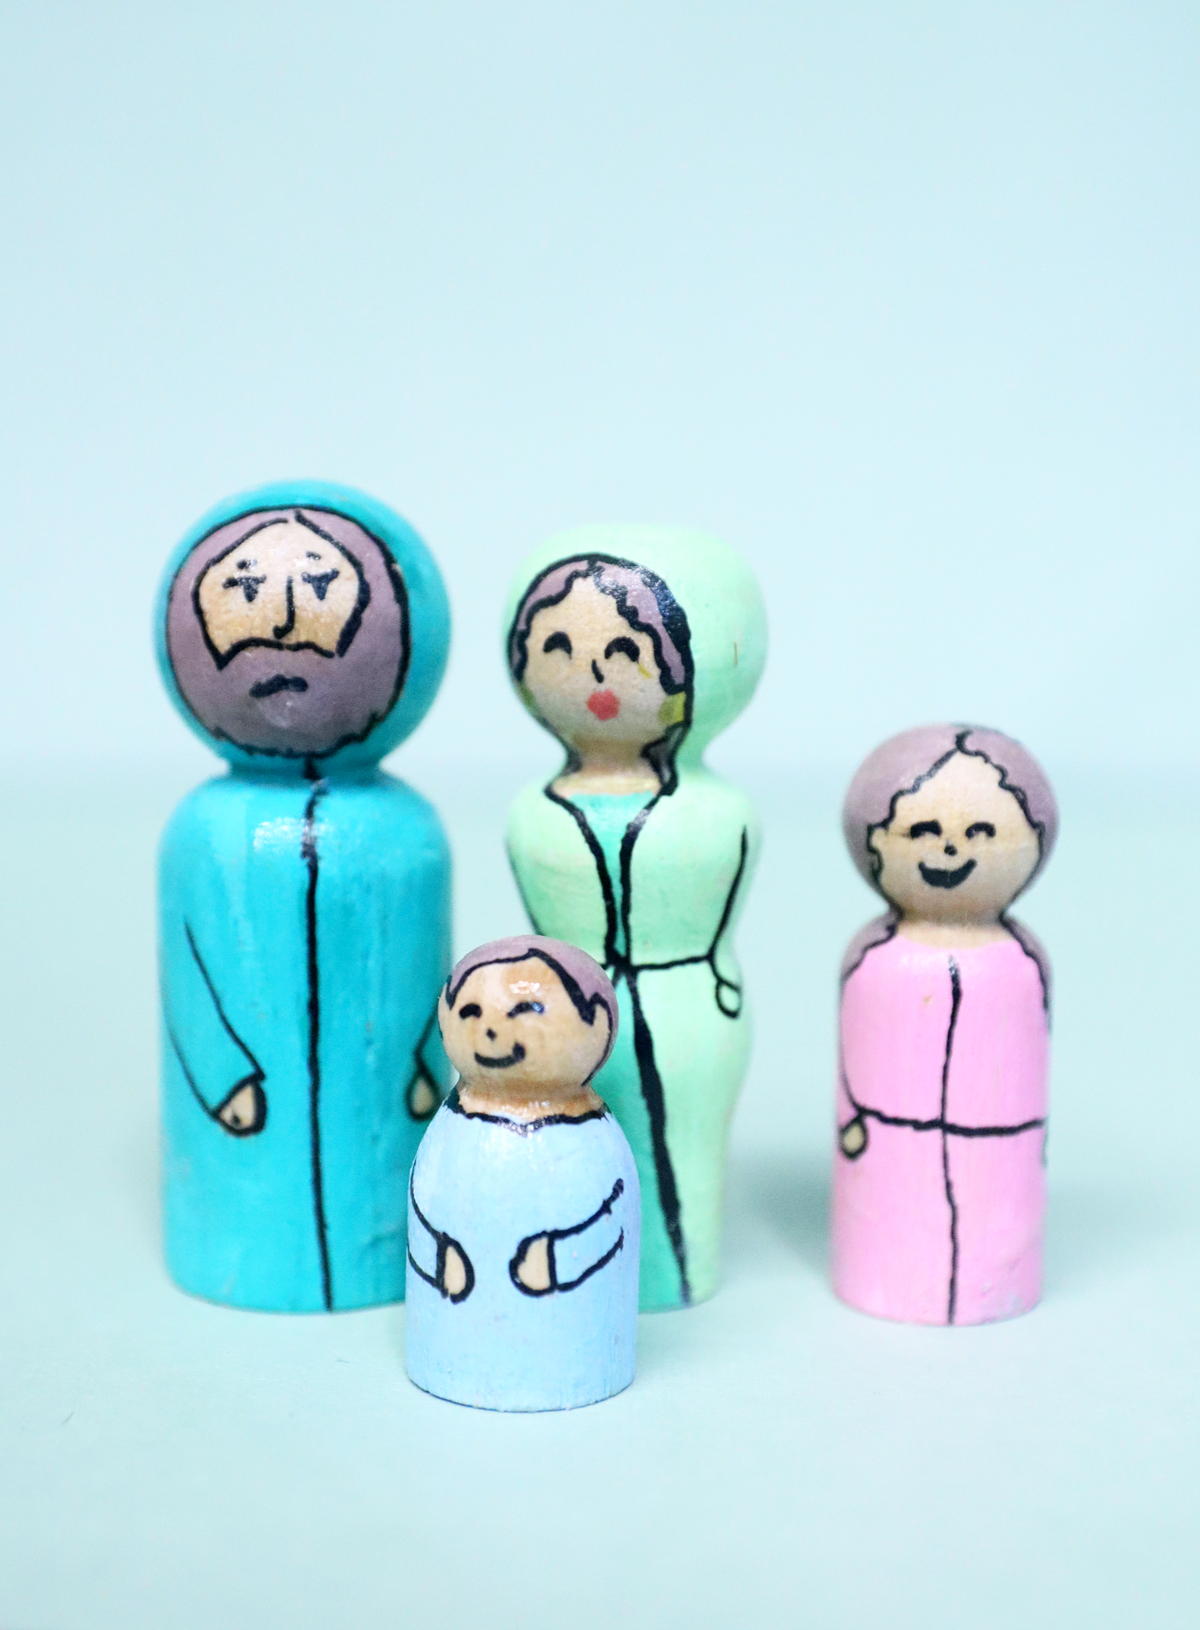
Israelite Family
You really need to just go simple with this. I did do hand son all of htem – but simple ones, on the sides, slightly curved, with no fingers… The Dad’s style of dress is similar to Moshe with a closed cloak but a shorter beard.
Mom has an open cloak with something under – and I added earrings for her. I didn’t outline her mouth and I wish I’d done that for Miriam too. The kids are super simple with small details on the bigger kid’s clothing.
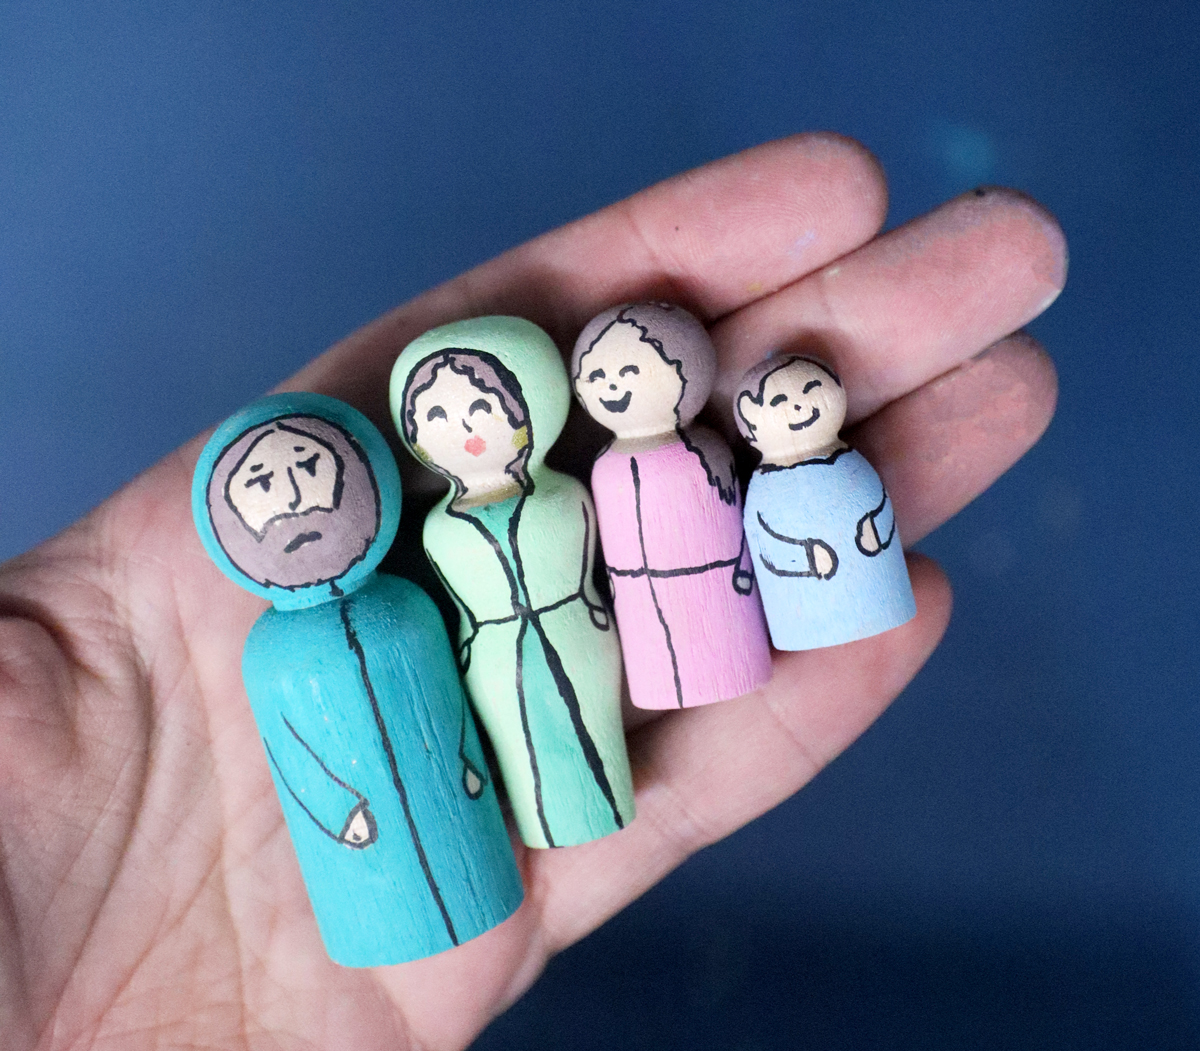
And the finished peg dolls:
How To Make Passover Themed Peg Dolls
Create these adroable Passover themed Peg Dolls for your Passover sensory bin, or to use throughout your Seder!
Materials
- Peg Dolls
- Pencil
- Acrylic Paint Markers in super fine and medium tips (same colors) - I recommend these double tipped ones. You'll need a very fine black one too, which comes in the pack
- Mod Podge Super Gloss
- Paint brush
Instructions
1. Pencil in the rough outline of your design. Keep it simple - simple shapes, simple features.
2. Block in the color of each area, using the finer tip to get into small spaces and the larger one to cover larger areas.
3. Outline it in black, defining areas well. Don't worry if your hand isn't the steadiest - neither is mine and it came out great regardless.
4. Allow the paint to COMPLETELY dry (give it an hour or so) and paint a layer of sealer over it. Do another layer if you want. You may need to paint it in two batches regardless.
Notes
There are so many different ways to use DIY Passover peg dolls. In fact - you're probably looking at this because you already have a need in mind! However, I'll share some below just in case:
- Dramatizing the seder - tell the story of the Seder using these as puppets/figures to illustrate it.
- Crossing the sea Passover Seder tablescape - many people like to include the splitting of the sea as part of their Passover tablescape. Add these figures to the center too!
- Sensory Bins - This is what I made this for! I have a new one coming this year...
- Small Worlds - This is similar to sensory bins but usually with less of a focus on the sensory and more on the play. Usually it's a tray - set these out with pyramids, dry/wet land props, play bricks, etc.
- Classroom demonstrations - Use this as a teacher telling the story to create visuals and engage the kids.
- Themed play areas - My kids' preschools always have areas they set up as a "themed" play space for every holiday. This is a great toy to include.