Passover Salt Water Dish Craft
It give such a good feeling to contribute to the Seder table – and it’s a fun mitzvah too! This Passover salt water dish craft is a fun Pesach craft for kids or adults – or for anyone to try! Disclosure: this post contains affiliate links. Martha Steward products in this post were received free of charge from the brand in the hopes I might craft with them and share some day.
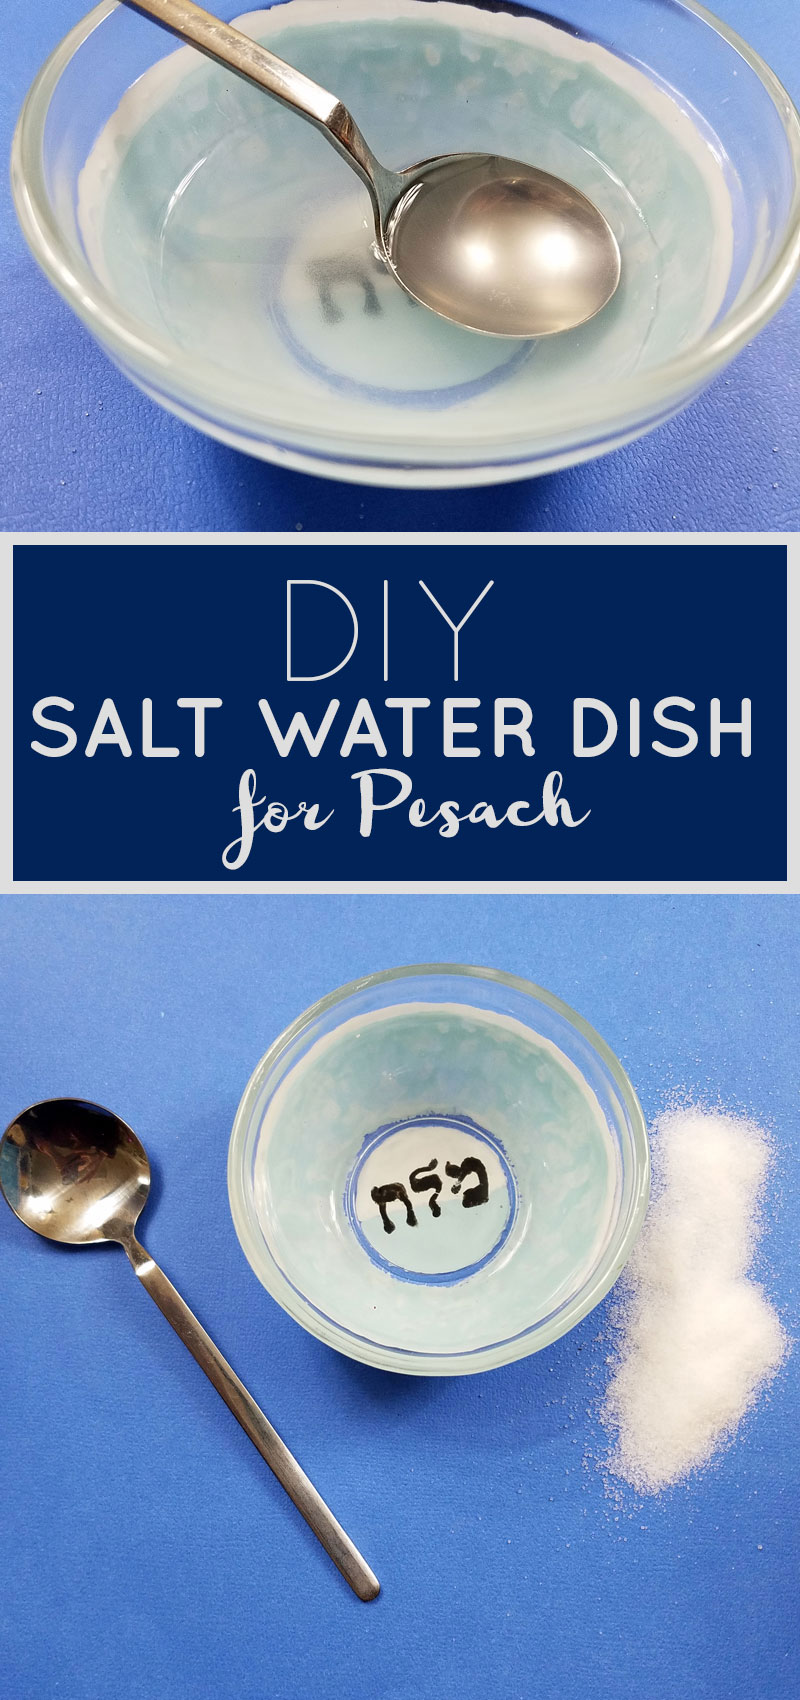
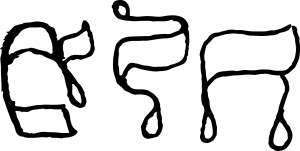
While I love creating something special for the Seder it can be disappointing when it only gets used twice (or once if you’re in Israel). I painted this salt water dish in a way that will allow it to be used all Pesach. For the Seder, it holds the salt water for karpas. For the rest of the chag it serves as a salt dish. That’s why I only wrote the word “melach” – salt.
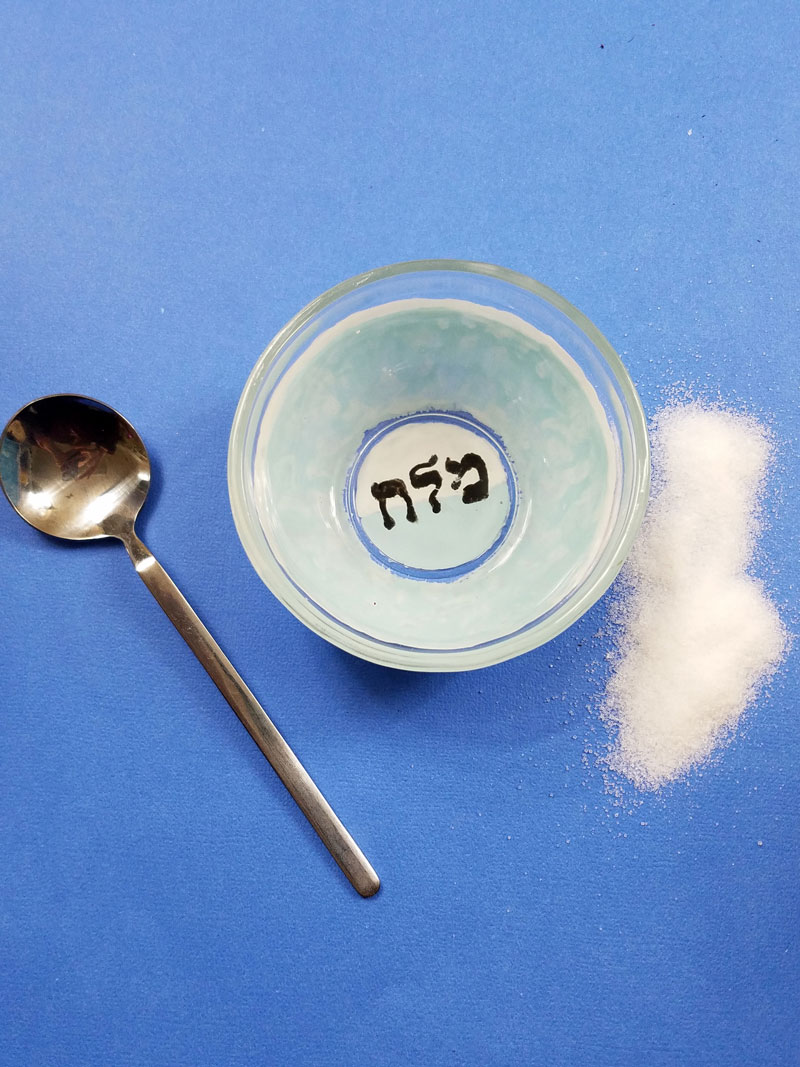
For the base of the dish, I used a small glass bowl that came in a four-pack in the dollar store. You can use any little glass bowl with a flat base.
Glass markers and paints are my favorite thing – you can take plain glassware and turn them into unique, functional works of art. Make sure to wear junk clothing and protect your surfaces as these are not washable.
Look for paints that are non-toxic – meaning they are okay to use on something that you’ll be using for food. But even though they are non-toxic, you should not actually paint where the food is placed. Paint the outside. Glass paints are designed to adhere to the smooth surface of glass, and can often be baked so that it’s actually very durable.
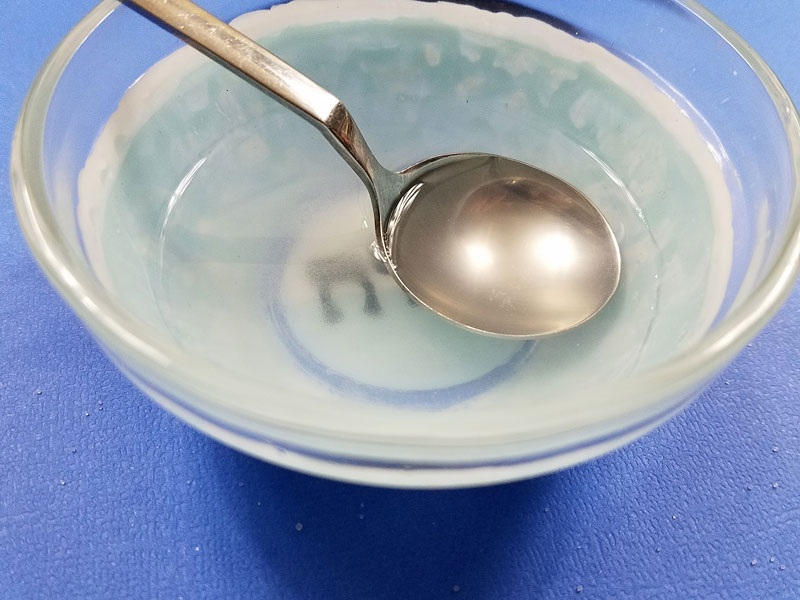
In this tutorial, I’ll share with you how to make it so that you can see the word “melach” from inside the bowl, even though you’re painting it on the outside. You can also make your own designs, and try one for charoset too!
What you need to make a Passover salt water dish:
- A small glass bowl
- Washi or painter’s tape
- Glass paints in your choice of colors
- A black glass marker
- Scissors
- Paintbrushes
How to make a Passover salt water dish:
1. Cut out around the word “melach” found on this page to use as a template. (Keep it in one piece – don’t cut out the individual letters). You can download the image below and print it in your size choice. Just click on the image to be taken to the full-size image, right click and choose to save the image.
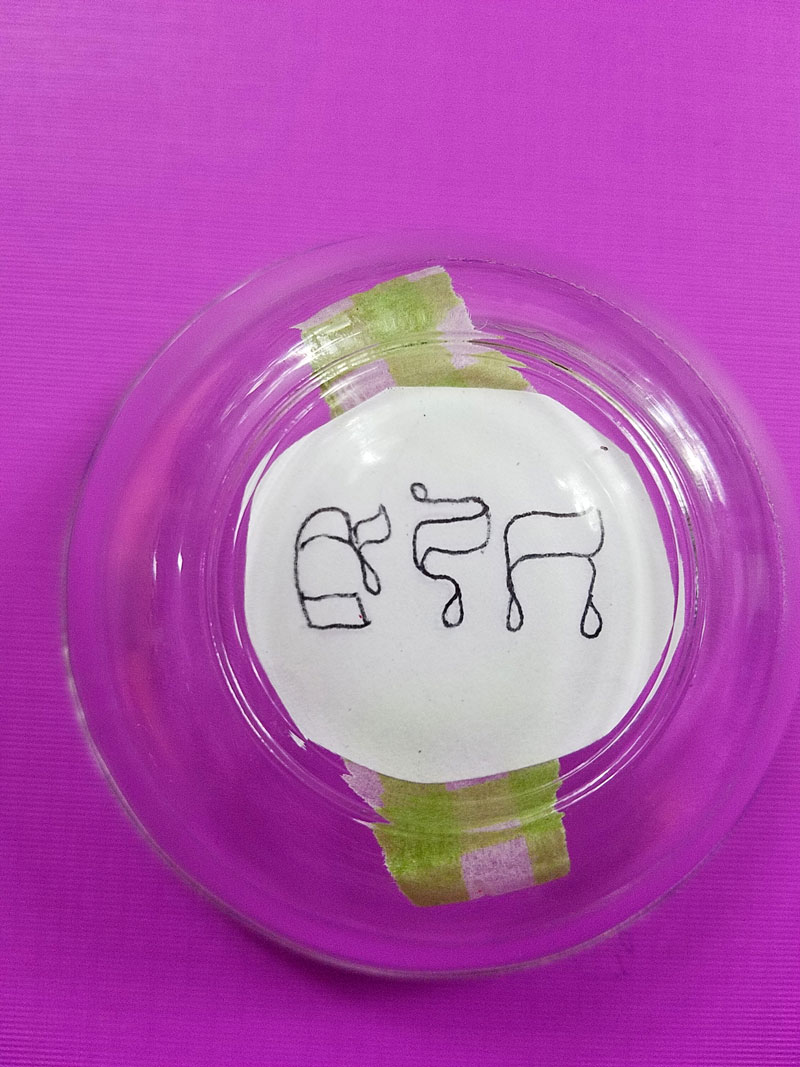
2. Tape it to the inside of the bowl so that the words are face down and visible from the outside, using a paper tape that removes easily (such as washi tape or painter’s tape).
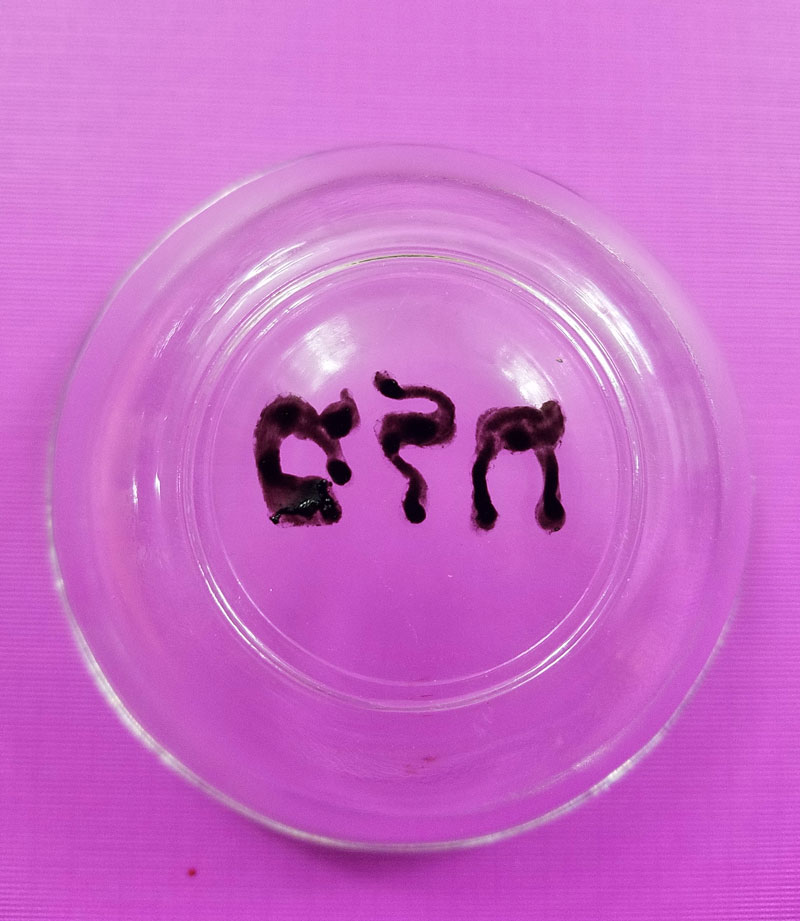
3. Outline the letters on the bottom of the bowl using a black glass marker. The letters will be backwards. You might want to fill the letters in, and touch it up a bit to make it neater.
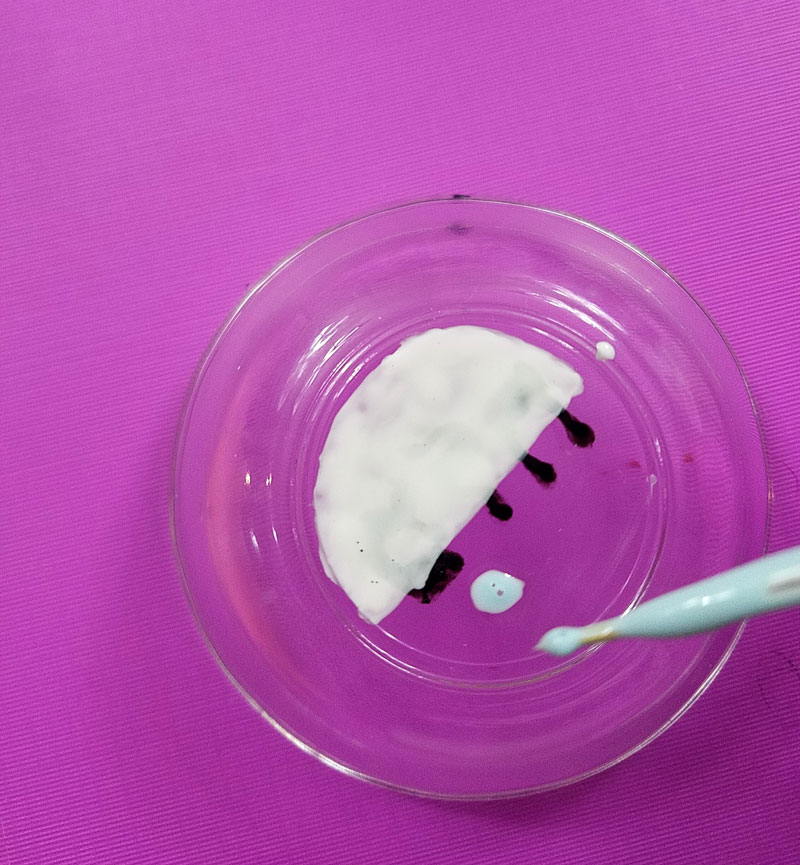
4. When it’s dry, remove the template. Now you can start painting the bowl! You can paint over the word “melach” on the outside of the bowl. Have fun with this part but keep it away from the top edge of the bowl where it might come in contact with food.
Keep in mind that most glass paints are somewhat transparent (or see-through). That means that you might want to let it dry and paint another layer. It also means that your brush strokes will be visible. I decided to turn that into a part of the design by making fun brush strokes. Using thin brushes will mean that it will show even more. A foam brush is the easiest way to get a clean, even application.
Allow it to dry completely and cure according to paint package instructions if applicable.
Happy and Kosher Pesach – and enjoy!
Want to make your Pesach cooking easier, your seder table more beautiful, and your kids’ happier and busier? Get the printable Pesach bundle today for 75% off the full value! It’s full of 30+ menu planners, kids’ games, coloring pages, and activities as well as cool seder table decorations!
[show_boutique_widget id=”824090″]

