Purim Grogger Craft
When crafting with groups, my main goal is to find something open-ended that kids can have fun decorating. This Purim grogger craft is perfect for that, and includes a free template, plus more bonus templates to entertain for hours! You can find all our Purim ideas here. This post contains affiliate links.
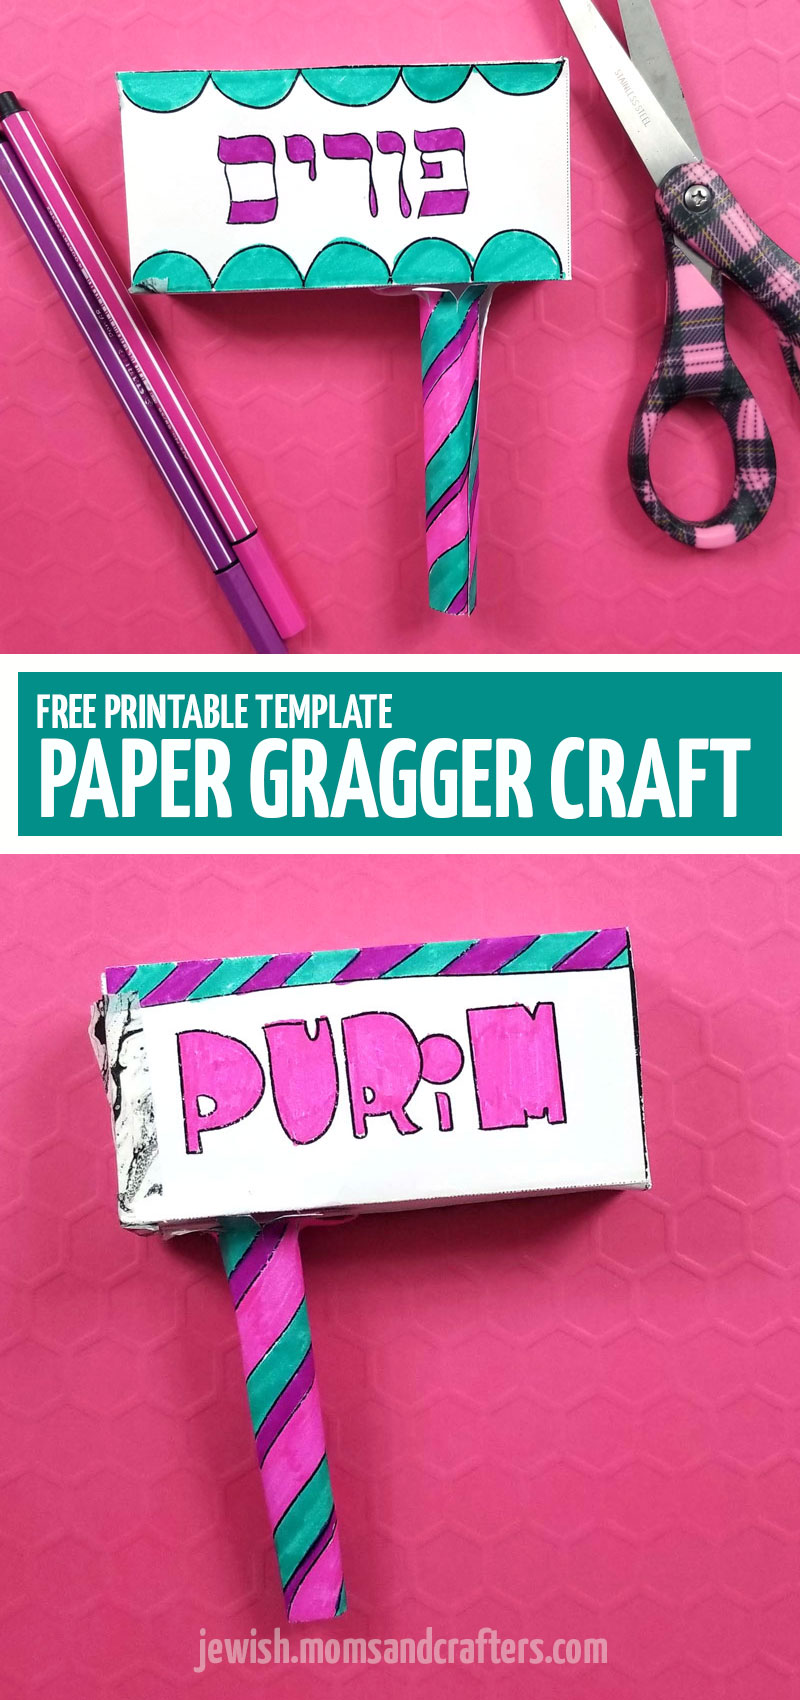
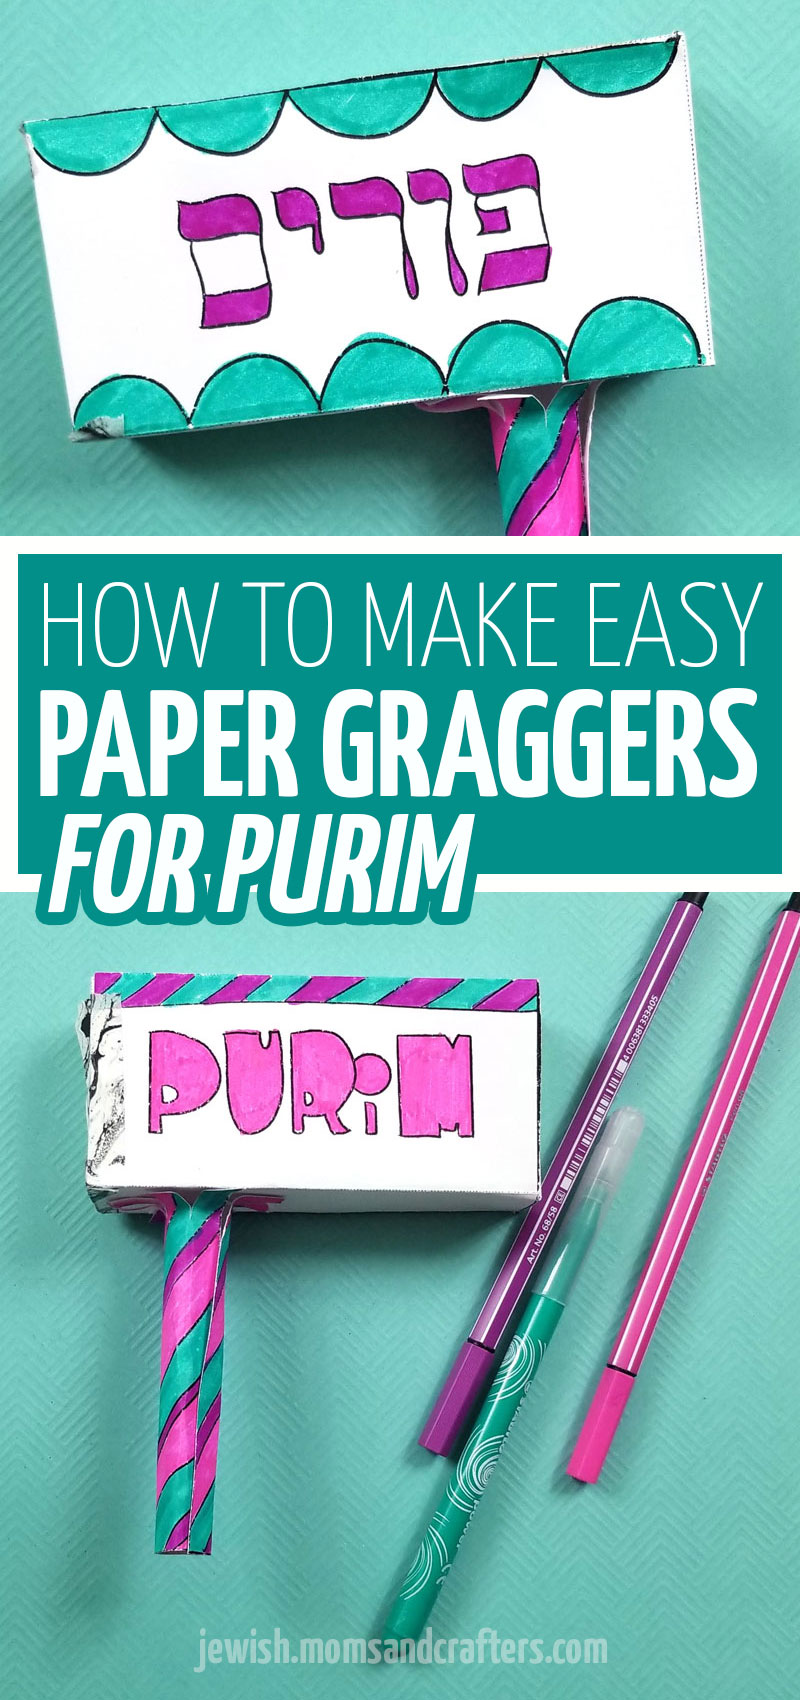
Craft a Purim grogger out of card stock.
And why should kids have all the fun? Grown-ups will love this too, as I can confirm!
This really easy Purim gragger craft uses such a simple concept. Make a box out of card stock. Fill ‘er up and seal ‘er shut.
And then add a handle (or don’t). Get noisy.
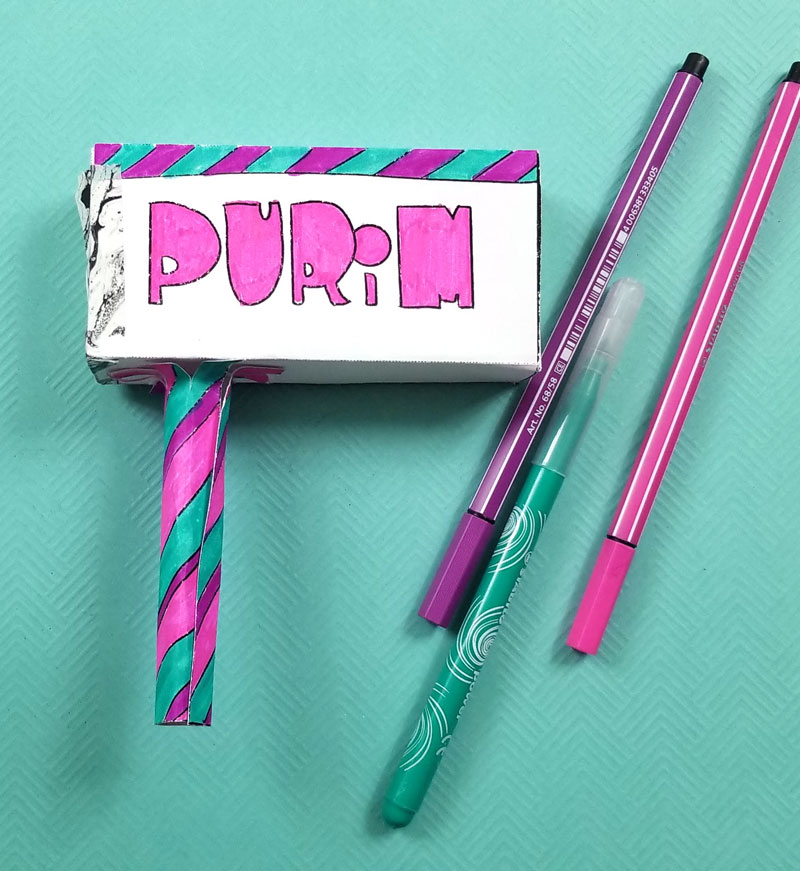
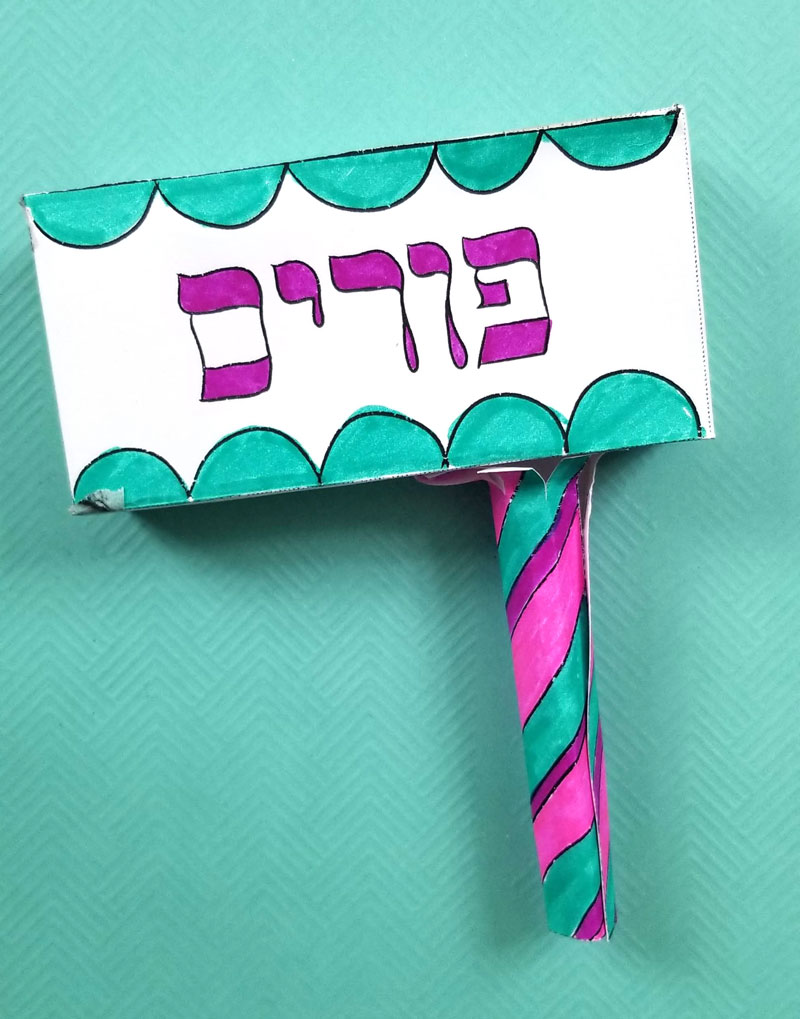
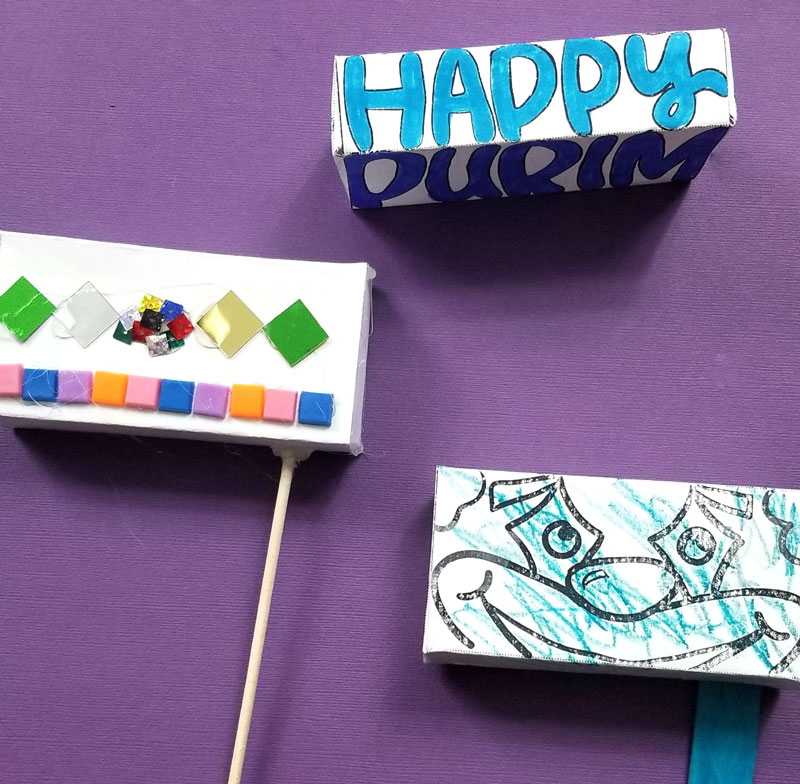
To make it more fun, I created a few different color-in versions. You can vary this as much as you want. Use repurposed boxes. Use the blank template to make it. Use the full template complete with the handle…
The choices are yours.
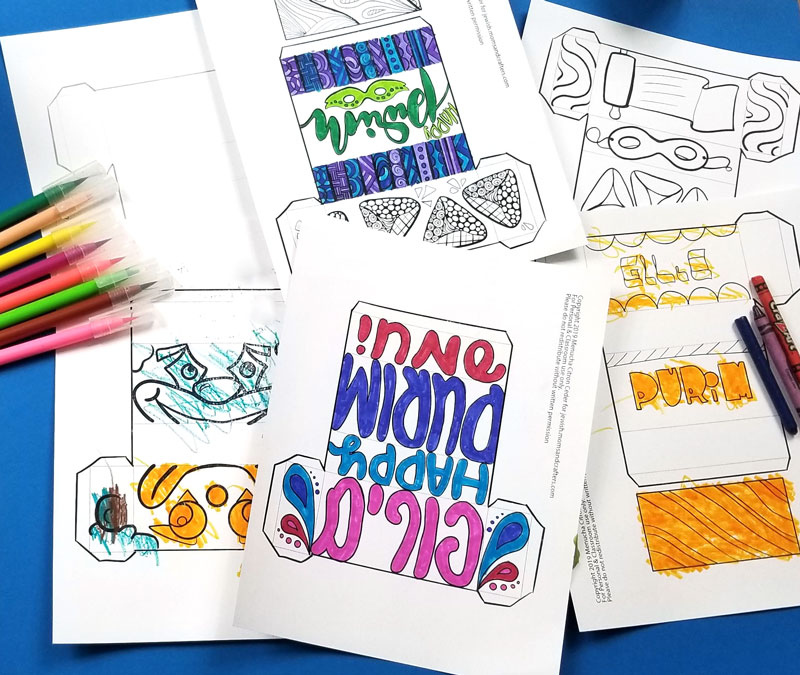
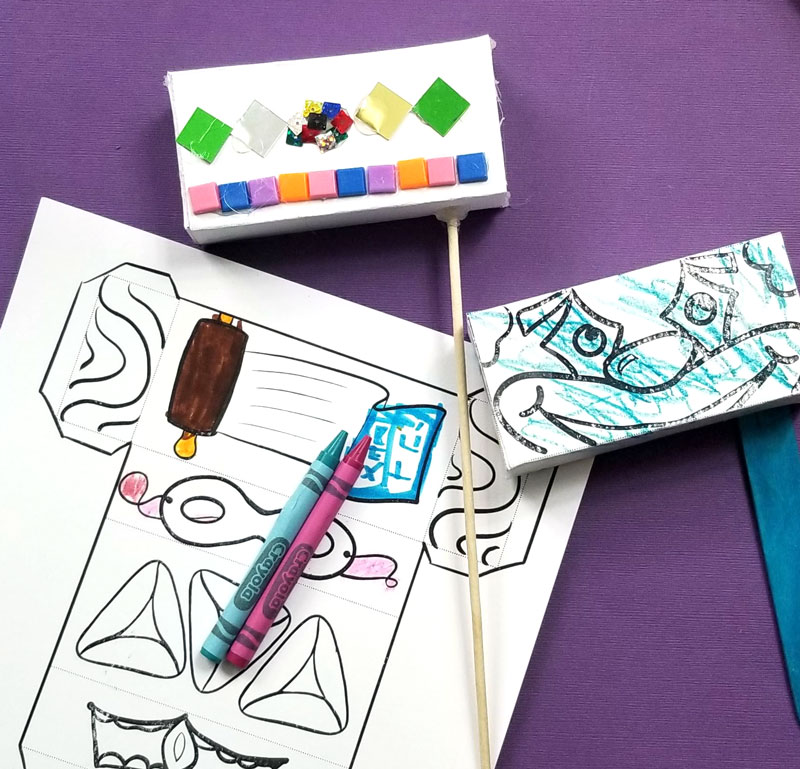
Download your gragger template:
Since I got outta control with this one, creating template after template, I decided to offer the first one I created as a free download.
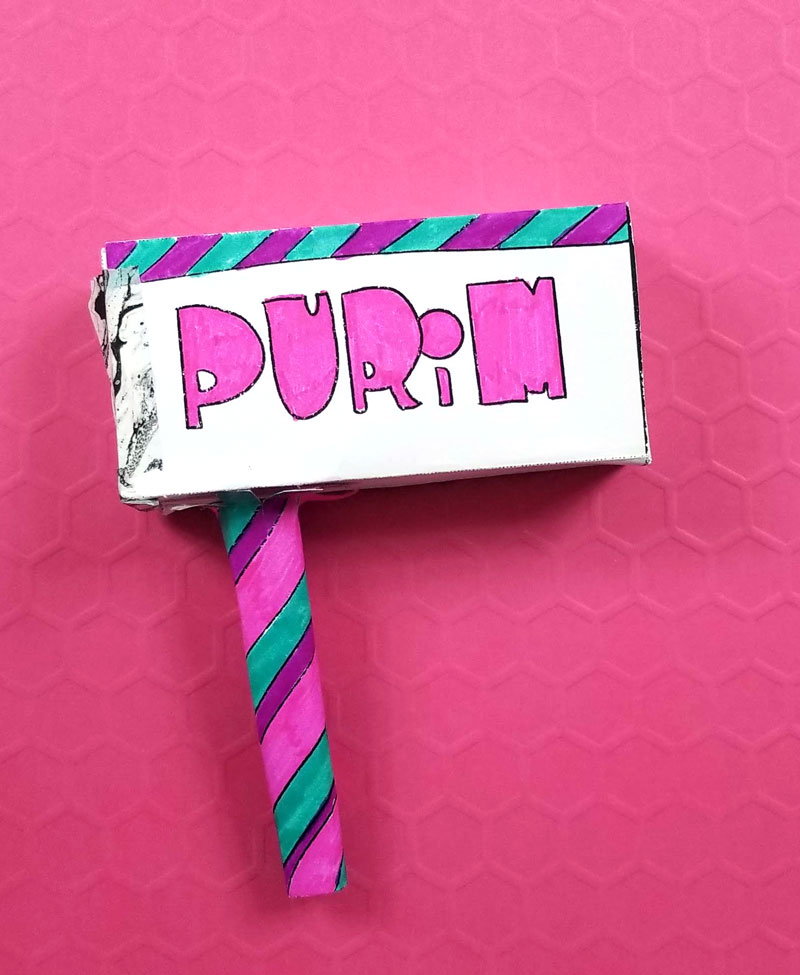
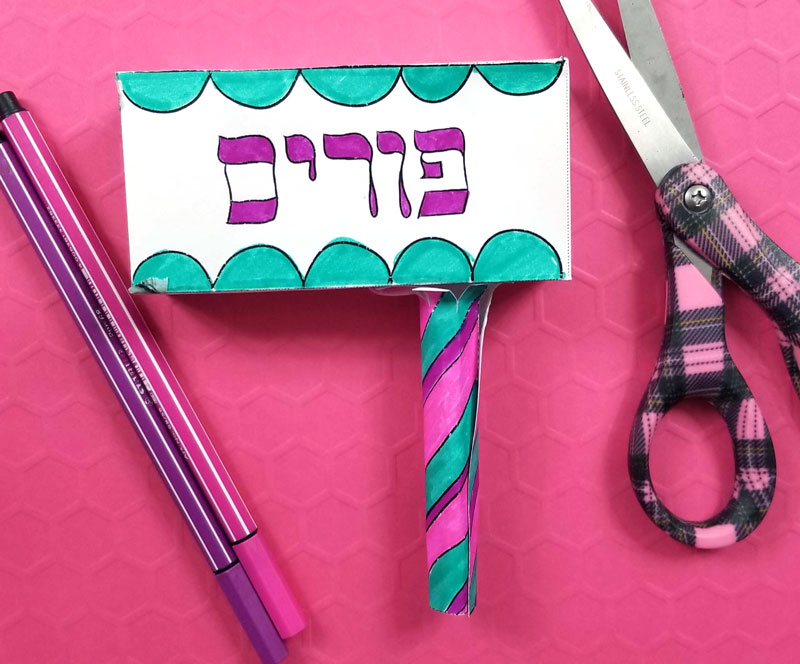
To download it for free, enter your name and email address in the form below and hit “send it to me”. Yes, you’ll be signed up for our free email newsletter! It’s full of helpful resources like this one and you can unsubscribe any time in the footer of the emial.
You can also purchase the full bundle in my Etsy shop. This “donation” version is not a subscriber version (you won’t be signed up). It includes both the free sample above PLUS:
- 3 more kids-friendly designs (one mature enough for grown-ups too!)
- 1 complex “adult” design
- The blank template to make your own.
Some designs also have a bonus handle template (a rectangle to roll into a handle – so that you can color just a little more!)
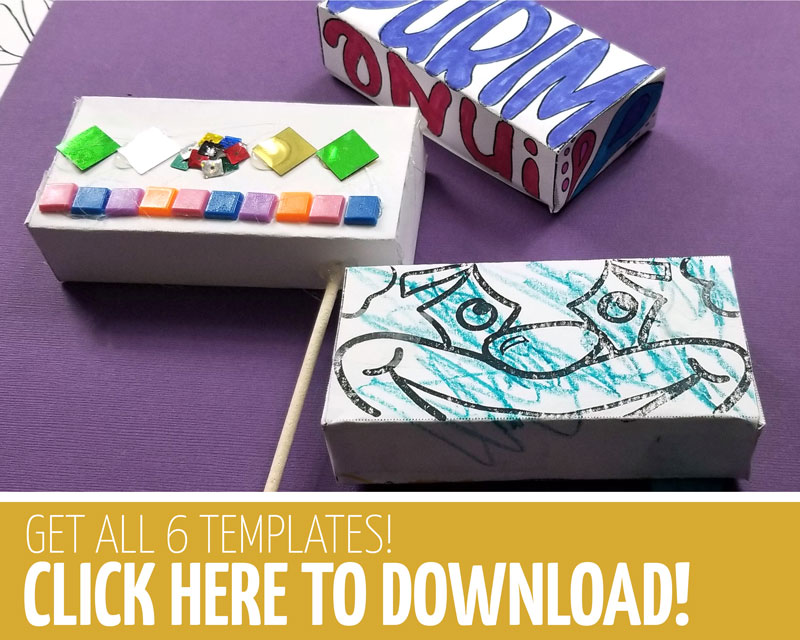
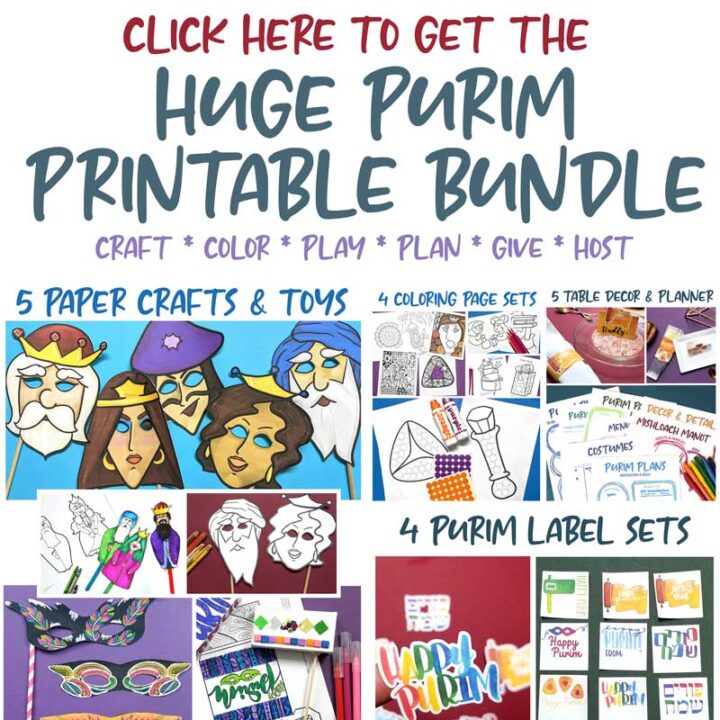
Just a heads up – the expanded version of this craft is also part of my Huge Purim Bundle available here.
One of my favorite features of this Purim grogger paper craft is how easy it is and how inexpensive the supplies are. Because it’s a color-in project, you don’t need to stock much more than markers to make it beautiful.
You can have fun with it too, get the whole family involved, make ten different variations! Gotta love an open-ended craft!
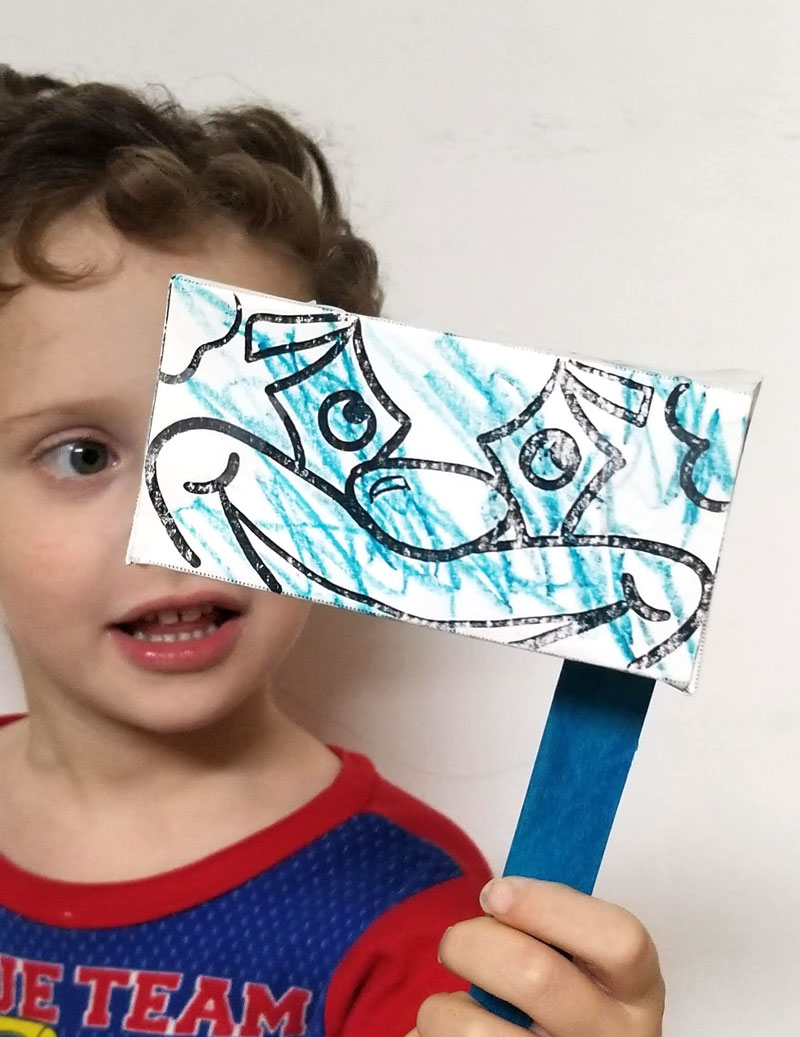
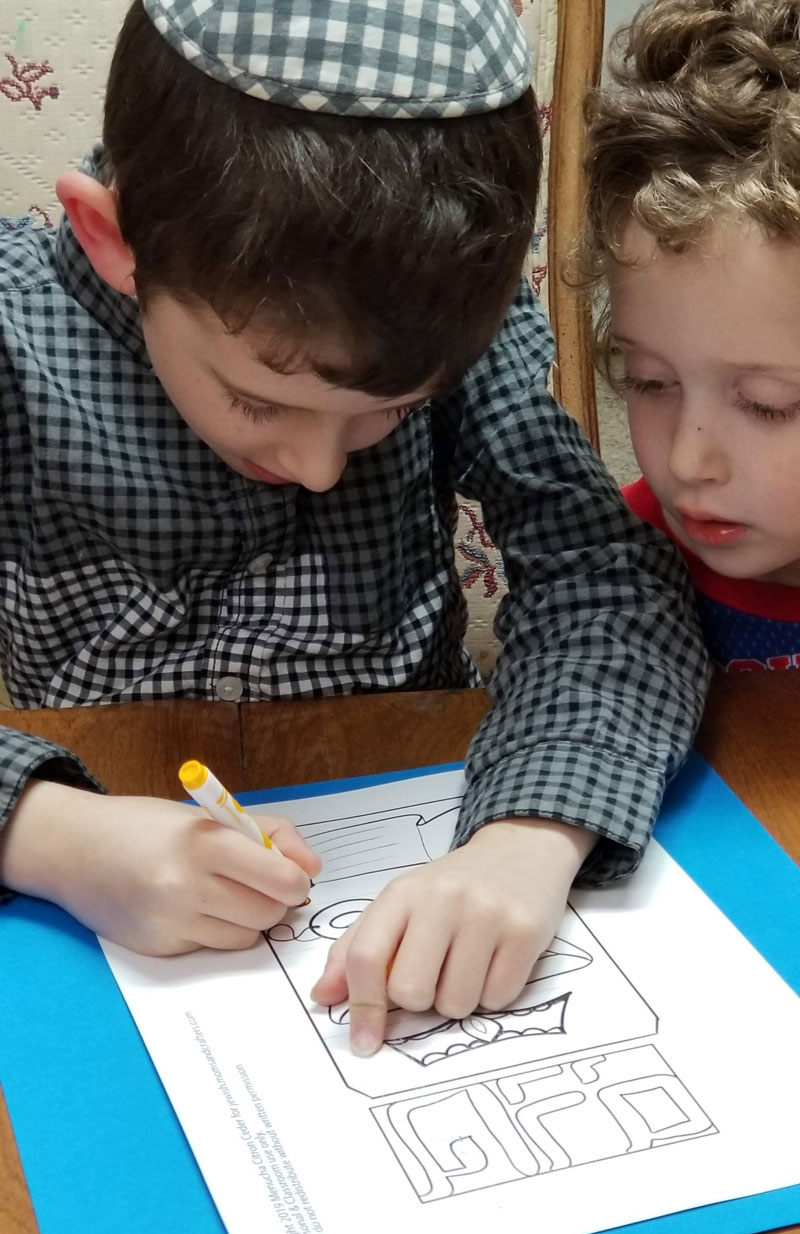
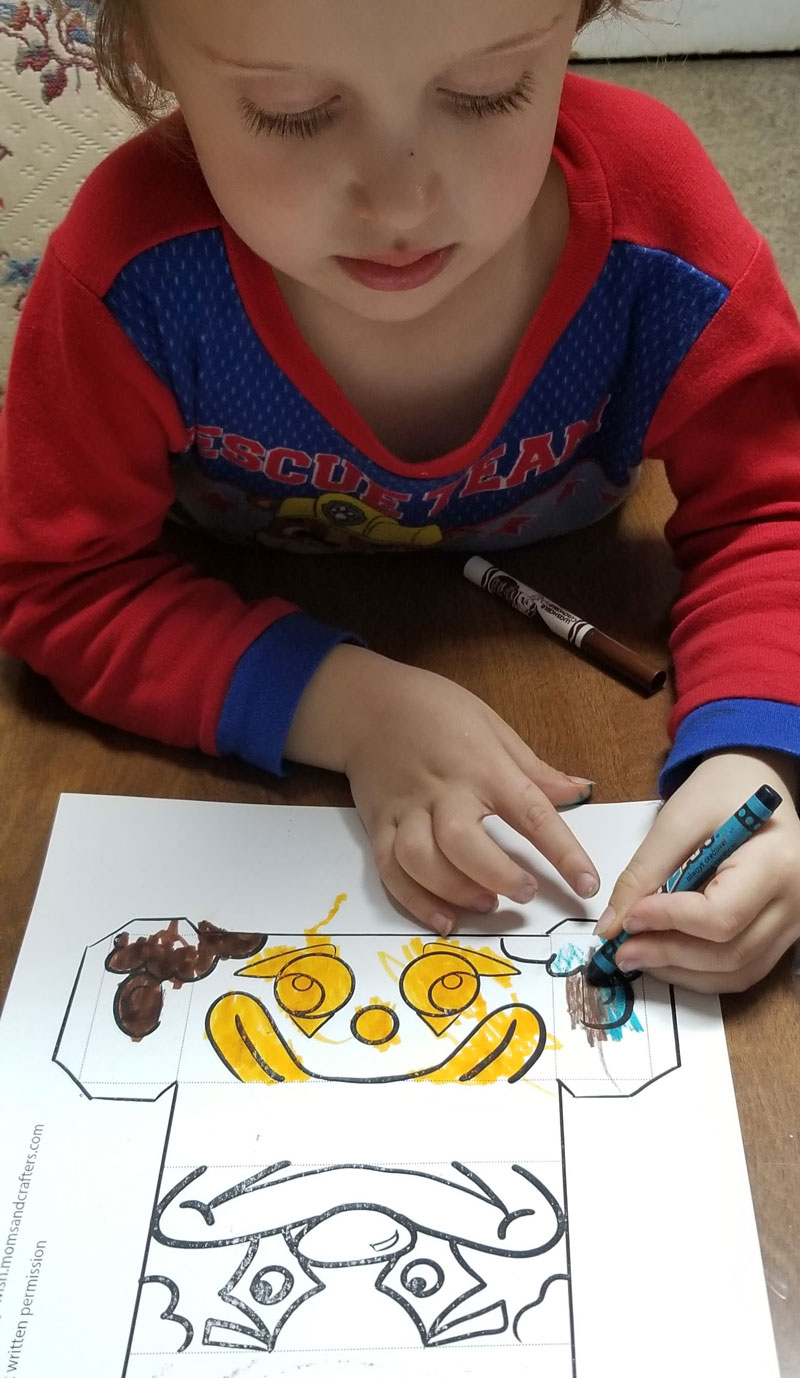
What you need to make the paper graggers:
- Card Stock
- Markers – I used these and these and the kids used good ol’ Crayola
- Scissors
- Glue: tacky glue OR glue gun. You may want to try glue dots or good quality washi tape to help you out here.
- Filler. I used pony beads. You don’t need a ton – if you’re calculating for a class, 20 per person is enough to make plenty of noise, 30-50 is better.
Optional:
- Gems, feathers, sequins, and more to decorate
- Craft sticks, dowels…
- Bone folder for a crisper fold
How to make a paper noisemaker:
1. Print your gragger on card stock.
2. Color it in (please ignore the fact that one of the words is upside down in this photo – the template has since been fixed).
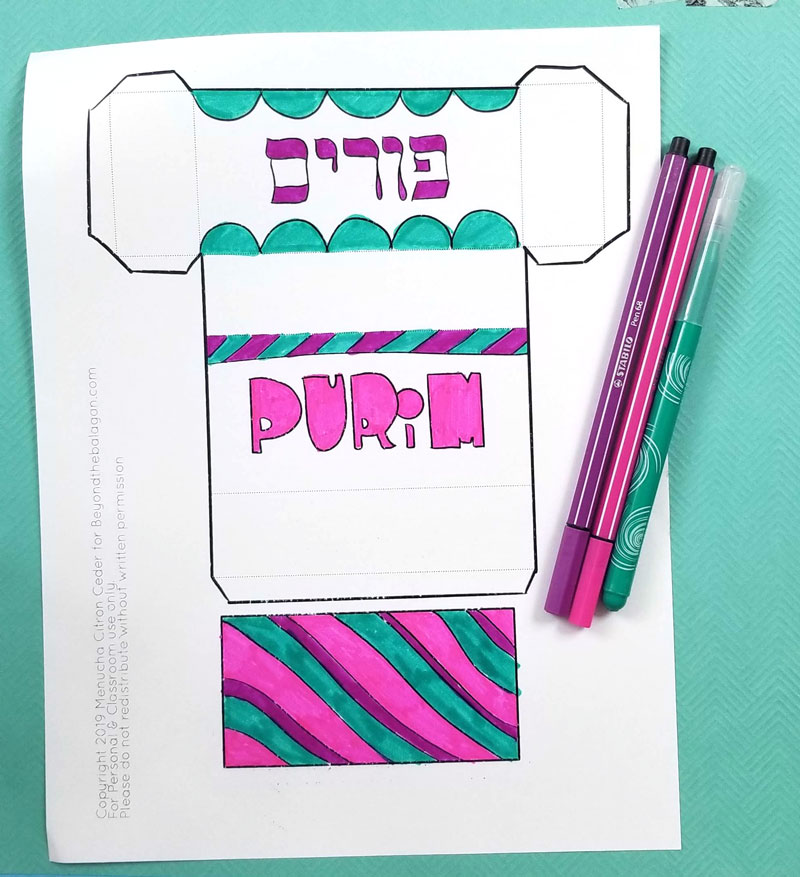
Note: If you’re working with the blank one, you can choose if you prefer to decorate first or craft first. If you’re using art supplies like paint and glitter glue I recommend decorating first. If you’re gluing on embellishments like sequins, rhinestones, feathers, etc. I’d recommend assembling first.
3. Cut out your box on the solid lines. The rectangle below the box template on some of the designs is for the handle of the Gragger. If you want to use a card stock handle, color this in too and cut it out.
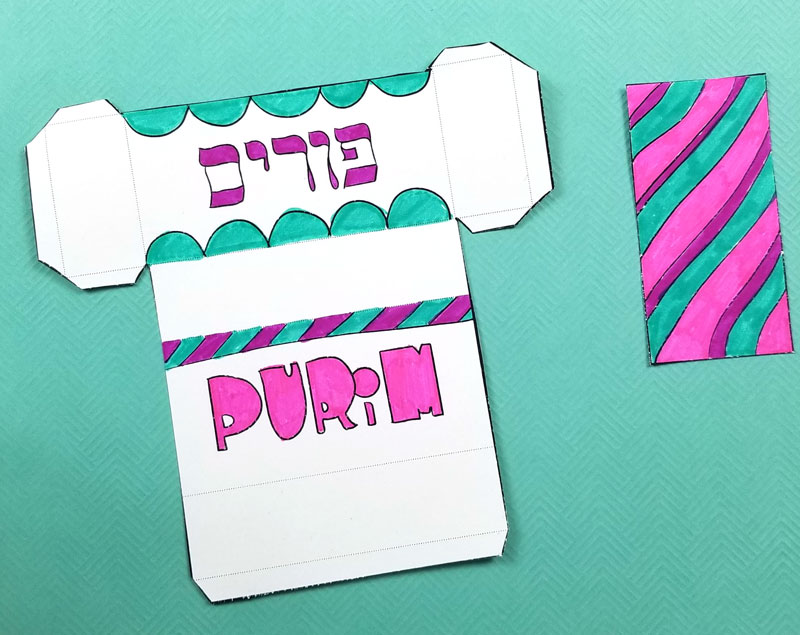
4. If you’re using a dowel as a handle, punch a hole in your box on one of the sides and hot glue the dowel in place, jutting into the box a little (grown-ups only!)
5. Fold your gragger template on the dashed lines.
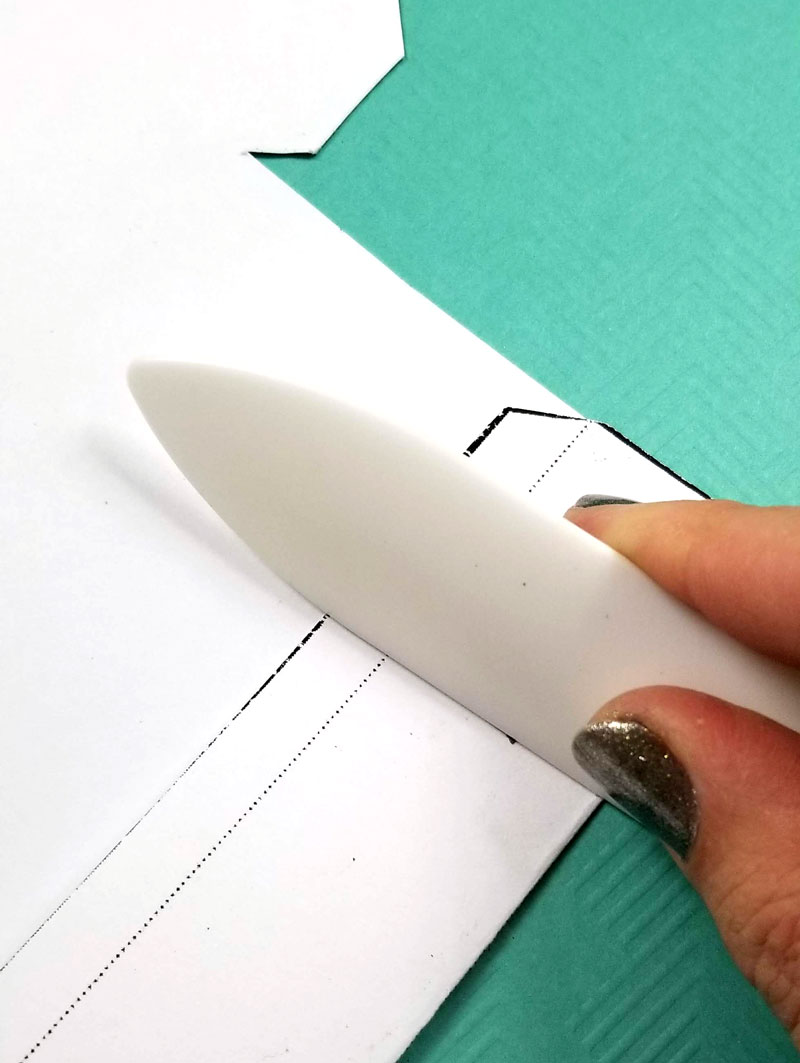
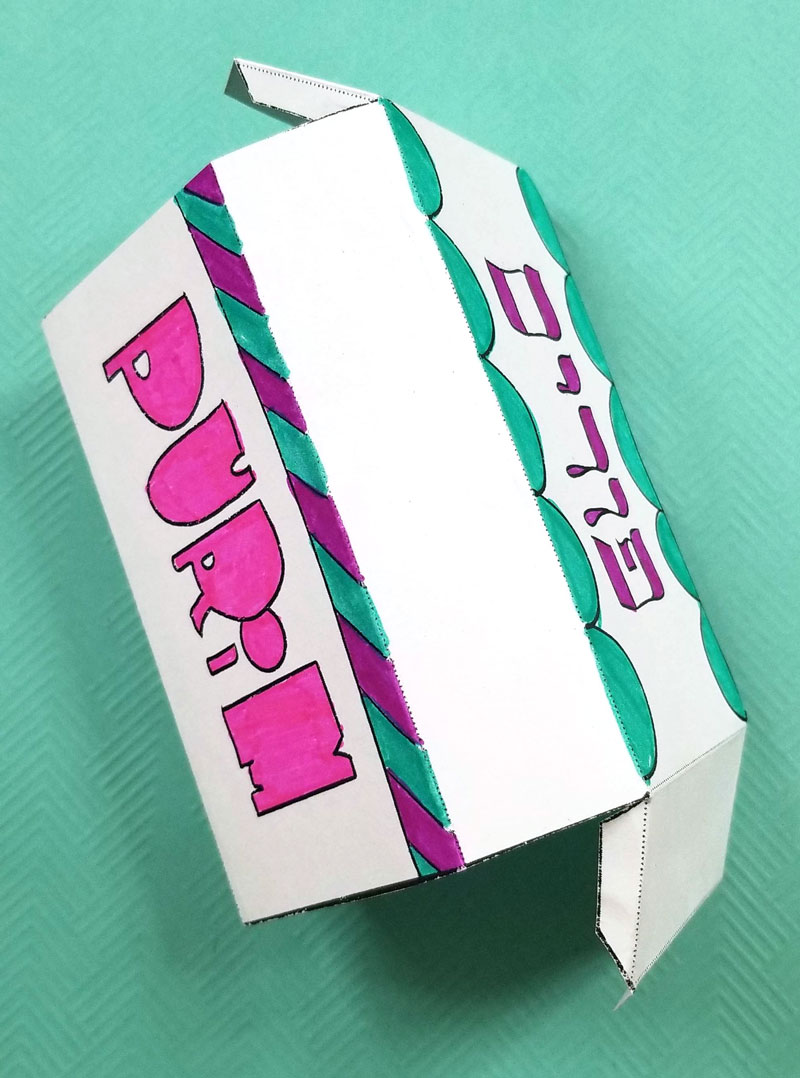
8. Glue it shut leaving only one side open. Use a fast drying glue (such as hot glue – grown-ups only!) or double-side tape. Tape may be a little harder to press into place. Tacky glue can work too, you’ll just need to hold it in place until it sets.
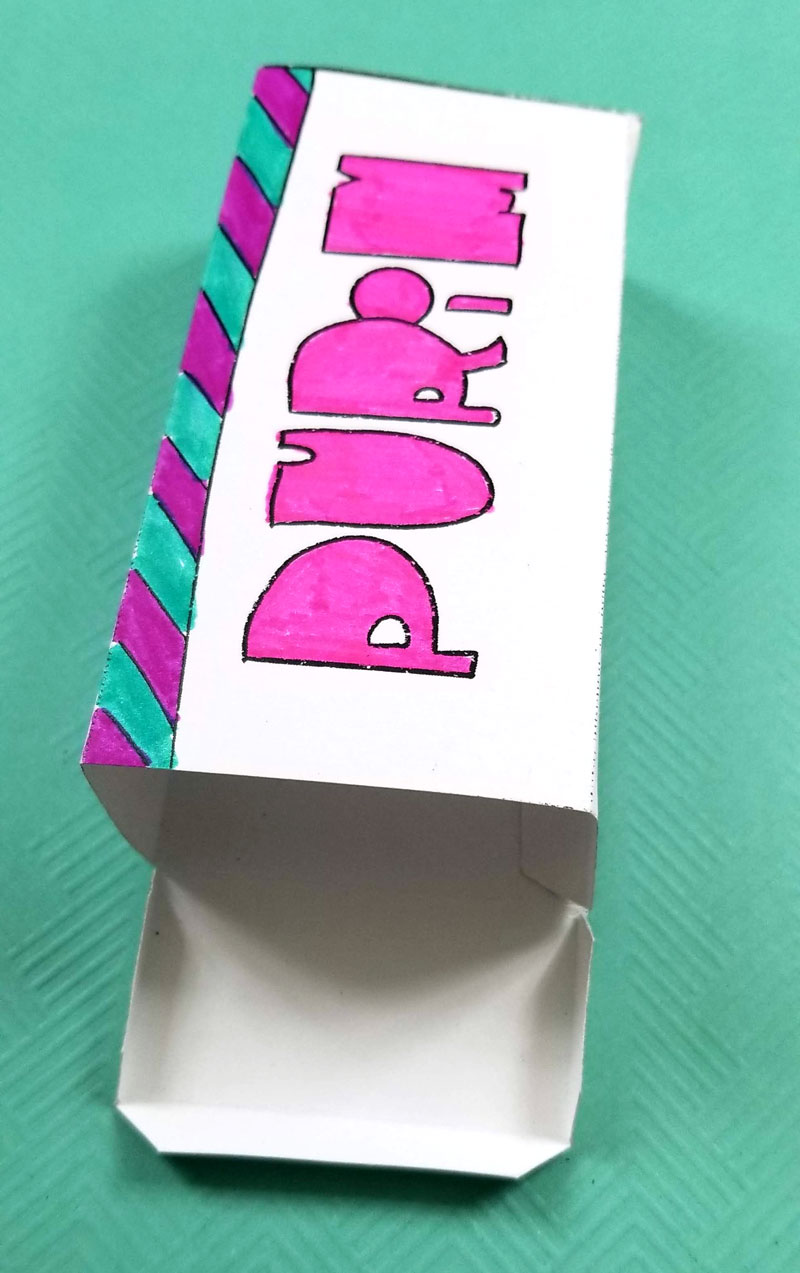
9. Add something that’ll make noise to the box. You don’t need a lot! Jiggle it around to see how well it rattles. I added some cheap pony beads.
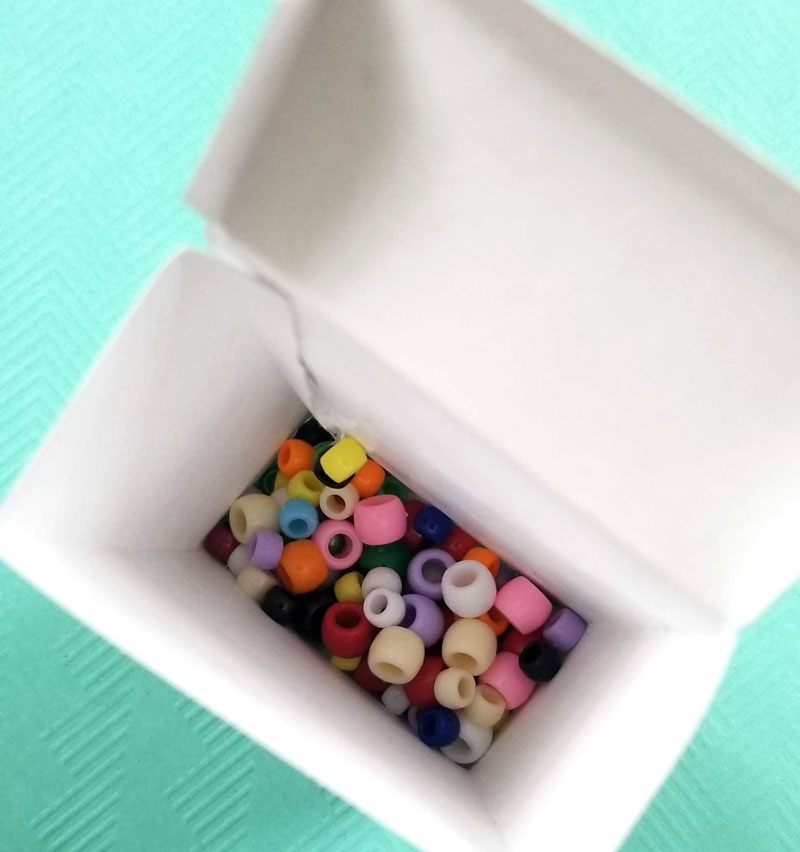
10. Shut the last side. If you used a more difficult material to hold shut, you may want to hot glue just this last side (grown-ups only). Or, use some strong washi tape.
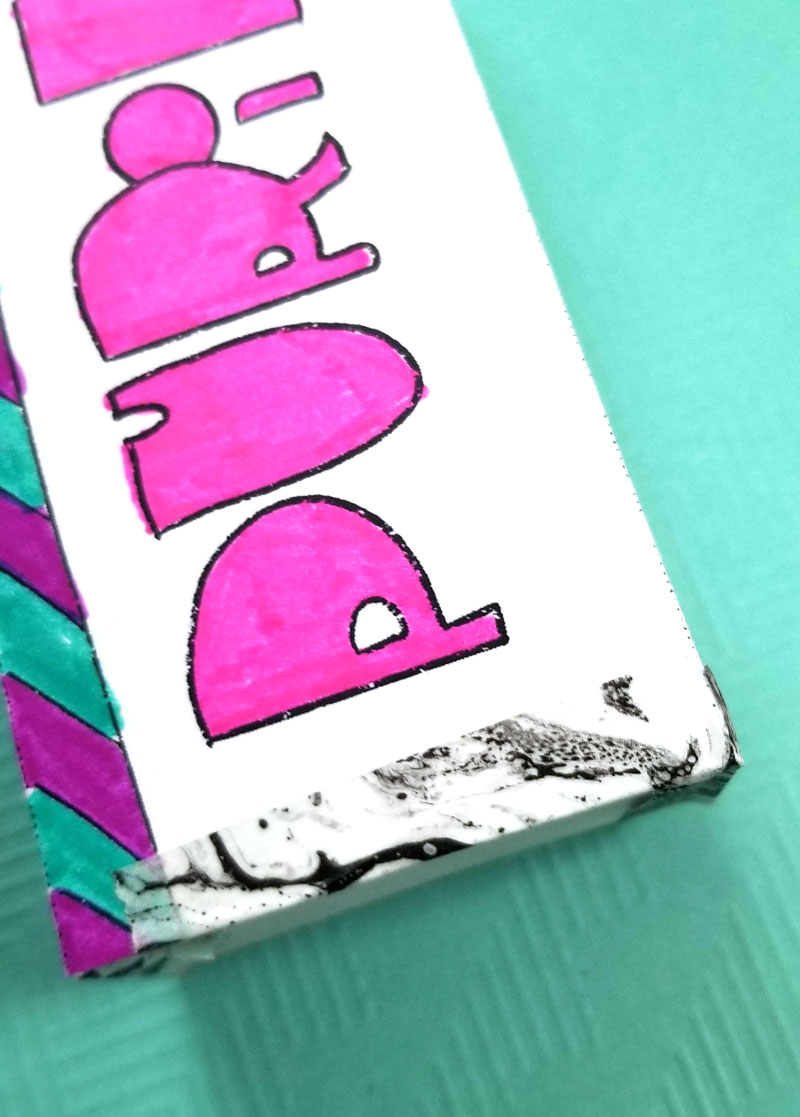
12. Add your handle if you haven’t yet. There are so many ways to do this! My boys love sticking on self-adhesive jumbo craft sticks. You can also use a dowel as I did in step 4 (or use wood glue or tacky glue to attach it on the outside).
13. To attach the rectangle cardstock handles that I included on some of the templates: Hold your handle so that it stands vertically – with the long sides on the right and left and the short at the top and bottom. Cut slits at the top about 1 cm deep. Roll your rectangle into a cylinder and secure with glue or tape.
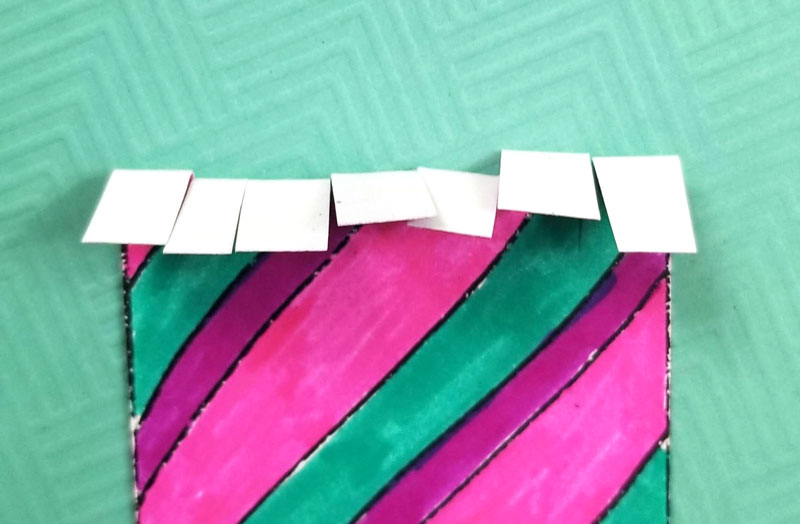
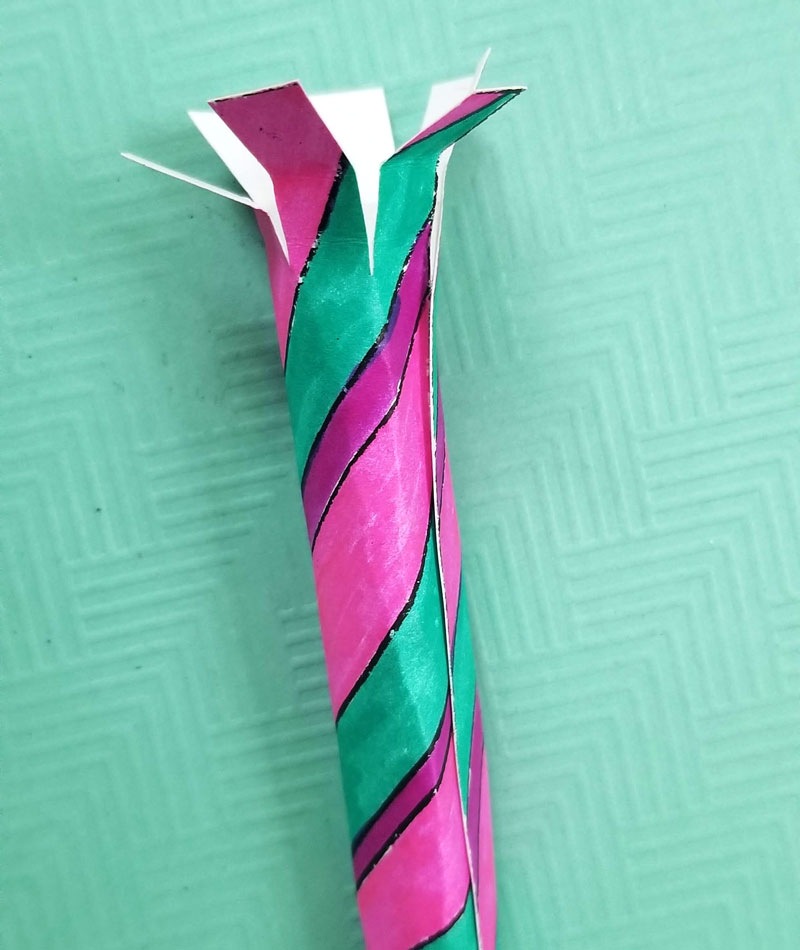
14. Glue it to the base of your Gragger wherever you want it to be.
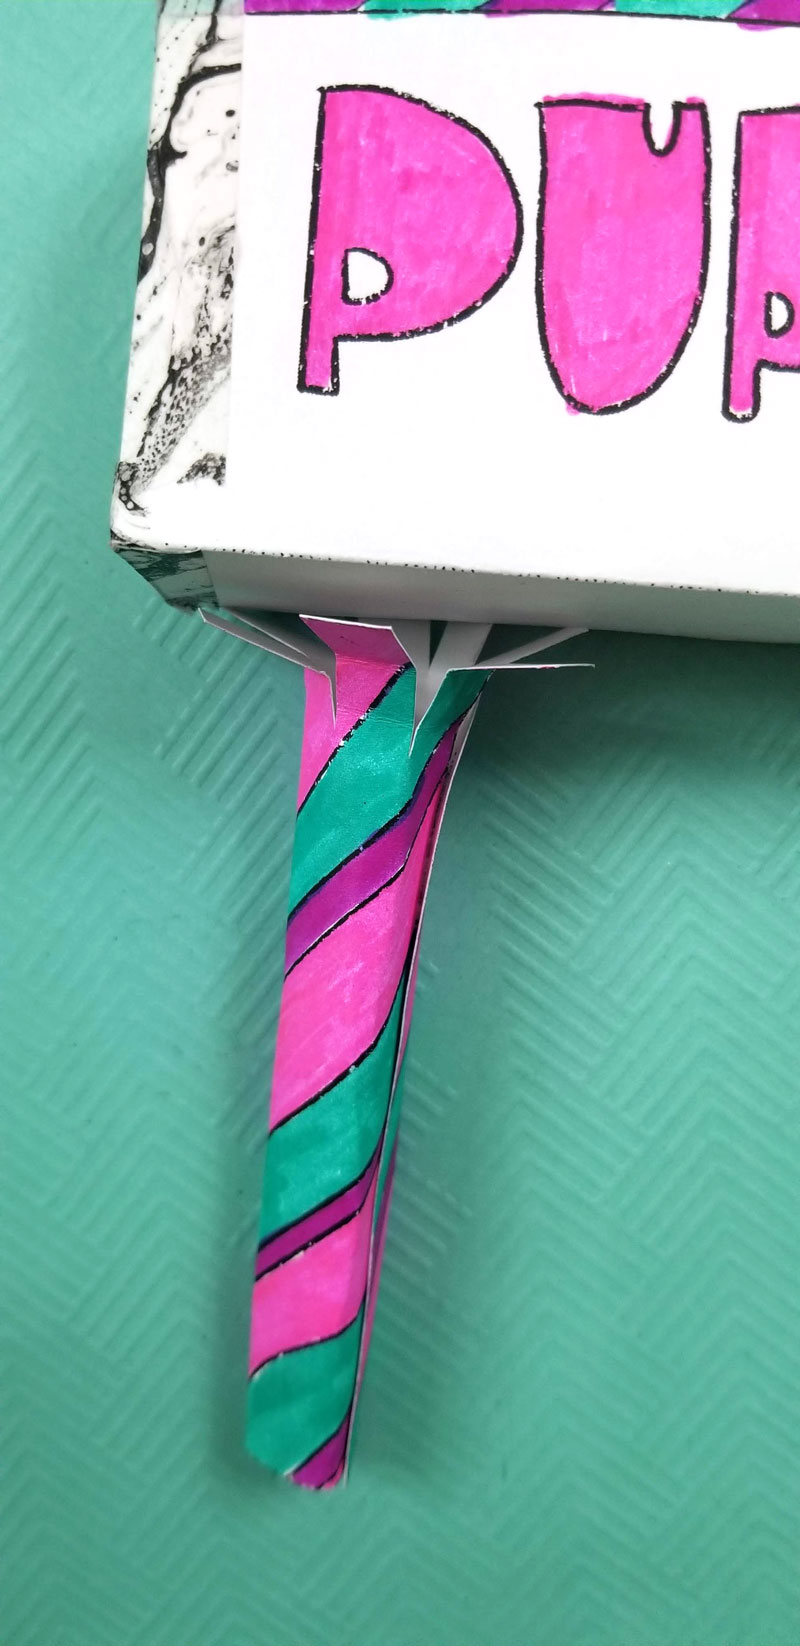
I used a little bit of washi tape to keep it in place. You won’t need this if you’re using a glue gun or if you use tacky glue properly.
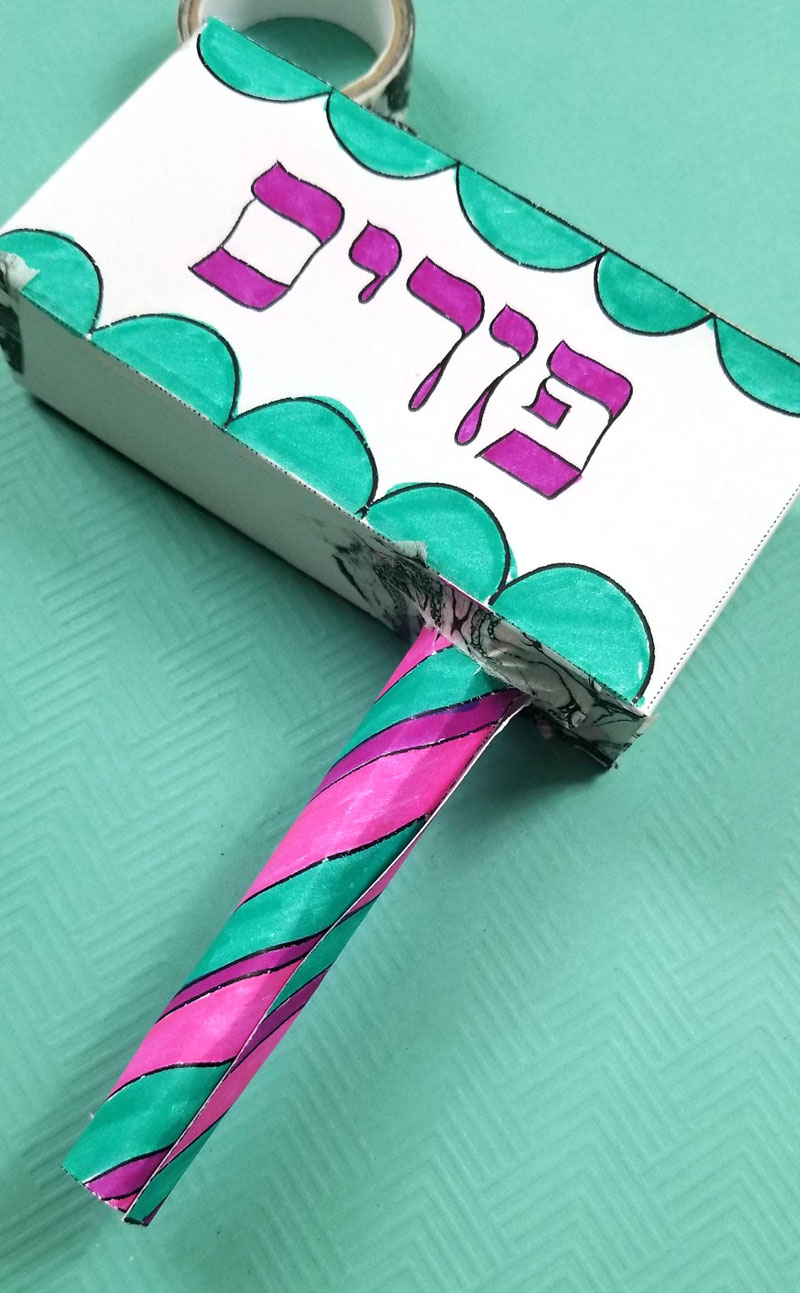
Your paper Gragger is complete!
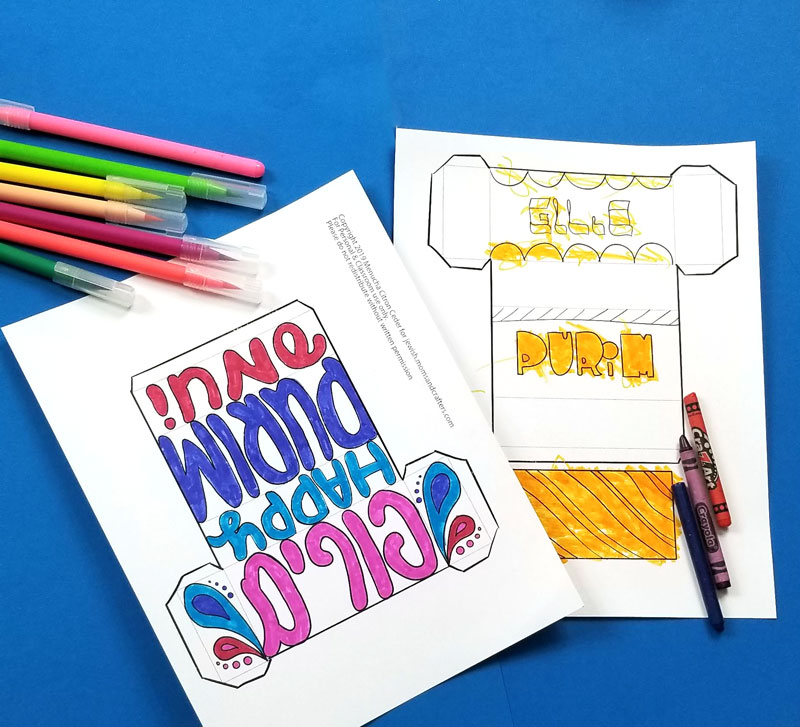
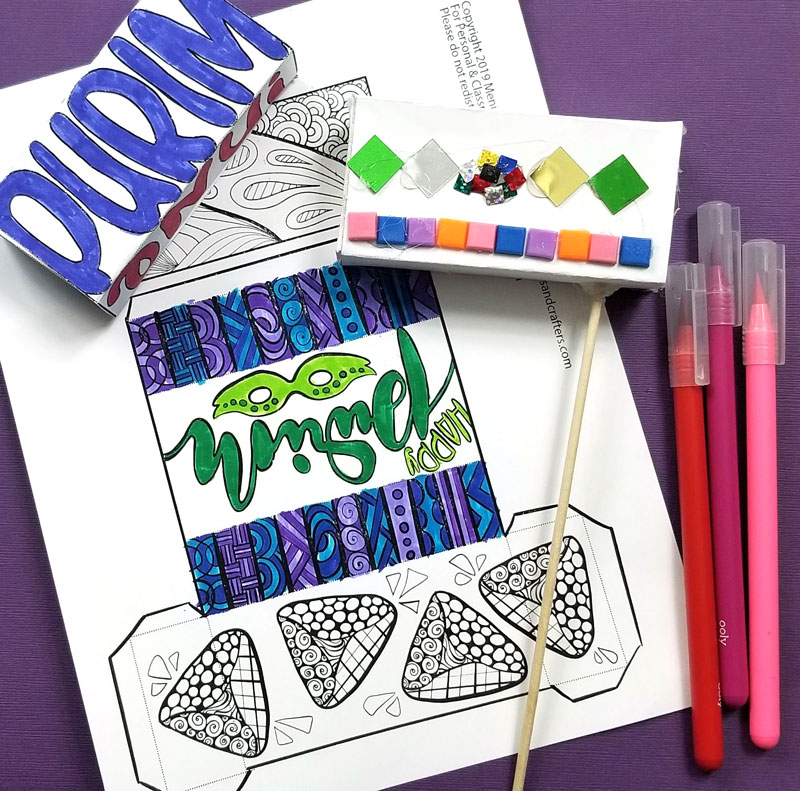
In case you missed it – download your purim grogger template below:
Get the free sample:
Get the full bundle:

Want more fun Jewish crafts for kids and adults? Check out the Purim coloring pages and free printable color-in Purim puppets. You can also check out some more cool Moms & Crafters products below:
[show_boutique_widget id=”915838″]
Want to make your Purim prep easier, your feast table more beautiful, and your kids’ happier and busier? Get the printable Purim bundle today for 75% off the full value! It’s full of table decor planners, kids’ crafts, coloring pages, and more as well as mishloach manot labels

