Star of David Necklace Craft
A Star of David necklace is a relatively easy jewelry making project, perfect for beginners and pros alike! This one has a modern touch and is made out of clay, with faux metal finishes. This post contains commissioned links. Some of the products in this post was provided free of charge by Plaid/FolkArt/Mod Podge in the hopes I’ll use it and share.
You may remember the Star of David kippah clips and backpack pins I shared some time ago. This Star of David necklace craft was meant to follow shortly after, as it was created in the same crafting session.
But we met a few bumps keeping this blog going, and I am SO excited to inaugurate our return with this post.
It’s my favorite type of craft: deceptively simple, inexpensive, and it’s so pretty!
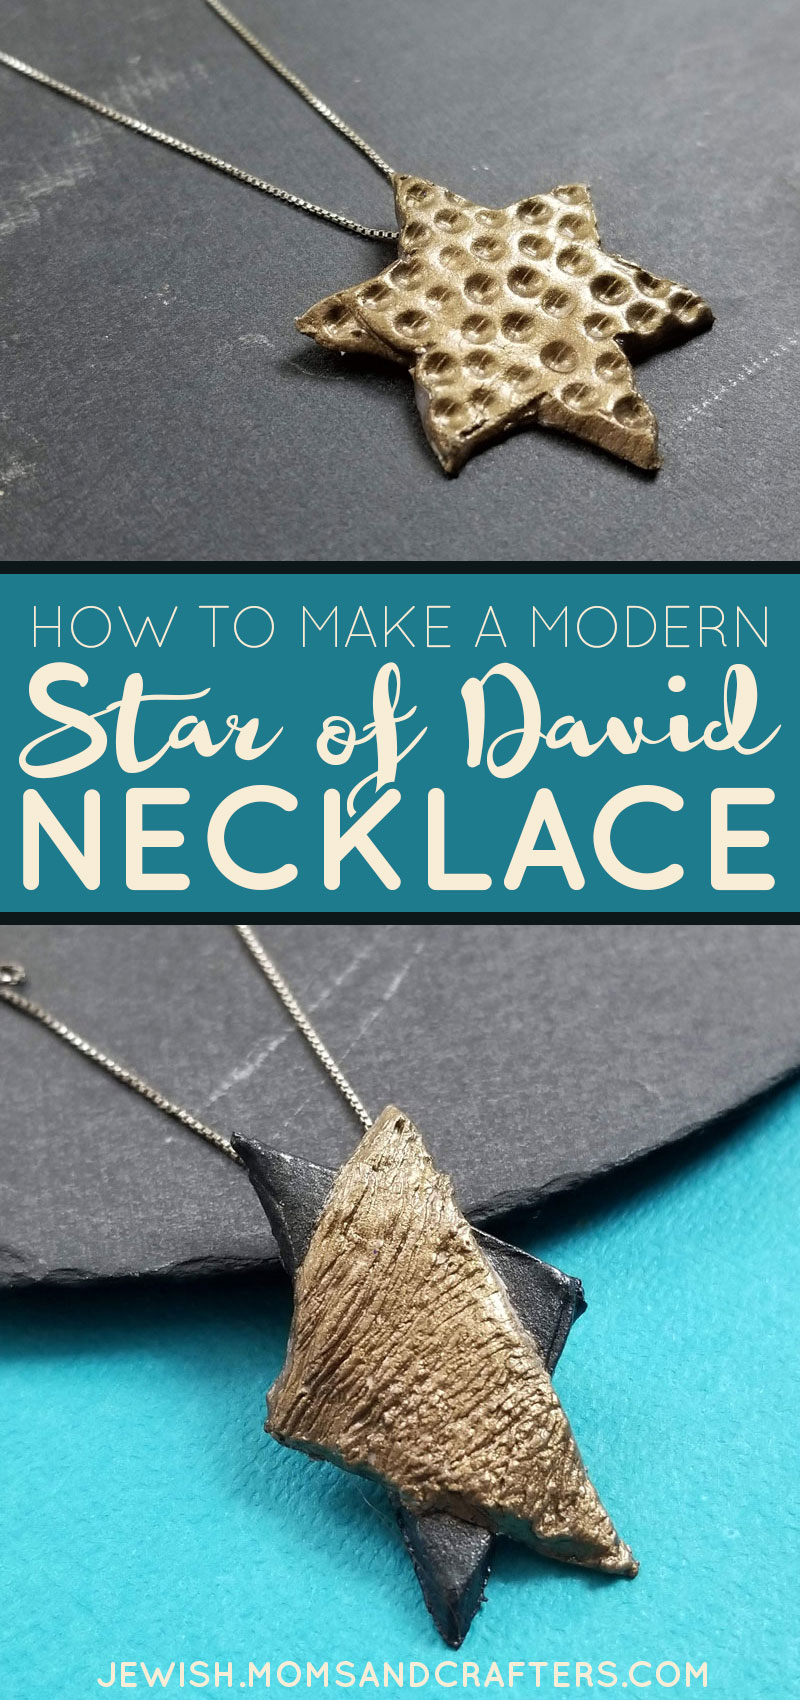
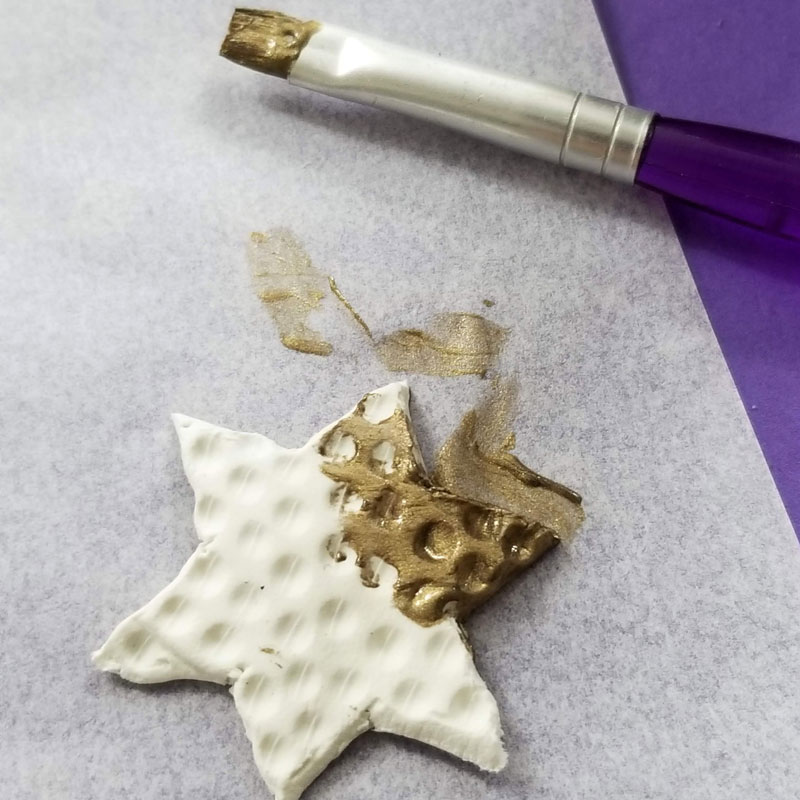
I made two types of modern Stars of David, and played with differentfaux metal finishes, similar to what I did with my DIY Mezuzahs craft.
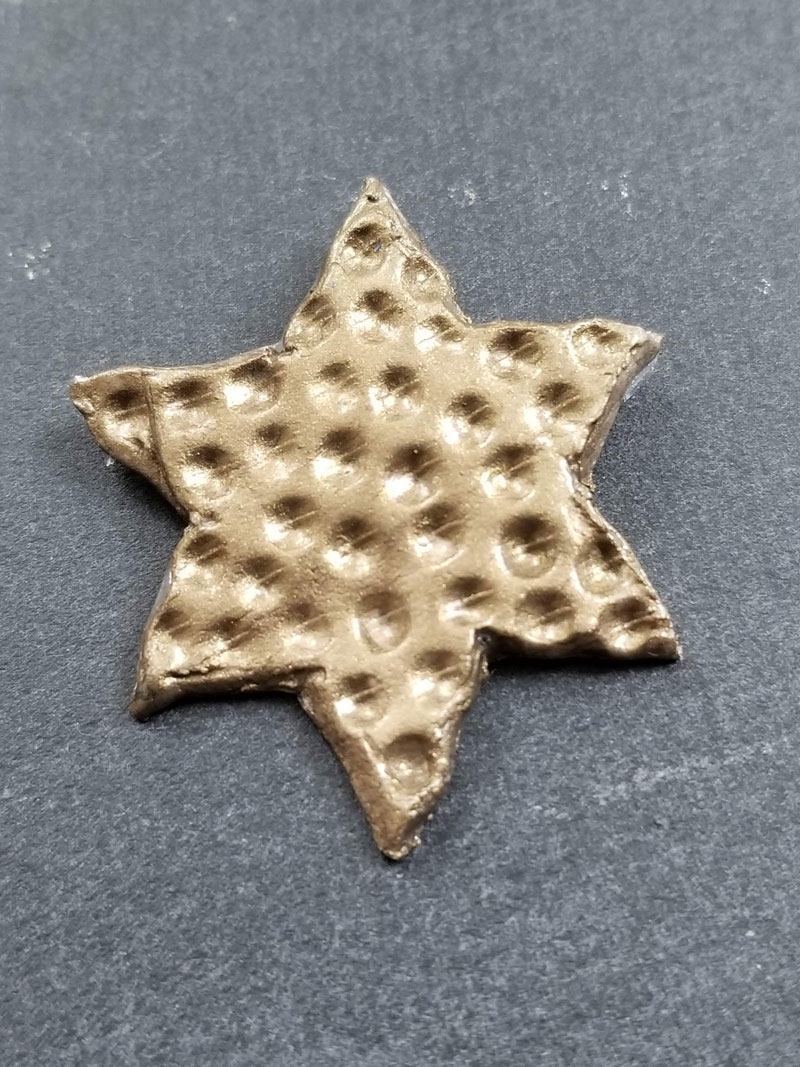
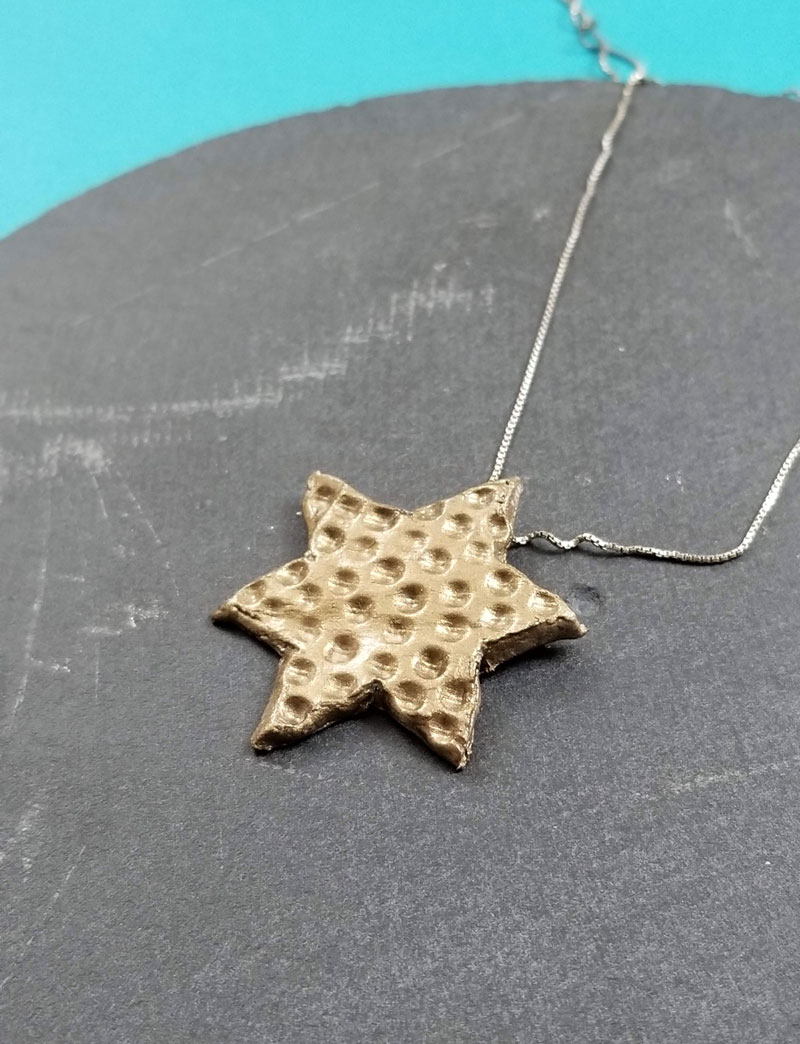
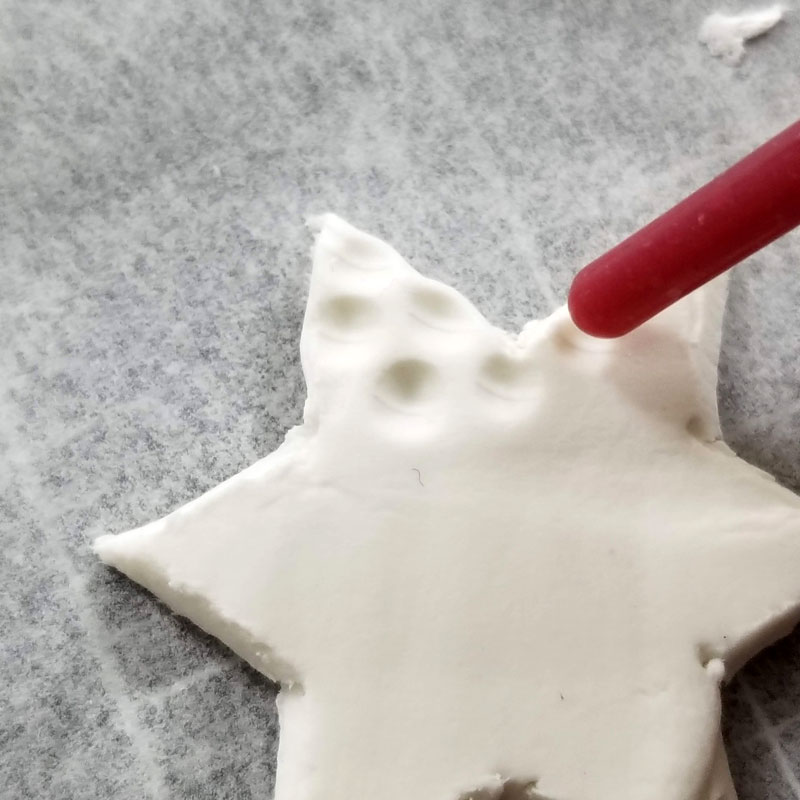
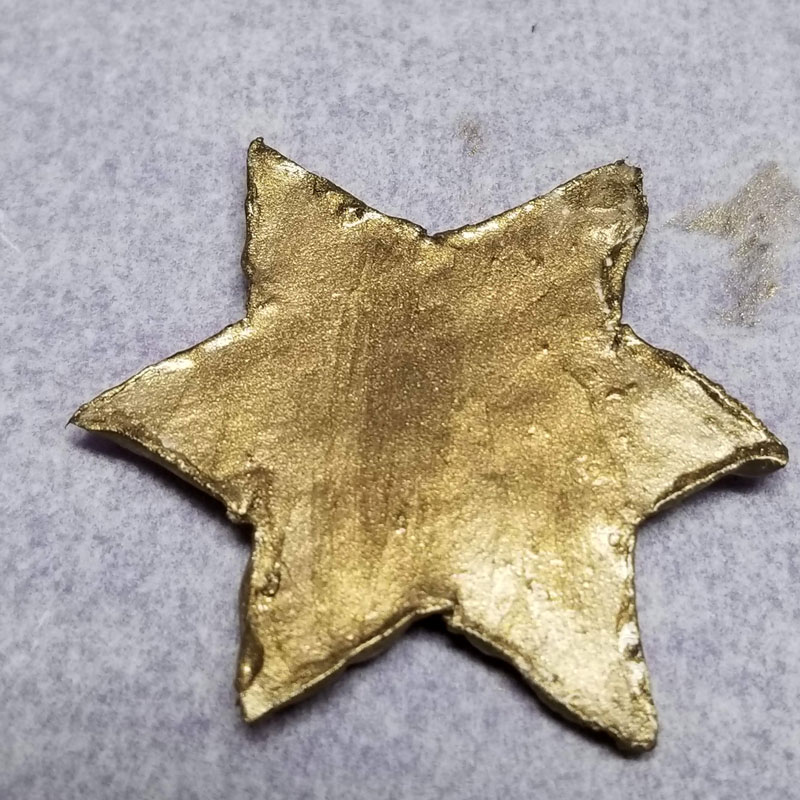
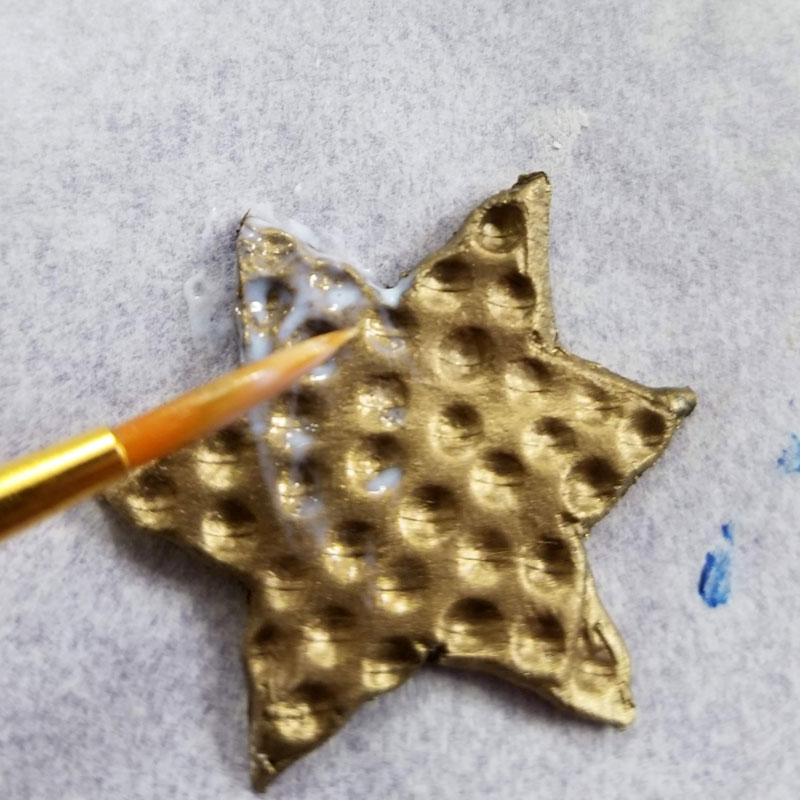
On one, I used the back of a paintbrush to create a faux hammered look. I did this one on the silhouette of a traditional six-pointed star, leaving out the interior detail.
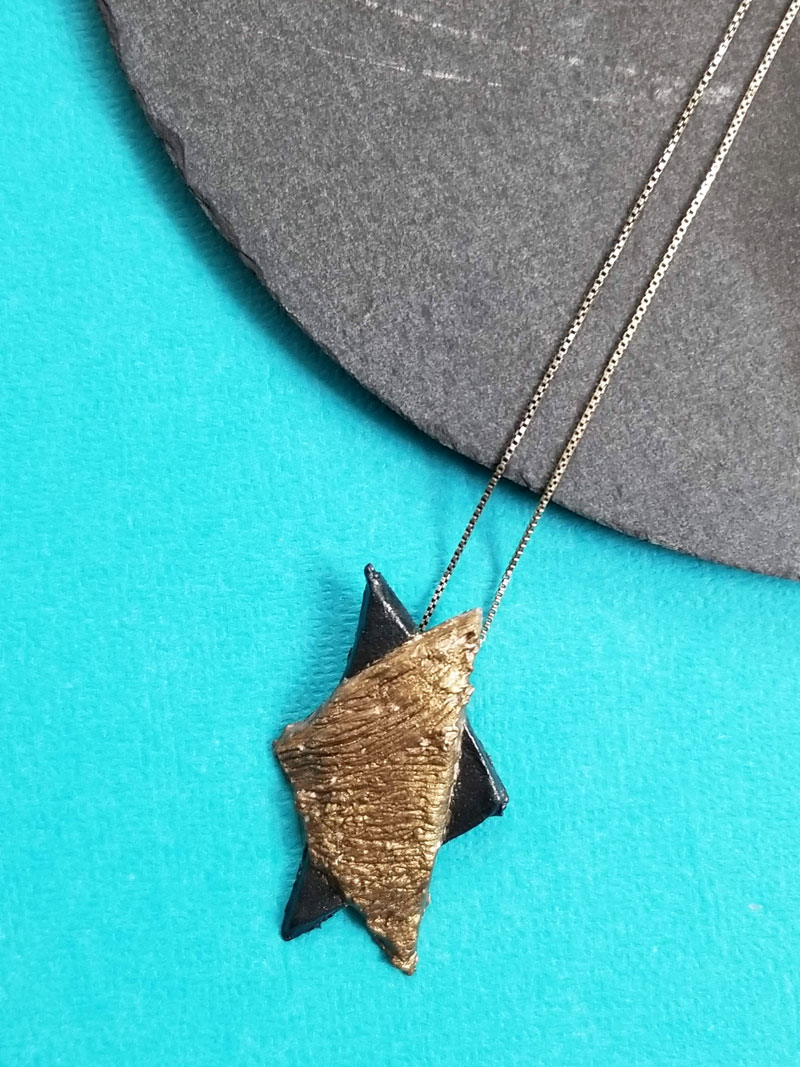
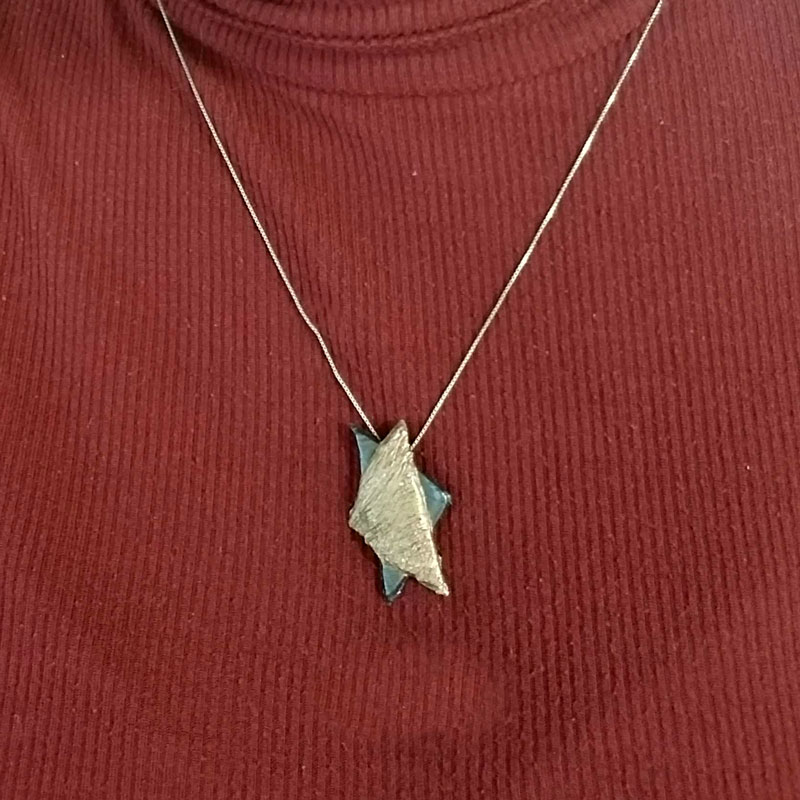
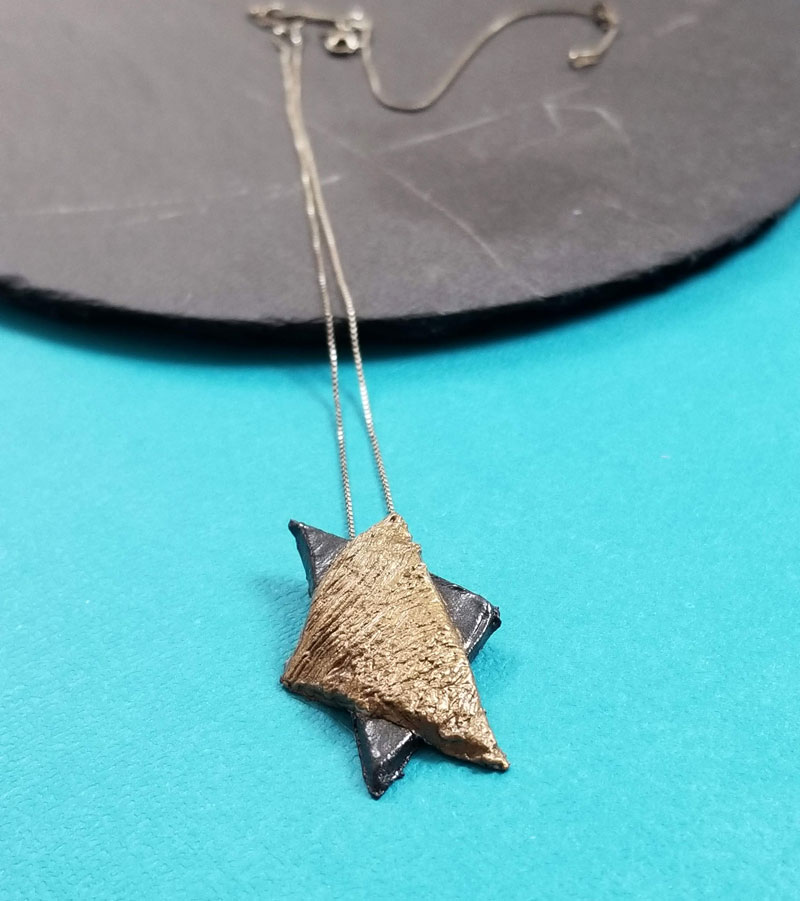
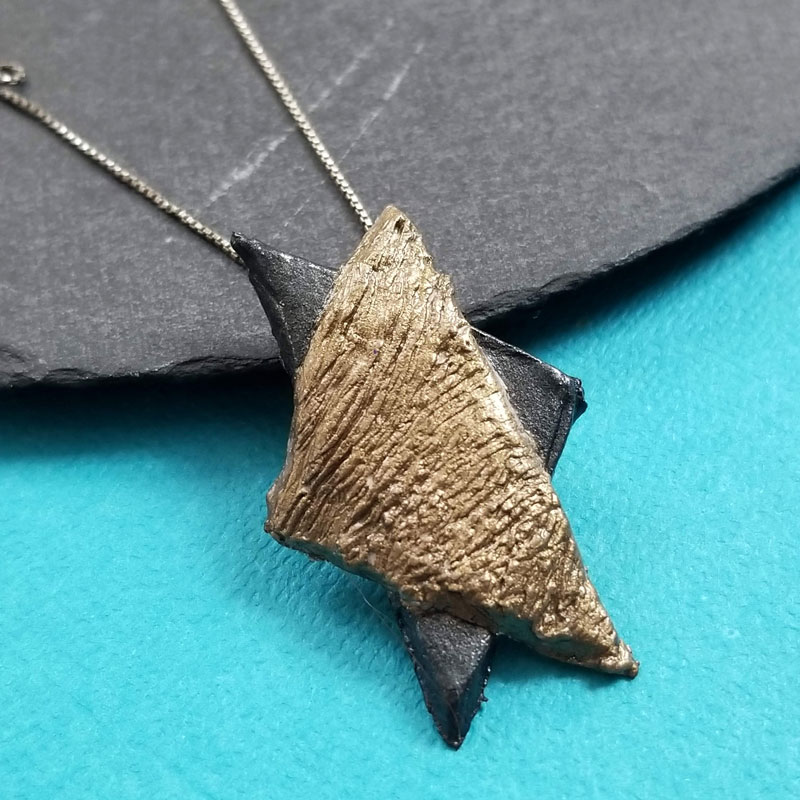
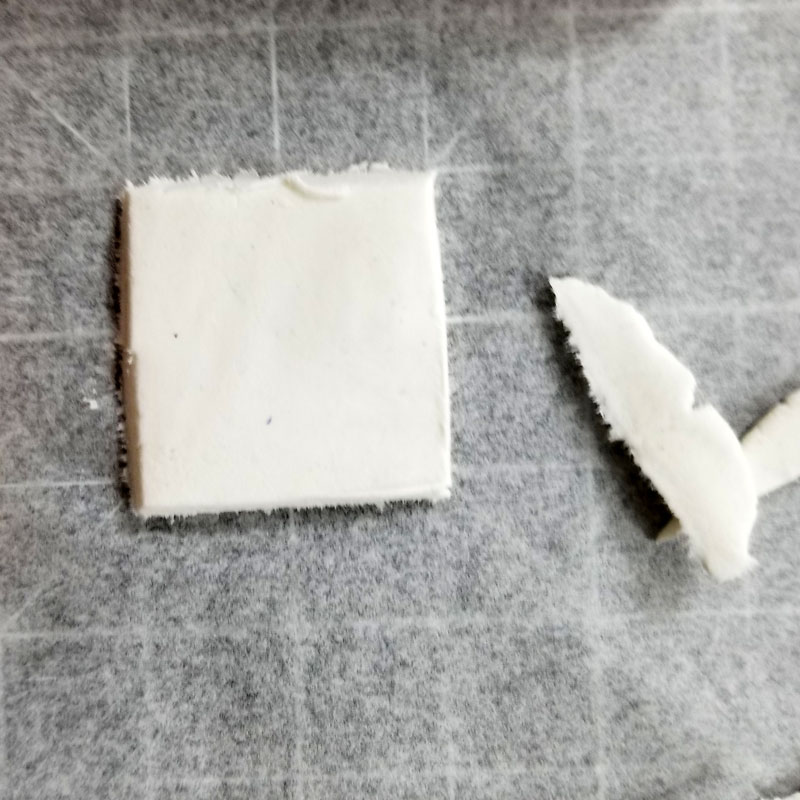
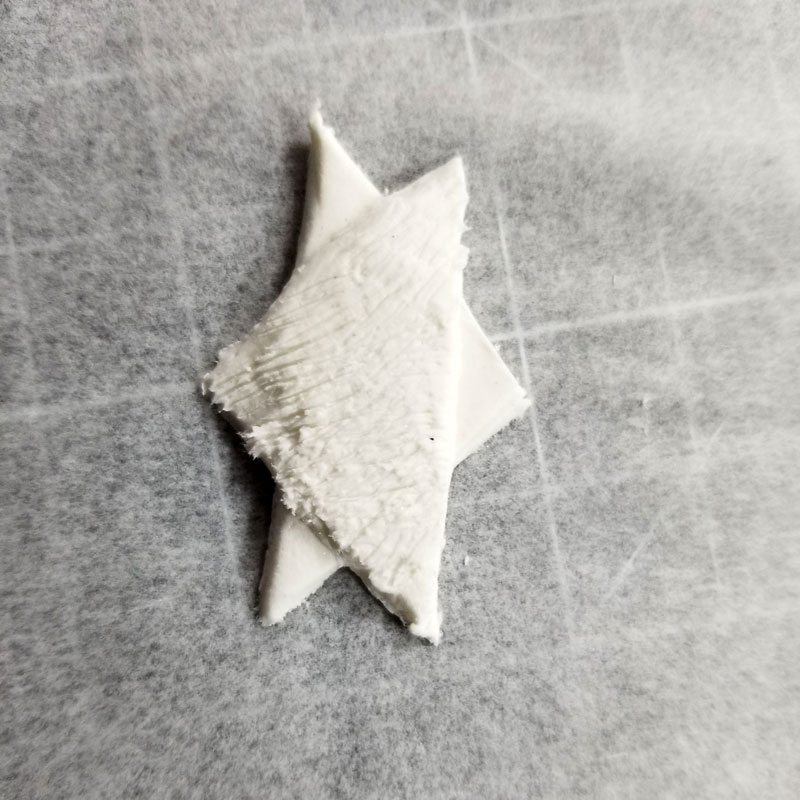
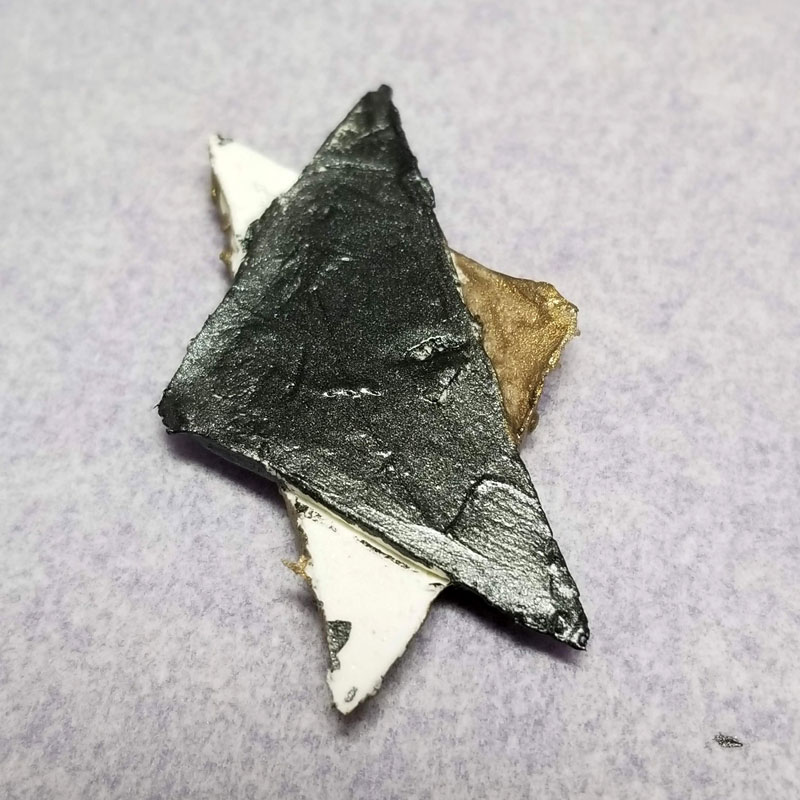
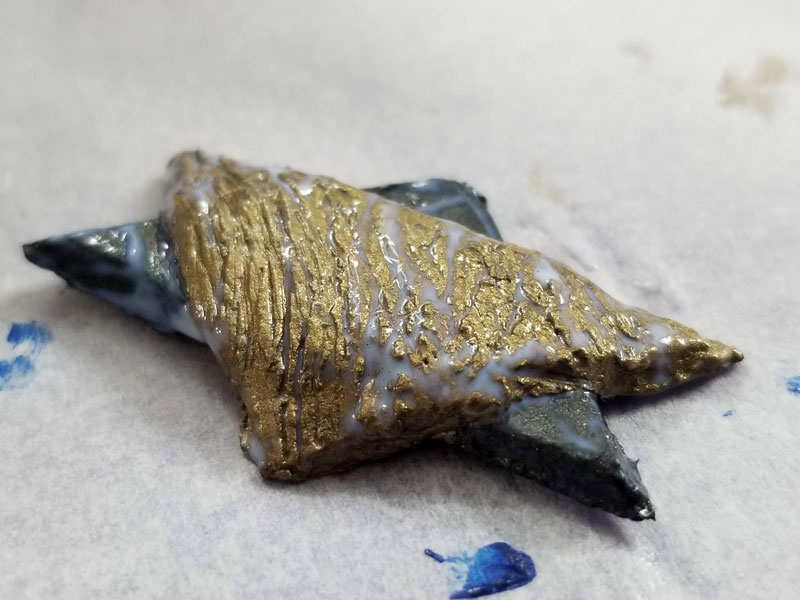
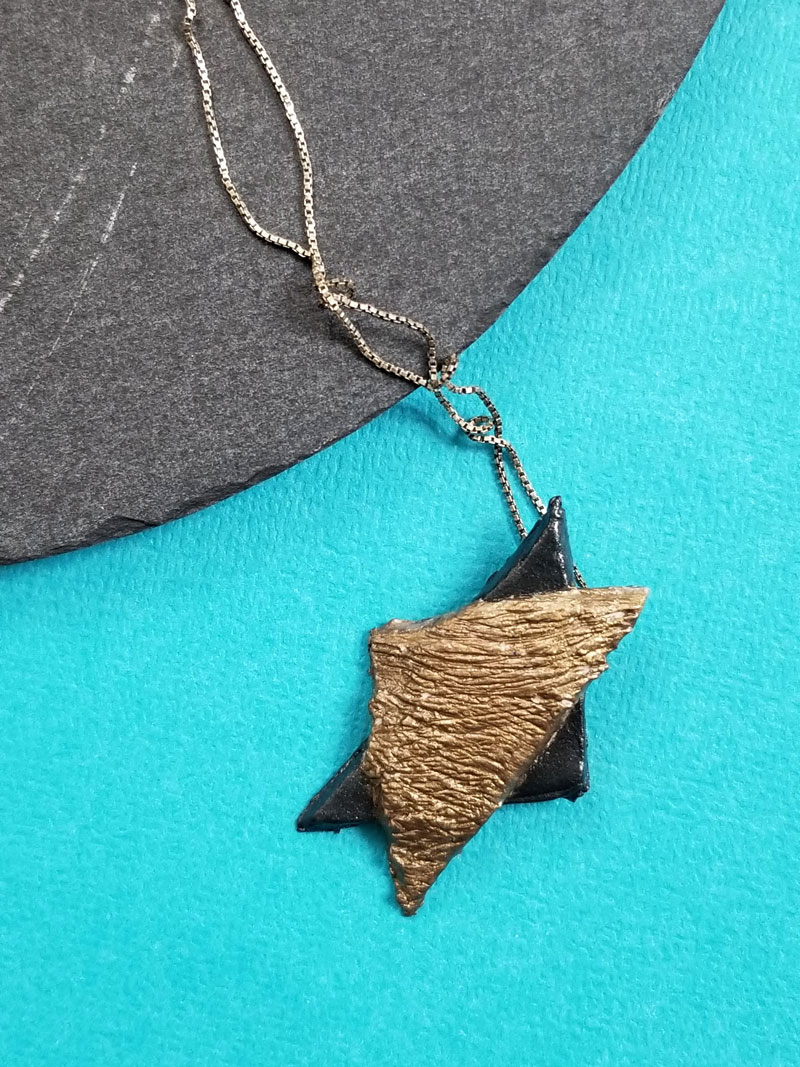
On the other, I played with clay shaping tools, brushing on some texture to enhanced the brushed metal look of the Folkart paints. I made it an asymmetrical star, ironically, by starting with symmetry. Creating this from a square helped maintain an balanced look without it actually being made from equilateral triangles. The slanted shape gives it a different kind of modern look.
I was sure I’d prefer the first, since I’m obsessed with that hammered look, but I actually preferred the second asymmetrical one! I’m a big fan of creative use of texture, and on this one, the contrast between the two metals, and the different textures on each triangle really got me!
I made these using Sculpey air dry clay, my current favorite for clay jewelry. I personally prefer air dry clay – there’s just one less step to think of. This particular brand is more lightweight than the Crayola stuff I’ve used in the past, and it’s really easy to work with.
These make a fantastic DIY gift for Chanukah or any time of year and are simple for anyone to make. You won’t want to make just one!
Supplies:
Materials:
- Air dry clay
- FolkArt Brushed Metal paints (I used bronze and dark gray colors)
- Mod Podge Super Gloss
- E6000 glue
- A glue-on pendant bail
- A finished chain
- Pen and paper to plot your design, scissors to cut it out
Tools:
- Clay shaping tools including a knife
- Self-healing cutting mat
- Paintbrushes – small and flat, as well as a finer round one
How to make a Star of David necklace:
For the symmetrical “hammered” star of David necklace craft:
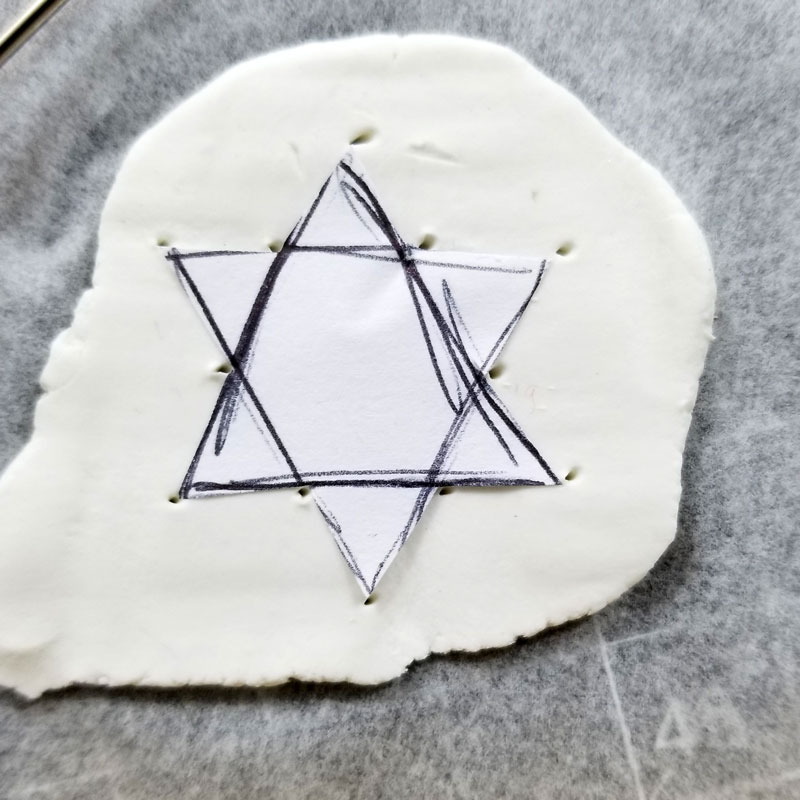
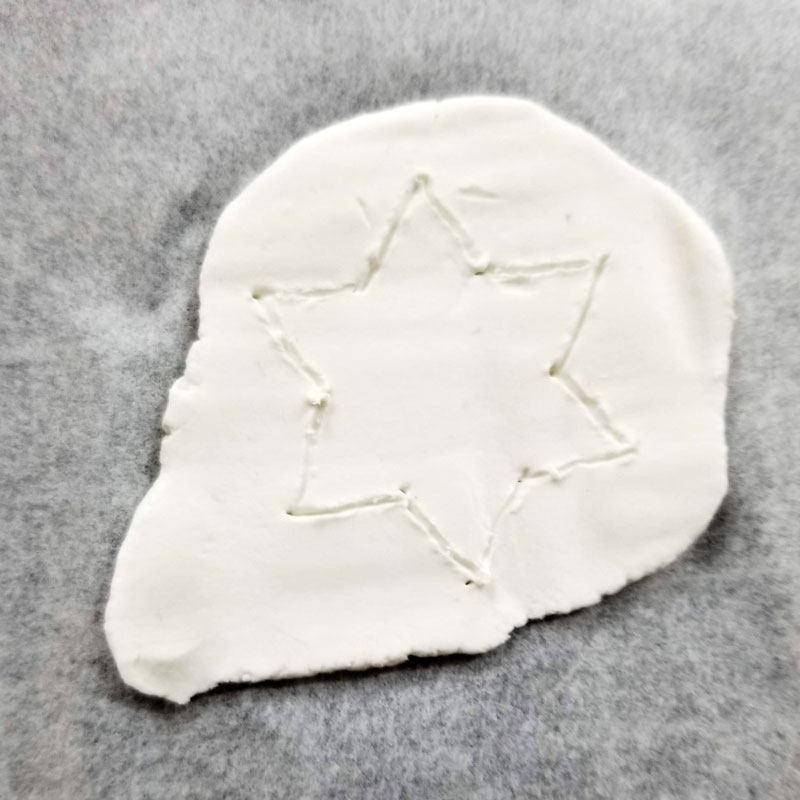
1. Draw a star on paper and cut it out. Roll a ball of clay, flatten it to your desired thickness (about 4-6 mm). Mark the corners of your star.
2. Remove the paper and connect your dots. If some parts seem to need correction, fix them – there’s no harm in trusting your creative instincts!
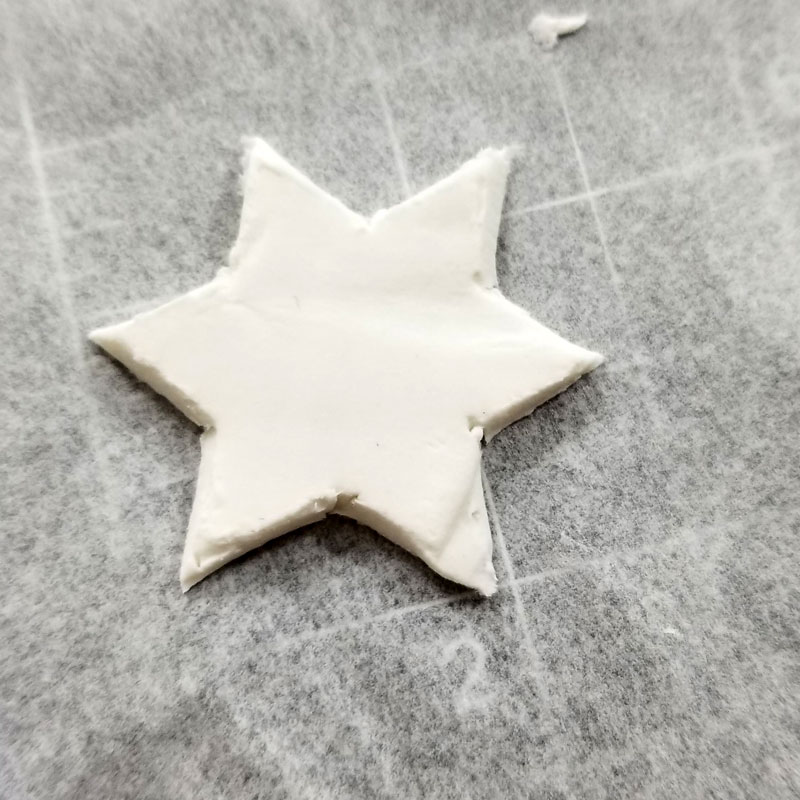
3. Use a knife to cut out your star. Press in any rough edges with your fingers (alternatively, you’ll be able to sand them down after your clay dries).
4. Use the back of a paintbrush, or anything else that seems to be the right size, and press in dots to make a hammered look.
5. When your clay is dry, paint it thoroughly. You may want to do this in two coats. Use a small brush to get into all the grooves you made.
6. When your front is dry, paint the back as well.
7. When that’s dry, seal with your favorite sealer. I used Mod Podge super gloss for this one. Don’t let it pool too much in the dips, and do two layers if necessary.
For the slanted star with the brushed metal finish:
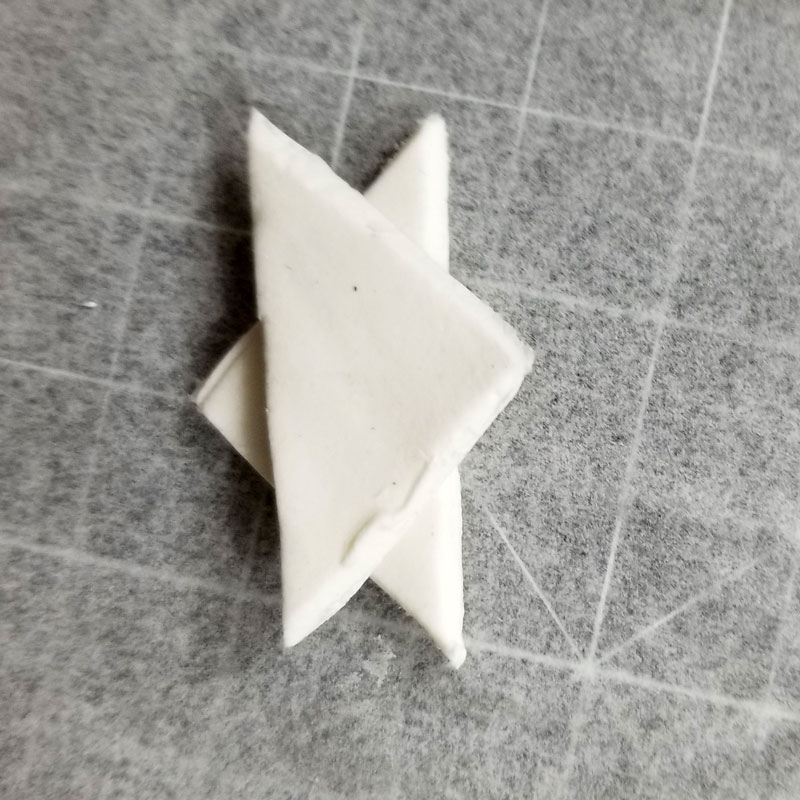
1. Cut a symmetrical square. I used the guides on my cutting mat to help me with this.
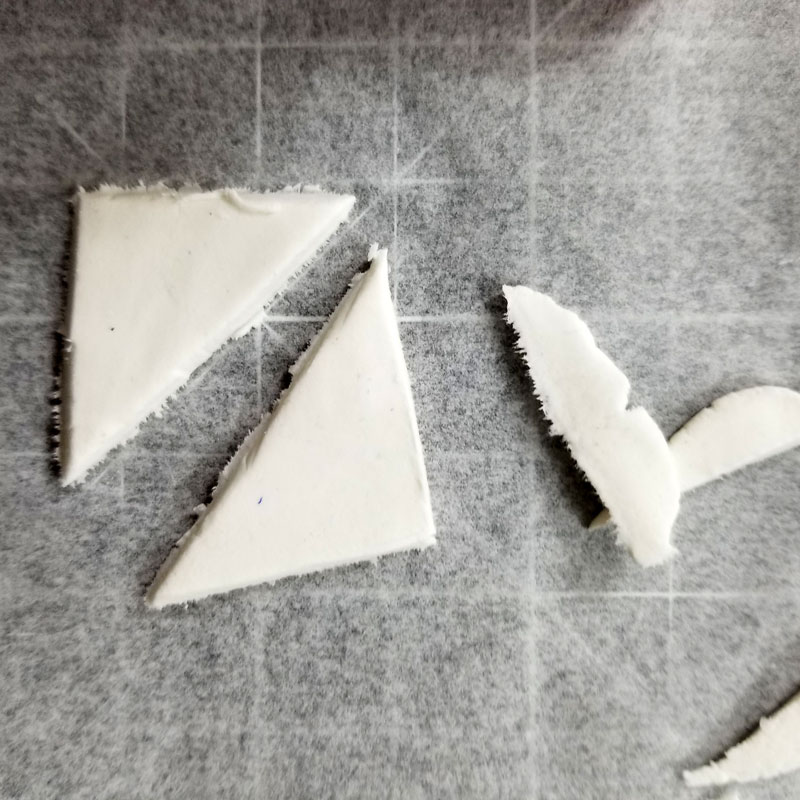
2. Split your square in half diagonally to create two triangles.
3. Layer them on top of each other. I did it with one cut edge vertically facing left, and the other vertically facing right. Gently press it down so that it actually connects with the other piece. If you don’t want it to have that “melted on” look that mine has, you can connect it using a little water.
4. Create this texture using a steel brush. Make sure not to pull up too much clay. Do it gently.
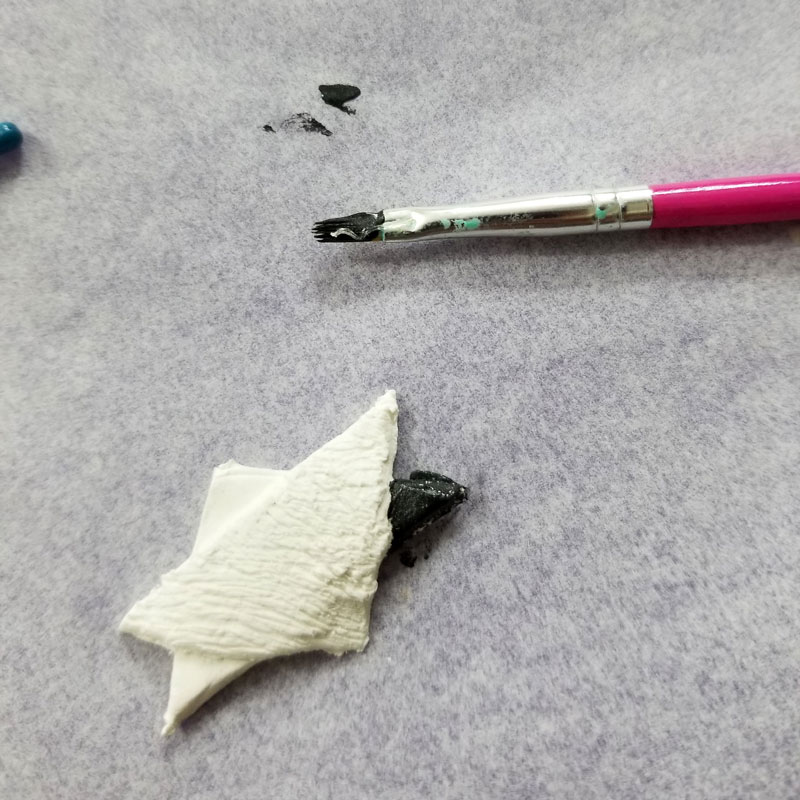
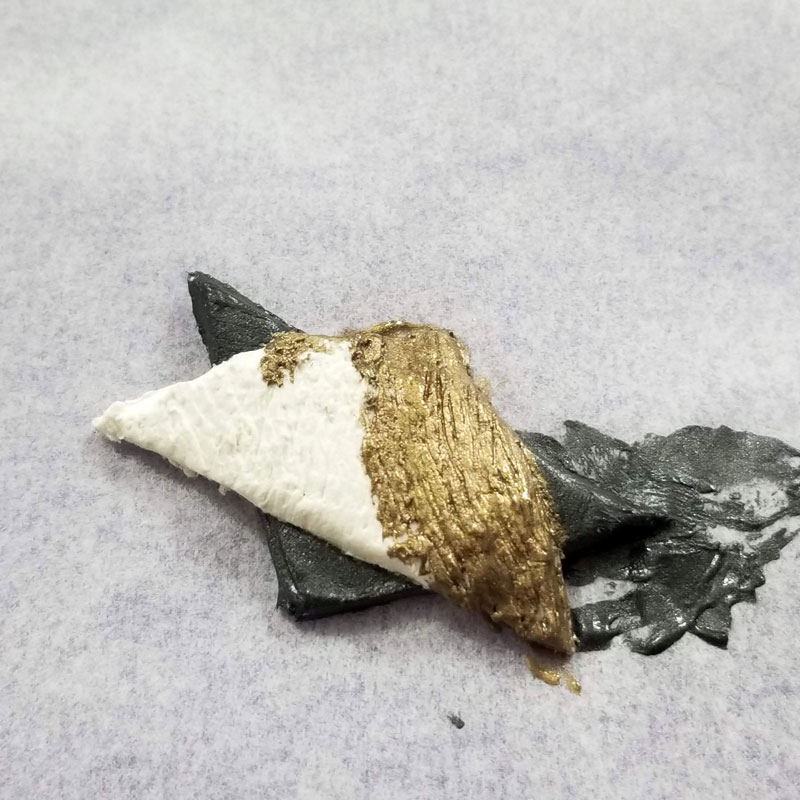
5. When your clay is dry, paint it! I made this star of david necklace two-toned. The bottom triangle is a metallic black (like gunmetal or heavily oxidized silver) and the top is brass. For the bottom
I used a small brush to get into all those lines, and to work around the two separate triangles.
6. When your front is dry, paint your back. Be consistent with which triangle is which!
7. When you’re satisfied, seal it with your favorite sealer, making sure to scoop it out of all those cracks and not let it pool. If you want, repeat with a second coat.
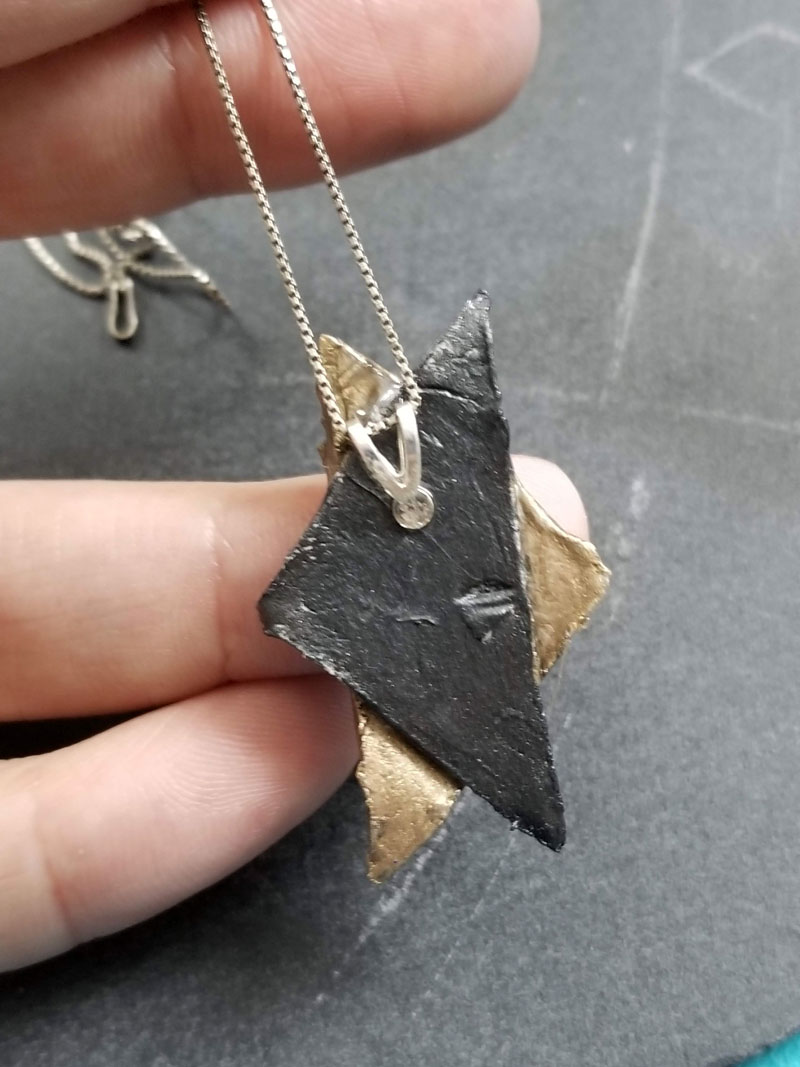
For both necklaces, once it’s dry, glue a flat-pad bail to the back and string your chain through. Tip: I couldn’t find the one that I bought ages ago anywhere, but if you want to hide it like I did, make sure you get one with a flush side. You can then glue it on backwards so that it sits behind the whole pendant.
Your Star of David necklace craft is complete!
[show_boutique_widget id=”881772″]



I wonder if adding the bale with an additional piece of clay, BEFORE it dries to really stick it in there would work? Or do you think the weight could potentially break the Magen David?
I’m not sure as I haven’t tried it, but that added clay would need to be very secure for it to work. I’d rather use a small screw eye and add that to the wet clay. Your star will need to be thick enough for that.