Clay Pomegranates – Turned into Charms
Learn how to make clay pomegranates to turn into earrings or napkin rings for Rosh Hashanah! If you love this, try making origami pomegranates too. This post contains affiliate links.
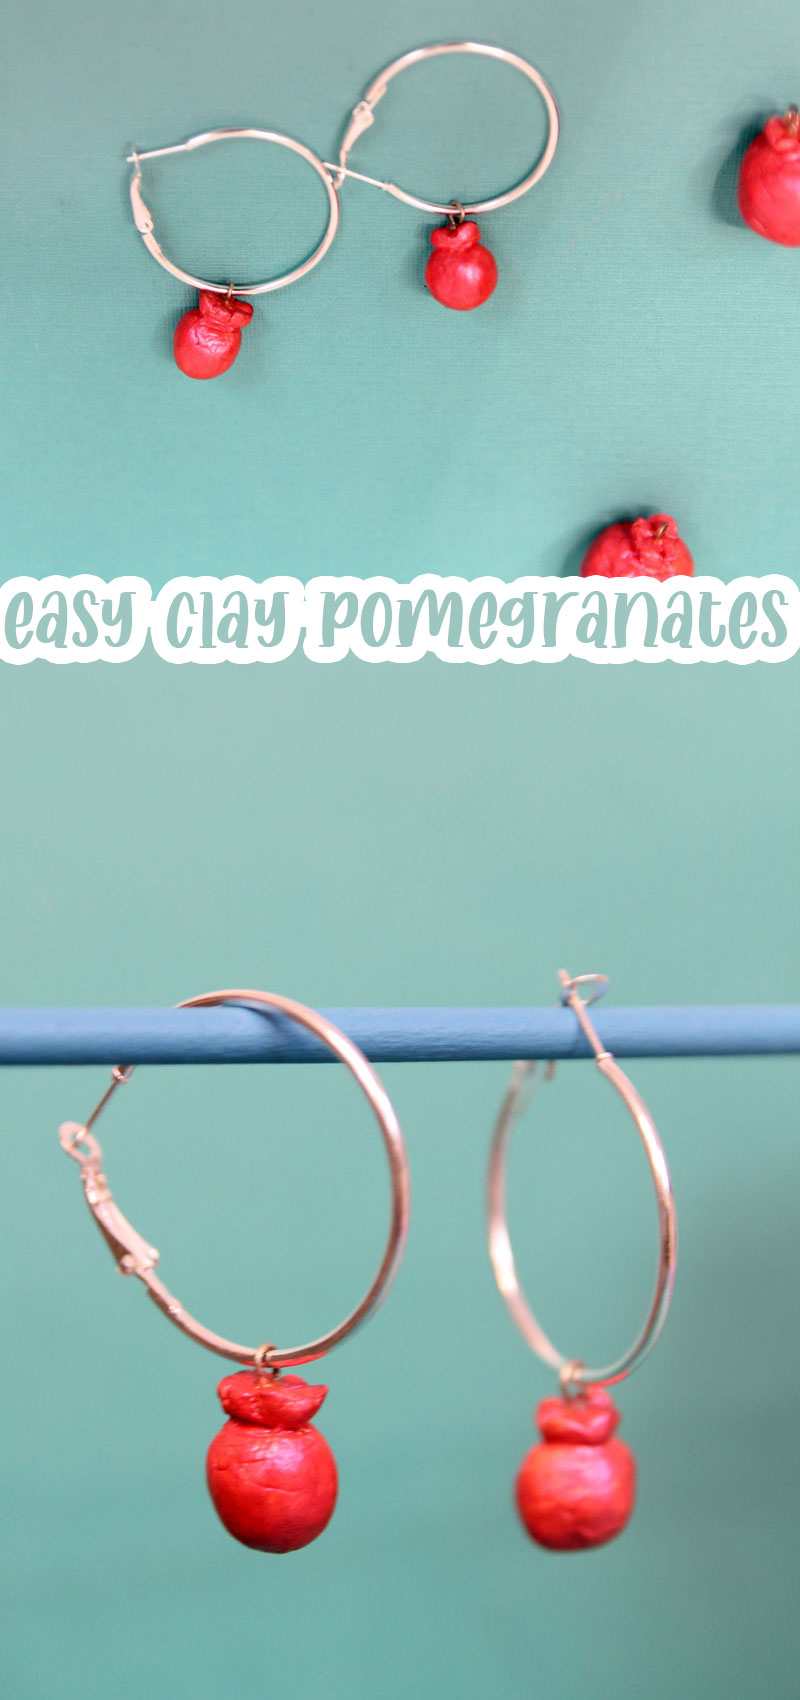
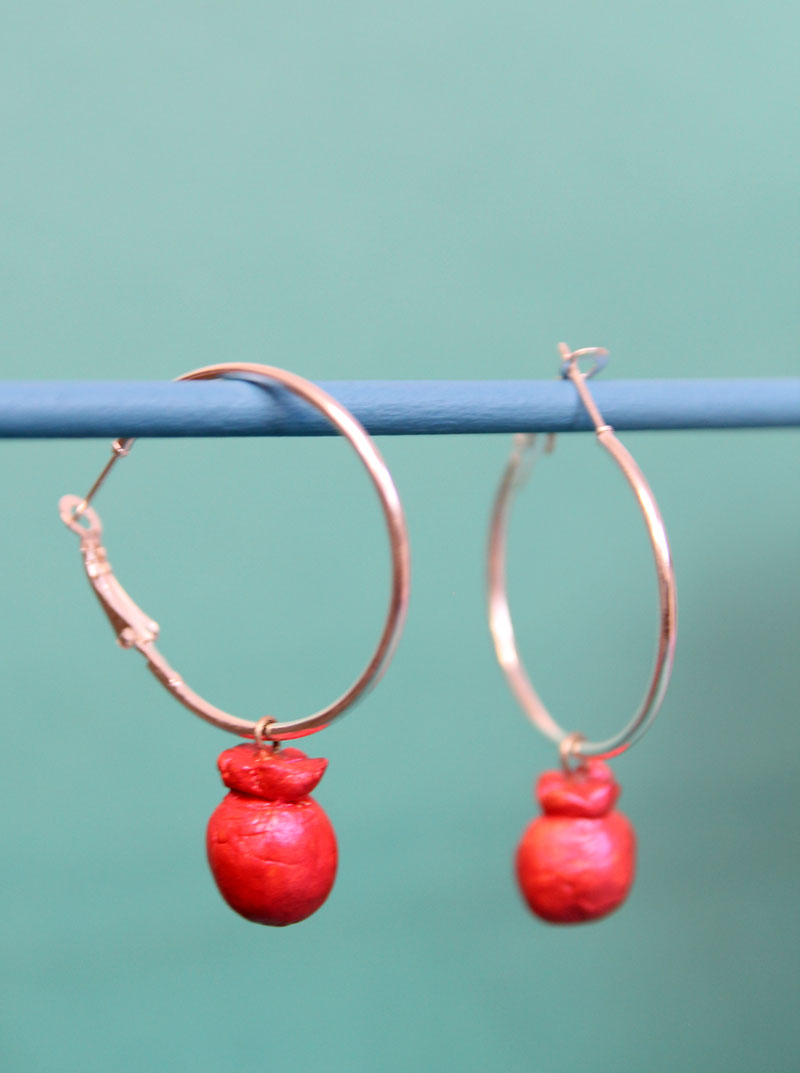
A few years ago, I made some clay pomegranates that I turned into charms. I used these to make some pretty Rosh Hashanah earrings for myself, and then made some larger ones to use as table decor.
On a whim, I snapped bad photos with my phone, but the good news is that I’ve pulled those out now, so that I can share the tutorial with you. Old photos aside, you should be able to follow along with this very beginner clay tutorial.
I can tell you now that I can offer a bit more advice to help you smooth things out. You may want to use water to smooth things out a bit. I’d also repeat it with a more subtle paint, not the color shift version that I used. And finally, you may want to sub the E6000 with Super Glue.
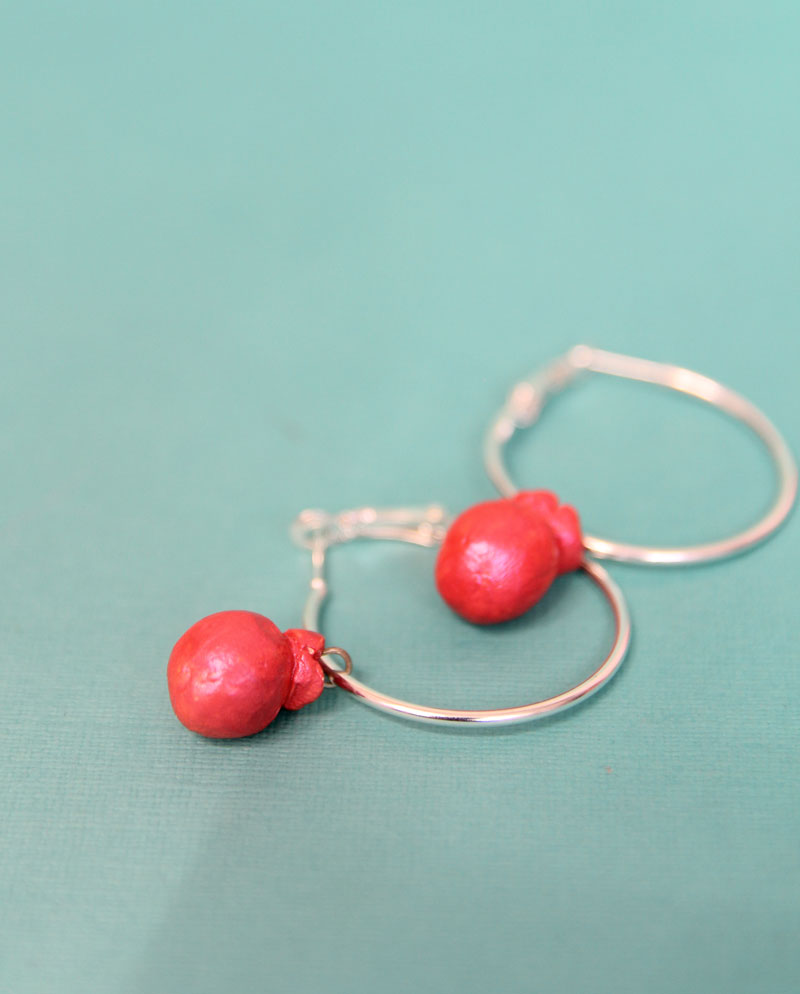
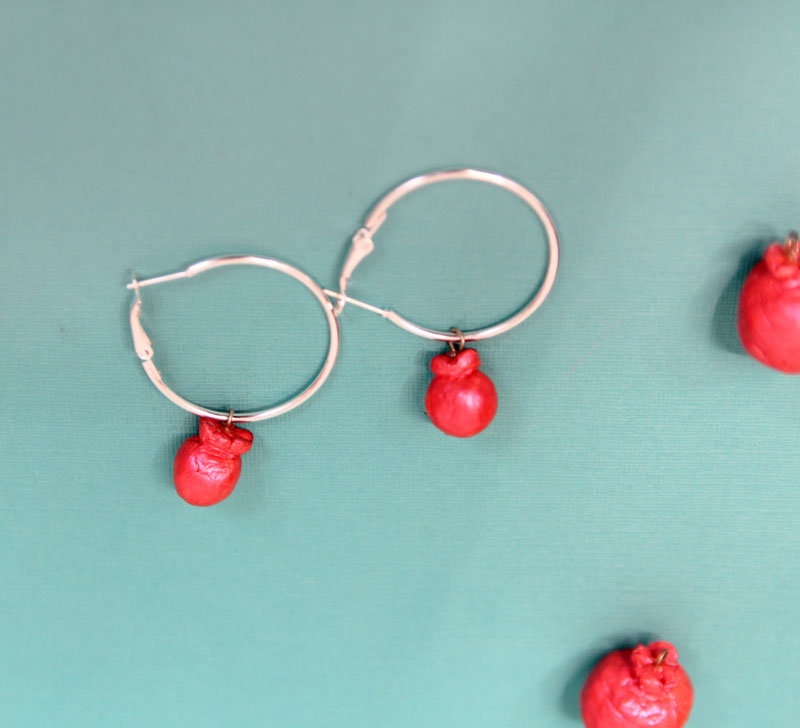
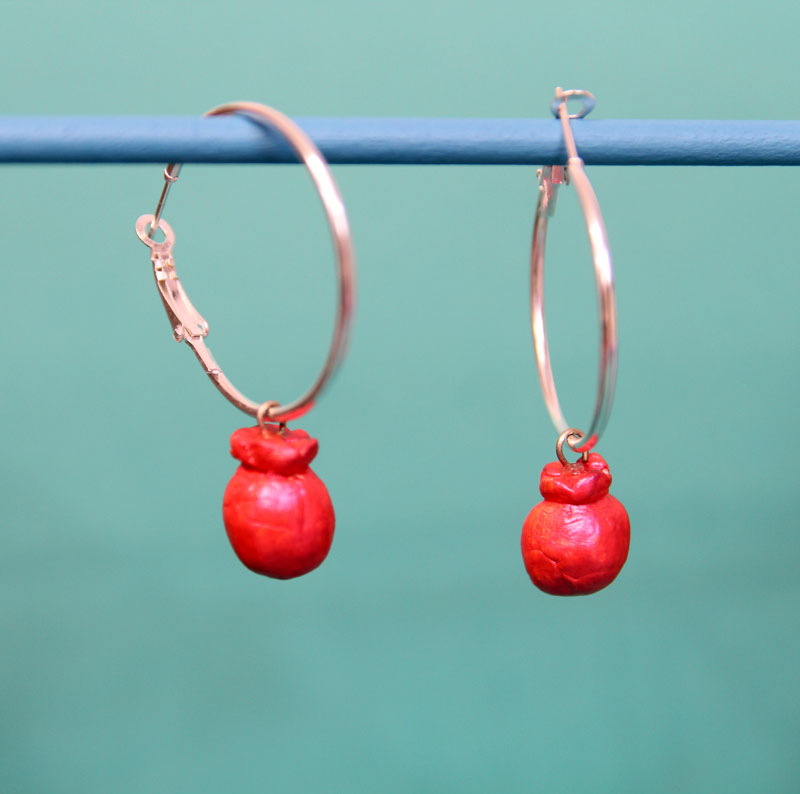
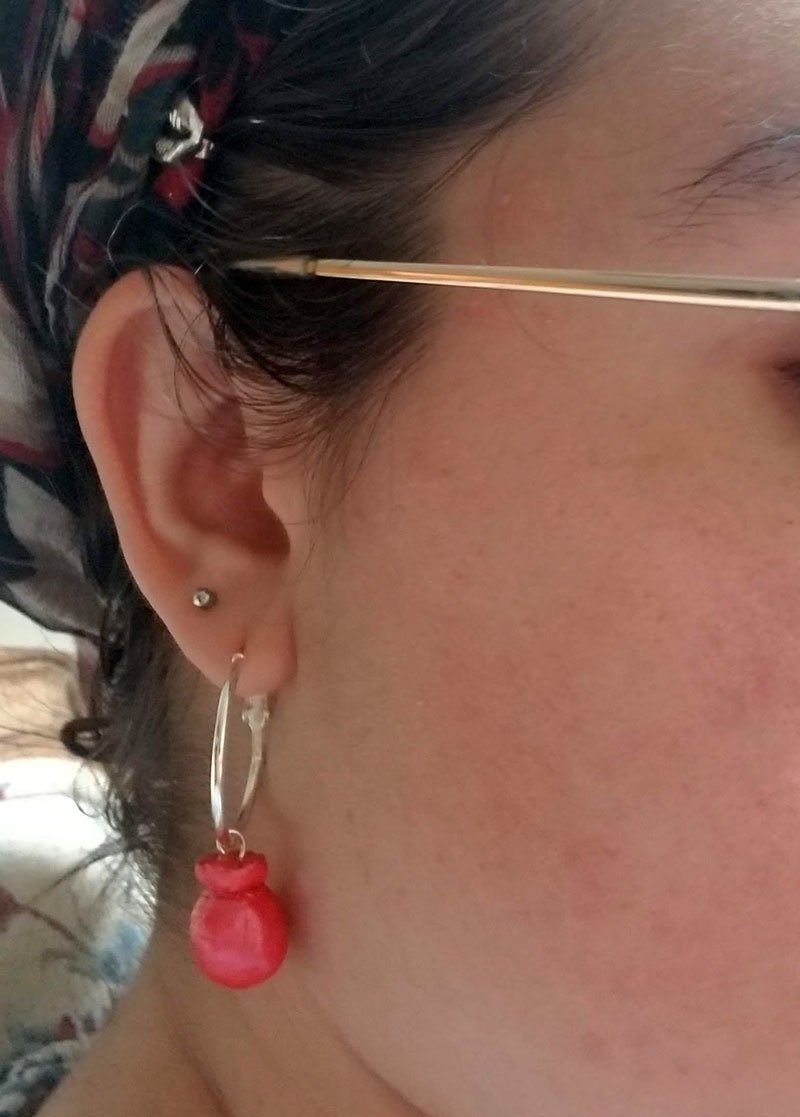
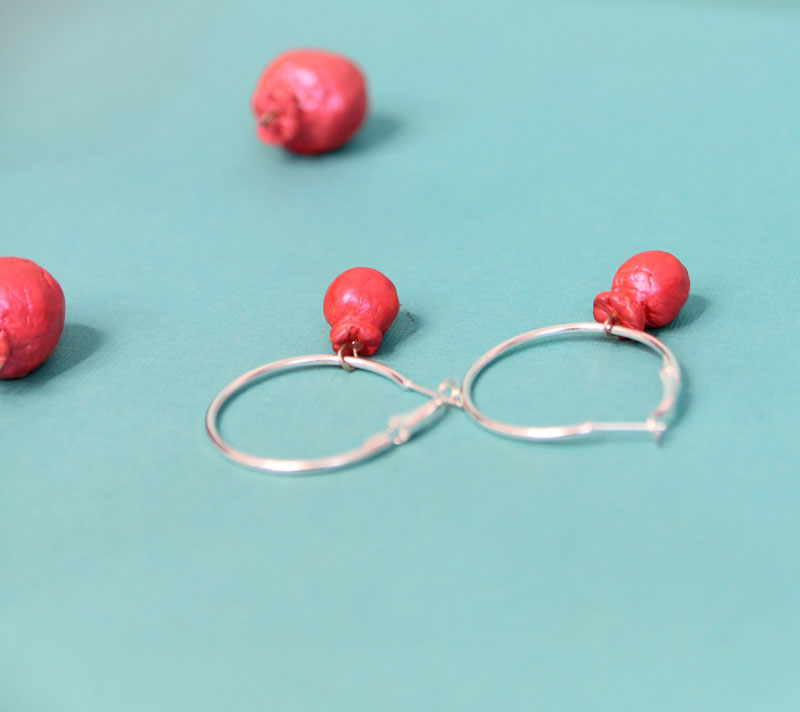
You can turn the pomegranate charms into fun earrings by simply sliding them onto hoop earrings! Alternatively, use them as charms for a bracelet. Or, treat them like any jewelry making dangles and add to necklaces, beaded earrings, and more.
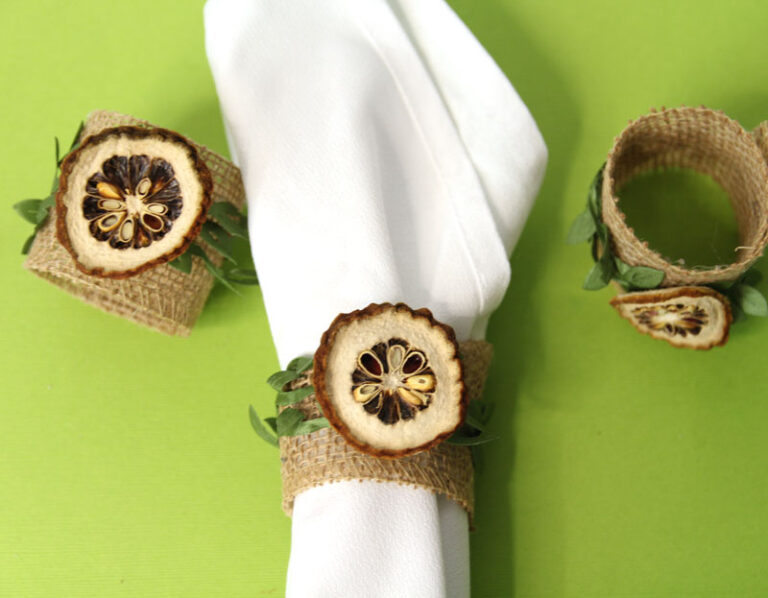
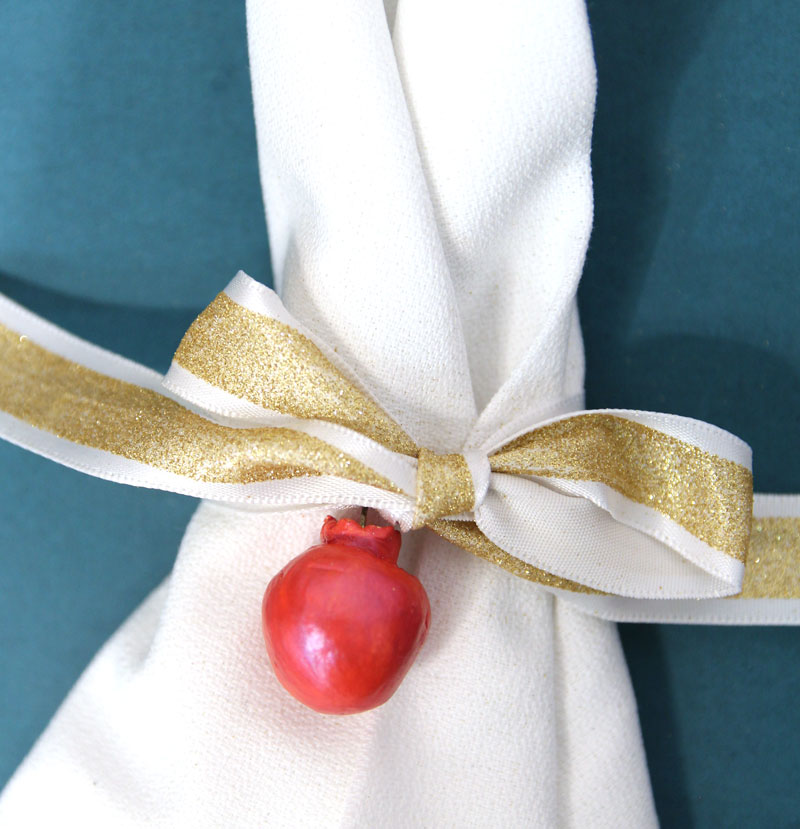
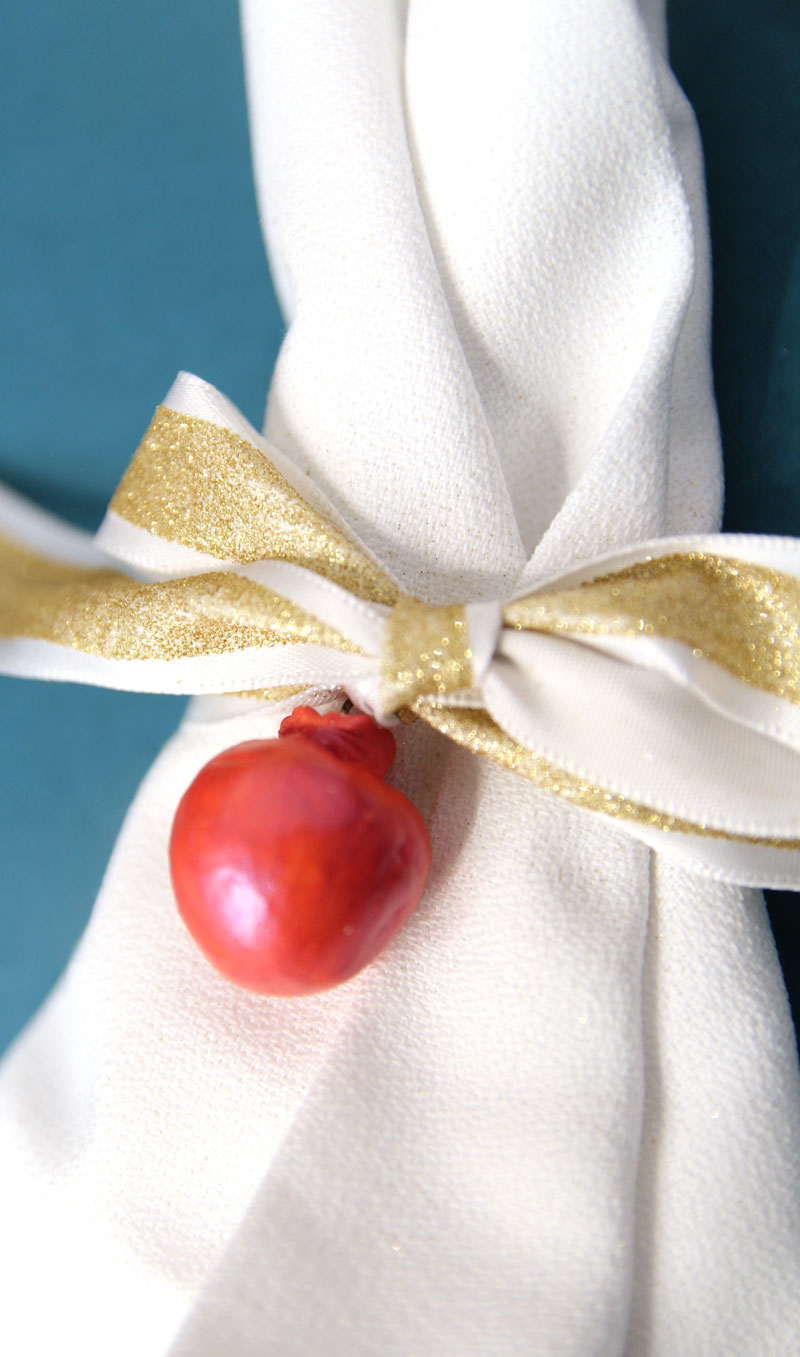
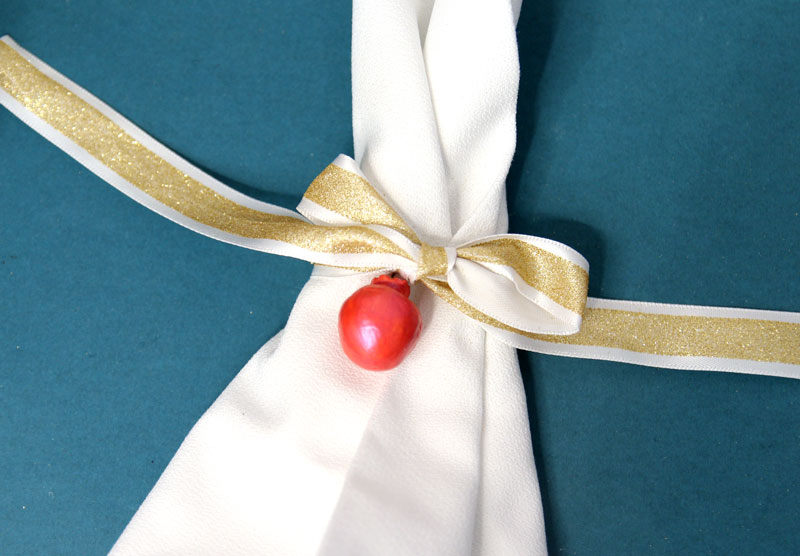
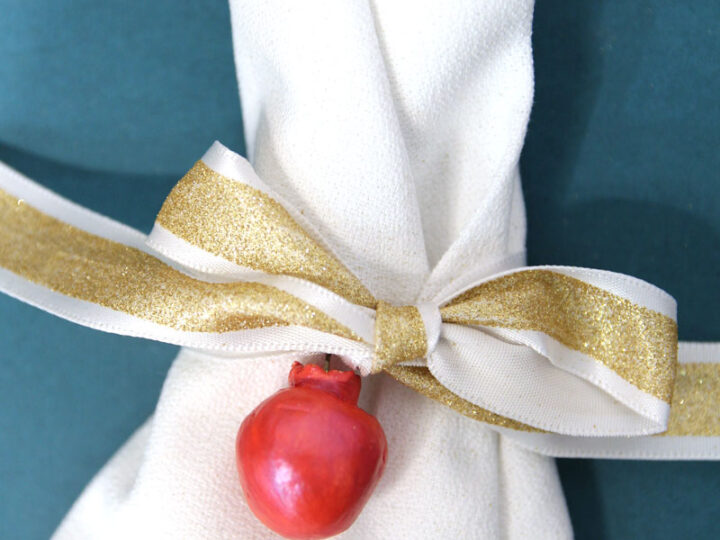
To turn these into napkin rings, you can either form a ring from wire, or do as I did: simply tie a bow. I cut ribbon to 1 foot lengths, tied a single knot, strung on the pomegranate, and formed a bow.
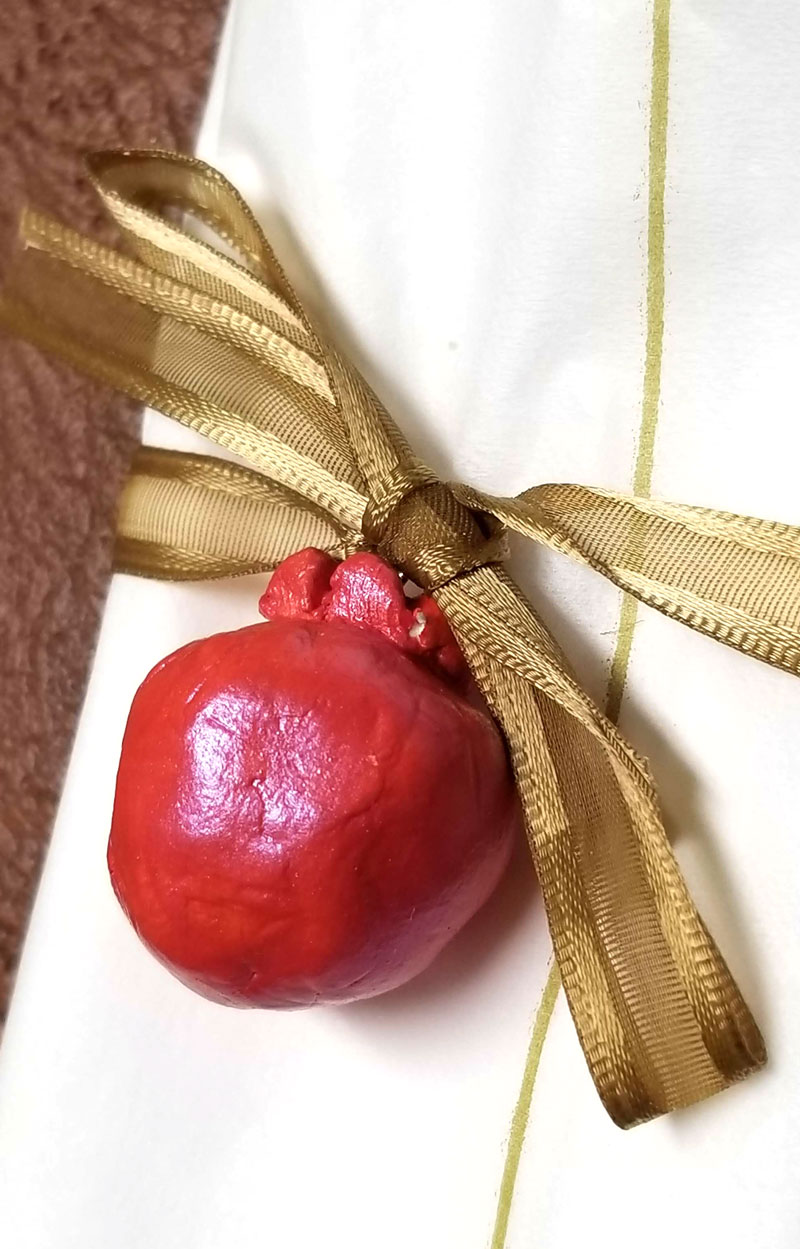
You can also use this tutorial to make larger pomegranates as a classroom craft.
Whatever you choose to do with these clay pomegranates, they’re an easy, beginner air dry clay craft that is spot-on for Rosh Hashanah.
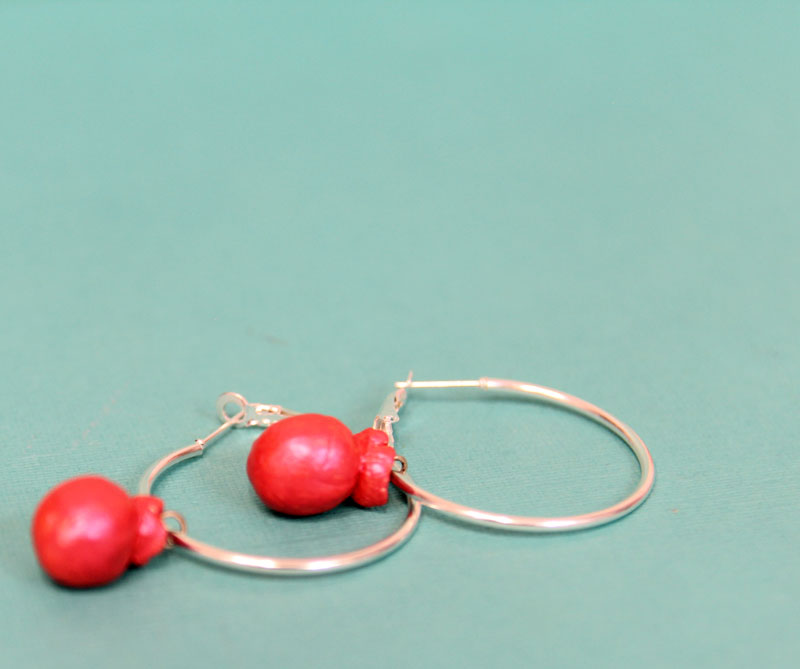
What you need to make clay pomegranates
- Clay carving tools
- Wire (or eye pin)
- Round nose pliers (not needed if using eye pin)
- Wire cutters
- E6000 or Super Glue.
- Red paint (I used FolkArt Color Shift) and paint brush
- To finish earrings: plain hoop earrings
- To finish napkin rings: 1/4-1/2 inch grosgrain or satin ribbon
- Optional: Mod Podge or Sculpey Glaze
How to make clay pomegranates
1. Pinch off a piece of clay and work it a little to soften it.
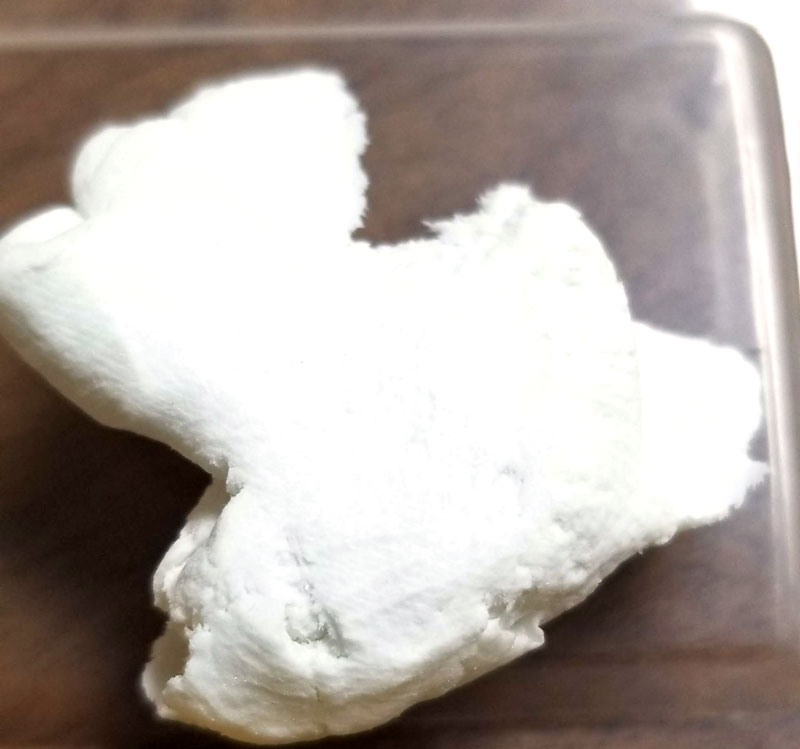
2. Start forming a ball slightly larger than the size you want your pomegranate charms to be.
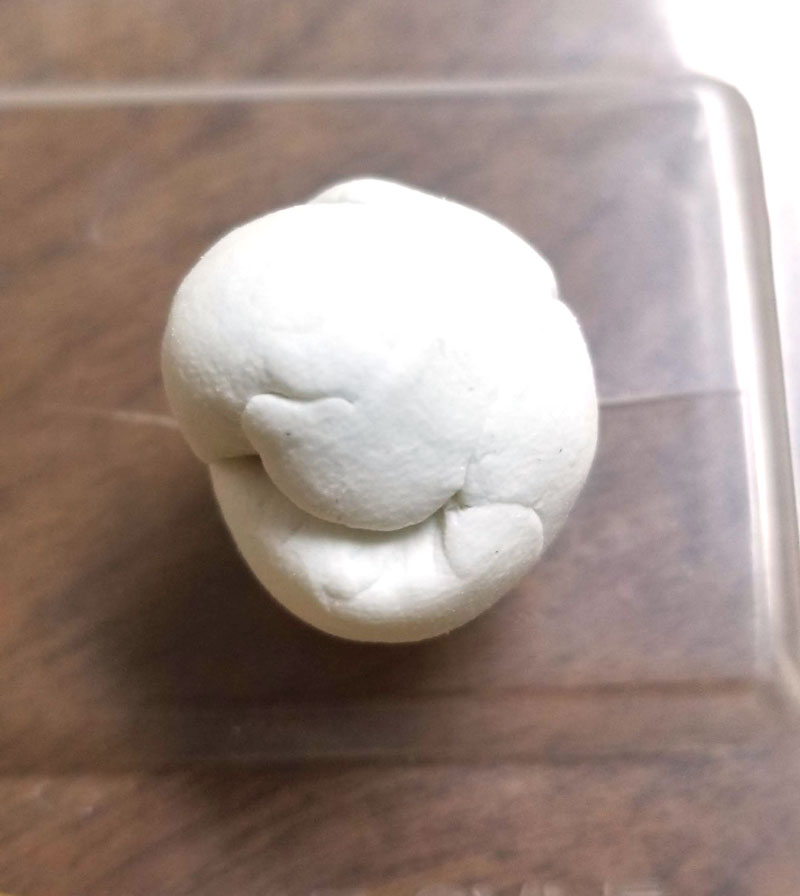
3. Smooth out any creases using clay carving tools.
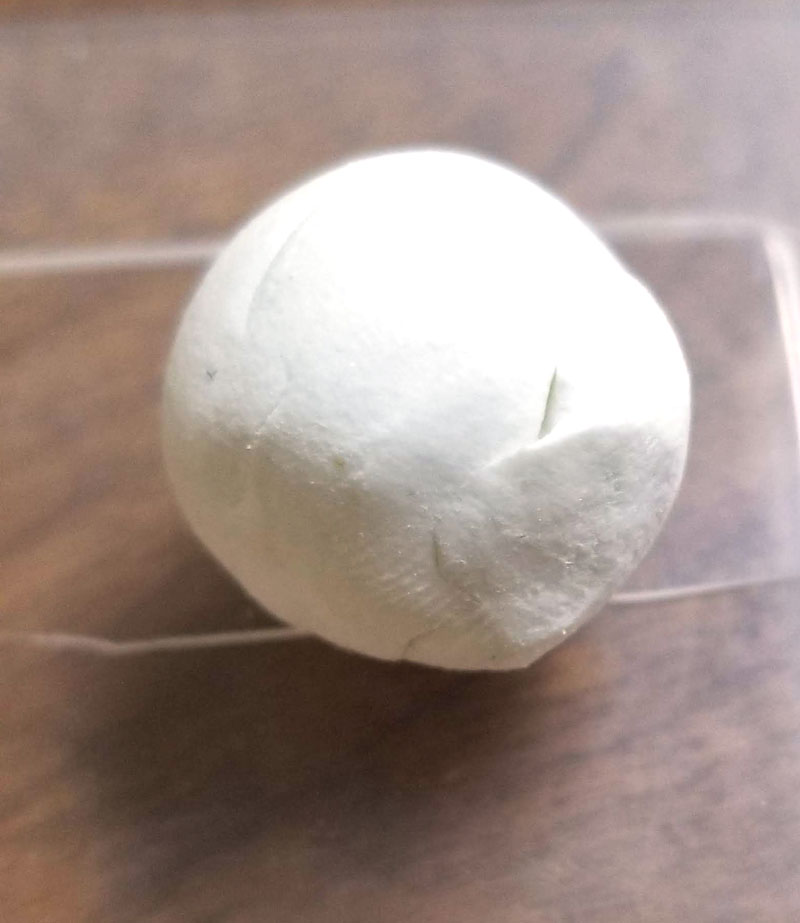
4. Start smoothing up from the sides to bring a little extra clay to the top.
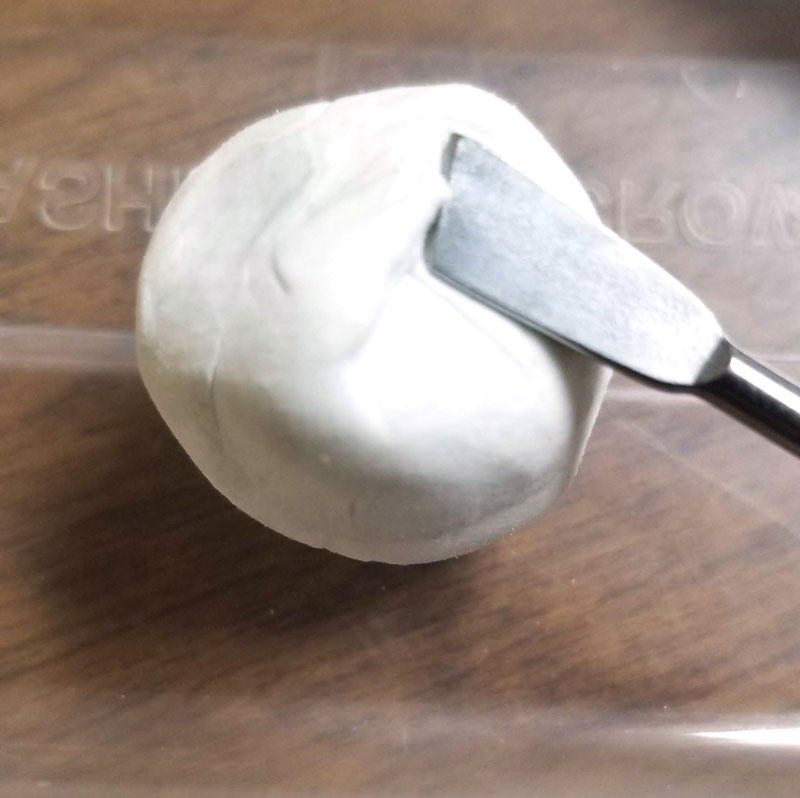
5. Keep shaping using the tools you feel work best for you, forming a raised top for the crown.
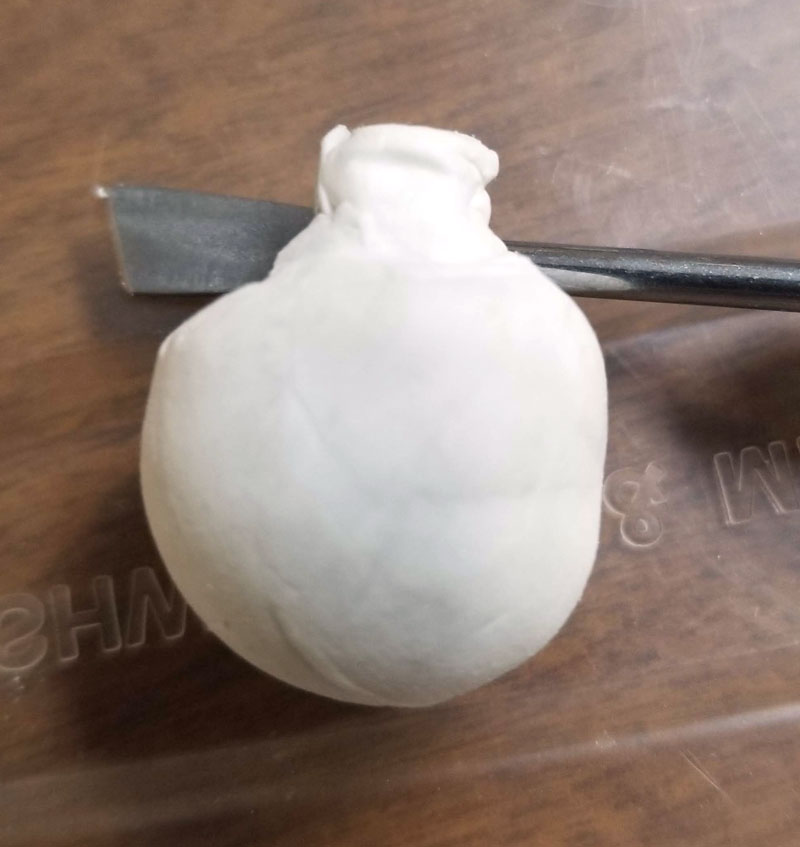
6. Press in using a straight tool so you have the crown more defined. Note that forming the clay pomegranates from a single ball instead of attaching a separate crown helps it to be more secure.
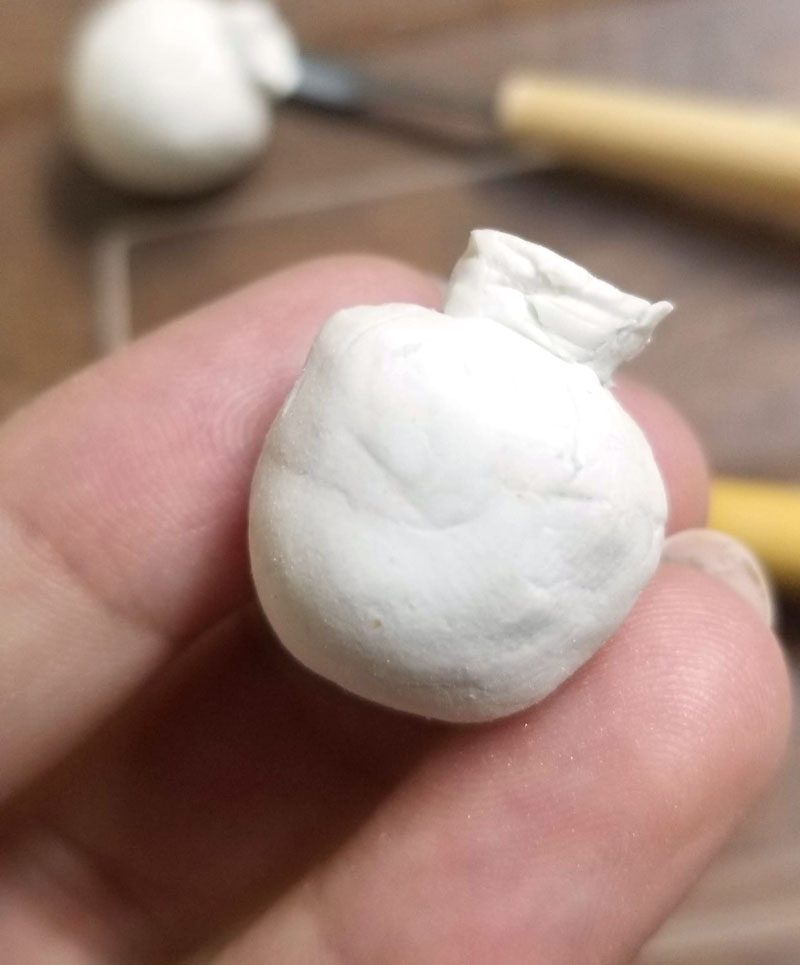
7. Use a straight tool to press in on the top of the pomegranate crown…
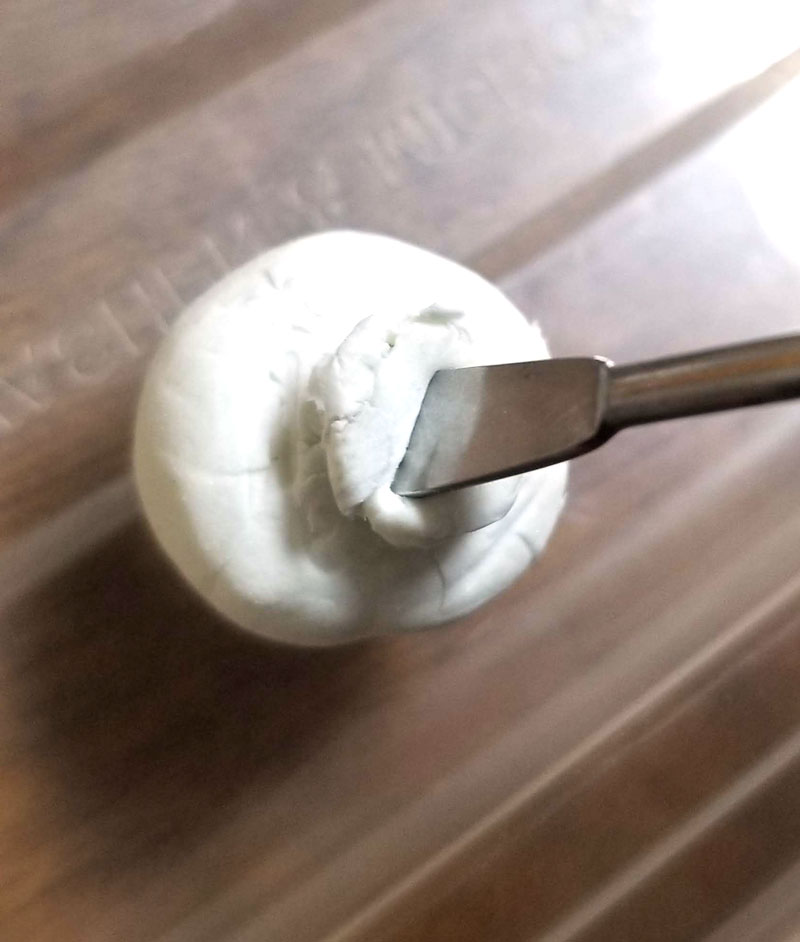
… To form a star shape.
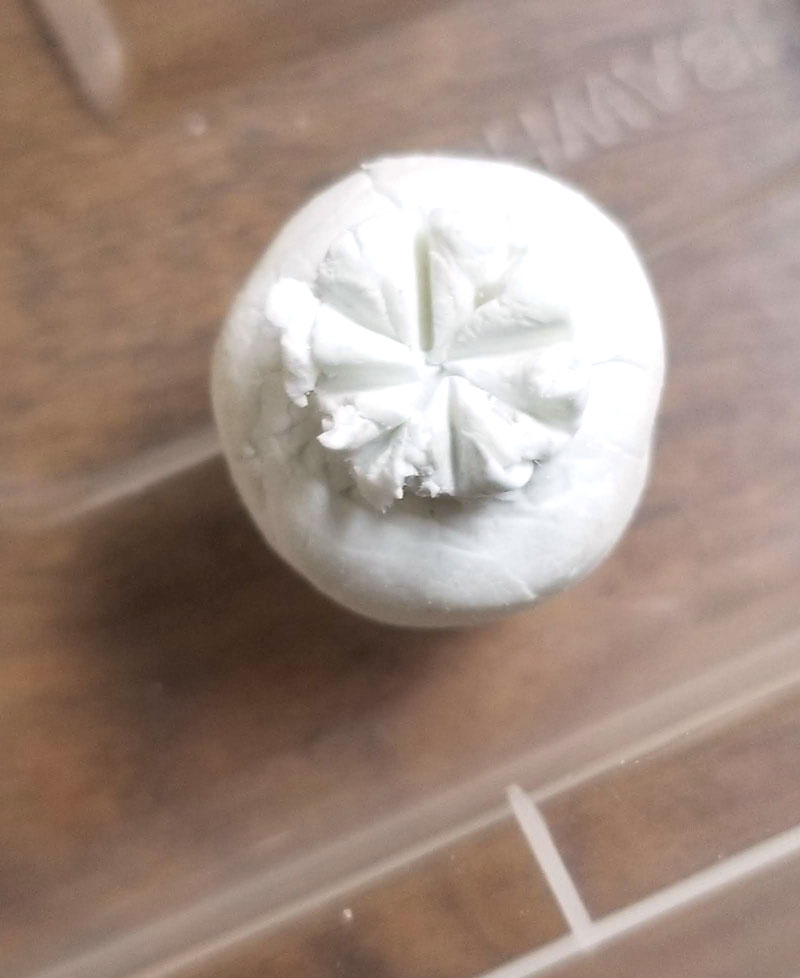
8. Keep shaping the crown, pressing in around the edges where the lines from the top star are. Smooth things out as you go along.
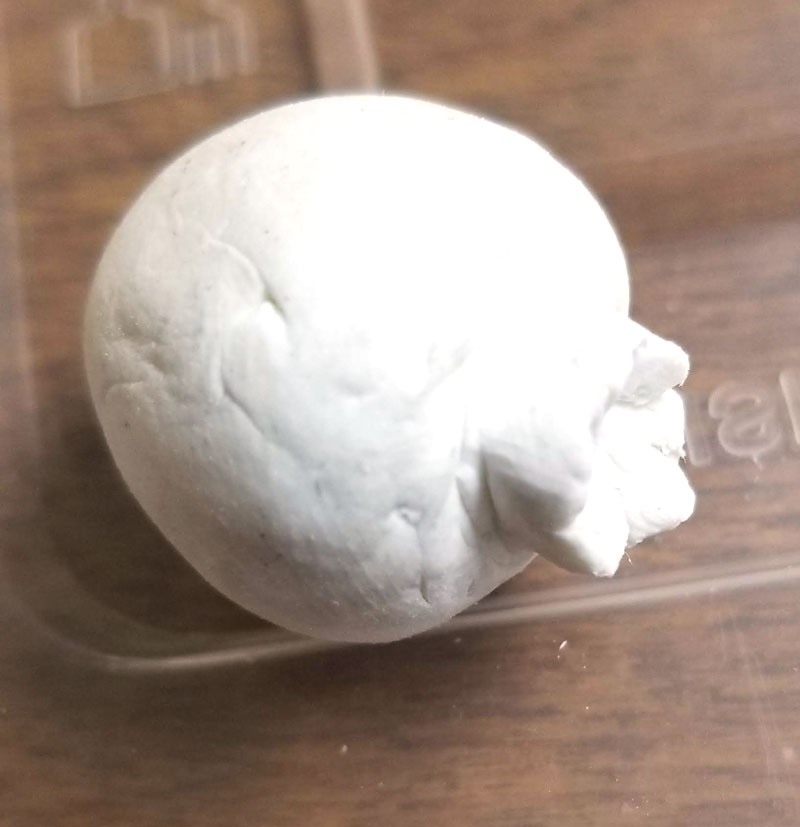
9. When you’re happy with the shape, insert a piece of wire or eye pin into the top and allow it to dry according to package instructions.
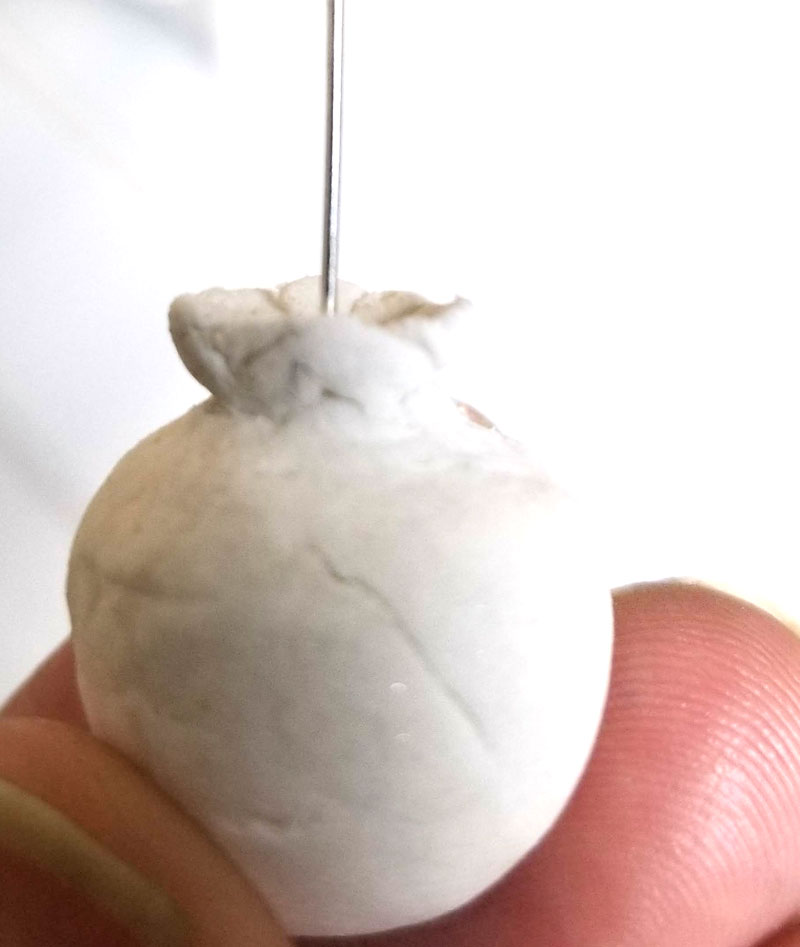
10. When it’s dry, paint it with as many layers of paint as makes you happy 🙂 Allow it to dry between each layer. If you want to you can also finish with Mod Podge or Sculpey glaze. Keeping the wire in can help you hold it while you paint.
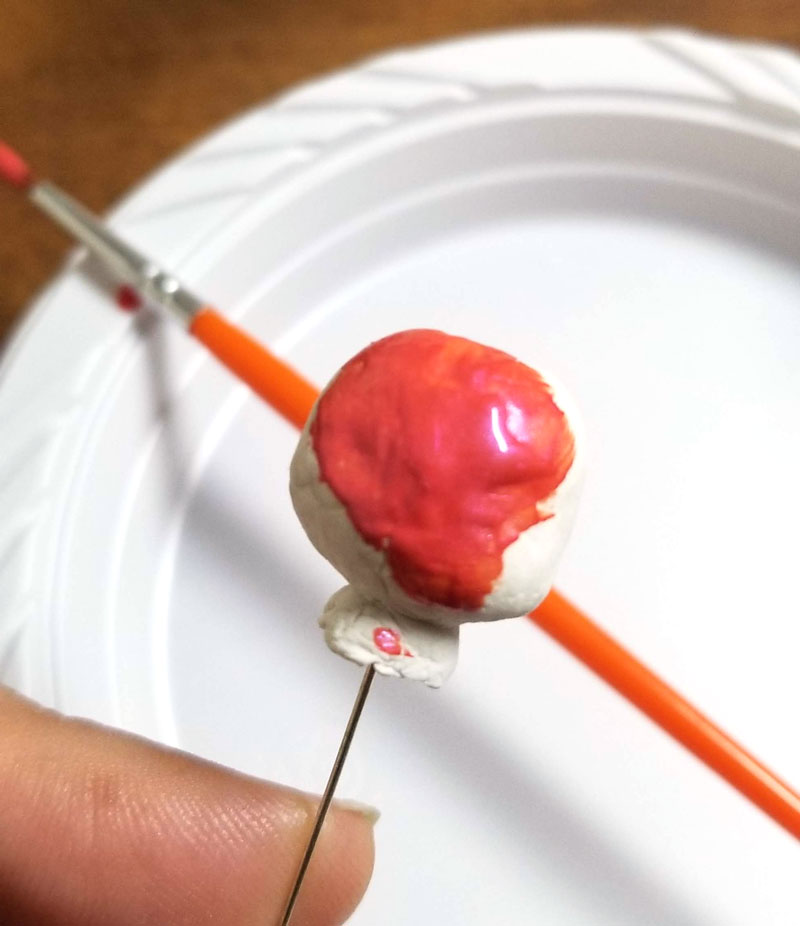
11. Remove the wire/eye pin. It should slide out easily. Form a loop at the end of your wire. Or, use an eye pin.
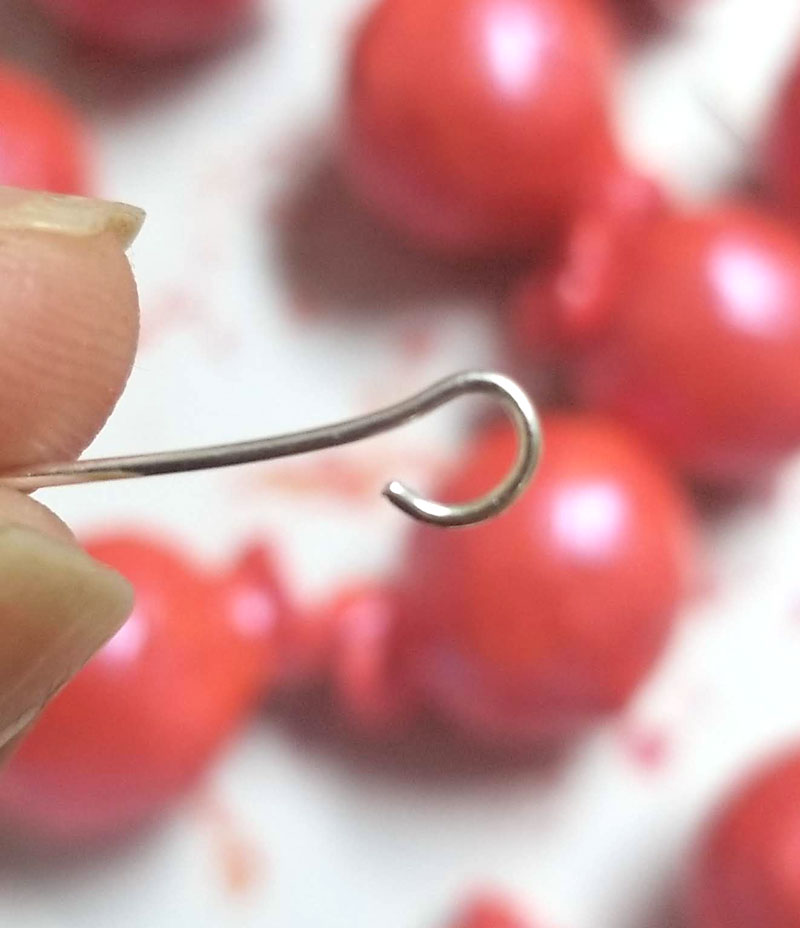
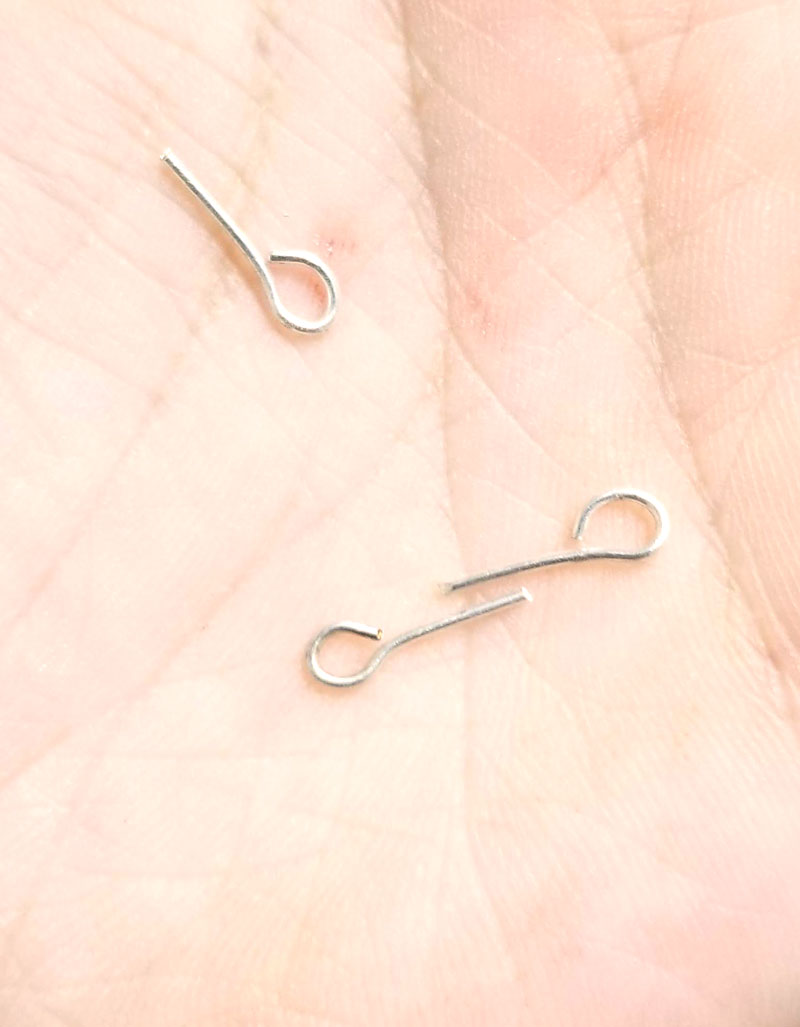
12. Cut them to the size of the hole you left with the wire.
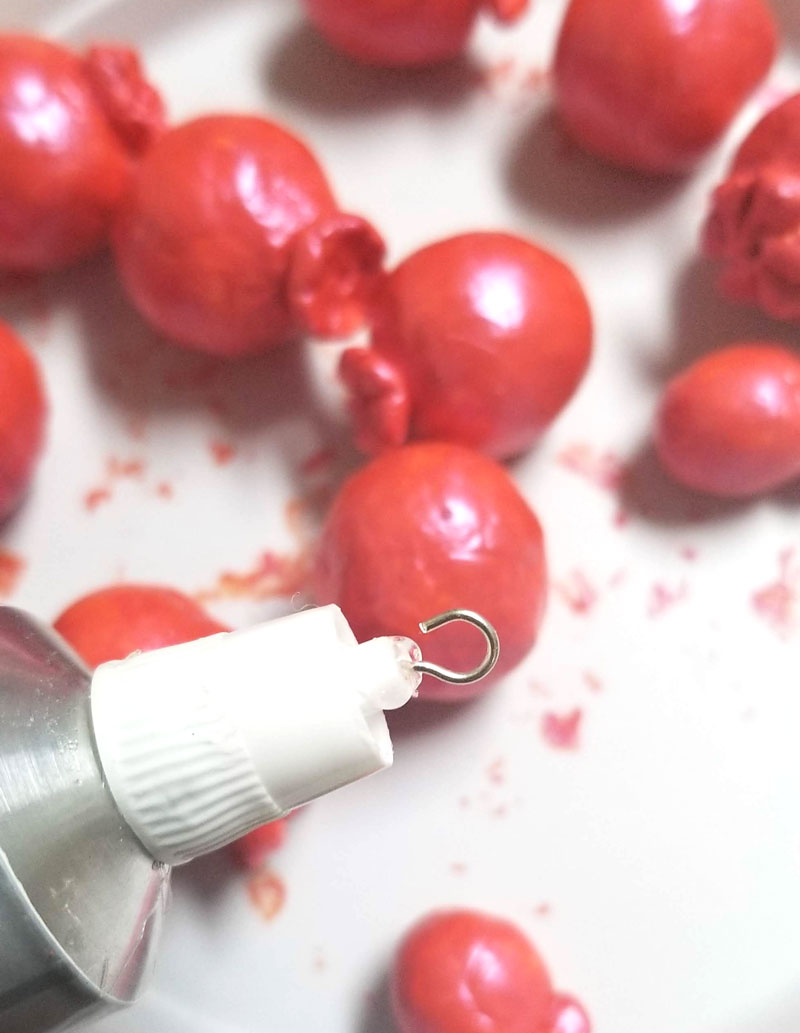
13. Apply E6000 to the eye pin and glue it in.
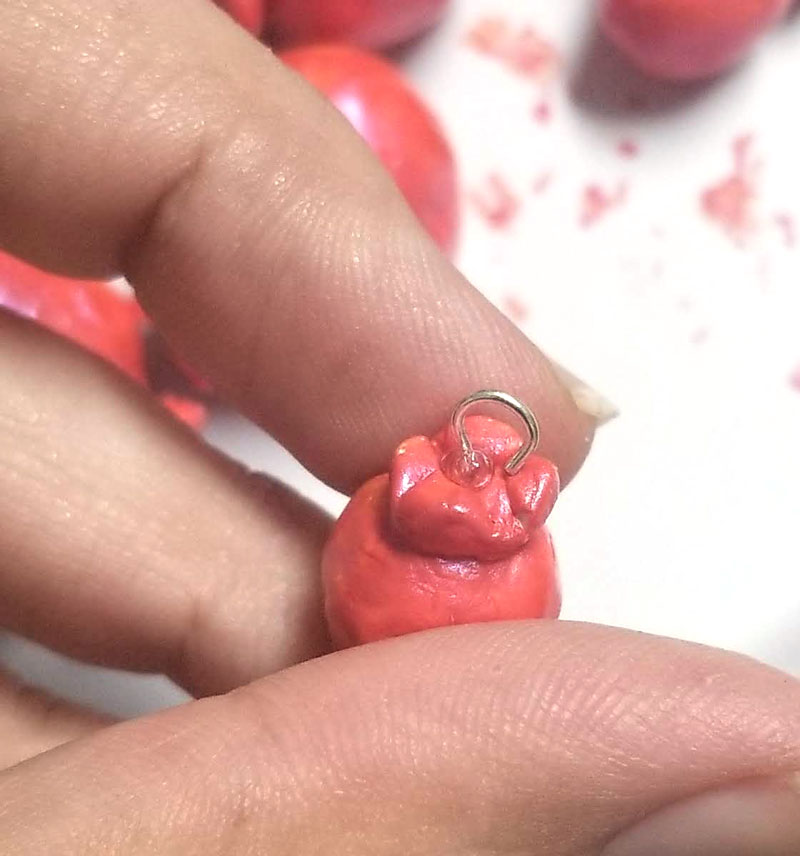
14. When it’s all ready, turn your pomegranate charms into whatever you’d like.
How to make Clay Pomegranates
Learn how to make clay pomegranates to turn into earrings or napkin rings for Rosh Hashanah!
Materials
Instructions
1. Pinch off a piece of clay and work it a little to soften it.
2. Start forming a ball slightly larger than the size you want your pomegranate charms to be.
3. Smooth out any creases using clay carving tools.
4. Start smoothing up from the sides to bring a little extra clay to the top.
5. Keep shaping using the tools you feel work best for you, forming a raised top for the crown.
6. Press in using a straight tool so you have the crown more defined. Note that forming the clay pomegranates from a single ball instead of attaching a separate crown helps it to be more secure.
7. Use a straight tool to press in on the top of the pomegranate crown to form a star shape.
8. Keep shaping the crown, pressing in around the edges where the lines from the top star are. Smooth things out as you go along.
9. When you're happy with the shape, insert a piece of wire or eye pin into the top and allow it to dry according to package instructions.
10. When it's dry, paint it with as many layers of paint as makes you happy 🙂 Allow it to dry between each layer. If you want to you can also finish with Mod Podge or Sculpey glaze. Keeping the wire in can help you hold it while you paint.
11. Remove the wire/eye pin. It should slide out easily. Form a loop at the end of your wire. Or, use an eye pin.
12. Cut them to the size of the hole you left with the wire.
13. Apply E6000 to the eye pin and glue it in.
14. When it's all ready, turn your pomegranate charms into whatever you'd like.

