Dollar Bill Origami Star of David
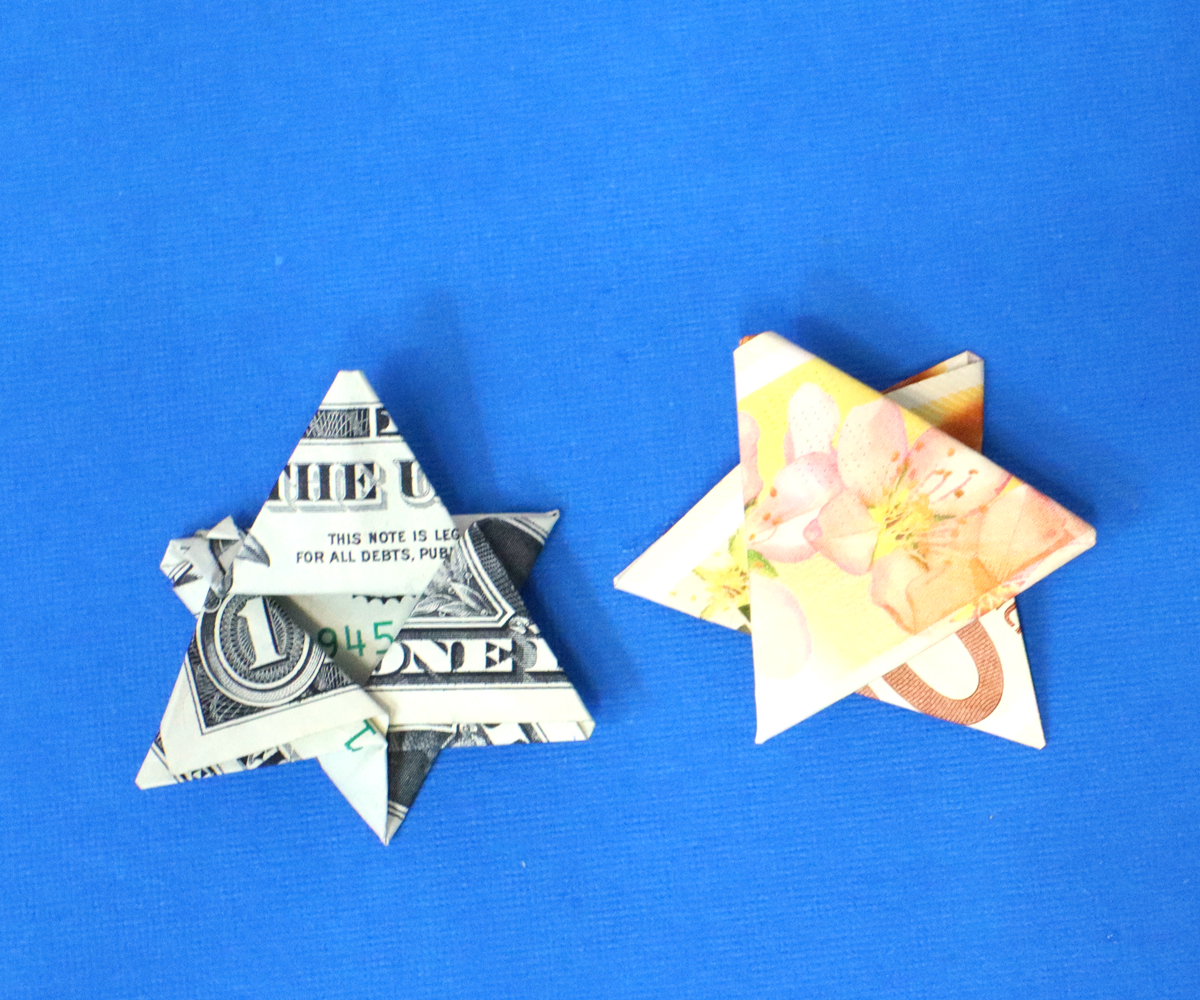
This dollar bill origami Star of David is a really fun way to gift cash for Chanukah or to craft for Yom Ha’atzmaut. When you’re done, check out my origami pomegranates too! This post contains affiliate links.
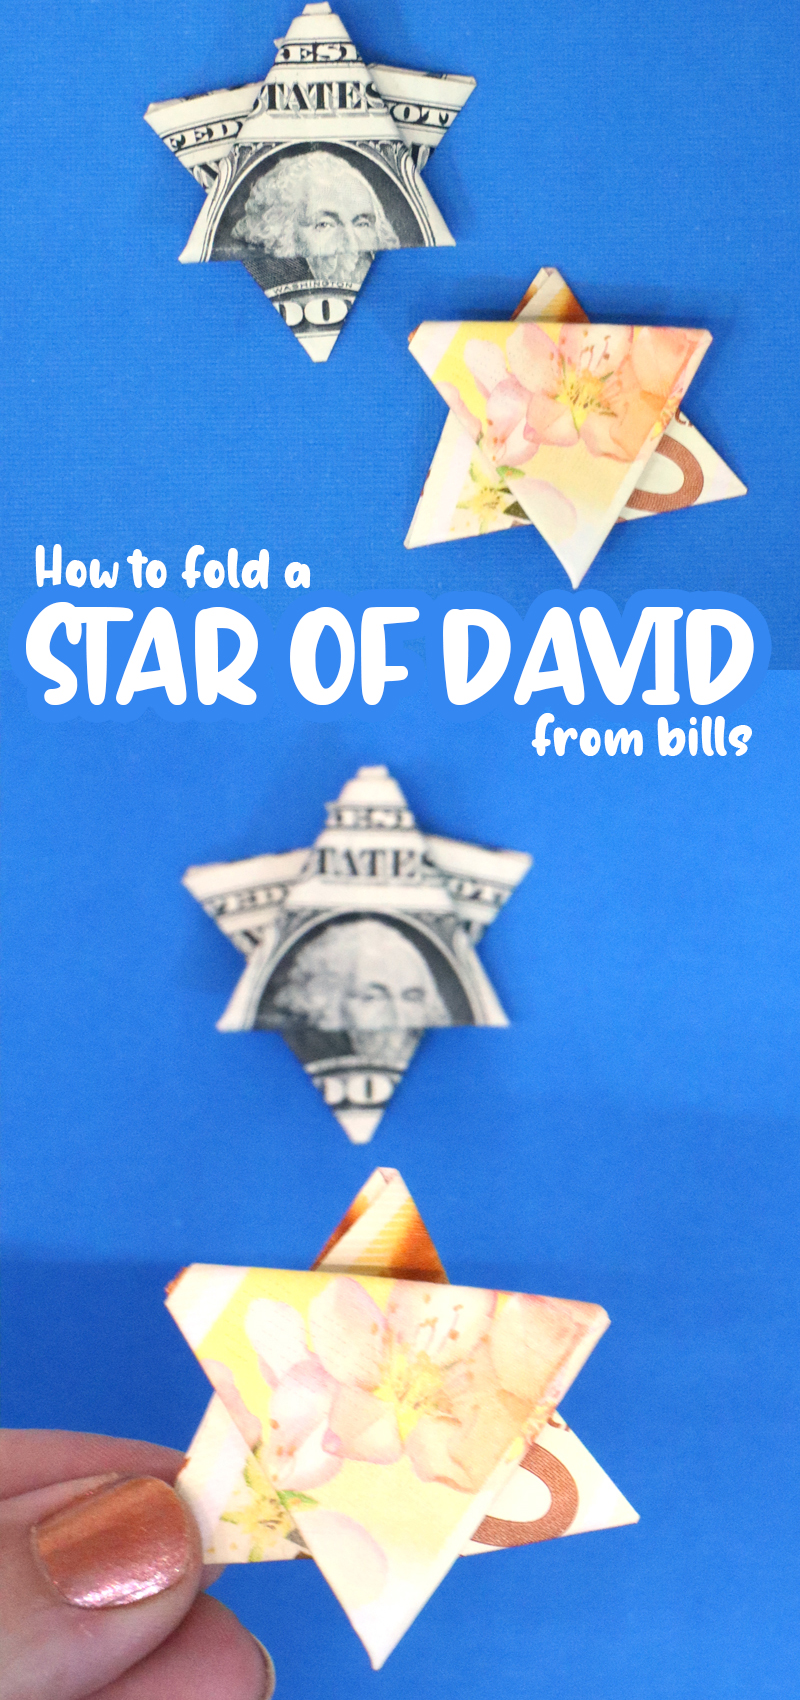
Yom Ha’atzma’ut celebrations are already in the air, and I decided to drop everything and share a tutorial based on a reader request: a dollar bill origami Star of David.
The truth is, this craft works MUCH better for Hanukkah, when it makes for a fabulous cash gift. You can even incorporate it into “gelt night” if you do 8 nights of Hanukkah gifts. But it’s April, so we’re doing it for Yom Ha’atzma’ut.
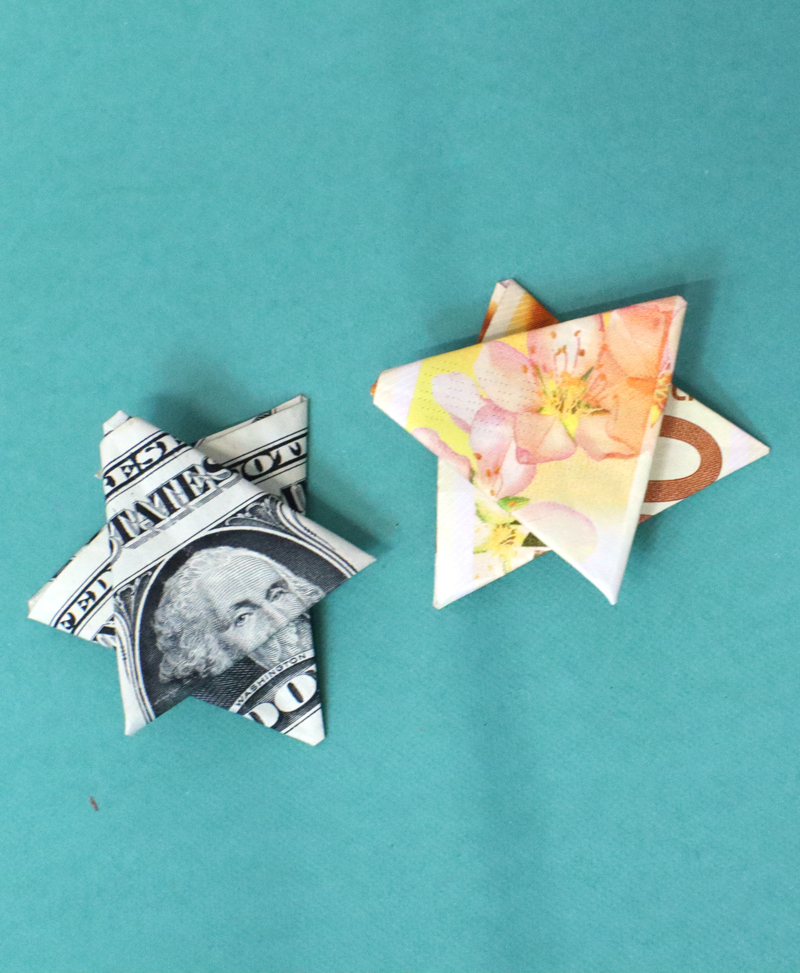
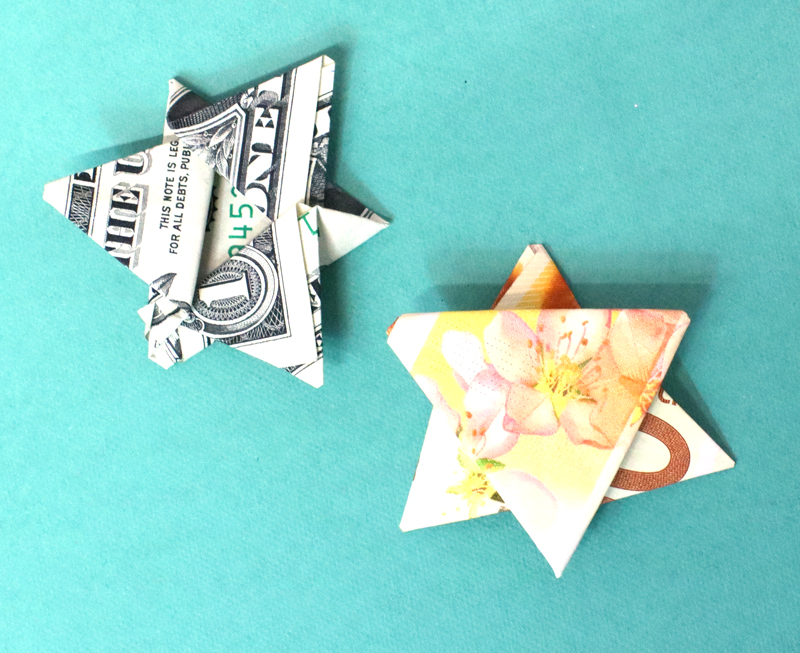
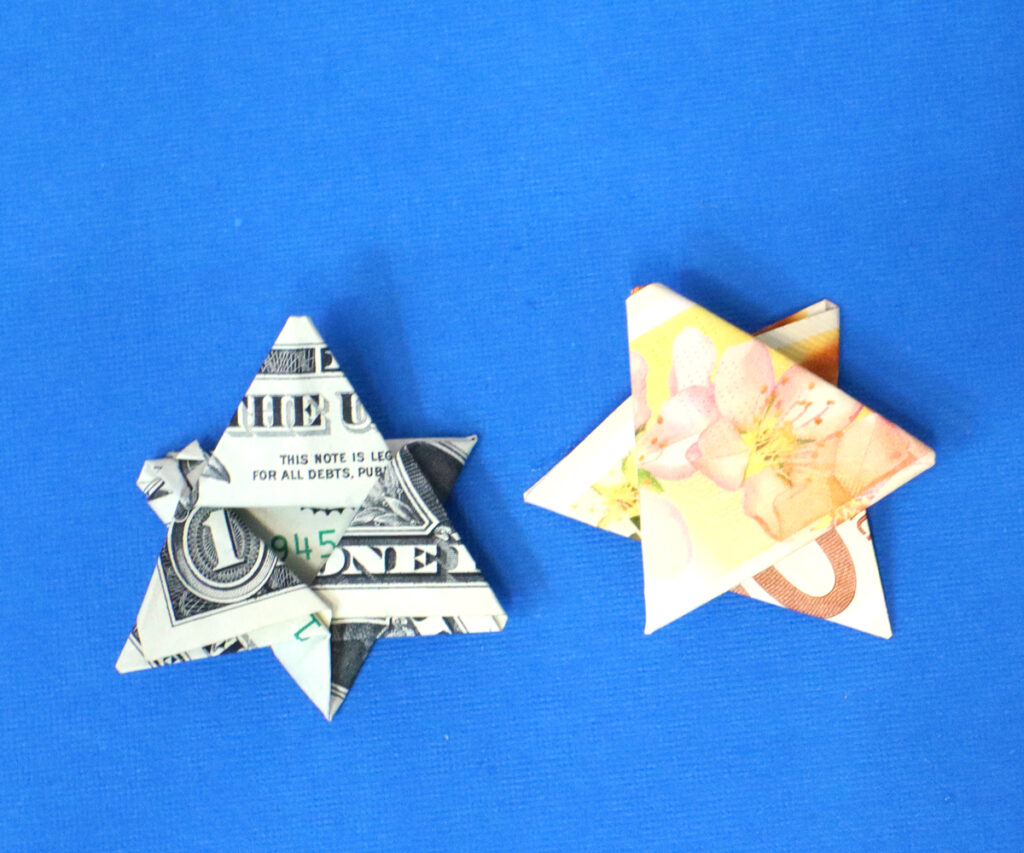
As you can see, I also used shekels to make this origami Star of David. It works almost as well. The dollar bill lines up more neatly in the first steps. And therefore, the final result is slightly neater.
However, the shekel is pretty, and colorful, and I made the flowers show! You can of course still use the money when you’re done – there’s no cutting or anything like that happening!
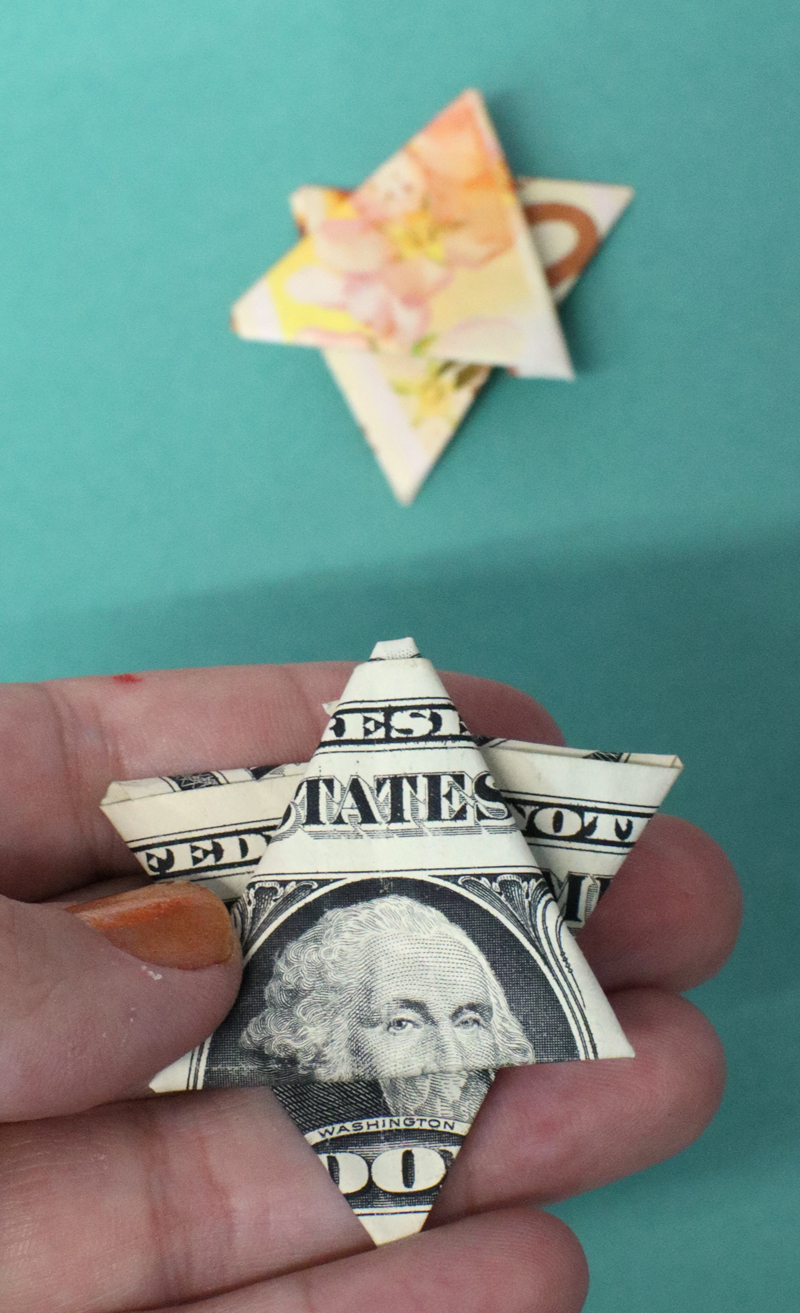
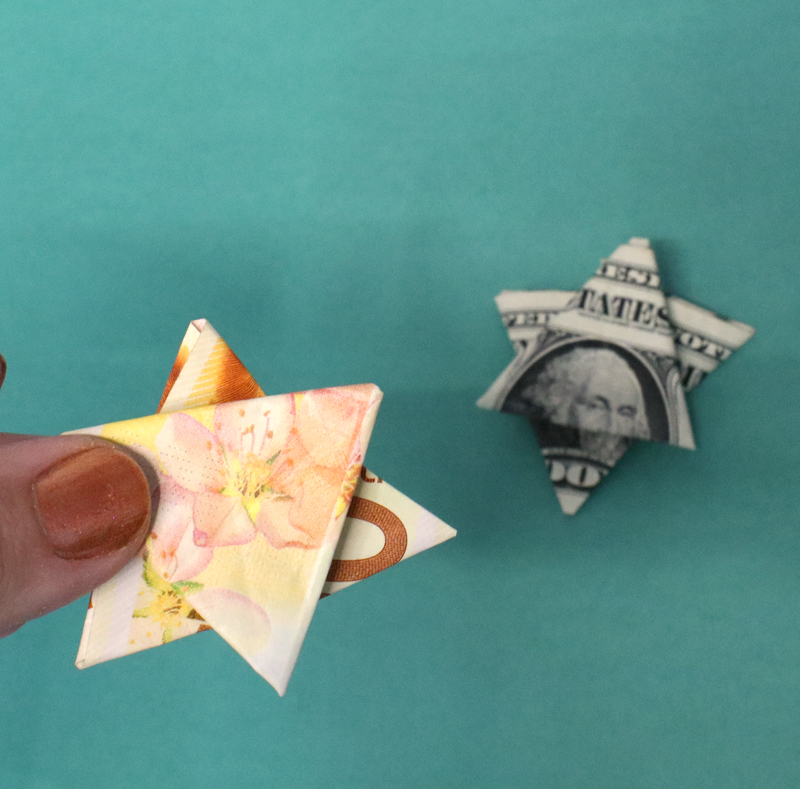
This is also a really fun thing to do in the classroom, so if you don’t want to use bills, you can definitely substitute paper. The trick is to do a little math (hey, math teachers!)
The proportions of a dollar bill are about 1:2.35. Can you figure out how to cut your paper? I did share some suggestions for measurements in the materials list below.
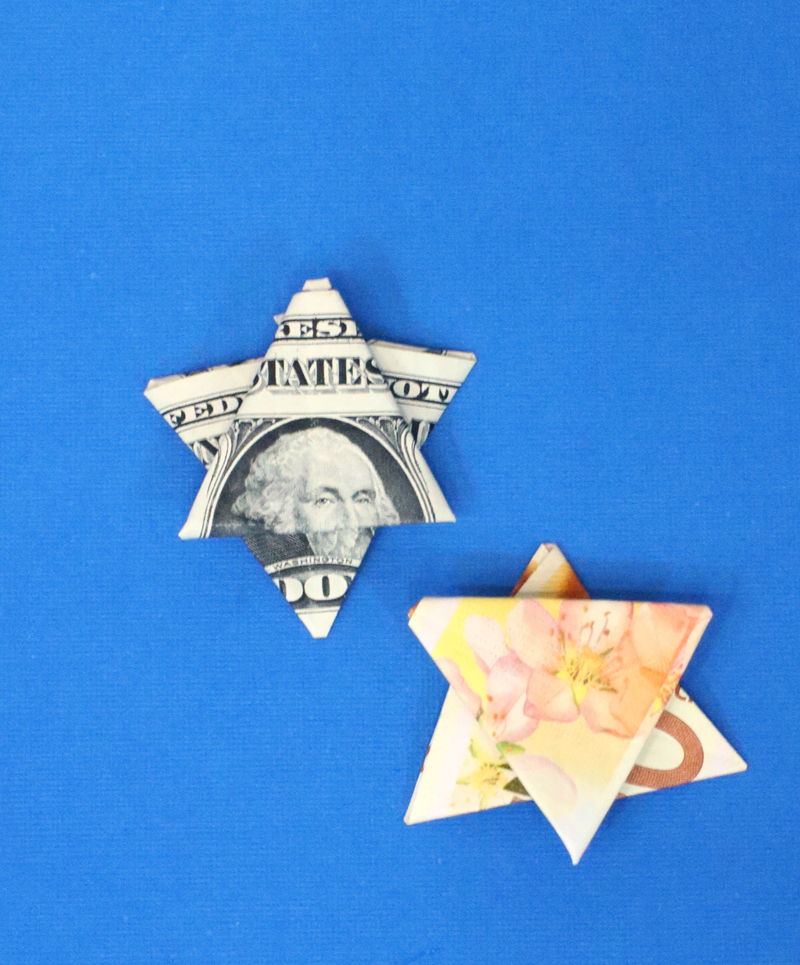
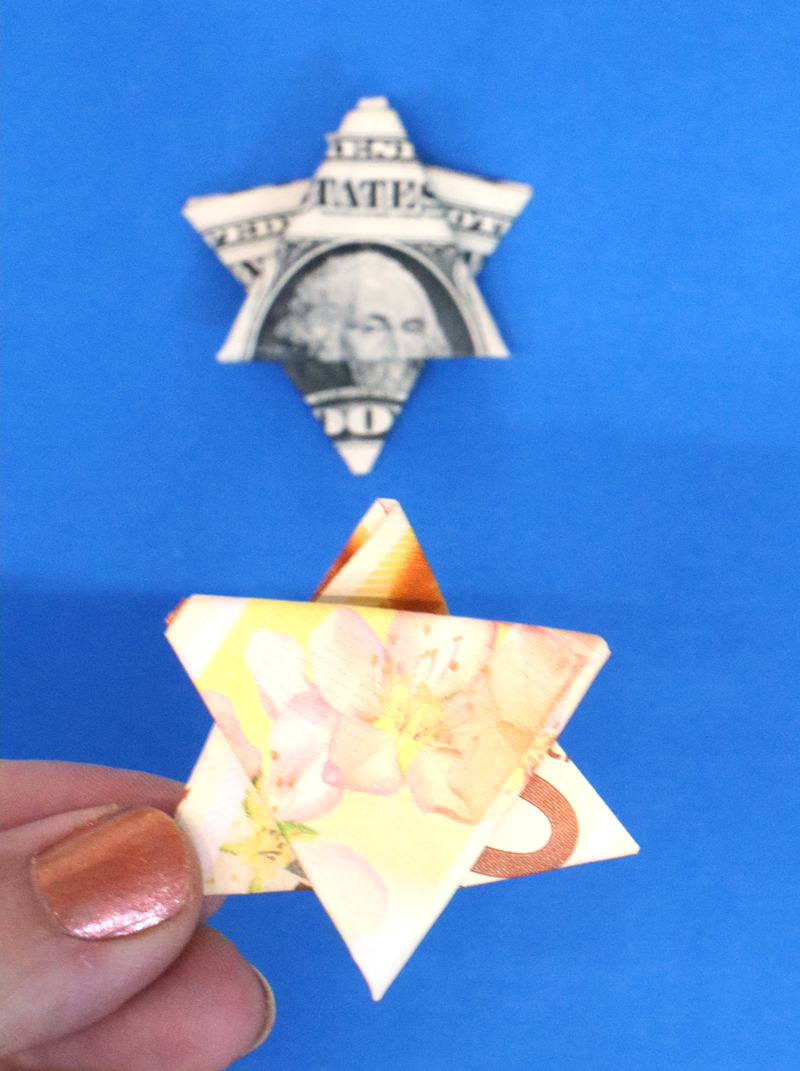
So whether you’re making these as a Chanukah gelt gift, or from paper as Yom Ha’atzmaut decorations, I hope you have fun! You’ll find that the more you make the easier it gets – so practice on paper first if you’d like.
When you’re done, try making some clay Star of David jewelry too! Or, craft a wooden beaded Star of David.
What you’ll need
- A bill – any denomination works! Dollar bills do add up the best, but you’ll see it worked fabulously with a shekel note too.
- Or, cut a piece of origami paper to dollar bill proportions – a ratio of 1:2.35 (so for example, a paper that’s 3 inches high and about 7 inches wide would work. Or trim off about an inch from the width of an 8.5×11 sheet of paper to make it 8.5×10 inches.
How to make a dollar bill origami Star of David
Check out the full length video here!
1. Start by holding your bill horizontally. The side that’s face down will be the top triangle on the triangle side of the dollar bill origami Star of David.
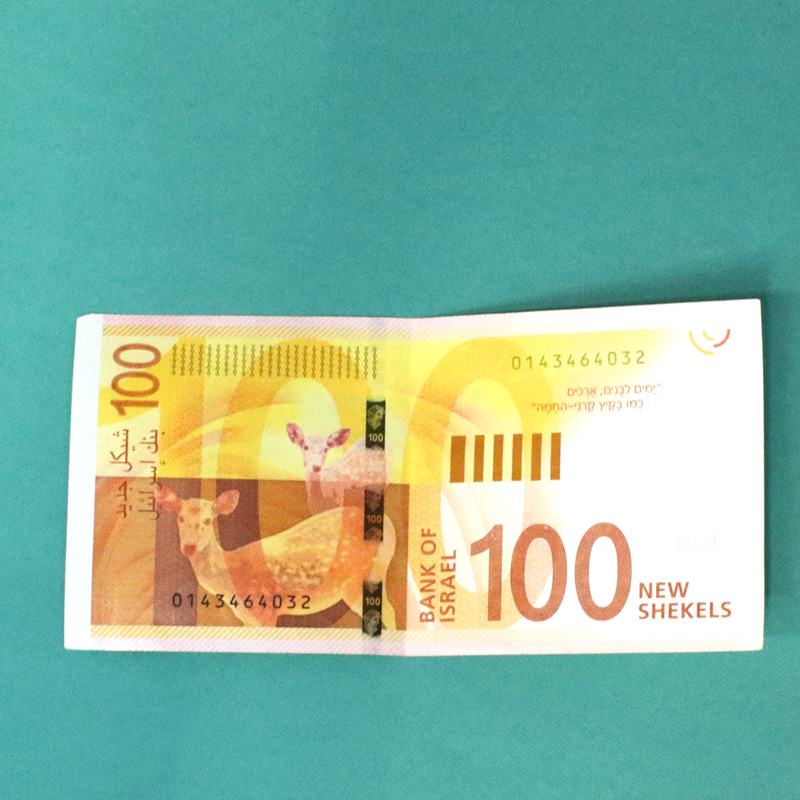
2. Fold your bill in half the long way just to mark the center horizontal point. You’re going to need that for the next step of your origami. Unfold it.
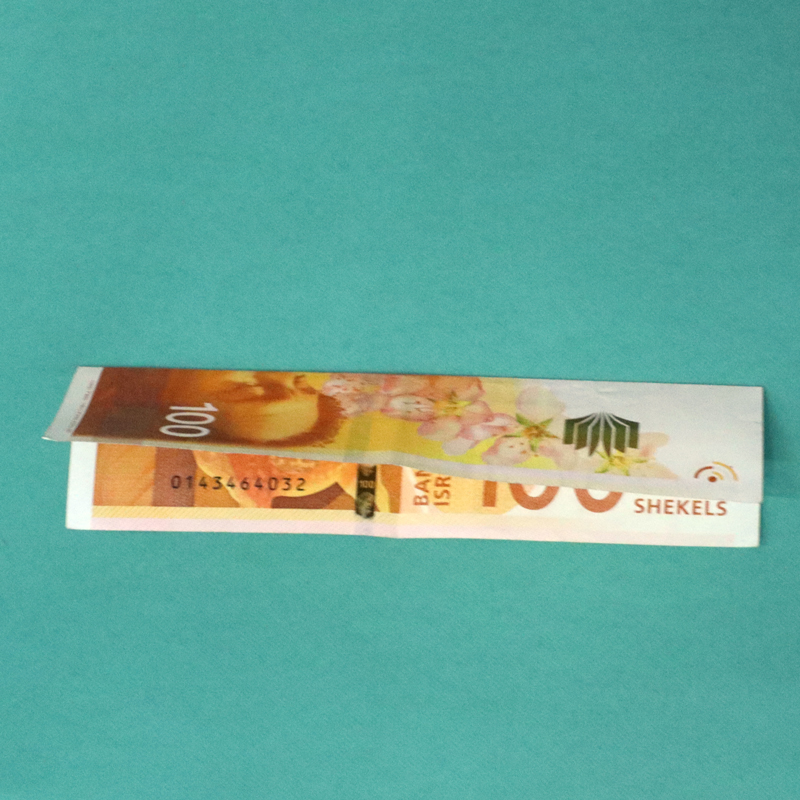
3. Now, take the top left corner and fold it down to the center point, so that the bottom left corner is folded.
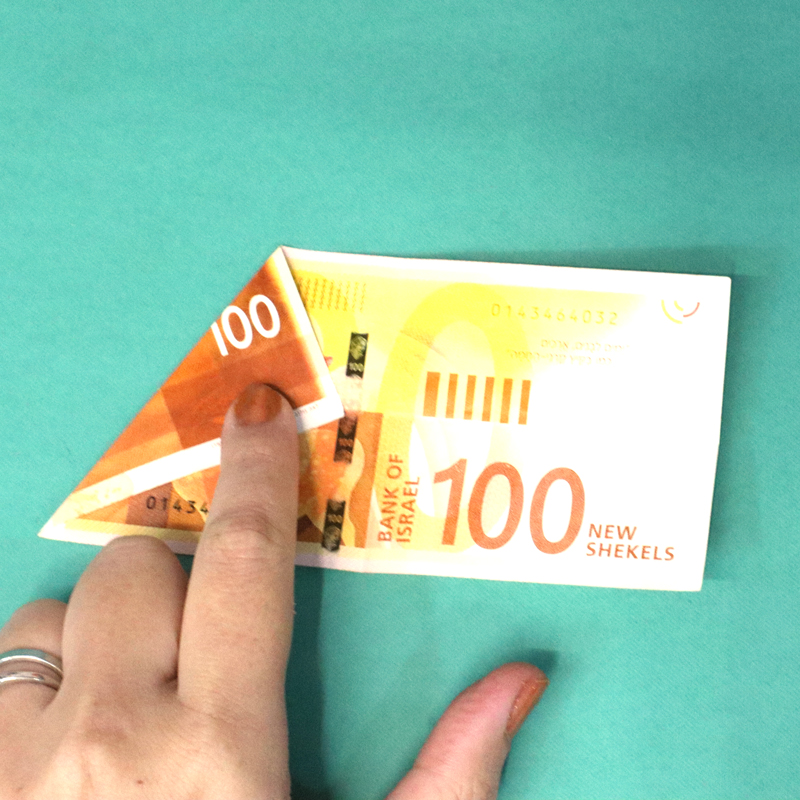
4. You’re then going to take the bottom left corner and fold up so that it meets the top side, and forms an equilateral triangle.
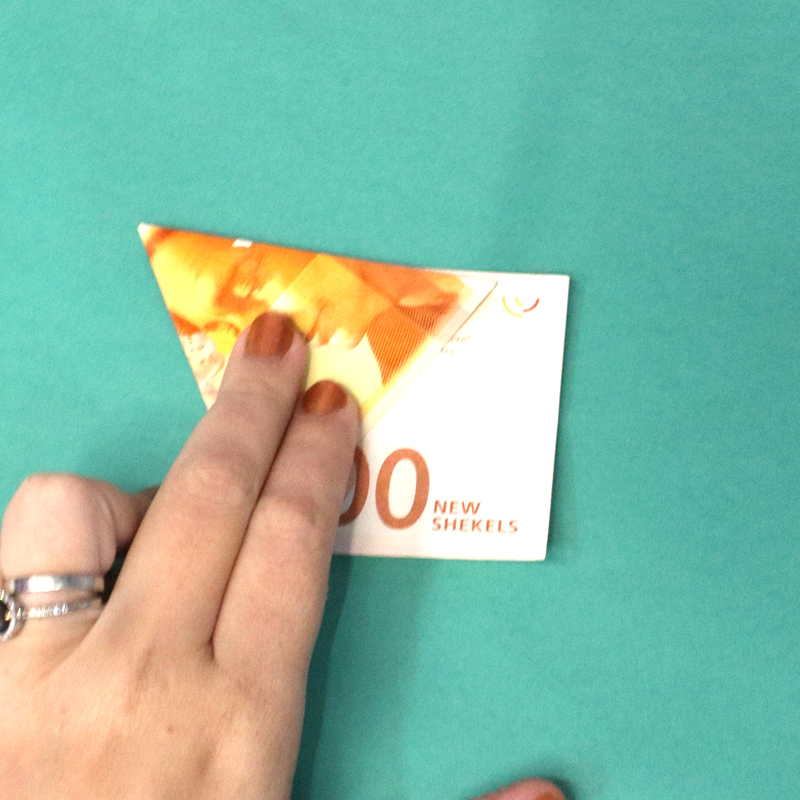
5. Now take your new top left and fold it all the way down so that the former left side is now the bottom of the triangle, aligning with the bottom side. You’ll have a little leftover flap (more so on the dollar bill.
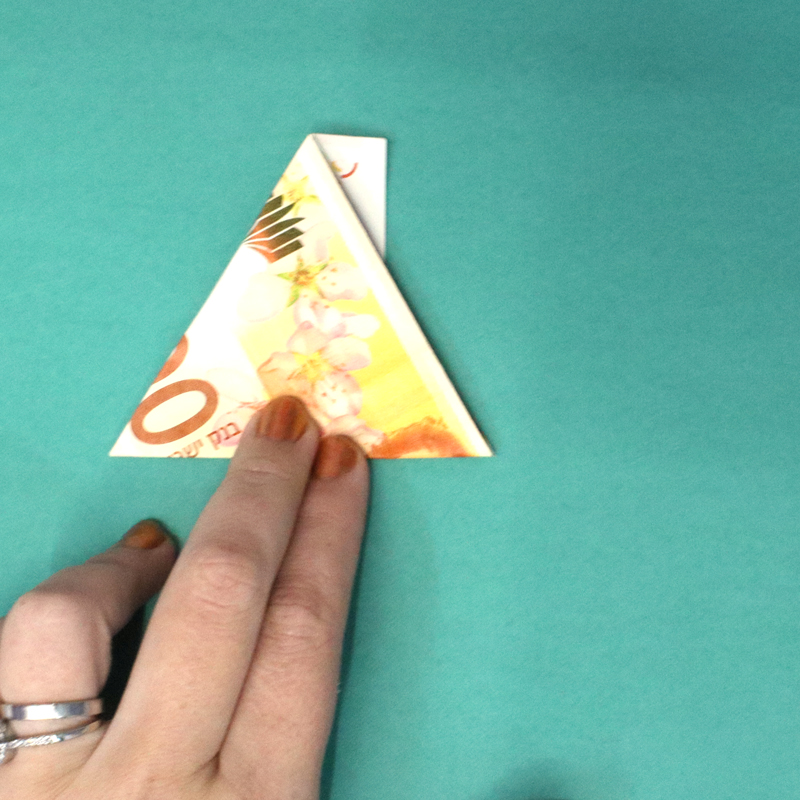
6. There’s a little pocket that formed between the layers on the right side of your triangle.
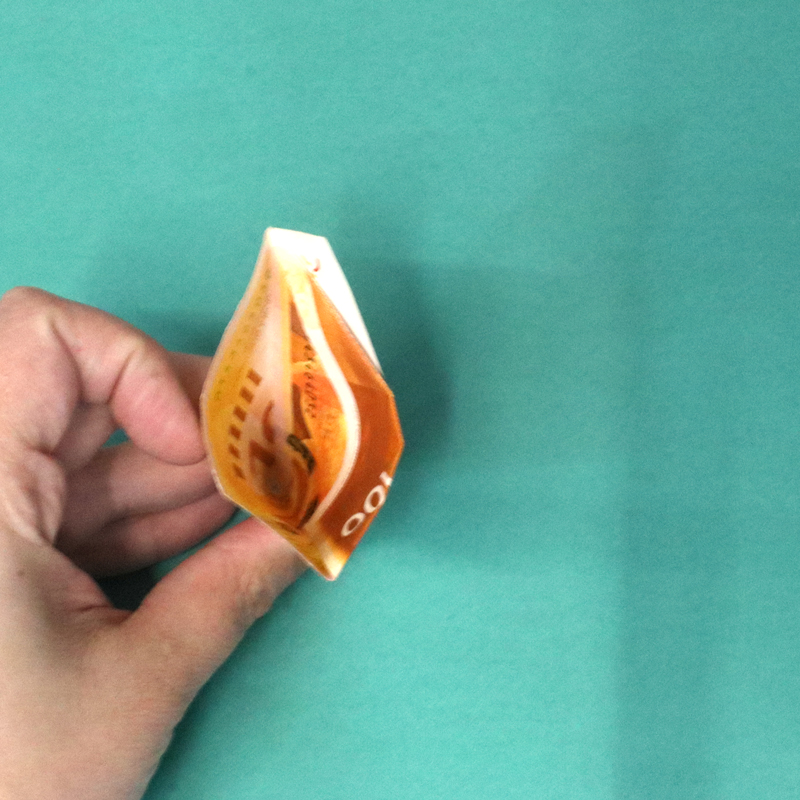
Open that up and tuck in that extra little flap.
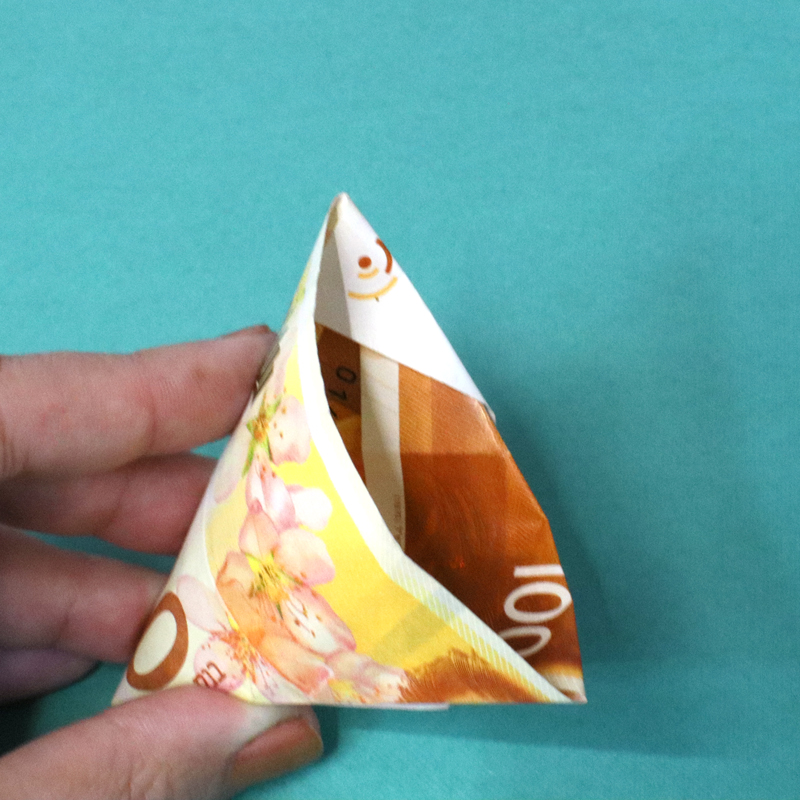
Flatten your triangle, creating a sharp crease.
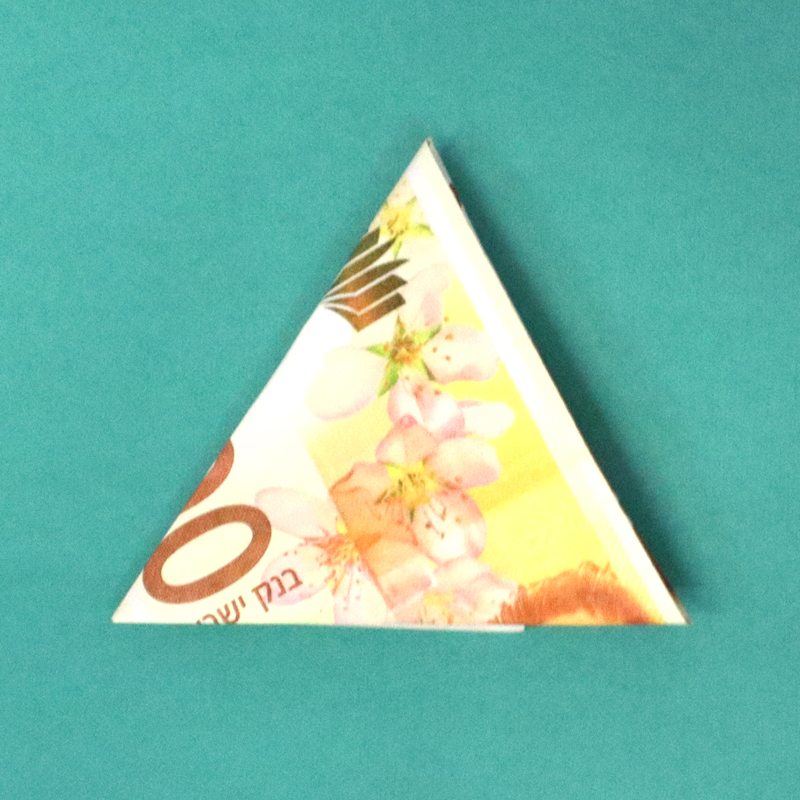
7. Now you’re going to fold your triangle in half in each direction. First just fold it in half vertically. For the other two directions, pinpoint where the point is and the opposite side, and fold that in half. If it helps, rotate your triangle between each fold.
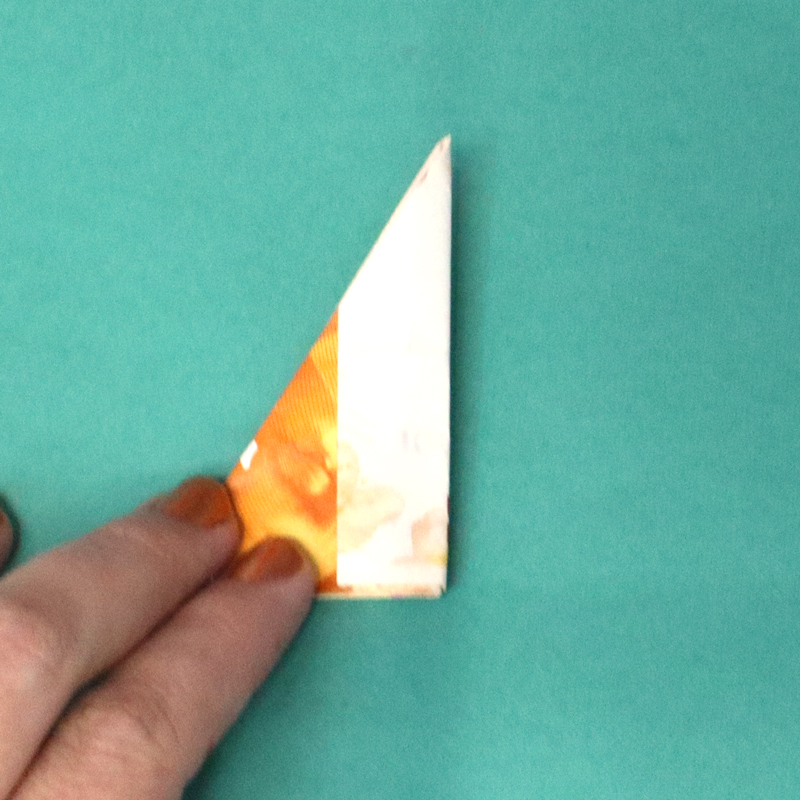
Fold and unfold each line to create an “asterisk”. The center of the asterisk is your triangle center.
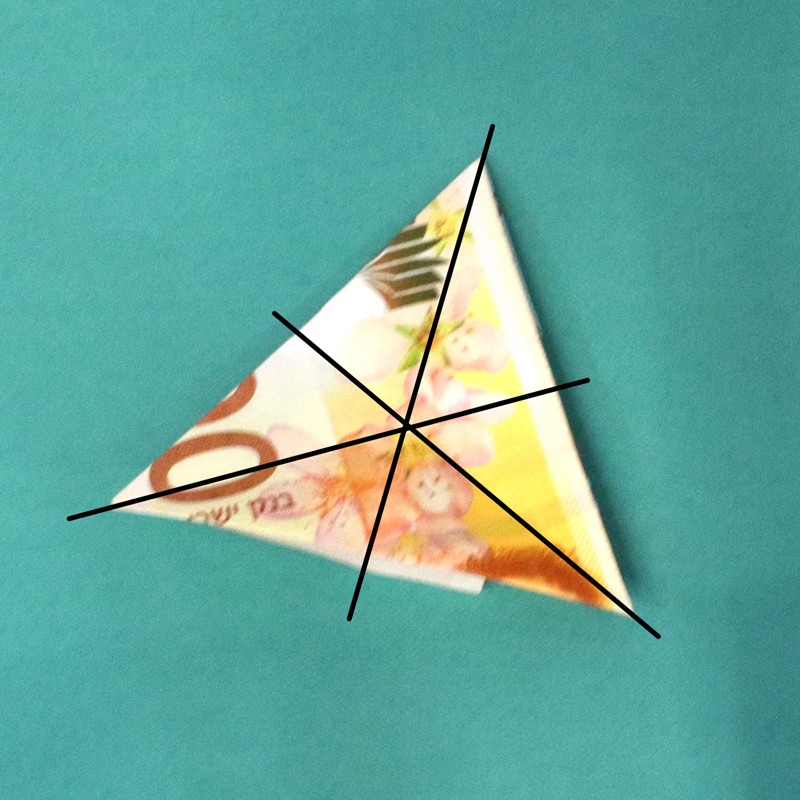
8. Now fold each of your corners into that center point. Crease well – with a small origami like this, you need good creases.
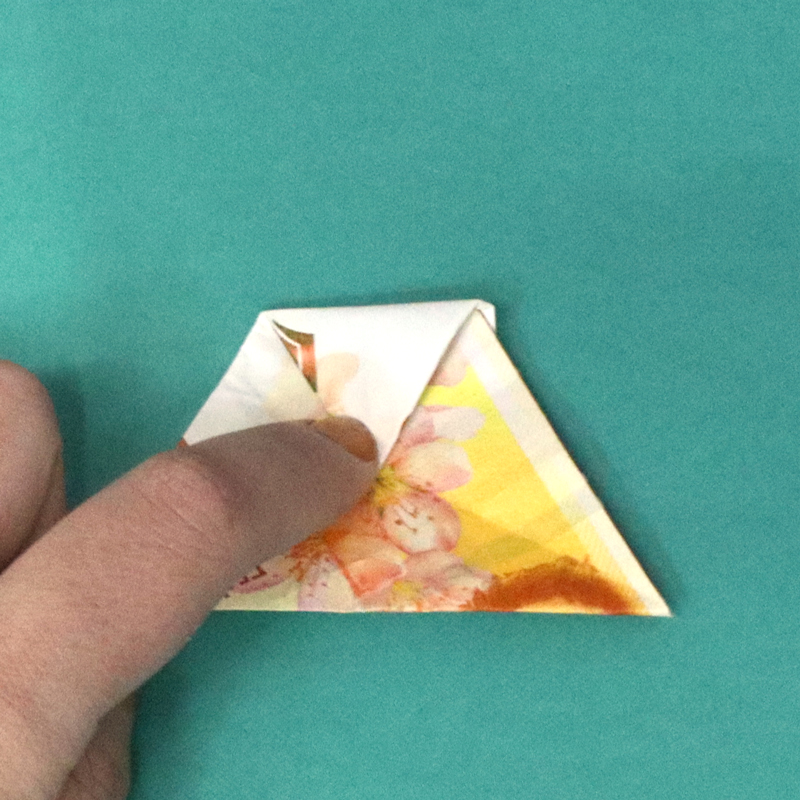
That’s the top, the left, and the right corner each folded into the center point to form a hexagon.
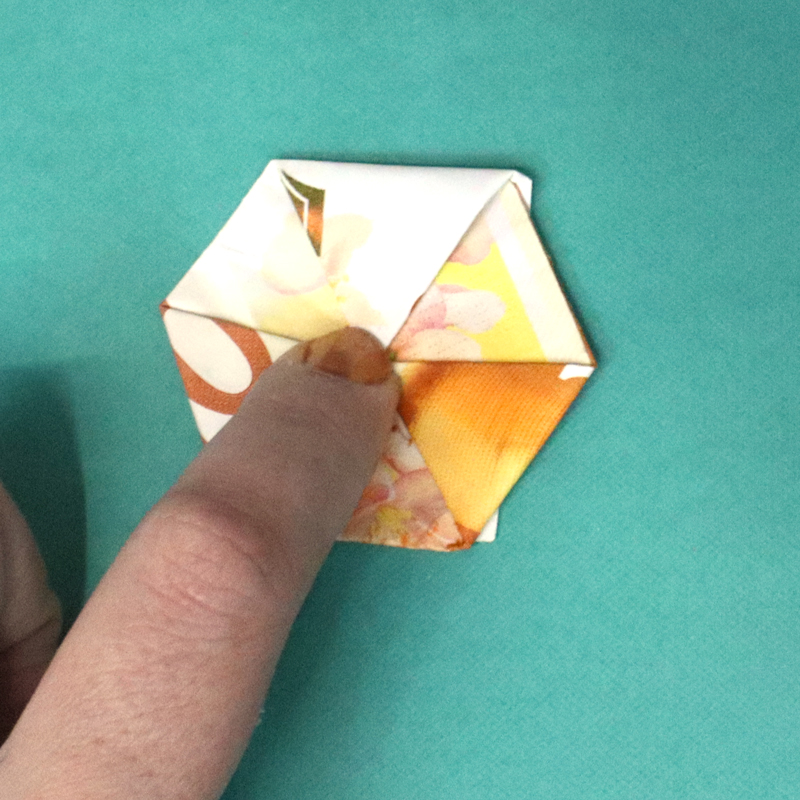
9. Flip it over. Take each side and fold it down to the center. As you fold, let the point on the back layer pop up.
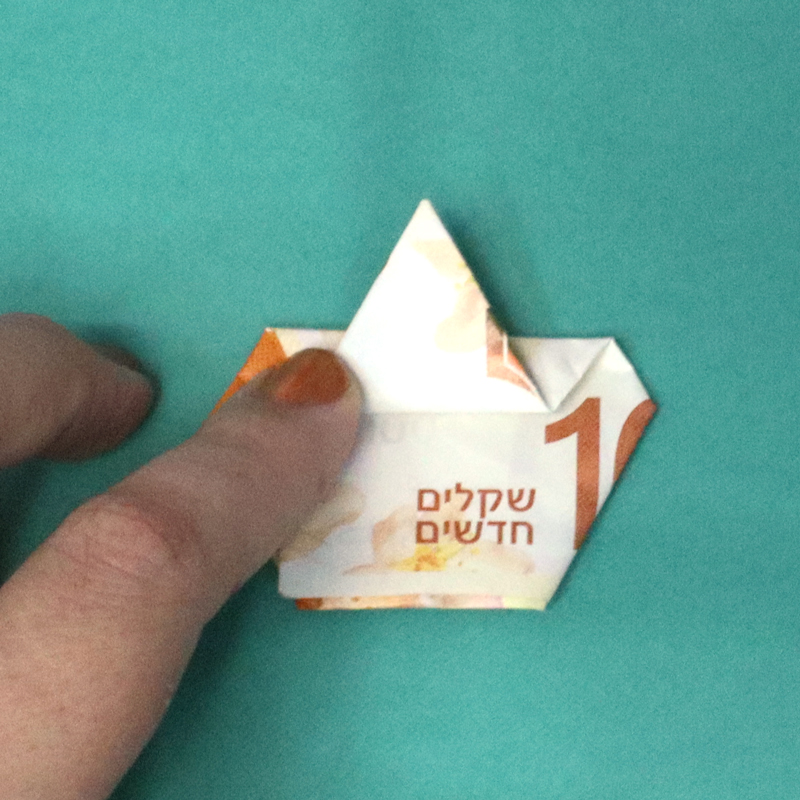
It’ll be pretty clear at this point what to do, because you’ll see the star of David actually forming. Fold all three sides to the center.
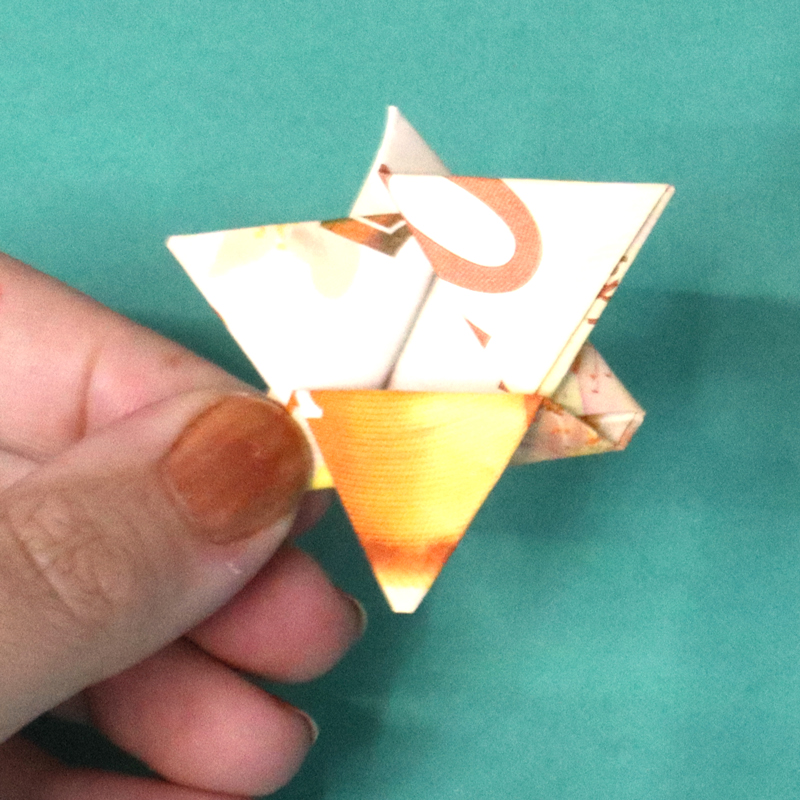
10. That last one you’re going to tuck under the next flap, so that each one is the top one on one side and is tucked underneath on the other side.
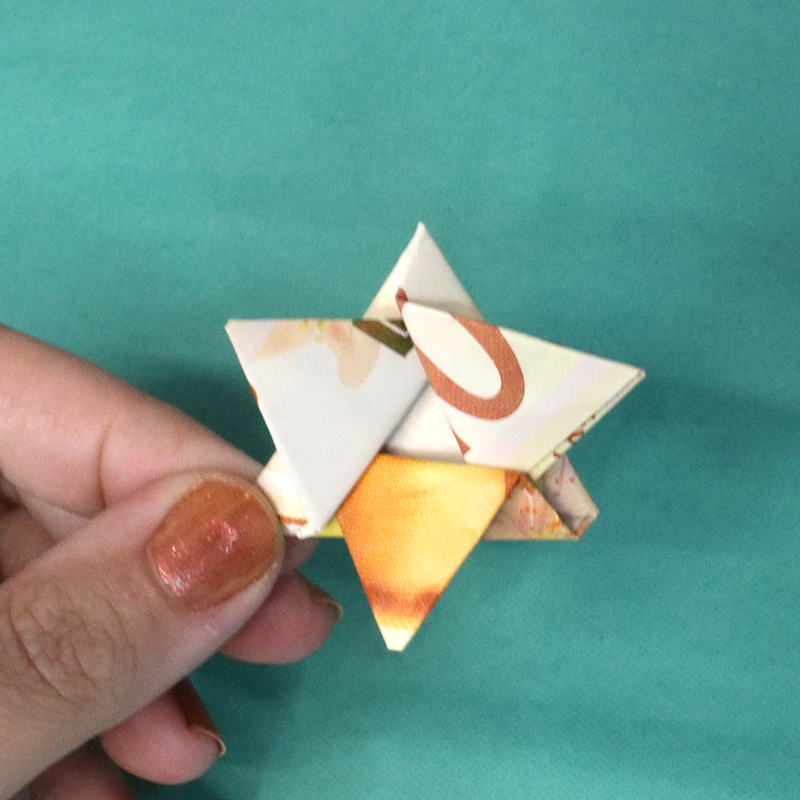
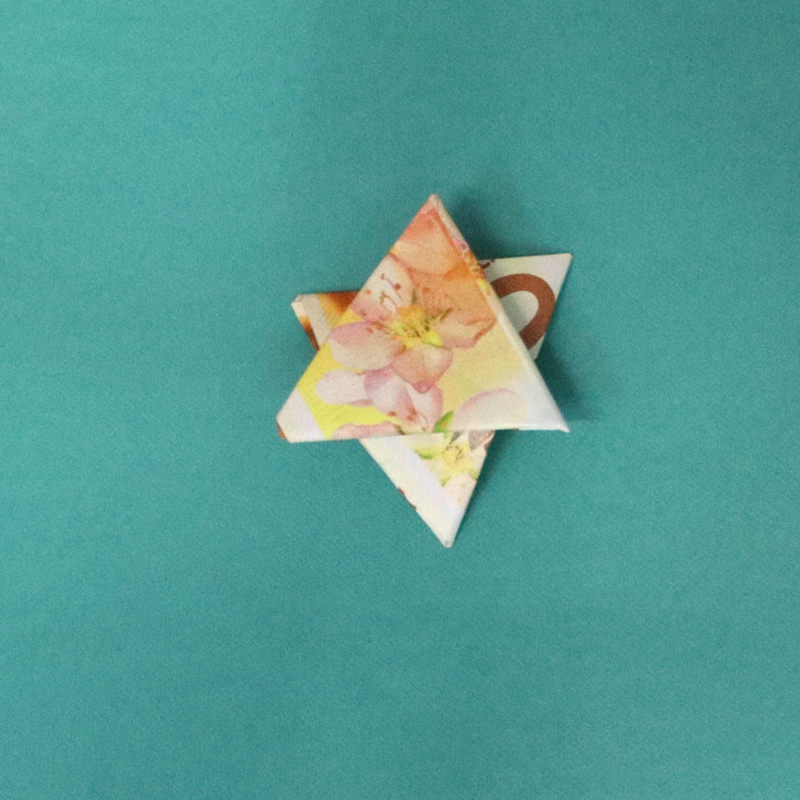
And there you go! Your Star of David is complete. Flip it over to see the overlapped triangle view of your dollar bill origami Star of David.
What will you be making this dollar bill origami Star of David for? Comment below!

