How to Dry Etrog Slices
Learn how to dry Etrog slices to make cool decorations for your Sukkah! You can also grab my free printable coloring page sukkah poster here. This post contains affiliate links.
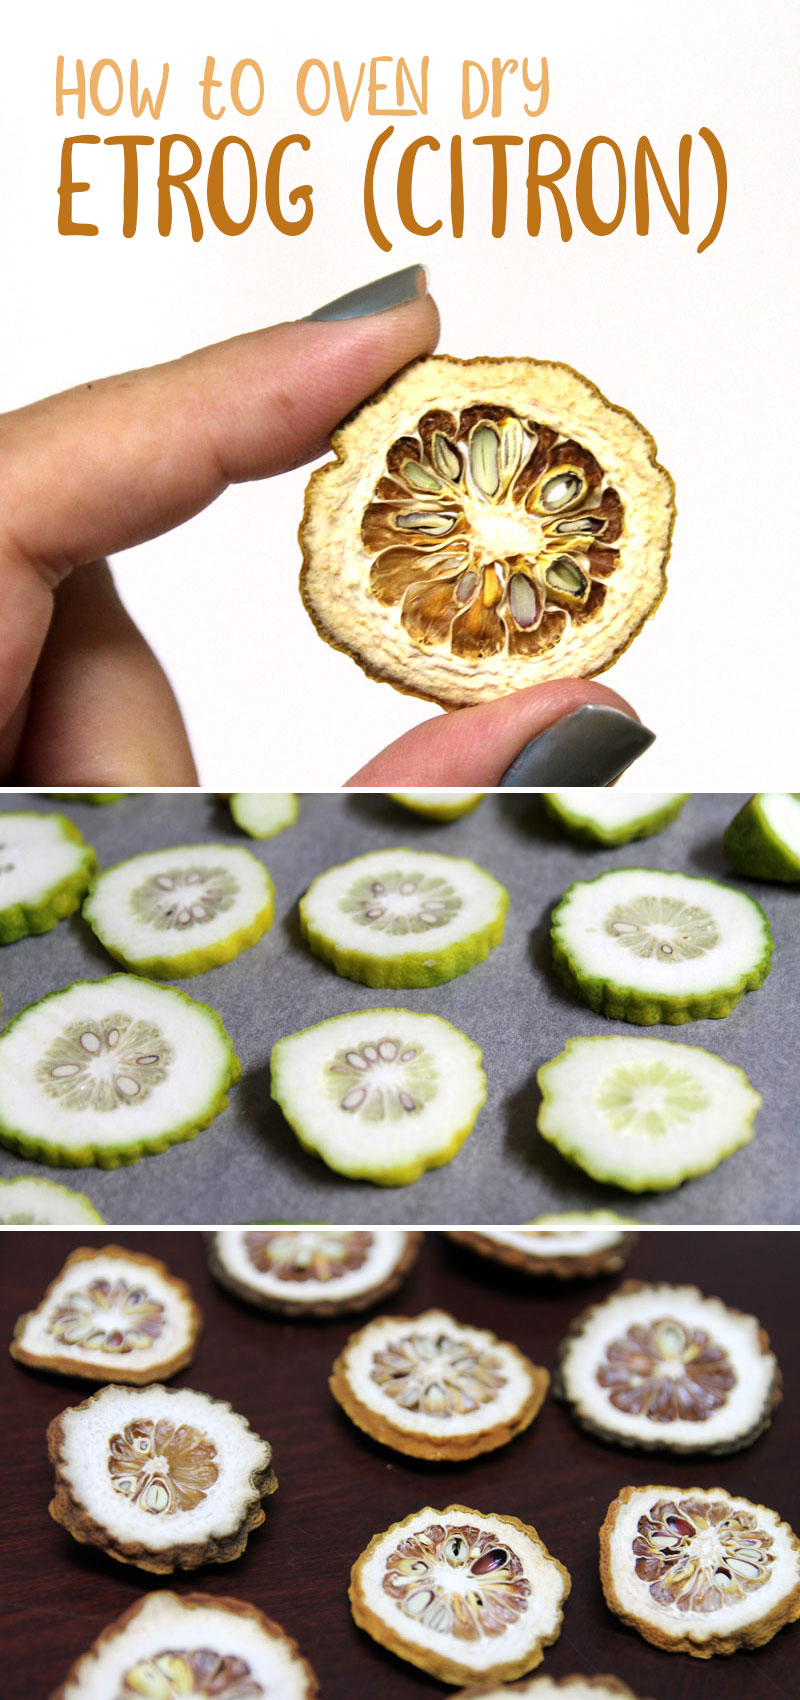
There are many things you can do with your Etrog once Sukkot is over, and a favorite classic is Etrog jam.
But many people are wary of using etrogim for food since they are not grown to be food grade.
My parents sometimes leave them and they shrivel up and dry. That inspired me.
Last year, I decided to try slicing and drying it to make a fun sukkah decoration and it worked out wonderfully.
[show_boutique_widget id=”1081466″]
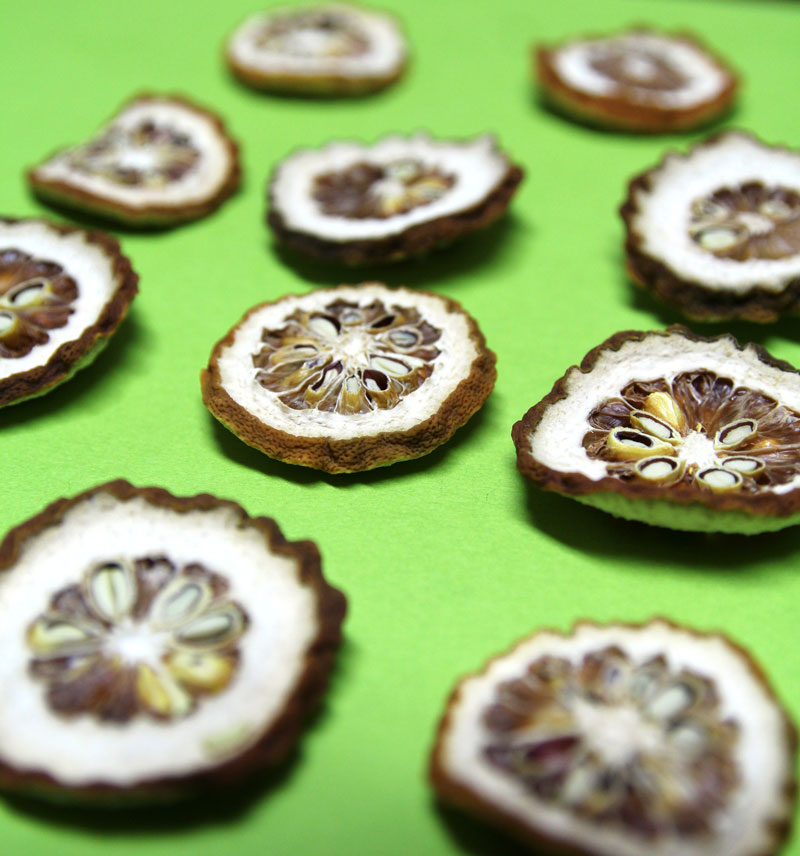
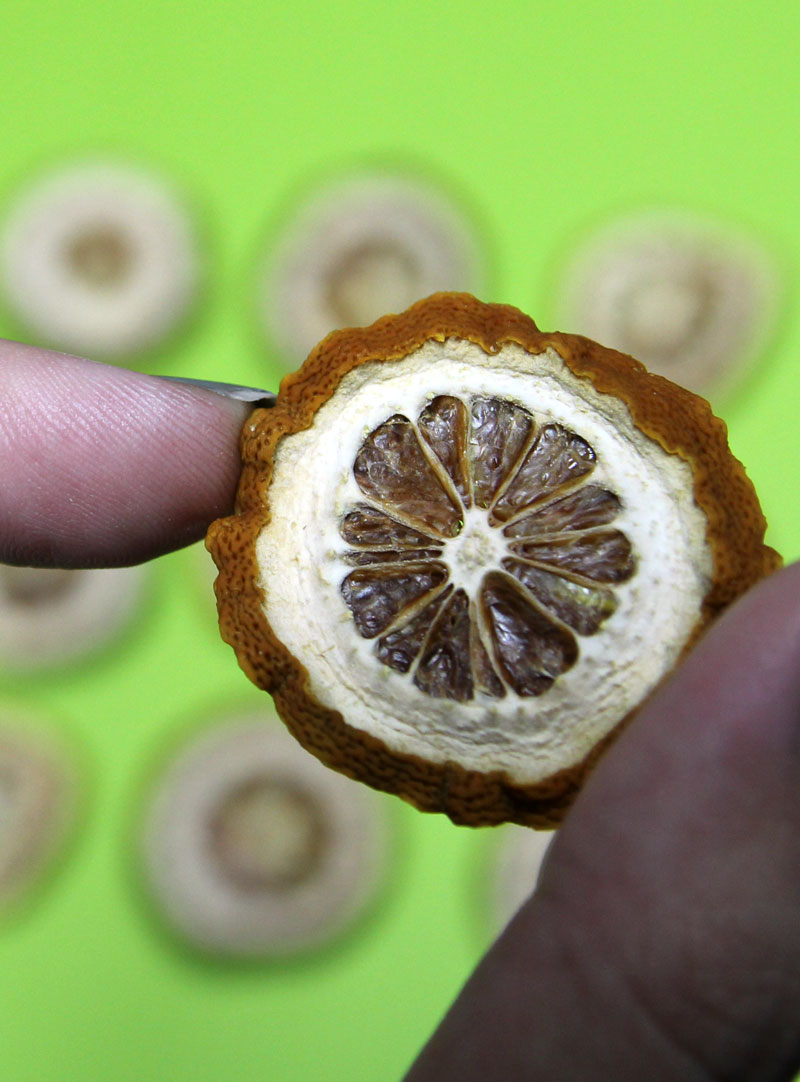
I’m going to save the post for the actual decoration we made for next year, hopefully in the summer so that you get it closer to sukkot and remember about it. But since Sukkot just ended and you need to decide what to do with your Etrog now, I figured I’d share the process for how to dry an Etrog now.
Make sure to sign up for email updates so that you don’t miss it!
Update: you can check out the DIY sukkah decoration using dried Etrog slices here!
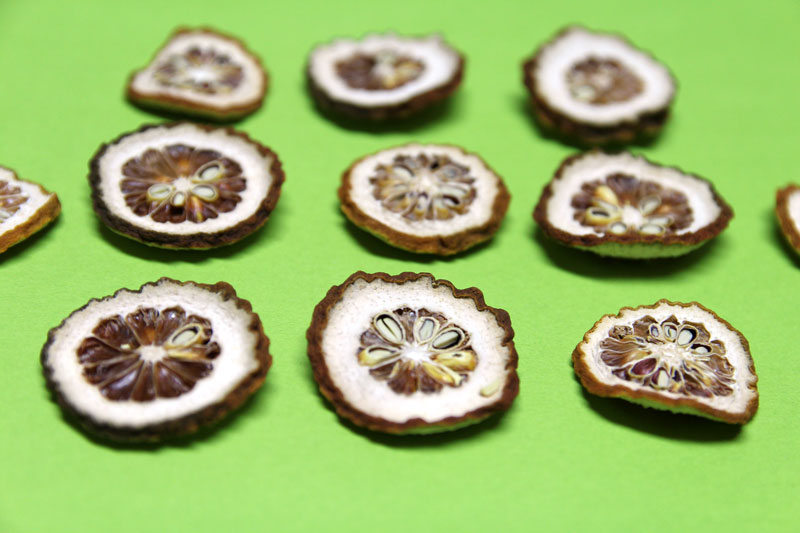
A few notes about drying an Etrog:
Etrog has a very thick skin and is not very juicy. That might surprise you when you open it up – it’s nothing like a lemon!
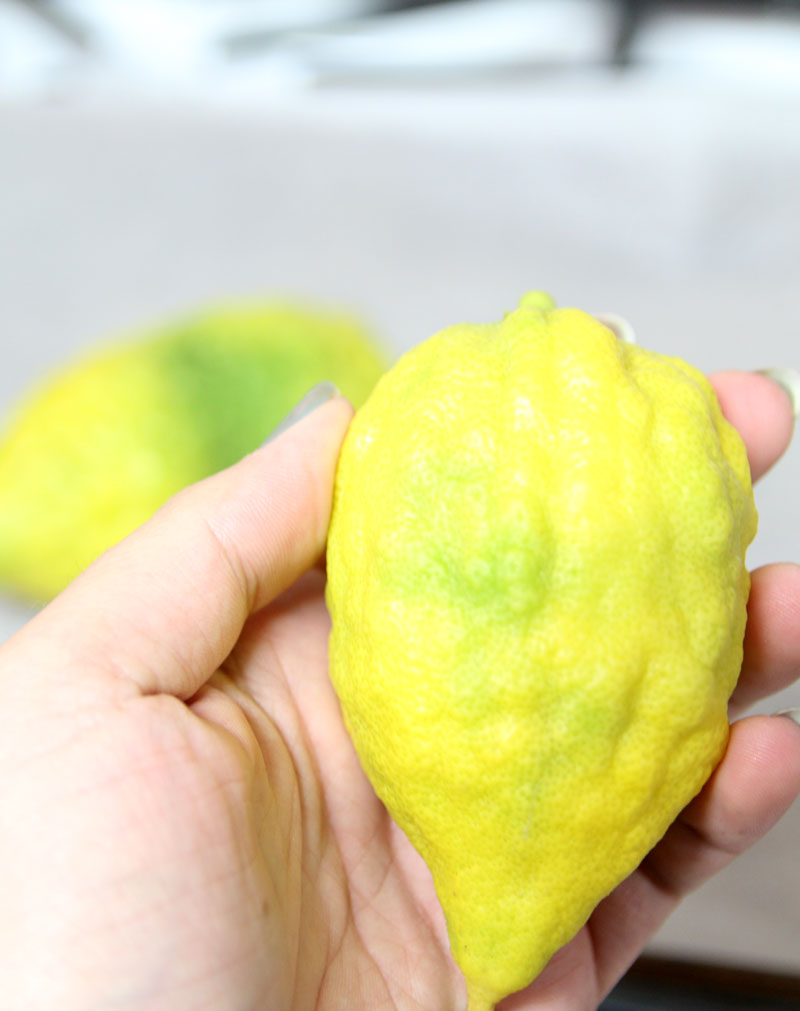
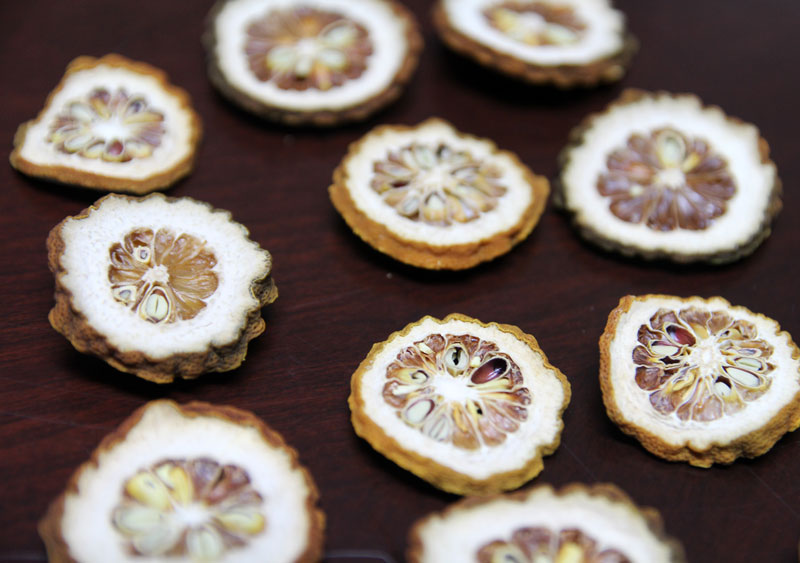
It does make gorgeous floral-looking slices, and the bumpy skin has so much character.
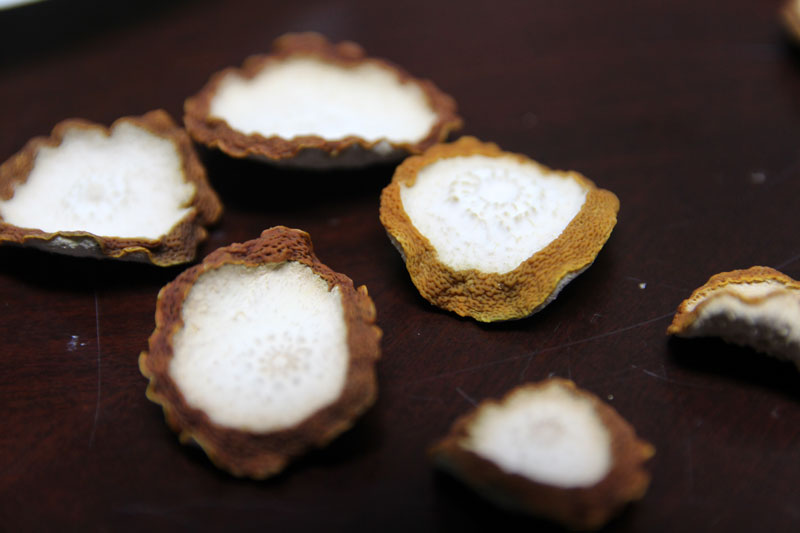
You’ll also find that you have a lot of pieces that are only rind, with no fruit. Save those too – they are usable in the craft I plan to share as well and add a unique extra touch!
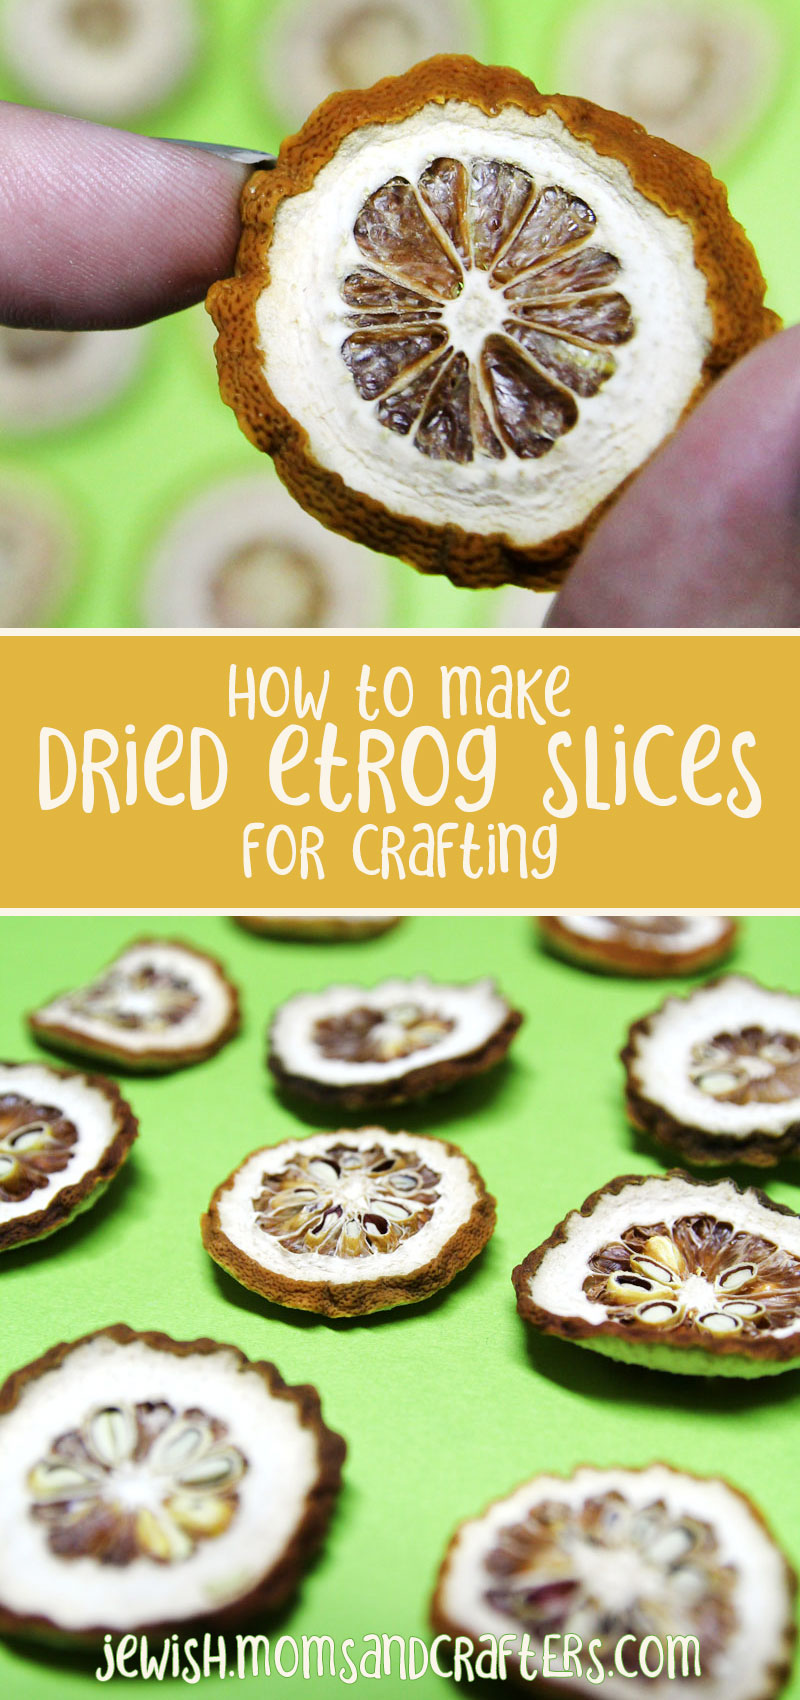
Dried Etrog slices aren’t meant for eating – they’re for crafts. They smell heavenly as they’re drying but I didn’t smell it much after.
I’m not really sure how long these last, but I did store last year’s in a zip-seal bag and it was totally fine this year. If you dry it completely it should last for quite a bit.
Start it in the morning, on a day you’re at home so that you can check in on it and give it plenty of time.
The seeds aren’t quite fixed in place – I’m sure there are ways to work with that (outdoor mod podge?) but I haven’t tried because frankly I didn’t care if a few seeds fell out and wanted to keep things natural.
Because you don’t plan to eat it (most tutorials for dried citrus are for consumption purposes) you can really let it dry to a hard, tough texture. That way you don’t have to worry about moisture.
How to Dry an Etrog (Citron) Fruit and other citrus:
1. Slice your Etrog in as even slices as you can. I recommend 1/8-1/4 inch slices.
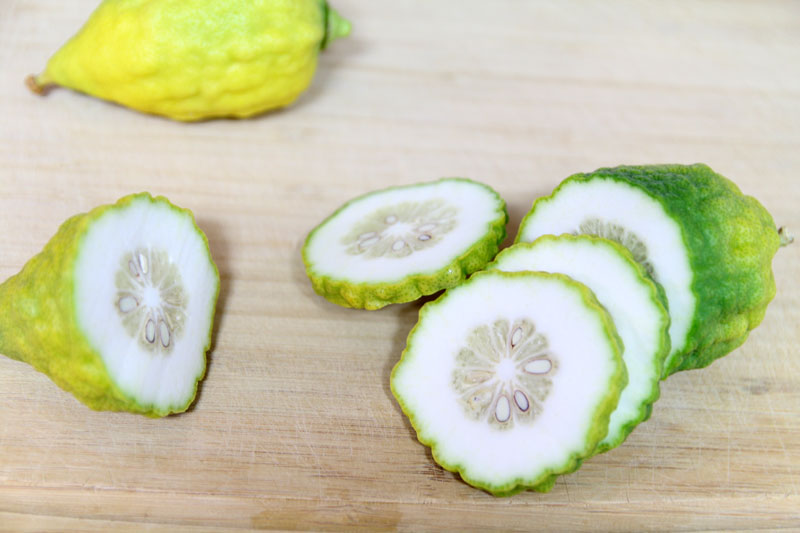
2. Spread it out on a baking sheet covered with parchment.
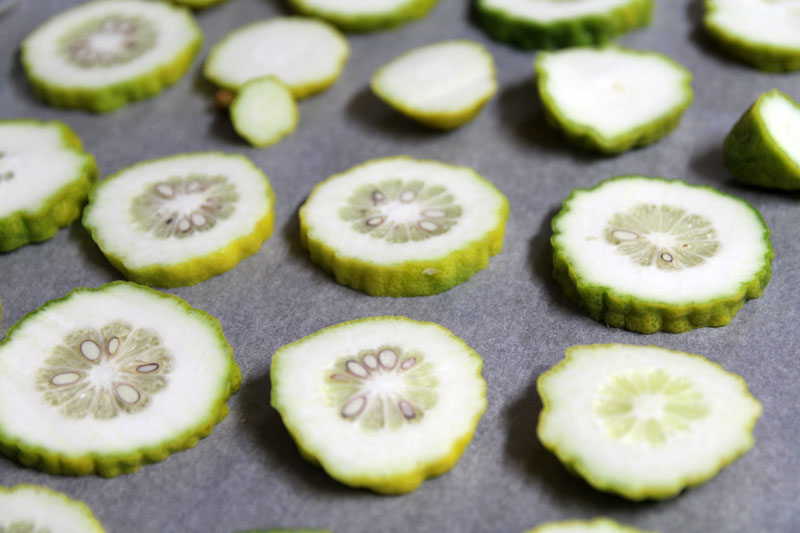
3. Place it in the oven on the lowest setting (mine is 170 F). Leave it there for hours, checking in occasionally. I do recommend turning your baking sheet around here and there to make sure it’s drying evenly. You may need to pull some out earlier than others. Mine took about 7 hours for all the slices to dry, the earliest coming out after 4.5.
4. When your slices are totally dry (before they burn) take them out of the oven.
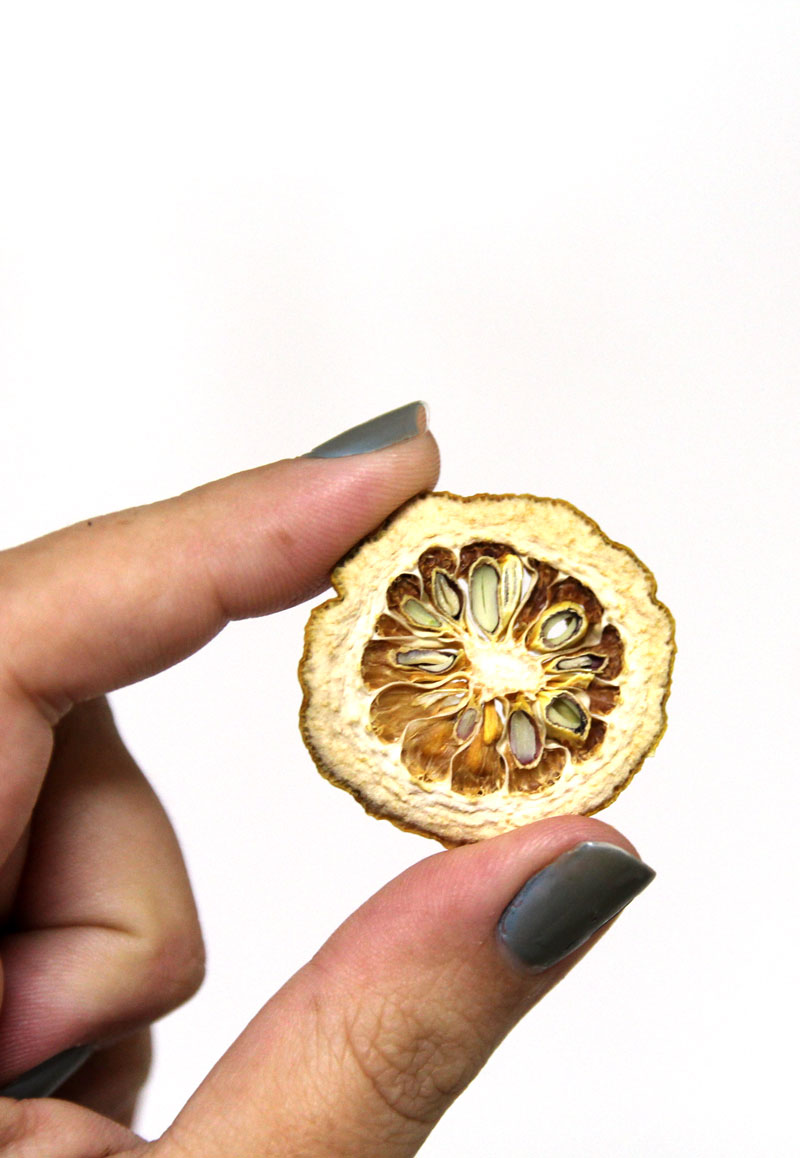
Store in an airtight container or a zip-seal bag with all the air removed.
What do you do with your Etrog after Sukkot? What do you plan to make with this?
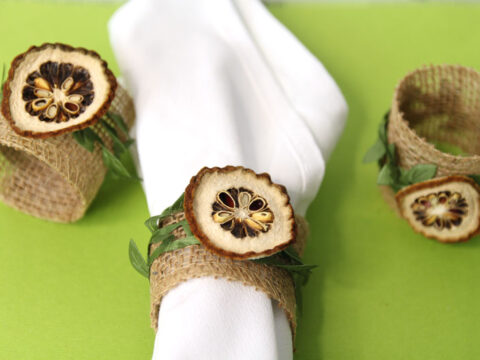
Enjoy this tutorial for pretty Sukkot napkin rings using dried etrog slices!





Hi,
This is Menucha’s mom weighing in. Menucha spent the first days of Sukkot with us, and she brought along the crafts that the boys made in school, plus her dried etrog slice project. It was simply gorgeous! I can’t give you the details, of course, but trust me, you will want to have those dried slices waiting for you this summer when she posts the project. It is both rustic and beautiful and you will be proud to hang it in your sukkah, may it be in Yerushalayim Habenuya!
Thanks ma 😉