How to Set up a Makeshift Pesach Kitchen when you don’t Actually Have One
If you’re looking to get ahead of Passover prep and set up a makeshift Pesach kitchen, but you don’t actually have one, this is for you! When you’re done, check out my list of must haves for Passover. This post contains affiliate links.
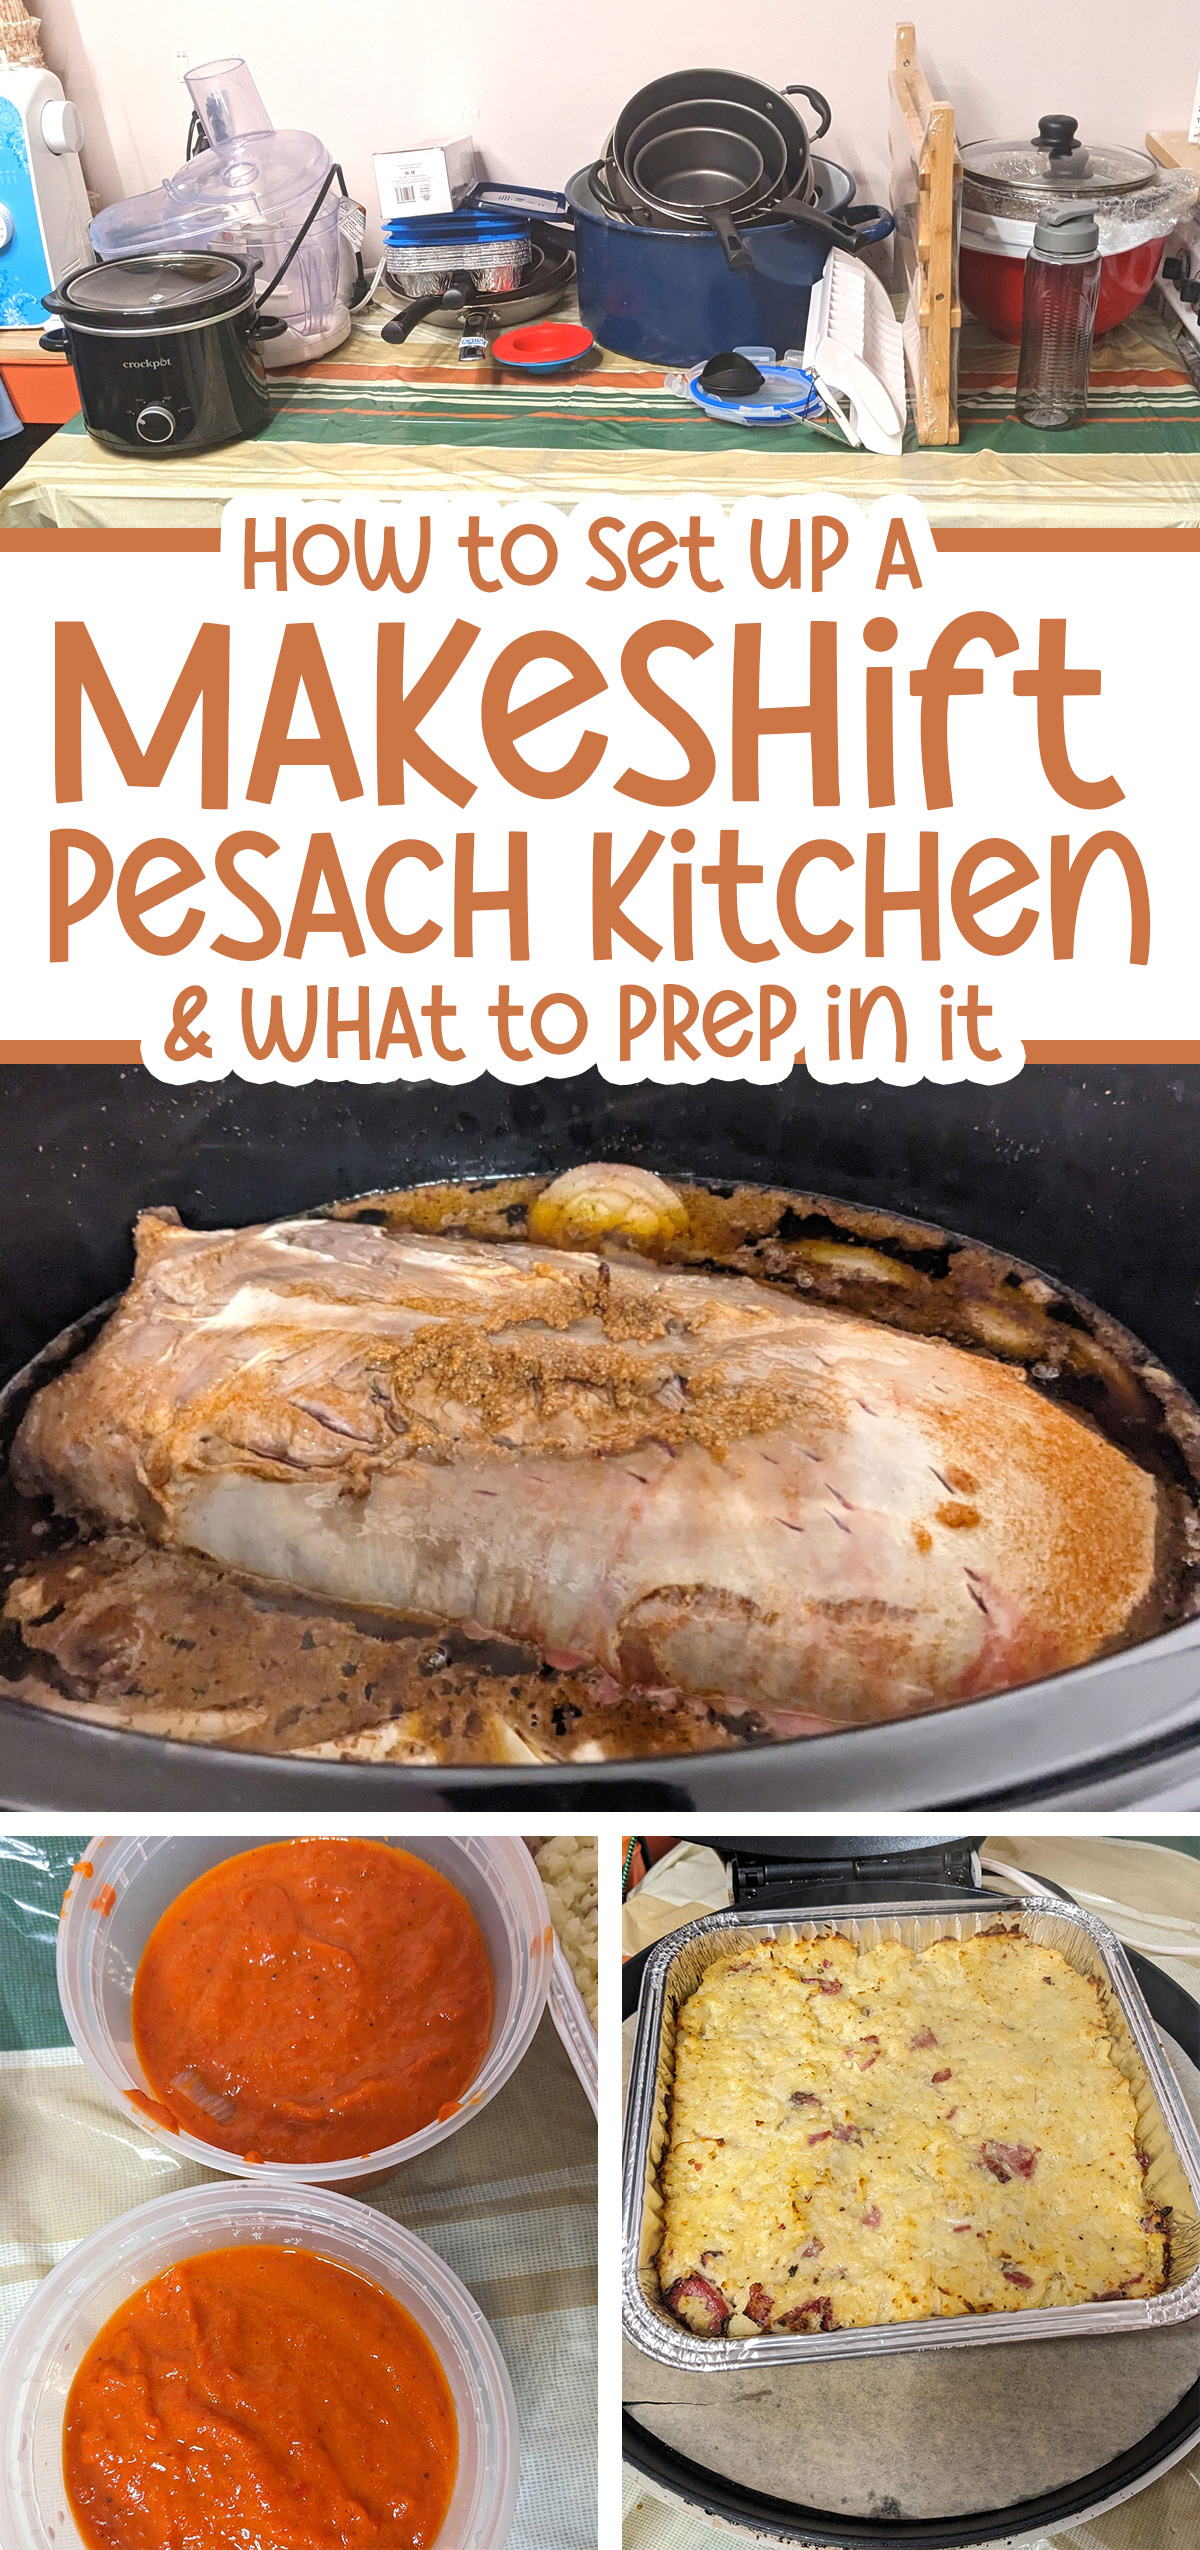
Last year, I found myself with a young eater in the house, home for the entire Passover, and with sleepover guests for the whole holiday… and I knew I had to be able to start cooking ahead.
While other holidays are easier to do ahead – the months before include doubling Shabbat foods, or preparing components and freezing, Pesach presents the extra challenge of needing the kitchen to be Kosher for Passover first.
The typical solution for the Jewish housewife would be to simply get ready early and Kasher the kitchen a week (or even two!) ahead of the holiday.
But with a baby eating solids, but without the skills to eat the full gamut of foods, I knew I couldn’t turn over my kitchen that early… So my solution? Set up a makeshift Passover kitchen – in my craft room!
Note: I did take photos, however, I wasn’t necessarily planning on sharing so they’re kind of bad photos. It’s all I’ve got right now and I want you to see it so apologies in advance if the food doesn’t look so fabulous- I promise it was!
My craft room, located in my basement, used to be a kitchen. Most Jewish mothers who are not me would likely have used it as a Passover kitchen upon moving in. But I clearly needed a craft room more badly.
The question was: can I make it into a makeshift Pesach kitchen for the times I needed it?
While mine was based in a kitchen originally, the ideas and tips I’m going to share with you here can be done anywhere – with one caveat.
How to set up a Makeshift Pesach kitchen anywhere in the house
Just as a heads up: I will be referencing Pesach law in this post. I am not a rabbinical source – please do not follow my advice here in contradiction to your own customs. I am simply sharing what I did based on rabbinic guidance that we received.
Please verify your personal rabbinical sources for how to best do any Kashering.
The sink
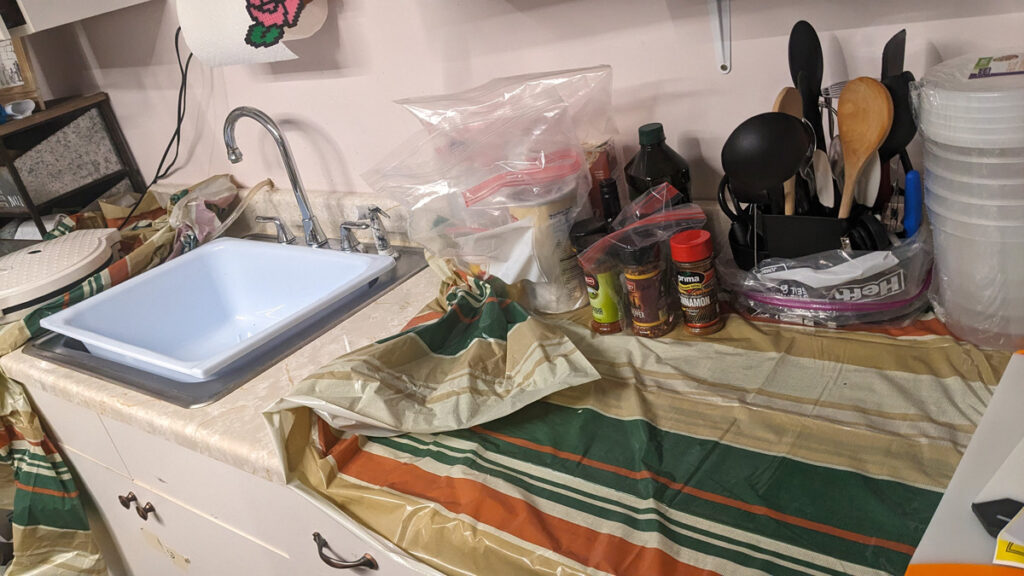
The biggest caveat of a makeshift Pesach kitchen: you need a sink. I haven’t found a way around this. You’ll need to clean up, and you won’t want to wait any extra time to do this.
My best tip: choose to set up in an area in the house that has a sink that isn’t regularly used for Chametz food. The best example would be a laundry room (or anywhere with a laundry slop sink. If you have a nice, deep bathroom sink that you can use, try that.
And if you don’t? If this is something you think you might do regularly, you might want to install a simple slop sink in a place that is practical from a plumbing perspective- nothing fancy. It’ll cost a bit more for initial setup so this post might not be for you – but it’s definitely a fraction of actually putting in a Pesach kitchen and will not swallow up that space permanently.
Another option: use the bathtub. You’ll need a basin (maybe a baby bath with a drain hole if you need something larger?) to soak and wash your dishes in.
We kashered the faucet just that once (and proceeded to leave it Kosher for Passover year-round). For the sink, we just got an insert (as our Rabbi advised is permissible) and scrubbed the sink itself as best as we could.
The appliances
While my ex-kitchen craft room does have an ancient oven in it, it may or may not work, and is currently disconnected and serves as a glorified shelf/space hog. So it’s not functional.
I relied entirely on appliances. Yes, that thing. So here are the ones I personally used and their general functions. I’m going to go into greater detail as to exactly what I made in each one, but for now I want to provide general functions for those of you who need it.
I’m also going to share an additional list of ideas that I may add in future years, and that you may prefer to use.
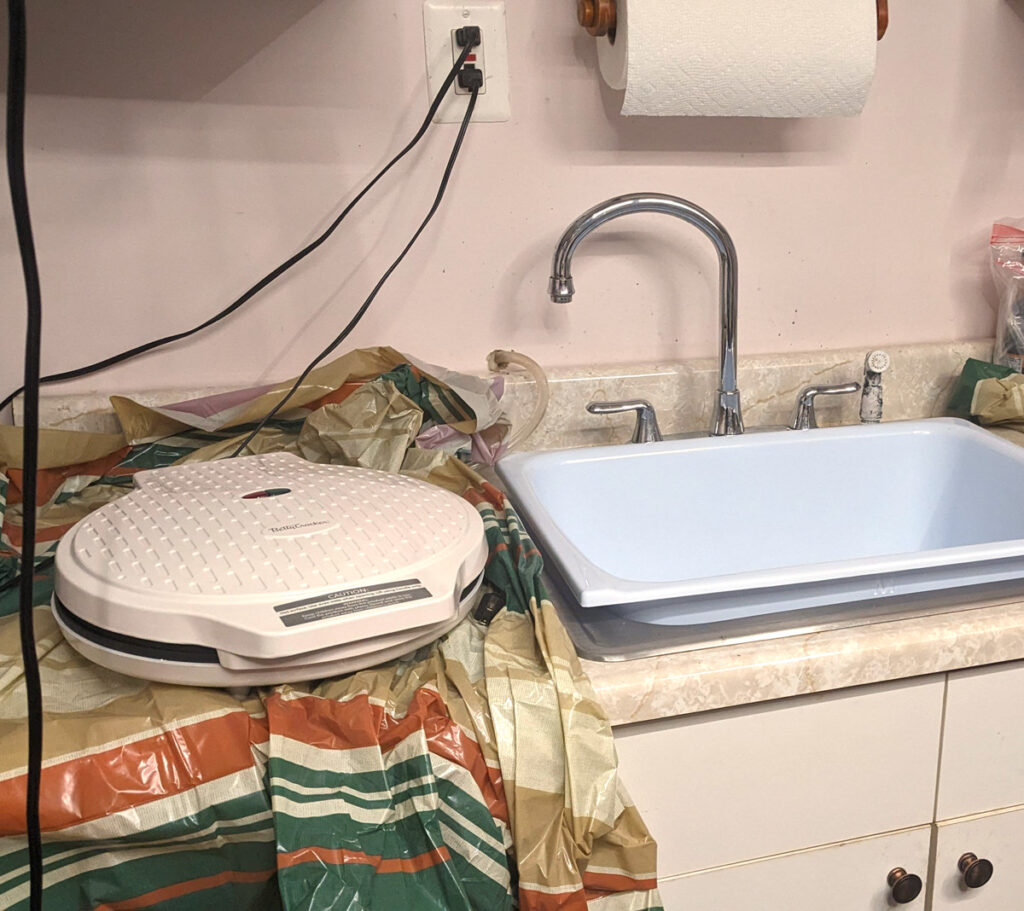
Betty Crocker Pizza Maker
The Betty Crocker pizza maker serves as a high temp oven – it cooks things at about 425, based on my estimates.
It’s great for roasting things, and for making things that are easy to contain in a 9 inch – or even a little larger if it’s round – pan. You can also cook things directly inside, or use 12 inch parchment circles for easier cleanup.
You do need to supervise the cooking closely in this. I set off my smoke detector due to too many juices being released and some of it charring on the surface.
7 Quart Slow cooker
As suggested, the 7 quart slow cooker... slow cooks things. It’s great for any recipe that requires slow simmering on the cooktop, or cooking low and slow in the oven (yes, meats, I’m talking about you.)
I do recommend just getting this large size because the point of it is kind of to be able to prep, freeze, and maybe even batch.
2 Quart Slow Cooker
The small 2 quart slow cooker is the original slow cooker I had for Passover at home with few kids… and I make so much use of it in general – but especially in my makeshift Pesach kitchen.
First of all, it’s as cheap as buying a pot, and worth having handy if you can store it.
But also, it gives you another thing to use for your makeshift Pesach kitchen, to slow cook, sautee, and braise (with the help of the Betty Crocker) smaller recipes. It shouldn’t make a main slow cooker, but is a great bonus.
Food processor
While not for cooking, a food processor is a must in any Passover kitchen, and one of the first things I pulled out in my makeshift Pesach kitchen.
While this won’t be the only use this gets, as some things get batch produced and need more efficient baking, it really helps to get some food processor recipes out of the way.
More appliances I might add
- A toaster oven – one thing I wished I had when using my makeshift Pesach kitchen was the ability to bake ahead. Baking is a classic freeze-ahead item (in-fact, I often make an allowance of time before the holiday when all baking must be done – usually not in the week before!) A good toaster oven with a stable temperature can allow you to bake. One drawback is the minimal space – since baking is often time sensitive.
I recommend deciding in advance if you prefer one with better temperature control and more settings vs. one that’ll fit a 9×13 inch pan. - An electric burner – since some recipes need to really be cooked at a normal temperature, it can be helpful to have the option of an electric burner.
- A multi-cooker – While I’m not big on these for general use, for a makeshift Pesach kitchen it would definitely offer more options.
About Storage
I did NOT have a decent storage solution, and if you have the space and are willing to invest a bit more into this, I do recommend setting up a pantry-style cabinet near where you do this! I might have space for that once I get rid of the old defunct oven…
And instead of moving things around a lot, lock that cabinet up year-round and let that be where you store those items after Pesach too.
Another option is having the basic dry ingredients in a set of plastic drawers that you can then tote to the main kitchen after you Kasher. I may do that next time.
Refrigeration
Both ingredients and cooked foods will need refrigeration or freezer space. Again, if doing this more long-term, with plans to repeat it year after year, you can invest in a small refrigerator to use in the interim.
I use such a fridge in my basement guest room year-round and made use of it for early Pesach food as well.
I recommend having one or two shelves of your freezer ready for prepared foods. You can also dedicate a produce drawer in your main fridge for Kosher for Passover perishables.
The workspace
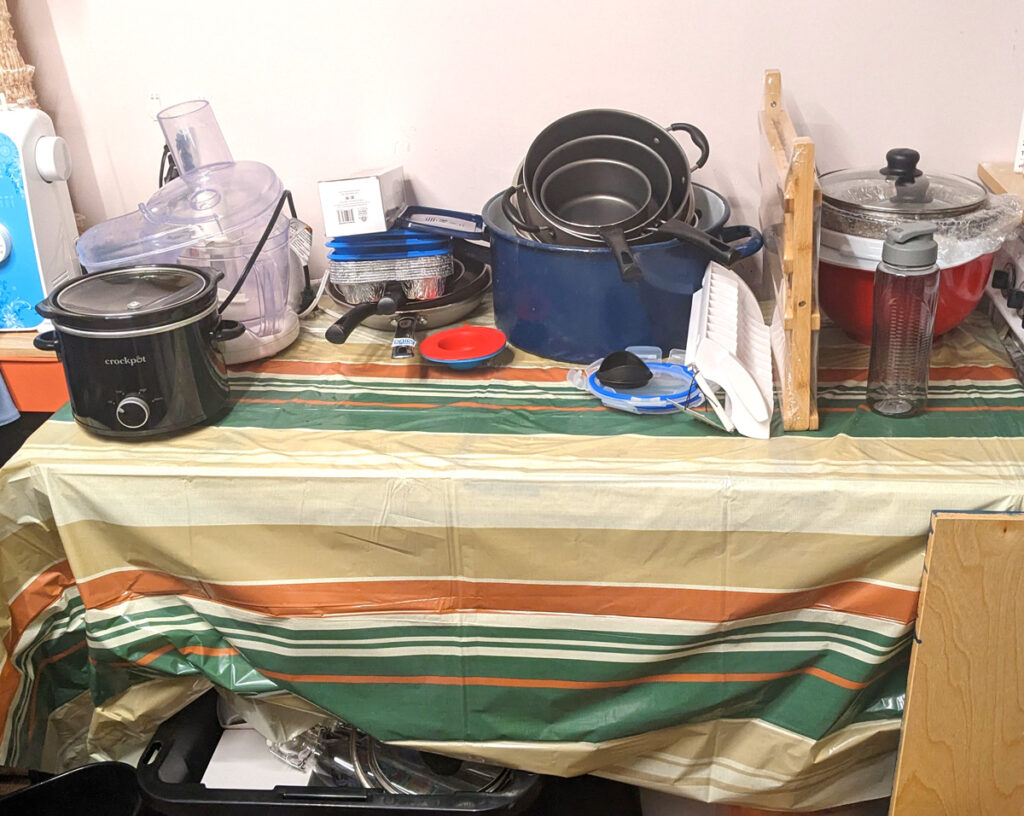
My place was set up as a kitchen with a small strip of counter. I cleaned it (again, it’s not ever used for food) and covered it (because it likely once was used for food) with a plastic tablecloth.
When I do this again in the future, I’d definitely look into getting a more rigid surface (my tablecloth melted on the Betty Crocker!), or coating the counter with resin (since I won’t be using it for food during the year, I’ll only need to do it once.)
I also used a small folding table as additional workspace. This table actually lives in my craft space. However, if you’re working without preexisting work surfaces, this is still the perfect solution. Just get a couple of folding tables as your “counter space”. And if you feel like you need something counter height, and are willing to get a little more, you can even get a rollaway or foldable island.
What I prepared in my no-oven no-range makeshift Pesach kitchen
So let’s go through some actual case studies of what I made that was SO worth doing in the makeshift Pesach kitchen.
Meats
“Low and slow” meat recipes are perfect fits for cooking in the slow cooker in a makeshift Pesach kitchen! They come out soft and delicious, and are totally freezer friendly. And since they tend to occupy your oven at the wrong temp for way too long, it’s so helpful to have these out of the way.
I cooked a roast with mushrooms and onions – but I added the mushrooms fresh when I reheated it. It came out insanely good.
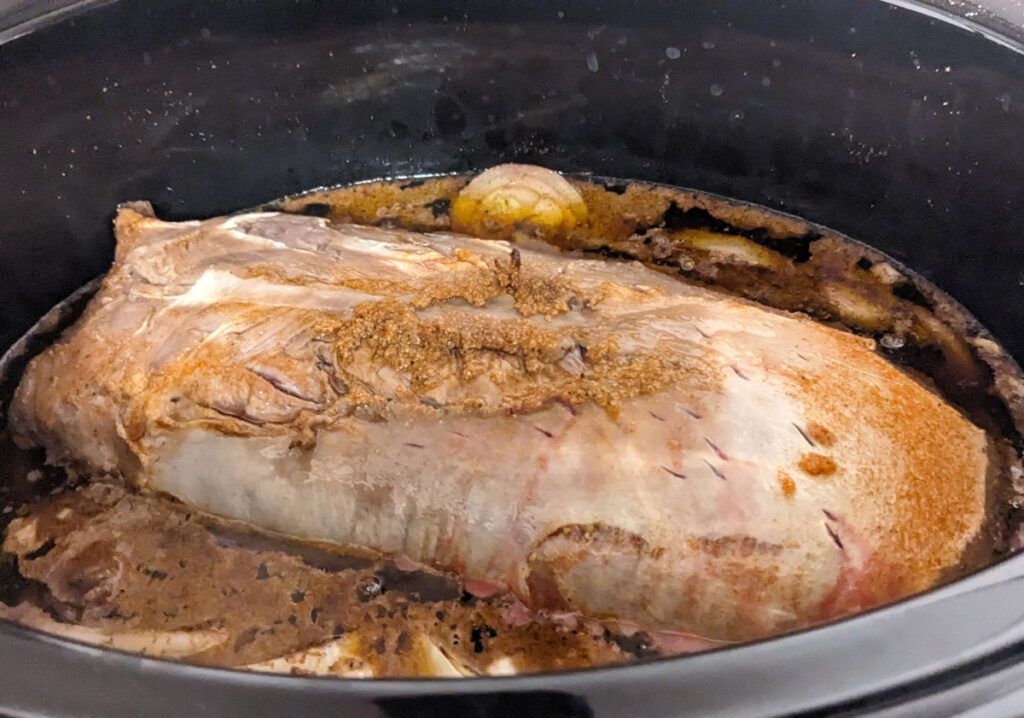
I also put in a corned beef without any added ingredients and cooked it until it was falling apart. I reheated it with the glaze.
You can also prepare the base for pulled beef and freeze that, or try any meat that is best cooked at low temperatures and for a long time.
Dips
I made dips in my makeshift Pesach kitchen two ways.
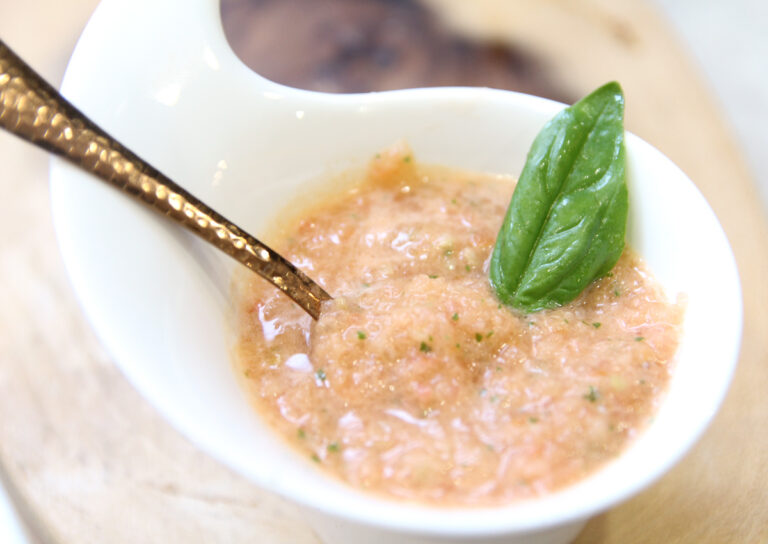
I made this delicious roasted red pepper dip (BIG hit) by roasting the ingredients in the Betty Crocker. This did let out a lot of liquid – next time I’d roast the veggies in a round pan. The same goes for the incredible tomato garlic dip that I made.
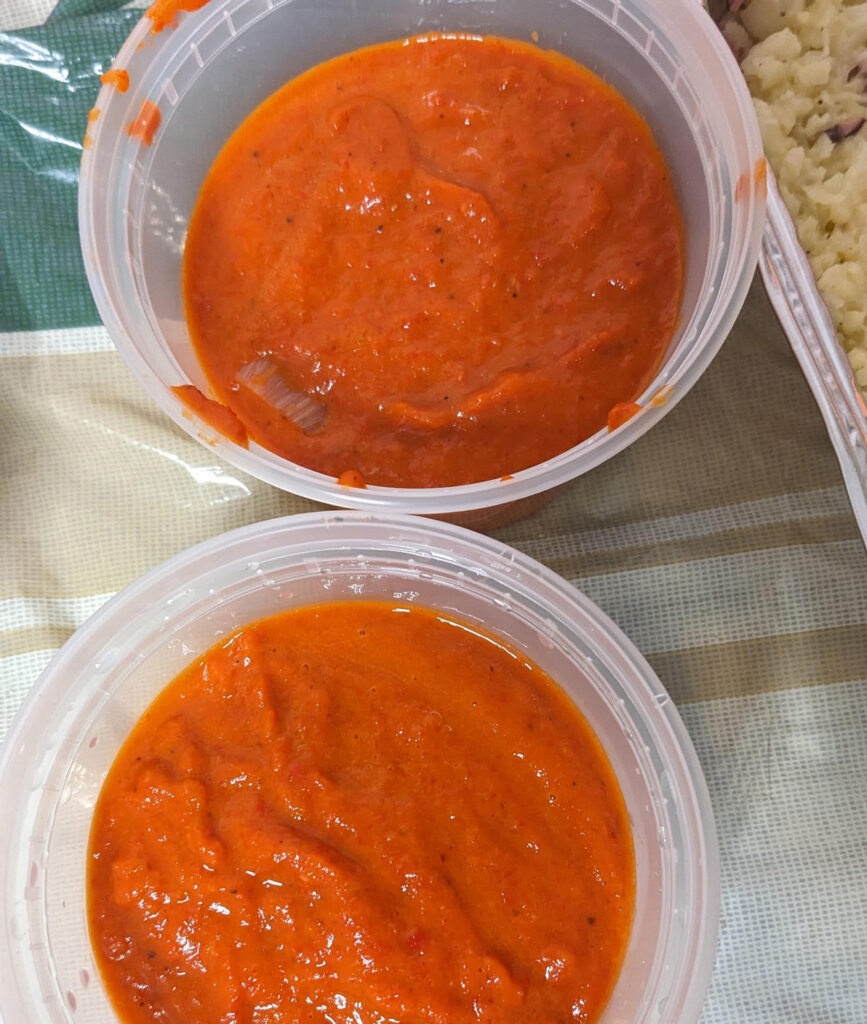
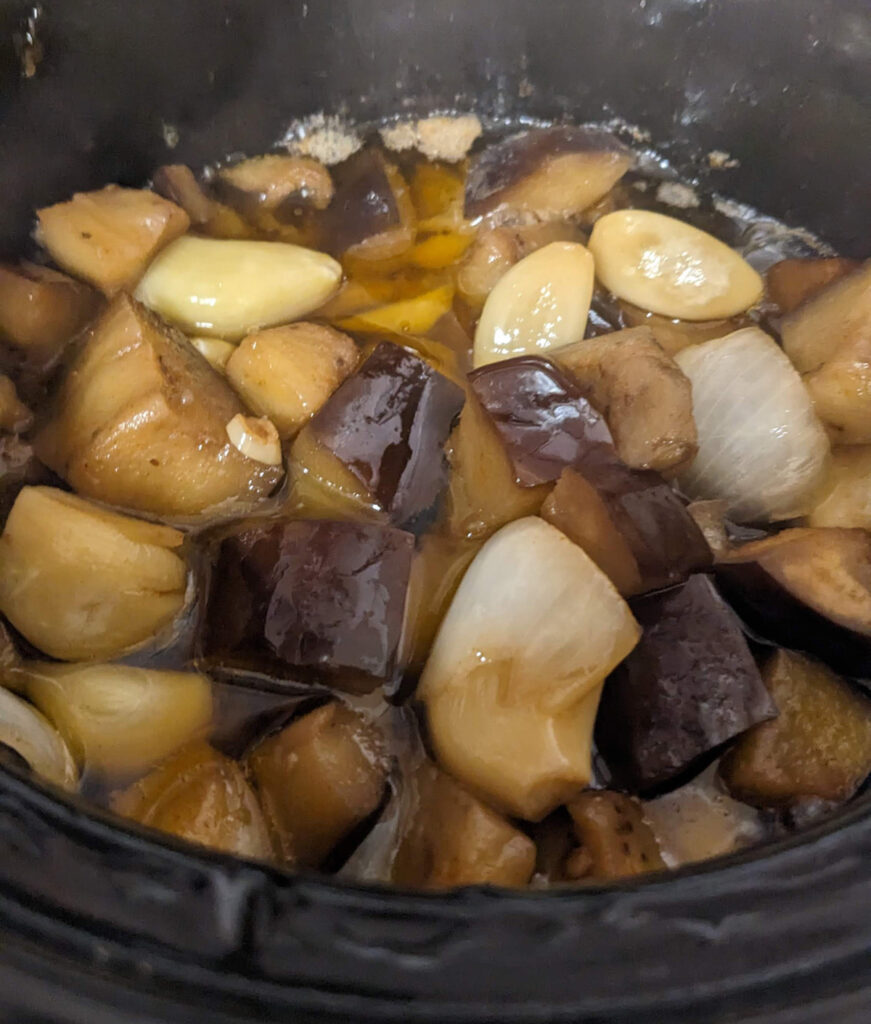
I also made a garlic confit and eggplant dip in the small slow cooker. The garlic confit was just garlic with lots of olive oil and seasoning. The eggplant dip started out as an eggplant garlic confit but then I decided to try blending it into a dip – and it was INSANELY good. I wish I’d created a recipe, and may try again at another time.
Both are super easy.
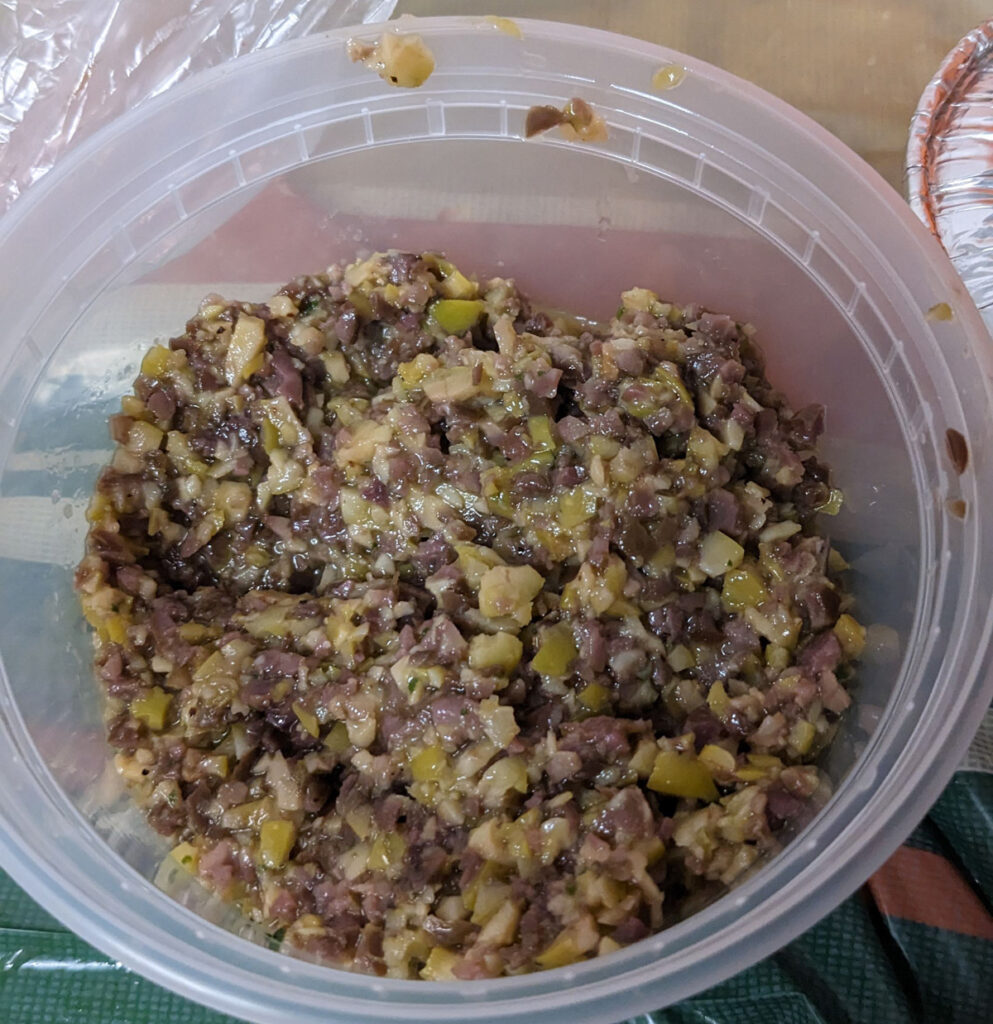
I made all of my dips in the makeshift Pesach kitchen, because that’s kind of an “extra” (and one that we do use a lot of) so it had to be done in advance. I also made garlic tapenade (food processor only) and some others.
Kugels
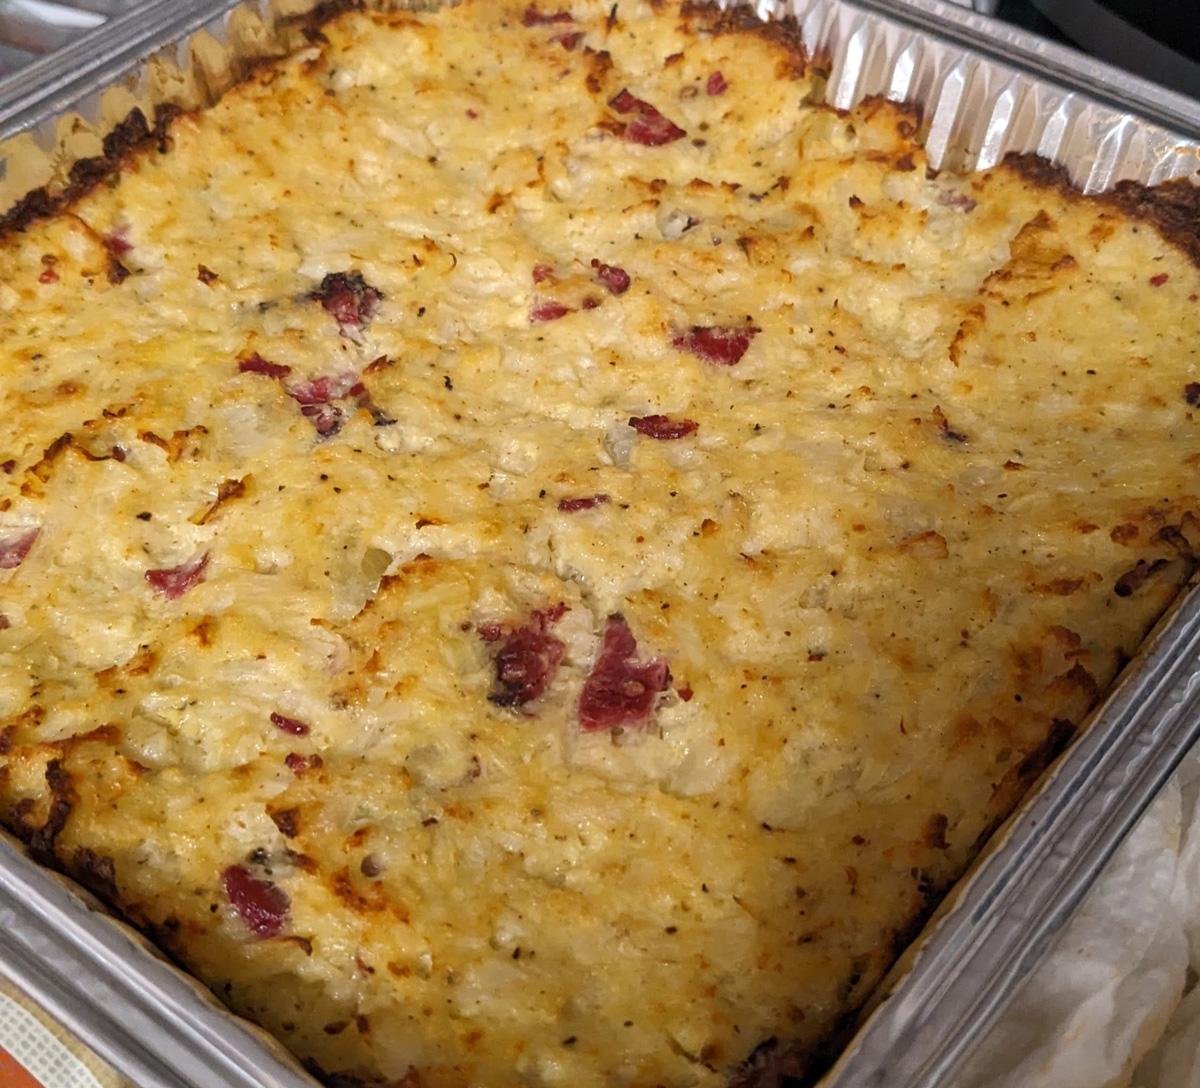
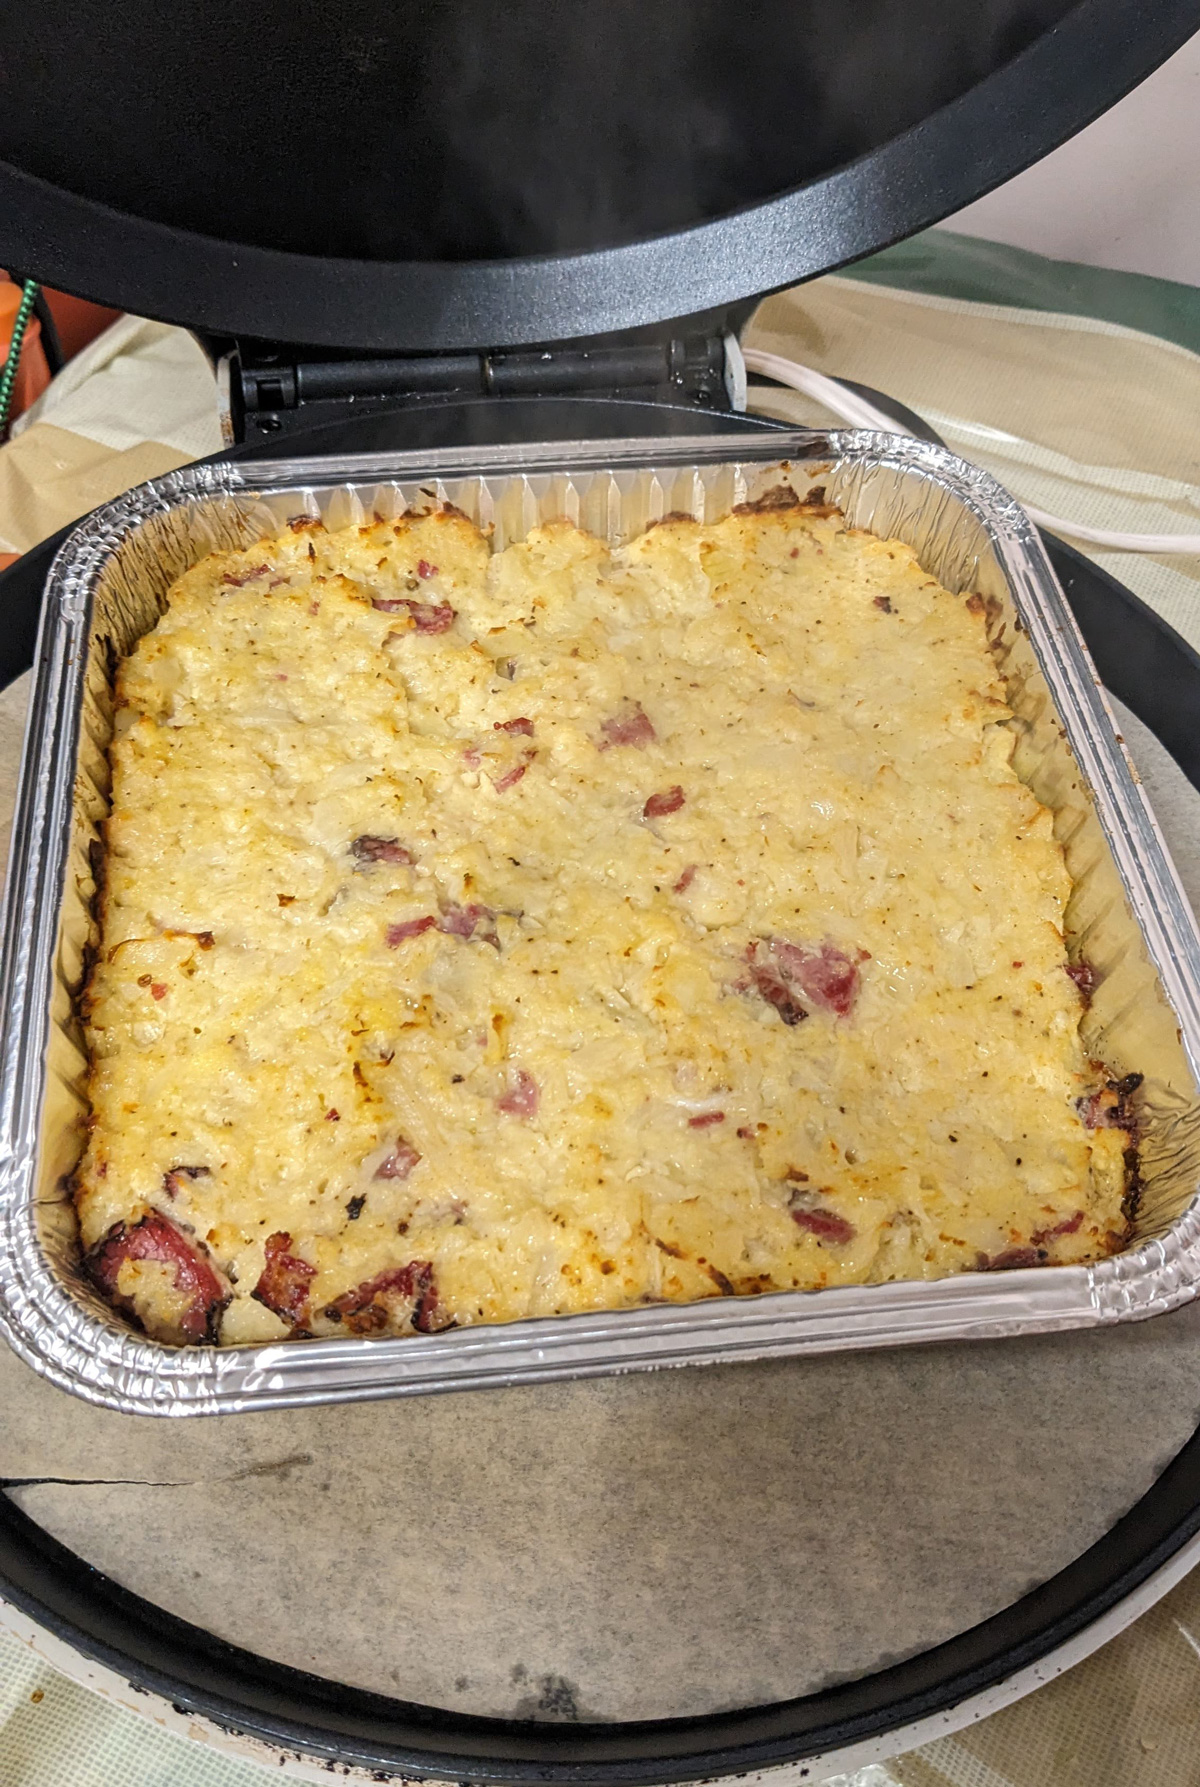
I made this cauliflower pastrami kugel in the Betty Crocker. Since kugels tend to cook at high temps (I usually bake mine at 425 for a crispy outside and soft inside) they are a great choice.
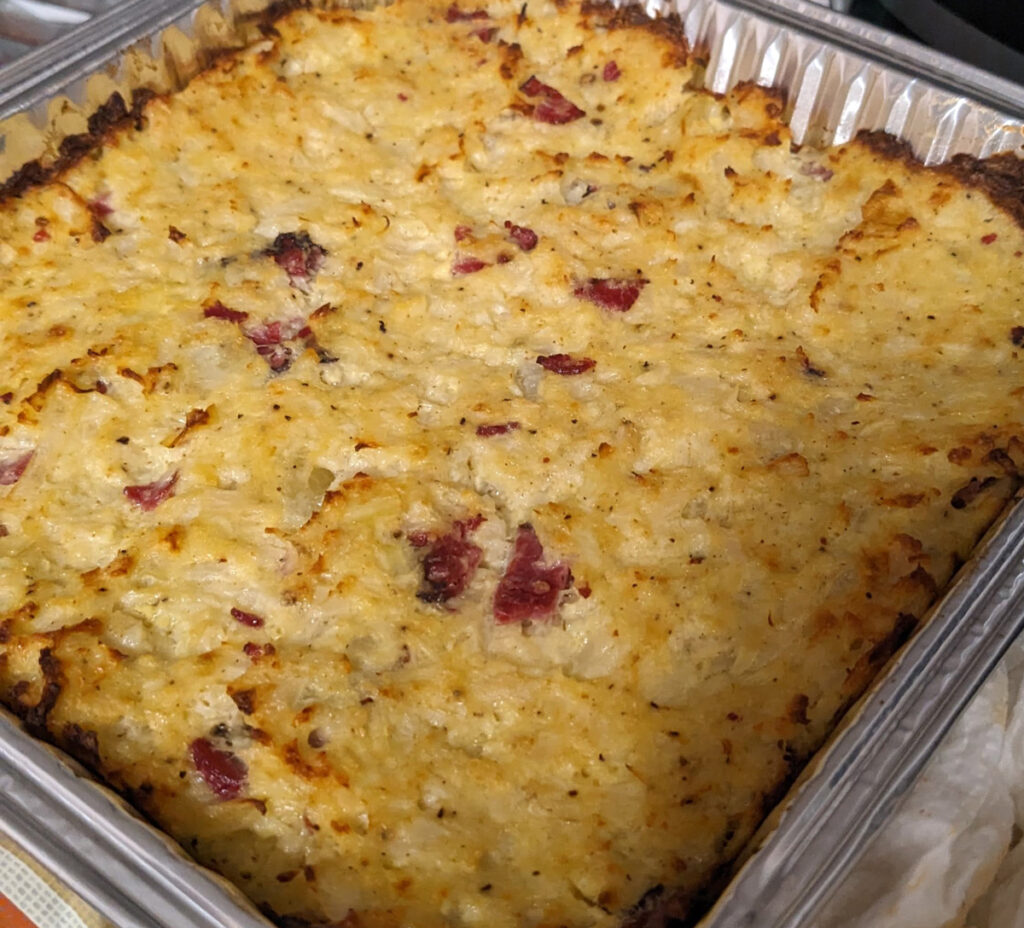
And since they are a bit more work and tend to freeze well, they are the perfect candidate for advance prep.
The only drawback is that kugels are often made in larger batches. For potato kugel, I recommend using this small batch potato kugel recipe. For recipes like this vegetable kugel recipe, you can just halve it and approximate a bit as needed, or bake it in batches as needed since it won’t brown if it sits in the fridge a bit.
Soups
Many soups seem to improve when frozen, and so why not make them in advance? The most flavorful soups often simmer for a while so they’re perfect for making in a slow cooker.
If you need to roast veggies in advance, you can use the Betty Crocker as well.
I made a sauteed veggie soup in advance using the large slow cooker.
Components
Having a space set up allows you to prep things – even if you’re not cooking it right away.
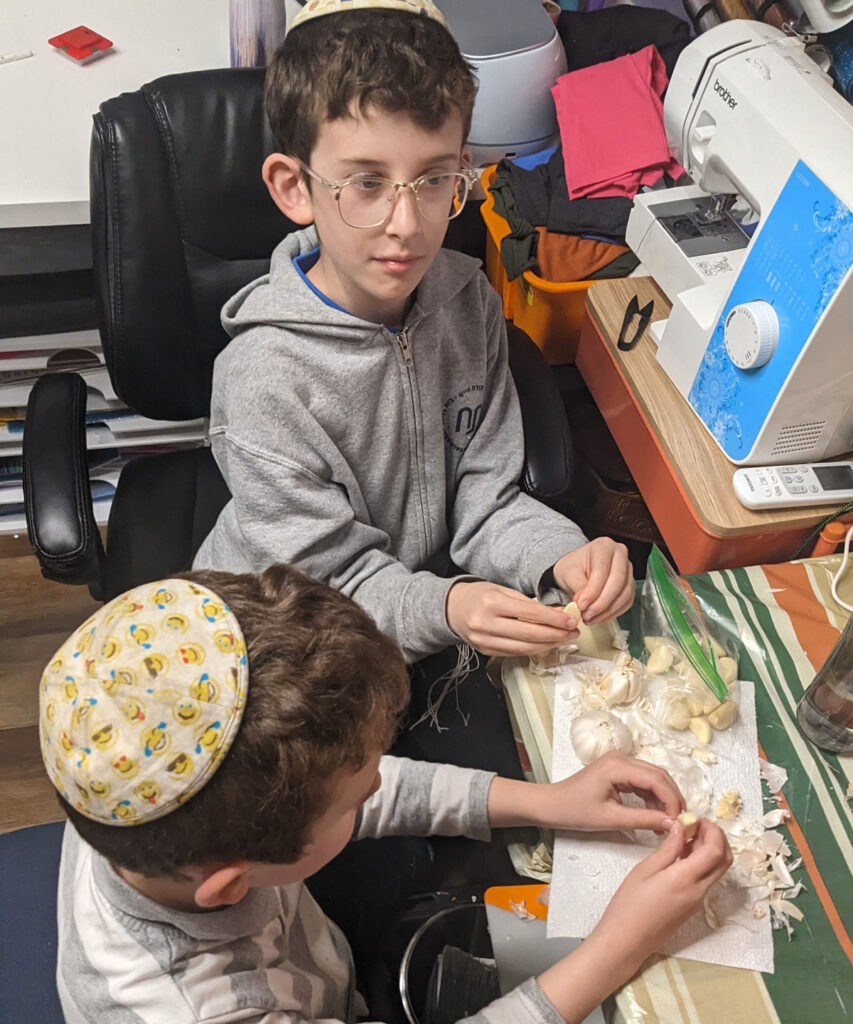
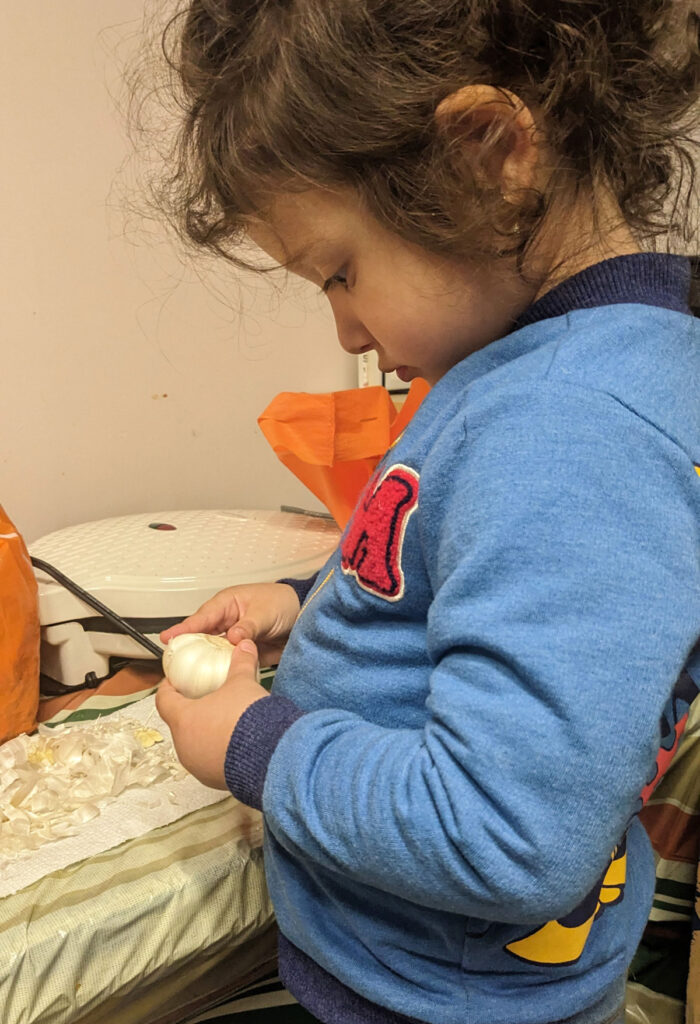
You can squeeze lemons for recipes, peel garlic (especially if you’re cooking it in a way that won’t matter if it’s frozen), and even sautee onions ahead for recipes.
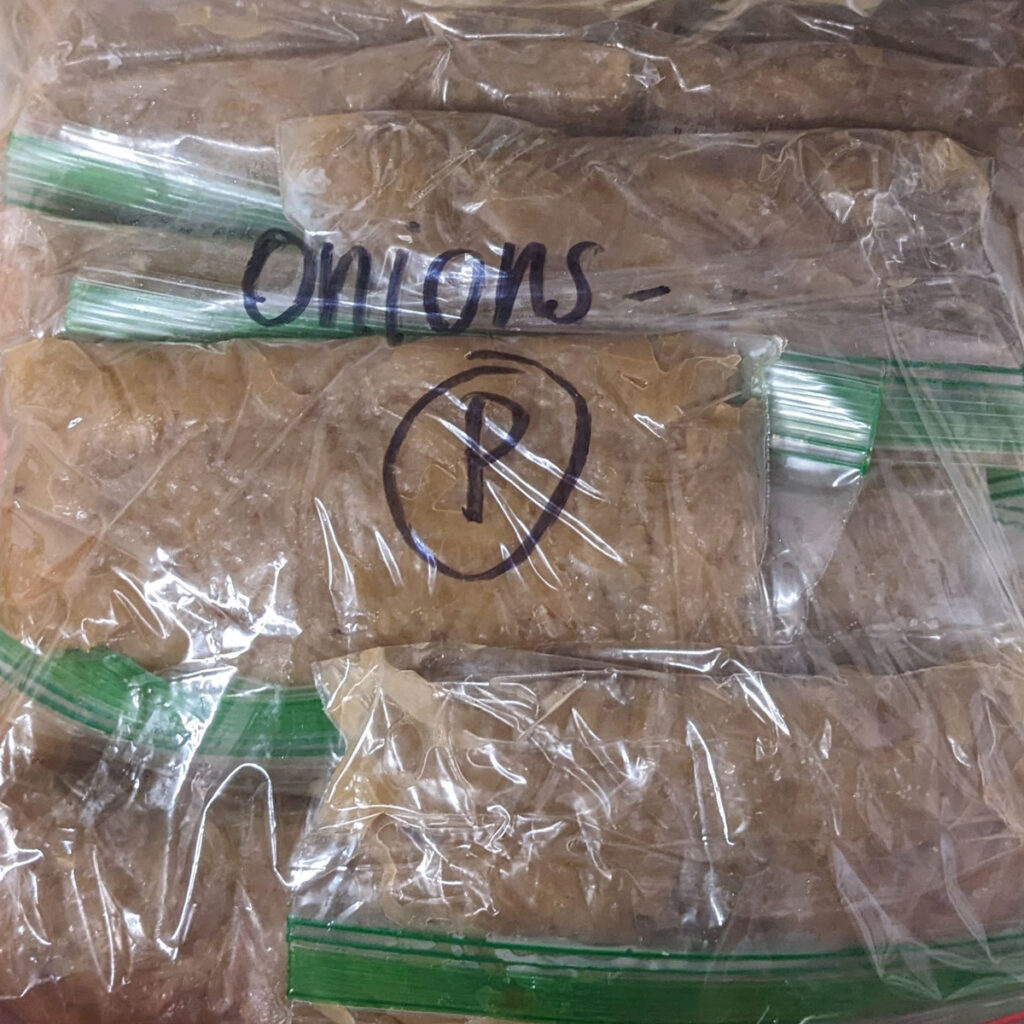
I sauteed my onions in the large slow cooker. I actually used the slicing blade on my food processor to prepare them, and then popped them into the slow cooker.
It needs minimal supervision – just checking in on it occasionally and stirring.
I then froze flat them in small Ziploc bags for quick defrosting and an easy-to-pull-out savory addition to many recipes.
Desserts
While I couldn’t bake, there are many things you can make without popping them in the oven.
You can make frozen desserts in Kosher for Passover pie crusts, or any homemade ice cream, mousse, sorbet that doesn’t need to be baked.
I ended up doing all my desserts closer to, thanks to having had done enough in advance to accommodate that, but I feel like I could have done a decent chunk ahead.
More tips for setting up a makeshift Pesach kitchen
The truth is that there are so many different ways to do this. While I can share how I did it, you’ll need to do it however works best for you.
There is a range of appliances that are in the under $100 range (or even under $50) that is extensive and you can choose a few of those to work with.
Here are a few general tips for your makeshift Pesach kitchen:
- Be generous with your workspace, as generous as you can.
- You can go smaller, you can go bigger. You can set up something that’s more permanent (but without installing an actual kitchen or real appliances) or keep it very makeshift.
- Make a good plan. Map out what you’ll cook when for each appliance, so you can have all your appliances used effectively for each cooking session.
- Spend a good few hours just setting things up. And I’m not even talking about the initial setup of the workspace. I mean organizing your supplies, your cooking tools, your ingredients.
- Have a good drying rack with plenty of space.
- Be realistic about what is worth cooking in a makeshift setup. Avoid things with multiple complicated steps and stick to the simpler things. You’ll find that taking care of things that are simpler earlier will free up a bit of time for the fresher detail work…
You can set up a makeshift Pesach kitchen even WITHOUT cooking appliances, and get things like uncooked dips, frozen desserts, peeling garlic, and other basic prep done, giving you an extra day or two of kitchen time – you just need a place to work and a Pesach-ready place to wash dishes (such as the tub with basin).
You can go high or low with this, choose one appliance or go with as many as possible, or just use the ones you own anyway.
Whatever you do, happy prepping and chag sameach!
Got any tips to add for setting up a makeshift Pesach kitchen? Comment below!

