Paper Glasses Craft for Hanukkah
Enjoy this just-for-fun paper glasses craft for Hanukkah, featuring 8 unique images, a bonus alternative, and a free sample! This post contains affiliate links.
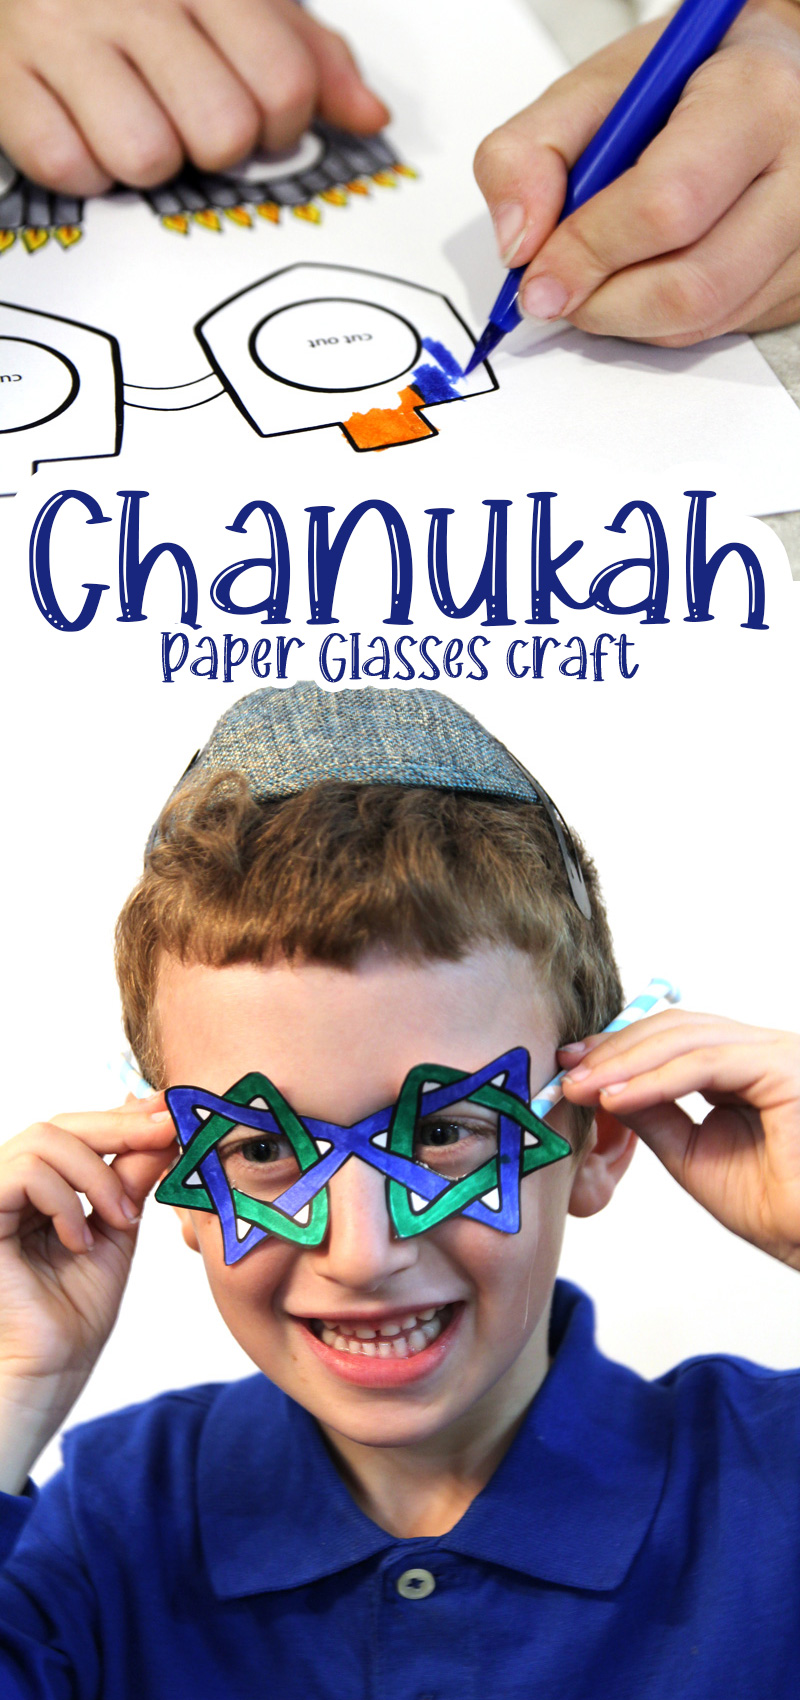
This past Shavuot, I shared a really fun Torah glasses craft that was enjoyed by many children, both for Shavuot and Simchat Torah! I decided to create a Chanukah version.
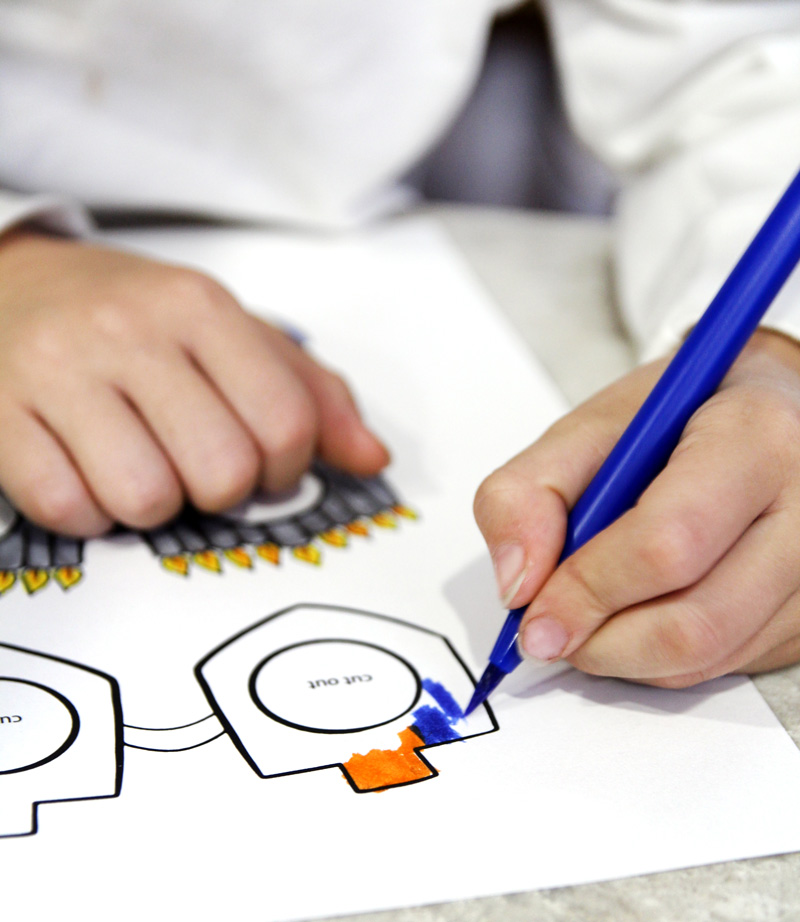
The idea is that toddlers and preschoolers just love glasses. When designing crafts for this age group, I always aim to include a coloring element because then they can contribute in a meaningful way. Here, they color glasses and a grown-up (or older sibling) will likely need to help them with cutting out and assembling.
They can then have fun wearing it and playing with their paper glasses craft.
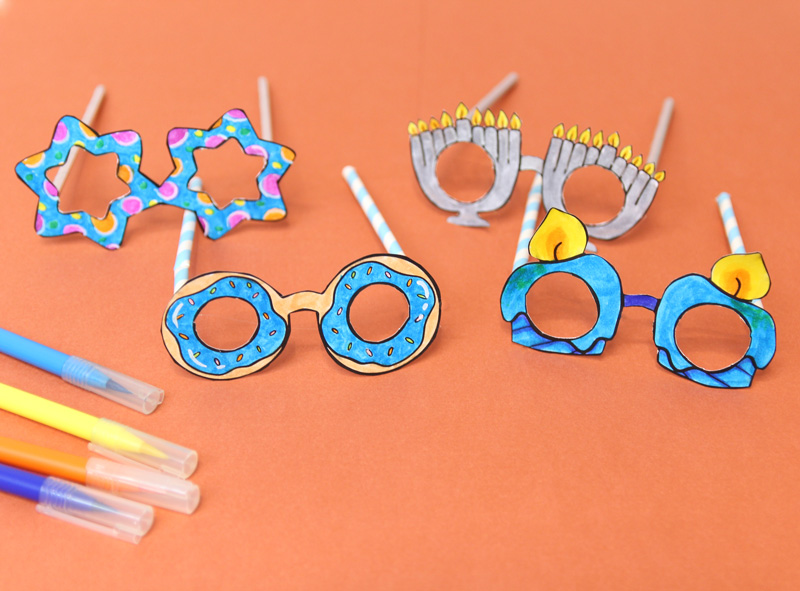
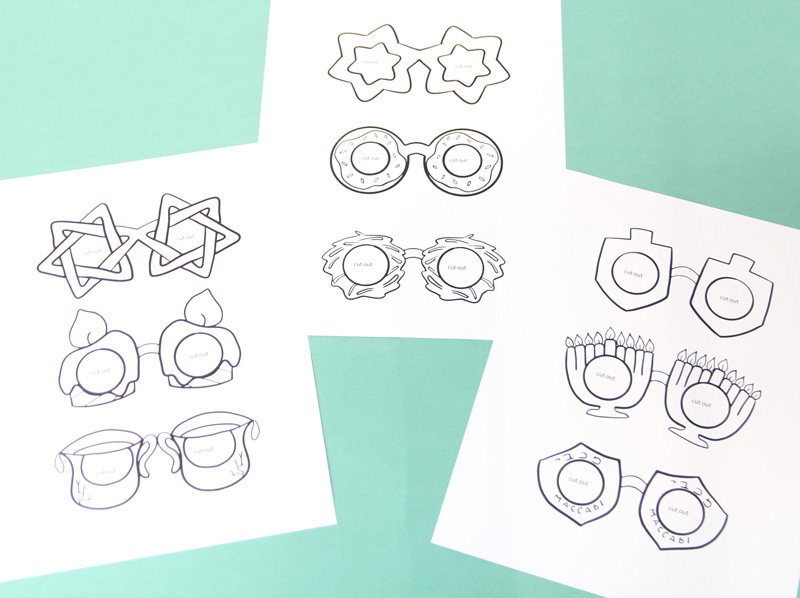
Hanukkah Coloring Illustrations included
While this can also serve as a single craft, I figured I’d take it to the next level and make eight designs. That way, you can color one each night as you light the Menorah (besides for Friday night- it can be colored earlier then.)
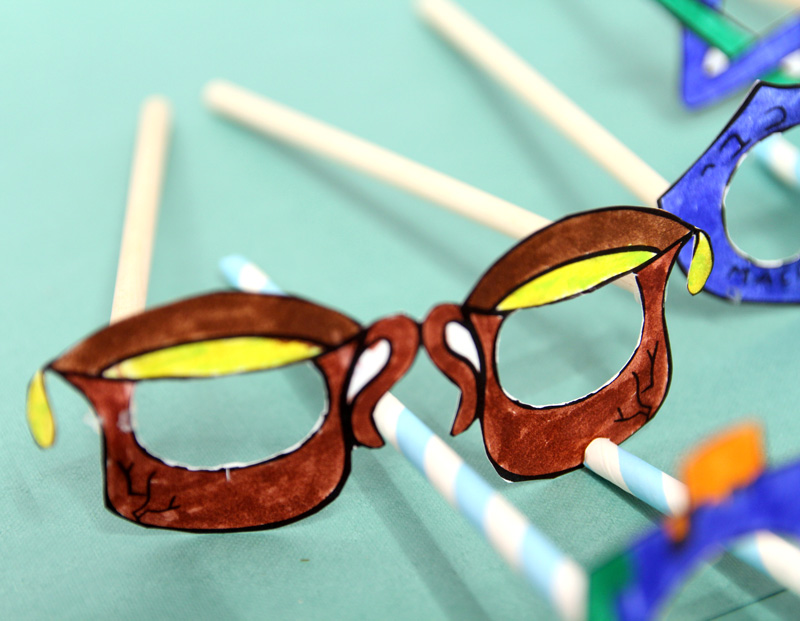
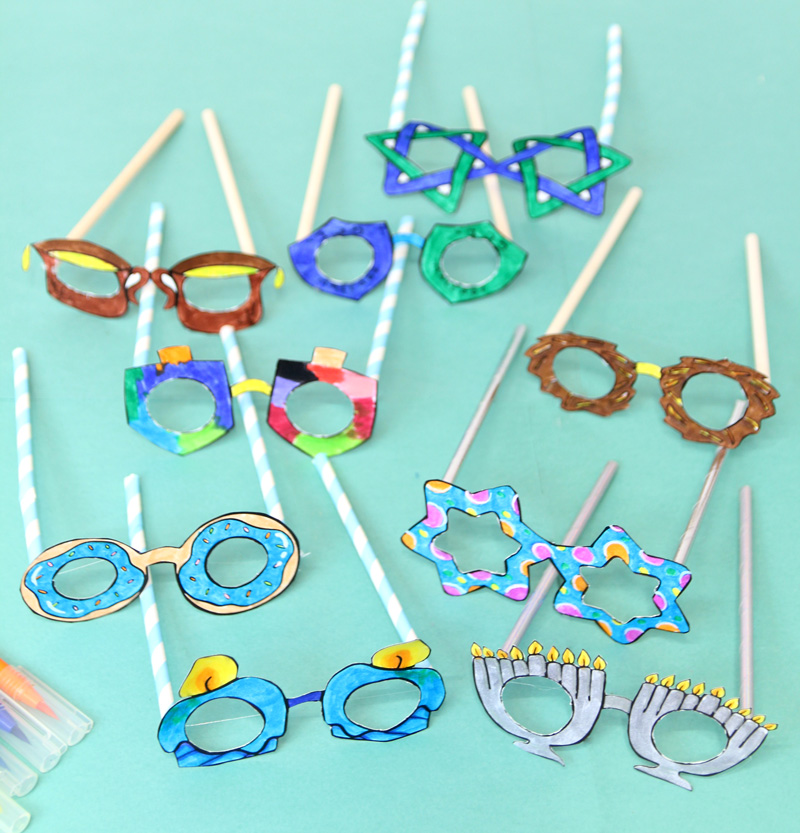
Designs included are
- Dreidel (sevivon)
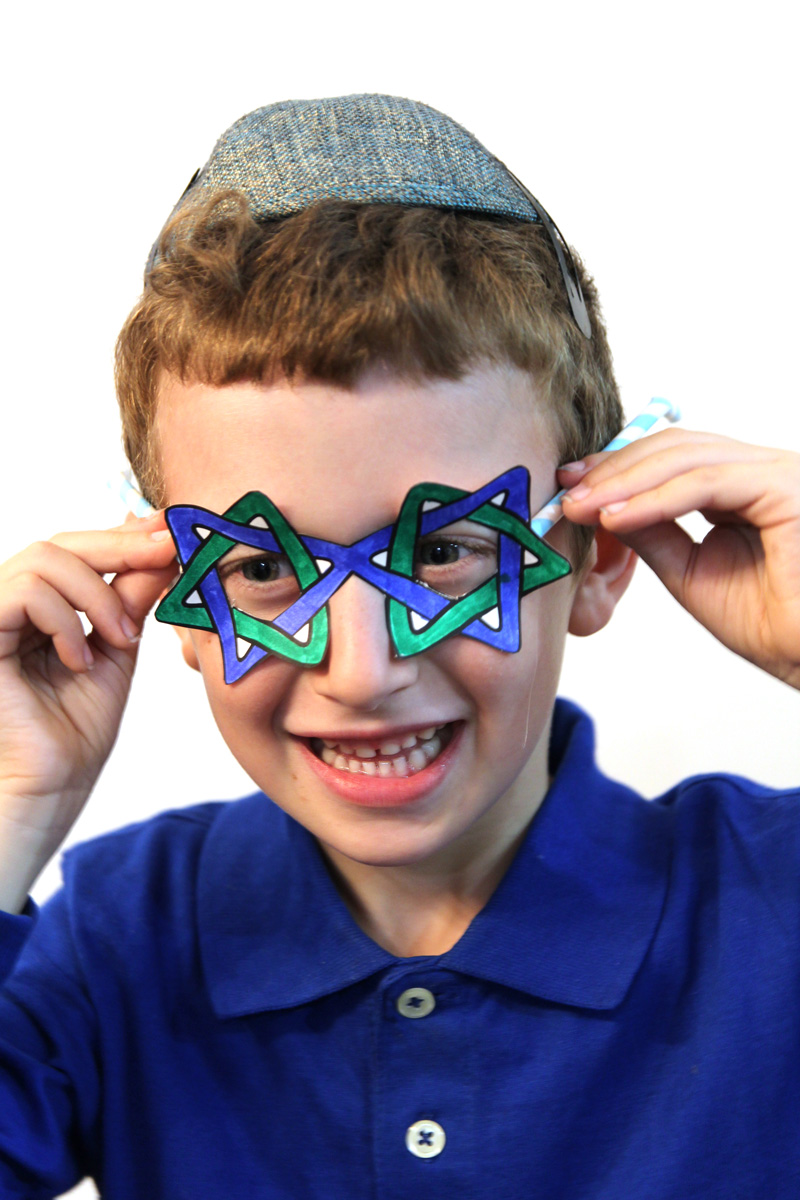
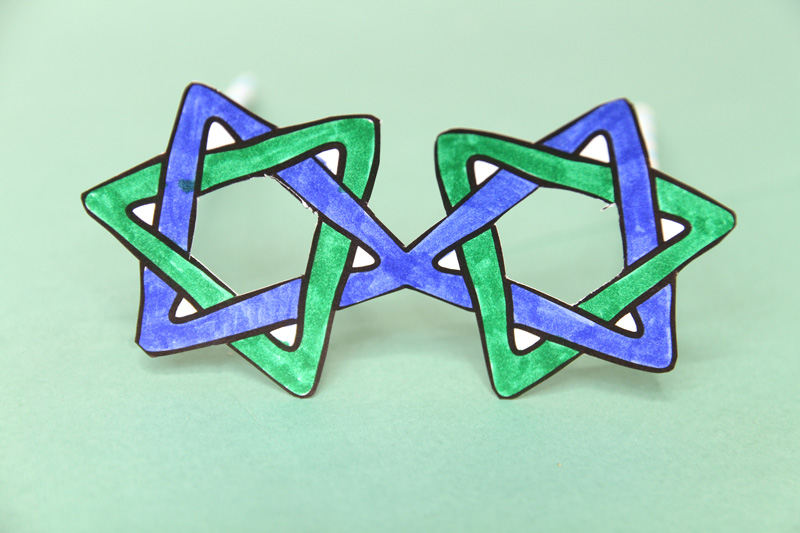
- Star of David – two styles. One I offer free.
- Menorah (Chanukiah)
- Latkes (Levivot)
- Donuts (Sufganiot)
- Jug of olive oil
- Shield that says Maccabi in Hebrew and English
- Chanukah candle
In all, you have nine illustrations to choose from, with the bonus being the star of David that I also offer for free below.
How to assemble your paper glasses for Hanukkah
There are a few ways to assemble this and finish it off, but first, I need to share some important information.
This was designed as a “craft & play” toy for preschoolers and toddlers and so they don’t stay on well. A few tips if you’d like kids to be able to wear them and keep them on:
- Sizing is important. If you choose “fit to page” when you print, it’ll be a tad too small. Choose “actual size” and it’ll be sized for toddlers and preschoolers. If you want it bigger, you can either scale up the printing, or add a little additional square on each side of the glasses to attach the arms to. The eye placement should still be good as it’s pretty forgiving.
- Use as a mask or photo prop. While I did intend these as a glasses craft because the little ones just love glasses, if you’re finding that it doesn’t hold up well this way, you can finish it off in other ways. Glue a stick to one side to use it as a photo prop. Or attach an elastic as you would with a mask. You can even glue the paper glasses arms to the sides of the elastic so that it’s still “glasses” but stay-on ones!
- Stabilize it. Standard printer cardstock is strong enough for some purposes, but in this case it does fall in the lower end of things. You can double up your cardstock if you’d like.
Ultimately, paper glasses are really just a “just for fun” craft, that’s fun for the youngest members in your family, and adorable for older kids too.
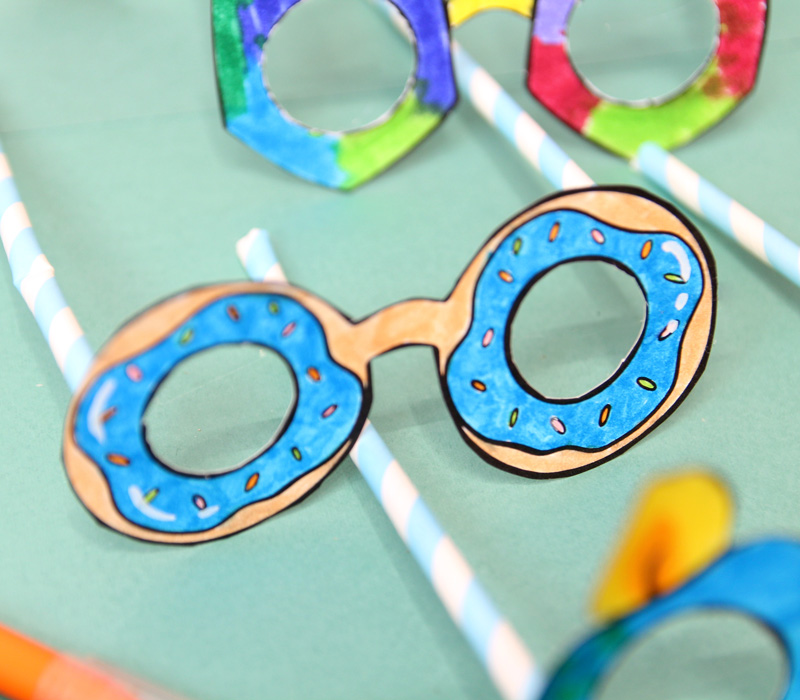
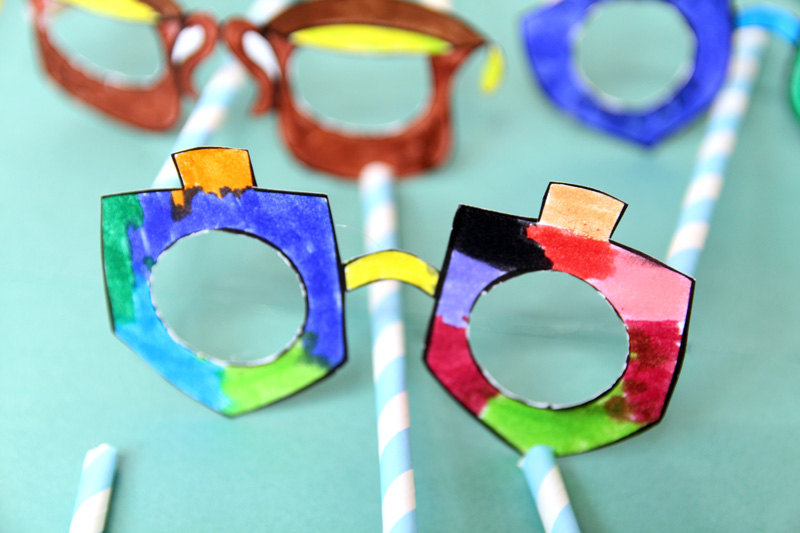
Here are a few ways to finish off this paper glasses craft for Chanukah, and add arms (instructions are included when you purchase the full set):
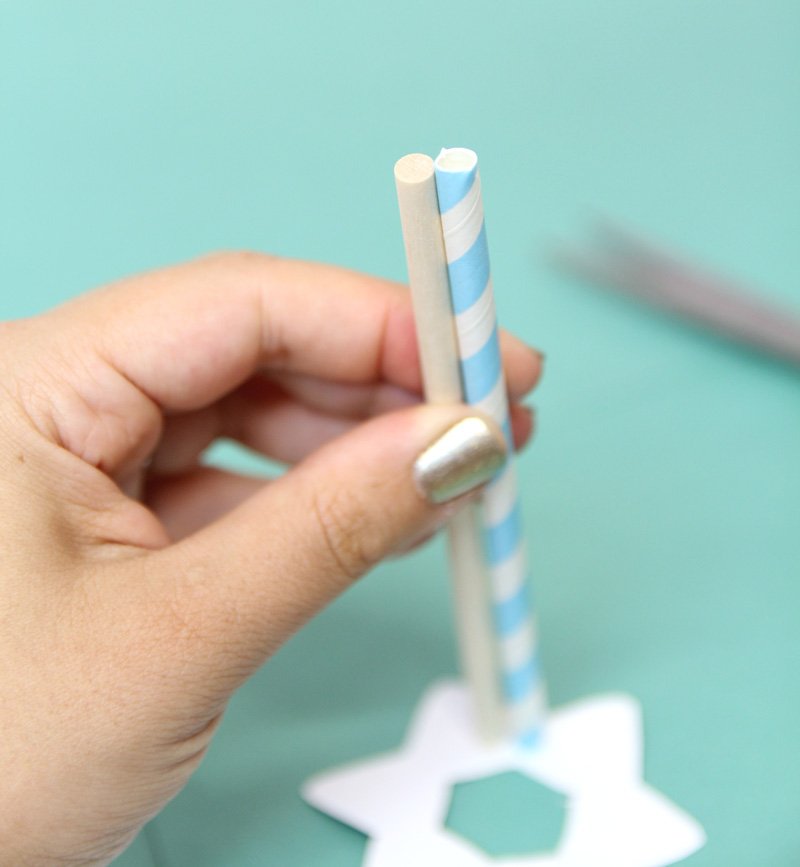
- 6 inch dowels – for a sturdier arm
- Paper Straws – trim these to size. This is my favorite method.
- Paper arms – I included some paper arms to print out. It’s not my favorite method but I felt I should include it.
- Craft sticks – you can “score” a bit before the edge to fold back a tab so that you can glue it. Again, the process isn’t as smooth as some others so you may not want to do it this way.
- Elastic – This is one of the most wearable methods: just treat it like a mask!
- A wood holding dowel – this is another straightforward finishing option. Just glue a dowel angled away from the design on the back and hold it as a prop.
However you choose to craft these, just have fun!
Download your paper glasses for Chanukah
Download the free printable sample
You get the detailed star of David design.
Download your free template! It’ll arrive right in your inbox. By downloading, you’re subscribing to our FREE newsletter with updates on cool printables like this, ideas to simplify Jewish life, and more. Unsubscribe at any time at the bottom my emails. I respect your privacy and the law, and won’t share or sell your email address.
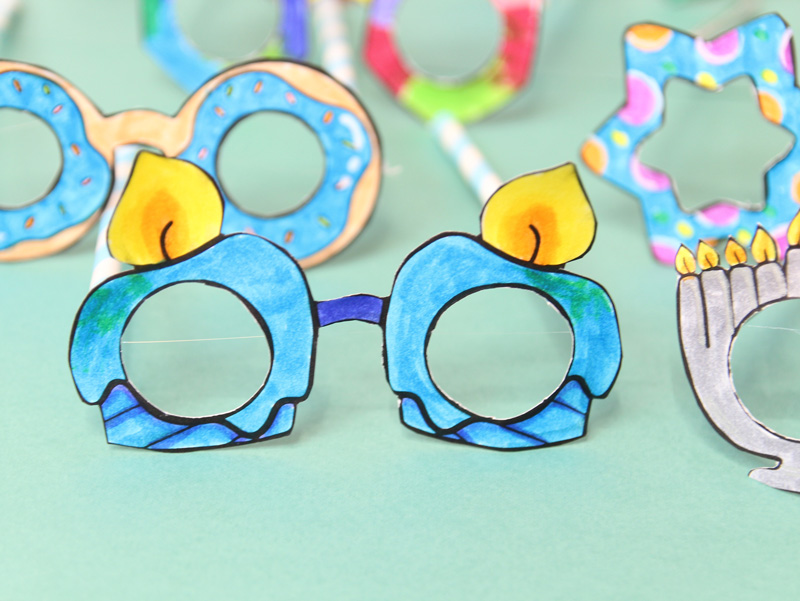
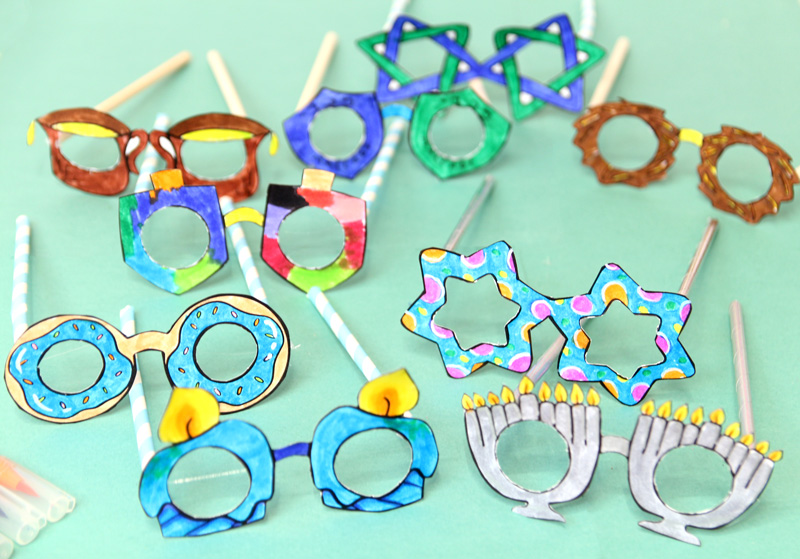
Download the full bundle with 8+1 bonus designs
You’ll get all the designs listed above including the free star of David. You’ll get a page with eight pairs of arms if you’d like to use it (print multiple times if you need more – that was all I could fit to a page). You’ll also get an instruction page.
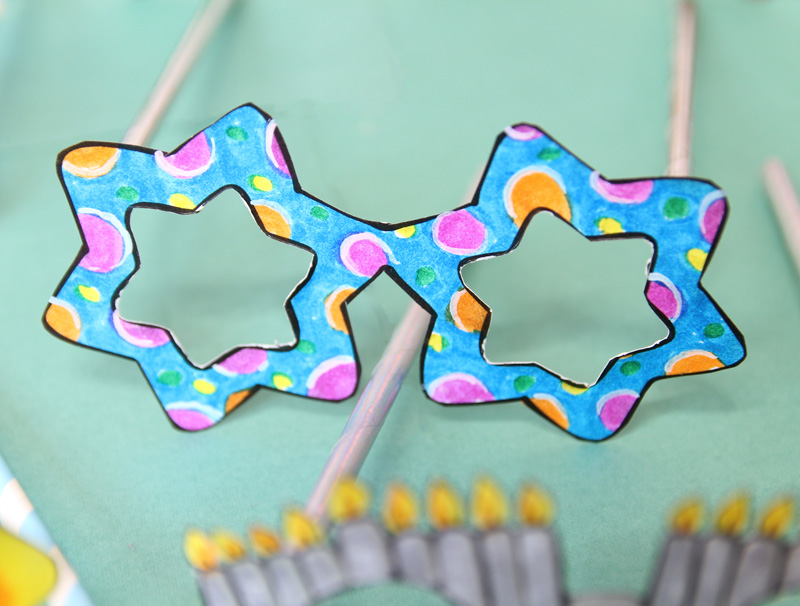
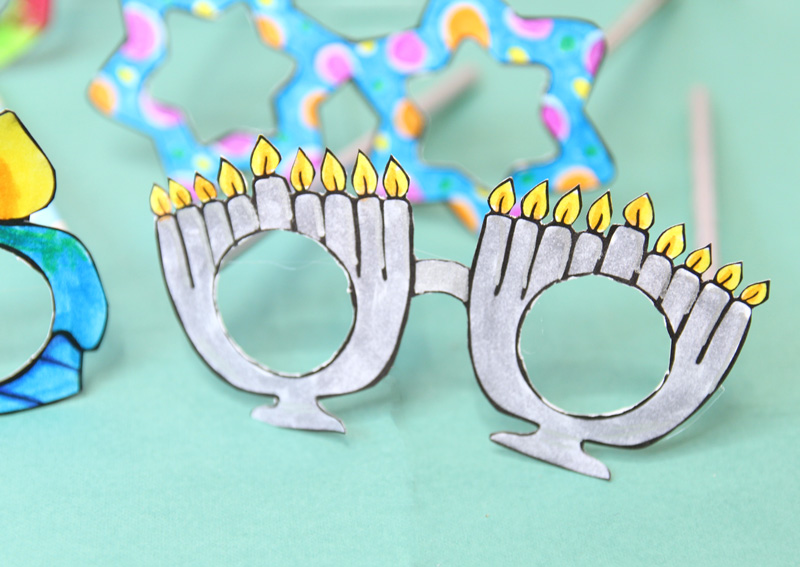
What you need to assemble your Chanukah craft
- The template printed on cardstock
- Markers, crayons, etc
- Scissors
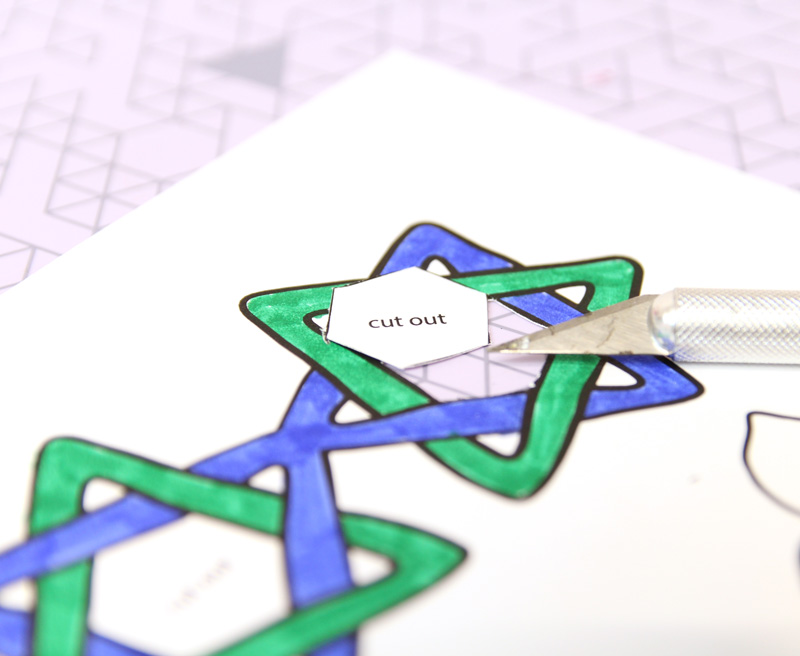
- Optional: craft knife and self-healing mat to help you cut out the hole (adults only)
- Optional: something other than the paper arms to use as arms (for example, dowels, straws, elastic)
- Glue:
- For paper arms, school glue or any glue can work
- For other arms, you’ll need to hold until it sets. If you can prop it, any glue would work. I recommend tacky glue for a better hold until it dries.
- Otherwise, I recommend a hot glue gun (adults only) since you’ll only need to hold it for about thirty seconds until it sets. I highly recommend Cricut’s new glue gun – it’s really easy to use.
How to assemble the paper glasses craft
1. Print out your chosen pages on cardstock. Make sure to print “actual size” so that it’s not too small.
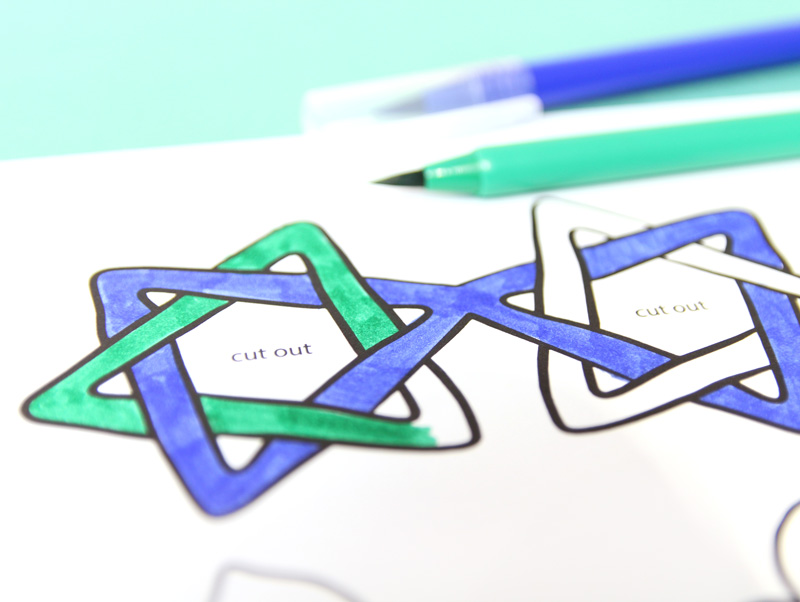
2. Color it in.
3. Cut out the marked centers. You can do this with scissors but a craft knife may help.
4. Cut out the glasses. Note: if you’d like you can also cut out the inside areas of the star but you don’t need to.
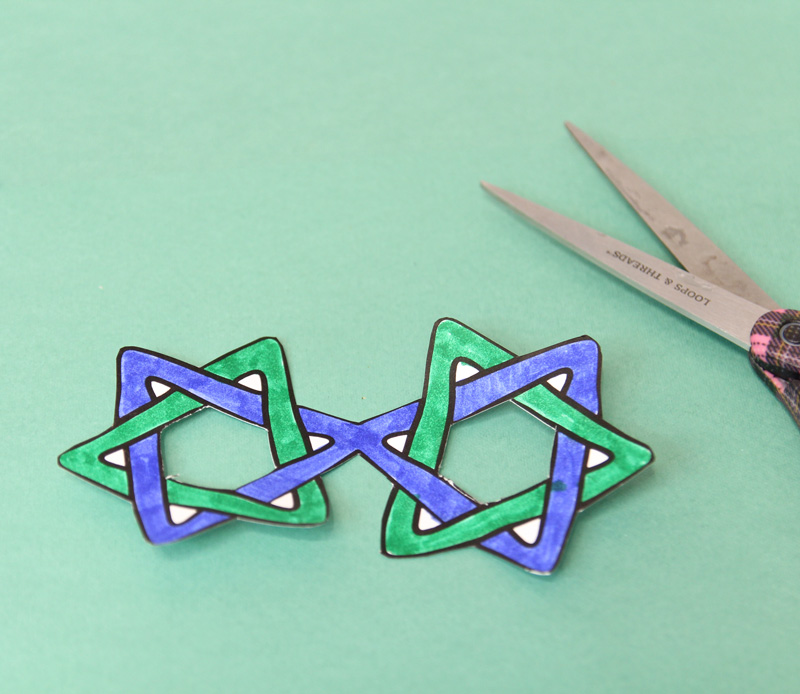
5. Glue an arm to each size. If using a straw, hold it in place until it sets.
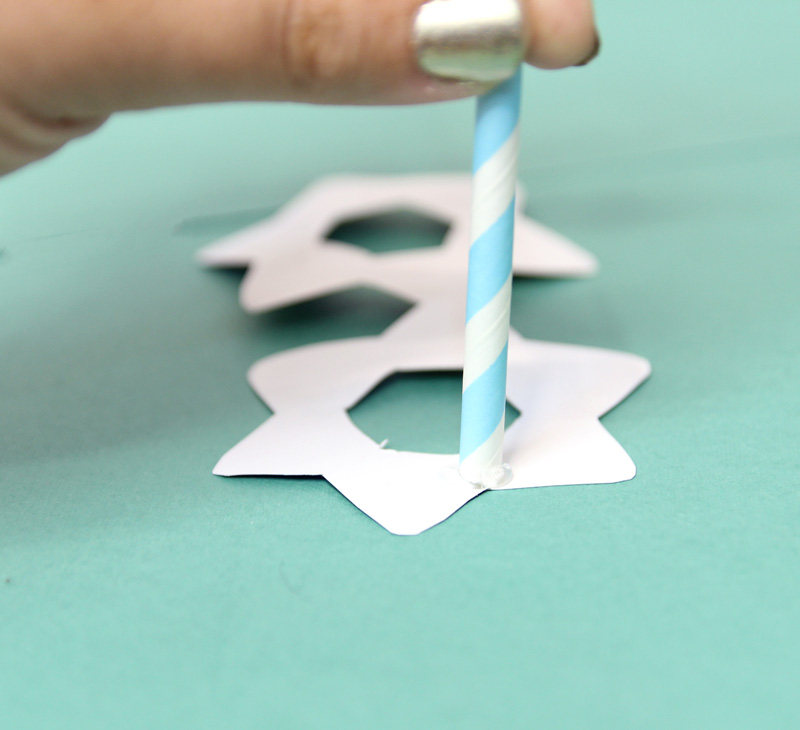
6. I measured against a six inch dowel and trimmed it down to size.
Your paper glasses chanukah craft is complete! Which designs do you look forward to making? Comment below!

Adorable and brilliant!