Free Printable Tu B’Shvat Hat Craft
Grab this free printable Tu B’shvat hat craft to celebrate the birthday of the trees! Then, check out This Tu B’shvat coloring page too. This post contains affiliate links.

Tu B’shvat is such a fun chag to celebrate. It’s also easy to gloss over it and miss it, as it comes between Chanukah and Purim, two of the kids’ favorite holidays.
However, it really is a cool one, and while not as serious (no one tried to kill us), it’s a wonderful opportunity to show gratitude for the world around us.
M preschooler and toddler both LOVE making hats in school, so I thought I’d design a hat craft for them. Then I realized… why not do a birthday hat, instead of the traditional crown-style hat? It is, after all, the trees’ birthday!
I designed this as a free printable coloring craft that you can download at the end of this post. I illustrated it digitally in a fun, kid-friendly way.
Tips for crafting the Tu B’shvat Hat
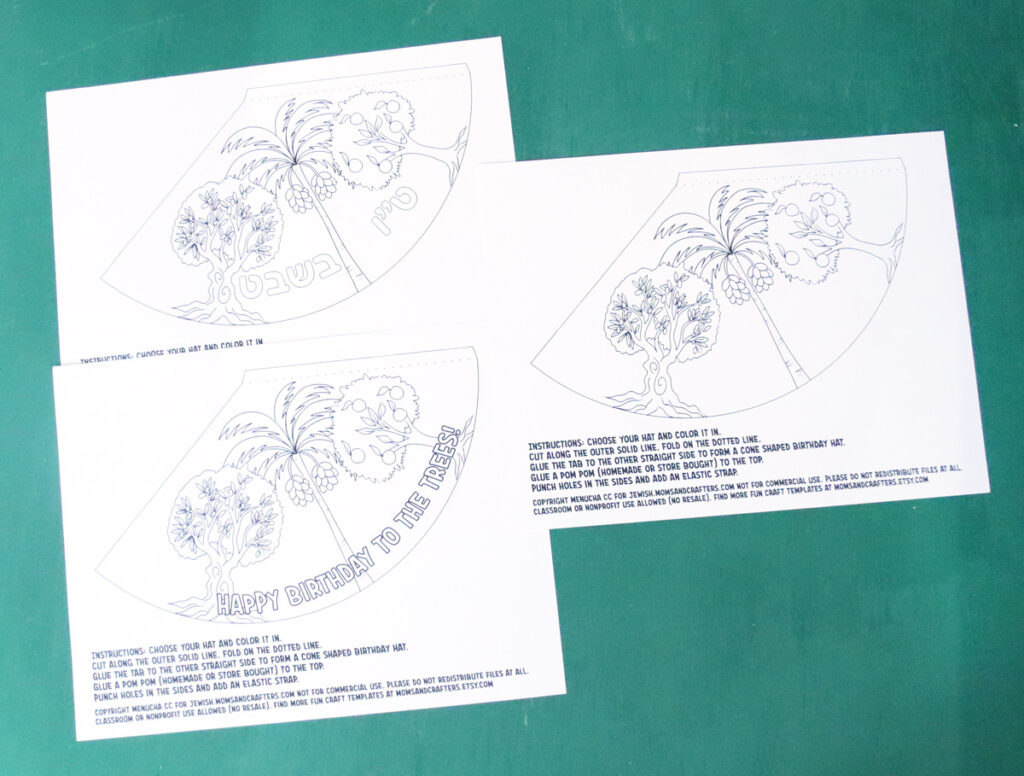
Choosing your hat
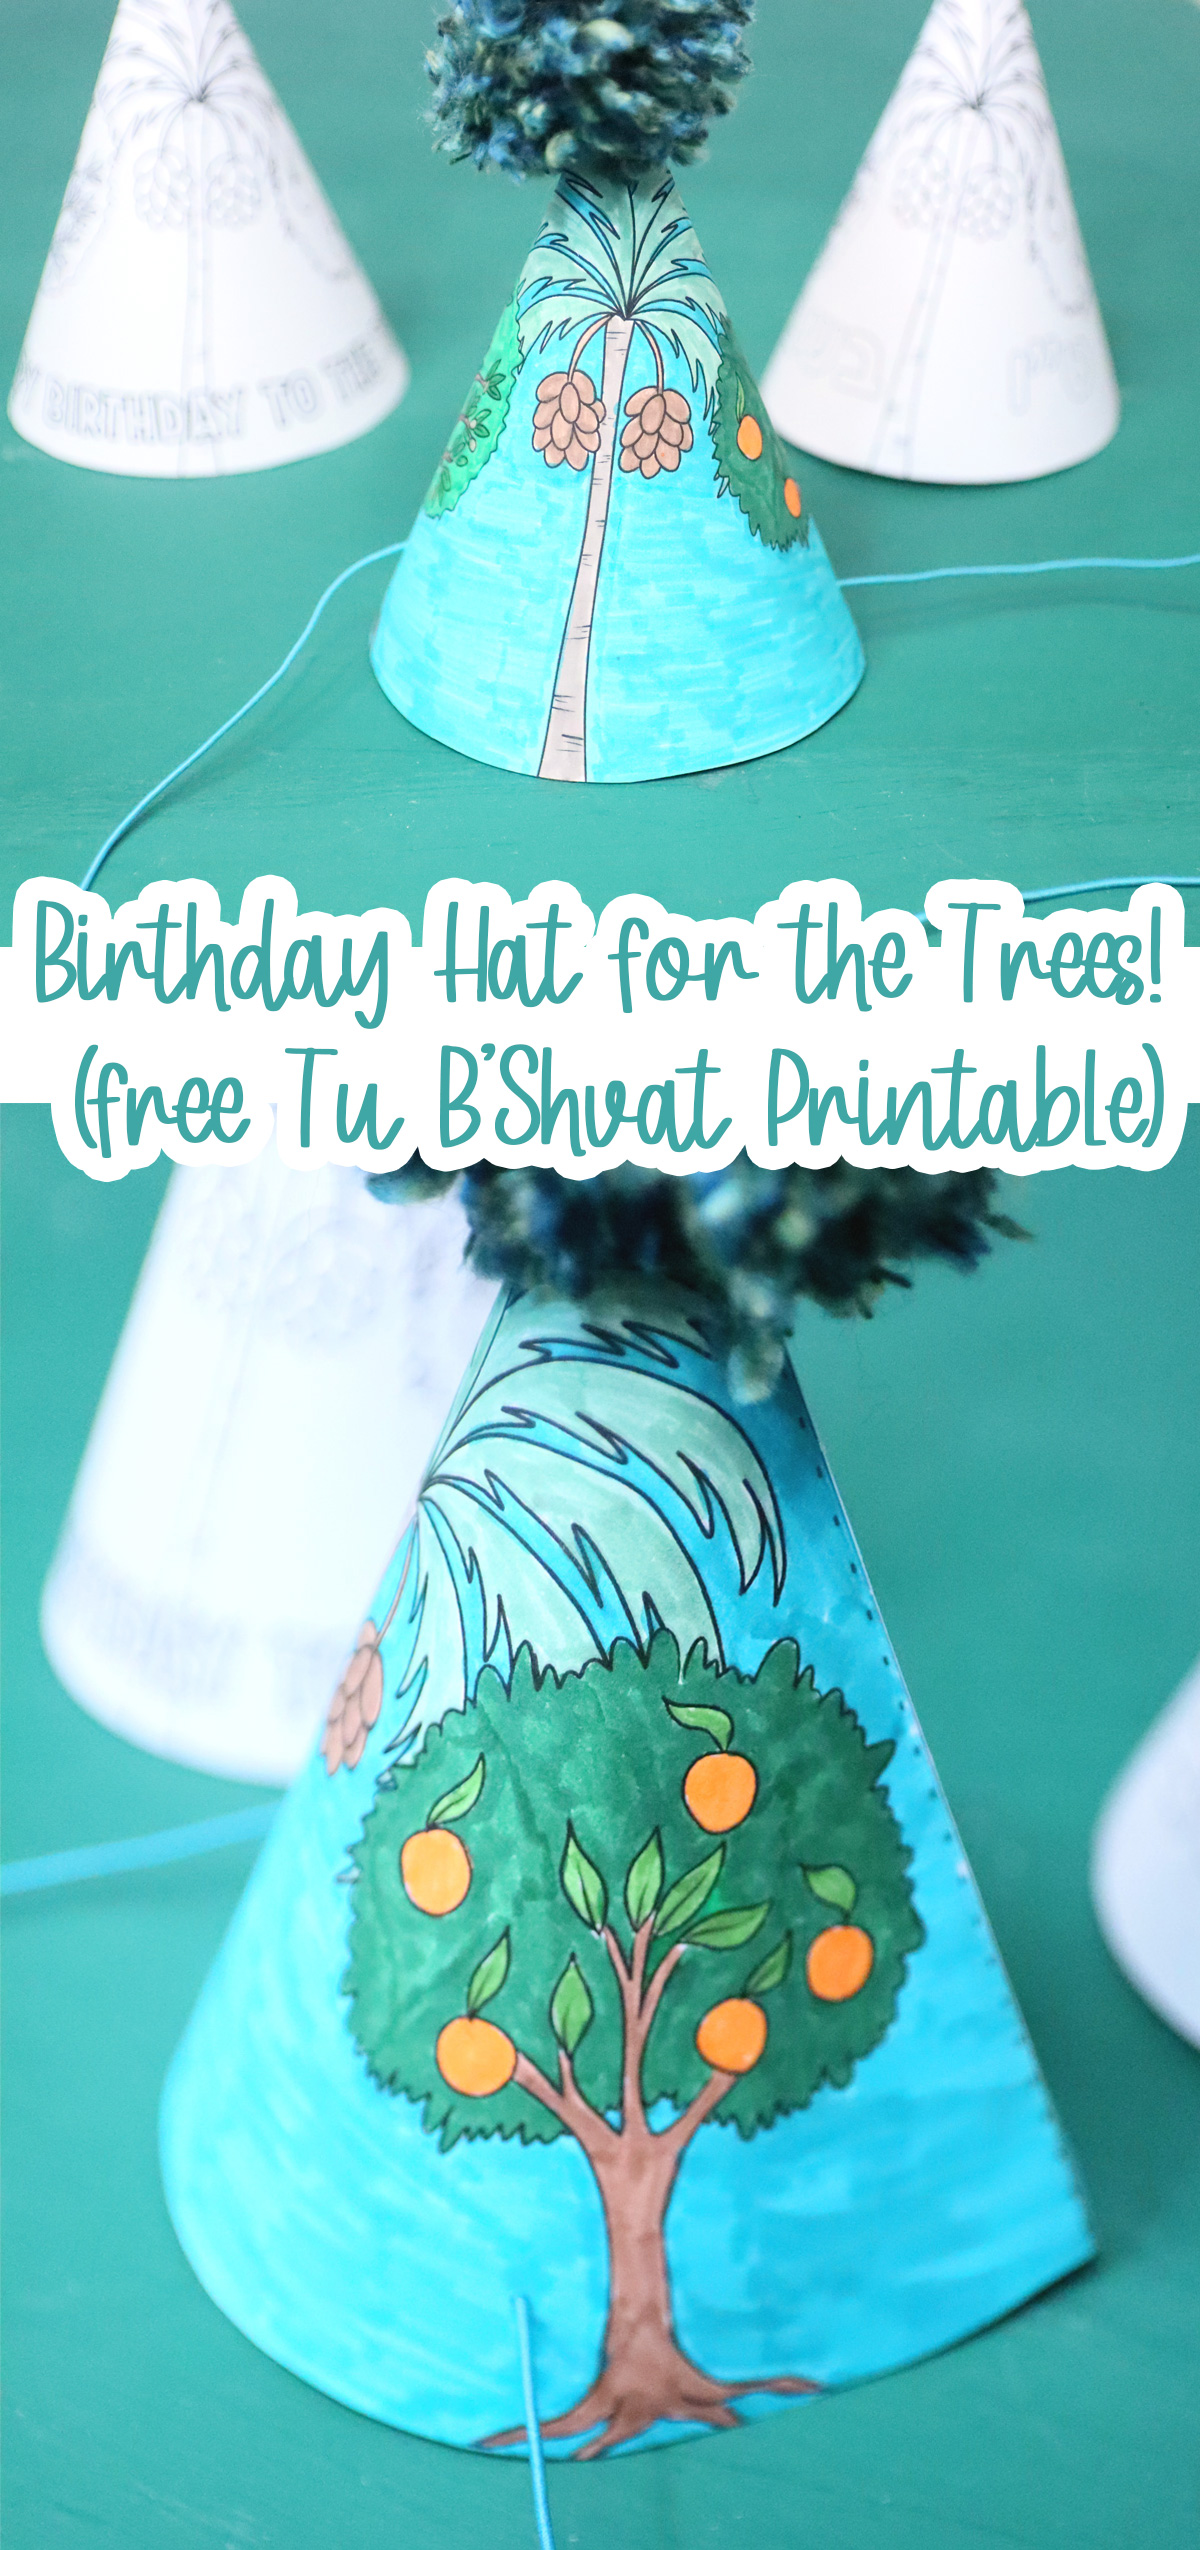
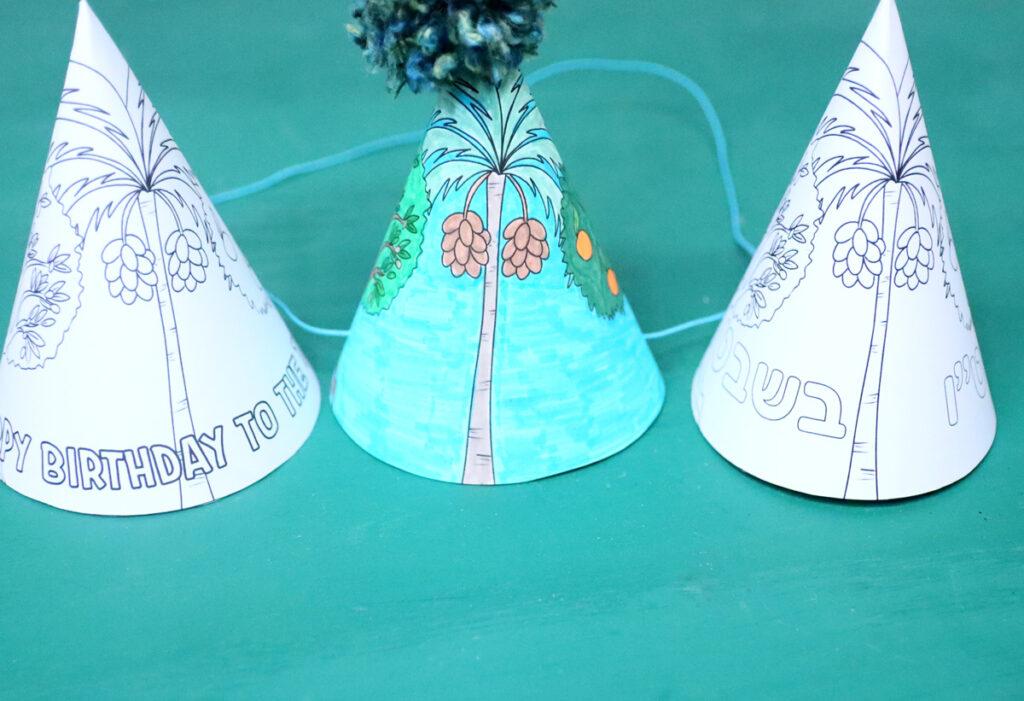
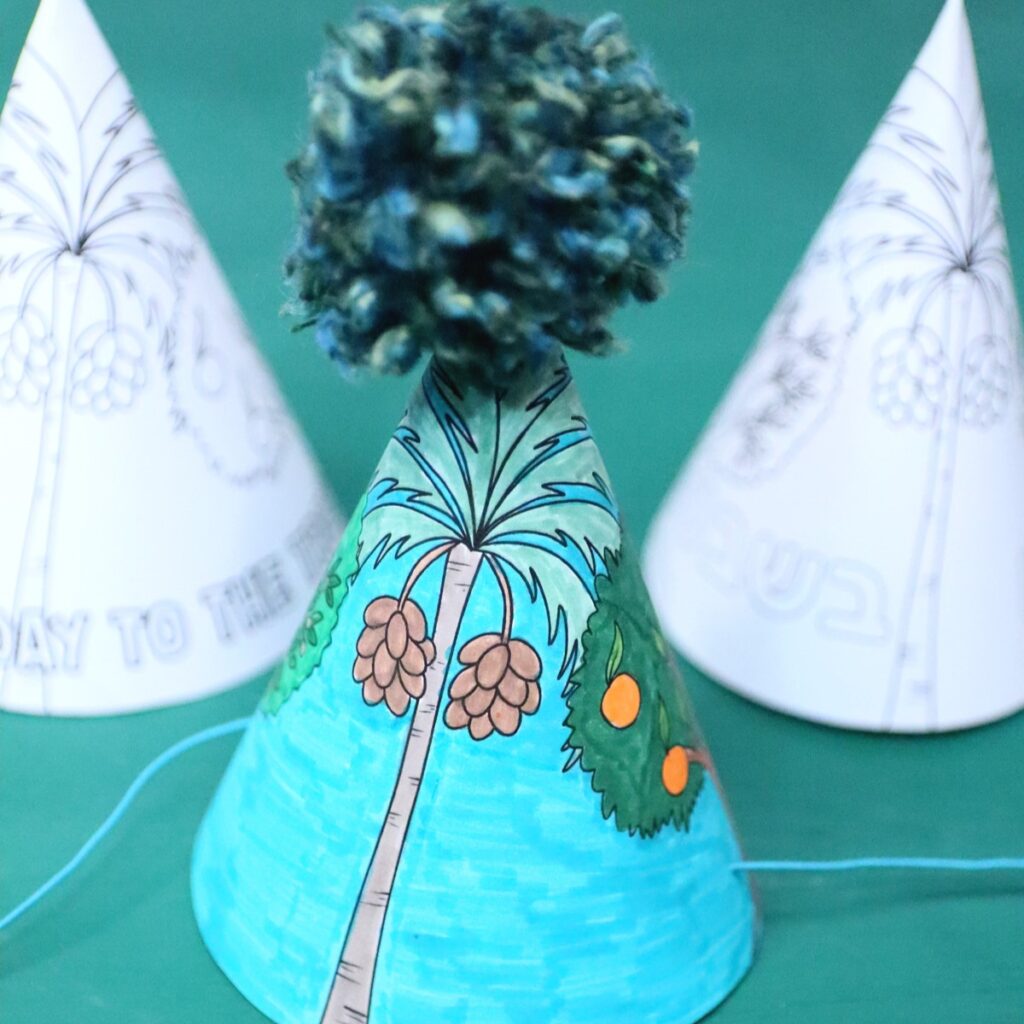
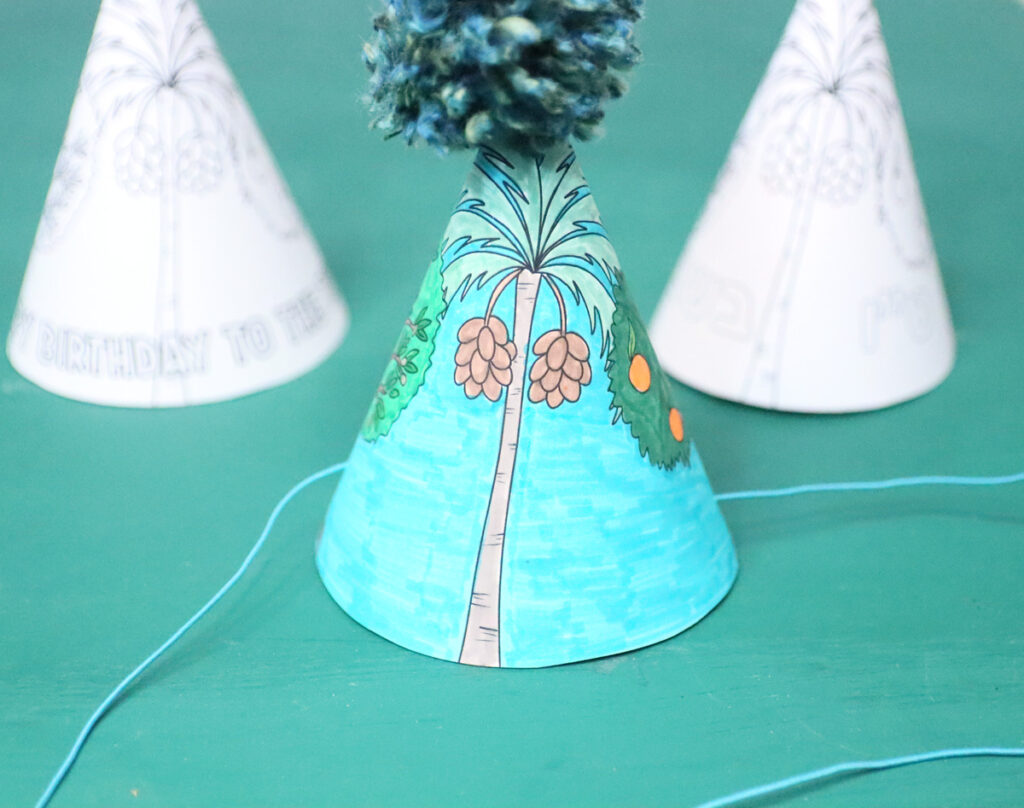
To keep this open to all, I made three hats for you to choose from. One is blank with no text – just the drawings of the trees. One says on it “Tu B’shvat” in Hebrew. And one (my favorite” says “Happy birthday to the trees!” along the bottom.
Finishing it off
To add a really playful touch, I topped my hat with a pom pom. The one I used was a DIY one (learn how to make pom poms from yarn here) but you can also purchase large pom poms to top your hat with – recommended if doing this with young kids.
I also attached some colorful elastic to the bottom. You can swap that with ribbons, flat elastic, or even glue it onto a headband.
Different ages variations
I totally had this Tu B’shvat hat in mind for the preschool stage, however, after I illustrated the trees, I realized that they might be slightly more complex than I had intended.
However, I find that young kids don’t necessarily stress about filling in all the lines anyway. Younger kids generally enjoy the overall image and then color in larger areas.
If you want to make it more little kid friendly, you can:
- Give them a more specific way to color the small areas – like dotting paint with a cotton swab.
- Give them a more specific way to overcolor the whole thing – like Do a Dot markers or watercolors (where they won’t try to color in the lines and get frustrated)
- Or just encourage imperfection, focus on the process, and provide a sample of one with larger areas colored in as they would do it.
More creative preschoolers can color in the lines with sharpened colored pencils.
A closer look at the free printable Tu B’Shvat Hat craft
The trees included
One of the reasons that my tree details are somewhat fine is because I wanted to be accurate with my trees! I focused on fruit that grown in Israel as that’s where the holiday is centered.
On the hat you have:
An orange tree – while not one of the seven special species of Israel (Shiv’at Haminim), Israel is famous for its Jaffa oranges.

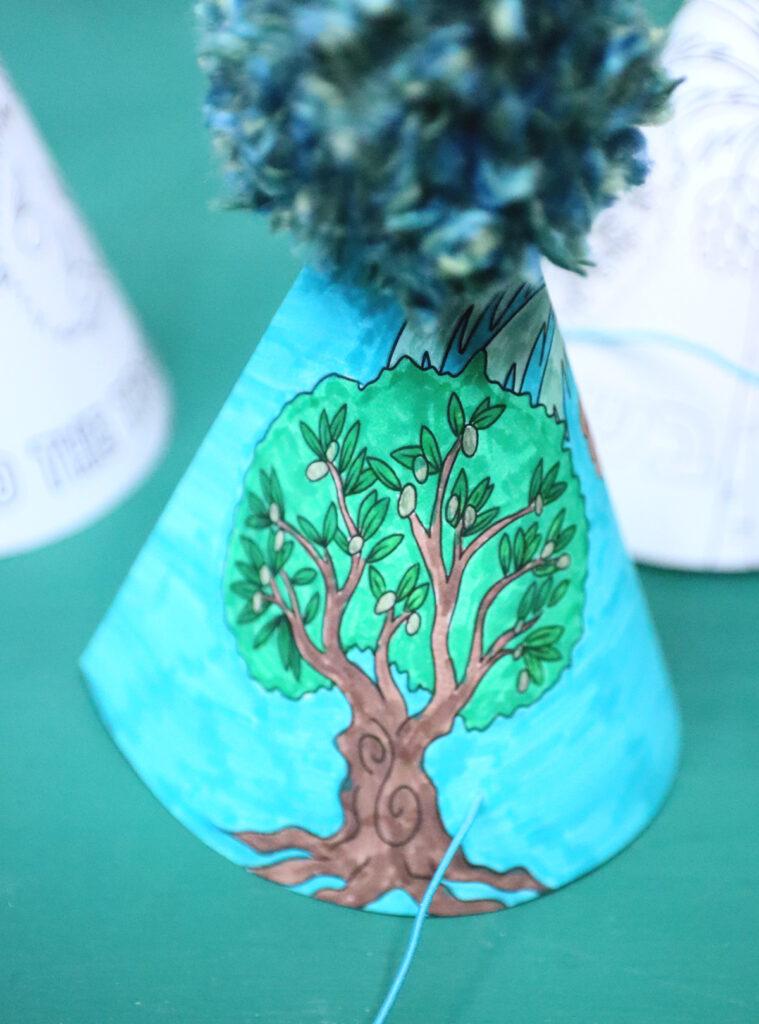
Olives are one of the Shiv’at haminim, and engrained in Jewish practice thanks to its use to light the Hanukkah Menorah (and, of course, the one in the Holy Temple, historically). Its gnarly trunk gives it a distinctive look that dots the Israeli landscape.
The date palm is another tree that produces one of the Shivat Haminim and can be seen throughout Israel. Its presence flanks the historical sites and of course, its fruit is a treat used both in traditional cooking and as a honey.

Bringing it together with Tu B’shvat
Tu B’shvat is a holiday that is best celebrated by… eating fruit! You can try making these dried fruit chocolate lollipops as part of your celebration. Make a whole birthday party with fresh or dried fruit as the centerpiece, and of course, these birthday hats!
Play some Tu B’shvat music and of course, celebrate the trees!

How to assemble your Tu B’shvat hat craft
Supplies needed
- The template, printed on cardstock
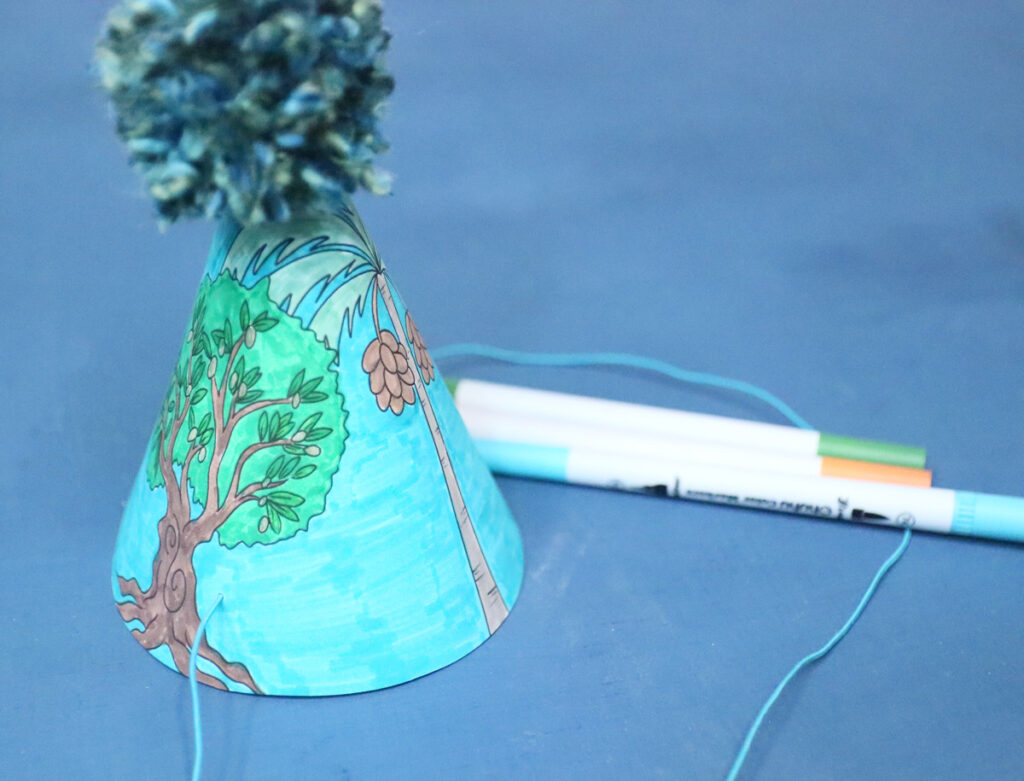
- Markers. I used these more big-kid style markers. Crayola SuperTips, colored pencils, or any coloring supplies work!
- Scissors
- Hot glue (adults only) and/or double sided tape. I recommend hot glue for the pom pom and glue lines/double sided tape for the hat assembly.
- Optional: a bone folder if you have one to make your crease sharper
- Large pom poms (or make your own)
- A hole punch (if you have a 1/16th inch one it’ll look prettier, otherwise use a standard 1/4 inch one).
- Elastic – I used braided elastic cord in fun colors
Step by step tutorial
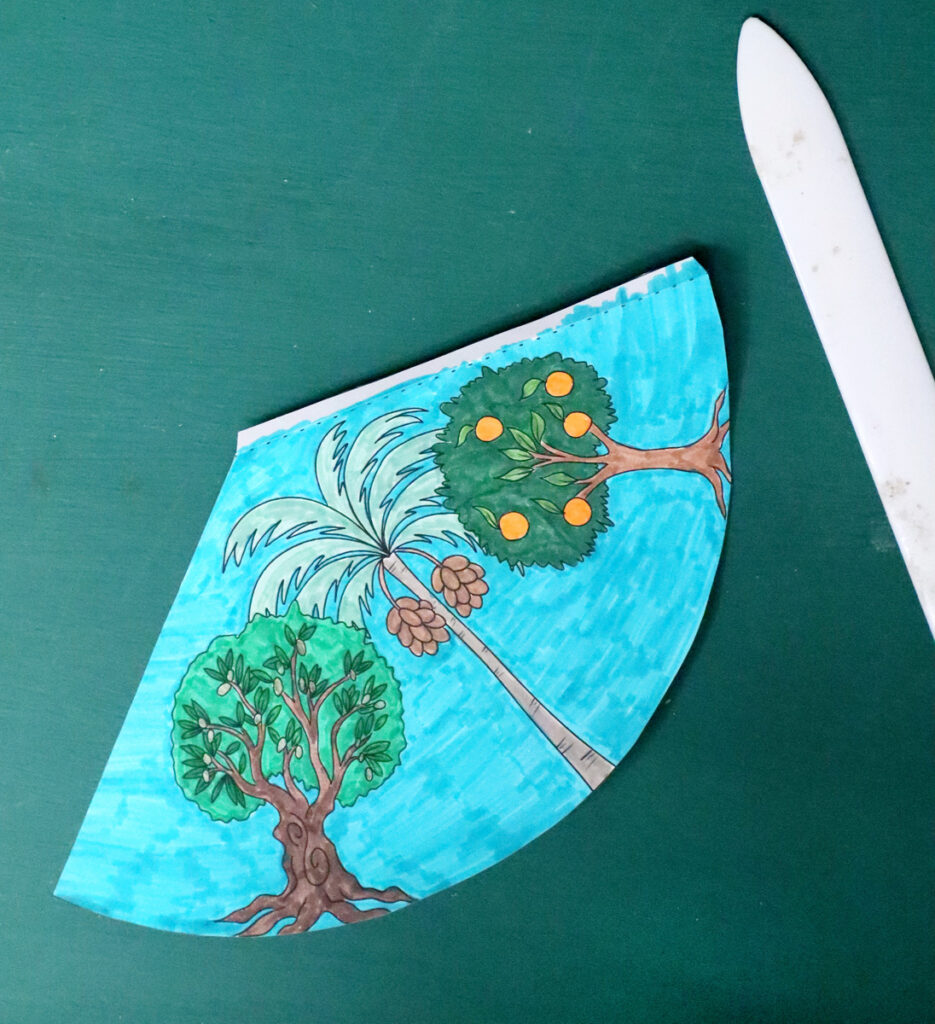
1. Color in your hat.

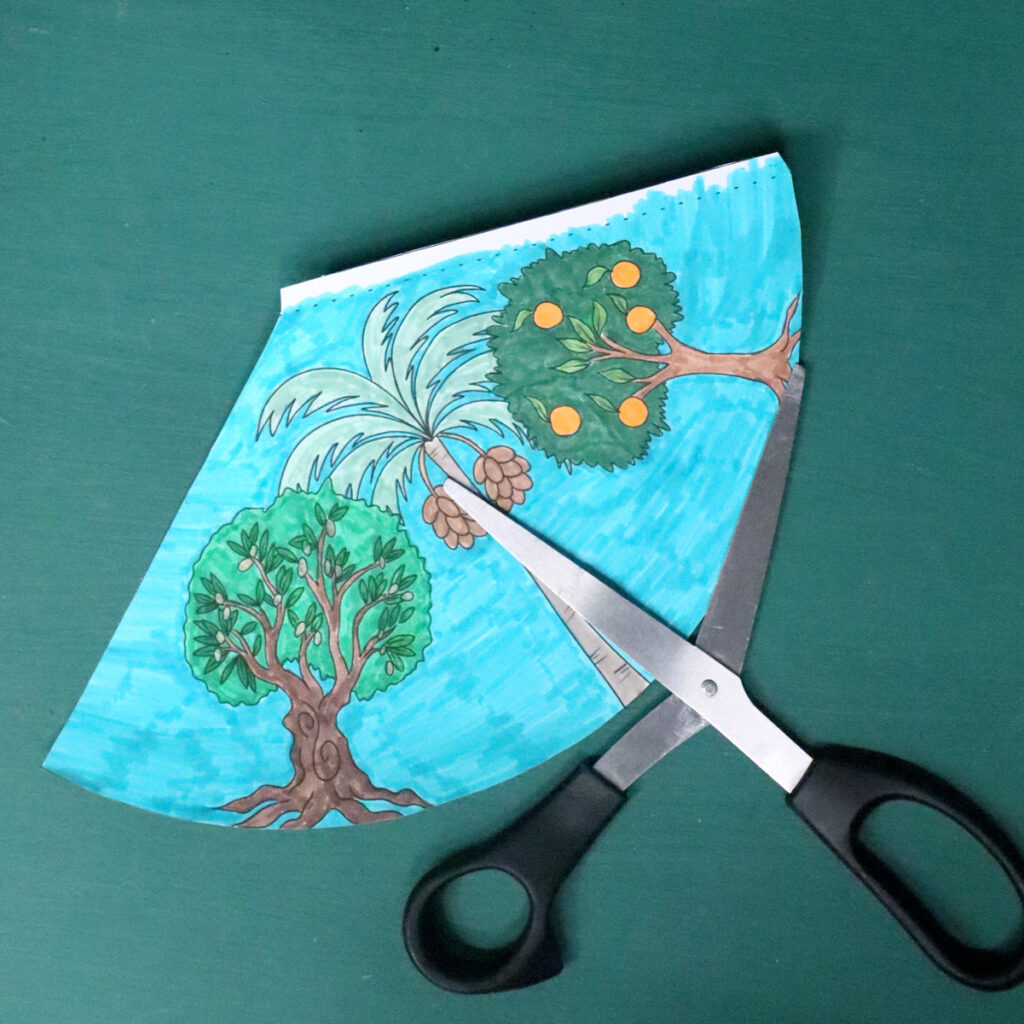
2. Cut it out around the solid line edge.
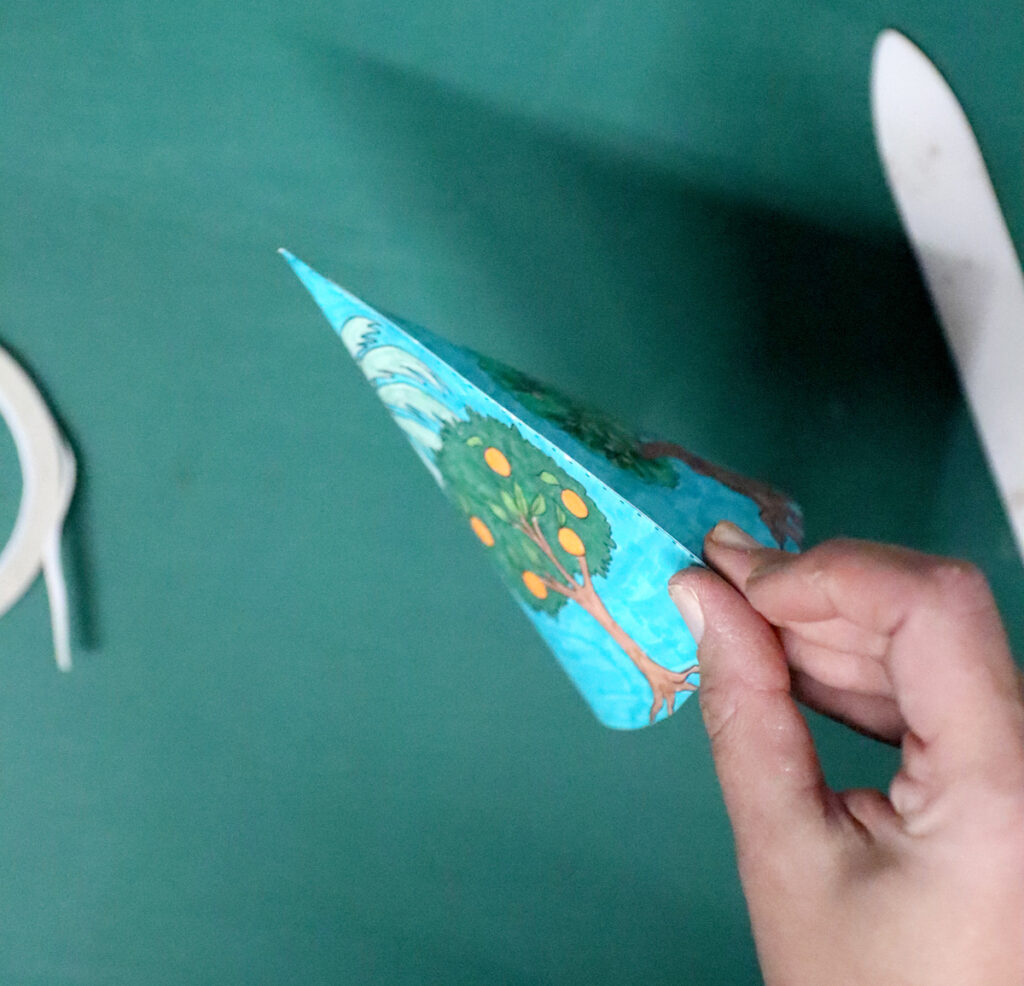
3. Fold it along the perforation.
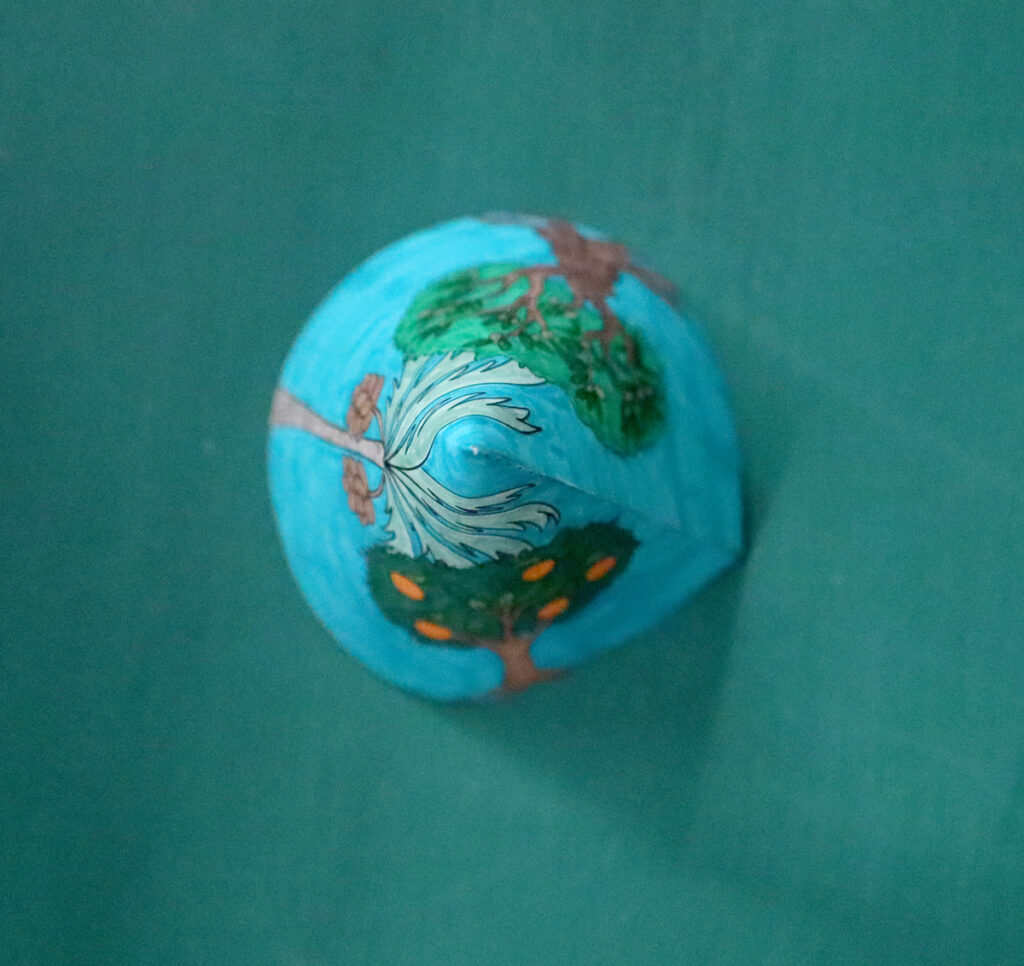
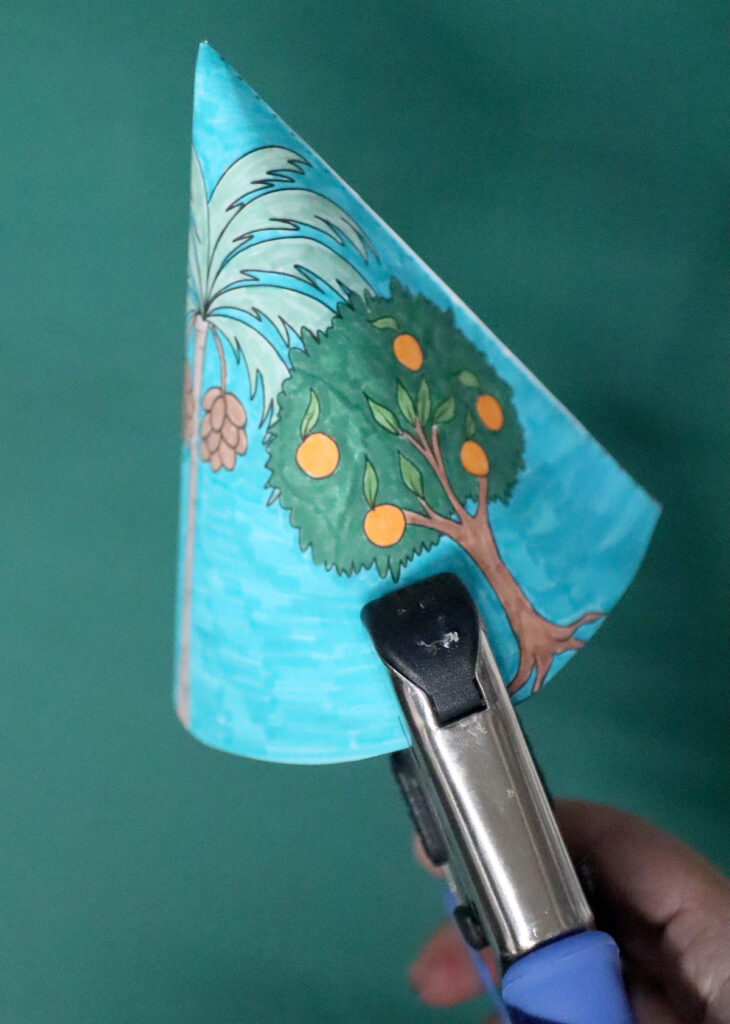
4. Apply double sided tape or hot glue along the extra tab next to the dotted line. Form your hat into a cone. It can be a bit hard to glue around the tip. I find that flattening the hole design and putting your hand inside to apply pressure helps. You’ll just need to reshape your hat after.
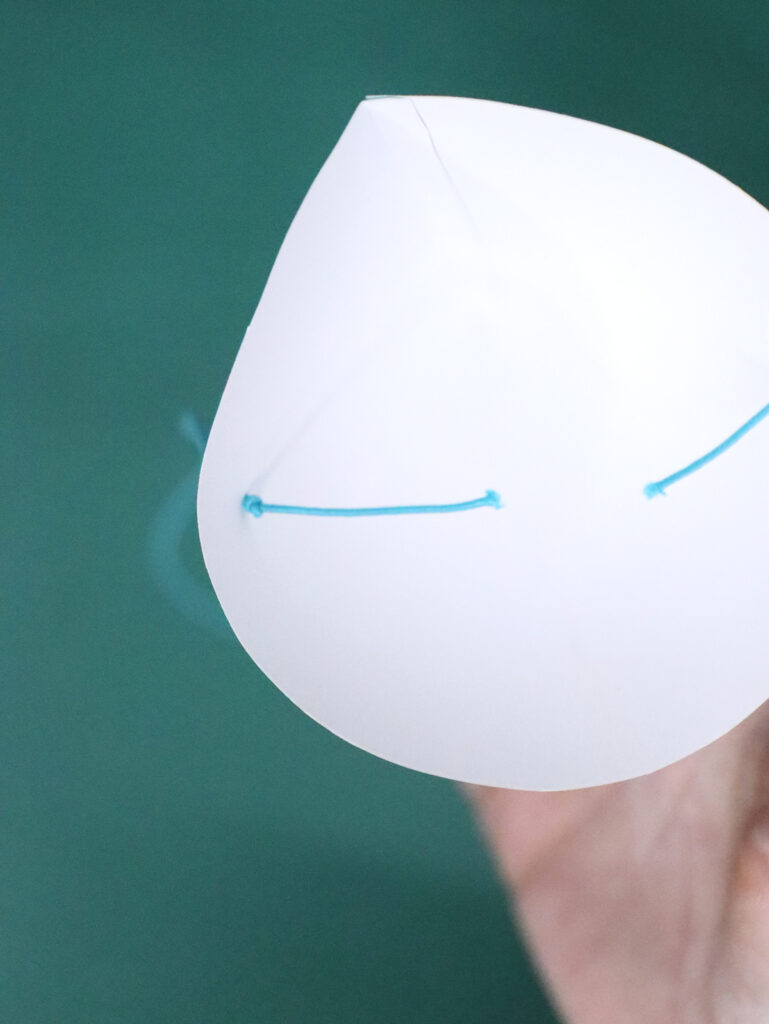
5. Punch two holes – one on each side of the hat. They should be opposite each other, with the seam in the back.
6. Measure the elastic you need to fit around the child’s chin (or the back of the head – it can be more comfortable). Add an extra inch or so to each side. Insert it from outside to inside and tie a knot inside the hat.
7. Glue on a pom pom on top of the hat.

Your Tu B’shvat hat is complete and ready to wear!
Download your free printable Tu B’shvat hat
Download your free template! It’ll arrive right in your inbox. By downloading, you’re subscribing to our FREE newsletter with updates on cool printables like this, ideas to simplify Jewish life, and more. Unsubscribe at any time at the bottom my emails. I respect your privacy and the law, and won’t share or sell your email address.