Wood Challah Board – an easy DIY!
Make your own wood challah board – by customizing an affordable cutting board form your local home store! Then check out our other Jewish crafts for adults to enjoy. This post contains affiliate links.
When we got married, we got a gorgeous challah board as a wedding gift. Then we moved to Israel, and, along with most of our housewares and wedding gifts, it got lost in transit.
It was gut-wrenching to be setting out with almost nothing as a young couple, my husband a student, and me unemployed without any credentials to work with.
Over the years we slowly recovered what we had lost, purchasing the basics – dishes, utensils – and getting some from people who were purging.
But there’s one thing that took us almost ten years to restock: our Challah board.
Because it’s a typical Judaica item, we were facing either buying a cheap mass-produced item, or spending a fortune.
So I wanted something rustic, my husband likes simple. Buying a really nice wood challah board can be expensive and nothing I found was quite where I wanted it to be.
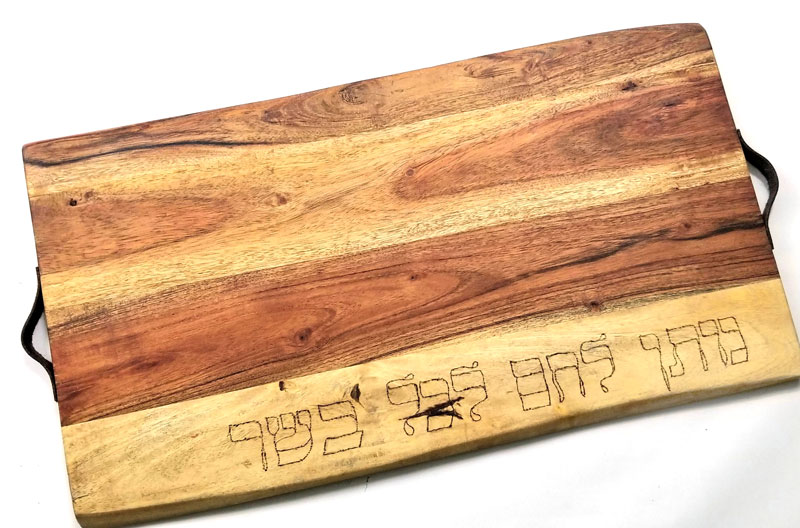
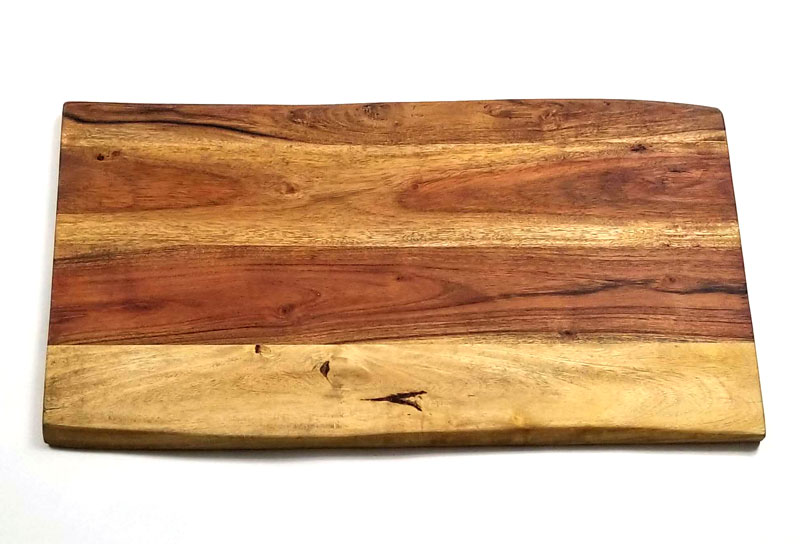
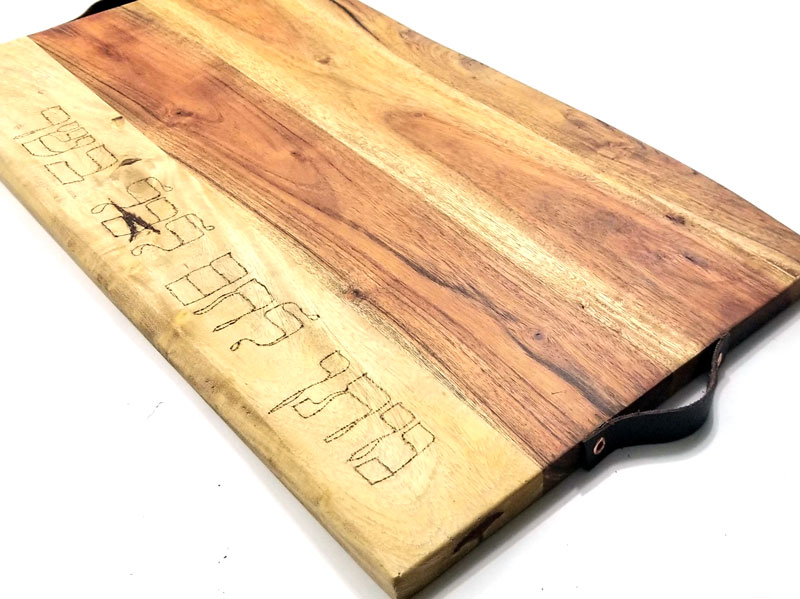
So I combined our styles, found a live edge wood cutting board with a gorgeous grain and tone, and turned it into this beautiful DIY challah board.
Making your DIY challah board:
As mentioned, I started with a wood cutting board.
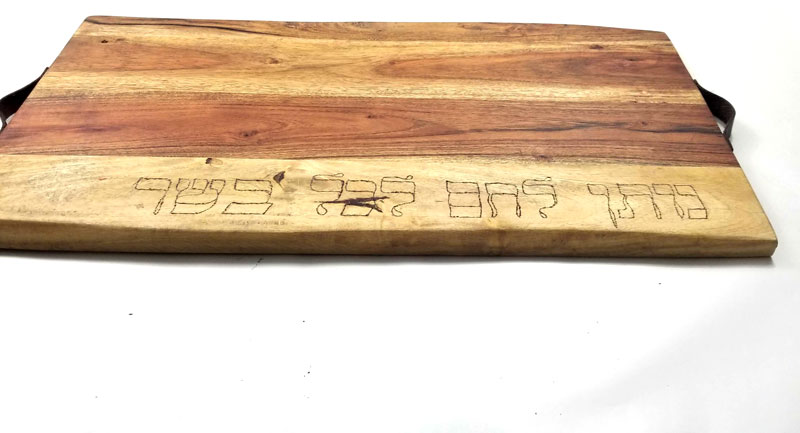
I pulled out my woodburning tool and added the words נוֹתֵן לֶחֶם לְכָל בָּשָׂר which mean “[He] gives bread to all mankind”.
You can choose to add any words, customize it with a family name, or even doodle on a mandala.
One big mistake I made while making this wood challah board:
I chose my board without paying attention to the wood type. It ended up being a hard wood which is harder to burn. I’d imagine it stands up to cutting better, but keep this in mind when you’re choosing your board.
You CAN use a harder wood and a finished board like I did, but it’ll take more elbow grease.
If you want something easier, get a softer unfinished wood board and stain/finish it yourself after you burn it. Great options are basswood or pine.
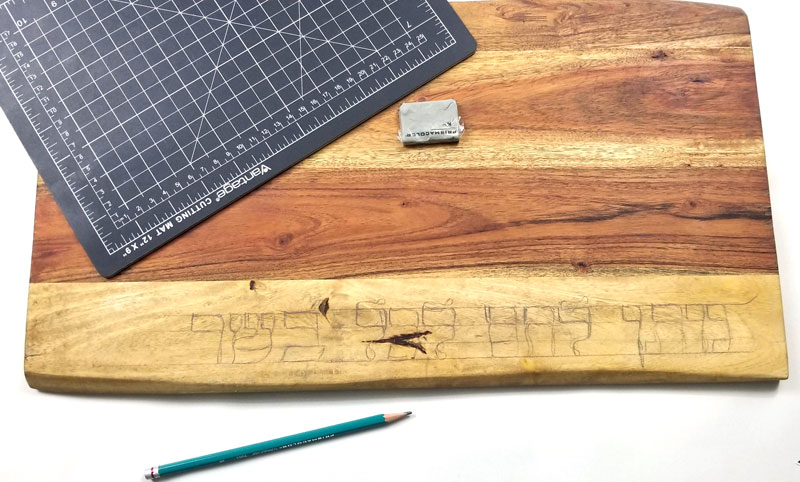
I penciled in my design right on the board, planning to align it left for a bit of a more minimalist look. Because it took up most of the board it looks a little off-center. I toyed with the idea of adding a swash on the left to center it but chose to keep it simple instead.
Tip: if you’re not comfortable with penciling in your text yourself, or if you want to be able to place it more accurately, just print out the letters in the size you want them.
Then use erasable carbon paper to transfer them to your board. Outline the words with a blunt tip using the ink of the carbon paper to transfer it.
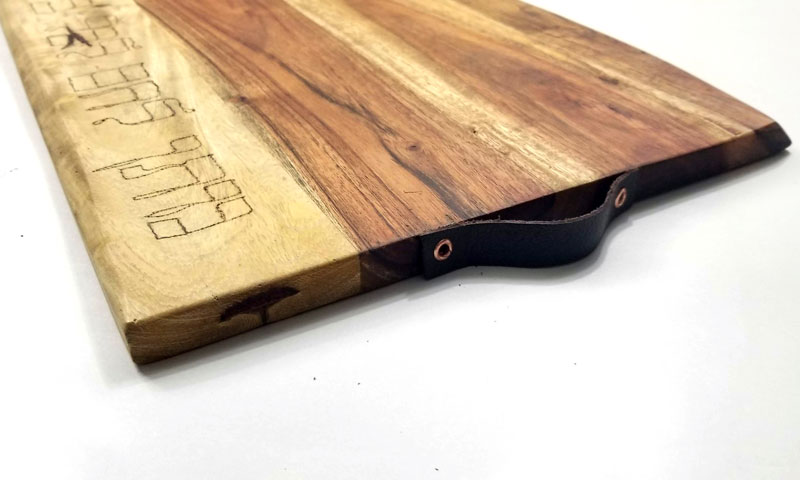
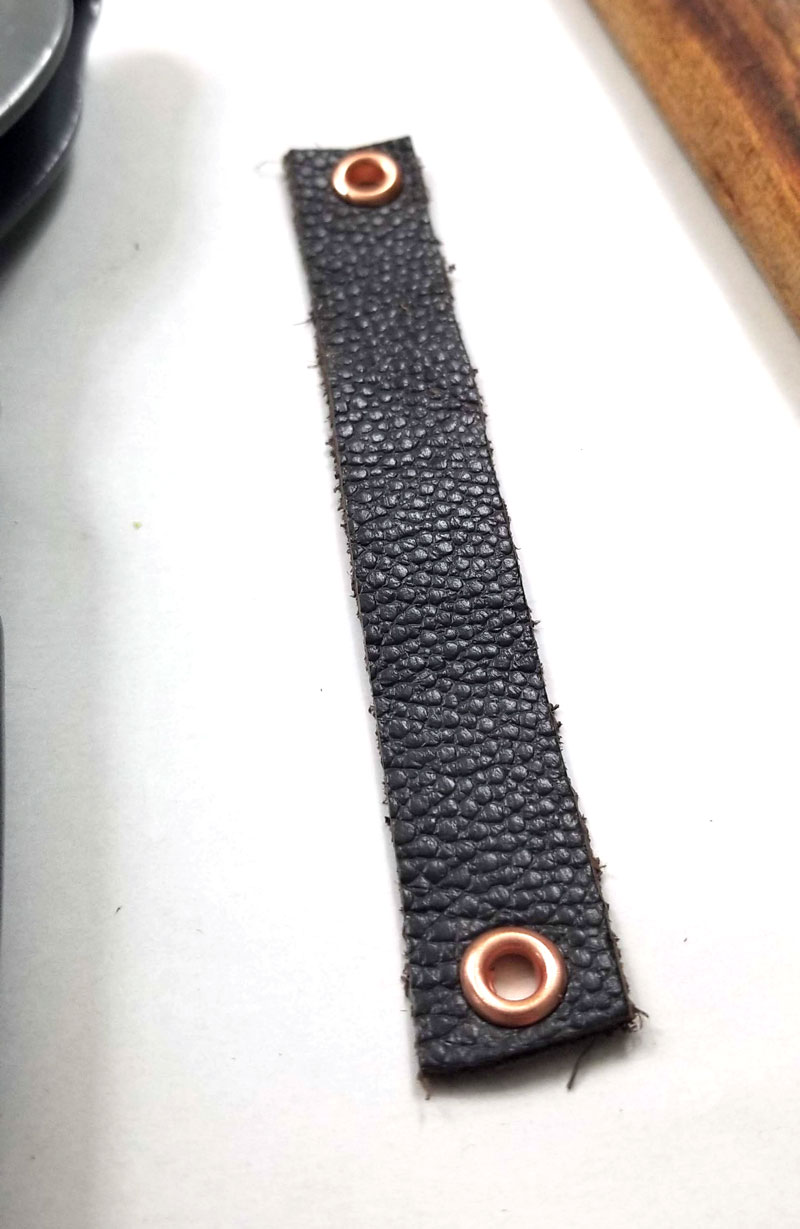
I added leather handles to the side – totally optional but a nice touch! They’re purely decorative and not functional.
There are a lot more ways you can customize a wood challah board.
Any woodburning technique can work, including painting in your outline.
If you’re new to woodburning, check out my friend’s woodburning tutorial for everything you need to know.
What you need to make a wood challah board:
- A wooden cutting board
- A woodburning tool
- Pencil and ruler
- Leather scraps
- Eyelets and tool to install (I used eyelet pliers) OR rivets
- E6000 glue
- Masking tape (optional)
How to wood burn a cutting board to turn it into a challah board:
1. Use a ruler to pencil in straight lines to mark your text placement.You can use masking tape as guides too.
3. Start penciling in your letters. I created a second set of lines so that I can keep my letters even.
4. Keep on going! You can erase the lines at this point but you can also wait until you’re done burning.
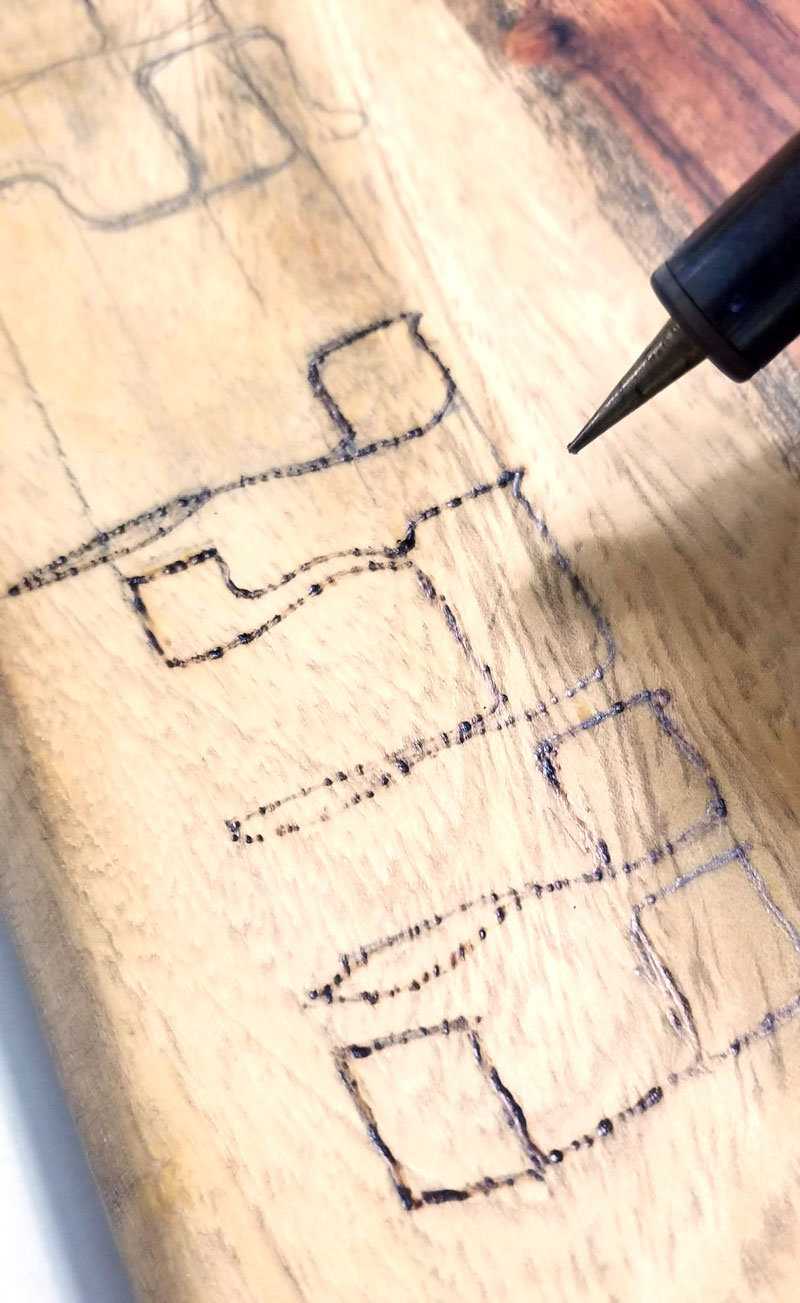
5. Burn your letters! Move slowly and steadily, going over some spots as needed to darken them. Turn on some music and relax – this can take time!
6. When you’re done, erase the outline and any remaining lines.
7. To make leather handles, cut a strip of leather a few inches (measure according to the width of your board). Mine is about 1cm thick. Punch holes on each end and set brads. These are dummy brads – they are decorative and don’t actually hold the “handles’ in place.
8. Glue on your handles as pictured – so that they bubble up a little. You might want to tape it in place with masking tape until the glue sets.
Your wood challah board is complete and ready to set your Shabbat table with pride and beauty!
Pro tip: flip your board over to cut your Challah on it so you don’t mark your design.





You could pre-drill small holes and then use small screws to anchor the leather handles, too!
Hi Shelli – great idea! Thanks!
Thank You for this tutorial!! Wishing you and your family joy and good health!!
Wouldn’t the burning make that part open? How did you re-seal the Wood board?
HI Dara, I didn’t reseal. You can use an unsealed board and seal when you’re done. I am not concerned about sealing because 1. we cut on the reverse side and 2. We just wipe clean – it’s not used for anything other than dry challah.
This is fantastic! Missing you on craft schooling Sunday, and could really use some Jewish content, pretty please? The party is going on a break after this week as I just can’t manage all the xmas crafts, but the first Sunday in 2021 I’ll be back. Hope all is well, and wishing you a fun chanukah crafting period. I actually thought about making origami dreidels and came upon your garland…….really cute! Ah yes, and this cutting board, gorgeous!
I’m gonna try my best!! We stepped back a little then stepped back into this blog and now I’m on maternity leave but I’ll try to remember to stop in Sunday again in Jan!
Nice job, I’m loving this board already.