Chanukah Centerpiece – DIY Jar Menorah
Make a gorgeous Chanukah centerpiece – a tea light menorah made from repurposed jars. But before you start, feel free to download my paper dreidel templates here first! This post contains affiliate links.
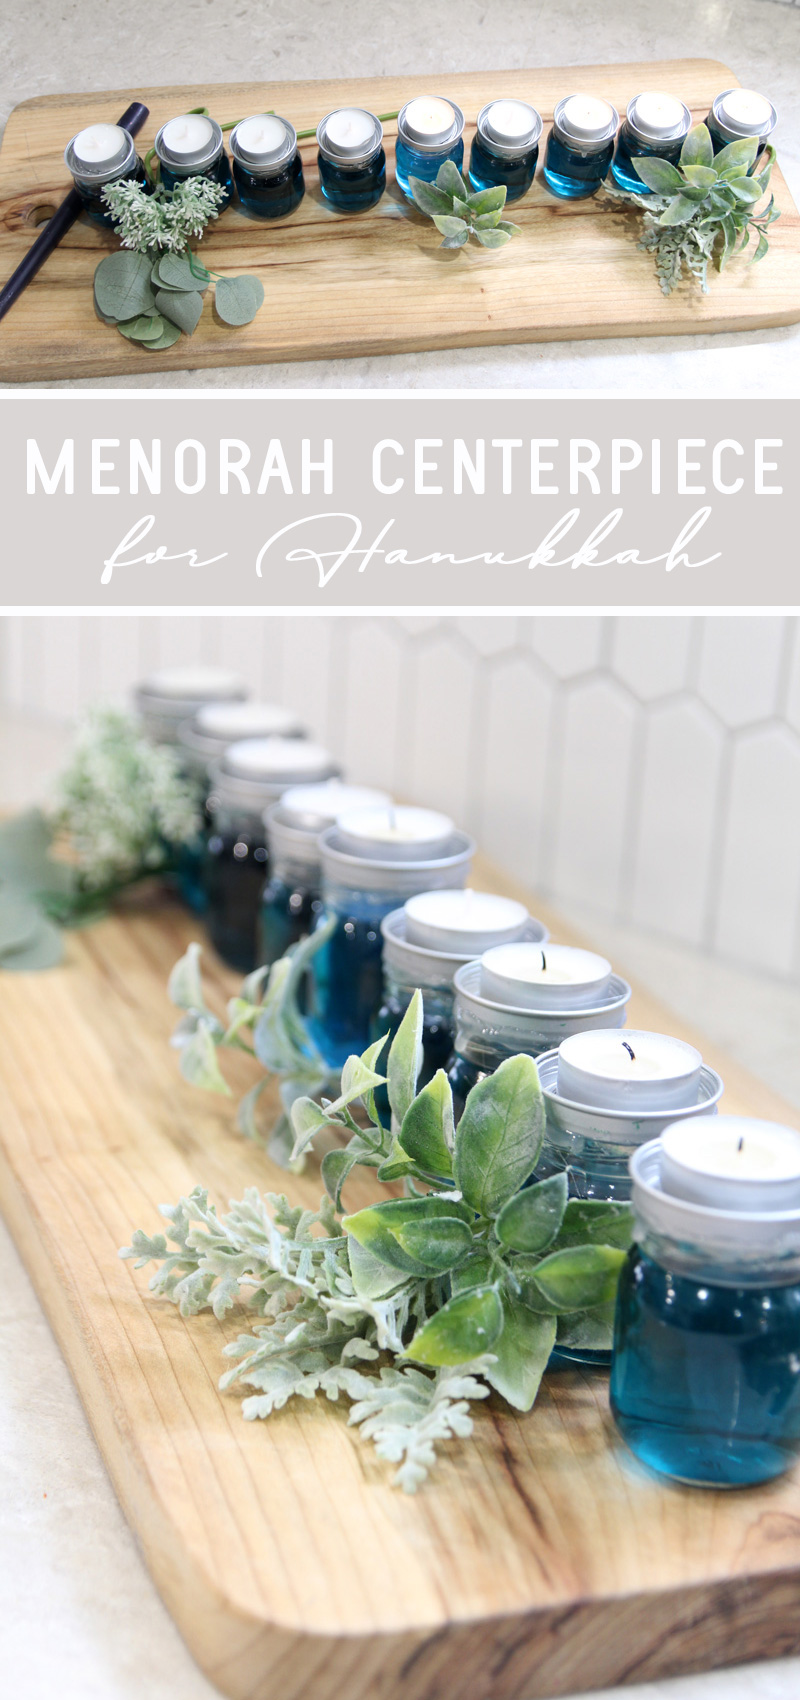
Years ago, when I first started blogging, I wanted to help fill the world with cool Jewish craft ideas. I created a menorah from old baby food jars.
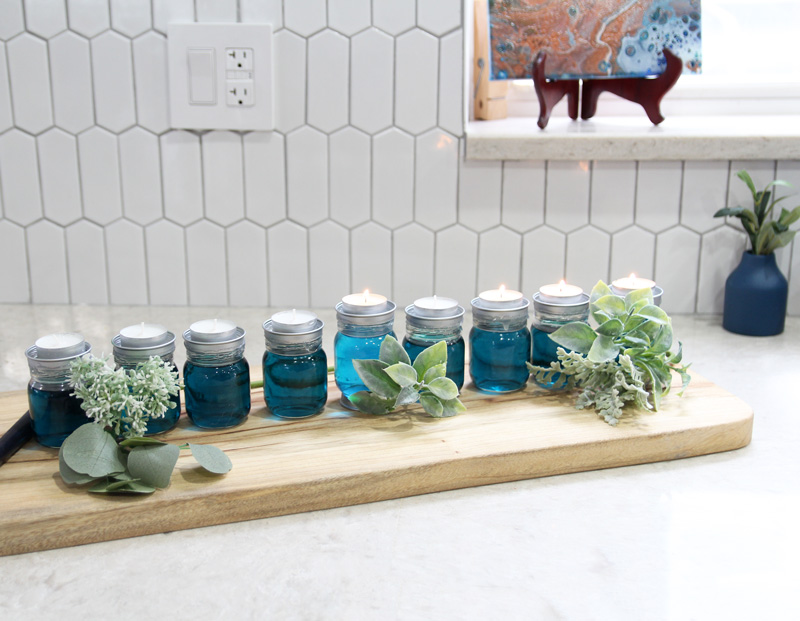
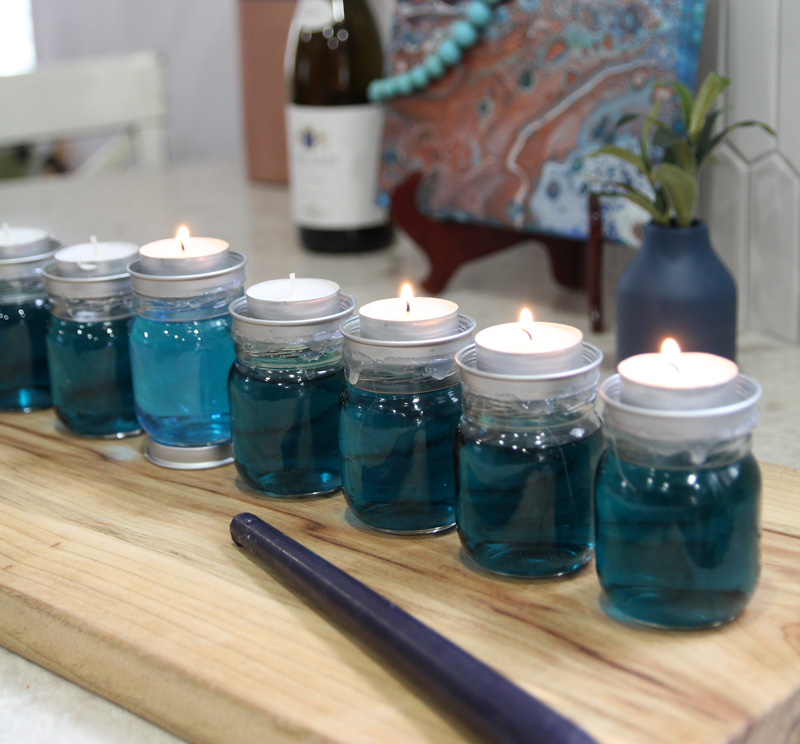
I had much less crafting experience then, especially when it comes to different mediums. Sometimes I had creative ideas but either overdid it, or didn’t come up with as polished or smooth a craft as I could have.
Ironically, although it wasn’t so well-made, my baby food jar menorah was really popular. I realized that people liked it as a large centerpiece more than a menorah.
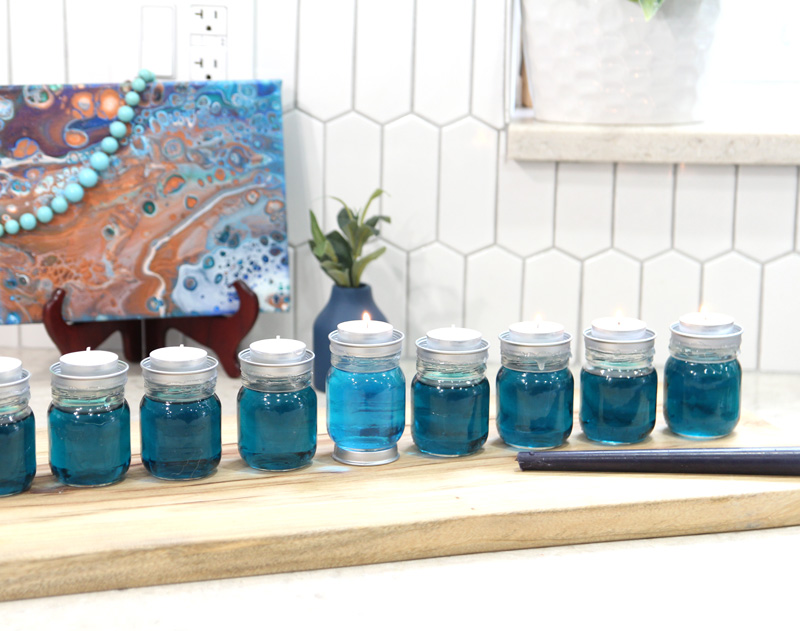
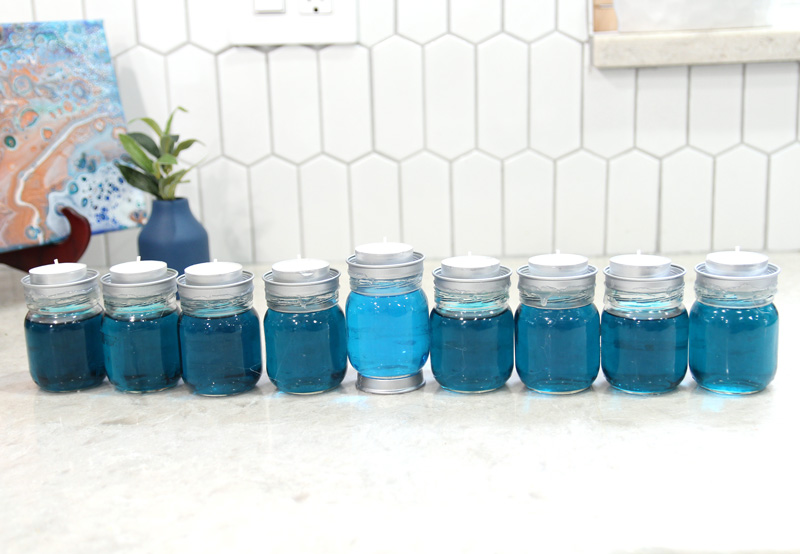
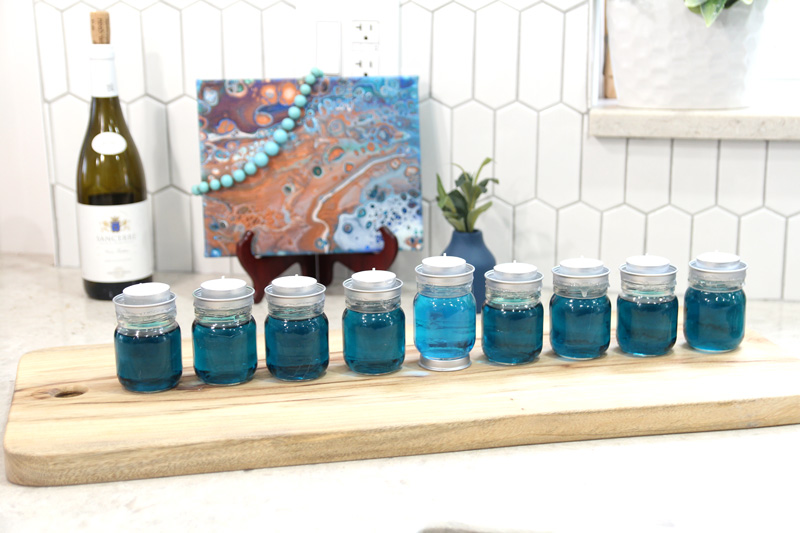
With a new baby eating food out of jars, I decided it’s the perfect time to remake it and stage it as a much nicer centerpiece! And stage it I did.
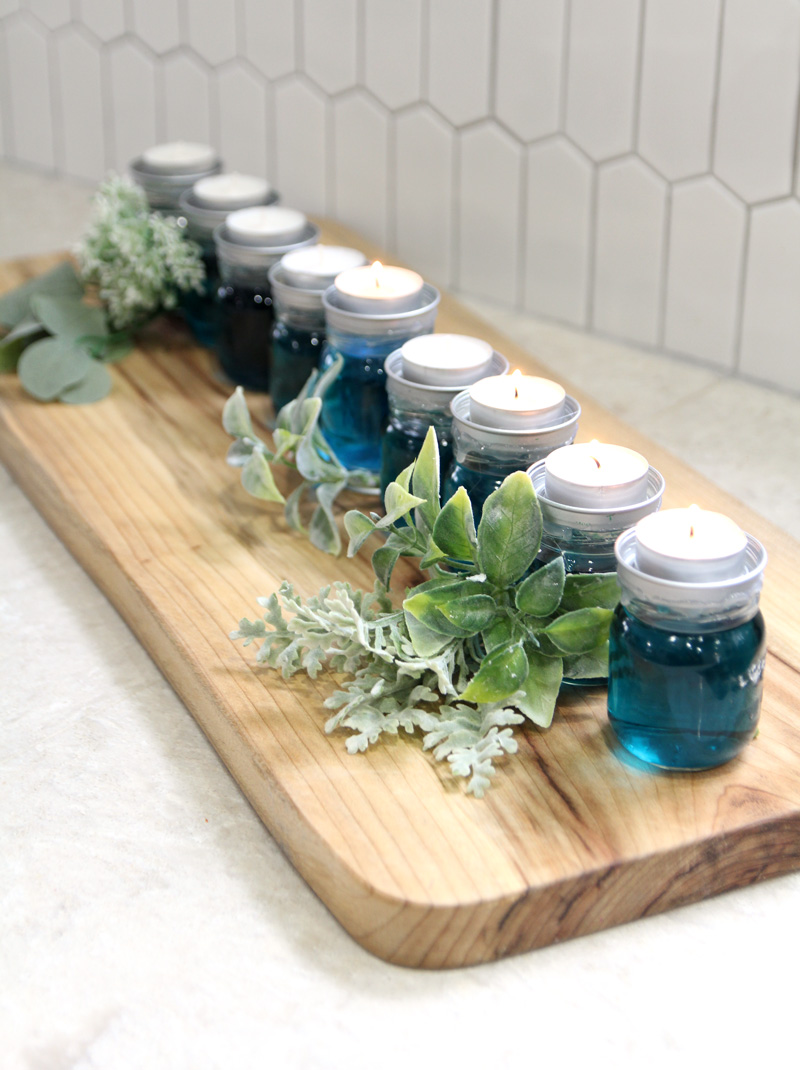
I love how this variation came out, so I decided to recreate the whole tutorial right here in this space. You can still see the original here.
My main modifications:
- I simply placed the Shamash on another cap to raise it up a little. I felt like it’s more stable this way.
- I skipped spray painting that mist on the bottom. I felt like keeping it simple was the way to go here.
- I didn’t spray paint the Shamash – I just made it a little bluer to help it stand out.
A word of caution: always be careful when crafting for fire! Make sure you use non-flammable paints (most spray paints are highly flammable when wet, but not when dry, as the solvents evaporate.)
Another thing: I staged it on a wooden cutting/serving board with fake foliage – obviously not a smart move if there’s even a chance of it coming off! So if you’re using it as an actual menorah that stays lit until it finishes, don’t do that. Put it on a glass or ceramic tray instead in that case. The same goes if you are using it with children around.
If you plan to supervise (for example, using it as a menorah-inspired centerpiece on a party table) just be careful around it. You can also use LED lights if you’re using it as a centerpiece.
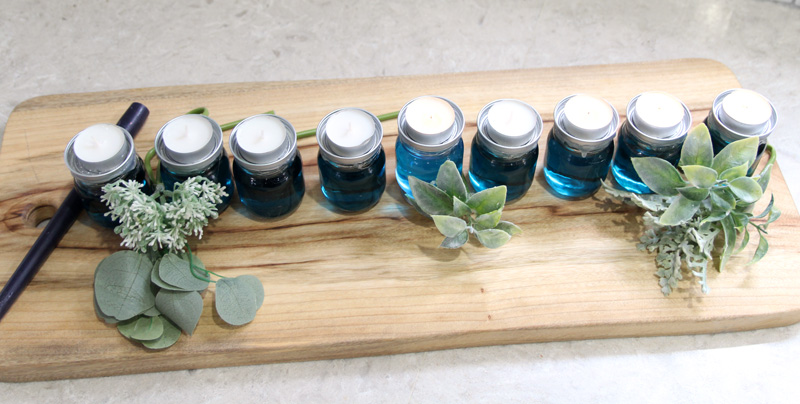
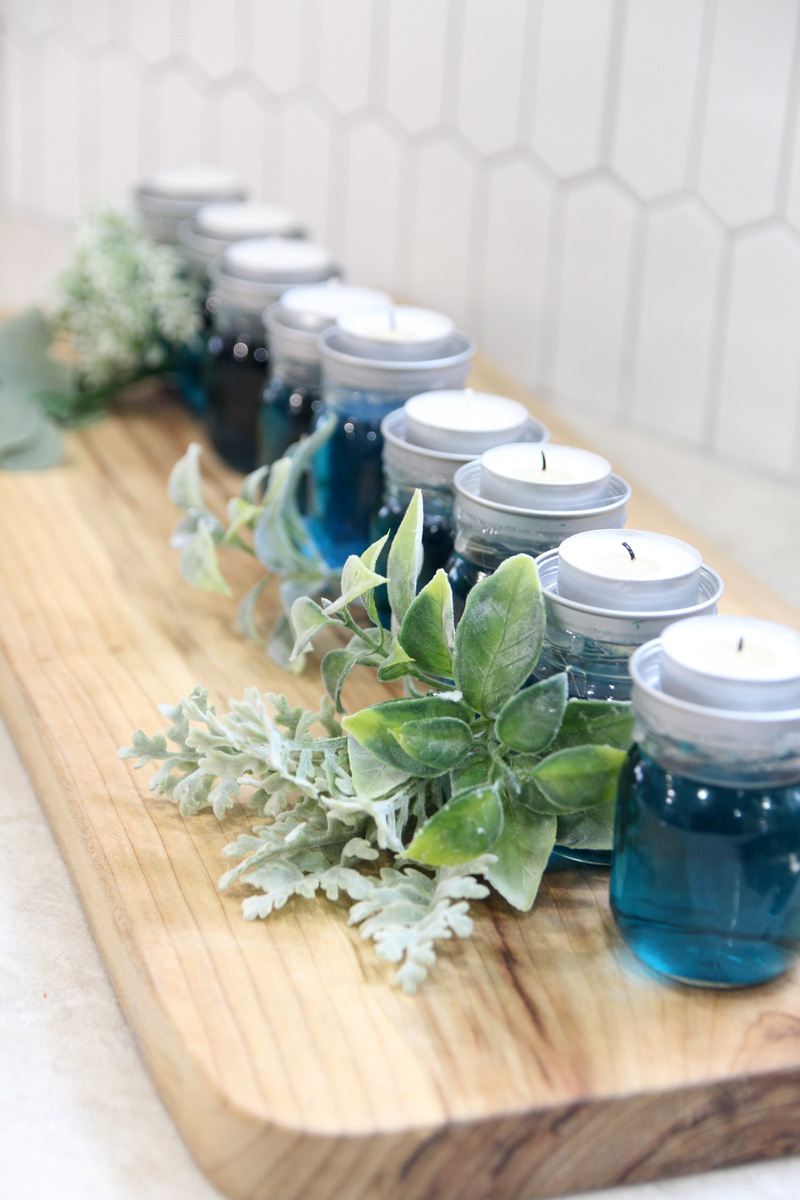
I also wanted to note: these might store well from year to year, but they might not. Unless you could figure out how to make an opening in the center of the jar lid (I tried but couldn’t) you can’t drain and dry them, so they might mold.
You also need a really good seal, and I’m not sure that E6000 or the hot glue gun I tried is good enough.
Either way, it’ll make a beautiful centerpiece to last you through the holiday.
What you need to make this menorah Chanukah centerpiece
- Baby food jars – or other jars if you can’t get those. Milk bottles also have fantastic size lids for a slightly different look. You need 9 jars plus a tenth lid. FYI you CAN purchase baby food jars, if you’re willing to invest in this.
- Spray paint
- Food coloring or any water based paint to color the water
- E6000 glue – works great for gluing two smooth surfaces
- Cups for mixing
[show_boutique_widget id=”1099619″]
How to make a tea light Menorah centerpiece
1. Start by spraying the top of your lids in a well-ventilated area. Even though this side is glued down, you want to spray paint it, so that no bright green (or whatever color you have) shows through the glass or around the edges.
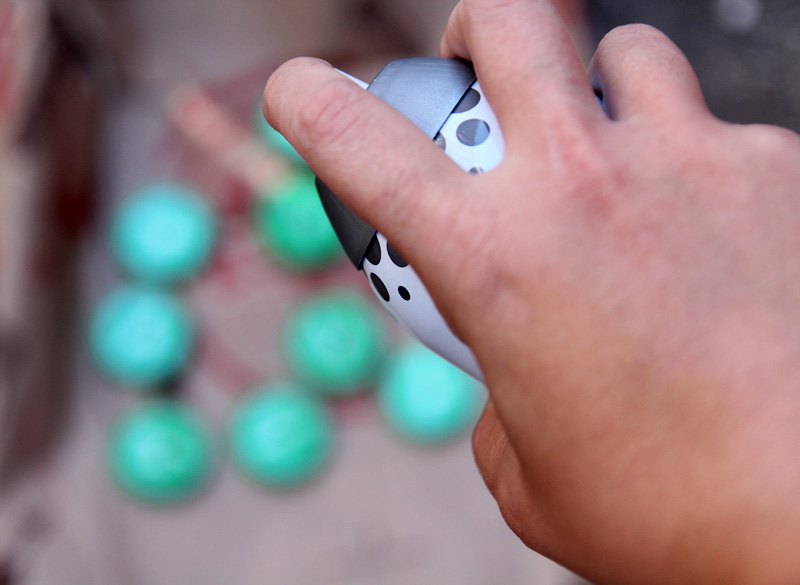
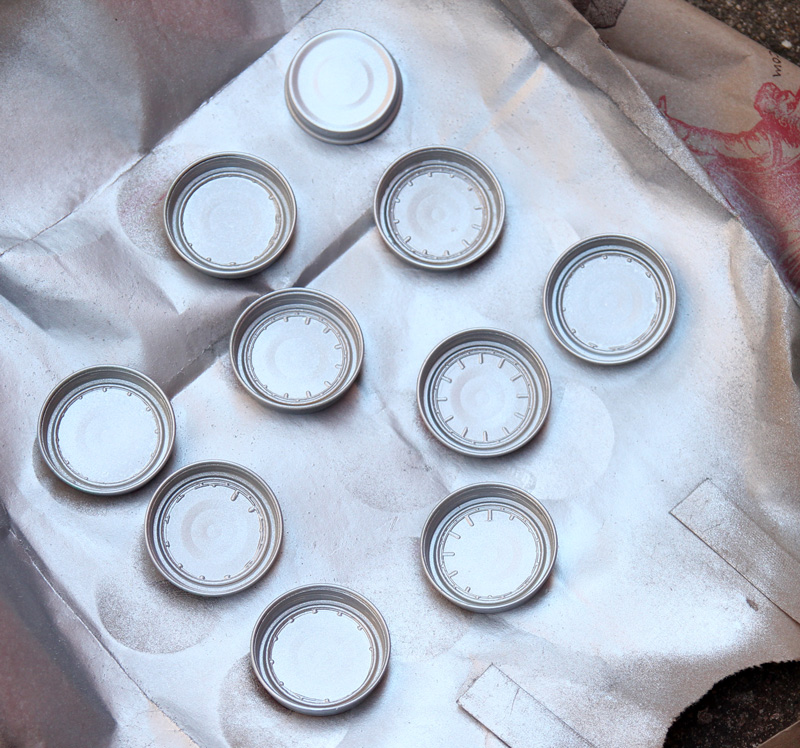
2. When they’re dry to the touch, flip them over and spray paint the inside. You don’t need to do this with the bonus one that’s propping up the Shamash. Allow it to dry completely (dry time varies by spray paint brand).
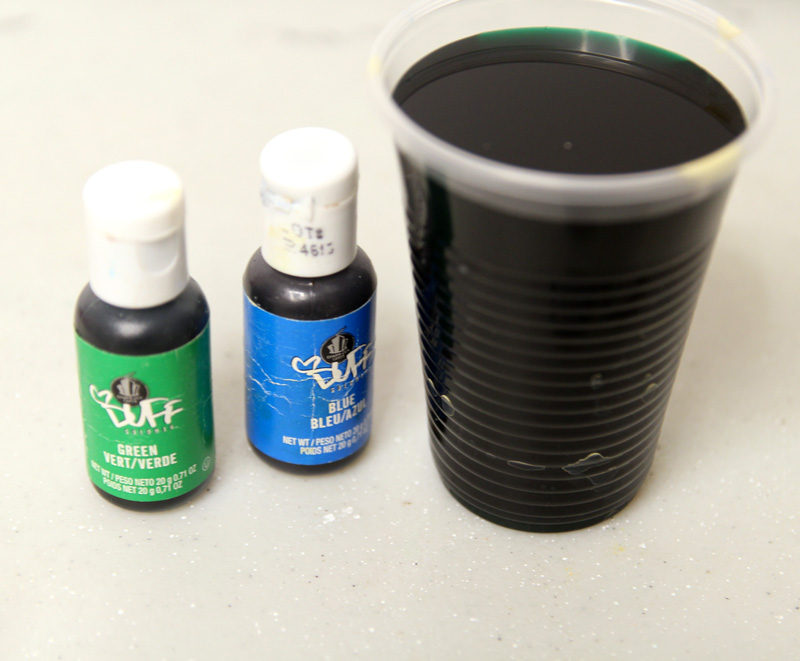
3. Mix some food coloring with water in a cup. I recommend using a larger cup and making a concentrated version of the color you want, so that you can use the same base for all jars. This ensures they’re the same color. I used a few drops of blue with a drop of green to make a slightly less harsh blue. (I was actually aiming for teal, but felt it looked too green so I blueified it.
4. Pour a little bit into each jar. If you want you can mix up a separate color for the Shamash – helper – candle.
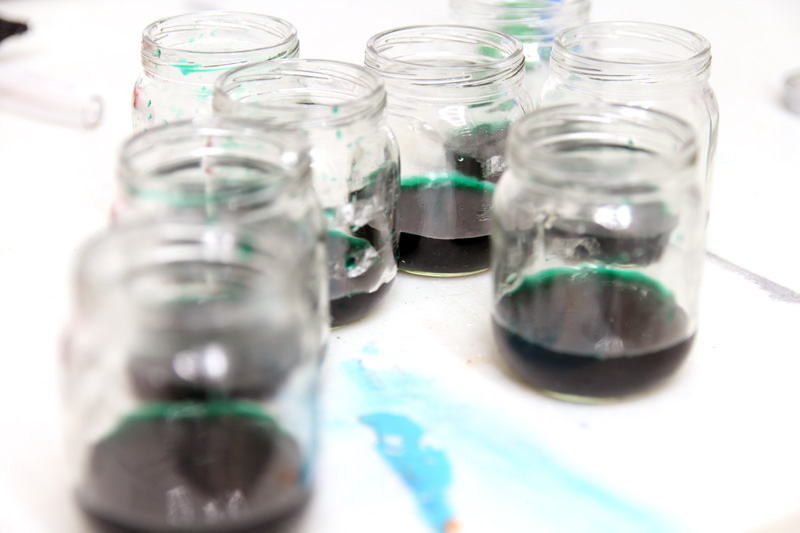
5. Fill them up the rest of the way with water. I filled until the ridges – overfilling will just make a mess.
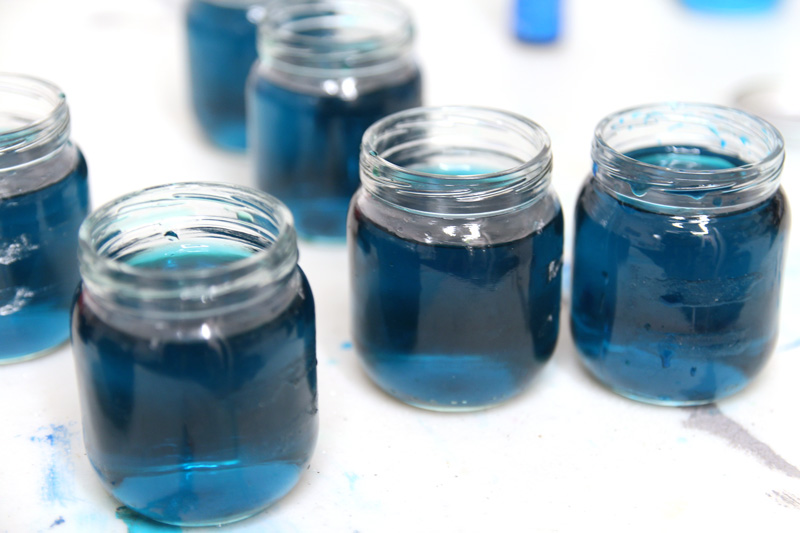
6. Glue the lids onto the jars upside down. Glue the shamash onto another lid to raise it up a bit.
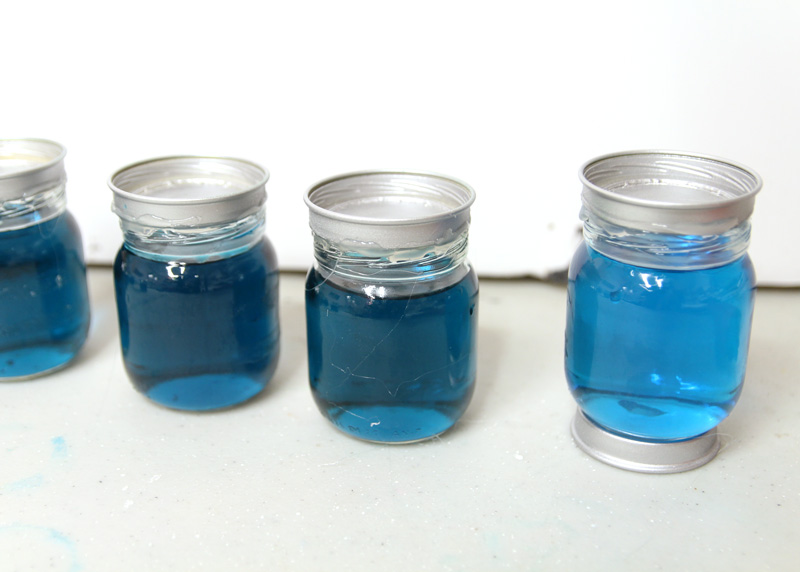
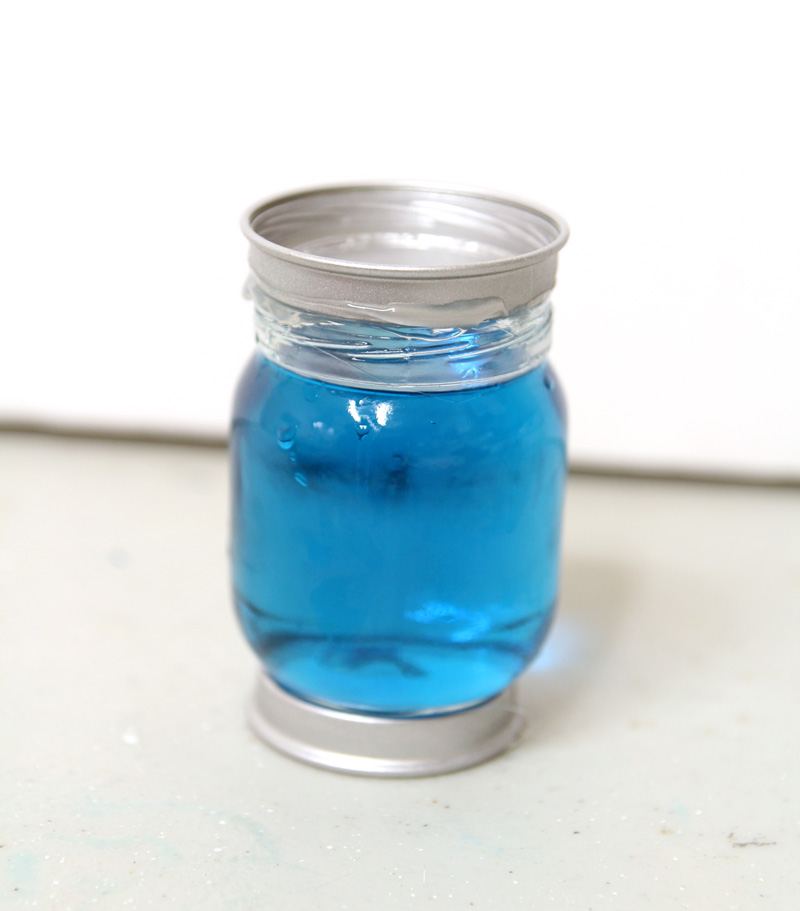
When you’re done, simply arrange the jars in a row to make a menorah!
Your Chanukah centerpiece is complete. How will you be staging yours? Comment below!


You have nice ideas, and even show what to do with “recyclable” material so that it shouldn’t go to waste.
One odd thing I made – was, by using a glue gun, I attached the cut-of top of a plastic bottle to the cover of a small pill-bottle, so that it became a two-tier bottle. The small upper section holds pills while traveling, and the bottom section for a small quantity of water, to use for swallowing the pills.
I’m sending you mail to my daughter who does a lot of craft work with her grandchildren.
Thanks
A happy Hannuka
Shmuel