Savory Spaghetti Squash Kugel Recipe
I modified my popular spaghetti squash recipe to make it healthier and improve the texture, and today I’m sharing the results! If you loved this, check out my Shabbat lunch ideas too! This post contains affiliate links.
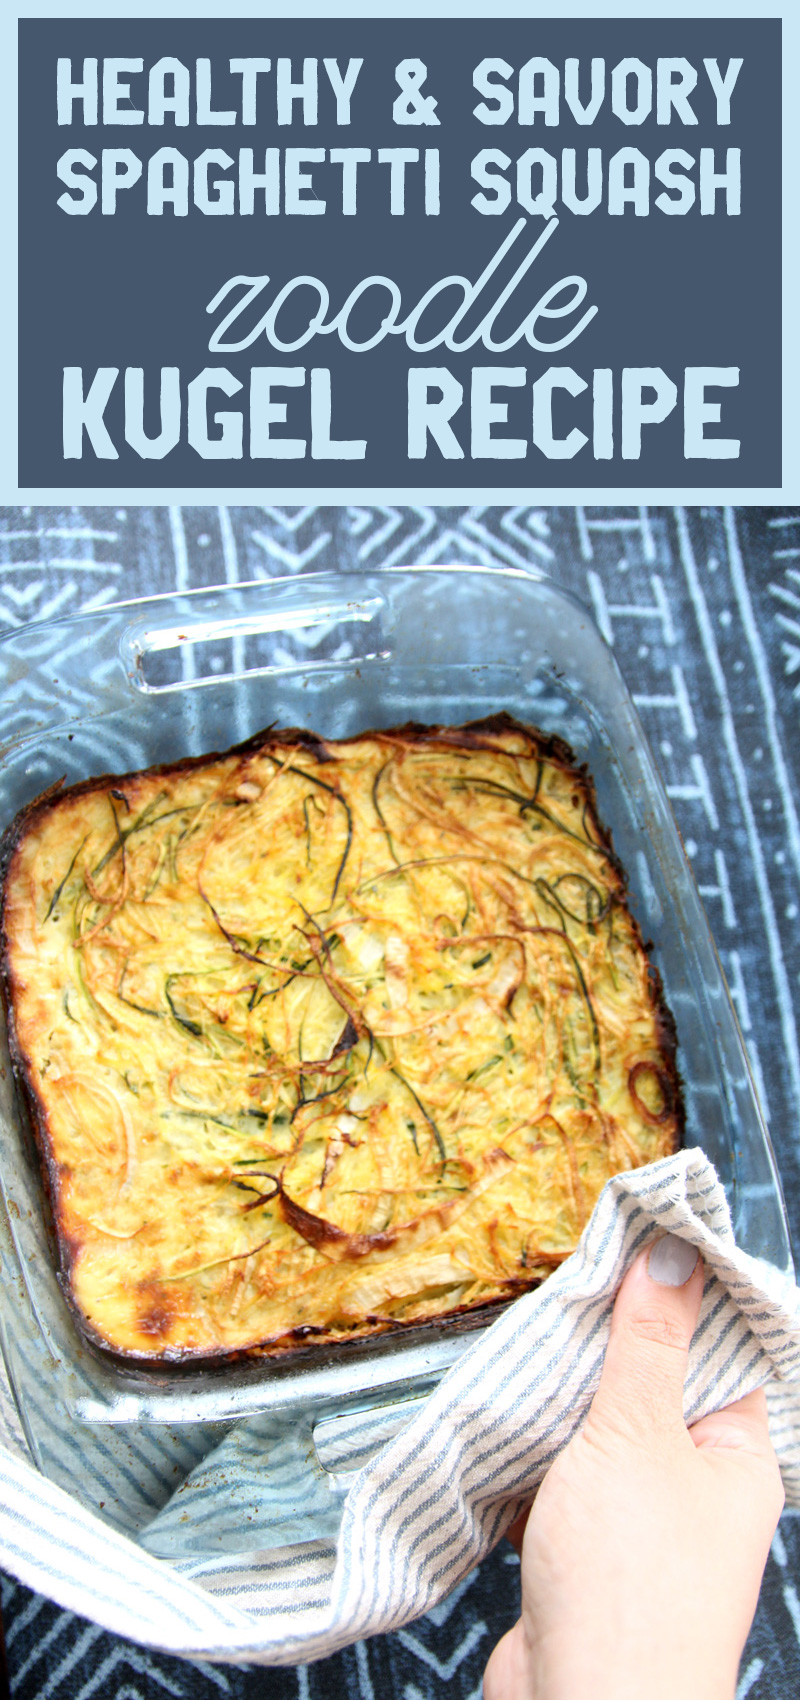
I thought I’d be sharing lots of butternut squash recipes this year… but it seems that a possum got to enjoy our crop instead of us.
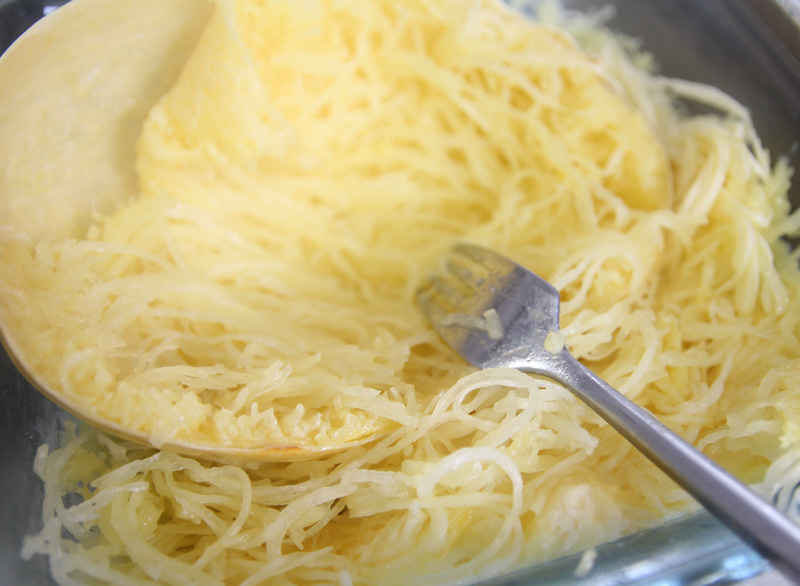
So I picked up a spaghetti squash at the supermarket so that I can recreate the spaghetti squash kugel recipe that I shared a few years ago on the main blog. I figured it can use a little tweaking.
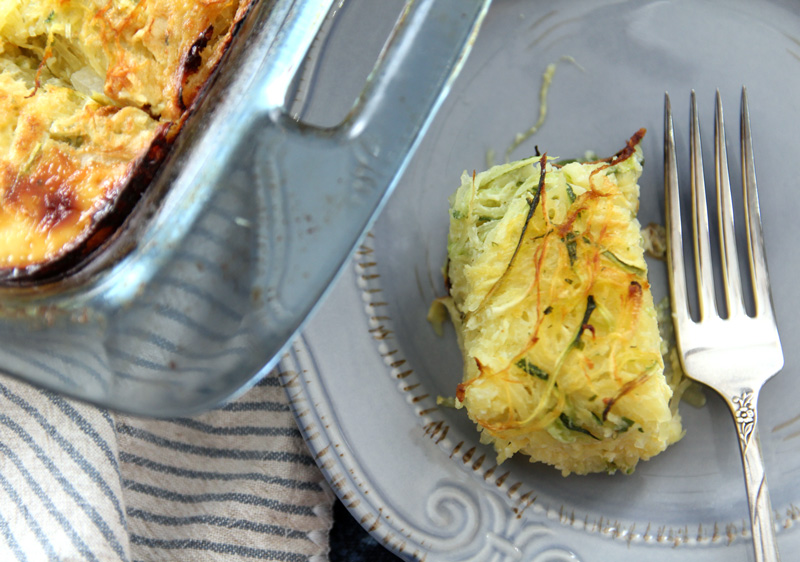
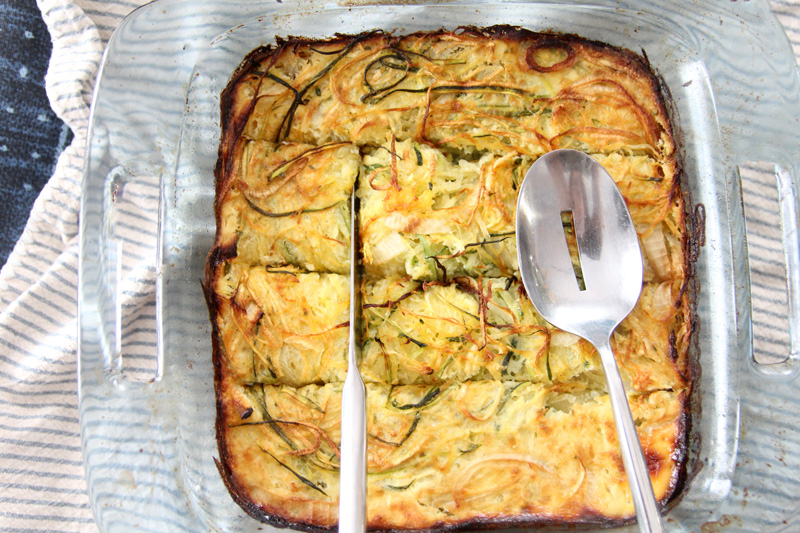
Spaghetti squash kugel can be made as an alternative to sweet noodle kugels, but this one is designed to be a savory lower carb alternative to a potato kugel. In general, it makes for a fabulous Shabbat lunch or Friday dinner side dish.
It took me a couple of weeks longer than planned to get to making it, so the squash sat a little and the seeds sprouted. This can affect the quality of the squash. Mine was a bit less flavorful than a spaghetti squash normally is, but usually you do get a touch of natural sweet.
Adding a zucchini improves the flavor and texture. Onion adds to the savory flavor.
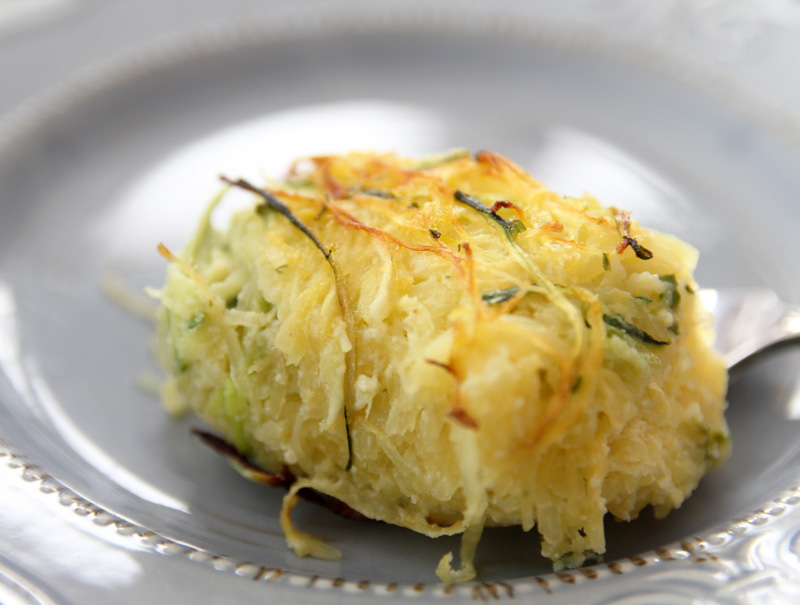
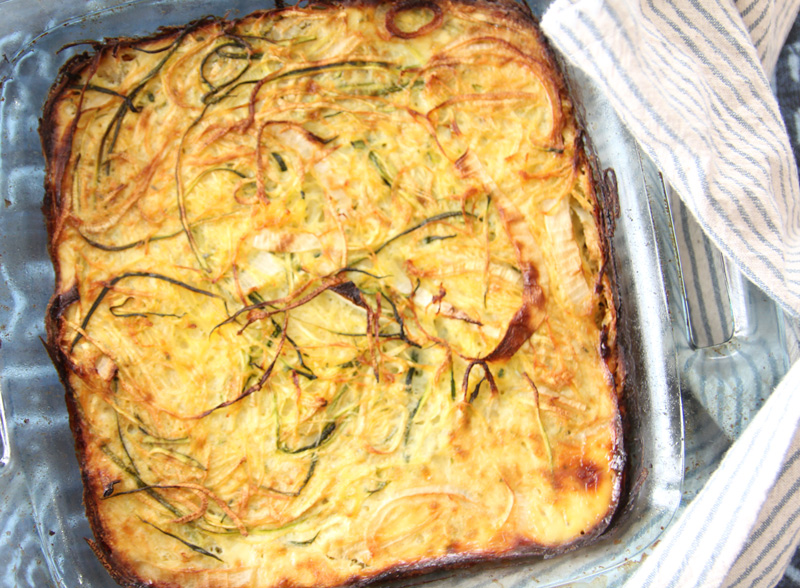
Tips for making a delicious, flavorful spaghetti squash kugel
This is never going to be a “one and done” recipe, as you need to first process the squash and cook it enough to remove the strands. If you have a good, large chef’s knife, you may be able to cut it in half raw to roast. If not, you may want to microwave it for a bit to soften it.
The flavor of the kugel is pretty neutral, so you can play around and add other ingredients if you’d like. I hope to try it with sautéed onions one day.
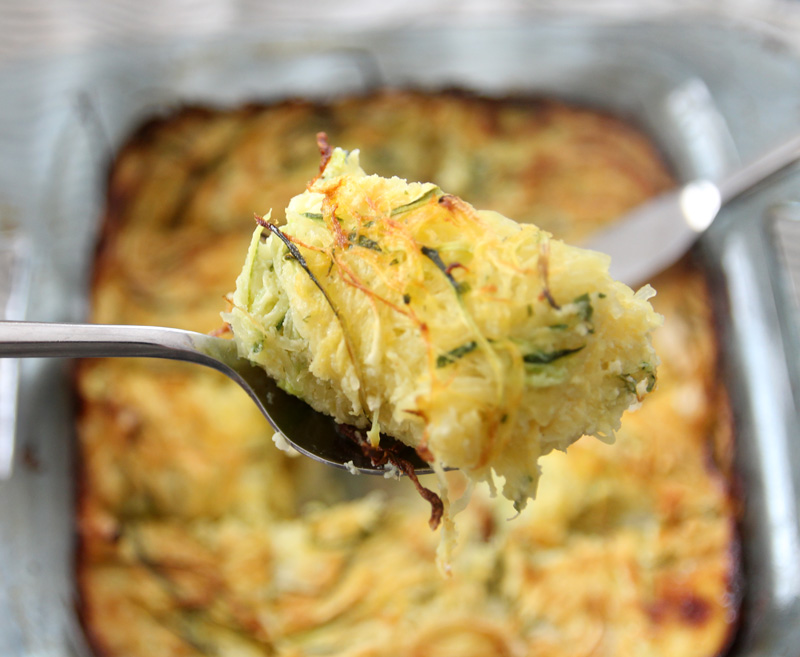
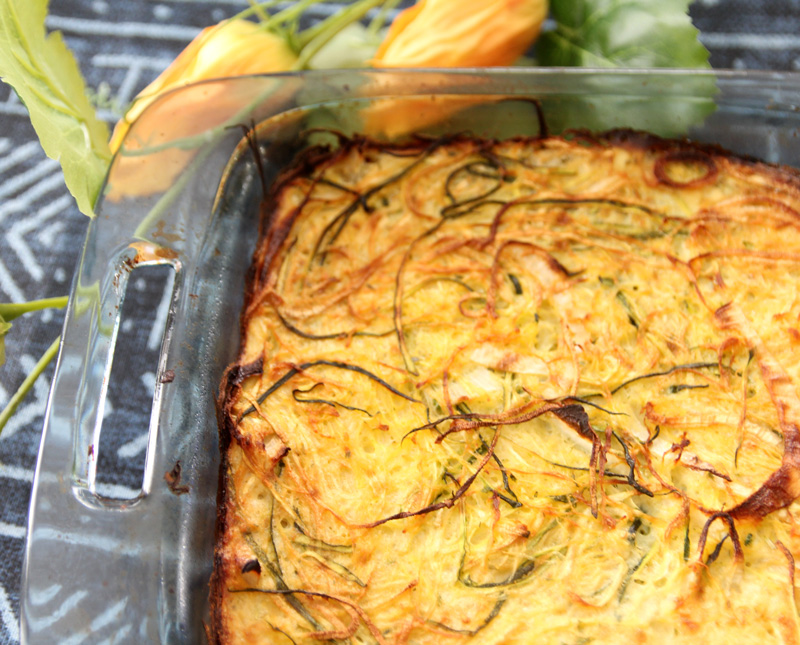
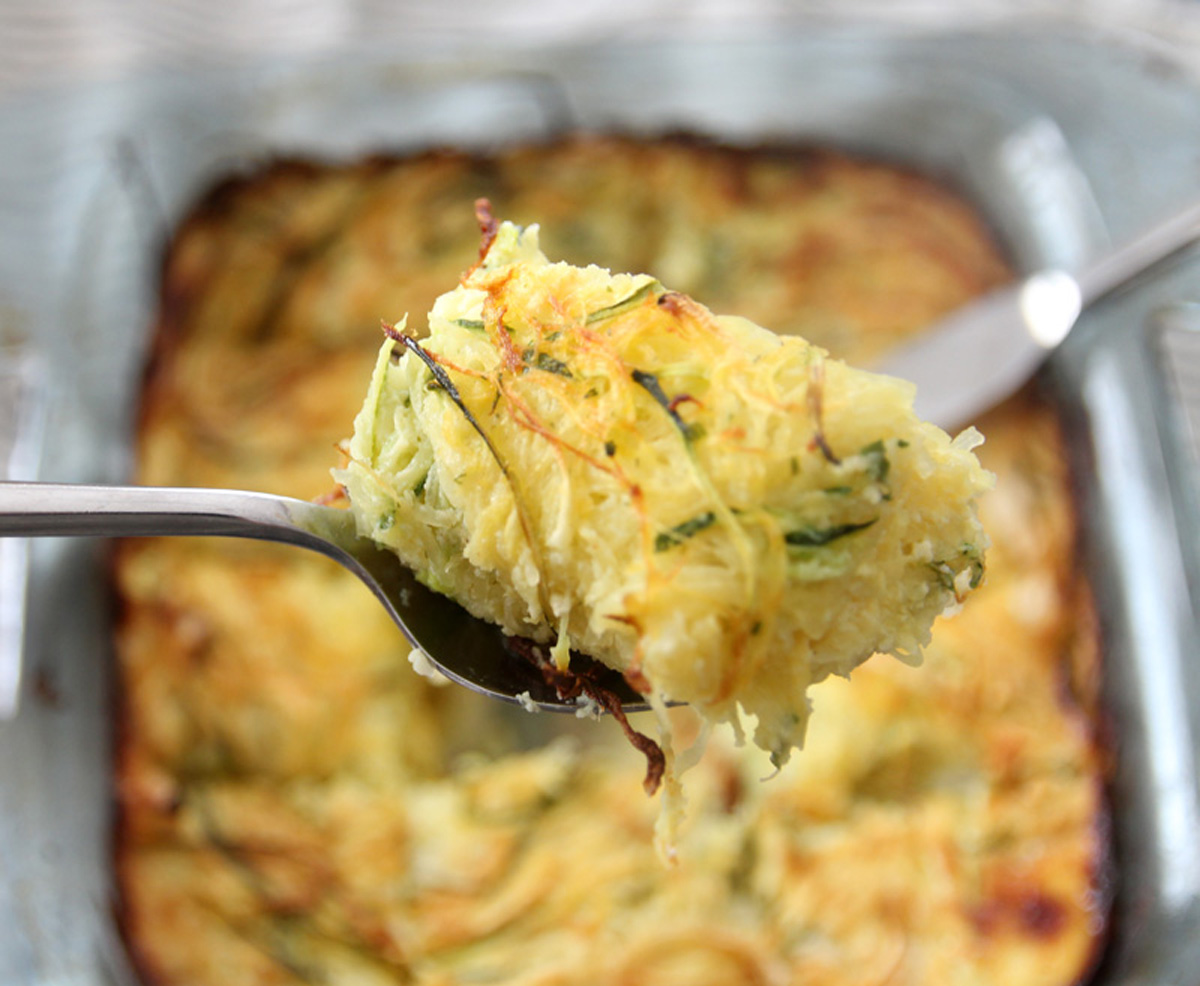
It’s also a light kugel. And since the main ingredient – the squash – is not easily measurable and varies greatly in size, you may get different results each time.
I start with four eggs for a smallish squash, but that’s pretty eggy. I like it that way as it holds together like a single unit. You can definitely reduce the eggs. You want to make sure that all your “spaghetti’s” – including the zoodles are coated in egg.
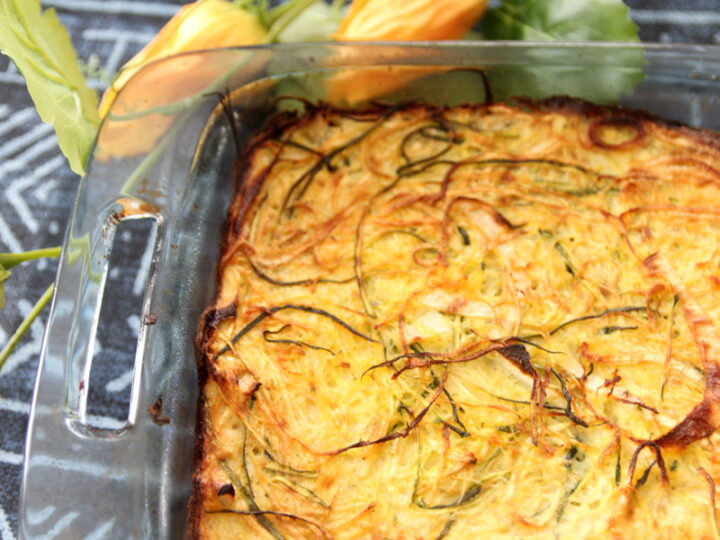
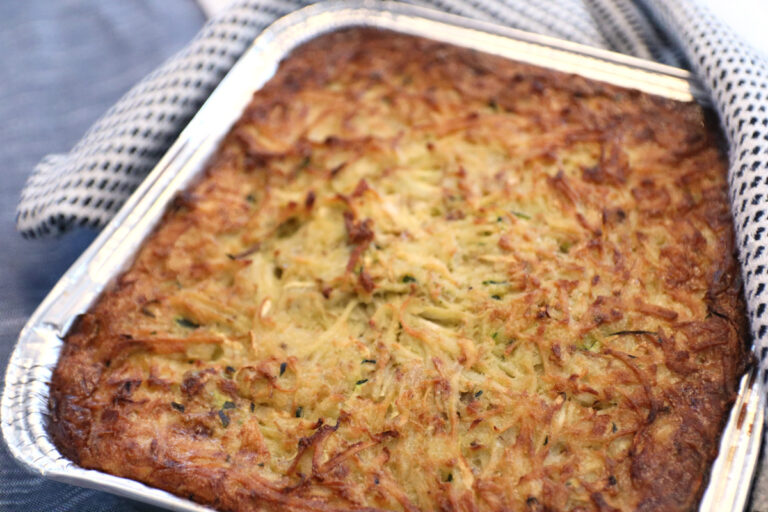
To make it healthier and drier (for Shabbat lunch reheating), I eliminated the oil on this one, only spraying the top. It came out delish!
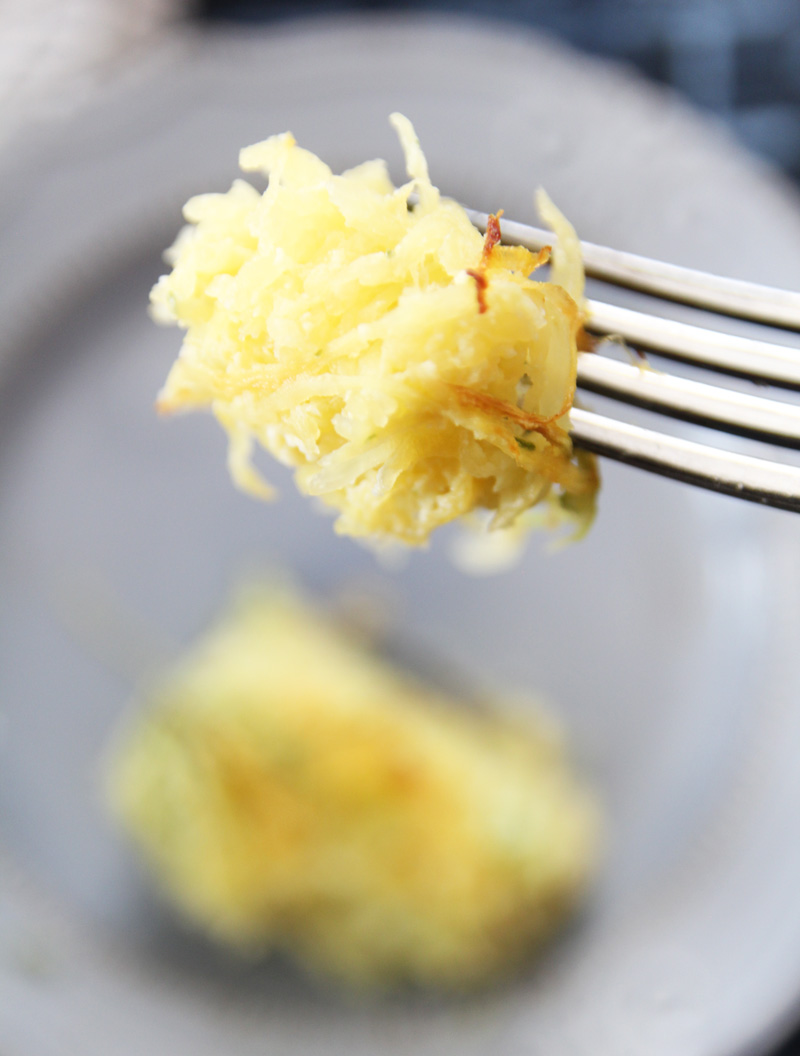
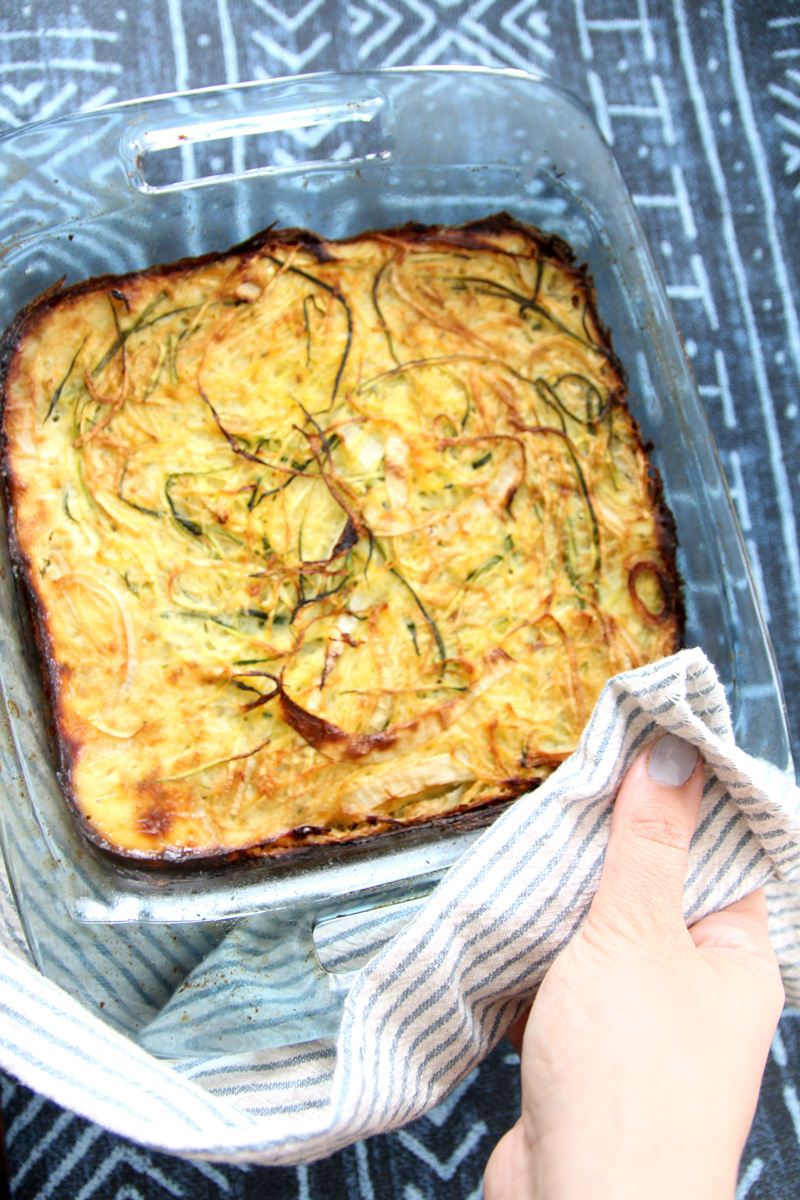
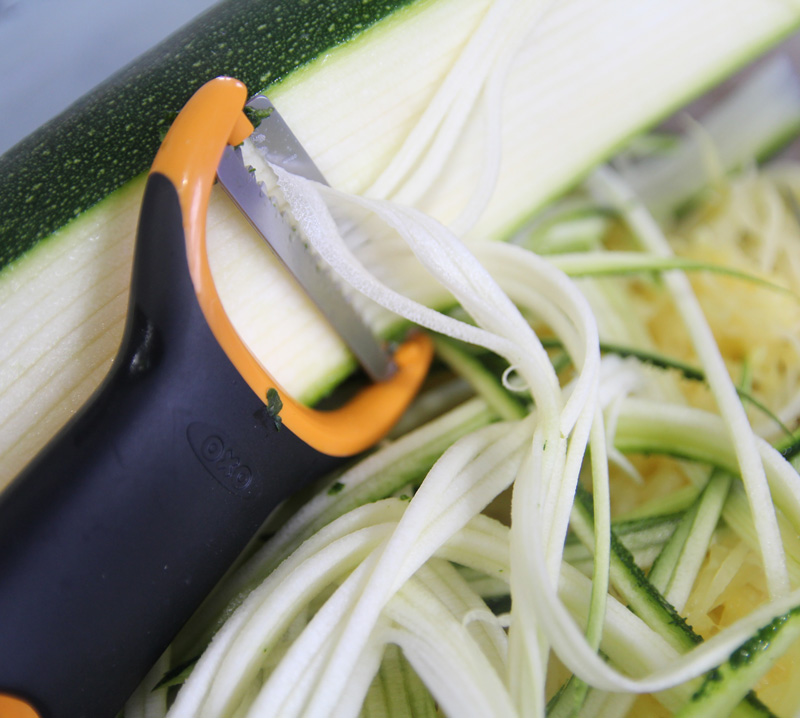
The zucchini inside was zoodled – turned into “noodles” – using a Julienne peeler. I love my Oxo one and prefer it over a zoodler. I got rid of my zoodler once I tried the Julienne peeler. The leftover zucchini is dumped into a soup or similar dish.
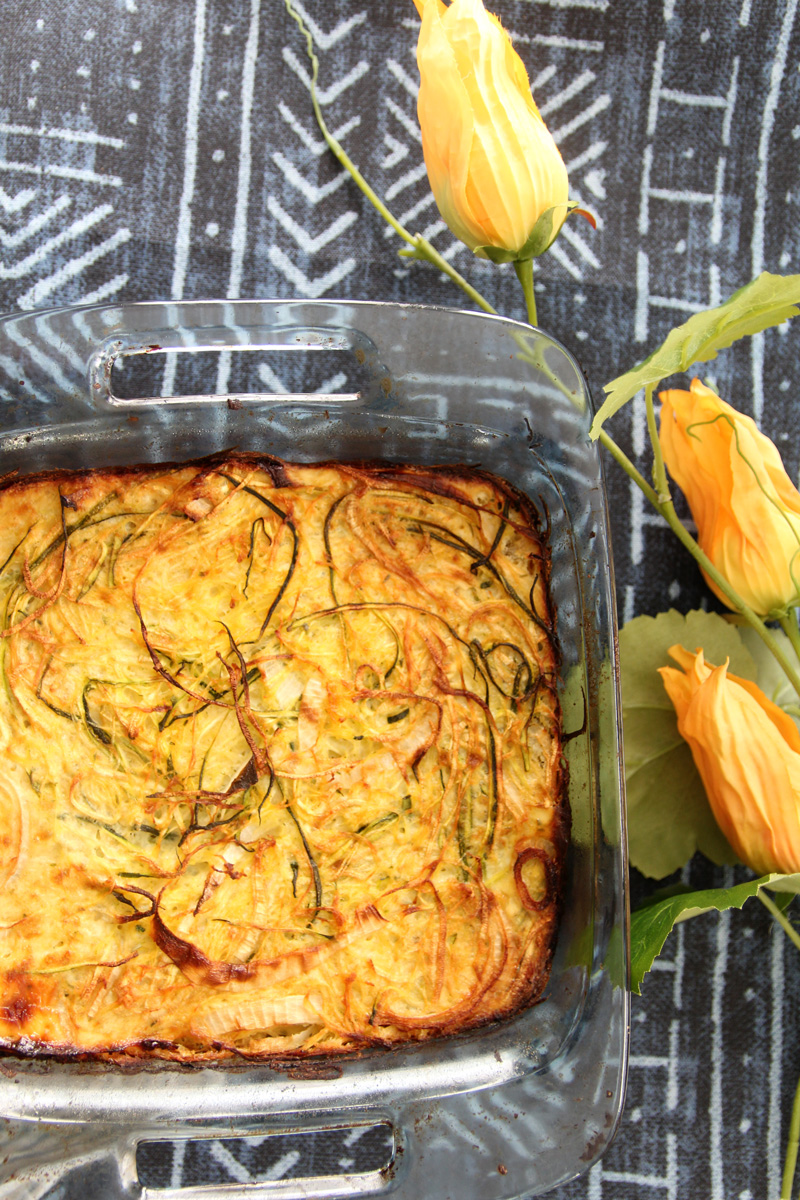
Spaghetti Squash Kugel Recipe
Serves 9-12
Ingredients
- 1 medium spaghetti squash
- 1 small zucchini (or half a large one if Julienning)
- 1 medium yellow onion
- 4 large eggs
- 1 t salt
- 1 T Onion Salt OR 2 t. onion powder, 1 t. garlic powder
- Pam or similar oil spray
Tools & Equipment
Instructions
1. Cut spaghetti squash in half using a large chef’s knife and cutting board.
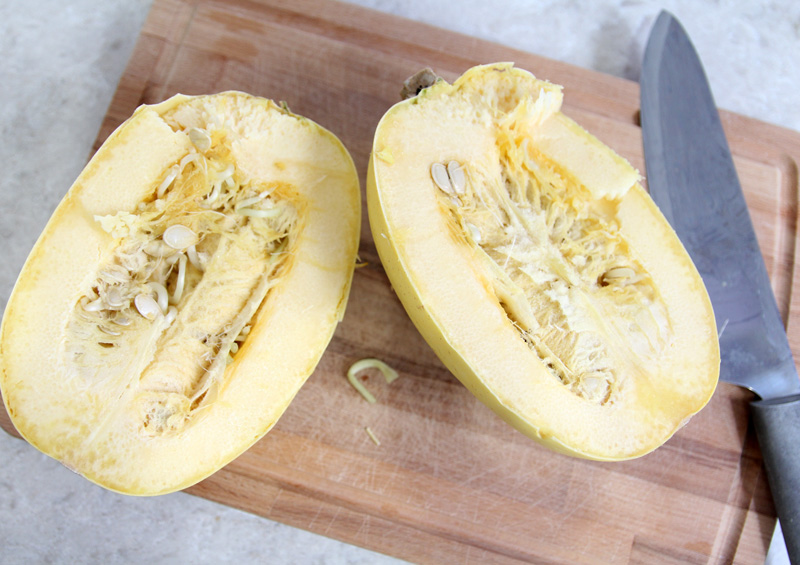
2. Place face down on a lined baking sheet. Roast at 400 till soft enough to take out “spaghetti” (about half an hour).
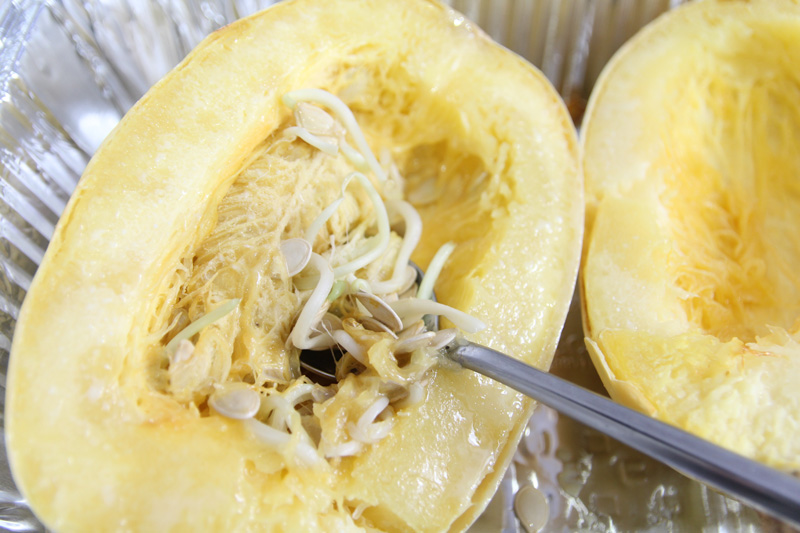
3. Let cool enough to touch and remove seeds using a spoon. I mixed my ingredients directly in a square glass 9 inch pan.
4. String your zucchini using a Julienne peeler. Add it to the pan.
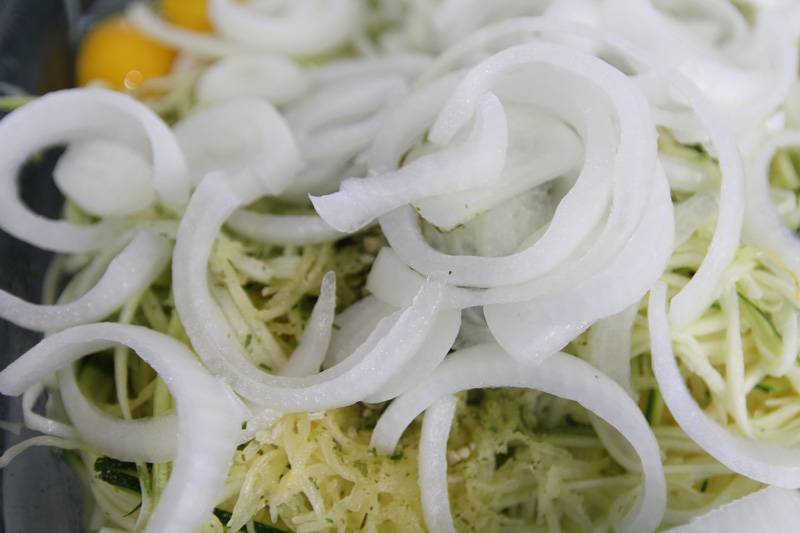
5. Thinly slice your onion into rings. Add it to the pan.
6. Add eggs, salt, and seasoning. Mix it well. Salt can get caught up in the zoodles, so make sure to really give it a good mix. I like when the eggs get all frothy and I can pat it down to almost look like a batter.
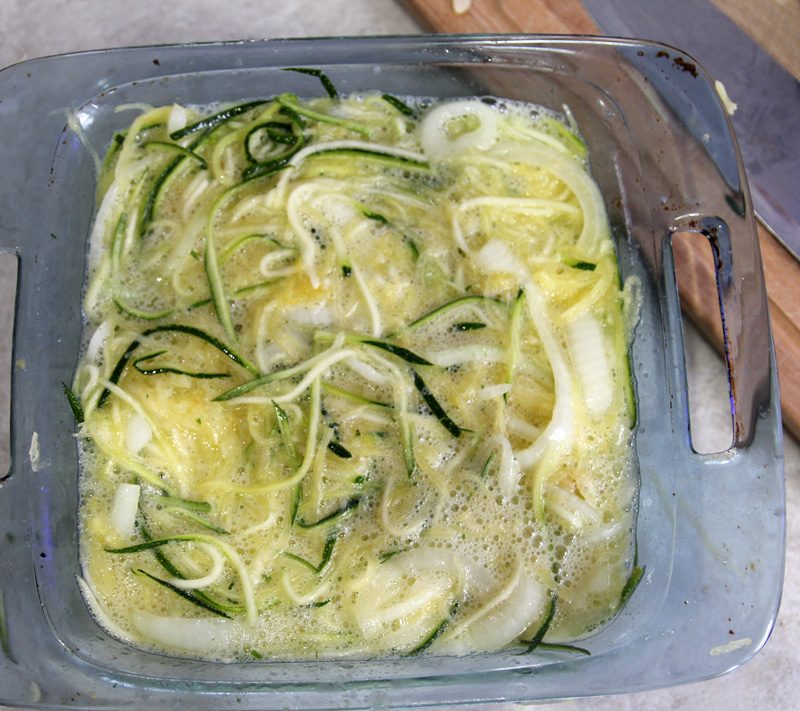
7. Spray the top generally with canola oil, light olive oil, or another mild tasting oil. Bake at 400 for 1.5 hours or until the top is golden brown.
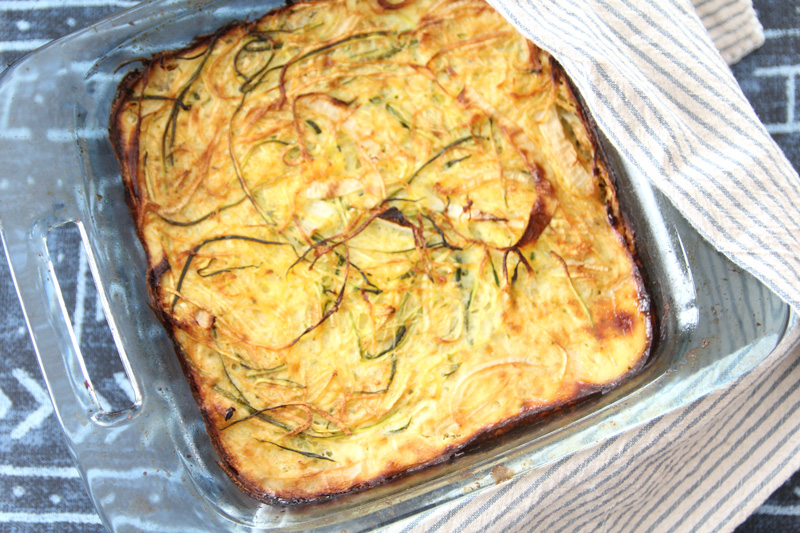
I hope you enjoyed this speaghetti squash kugel recipe!



Hi, can’t wait to try this. I have all the ingredients out now. Question: can I prep everything until just before the final 1.5 hour bake but delay the bake? Will the wet mixture be ok to leave in the fridge for later?
I never tried it so I can’t really say. It doesn’t brown, so that won’t be an issue, but it might shed water. I would suggest maybe keeping the vegetables separate from the other ingredients and mixing them together right before you bake (and pour off any liquids that leak out meanwhile.) That might work.