DIY Seder Bowls for Karpas and Charoset – Free SVG
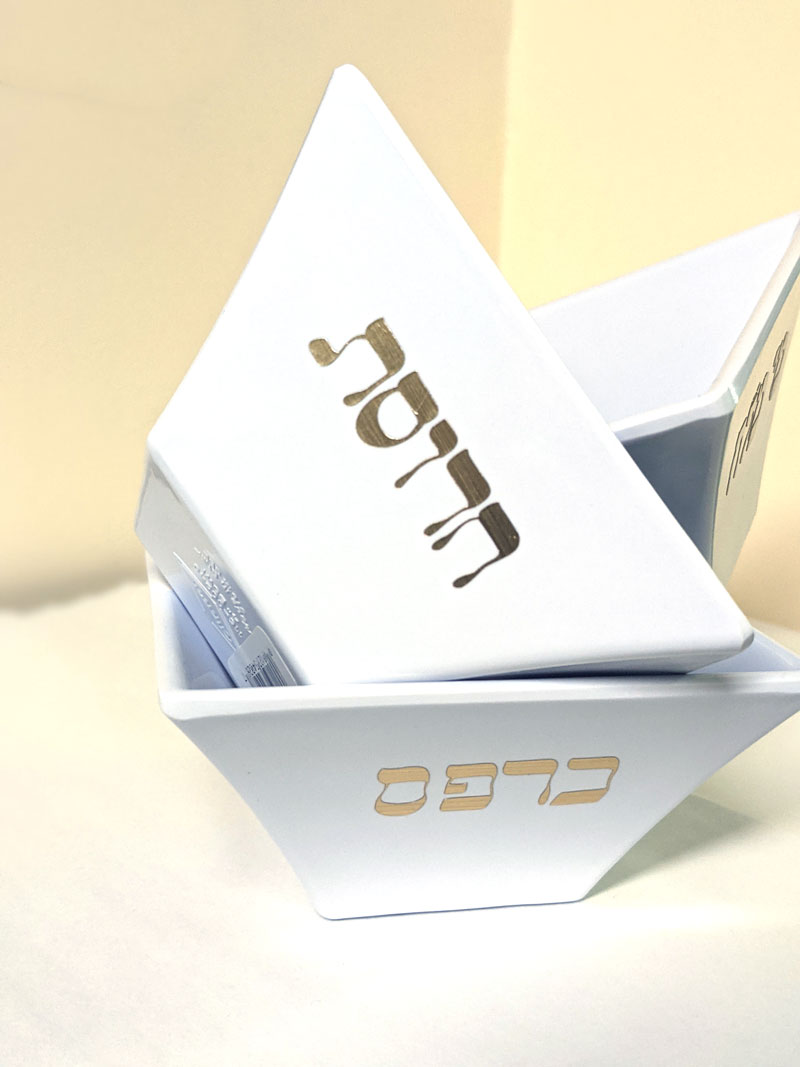
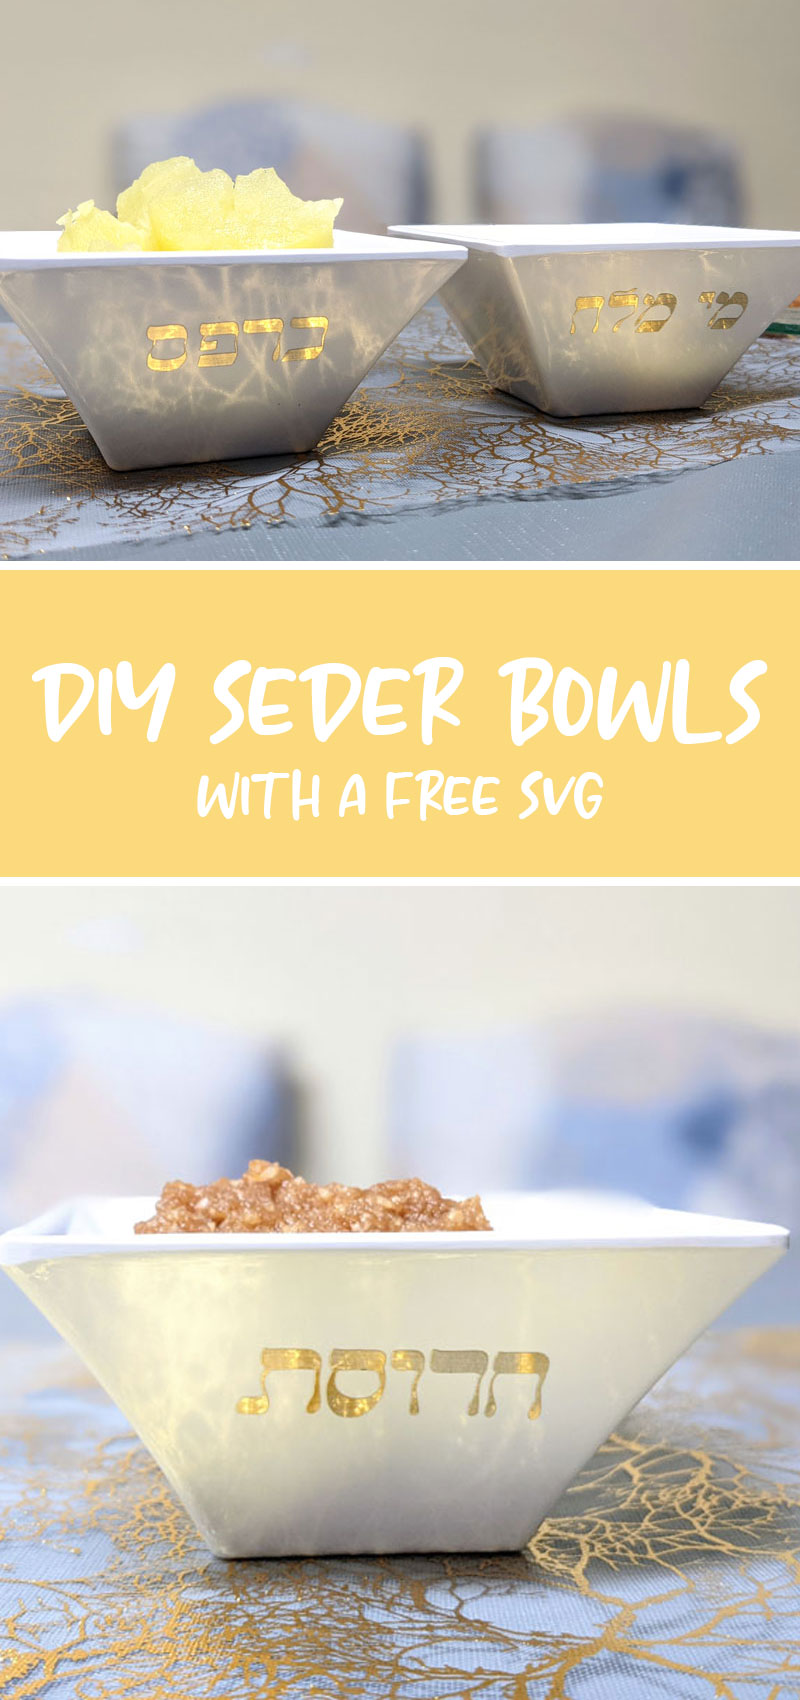
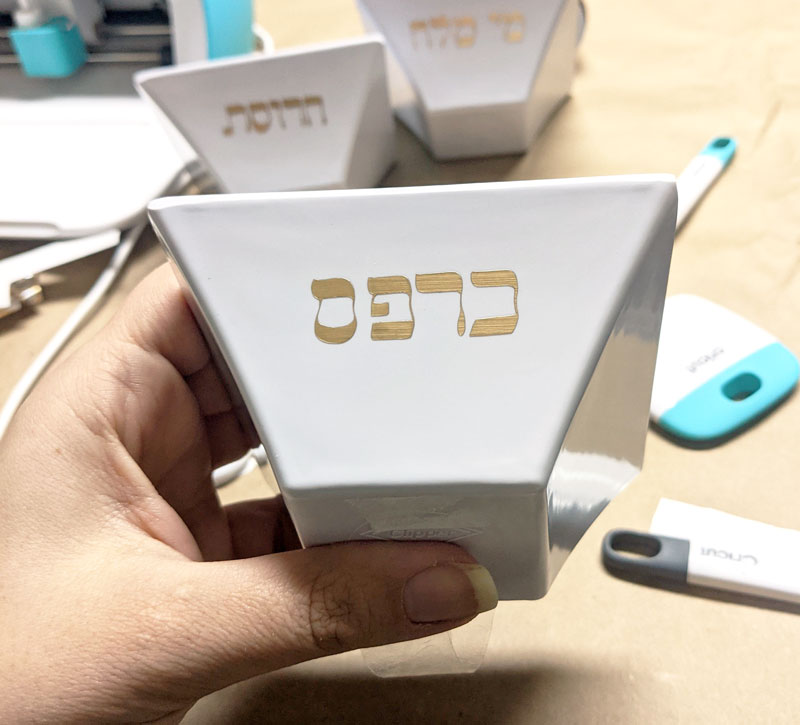
I crated these DIY seder bowls for Karpas and Charoset last year – and you can too using the free SVG I lettered for the project! Also check out my big list of Passover crafts for the whole family. This post contains affiliate links.
The first time I made Pesach was a bummer. I did not have the capacity to read this guide to making Pesach for the first time from my friend Rochel. I was in my first trimester with no energy. It was 2020 and I had to Zoom school a spacey first grader while keeping a bored three year old out of his hair. And there was so much uncertainty regarding what would be available.
The truth is, that when the holiday came around, I swore I was never making Pesach again. It didn’t feel like my dream Passover seder, with the napkin rings and crafts I’d designed for my parents’ home over the years. I didn’t have the capacity.
Then, last year, I found out a week before Passover that I was doing it again… And we were slated to move a week after. Don’t forget I had an adorable infant by then!
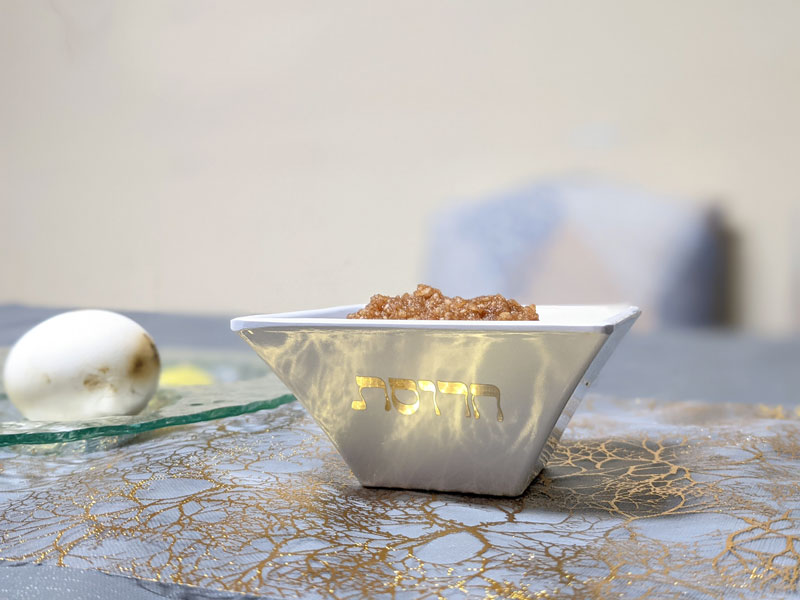
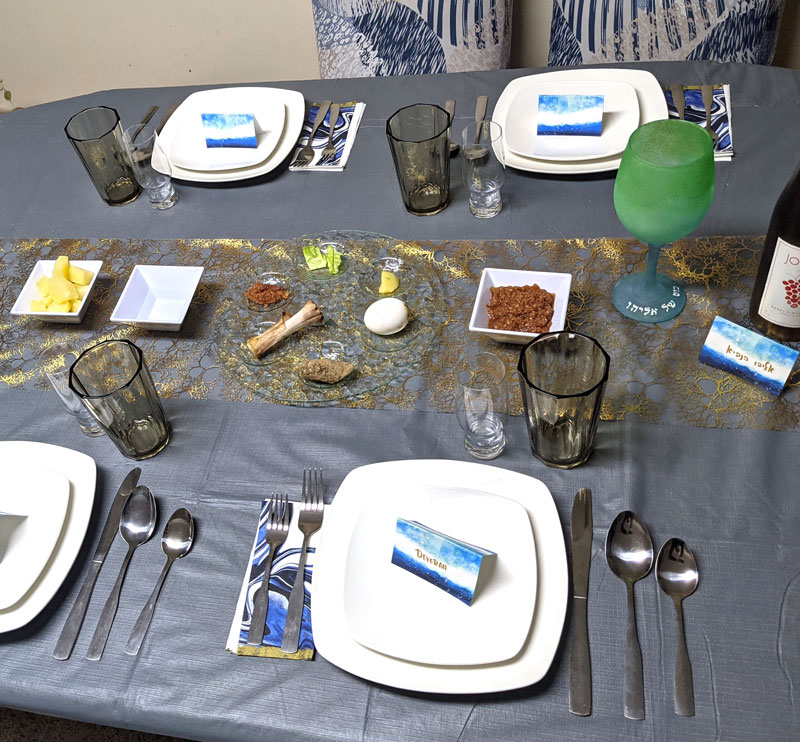
But I realized how important it would be to my holiday joy to make something special for the Passover seder, and to make it feel like mine. And so, I made a matching set of seder bowls for the Karpas vegetable, salt water, and charoset. I lettered the words on my Surface Pro and turned it into an SVG for the project, which I share with you in this post for free.
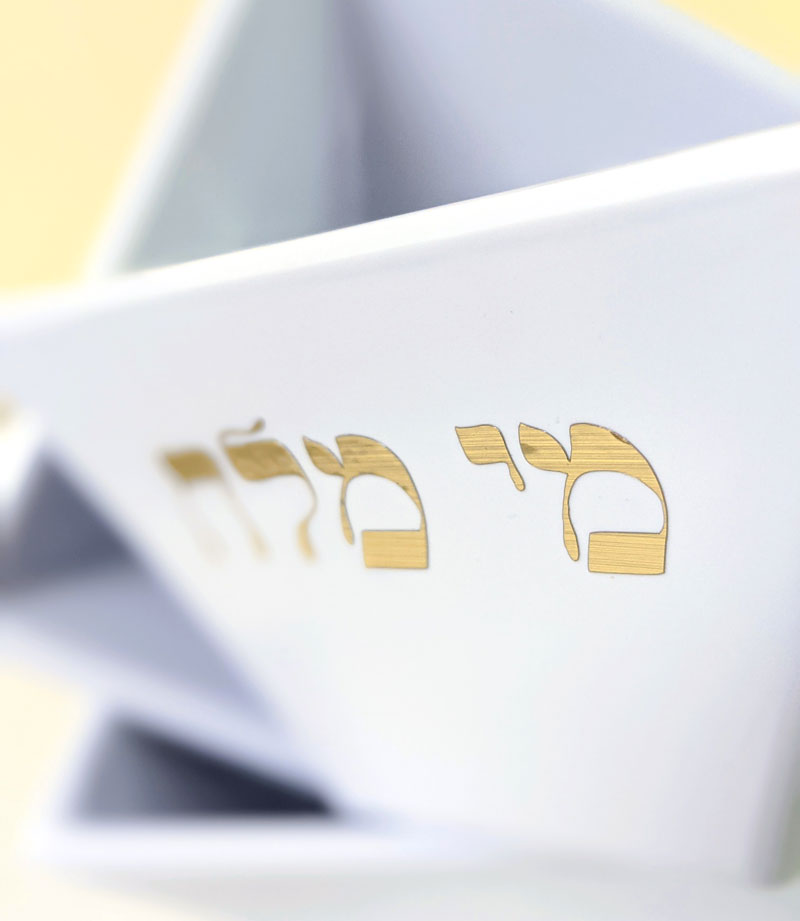
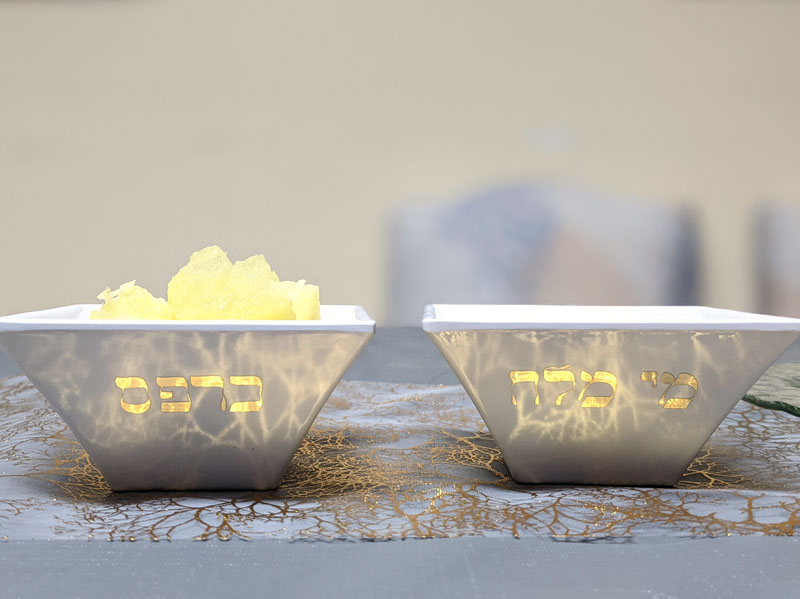
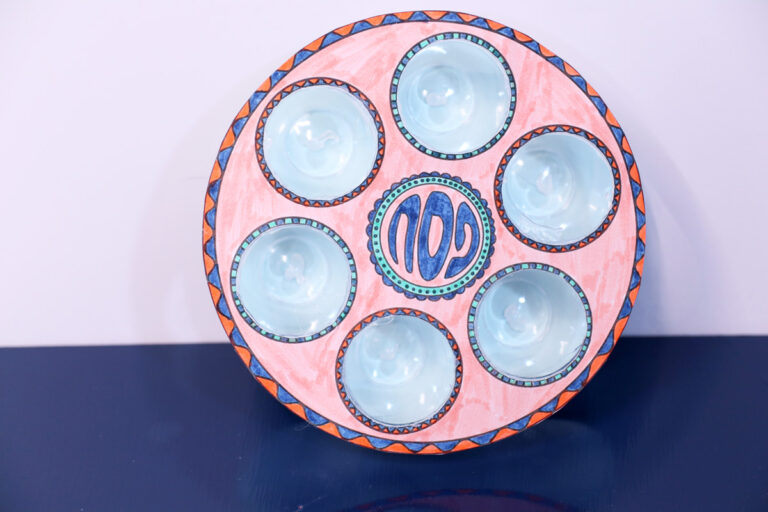
Subtle champagne colored permanent vinyl was placed on white square melamine bowls for a simple, modern, personalized touch. And if you love this project, you definitely should check out my list of my favorite modern seder plates.
While I can’t provide the words for it, you can also use the tutorial for making a seder plate of your own. Just make the bowls with the words of the seder plate foods and place it on a gorgeous slab of wood.
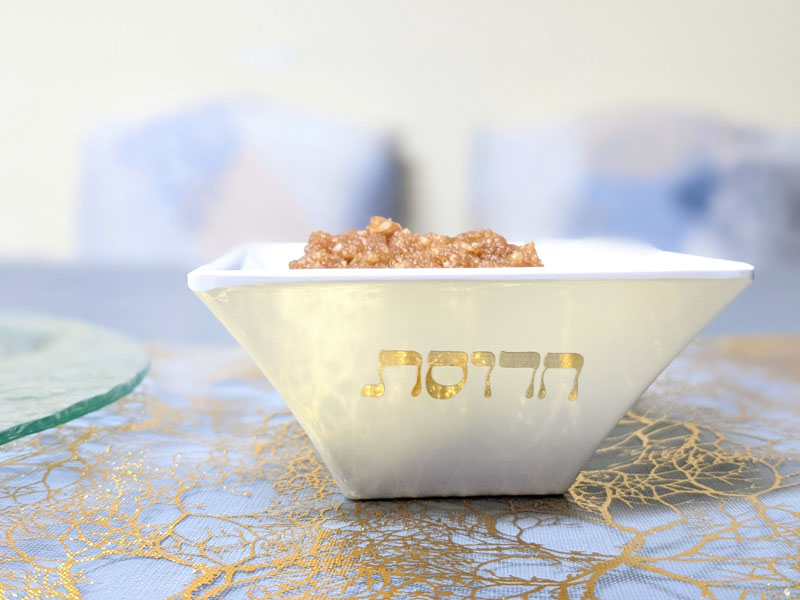
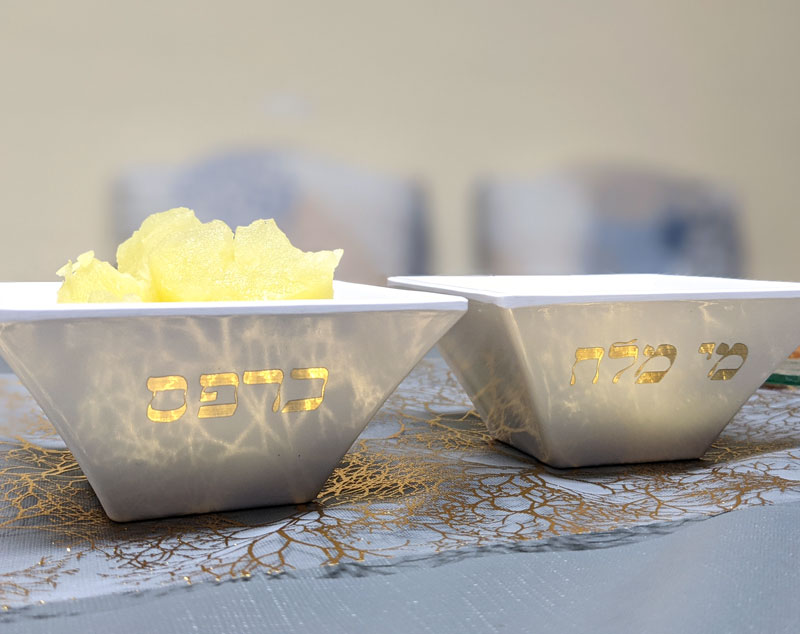
Download the free SVG for Passover bowls
Download your free template! It’ll arrive right in your inbox. By downloading, you’re subscribing to our FREE newsletter with updates on cool printables like this, ideas to simplify Jewish life, and more. Unsubscribe at any time at the bottom my emails. I respect your privacy and the law, and won’t share or sell your email address.
You will need to unzip your SVG file – learn how to do that here.
What you need to make Seder bowls
- Blank bowls – I used white melamine square ones
- A Cricut – I used the Joy
- Permanent Vinyl – I used one that’s discontinued but recommend this champagne as a replacement
- Weeding tool, scraper tool, scissors
- Transfer tape
How to make DIY Seder bowls with a Cricut
I apologize that I did not take good step-by-step photos on this one as I was too busy prepping for Pesach, however it’s pretty basic, and I did recreate the Design Space steps for you.
1. Create a new project and click “upload” in the left panel.
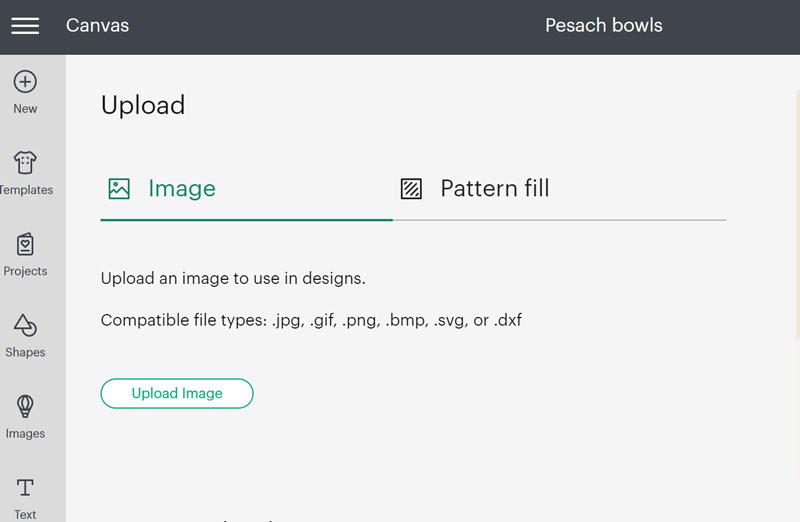
2. Make sure to unzip your SVG file. Drag and drop it or browse and upload the file.
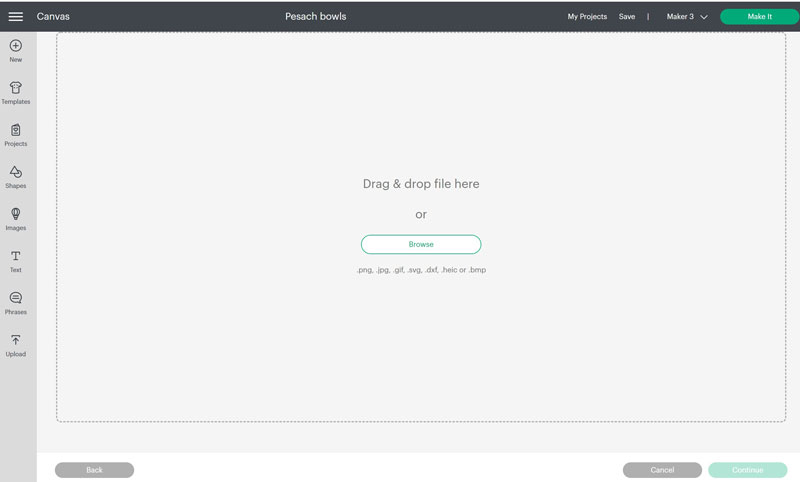
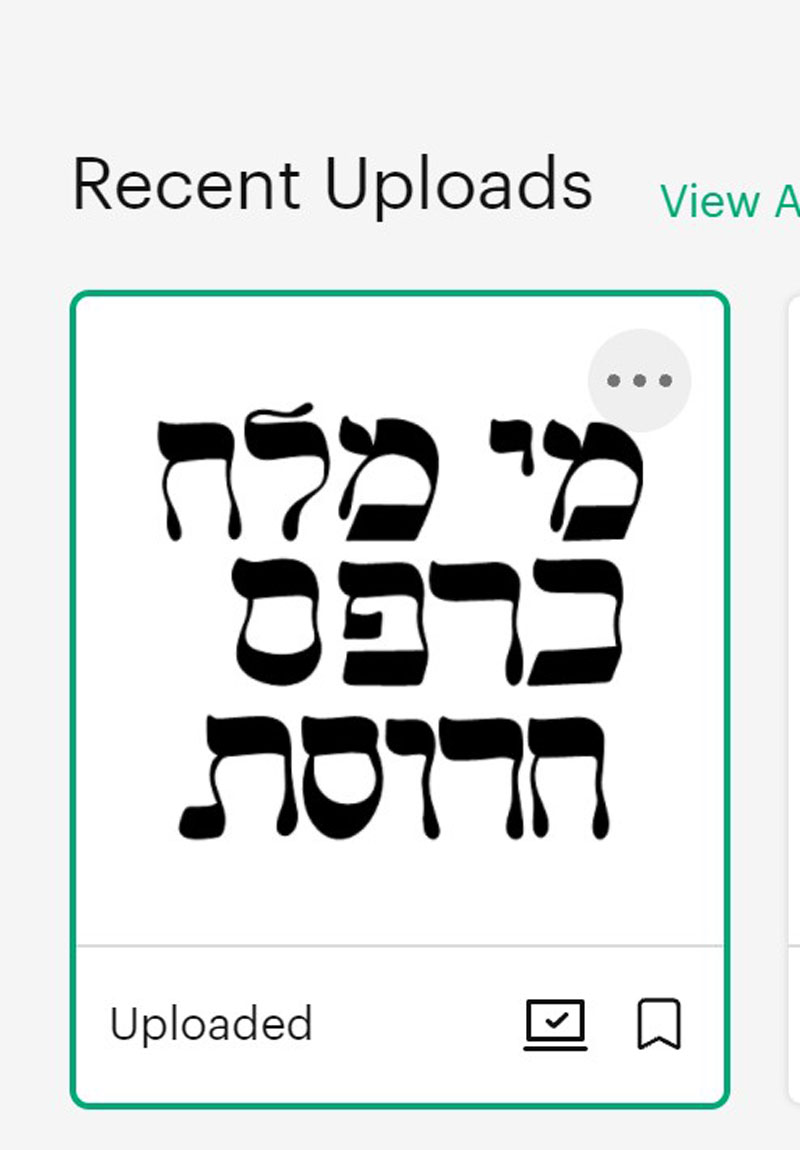
3. Choose the correct image and insert it onto your canvas.
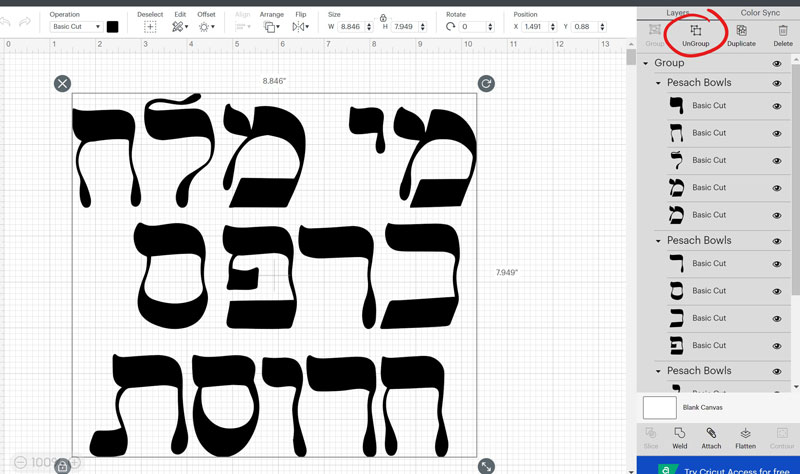
4. The entire file will be ungrouped. Start by ungrouping it. You an leave each subgroup intact – that’s each word.
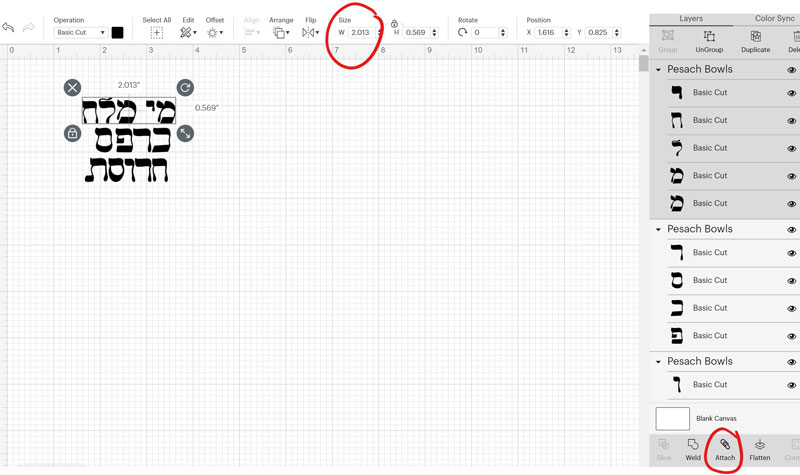
5. Measure which size you’d like it to be on your bowls and resize. I recommend resizing it proportionately so that it feels more like a set. When you’re done, “attach” each bowl’s letters so that it cuts in the correct order and doesn’t rearrange.
6. When you’re ready, “Make it” and send it to your machine! Cut it as you normally would permament vinyl, using the fine point blade. Cut apart the text for each bowl. Weed your design. Use the scraper to apply transfer paper to each text. Flip it over, scrape again, and peel back the backing. Clean your bowl well and dry. Apply it to your bowl, scrape into place, and peel back the transfer tape. Give it 2-3 days before using so that it sticks well.
You’ve learned how to make your own DIY Seder bowls! I hope you enjoy and definitely comment if you make it or have a variation to share.
