Hamantaschen Earrings from Polymer Clay
Craft your own easy Hamantaschen earrings using very basic polymer clay skills! When you’re done, check out this big list of Purim crafts for all ages. This post contains affiliate links.
I’m not one to stop the holiday crafting at the kids, and yes, I have lots of fun creating cool grown-up crafts. And Purim especially is a time when the adults get creative – whether it’s with Purim themes, or costume ideas.
But if you’re not the theme type, go easy on the costumes, or just want something simple to craft, these polymer clay hamantaschen earrings are perfect for you!
And no, you don’t need to be a polymer clay master to make these (I’m not). It WILL help you to know the basics of polymer clay crafting (and I share anything you need to know as we go along.)
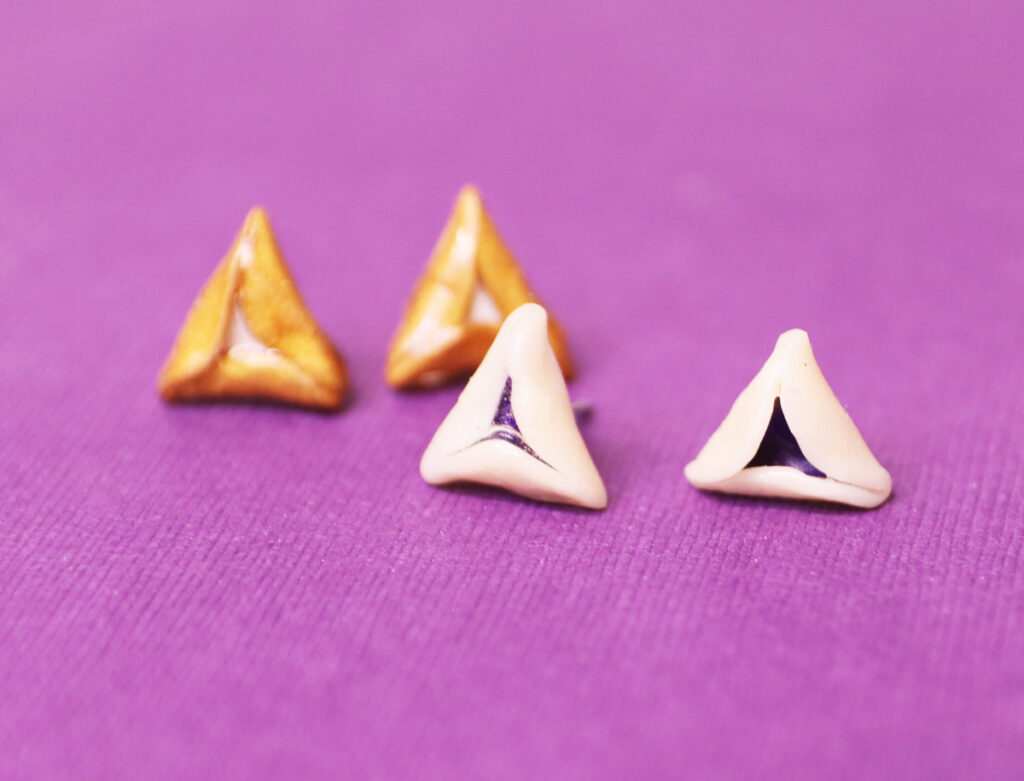
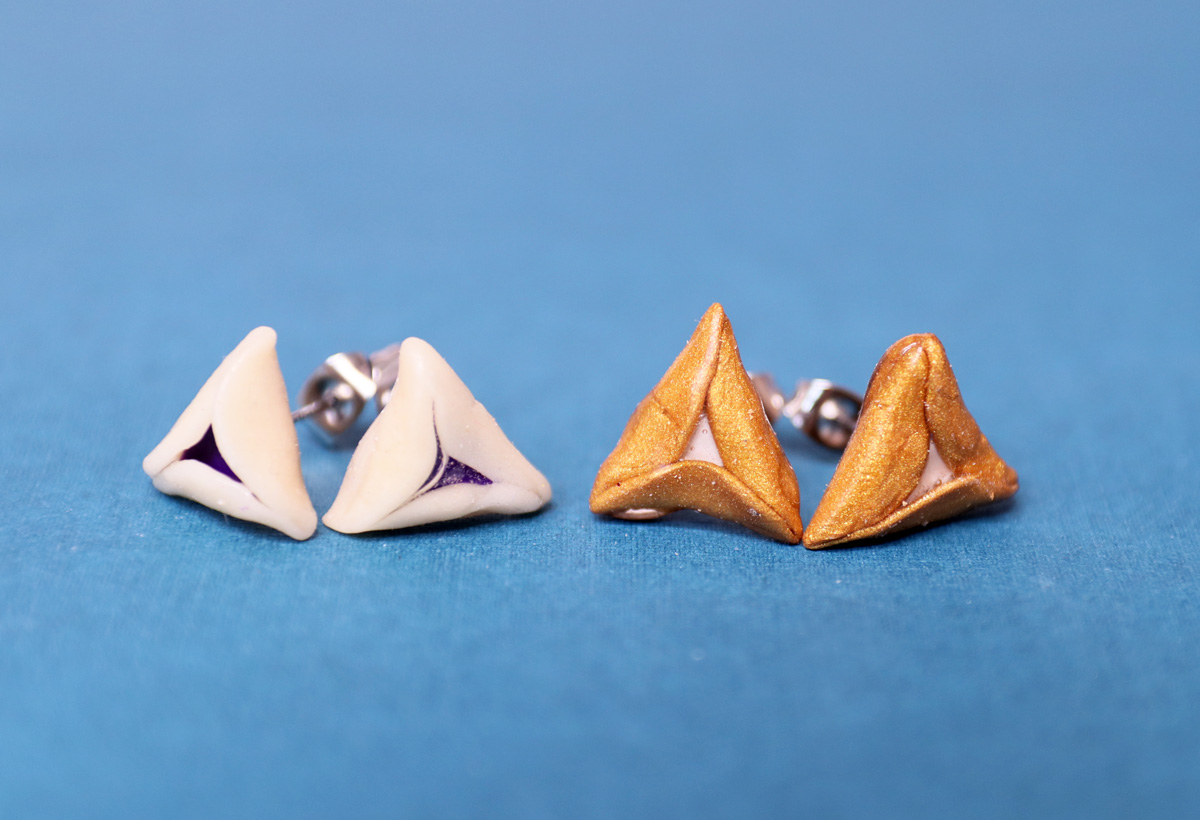
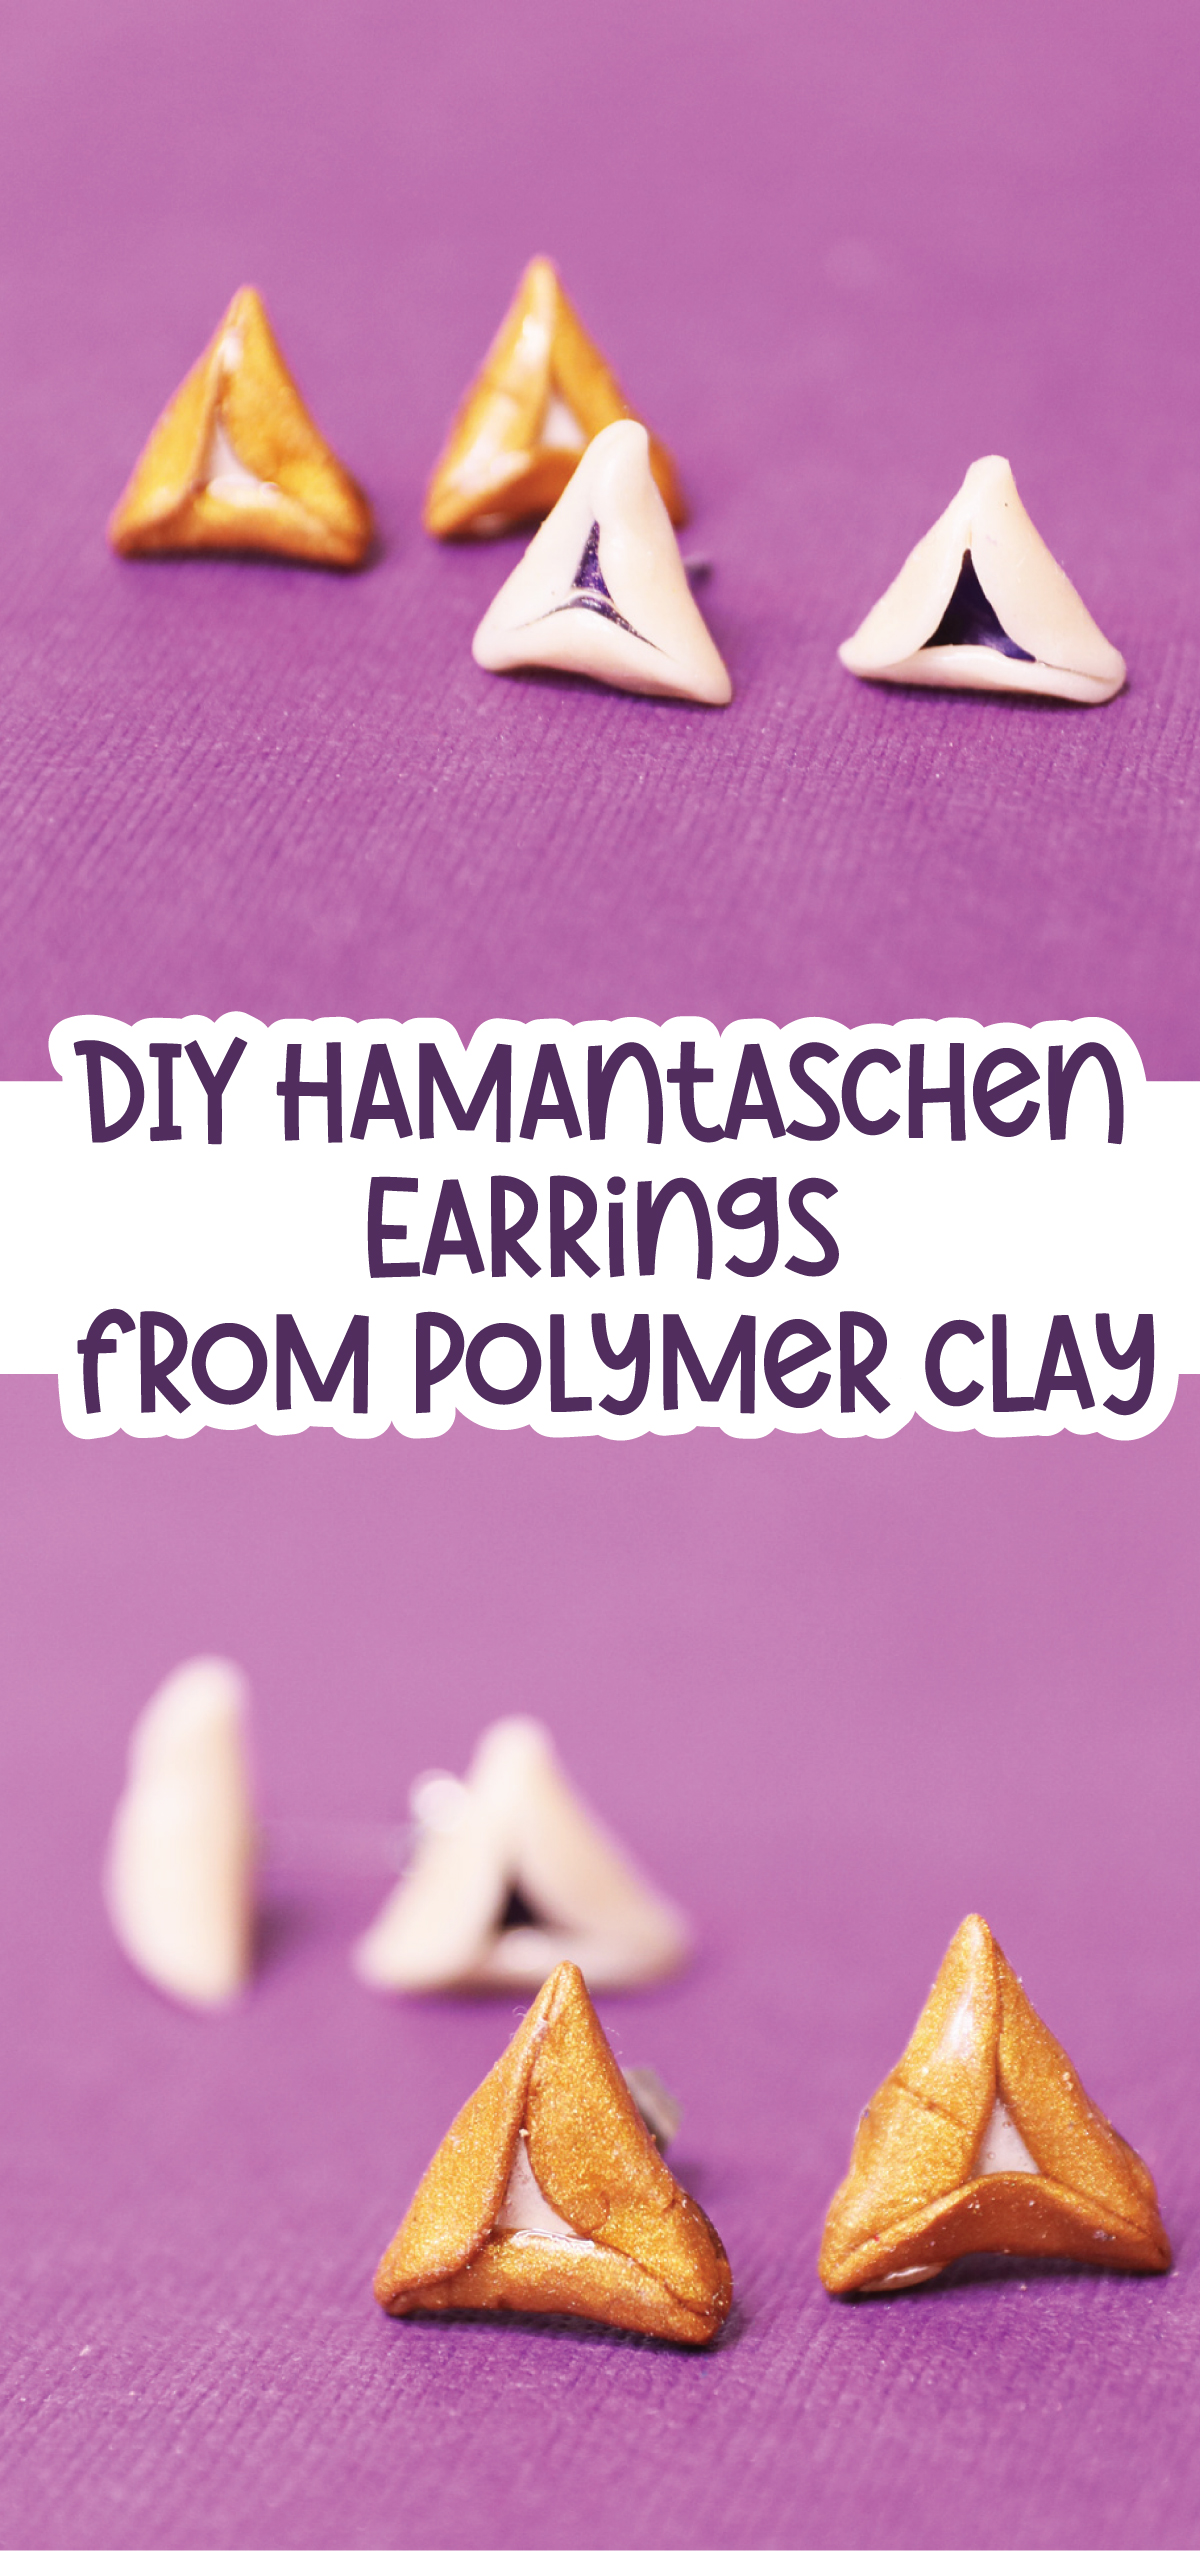
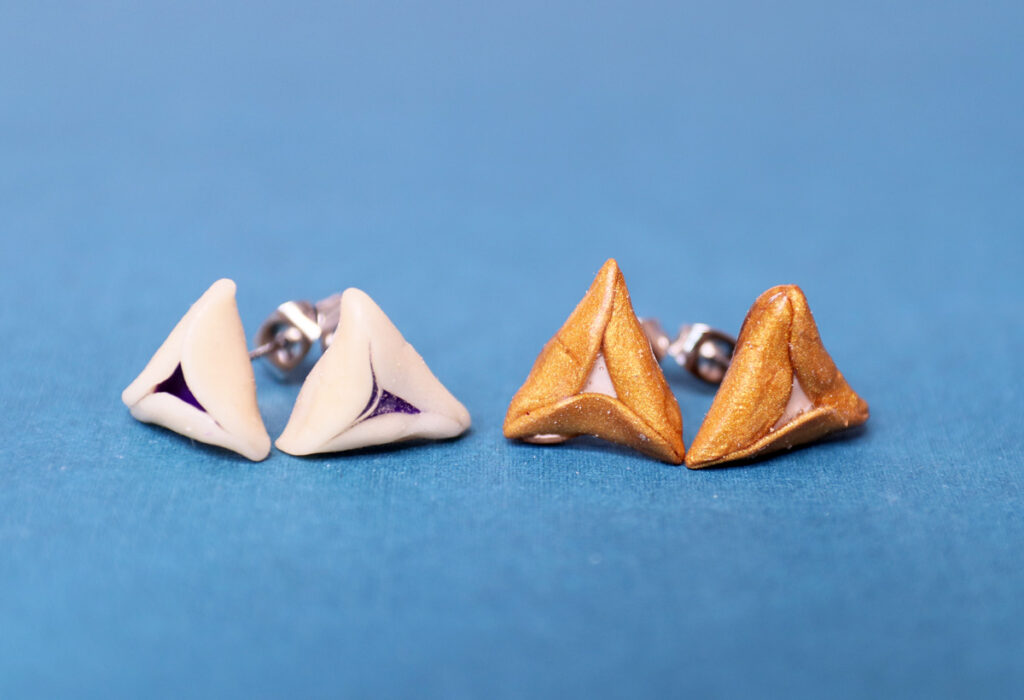
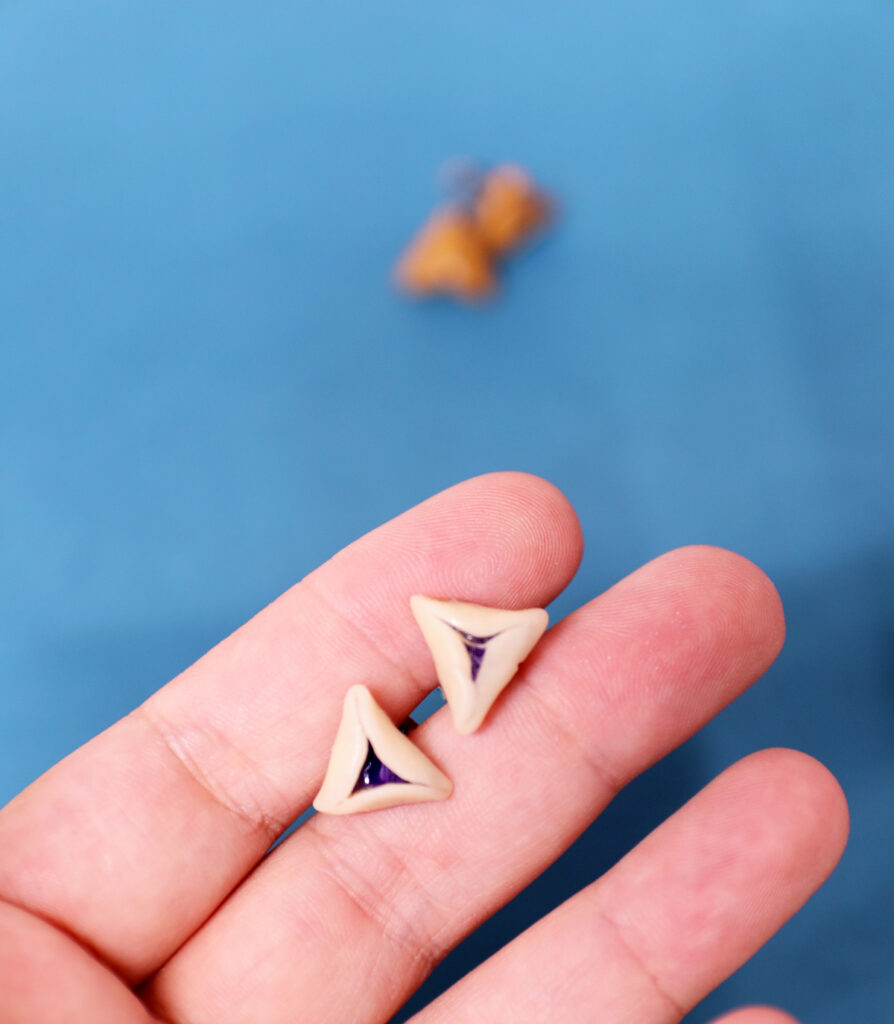
These hamantaschen earrings are delicate studs that are fun and easy to wear. Make them in hamantaschen colors, or glam them up by using metallic colors. They are quite small but you can definitely make them larger.
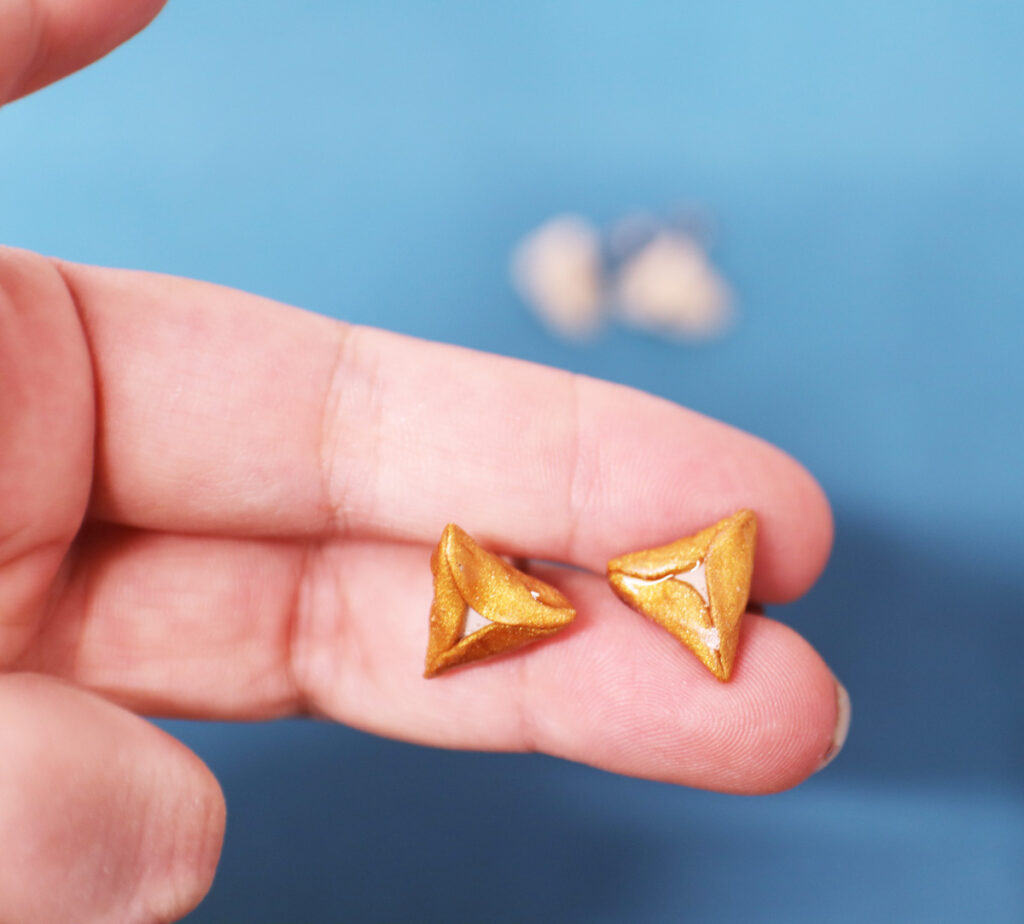
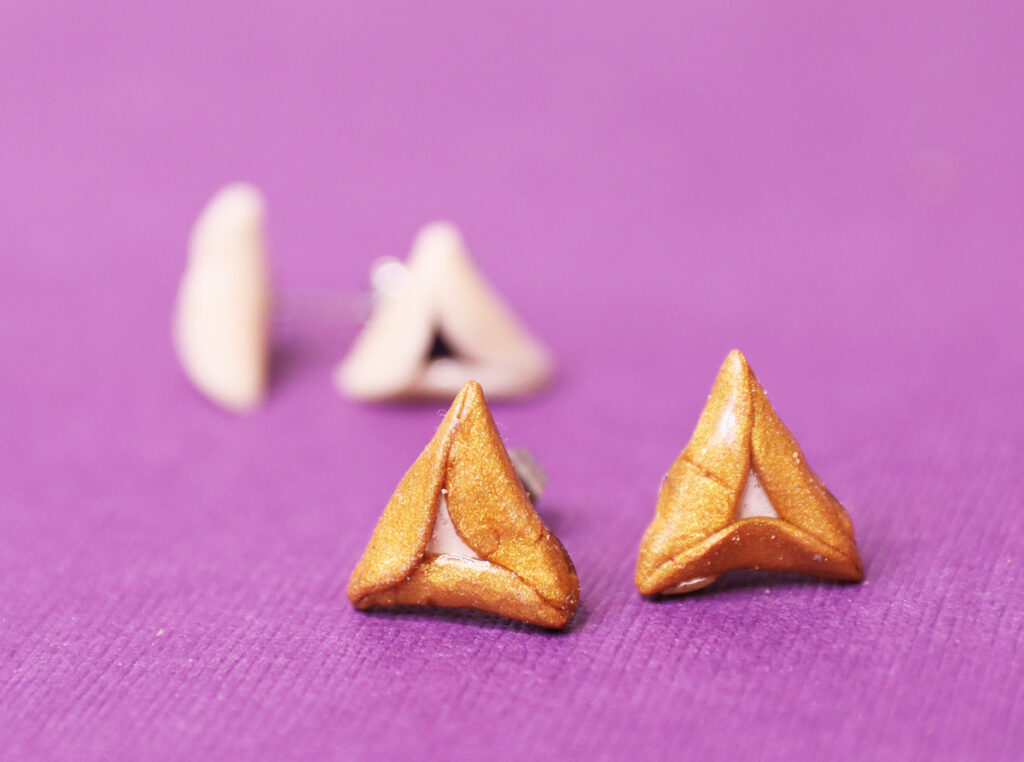
It’s easy to batch produce these (just use more clay on each round) and, much like real hamantaschen, the more you fold, the better you get at it.
I made two color schemes: one has glow-in-the-dark cookie with purple filling – and actually looks tan when not in the dark. The other has gold metallic dough and white filling for a classier look.
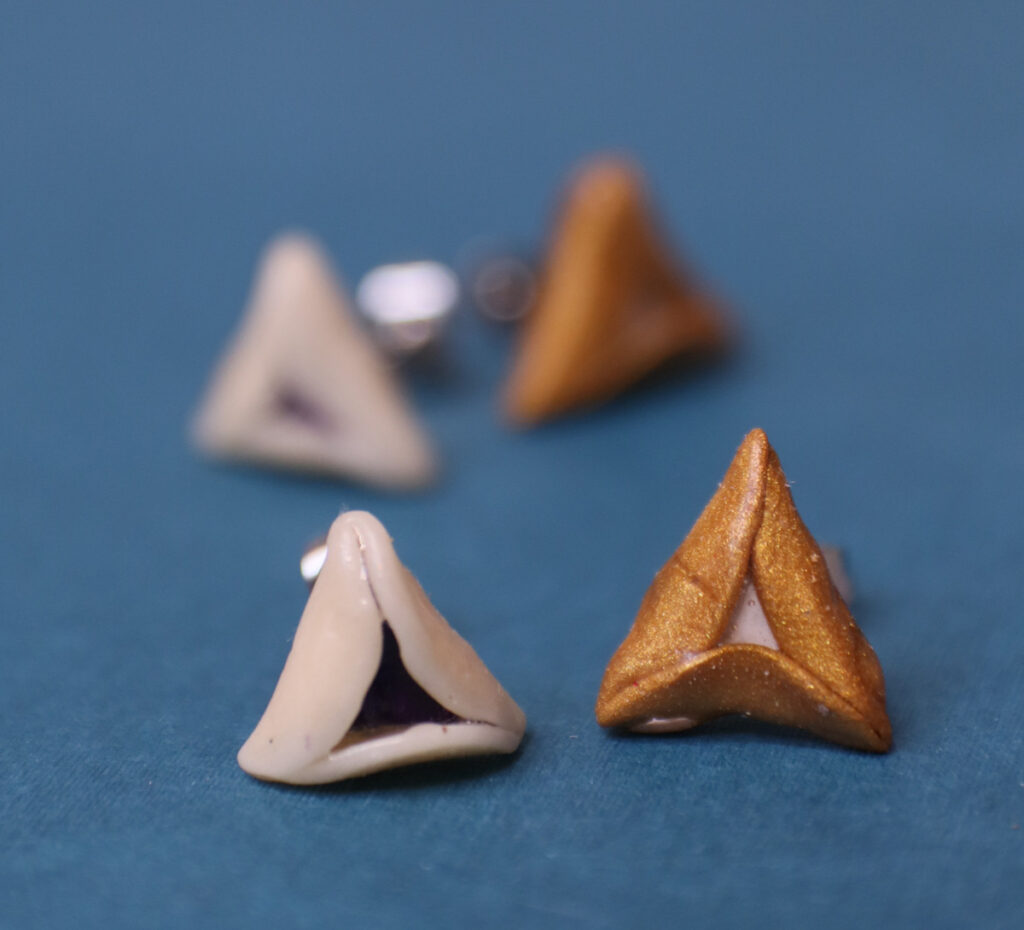
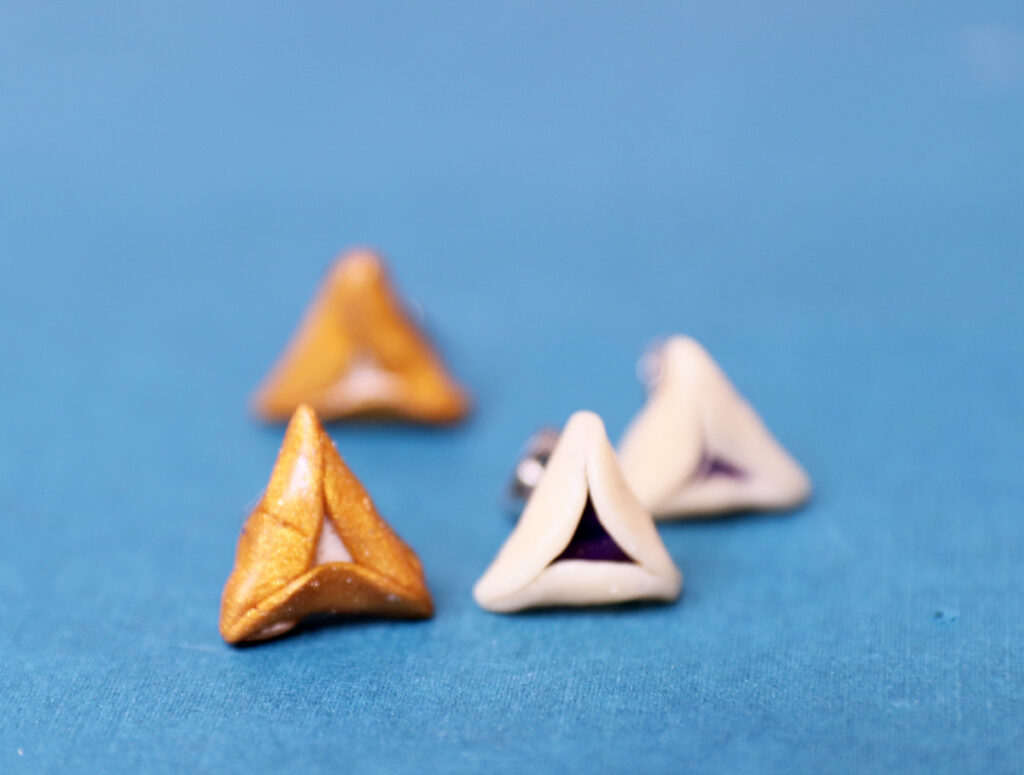
These hamantaschen earrings were sealed with resin after baking, but if you’d like, you can use any clay glaze. And while it DOES create a longer-lasting design, how often are you going to wear these anyway?
What you need to make Hamantaschen Earrings
To form the hamantaschen:
- Polymer clay – I used a mix of DAS and Sculpey
- Circle cutter – the one I used from this pack was a bit small so I rolled it out more. You can also get a circle-only assortment pack to make sure you have the right size.
- Recommended: clay glue (I haven’t tried it without, but this helps clay parts adhere.)
- Carbon Steel Blade, Acrylic roller, surface to work on
- Clay tools
To turn them into earrings:
- Flat pad ear studs
- Sandpaper (recommended)
- Glue, such as E6000
- Optional: rotary tool with sanding drum attached. I love my MakerX. This is a worthwhile tool to invest in if you like to work with clay.
To seal them with resin:
- UV resin
- UV lamp (I used the one from this kit, but this one works as well – I own it too)
- Paintbrush
- Silicone work surface
- Gloves
- Respirator mask
How to make clay Hamantaschen Earrings
1. Start with your cookie color. Take a small marble sized piece of clay between your fingers. If it’s not soft enough, condition it between your fingers.
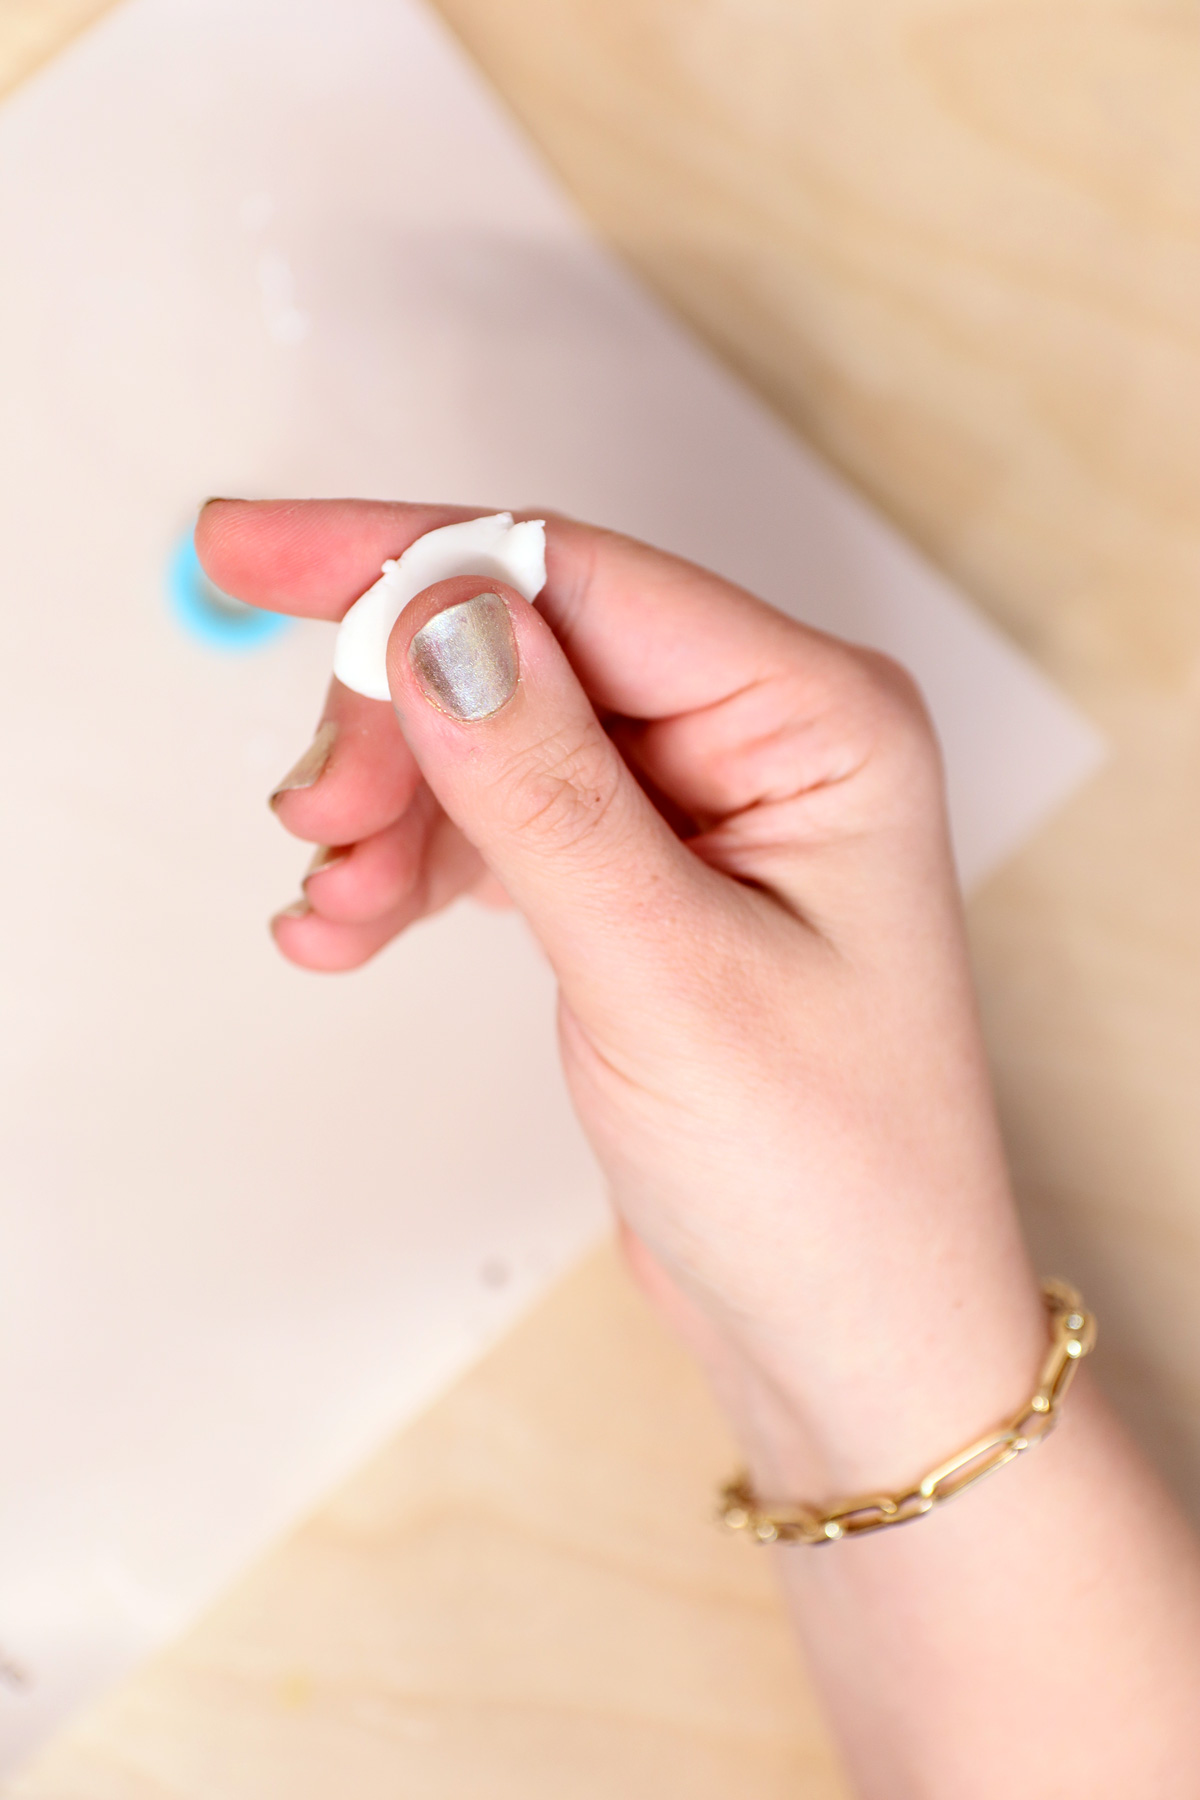
2. Roll it out to a comfortable thickness to work with. Mine is slightly thicker than I need it to be to work with – see why on the next step.
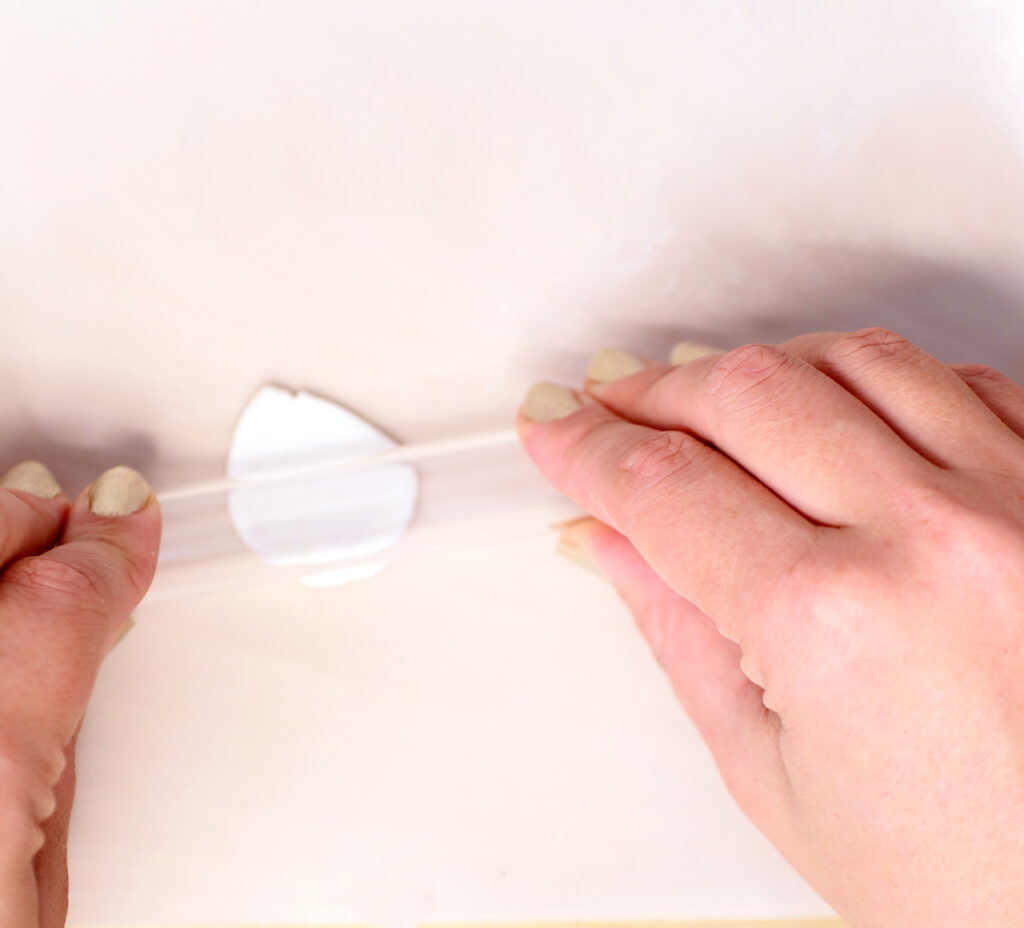
3. Take a circle cutter and cut two circles. My circle was a bit smaller than I needed it to be, so I rolled it out a teensy bit more after cutting.
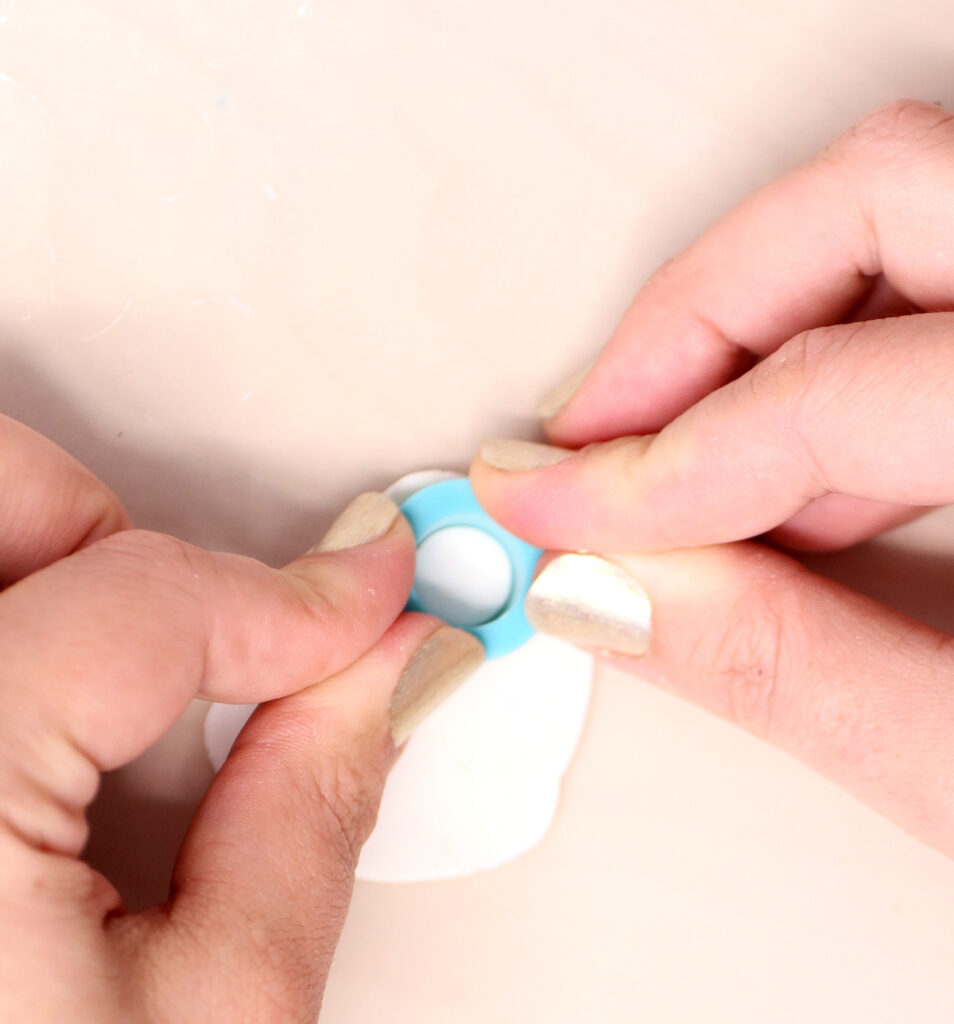
4. If need be, condition your filling color. Roll out out. This piece can be really thin, as long as you can work with it.
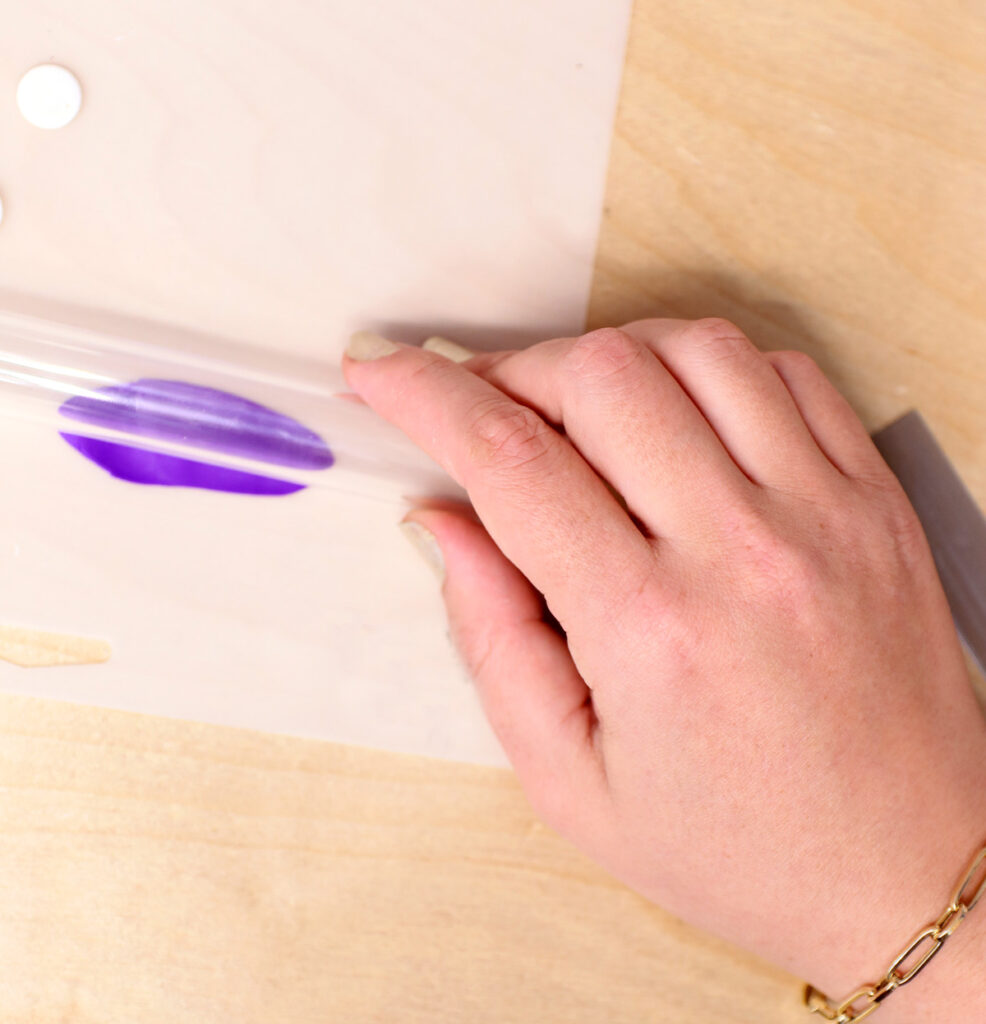
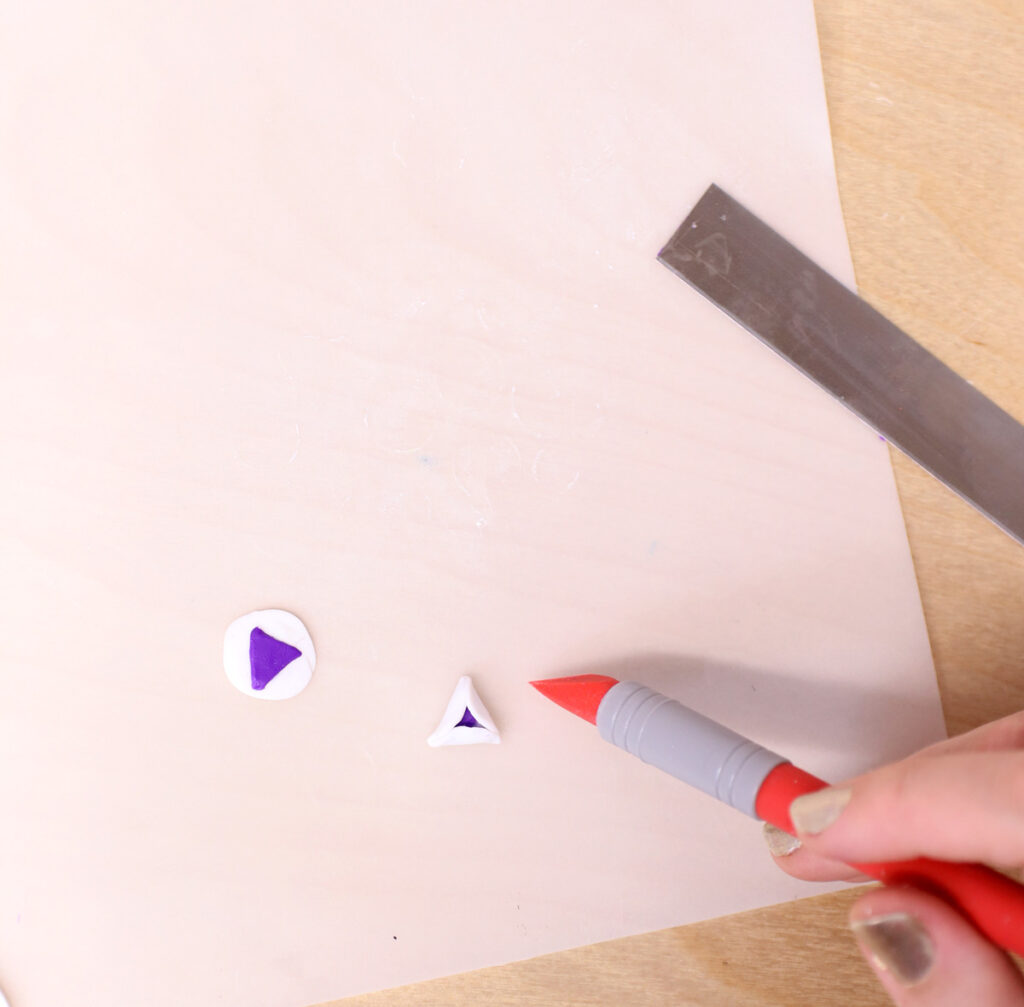
5. Cut a triangle slightly smaller than your circle. If it’s the full size, it’ll be really hard to work with, so do make it smaller.
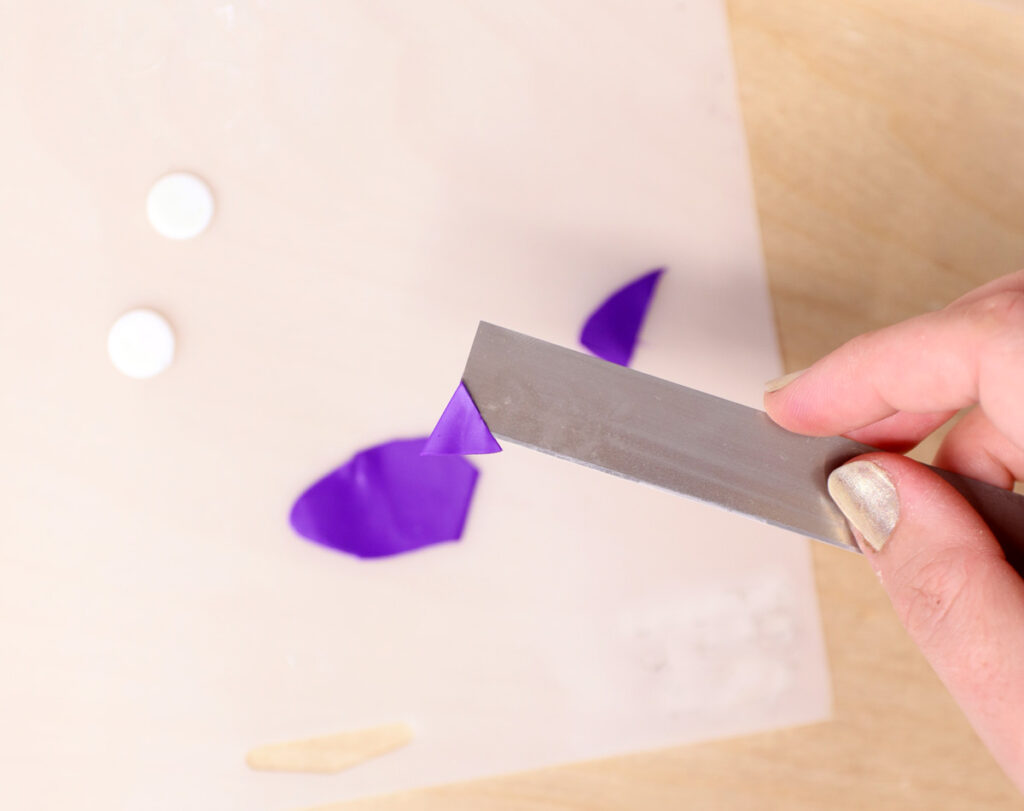
6. Apply a dot of clay glue. Place the triangle in the center of the circle.
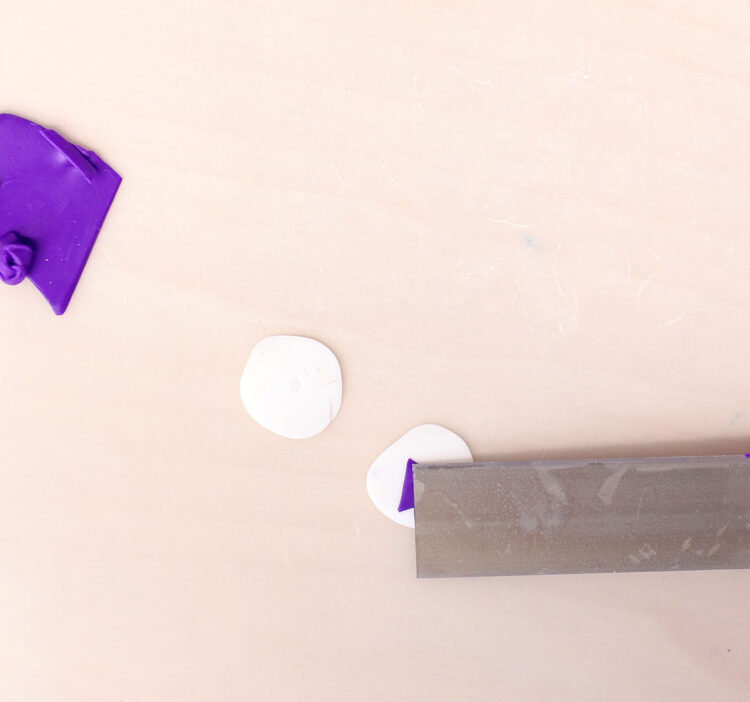
7. It’s a bit easier to complete the next step if you press the cookie clay a bit on each side of the triangle to flatten it. Just a bit…
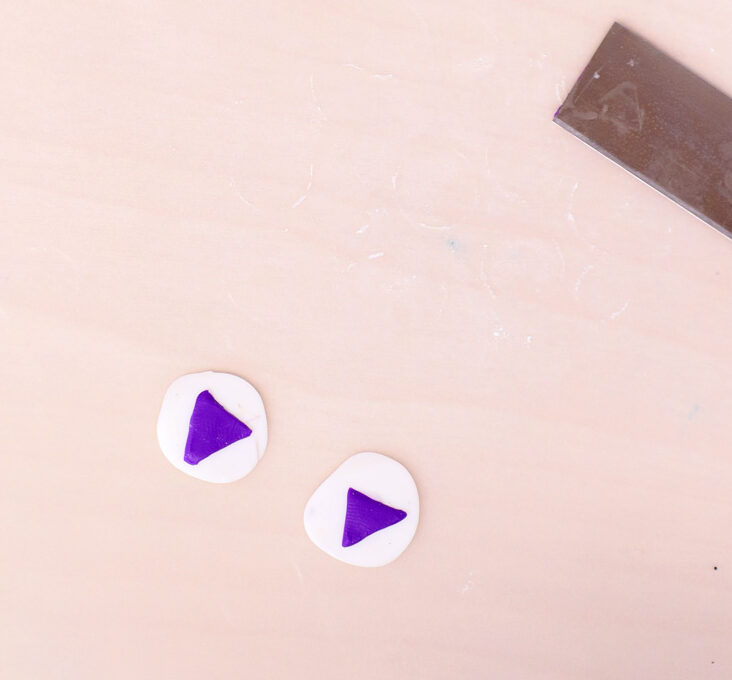
8. Place a dot of clay glue on each side of the triangle – on the cookie dough next to it. Gently fold up each side of your cookie dough around the filling. It’s quite small to work with, so you may be able to overlap them as you would real hamantaschen, you may not.
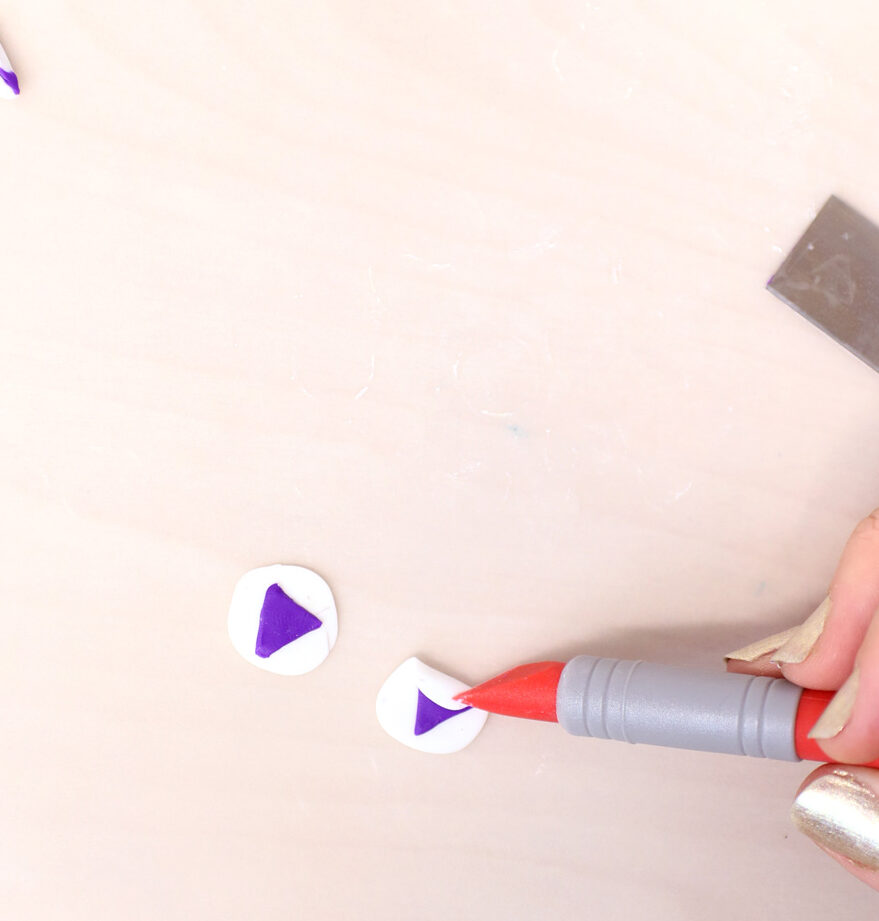
9. Press the corners very gently to secure. I recommend using a silicone-tipped tool to ensure you don’t add fingerprints. Bake your hamantaschen earrings according to package instructions.
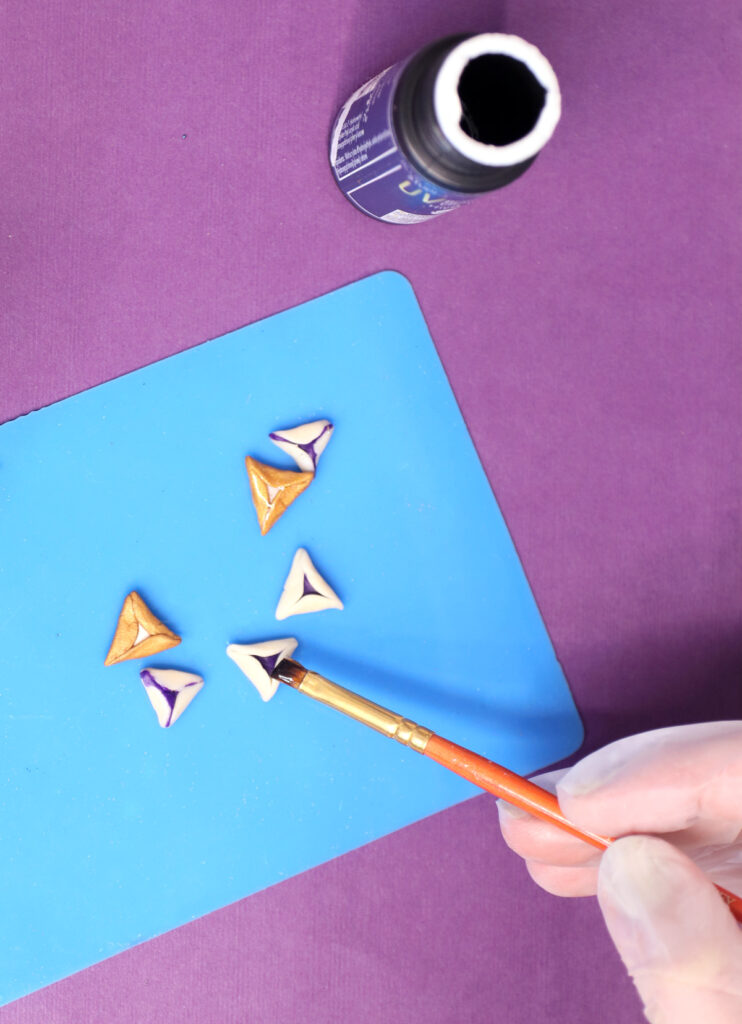
10. I recommend finishing off your clay earrings with something. If using UV resin: Paint a teensy bit onto the surface of your hamantaschen earrings. It’s okay if it “fills” the inside. (FYI you can also use colored resin for your filling, if you prefer, but I found it easier to use clay than to start with coloring resin).
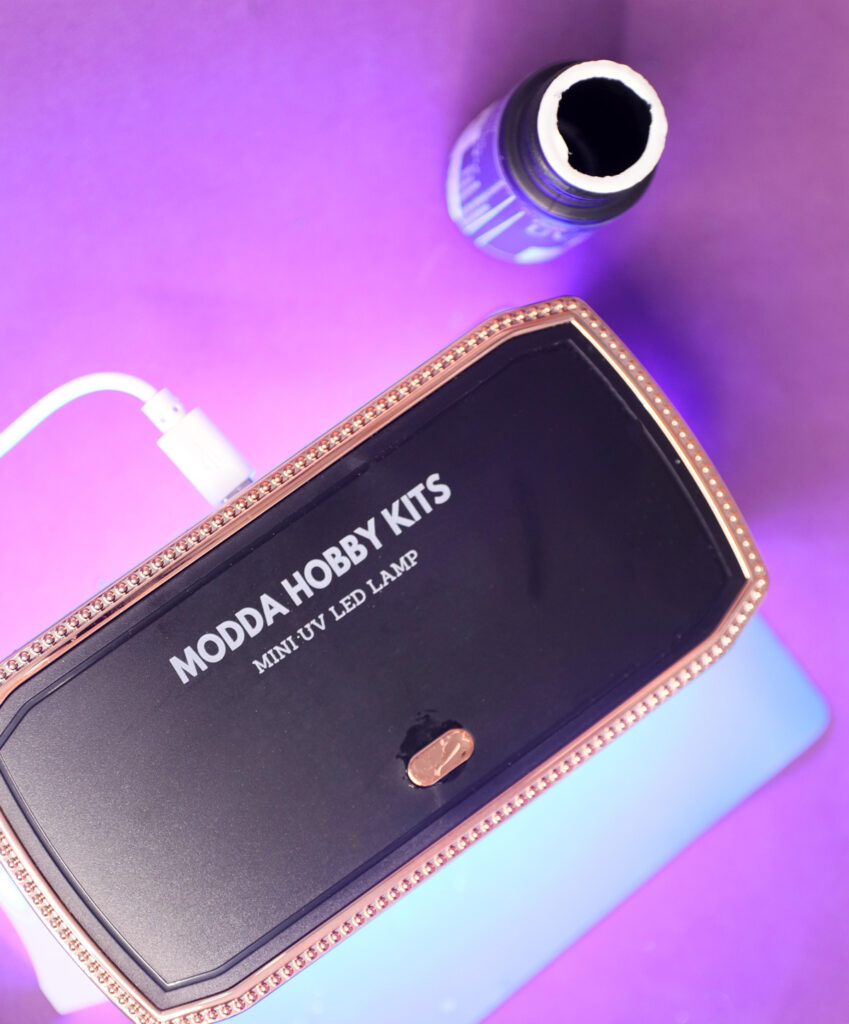
11. Cure your resin according to package instructions.
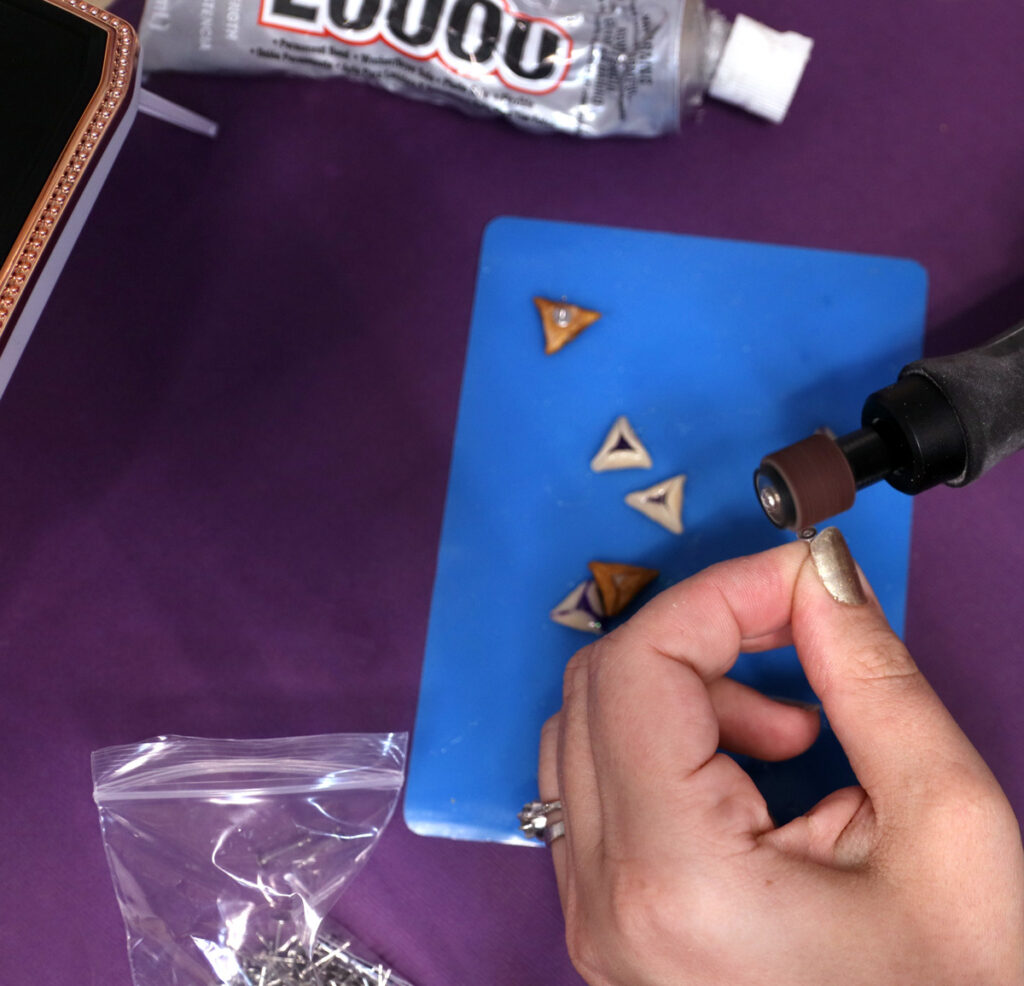
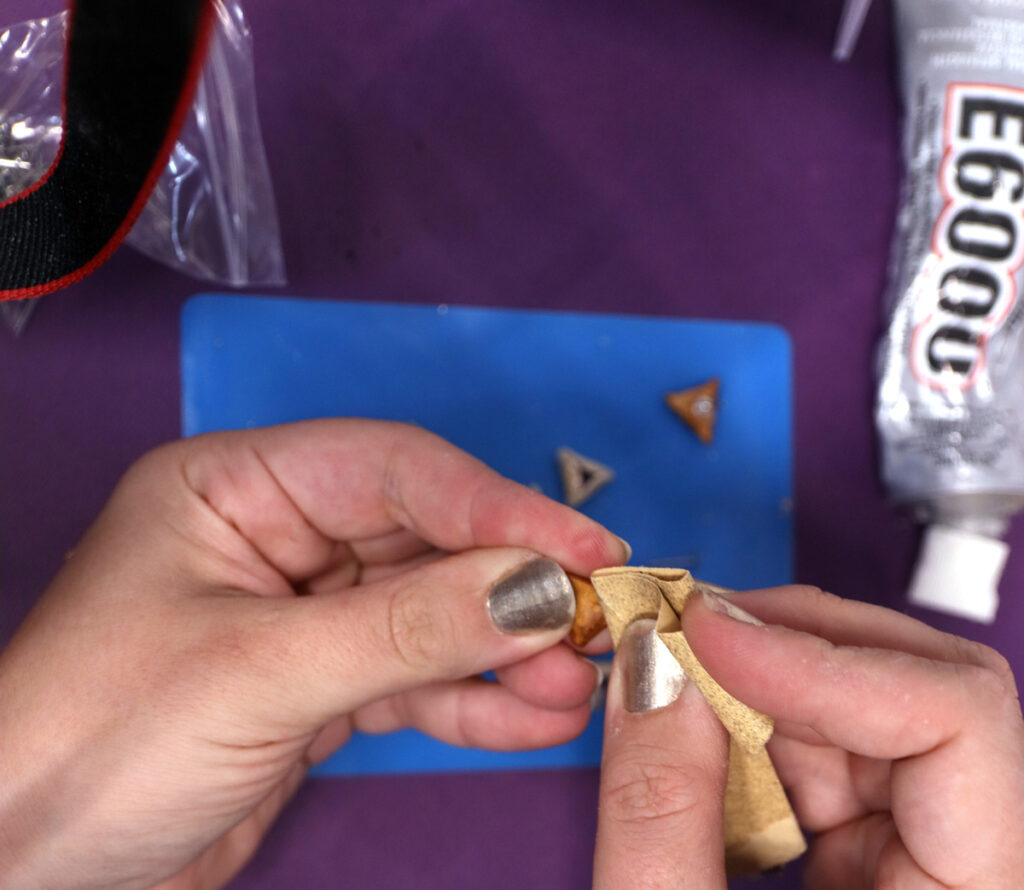
12. Flip over your earrings and glue on flat pad ear studs. I recommend sanding it first – I used a rotary tool with a sanding drum on the stud and sandpaper on the clay portion. This creates a rough surface for better adhesion.
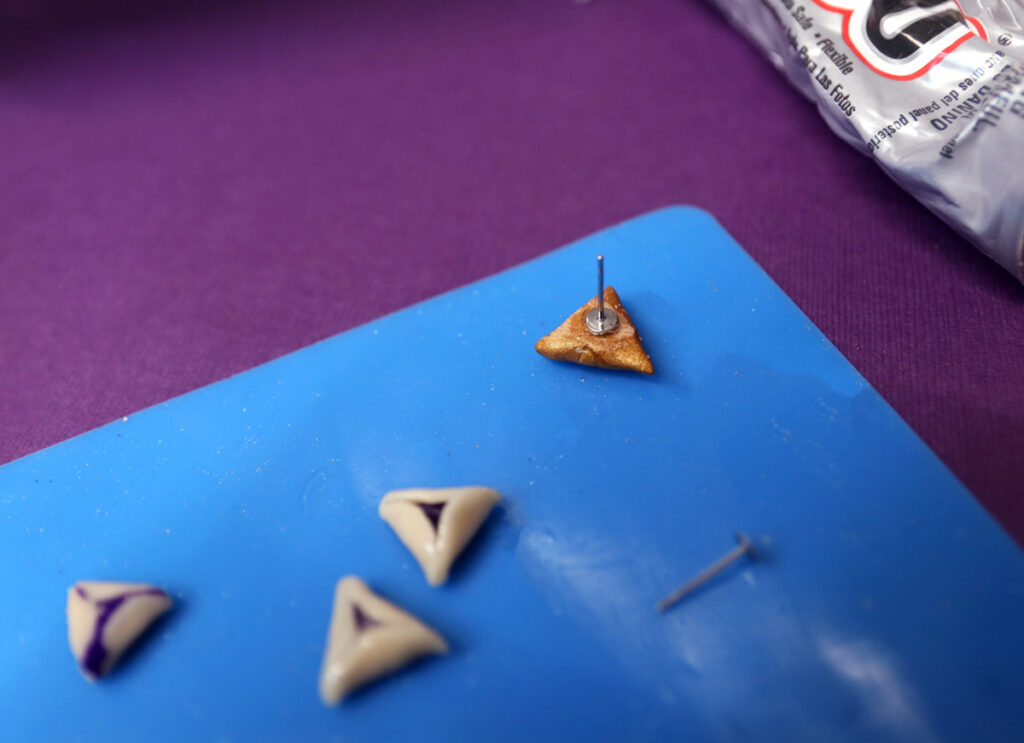
13. Once glue has dried completely, paint on some resin overlapping the earstud pad and on the back of the clay hamantaschen.
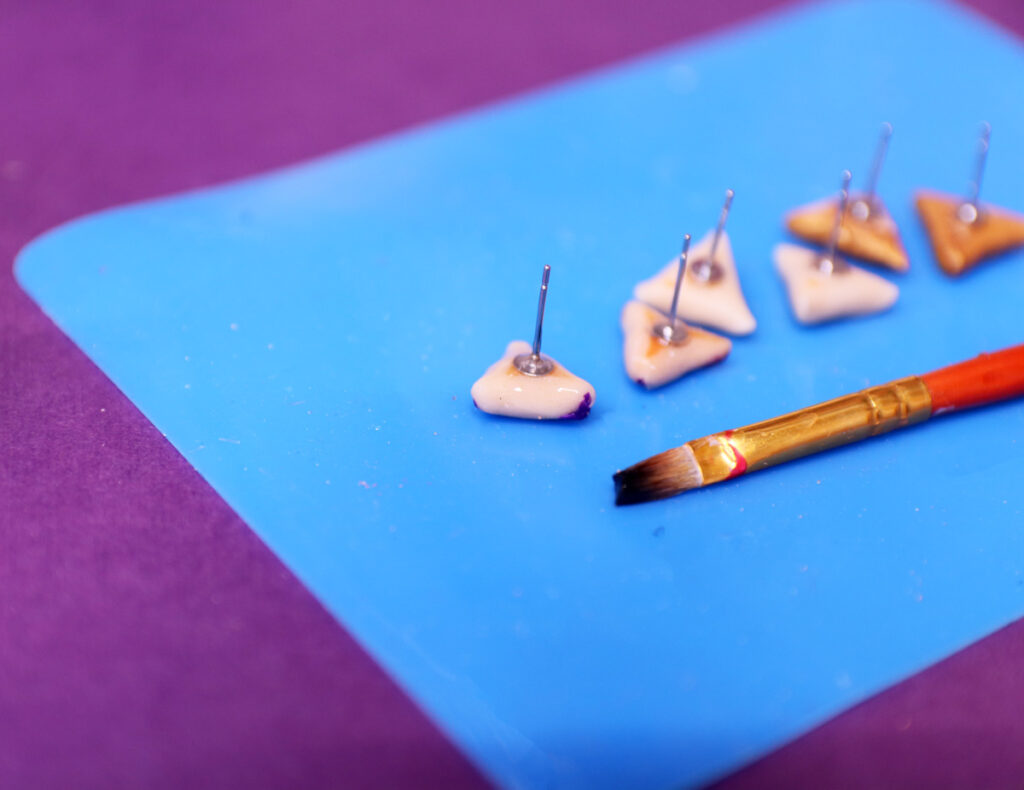
14. Cure according to package instructions.
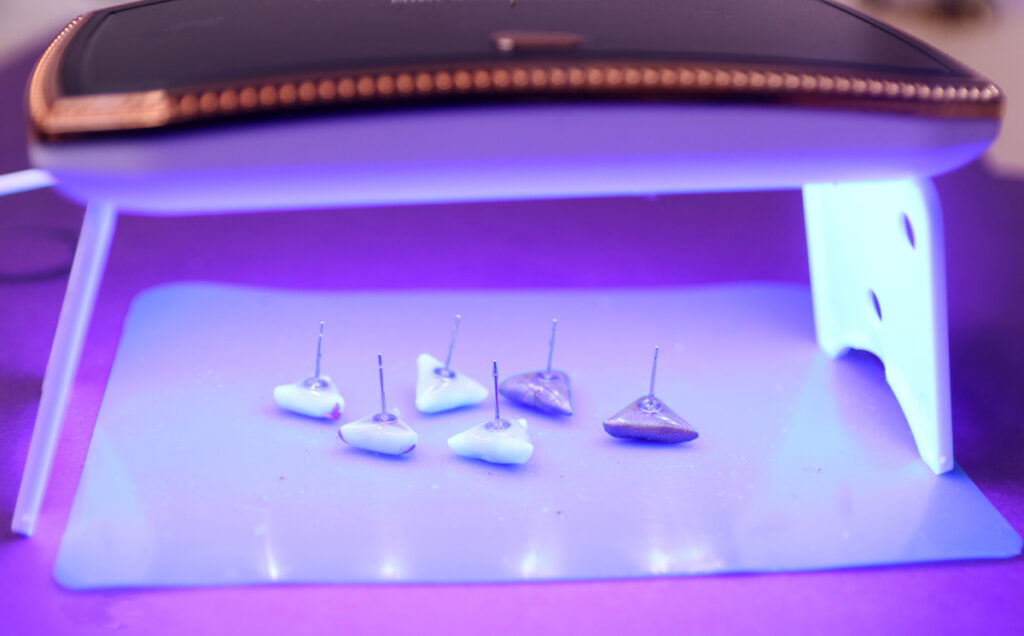
Your hamantaschen earrings are complete! I hope you had fun making them!
